Your Windows 11 computer may require the latest version of Java installed for some applications to work.
However, sometimes some Java apps may abruptly crash with the error Could not create the Java virtual machine.
This error is often a case of insufficient memory allocation for Java apps.

Additionally, check for permission issues and glitches with the Java release itself.
Verify Your Java Installation
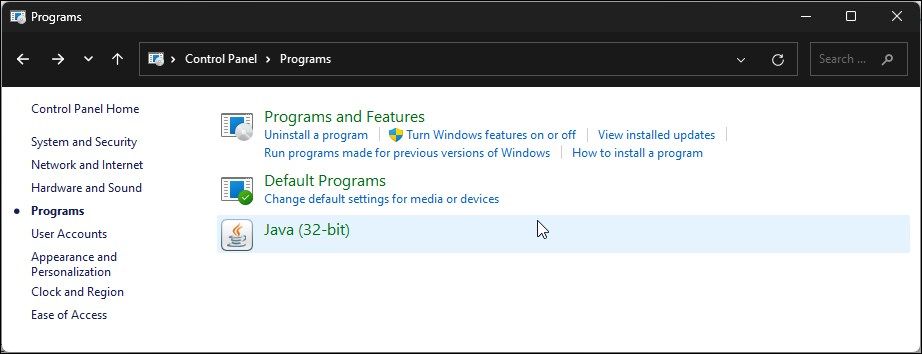
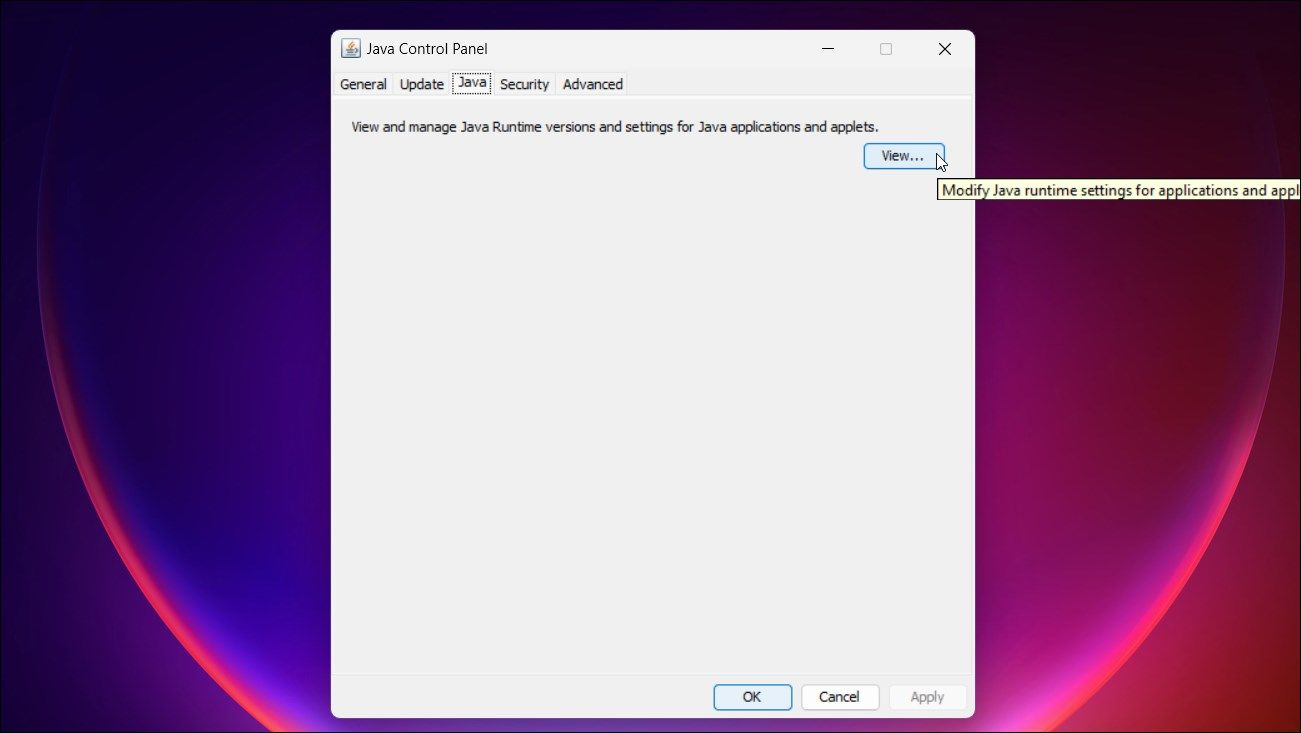
Verifying your Java installation can help you determine issues with the release itself.
To check the Java version installed on Windows:
2.

Run Java as an Administrator
Insufficient permission can prevent some Java apps from running on your setup.
To fix the problem, run Java with administrative privilege.
To run Java as an administrator on Windows, right-click onJava.exeand selectRun as administrator.
Alternatively, you’re able to set the Java.exe to always run as administrator.
This way, you dont need to run Java with administrative privileges each time you want to launch it.
Check outhow to always run a program as an administratorfor more information.
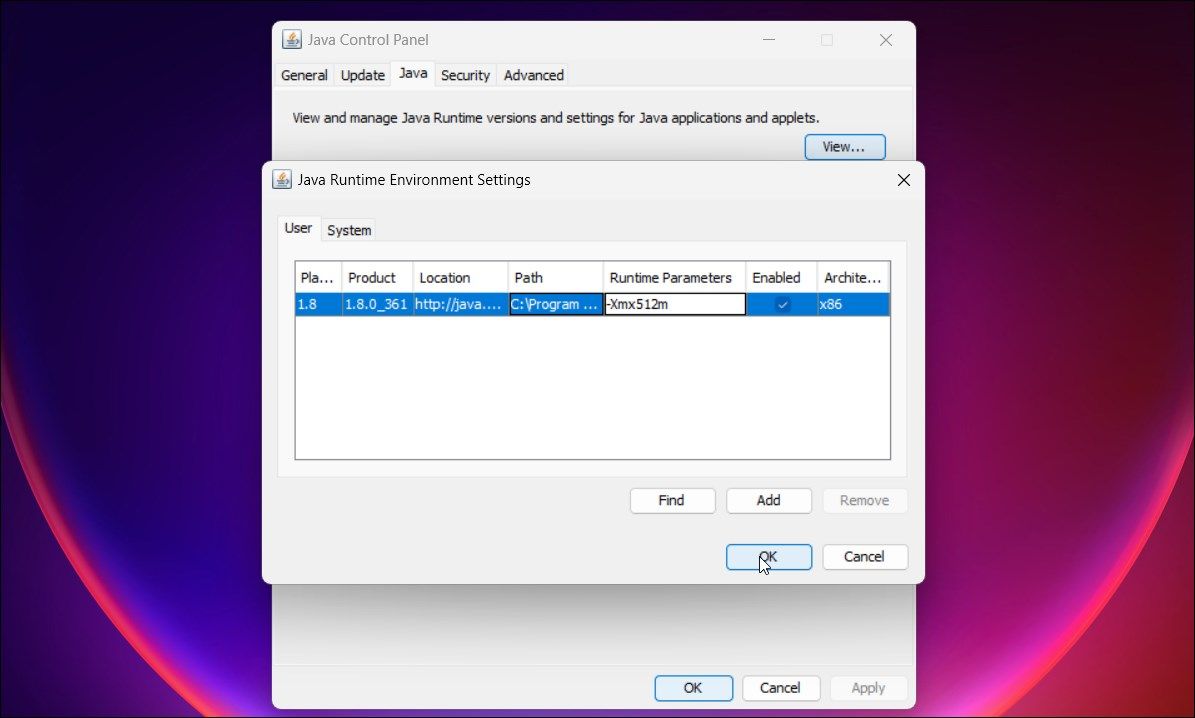
Insufficient memory allocation can throttle the performance or cause the app to crash.
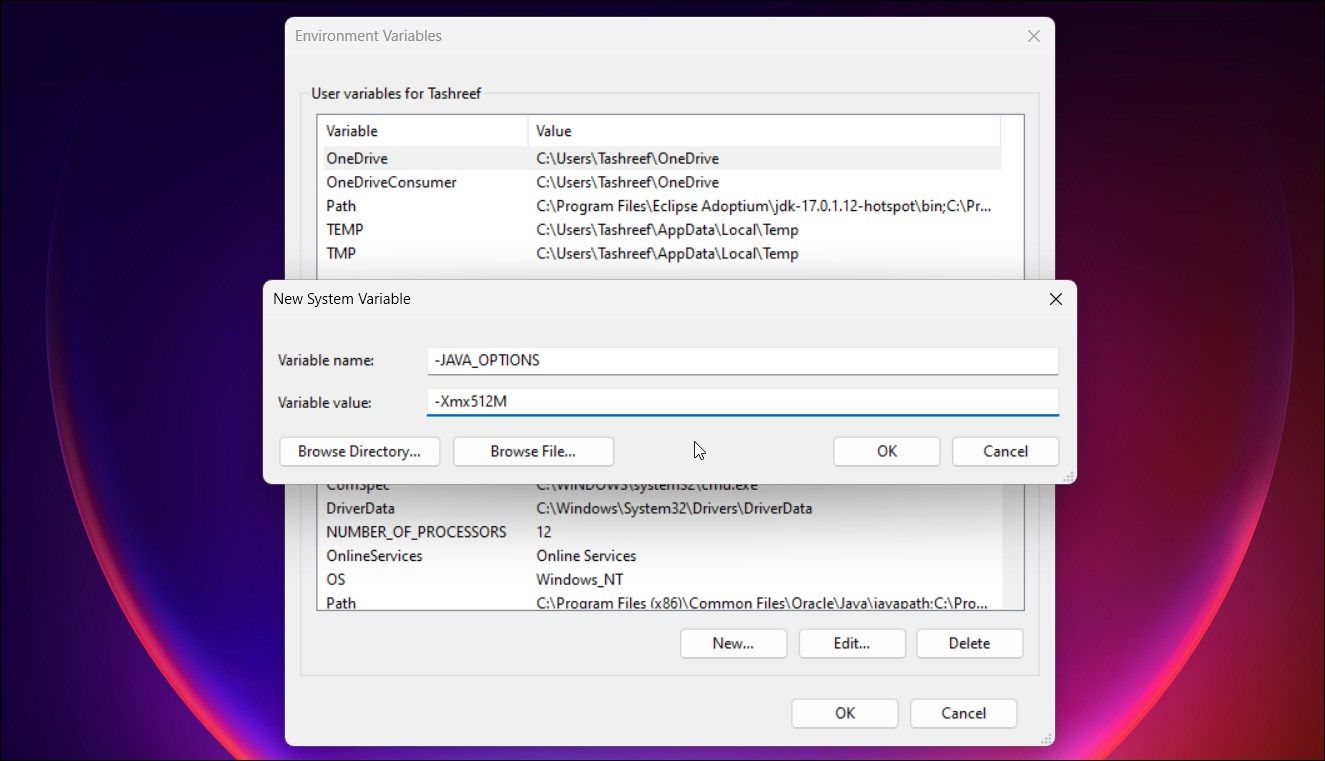
To remedy this issue, you’ve got the option to increase the Java heap size.
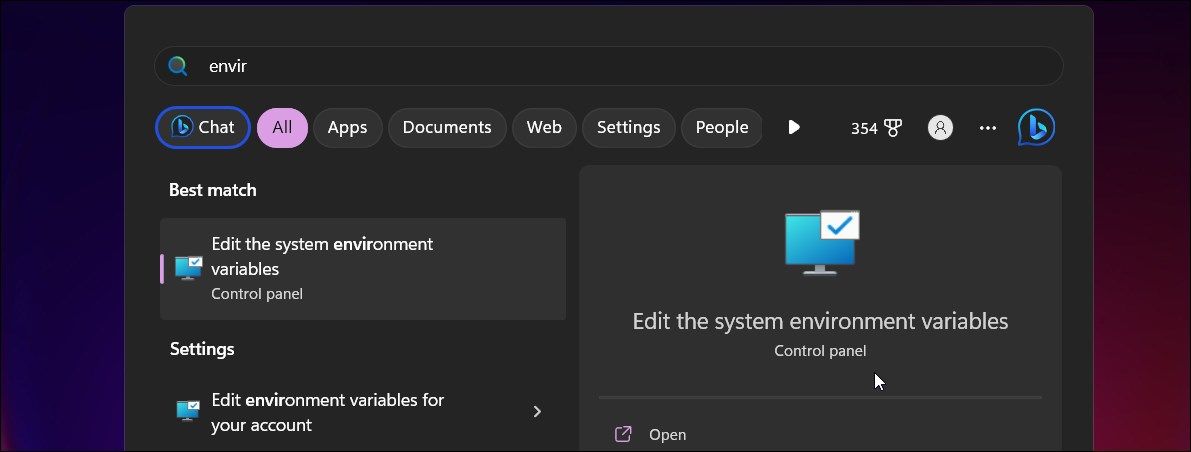
If not, openEnvironmental Variablesagain.
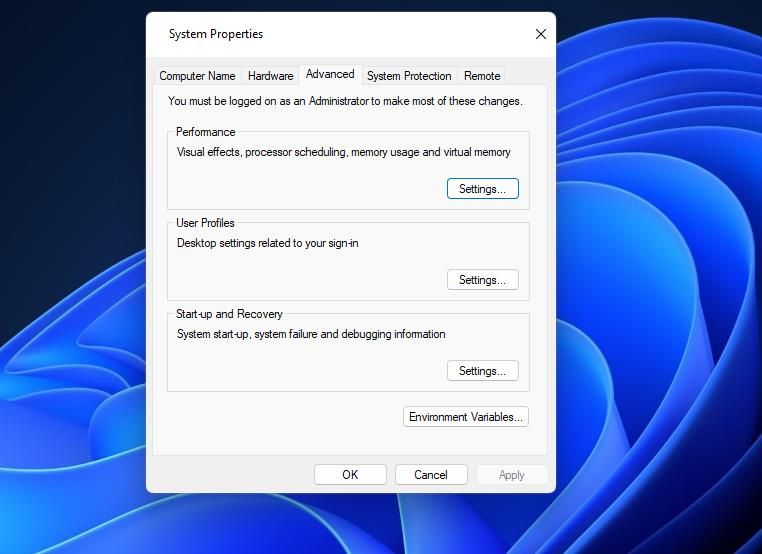
choose the -JAVA_OPTIONSvariable and clickEdit.
In theValue datafield, punch in-Xmx1024Mto increase the memory size to 1024 MB (1GB).
ClickOKand check for any improvements.
Heres how to do it.
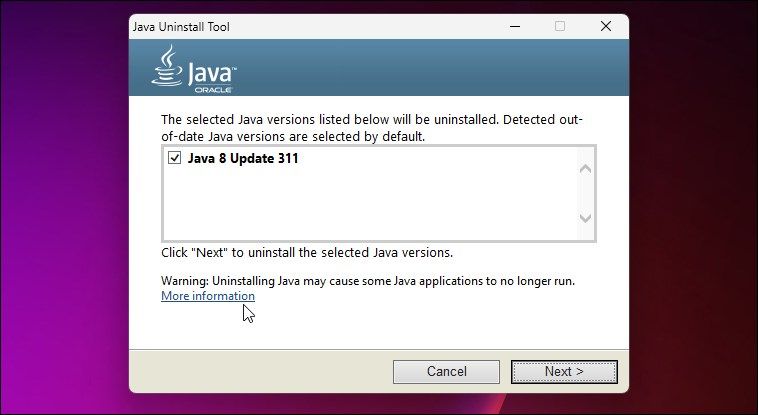
Uninstall and Reinstall Java
If the issue persists, a reinstall may be necessary.
you’re able to uninstall and reinstall Java to fix any issues with the release.
These issues may remain even if you install a newer version.
To fix the issue, uninstall Java using the Java uninstaller and then reinstall the latest version available.
To clean install Java:
6.
Its a troubleshooting method to determine and find third-party app conflicts causing system errors.
Installing pending Windows updates can also help fix compatibility issues with the release.