Hours can pass while you fade each audio region during your Logic Pro sessions.
Here, we’ll show you just how.
Now, onto the fading.

Image Credit: Yomex Owo/Unsplash
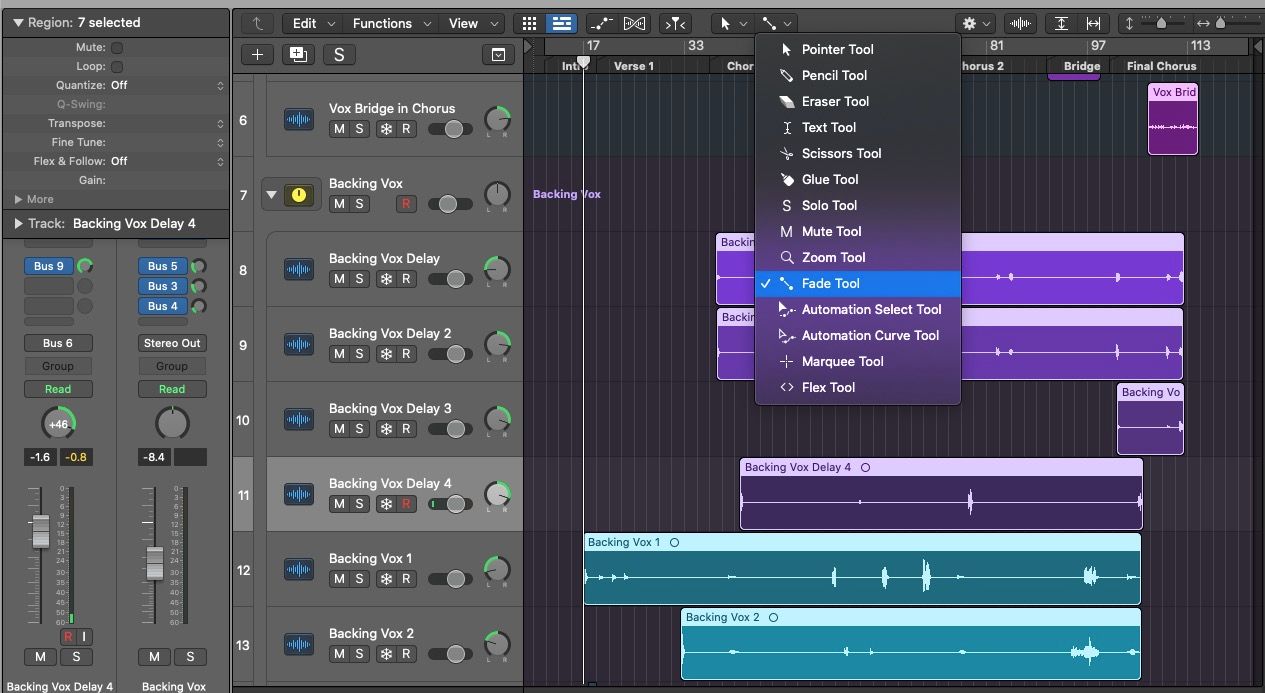
TheFade Toolsits within yourLeft-click Tool menuand yourCmd-click Tool menu.
If you do so over the beginning of an audio region, you get aFade In.
And if you do it at the end, you get aFade Out.
Click and move the top edge of the triangular fade within the audio region to shorten or lengthen it.
Use the regular fade for even transitions.
Change the angle to curved outwards for a heavy fade effect; curve it inwards for the opposite.
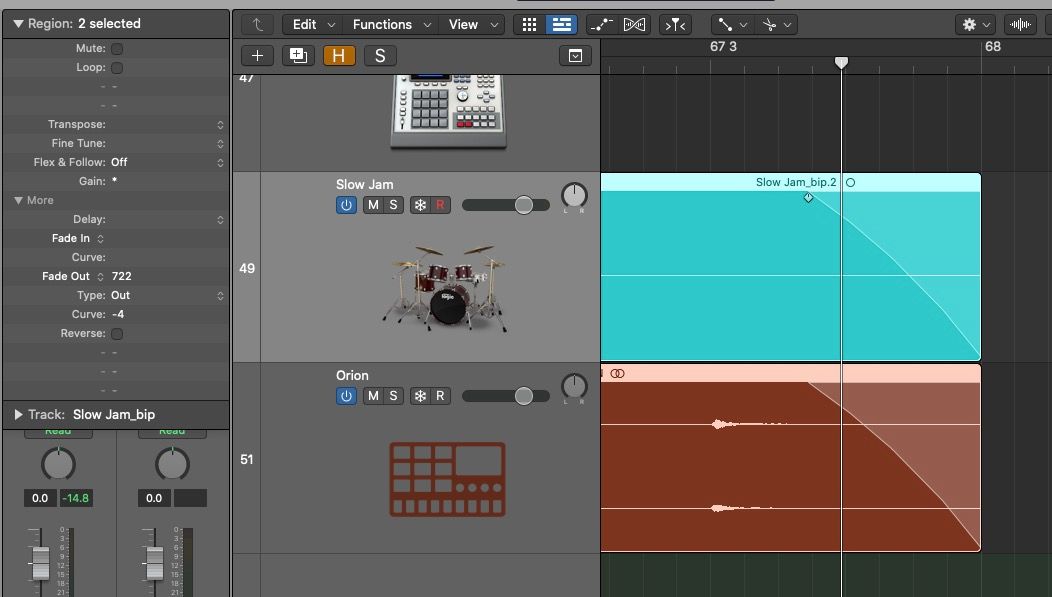
you could create a crossfade by putting a fade across two regions next to each other.
These are best to blend one region into another.
To open it, press the downwards pointing arrow of theRegion Inspectorin the top-left of your screen.
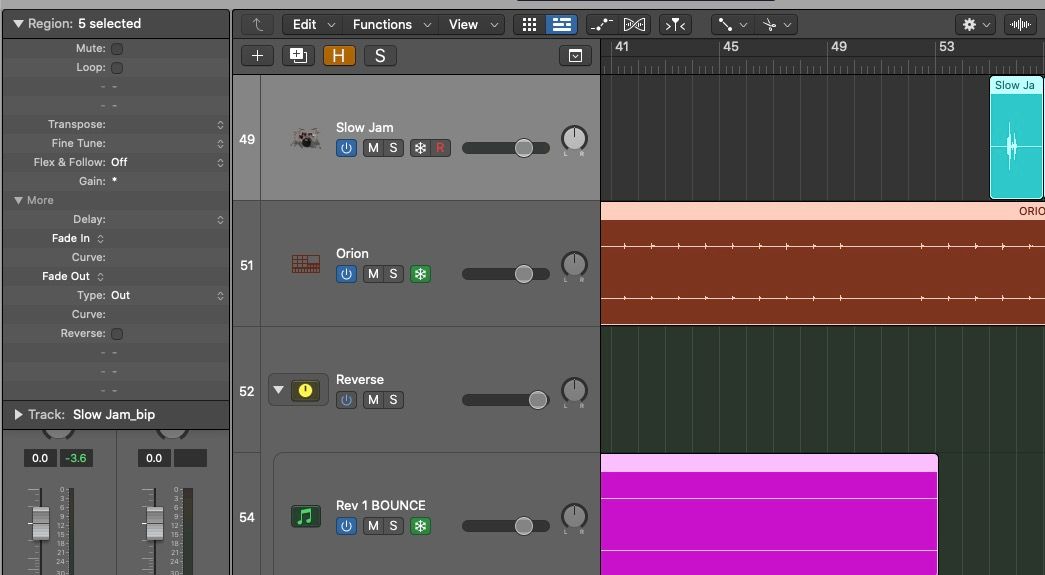
Then, select theMoreoption at the bottom of the dropdown menu.
This reveals theFade In,Fade Out, andCurveoptions for fading.
Double-click next to each of these features to input a value.
Experiment to find your favorite values for short and long fades.
Negative values in theCurvebox create inward curves; positive values create outward curves.
Use theTypedropdown menu to change the form of your crossfades if you want.
