Let’s get started.
What Is a Color Gradient?
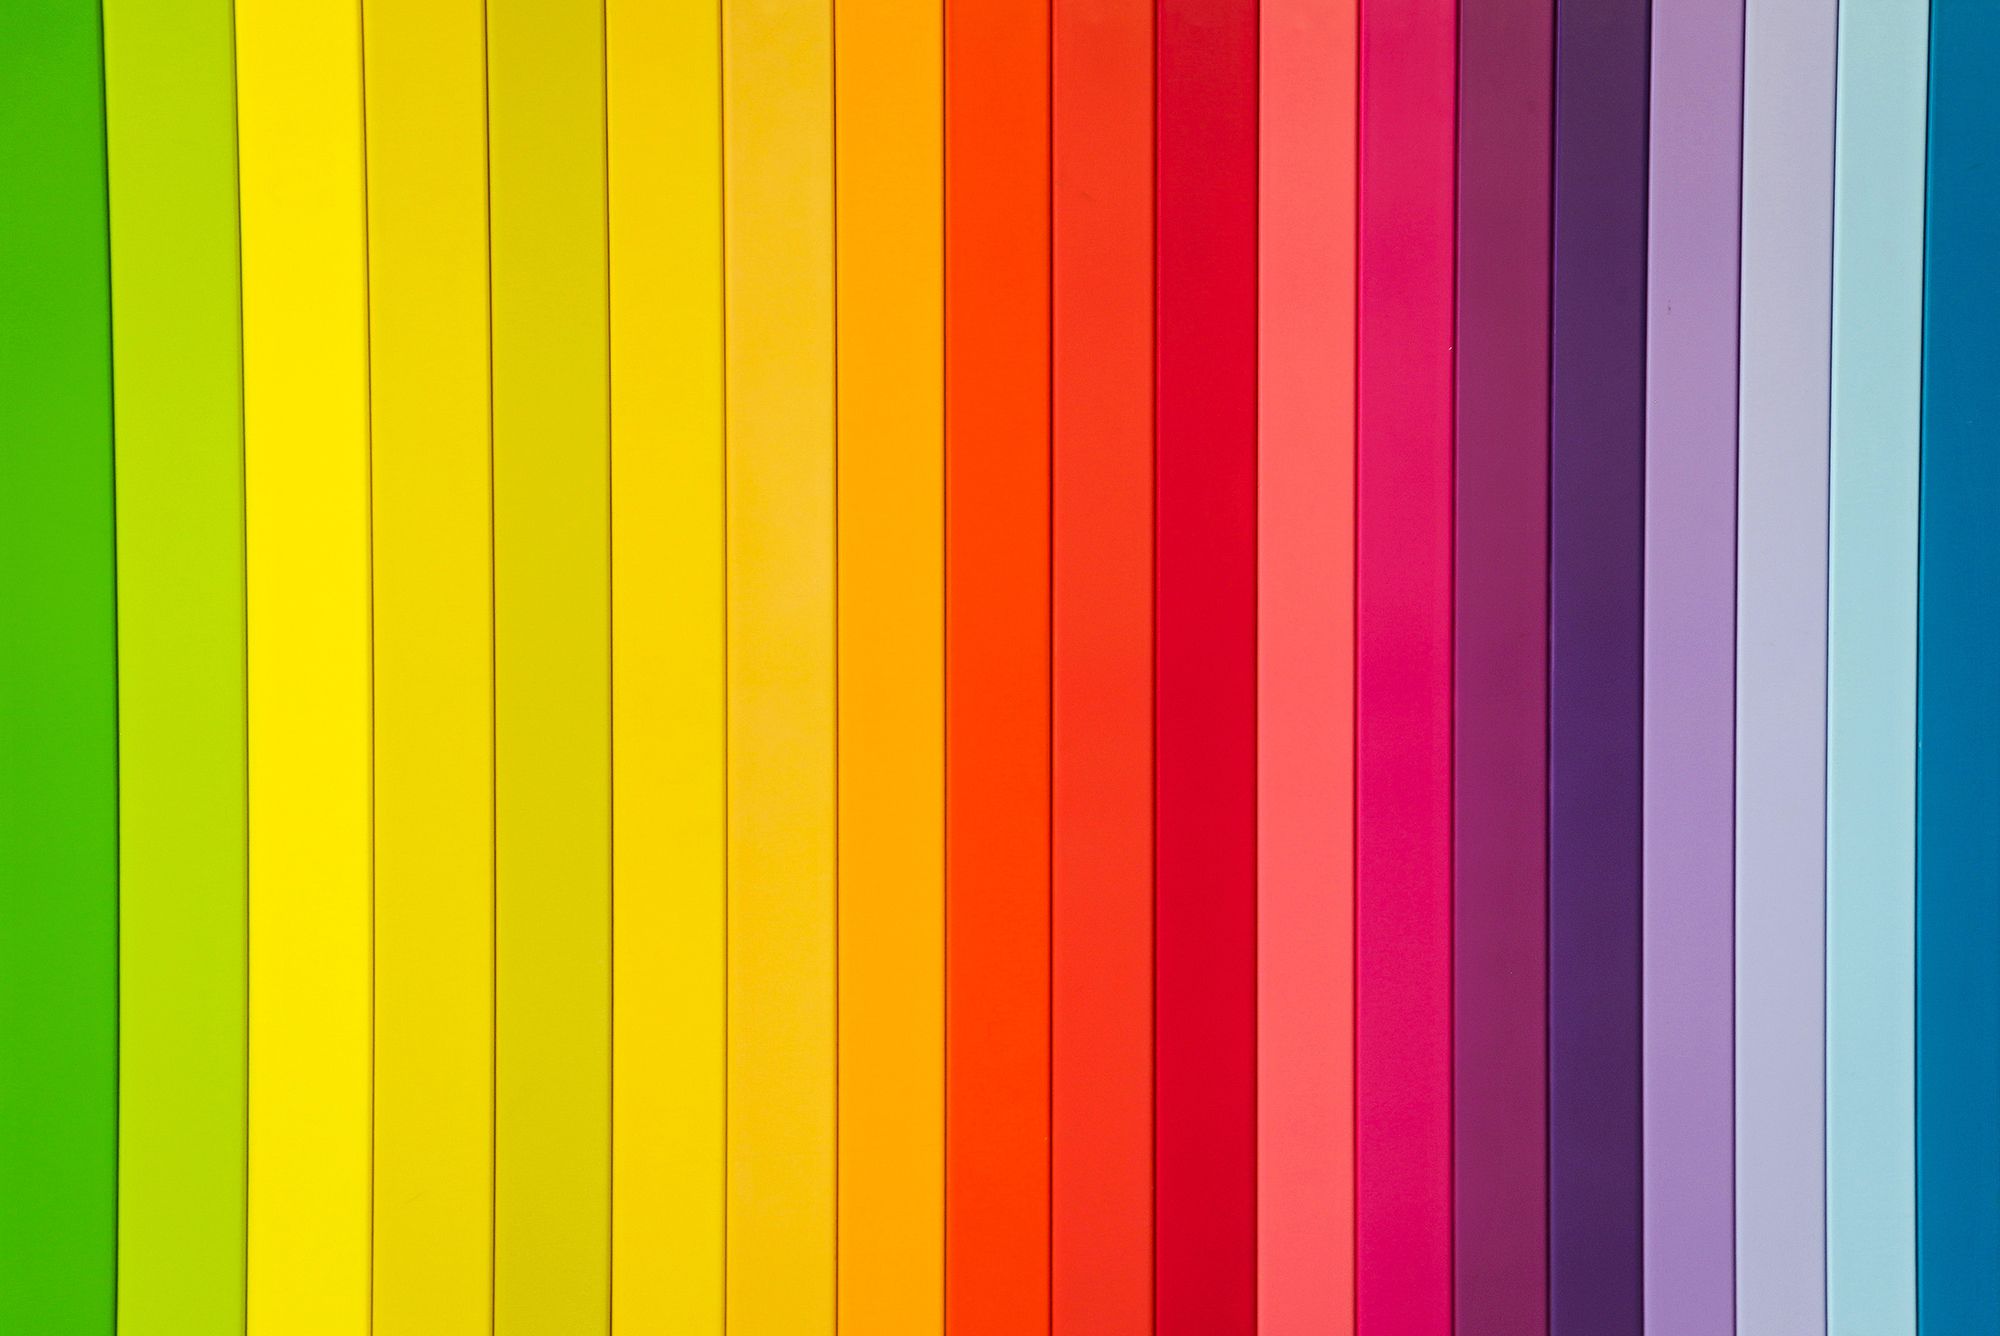
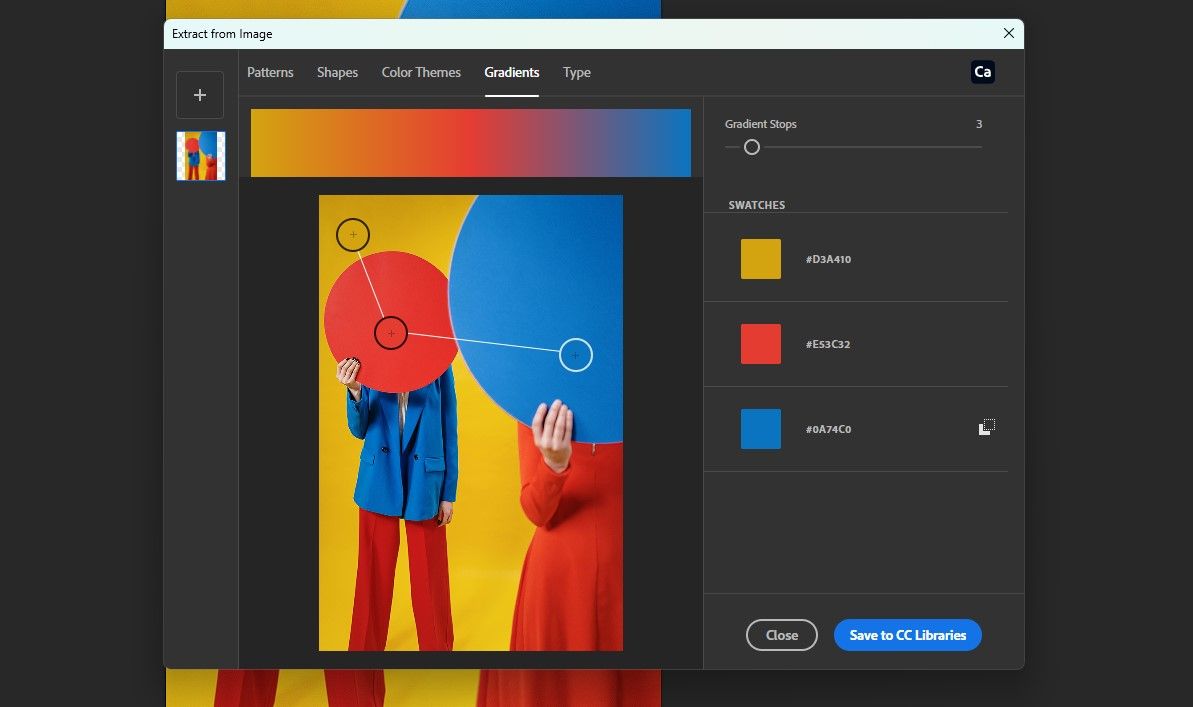
A color gradient consists of one or more colors distributed across an image that varies in brightness values.
It can be subtle and unintentional or creatively and intentionally dramatic.
Either way, all images with one or more colors can be defined as having a color gradient.
We’re going to show you how to apply the color gradient of one image to another.
you’ve got the option to alsocreate custom color gradients in Photoshop.
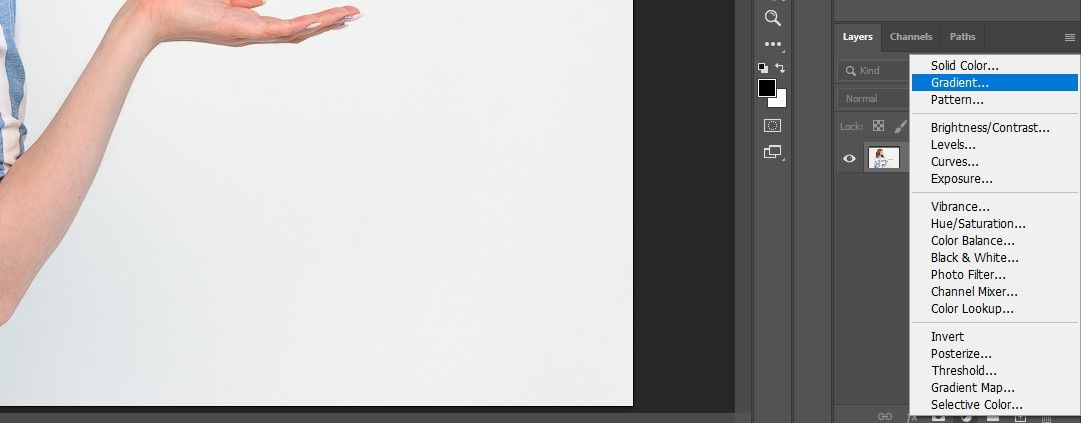
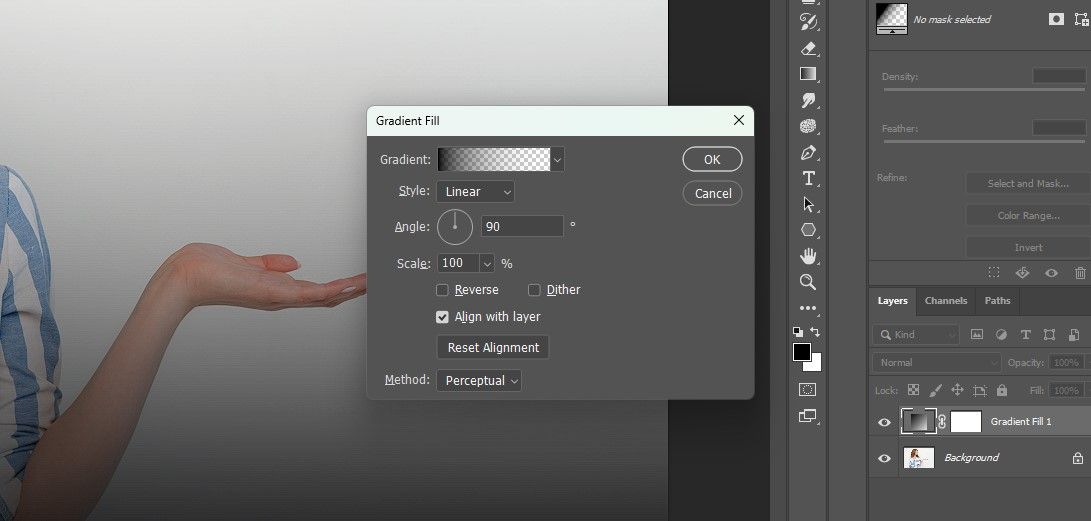
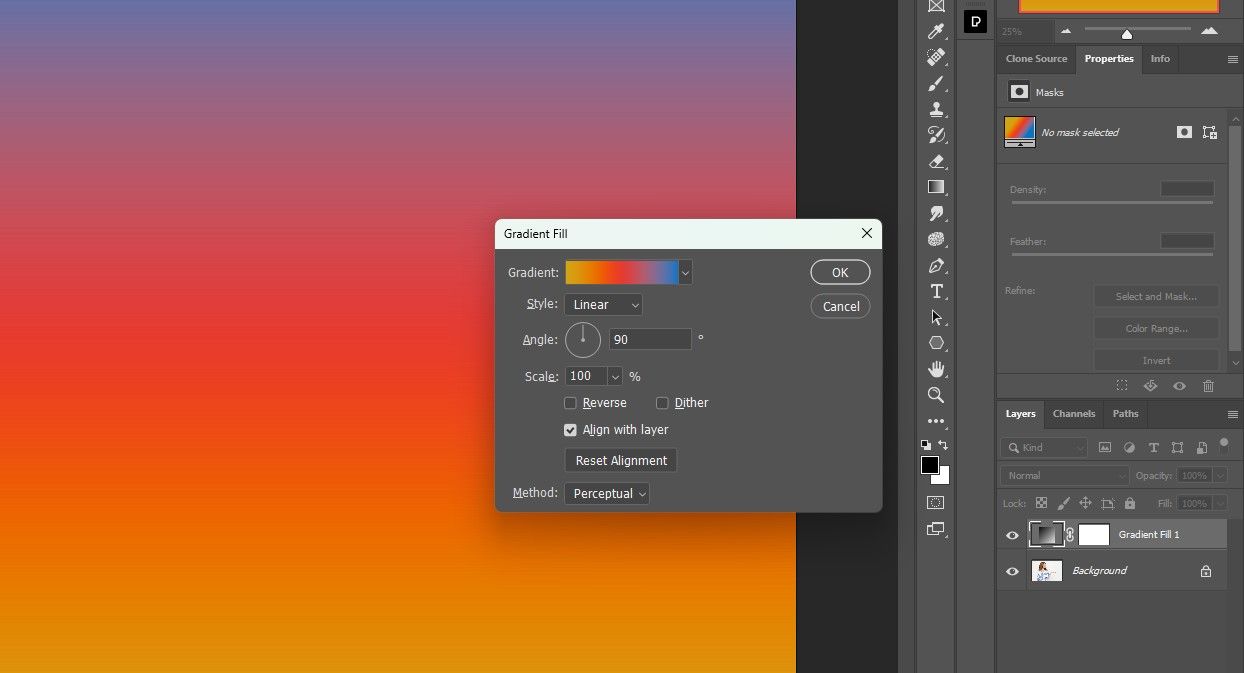
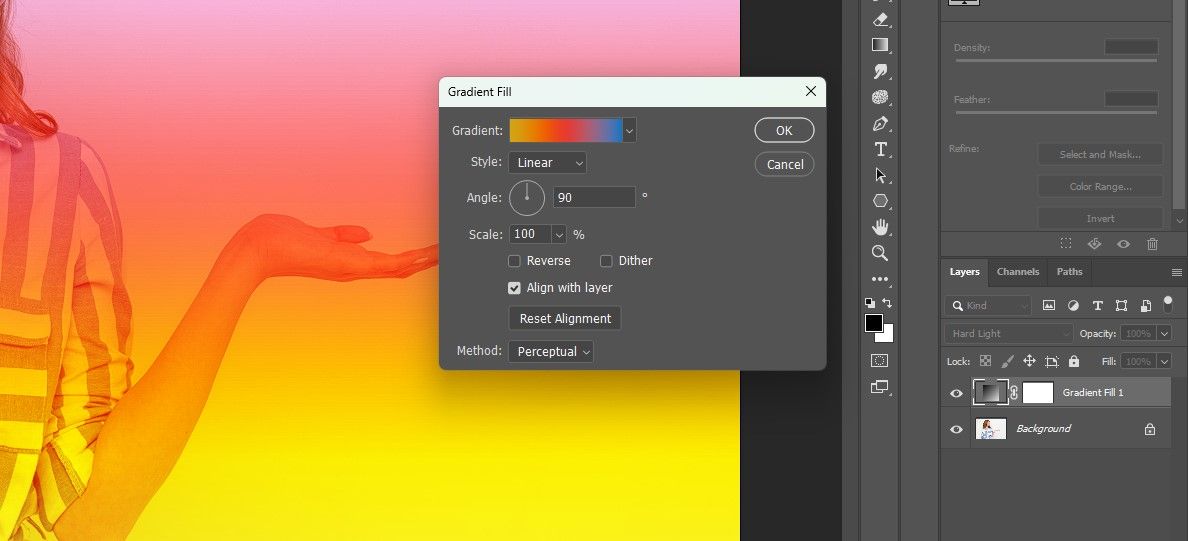
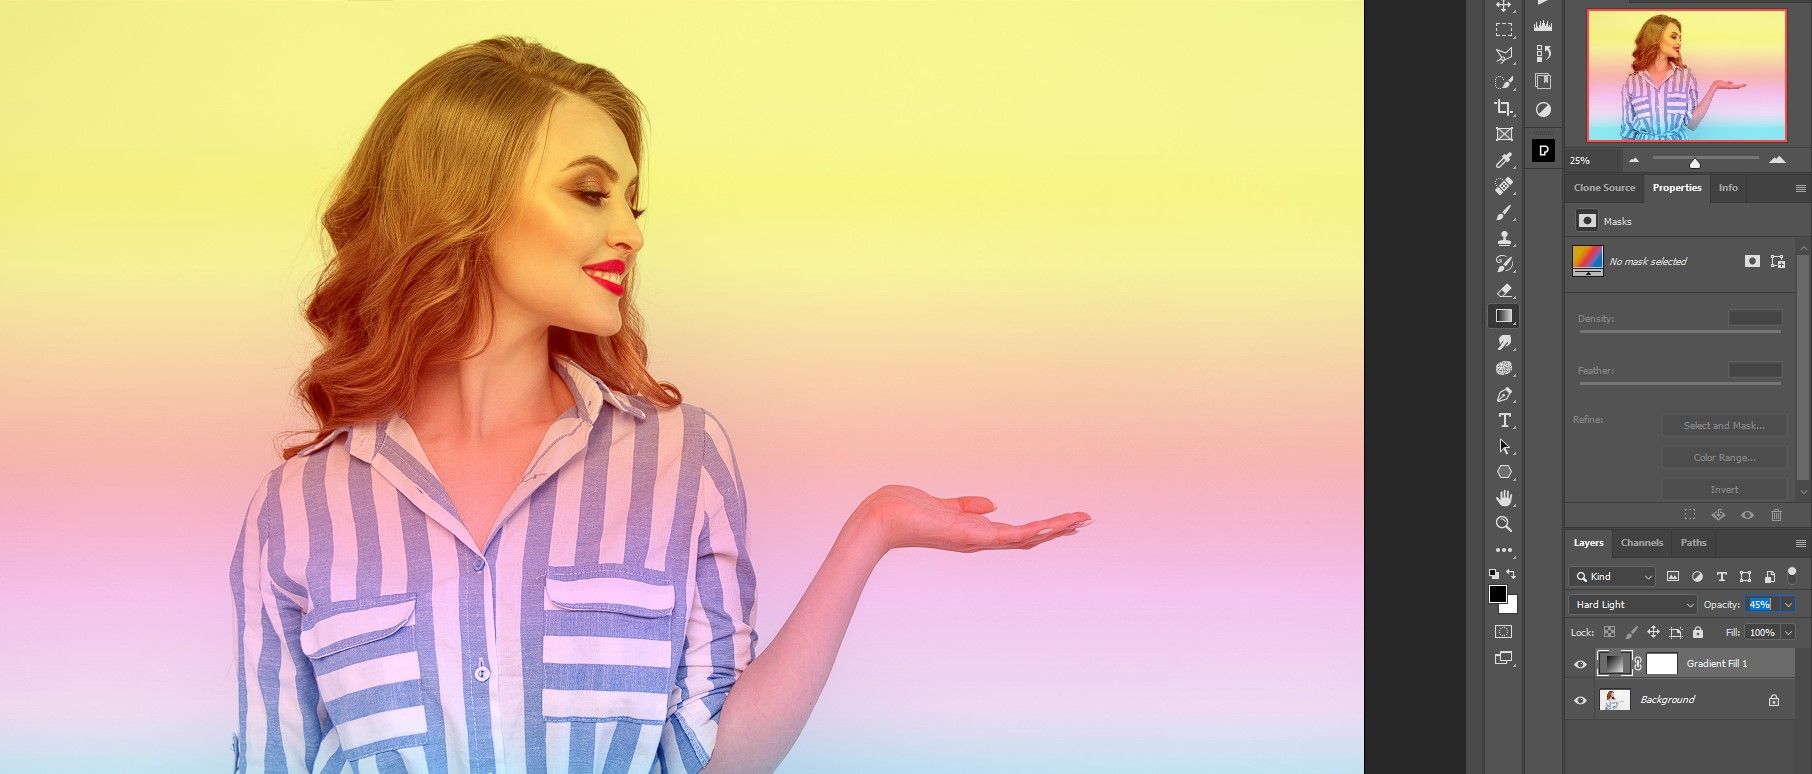
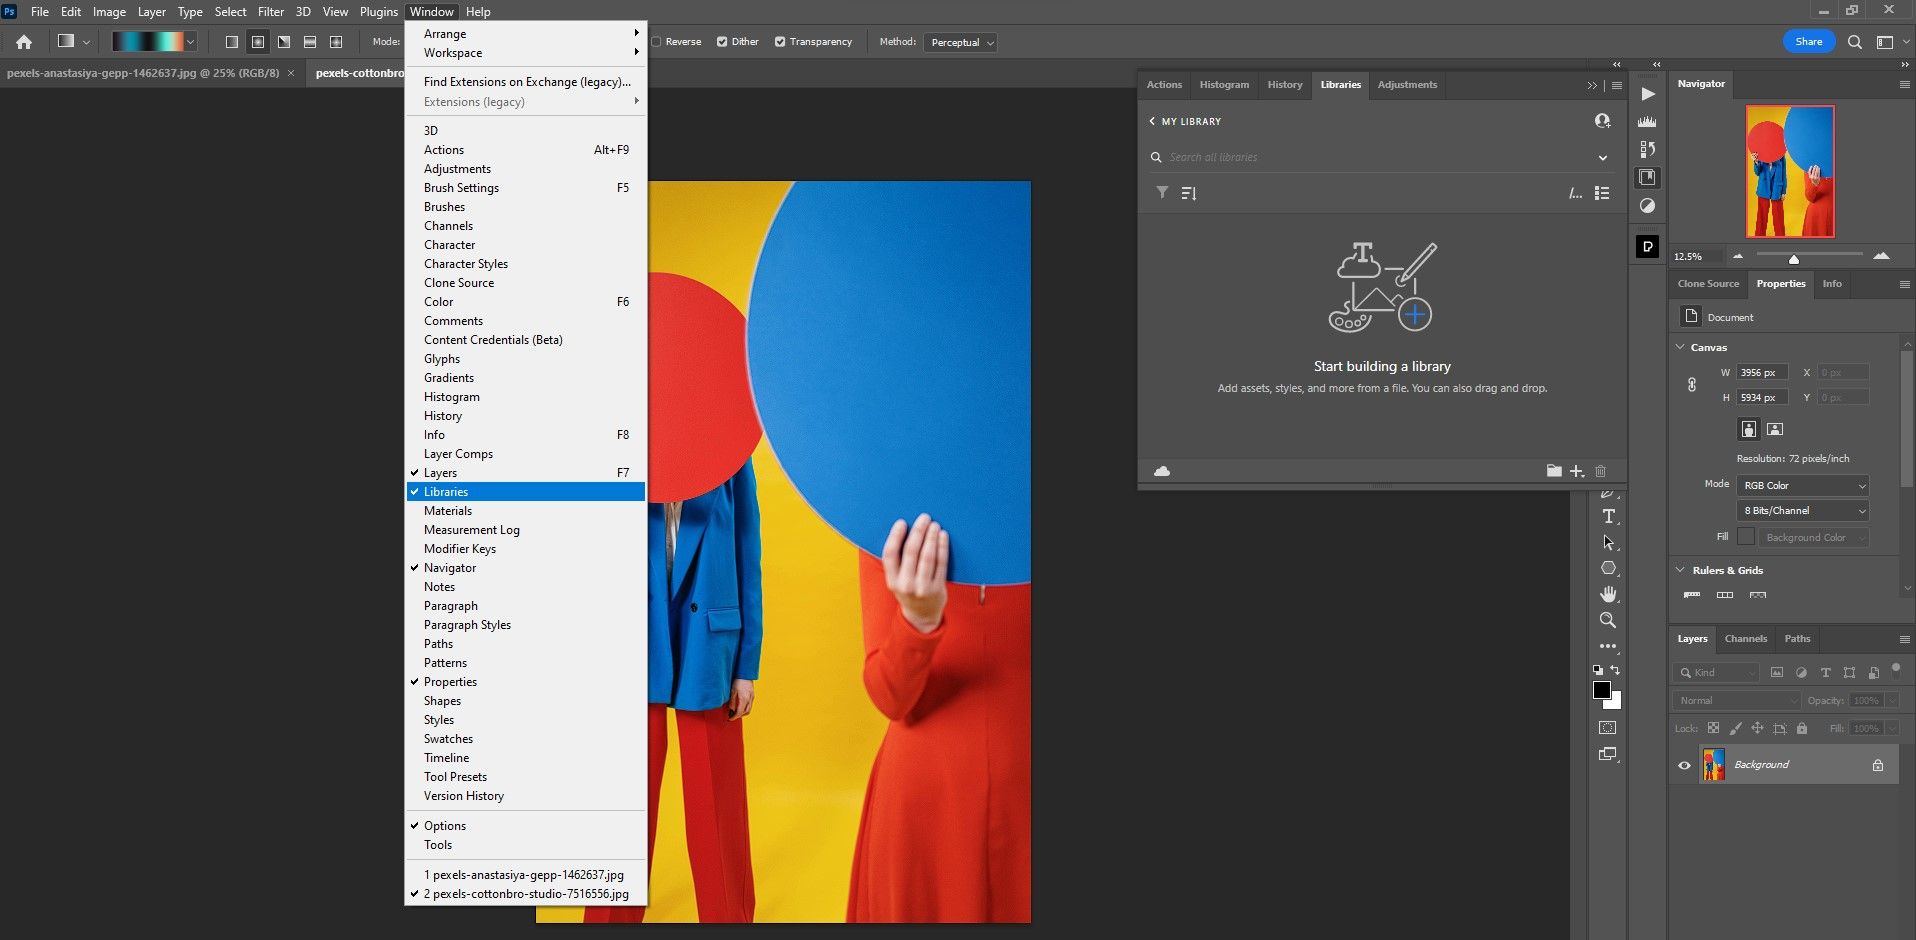
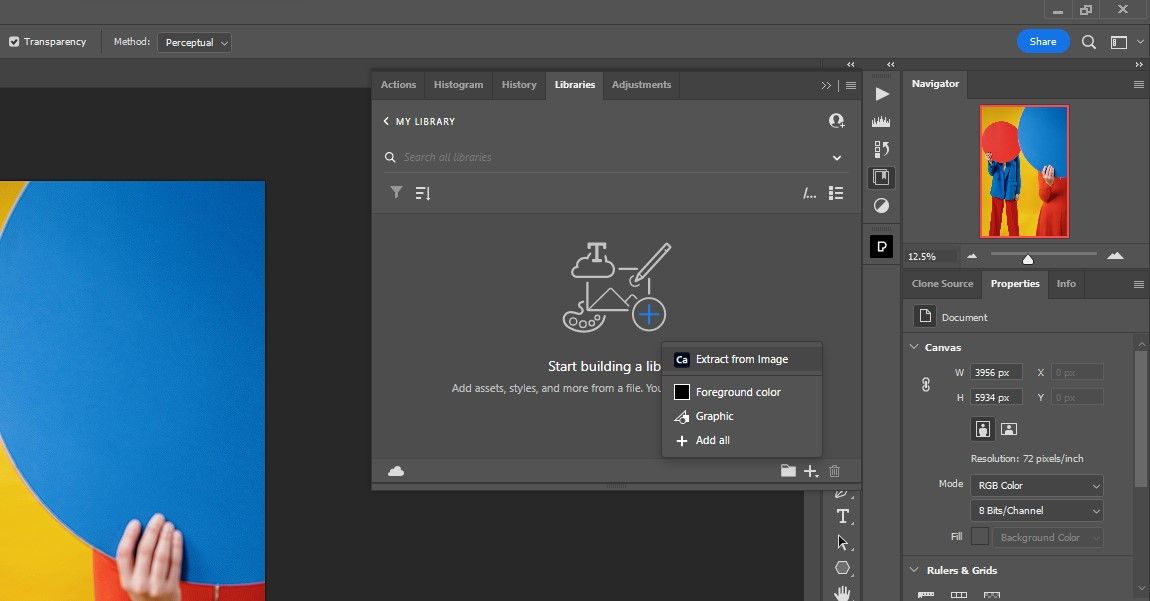
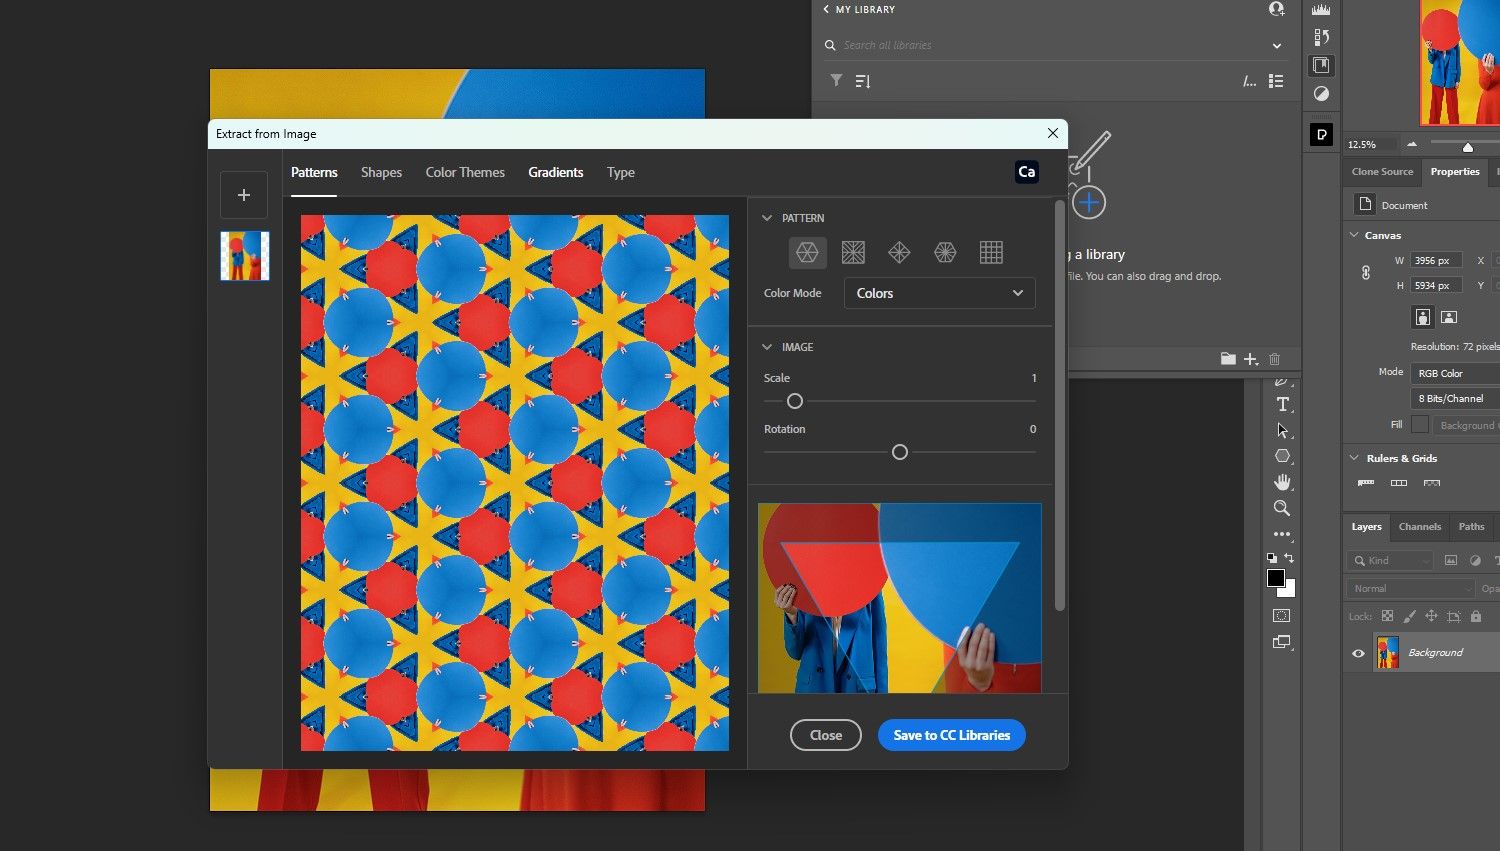
The Gradient as an Adjustment Layer
The regular Gradient is found in the Adjustments menu.
It functions as a wash that can be applied directly over any existing colors.
Think of it as a coat of paint that covers the color information directly underneath.
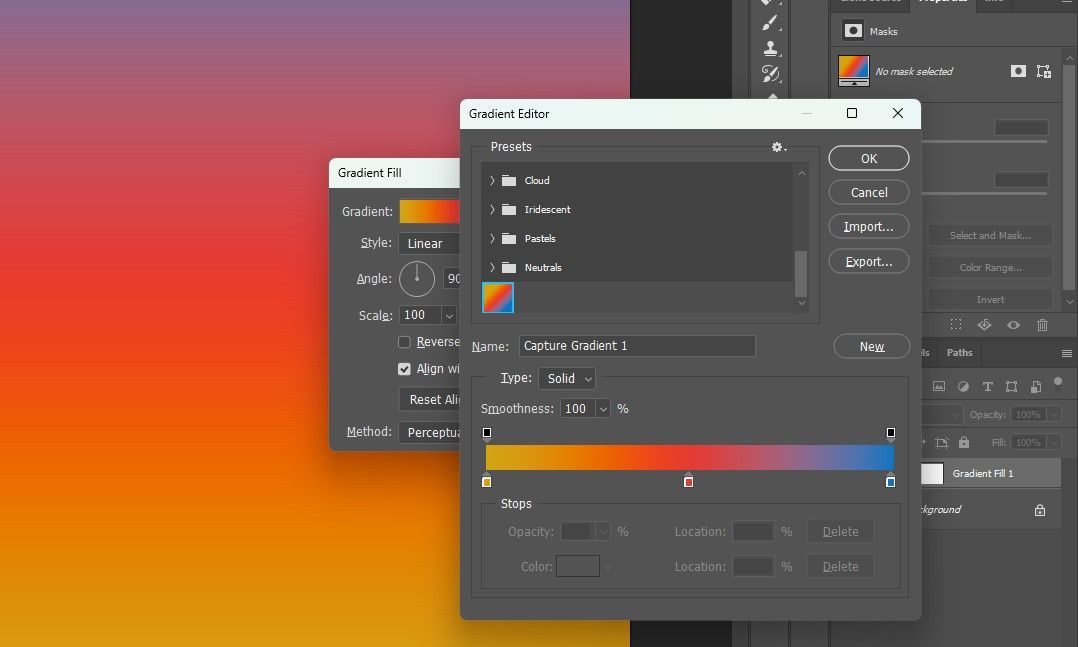
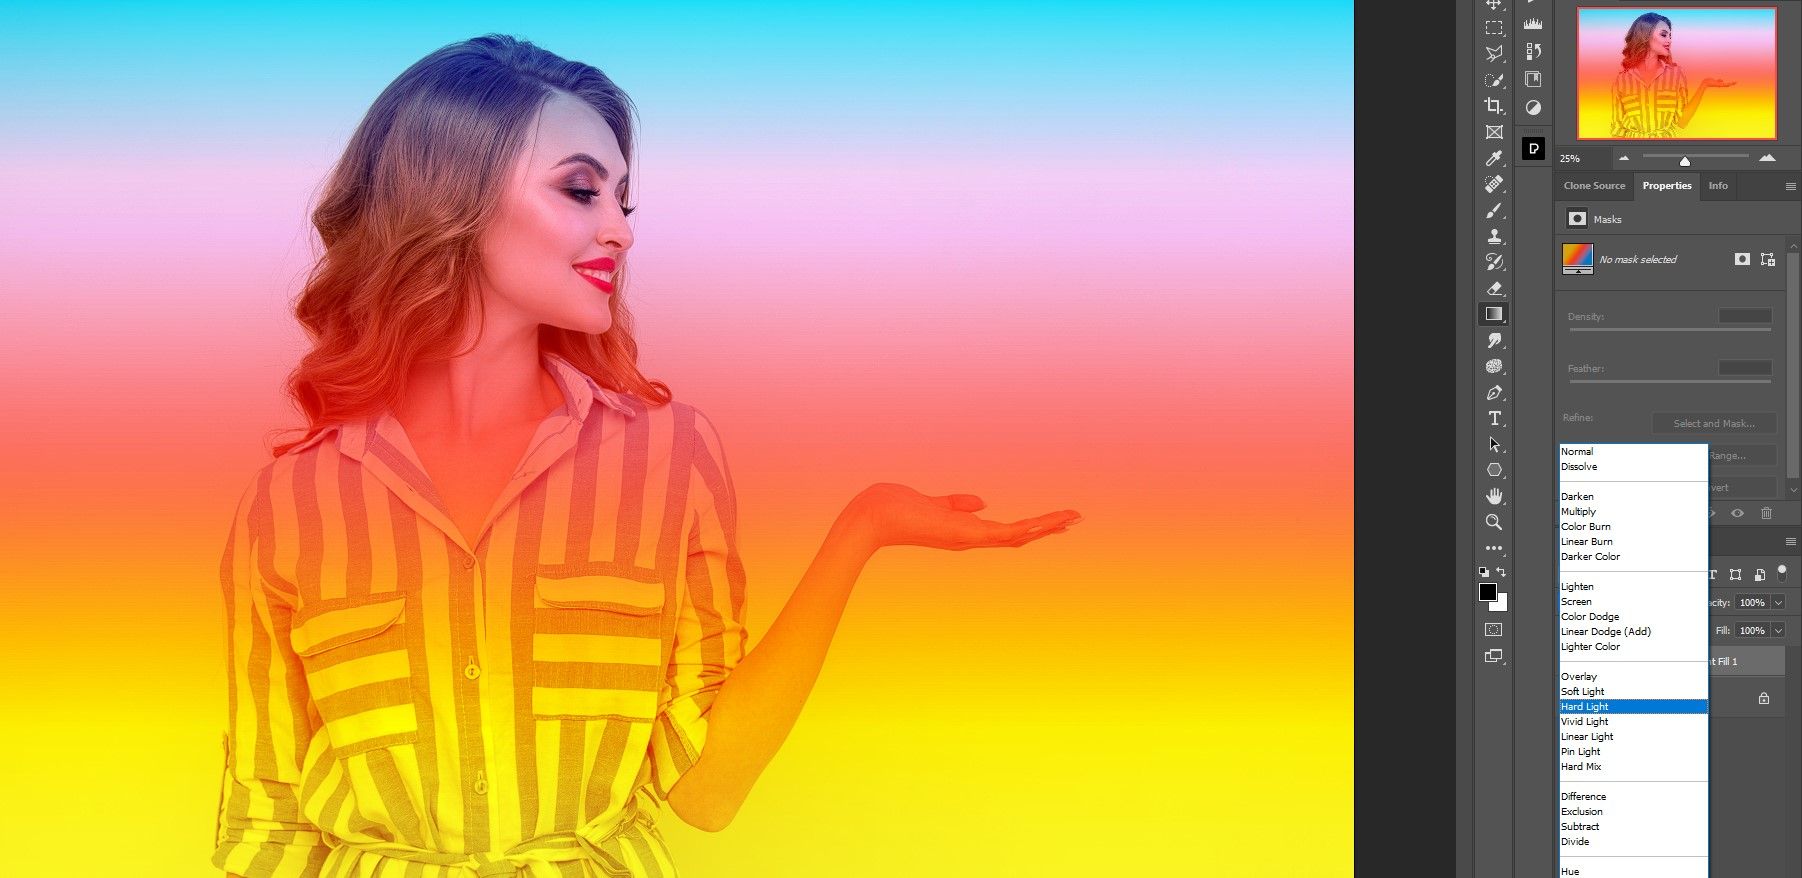
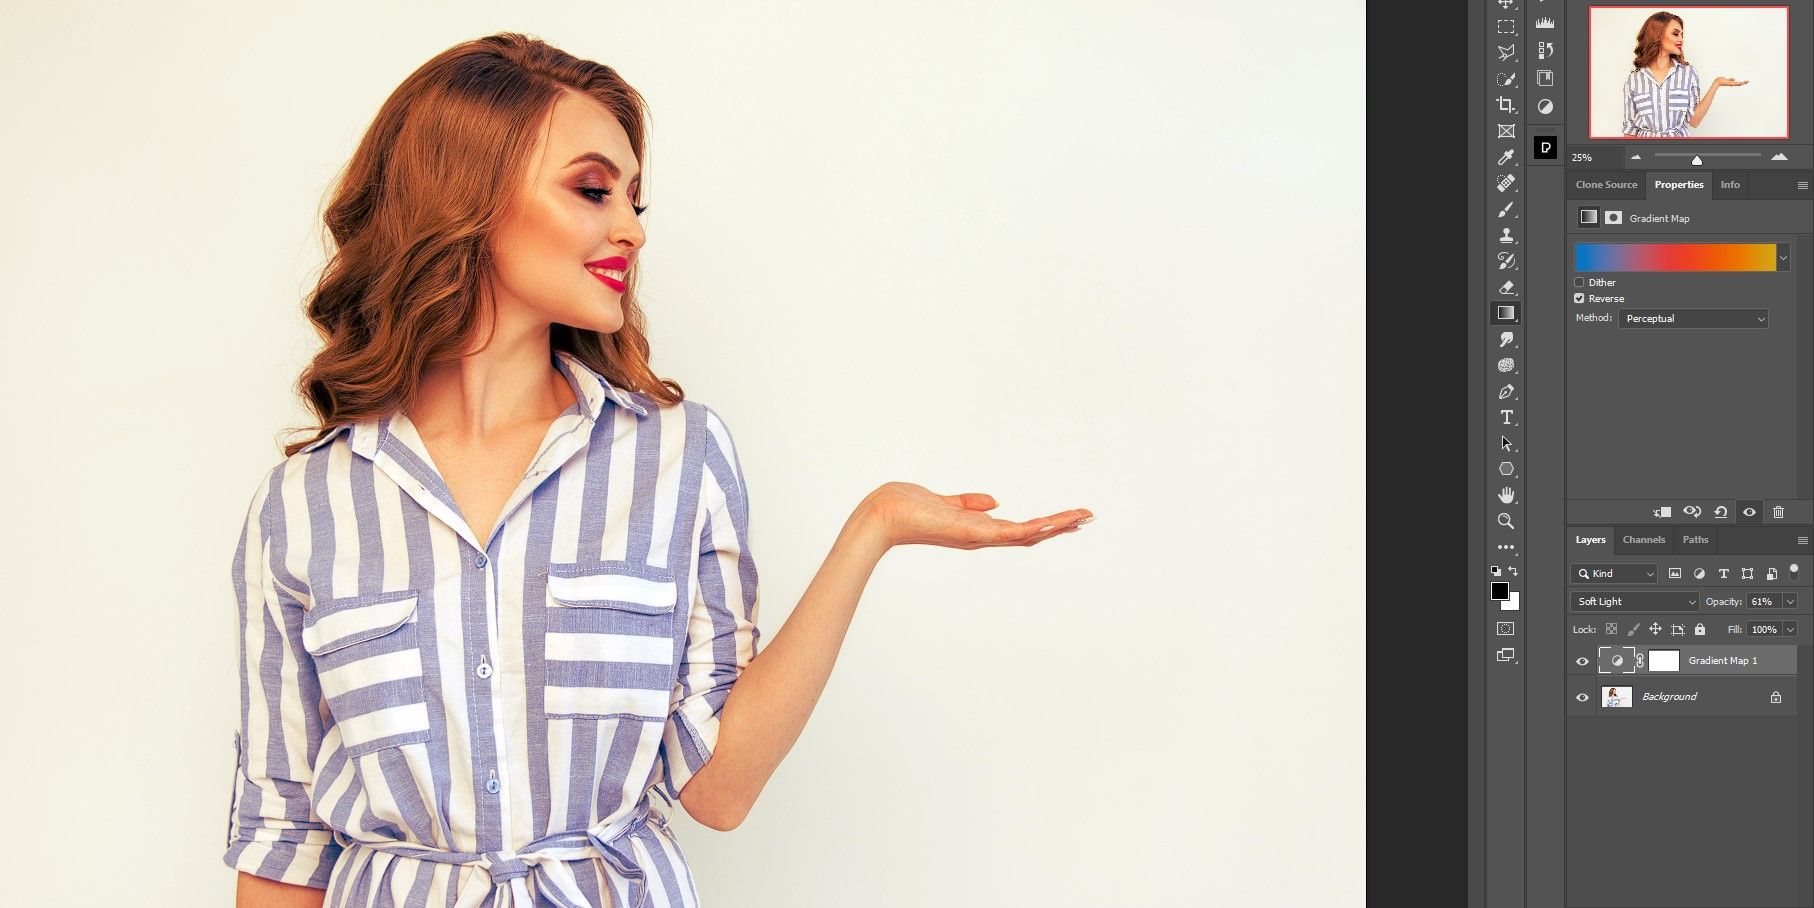
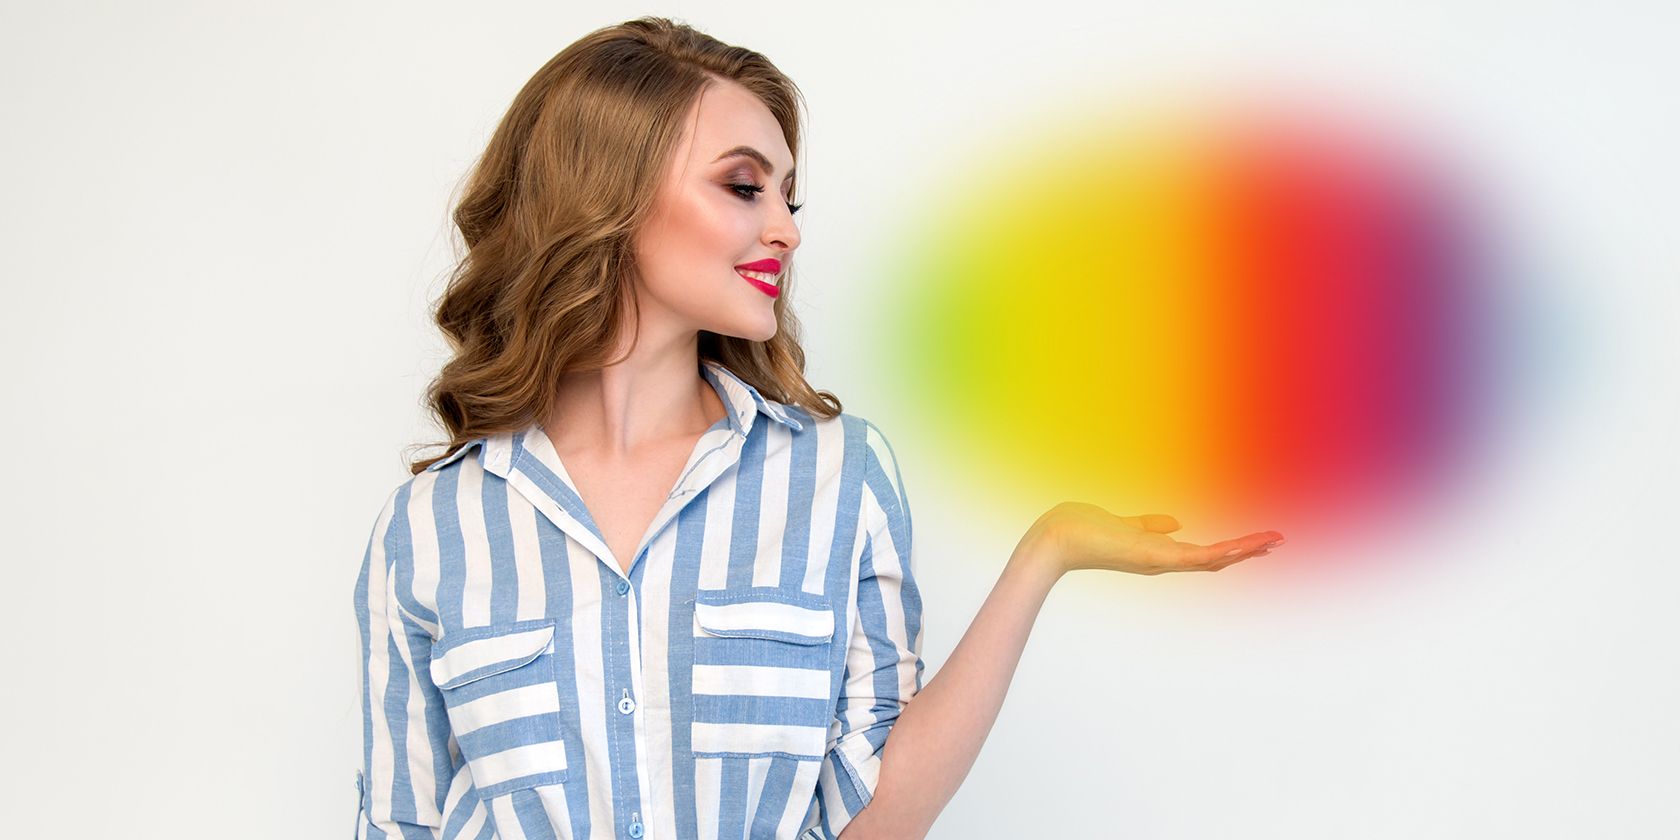
The Gradient Map as an Adjustment Layer
The Gradient Map is also found in the Adjustments menu.
This results in more subtle effects but can also look more natural.
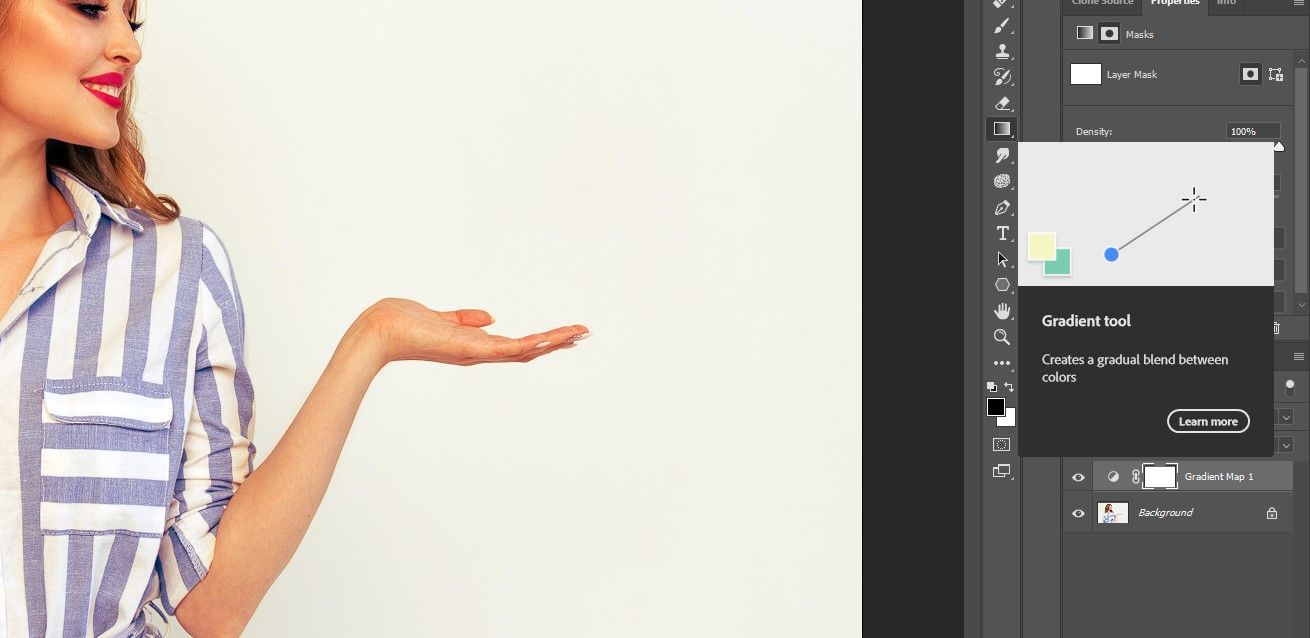
The Gradient Tool
The Gradient Tool is found in the Photoshop toolbar.
This will make more sense once we demonstrate all three tools in action.
We’re done with the sample image.
you could exit the menu boxes and move to the next step.
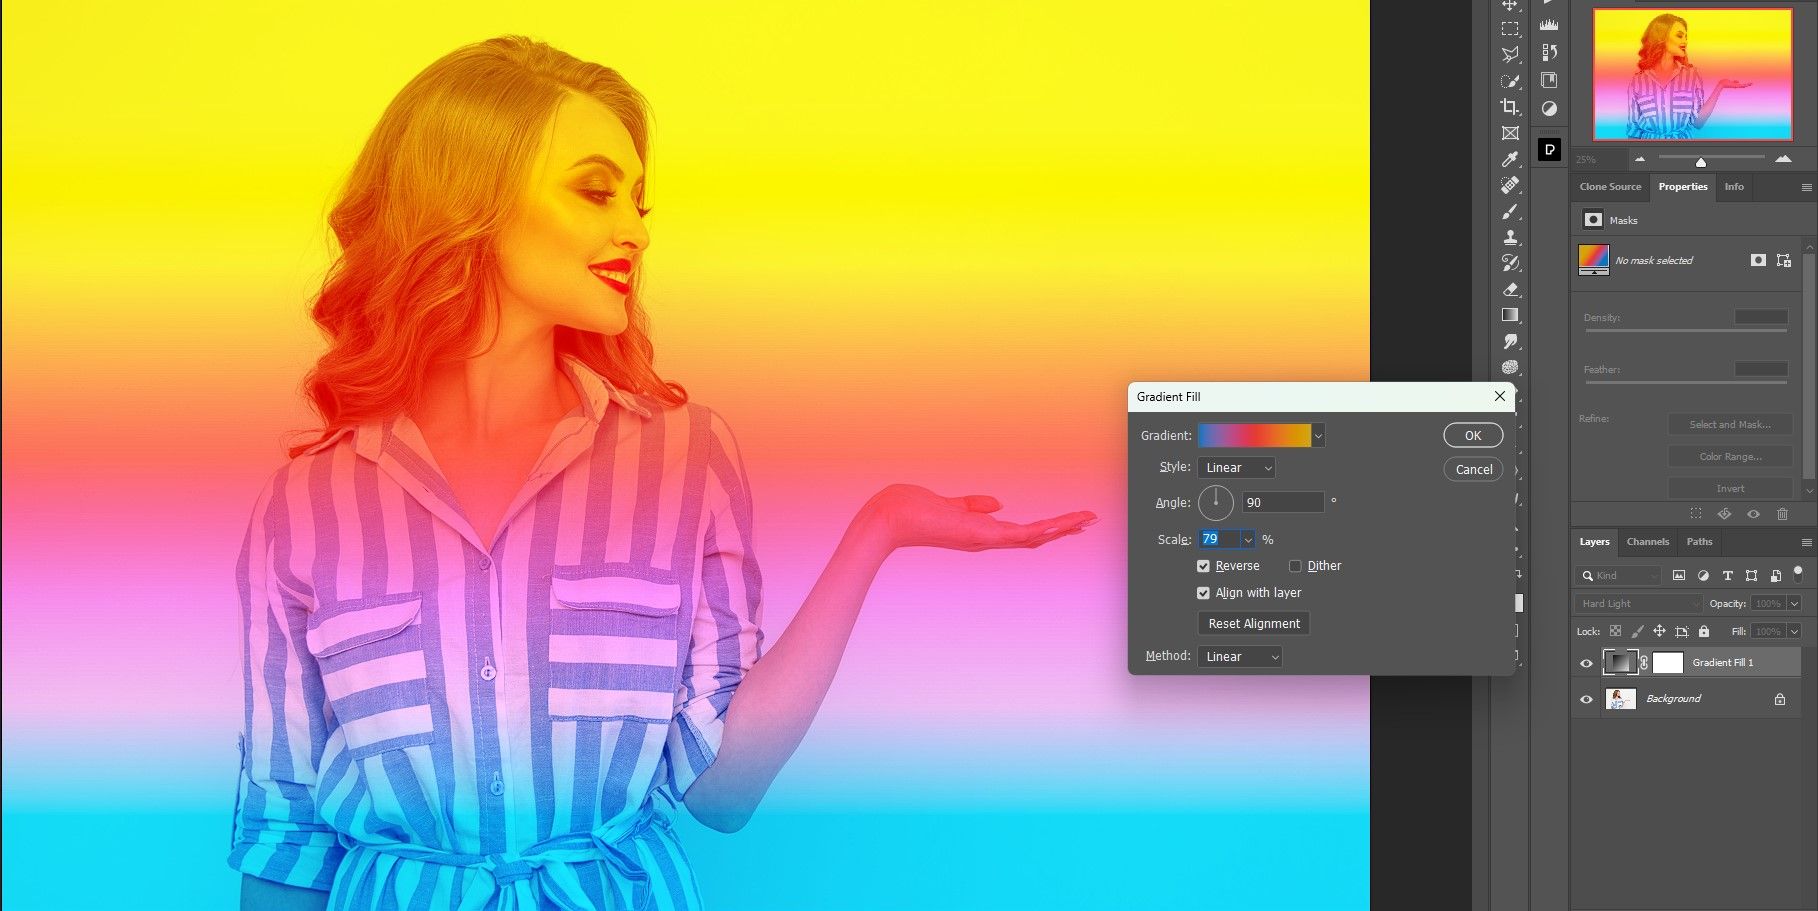
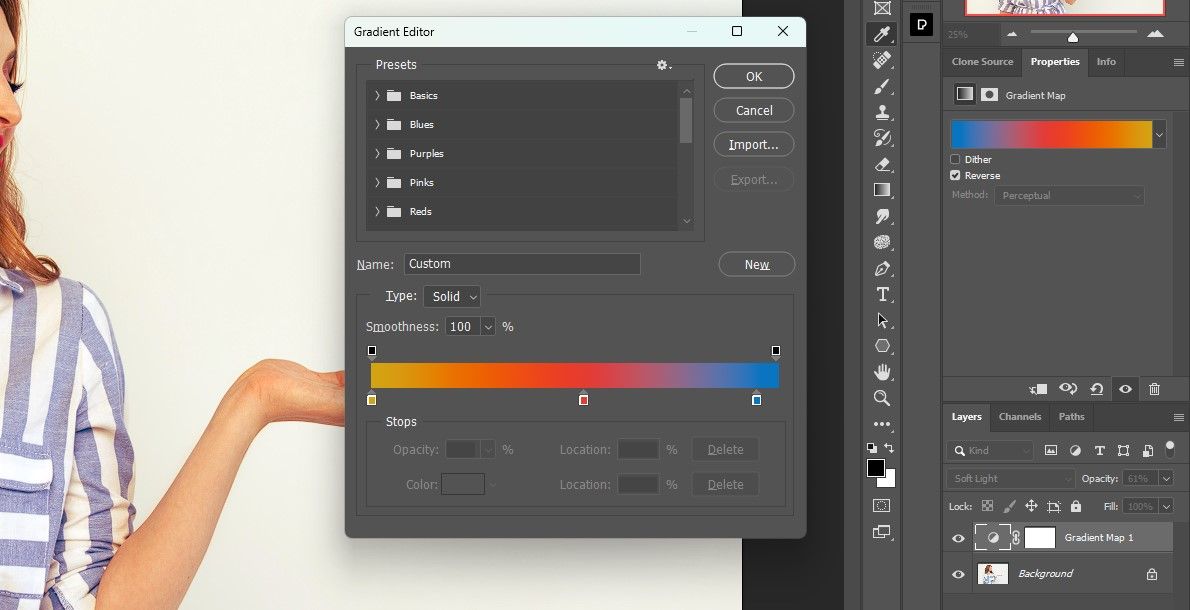
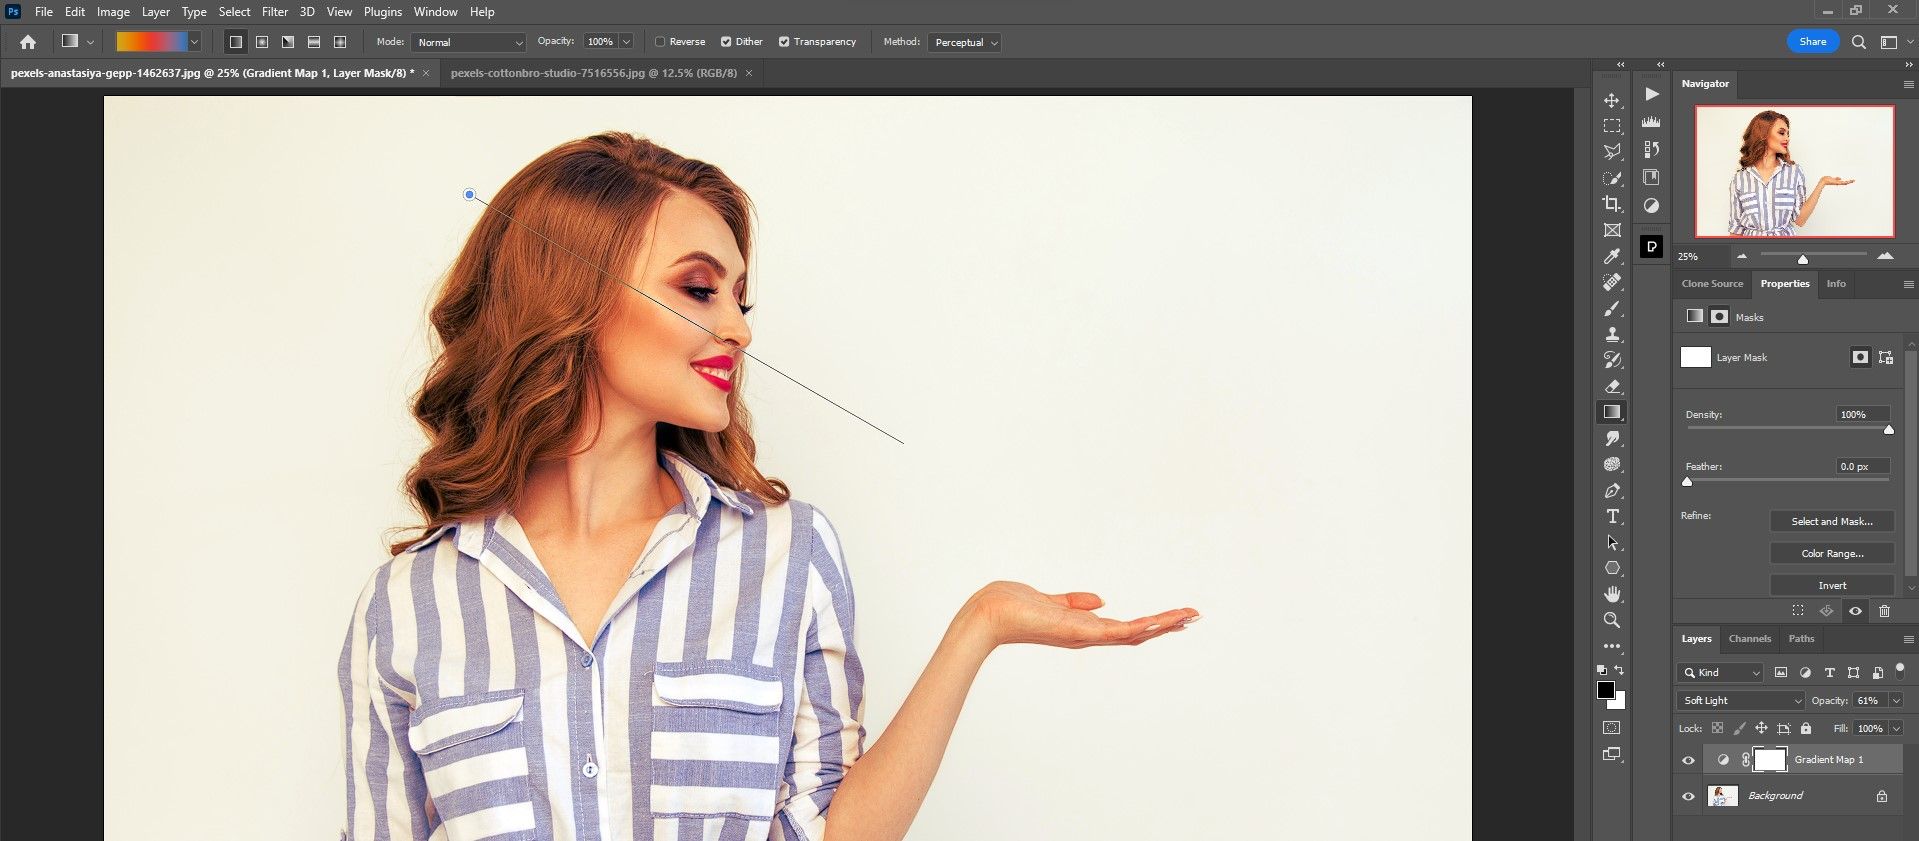
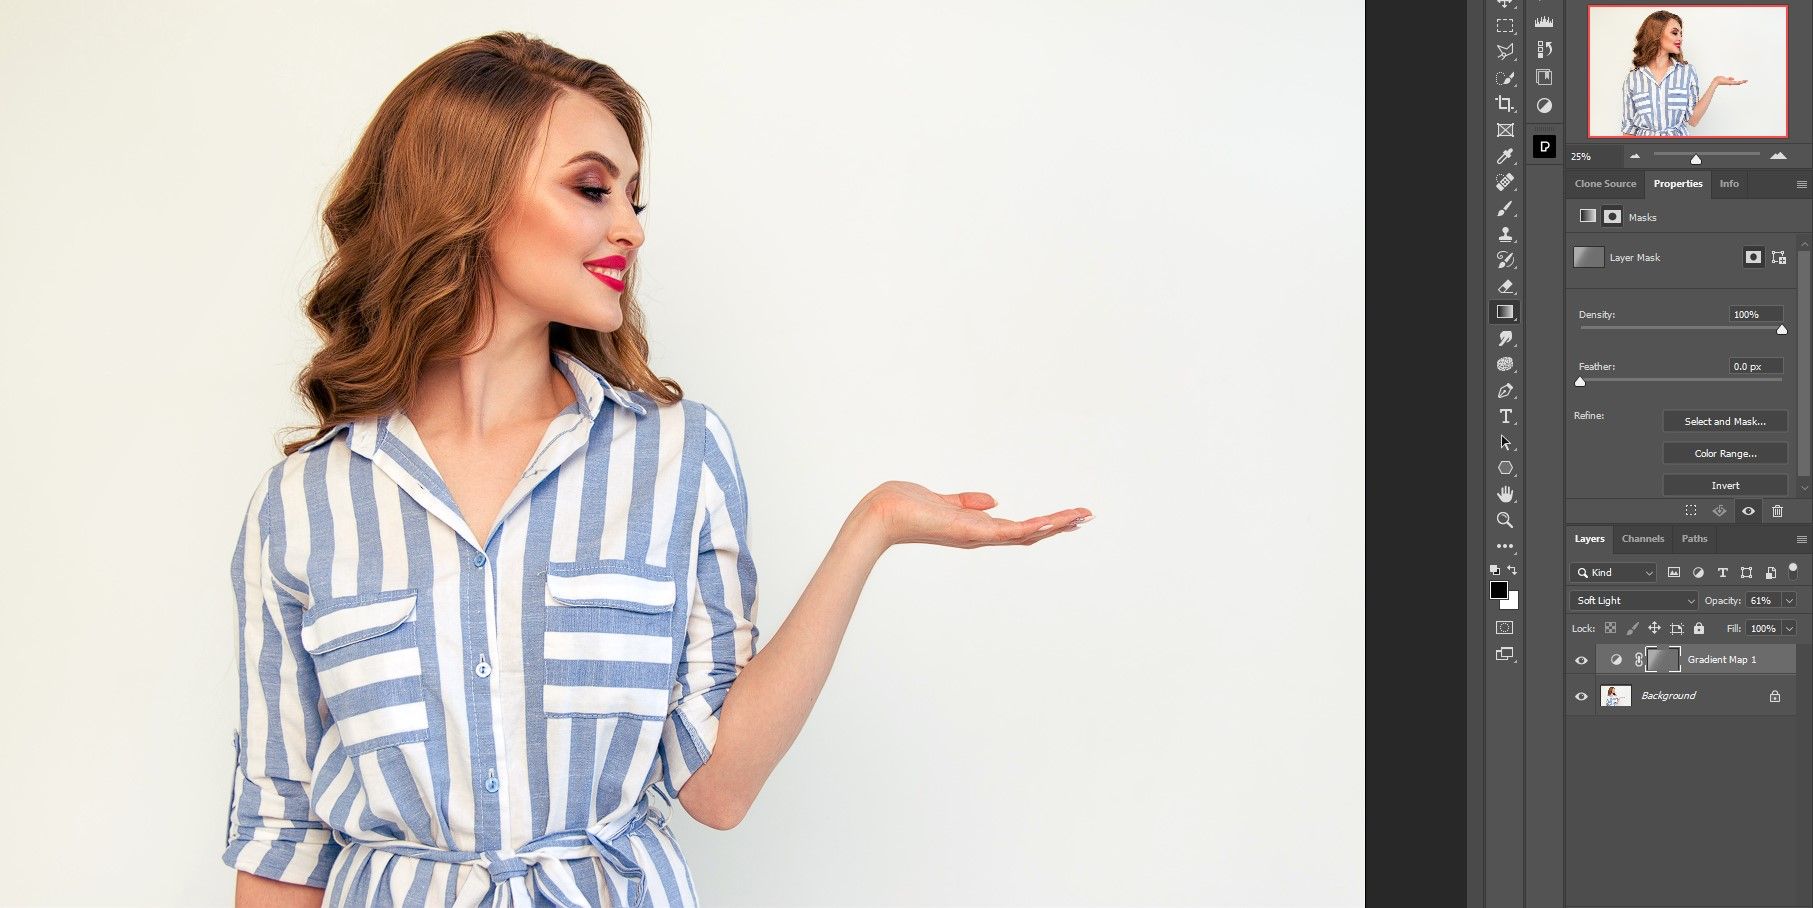
We only shifted the controls on theGradient Mapeditor slightly, checked theReversebox, and changed theOpacityto61%.
It also doesn’t have nearly as many controls as the Gradient and Gradient Map tools.
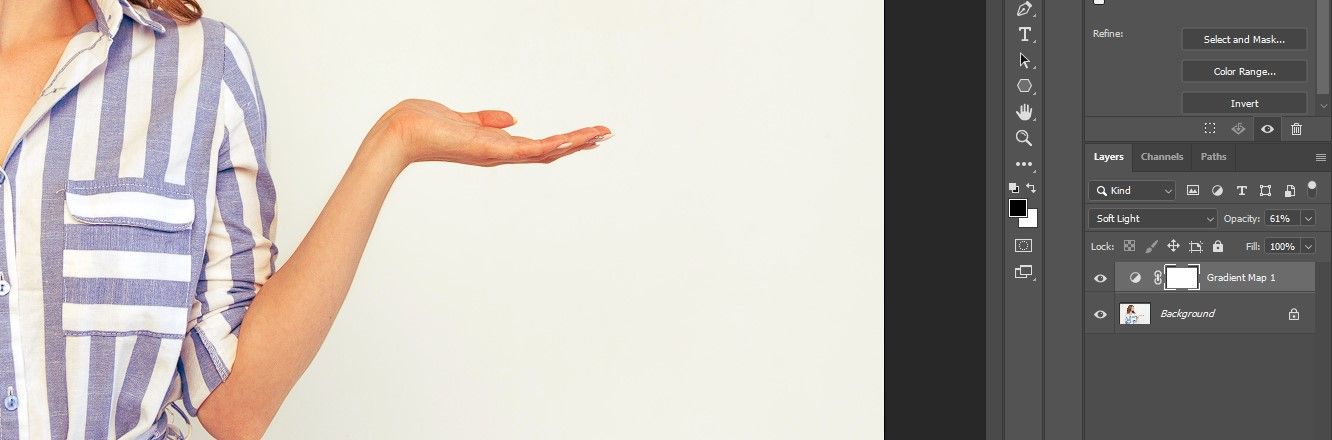
Let’s use the Gradient tool on our previous edit to refine the image even more.
The result is a more refined look than if we were to simply reduce the layer Opacity.
you’ve got the option to alsouse frequency separation in Photoshop to retouch skin.