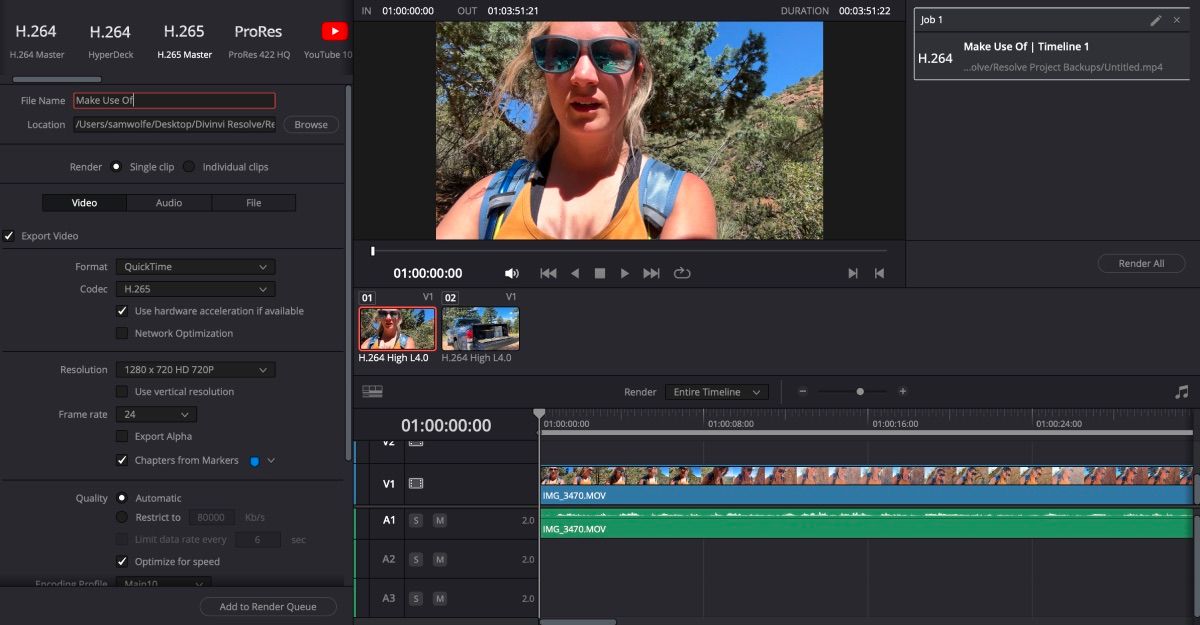
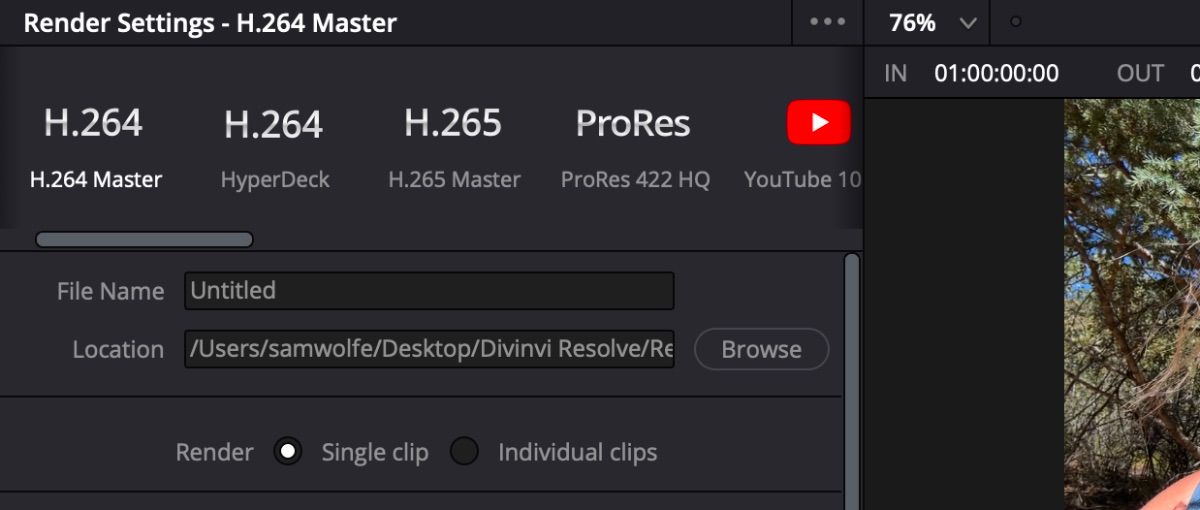
From there, you have the options ofH.264,H.265, andProResalong with several other presets.
Below that is where you title your video file and choose the location.
Lets say you have several clips that youve edited with different frame rates.
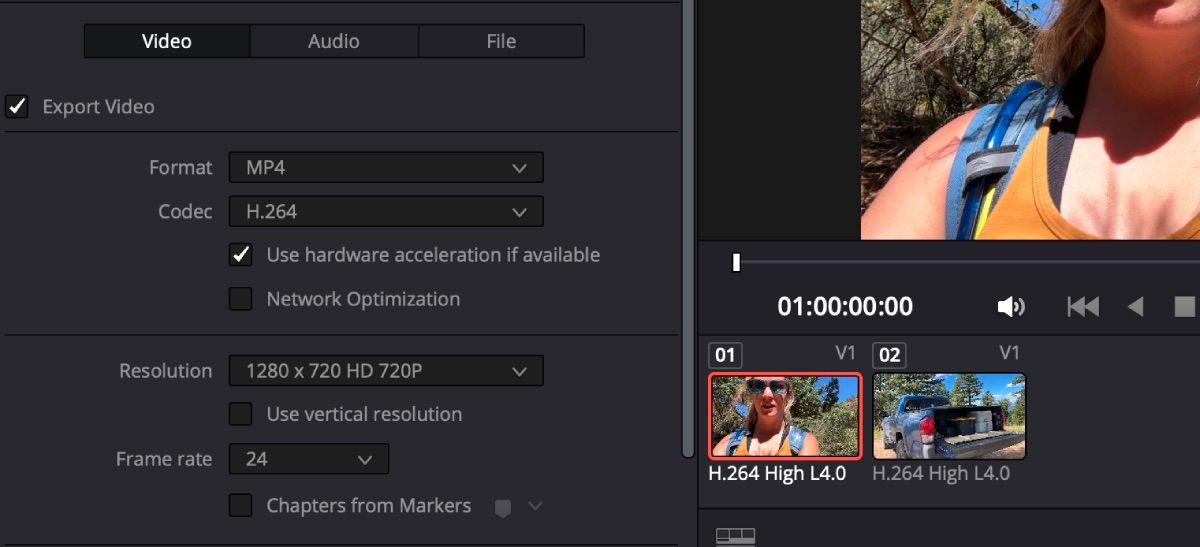
Under Render, there are three tabs that give you more control over your export settingsthe first one beingVideo.
Additionally, it’s possible for you to addChapters from Markersplaced on your video during the editing process.
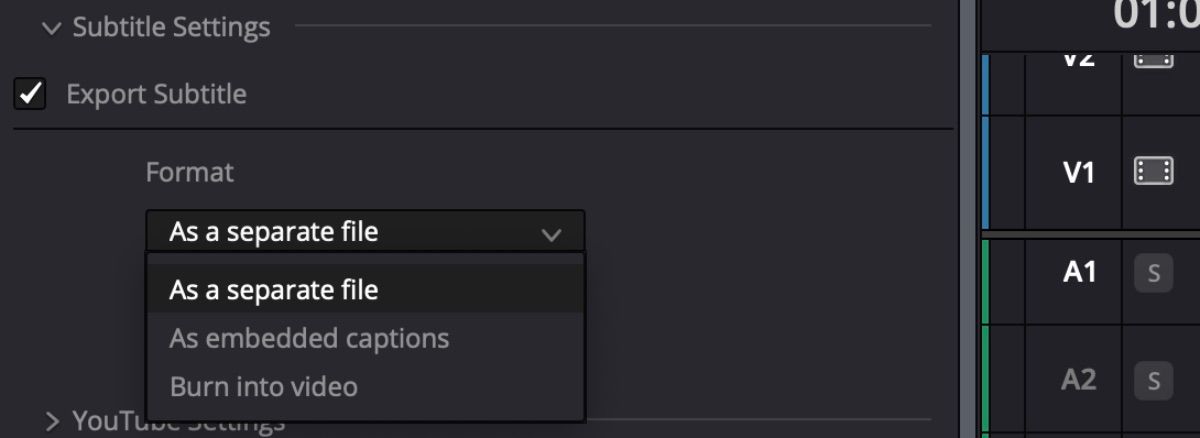
If youadded subtitles to your video in DaVinci Resolve, youll want to open theSubtitle Settingstab and selectExport Subtitle.
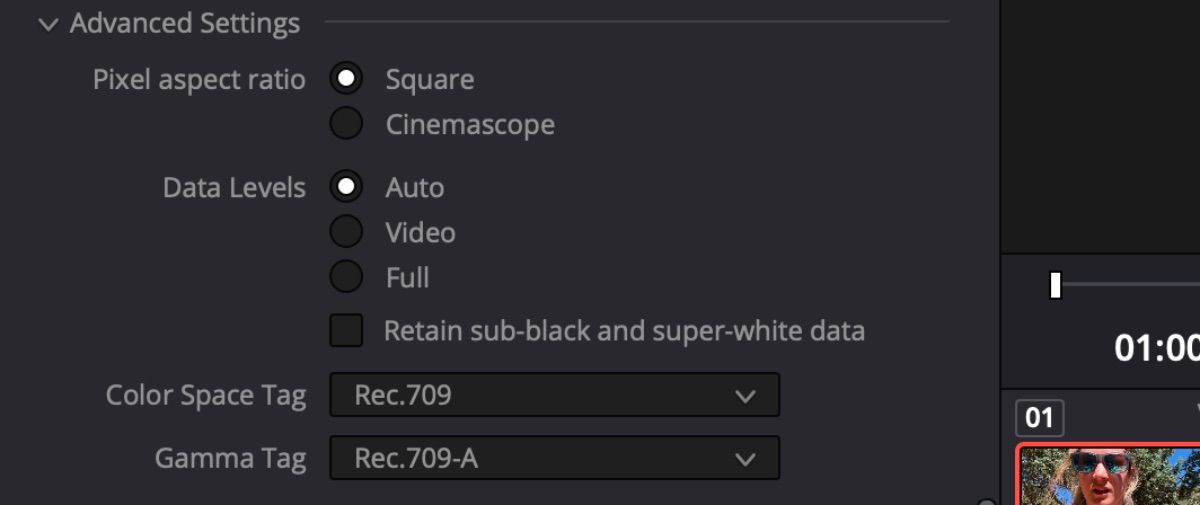
Open theAdvanced Settingstab and go down toColor Space Tag.
launch the drop-down menu and selectRec.709.
After that, bring up the drop-down menu forGamma Tagand selectRec.709-A.
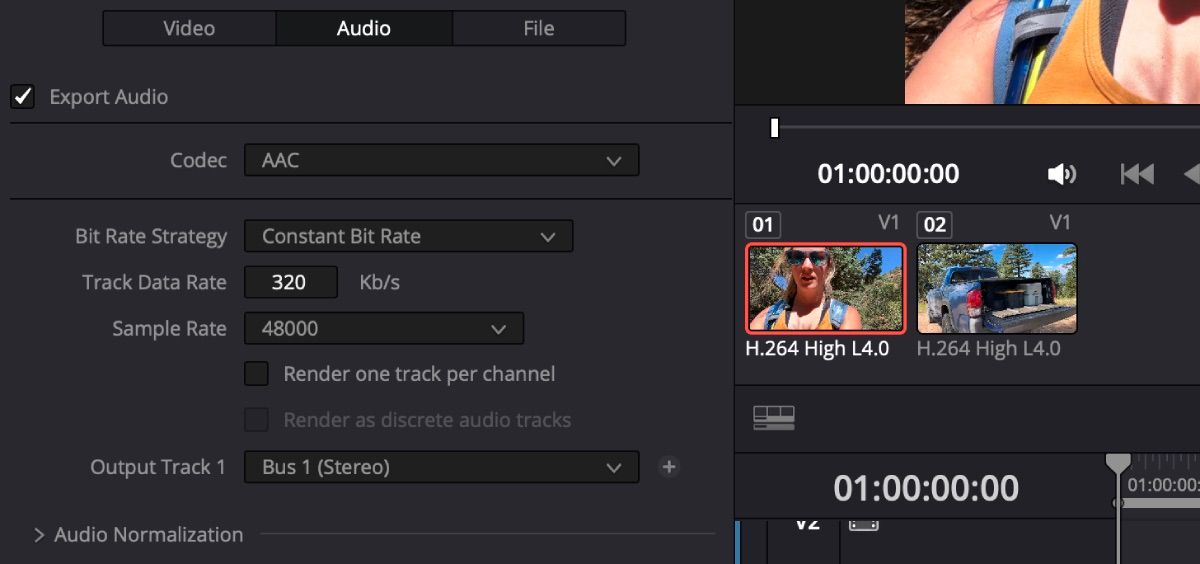
TheAudiotab is where you will go to alter any of the options for the sound of your video.
These include options likeCodecandBit Rate Strategy.
you could also choose to not export audio if you want your video to have no sound.
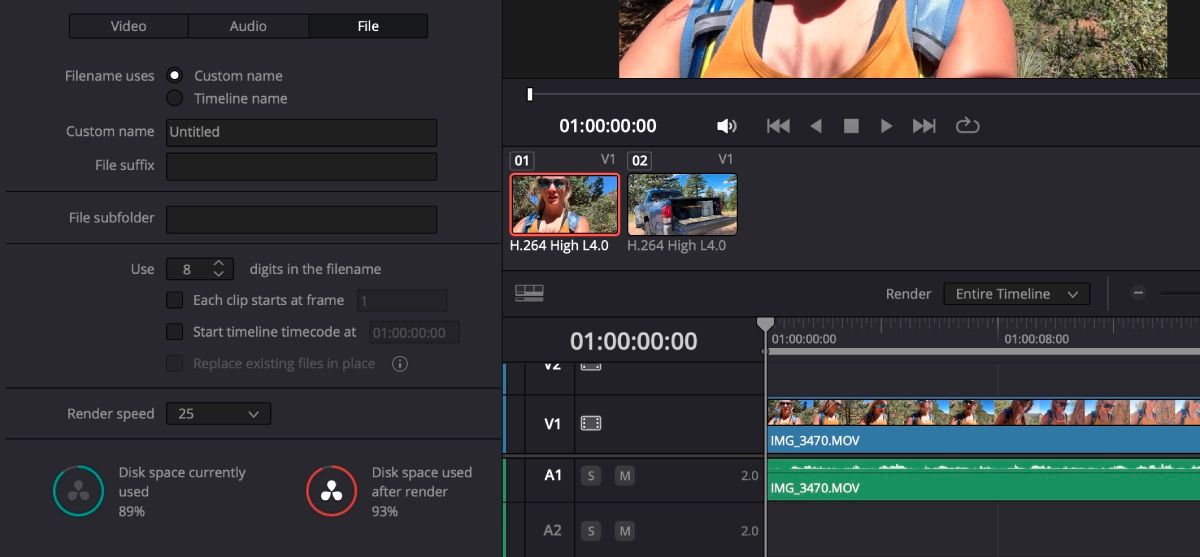
TheFiletab allows you to customize your file name a bit more, like adding aFile Suffix.
It also tells you your current and after-rendered Disk Space, which can definitely come in handy.
Additionally, you might change theRender Speed.
After youre happy with all your export tweaks, click onAdd to Render Queue.
Youll find your video ready to be exported in the upper right-hand corner.
If you have more videos to export from the project, follow the same guidelines as above.
When youre ready to export, clickRender All.
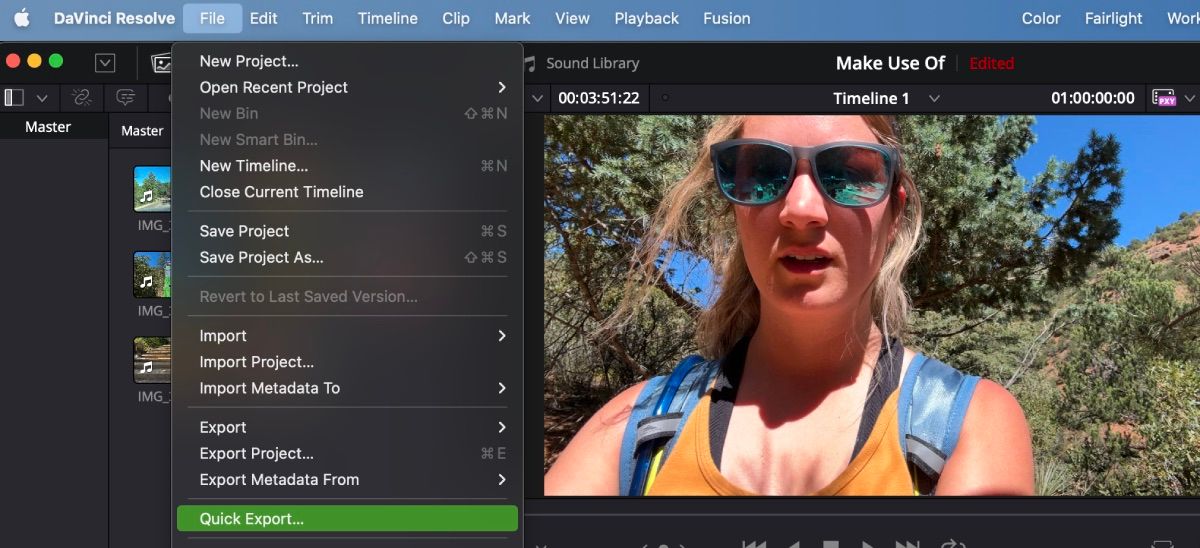
To find Quick Export, go toFilein the upper toolbar and selectQuick Export.
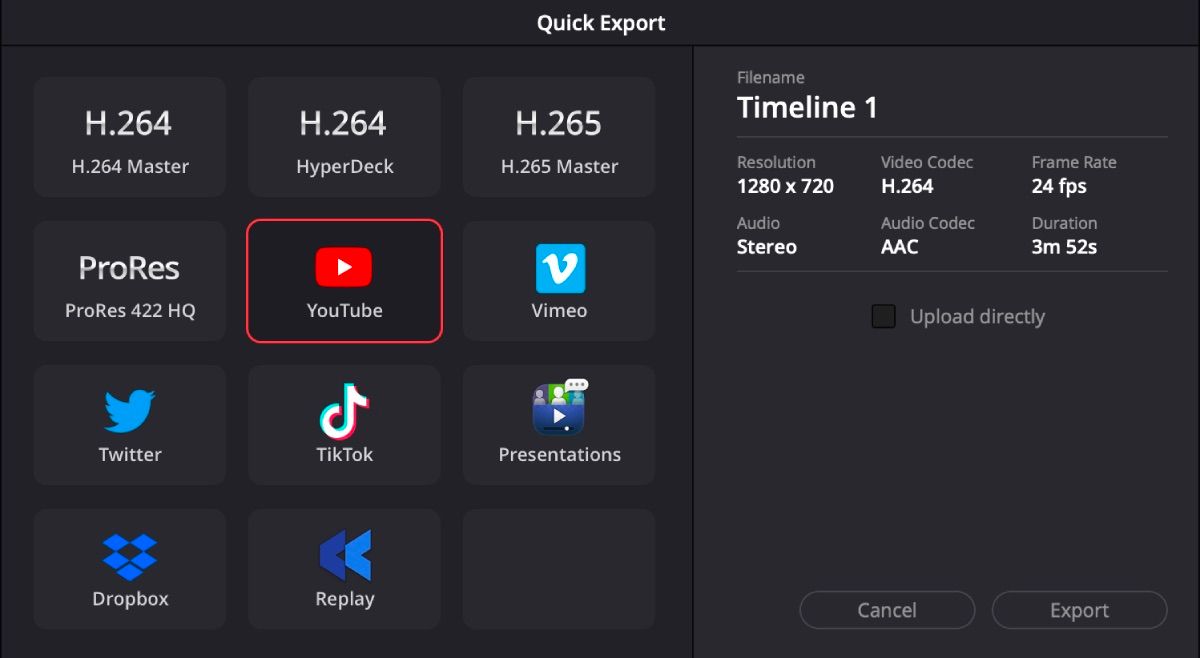
From there, youll find several presets, including social media options.
If you do, DaVinci Resolve will export your video and upload it to your chosen platform.