There are still many limitations when it comes to creating AI portraits.
That’s where creative photo editors like Luminar Neo can help.
Luminar Neo offers a suite of tools that are tailor-made for photos and AI portraits alike.
What follows is a workflow that can be used with every AI portrait you create.
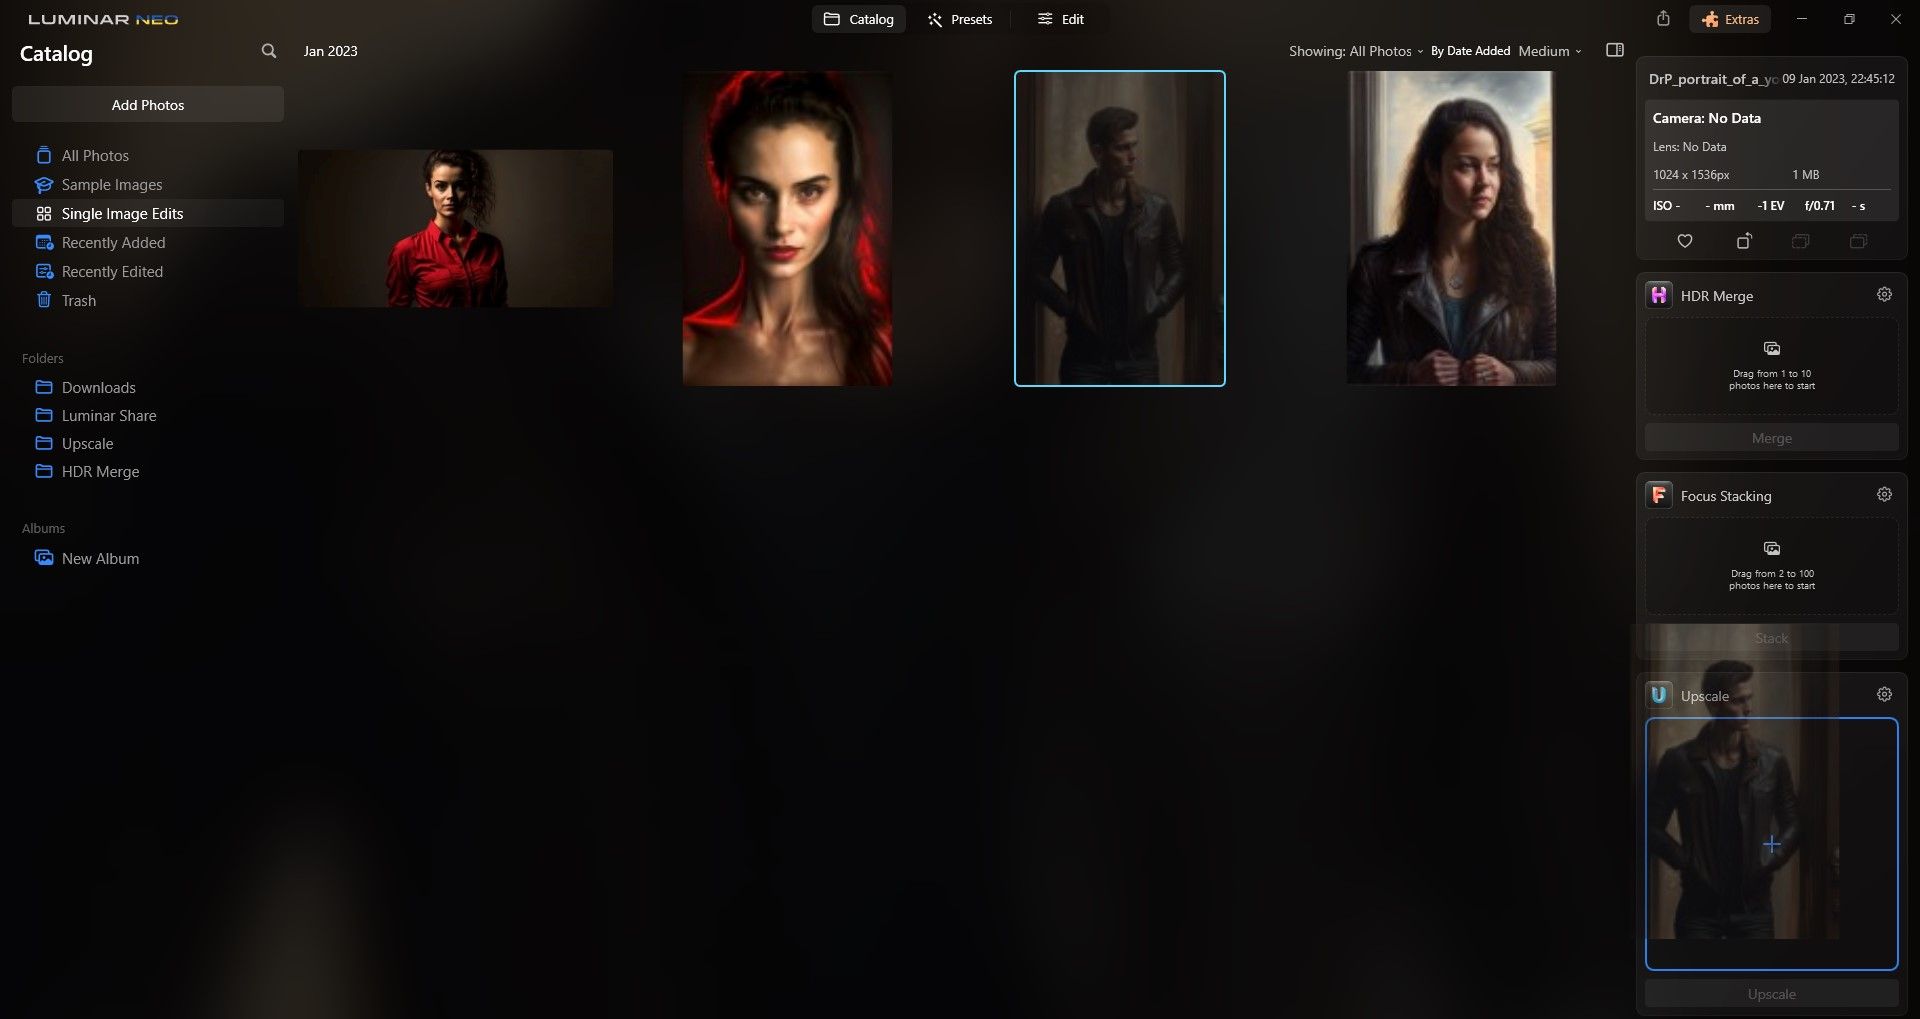
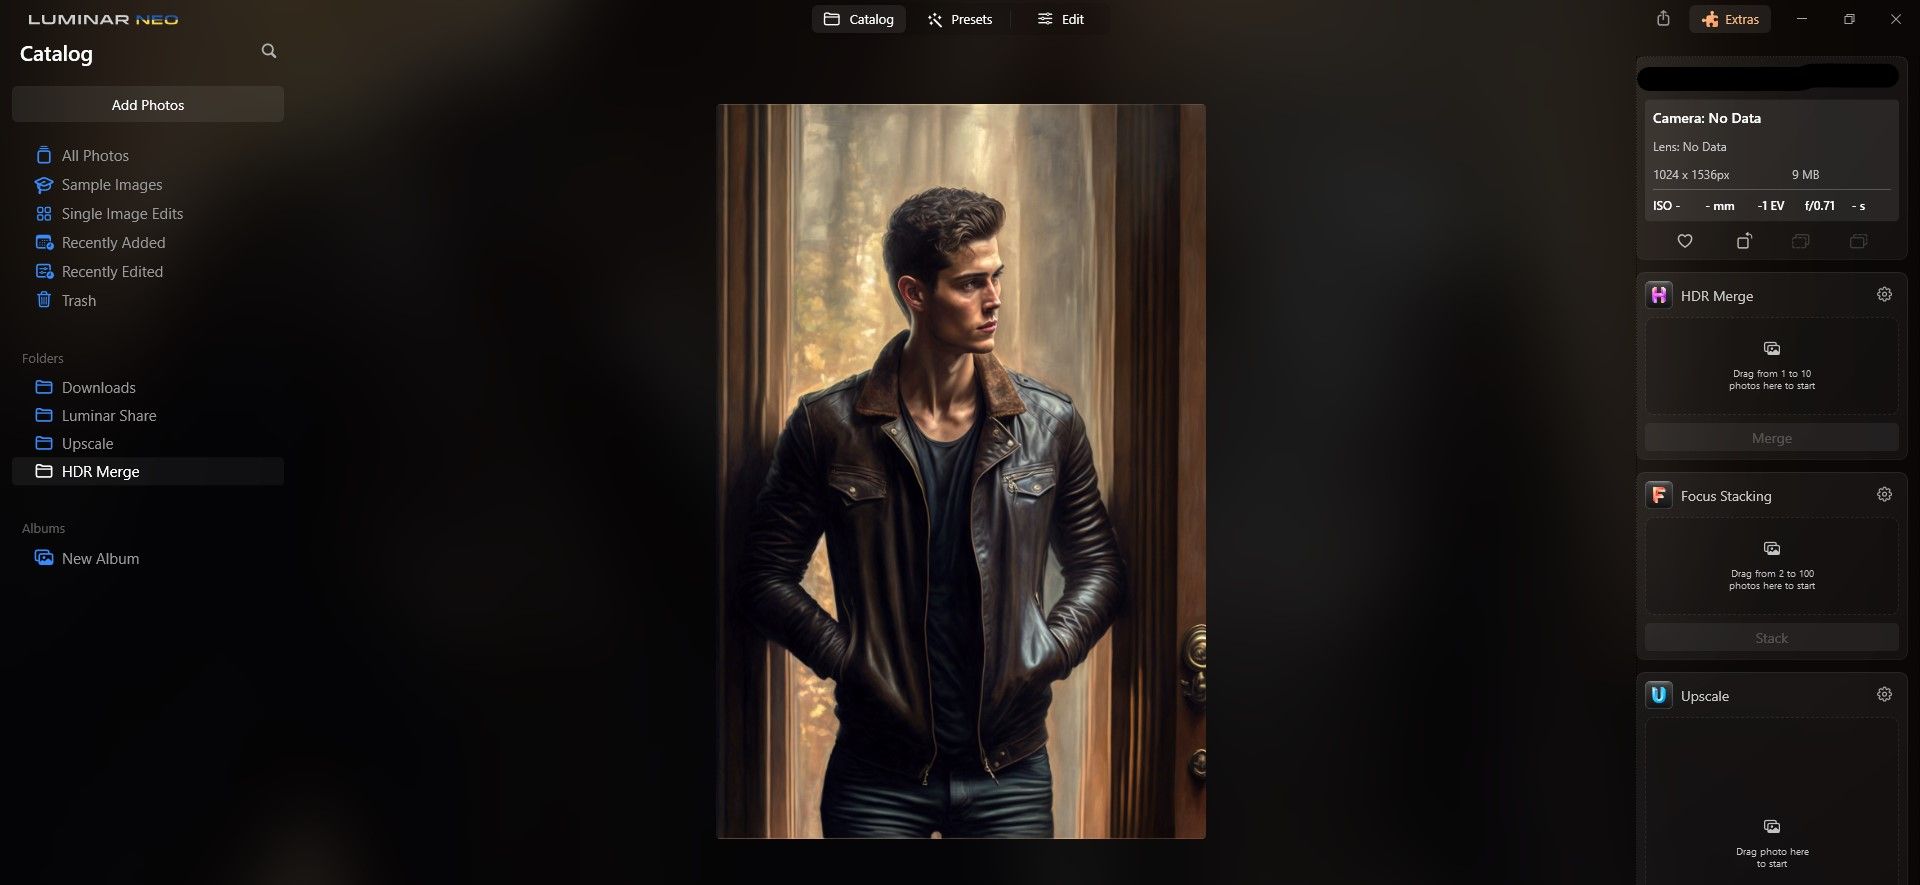
once you nail your image imported into Luminar Neo, simply drag and drop it into Upscale AI.
We show youeverything you gotta know about Upscale AI.
Like Upscale AI, you simply drag the image intoHDR Merge.
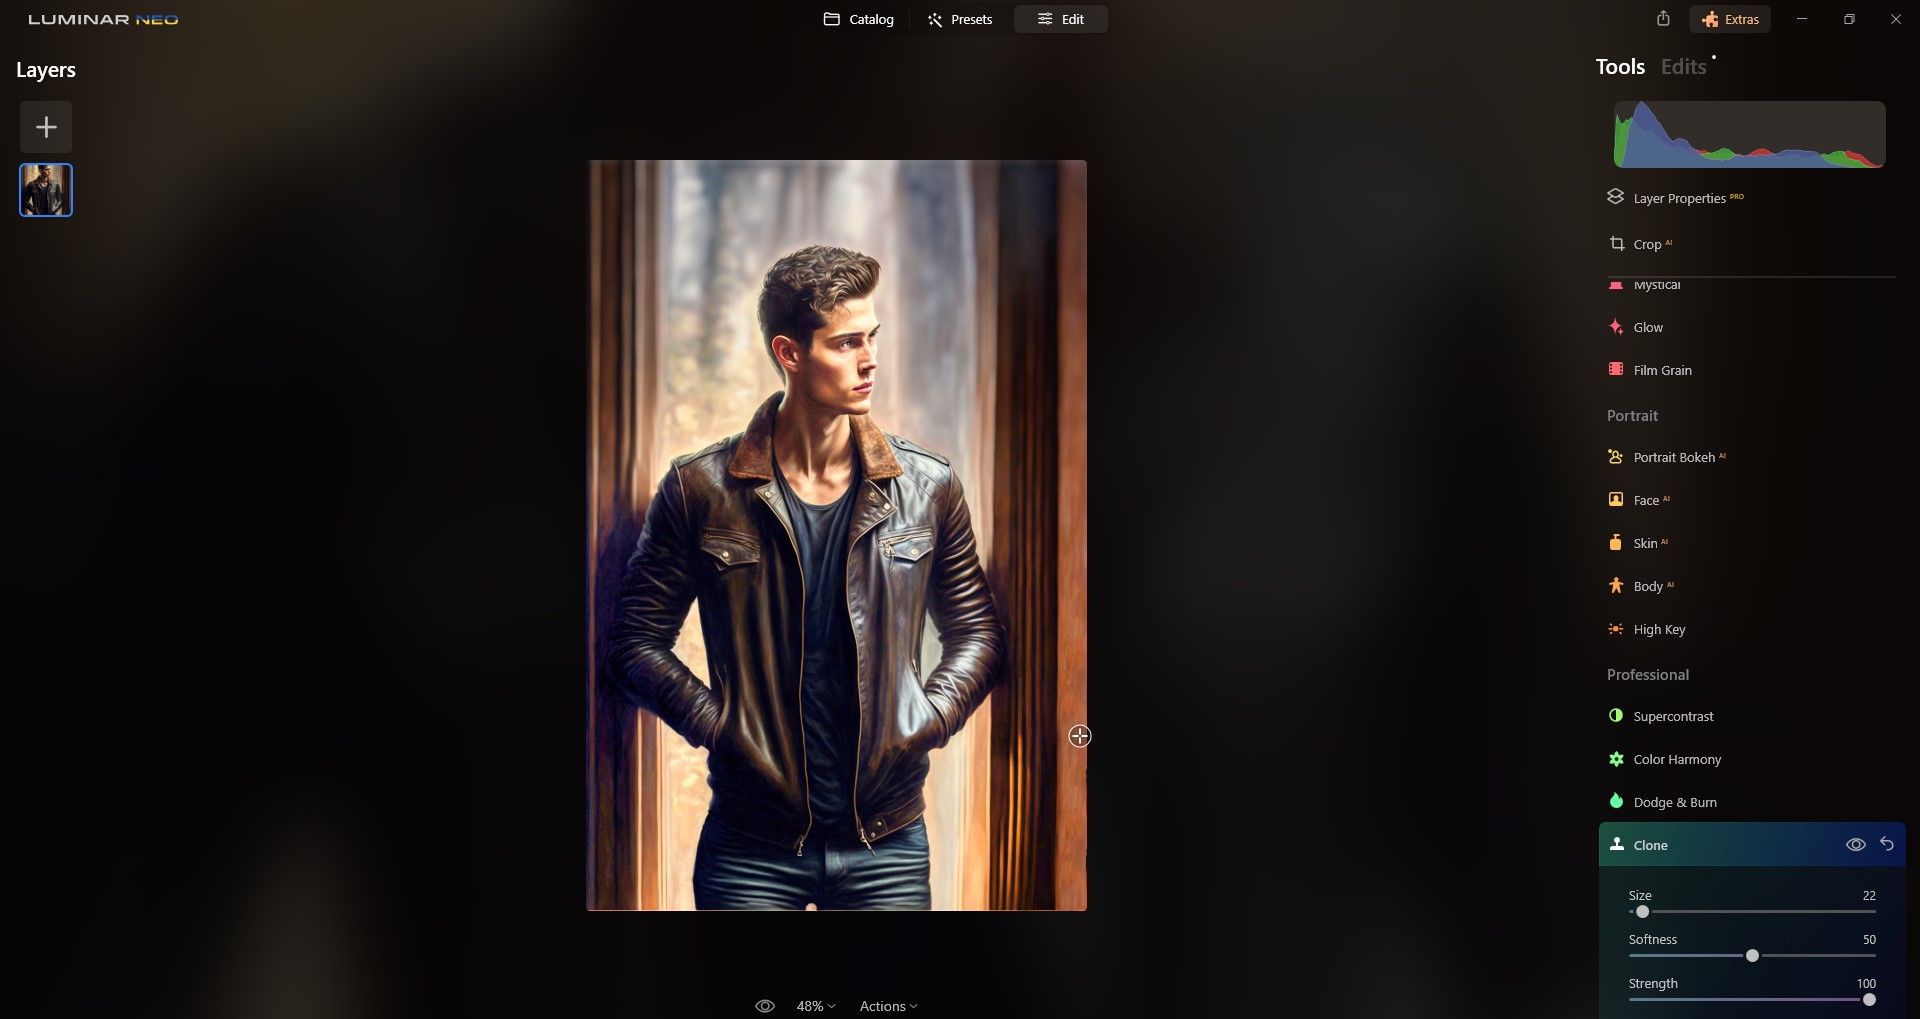
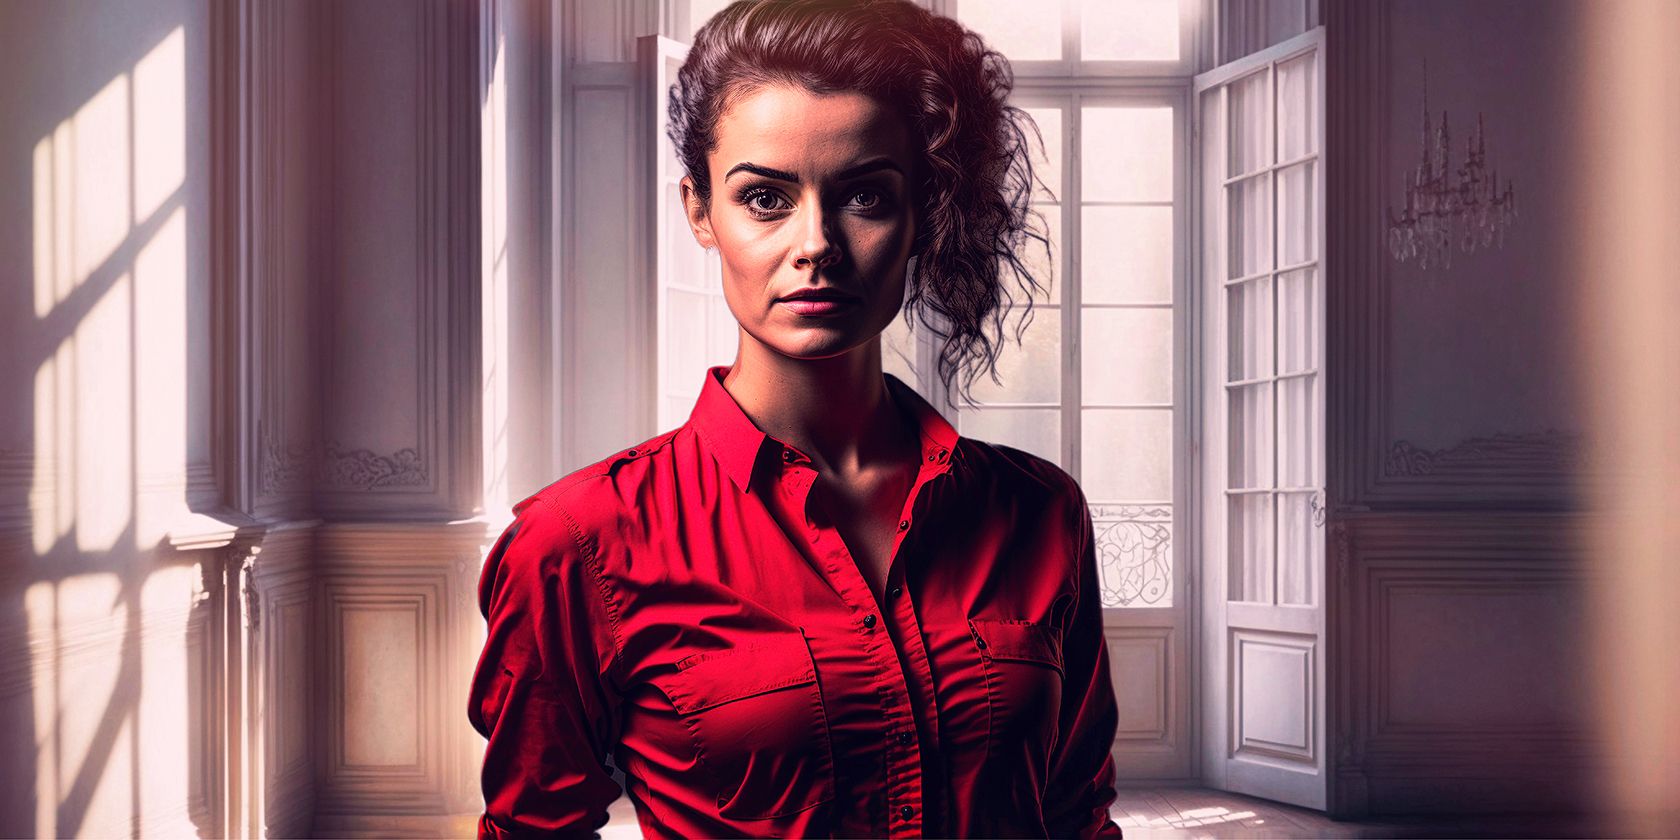
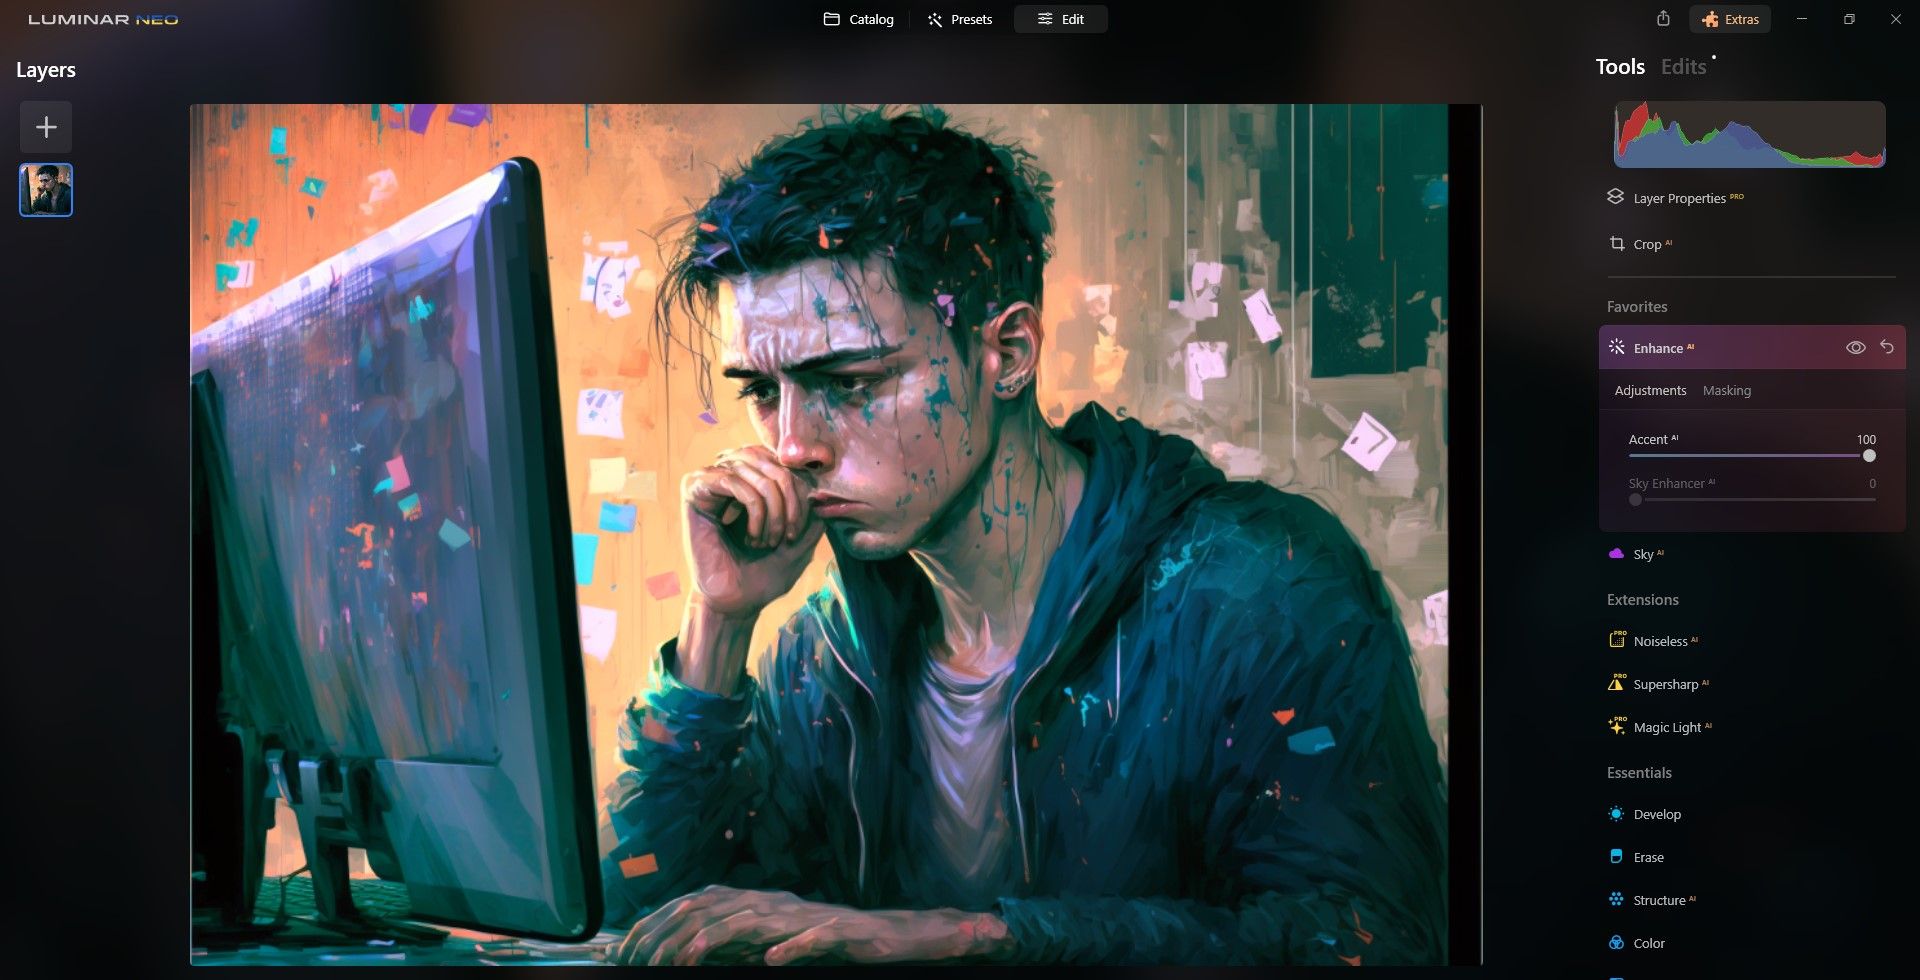
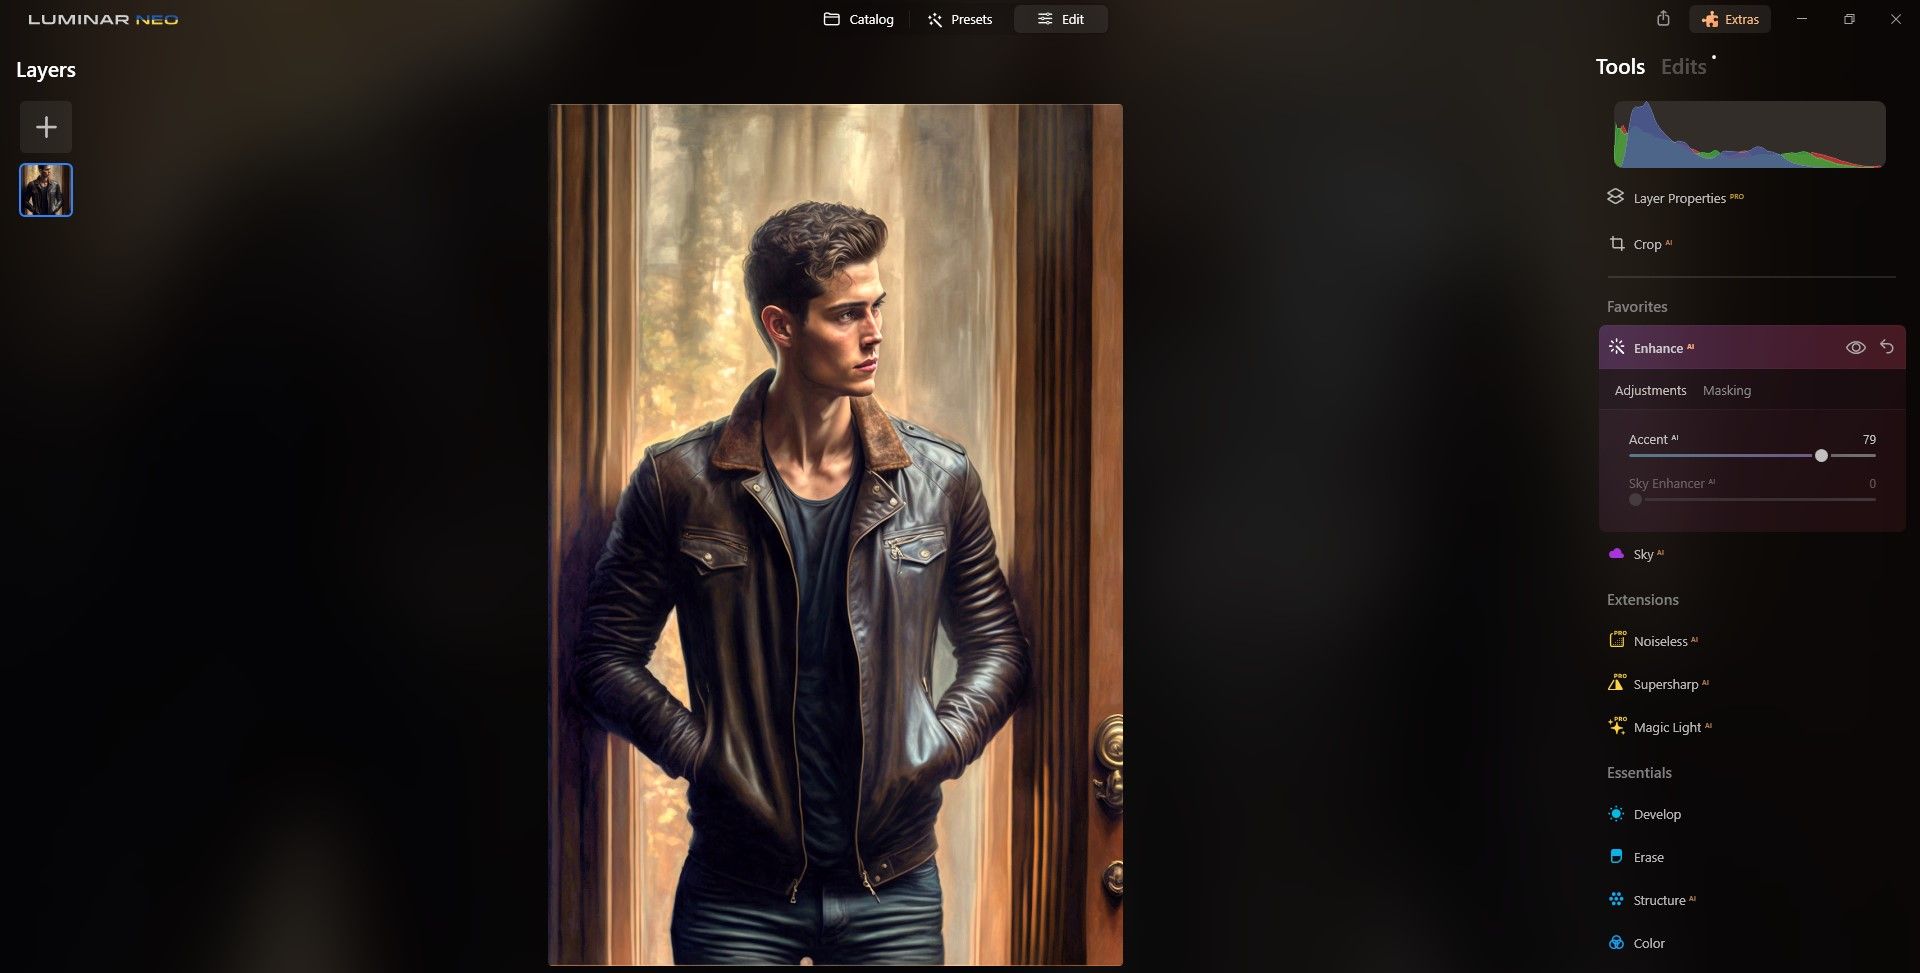
Simply click onEditat the top of the screen and a toolbar will appear on the right.
FindEnhance AIand find a slider value that works best.
Enhance AI tends to brighten AI portraits and adds contrast intelligently.
We show youeverything you better know about Luminar Neoif you need help navigating the program.
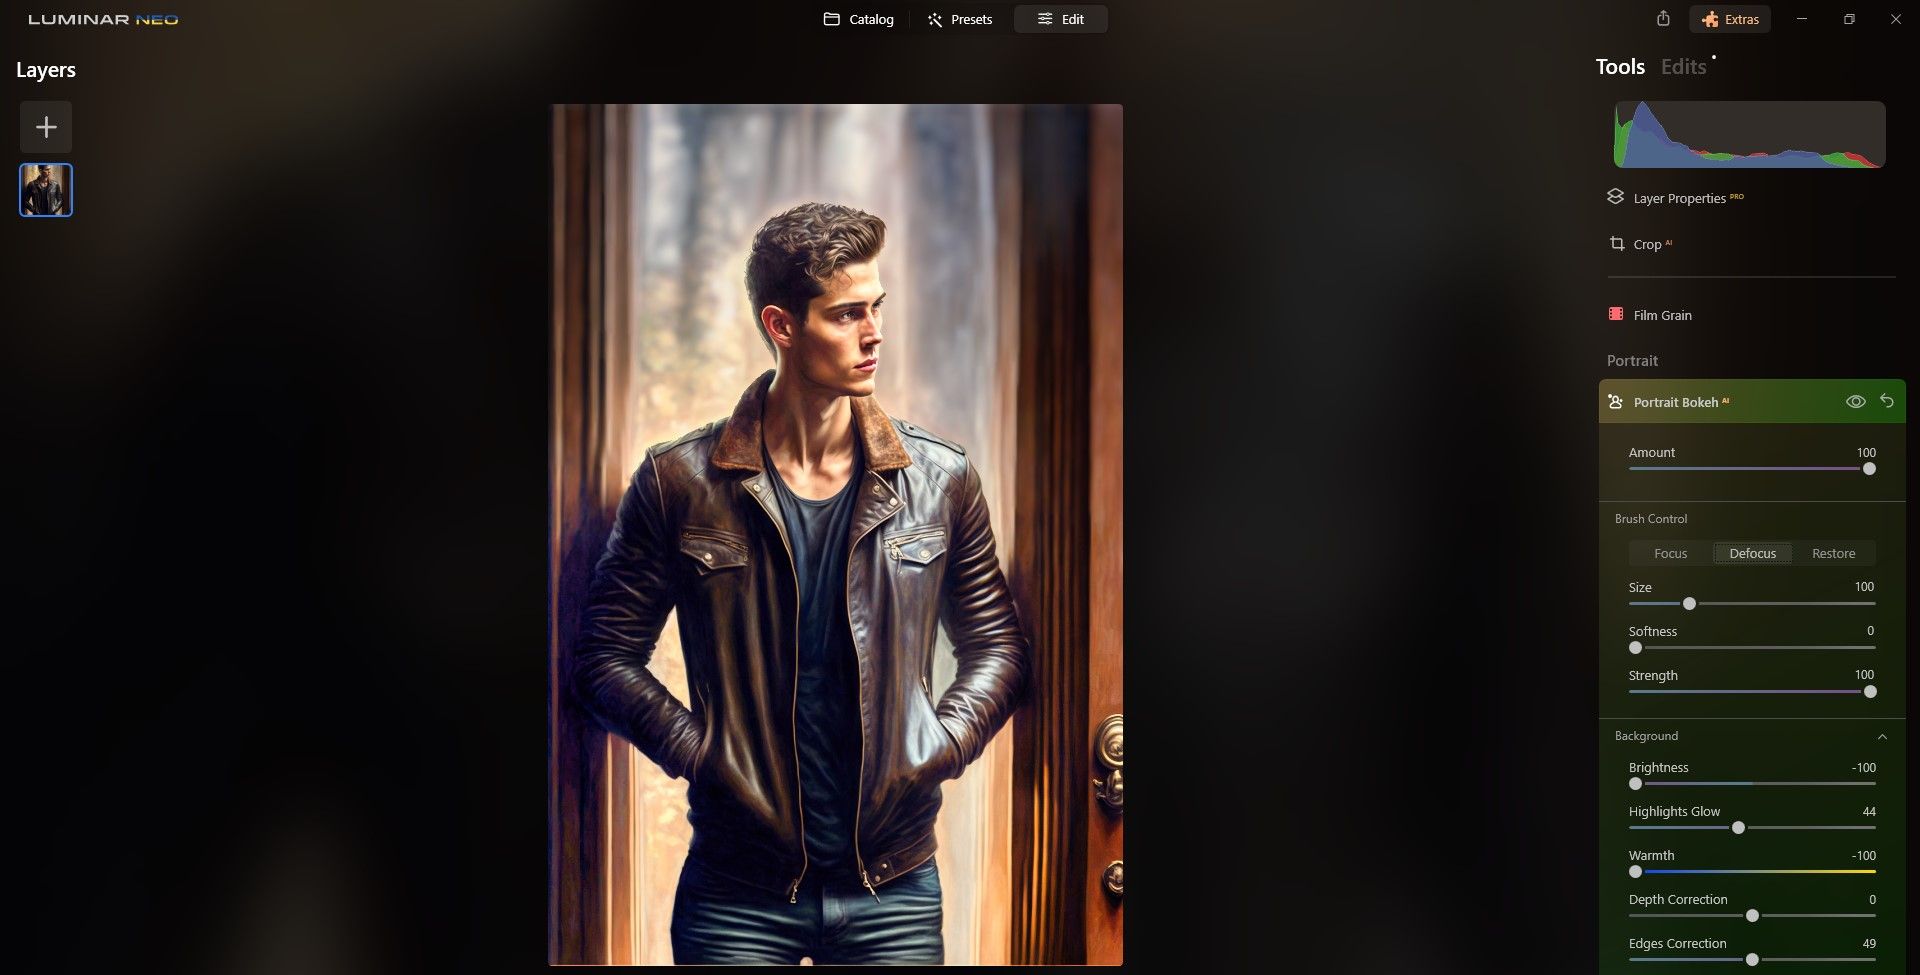
Step 5: Portrait Bokeh
Portrait Bokehserves two useful functions.
First, it can be used to blur the background using theAmountslider.
Secondly, you’ve got the option to brighten or darken the background and change theWarmthvalues.
For this image, we darkened the background and changed the Warmth to -100.
This helps the subject stand out from the background a bit better.
you’re able to also use the Brush Control panel to add or subtract focus.
We also cover how to useLuminar’s Portrait Bokeh to create a fantastic background blur.
Step 6: Face AI
Face AIoffers some powerful enhancements for your AI portraits.
Two very useful sliders areFace LightandEye Enhancer.
Almost every AI portrait could use a boost from these sliders.
We also show youhow to use Photoshop to enhance the eyesif you need an extra boost.
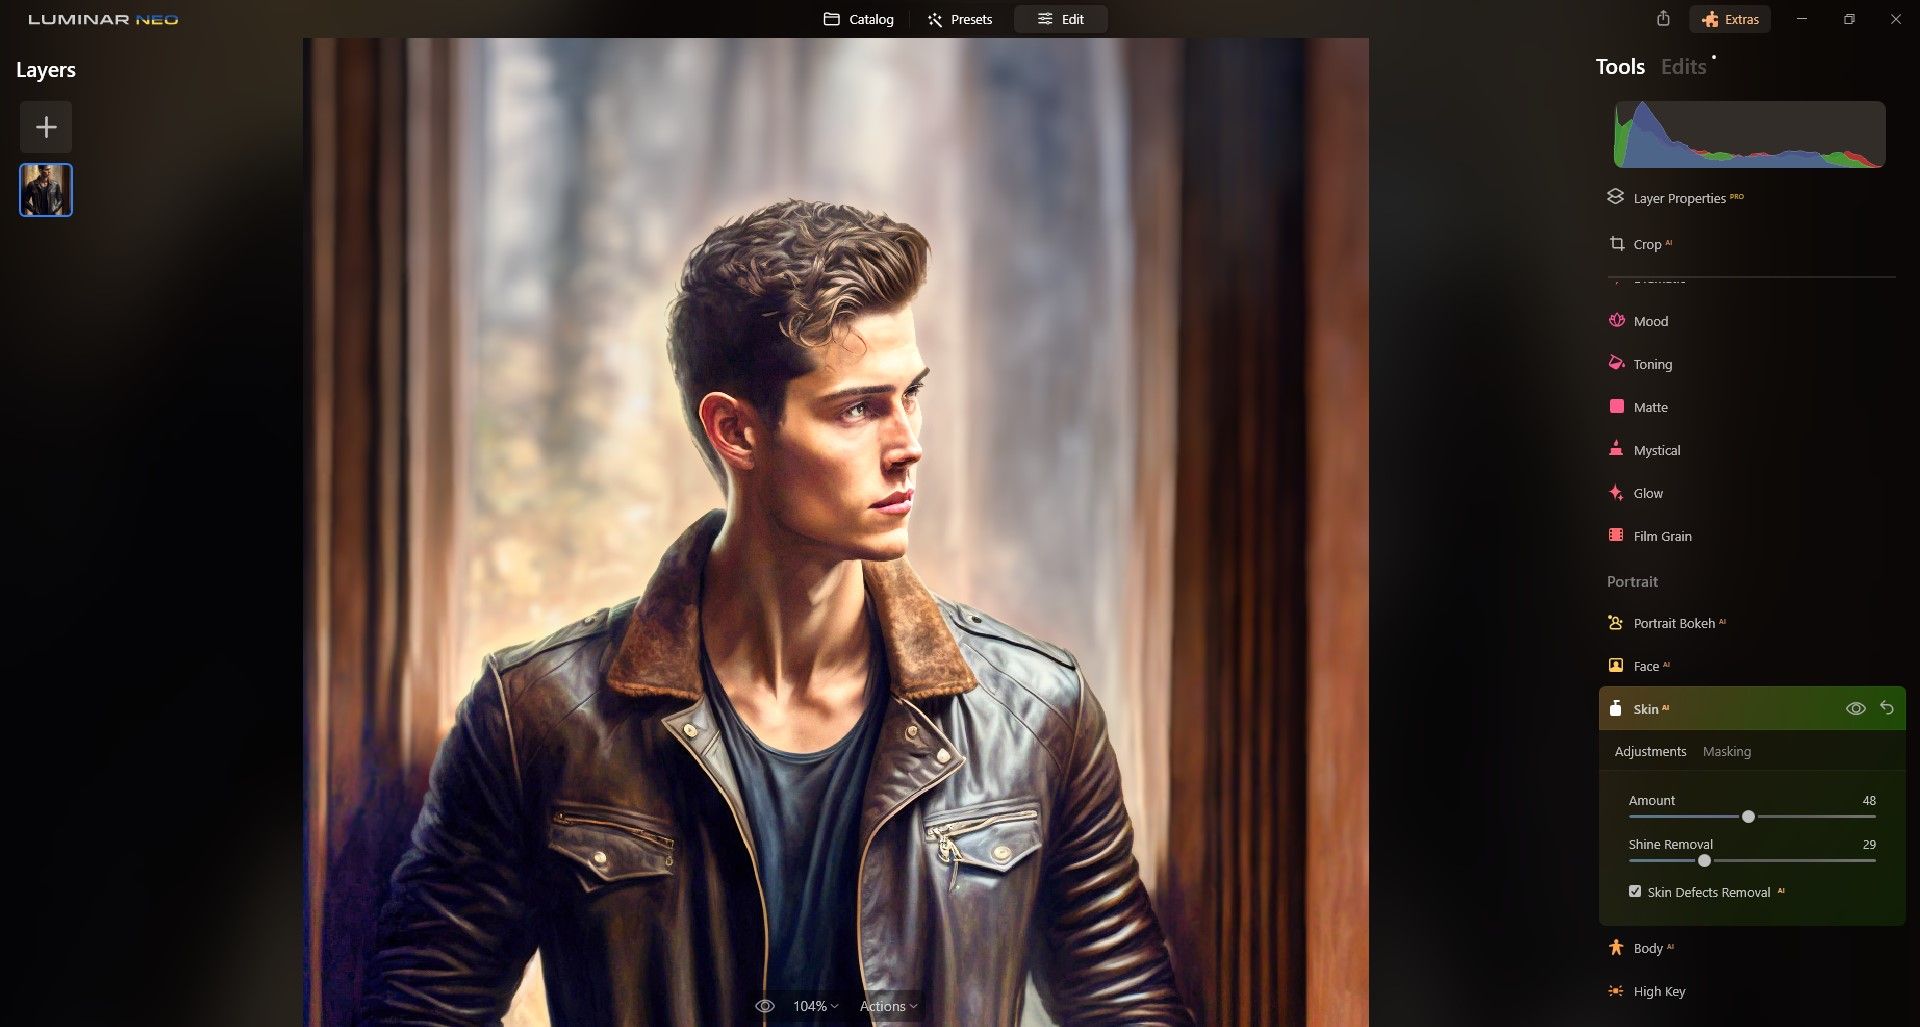
Step 7: Skin AI
Another great AI portrait tool isSkin AI.
We also show youhow to use Luminar AI for better portraits.

You’ll find that this tool comes in very useful for AI portraits that have AI-generated distortions and flaws.
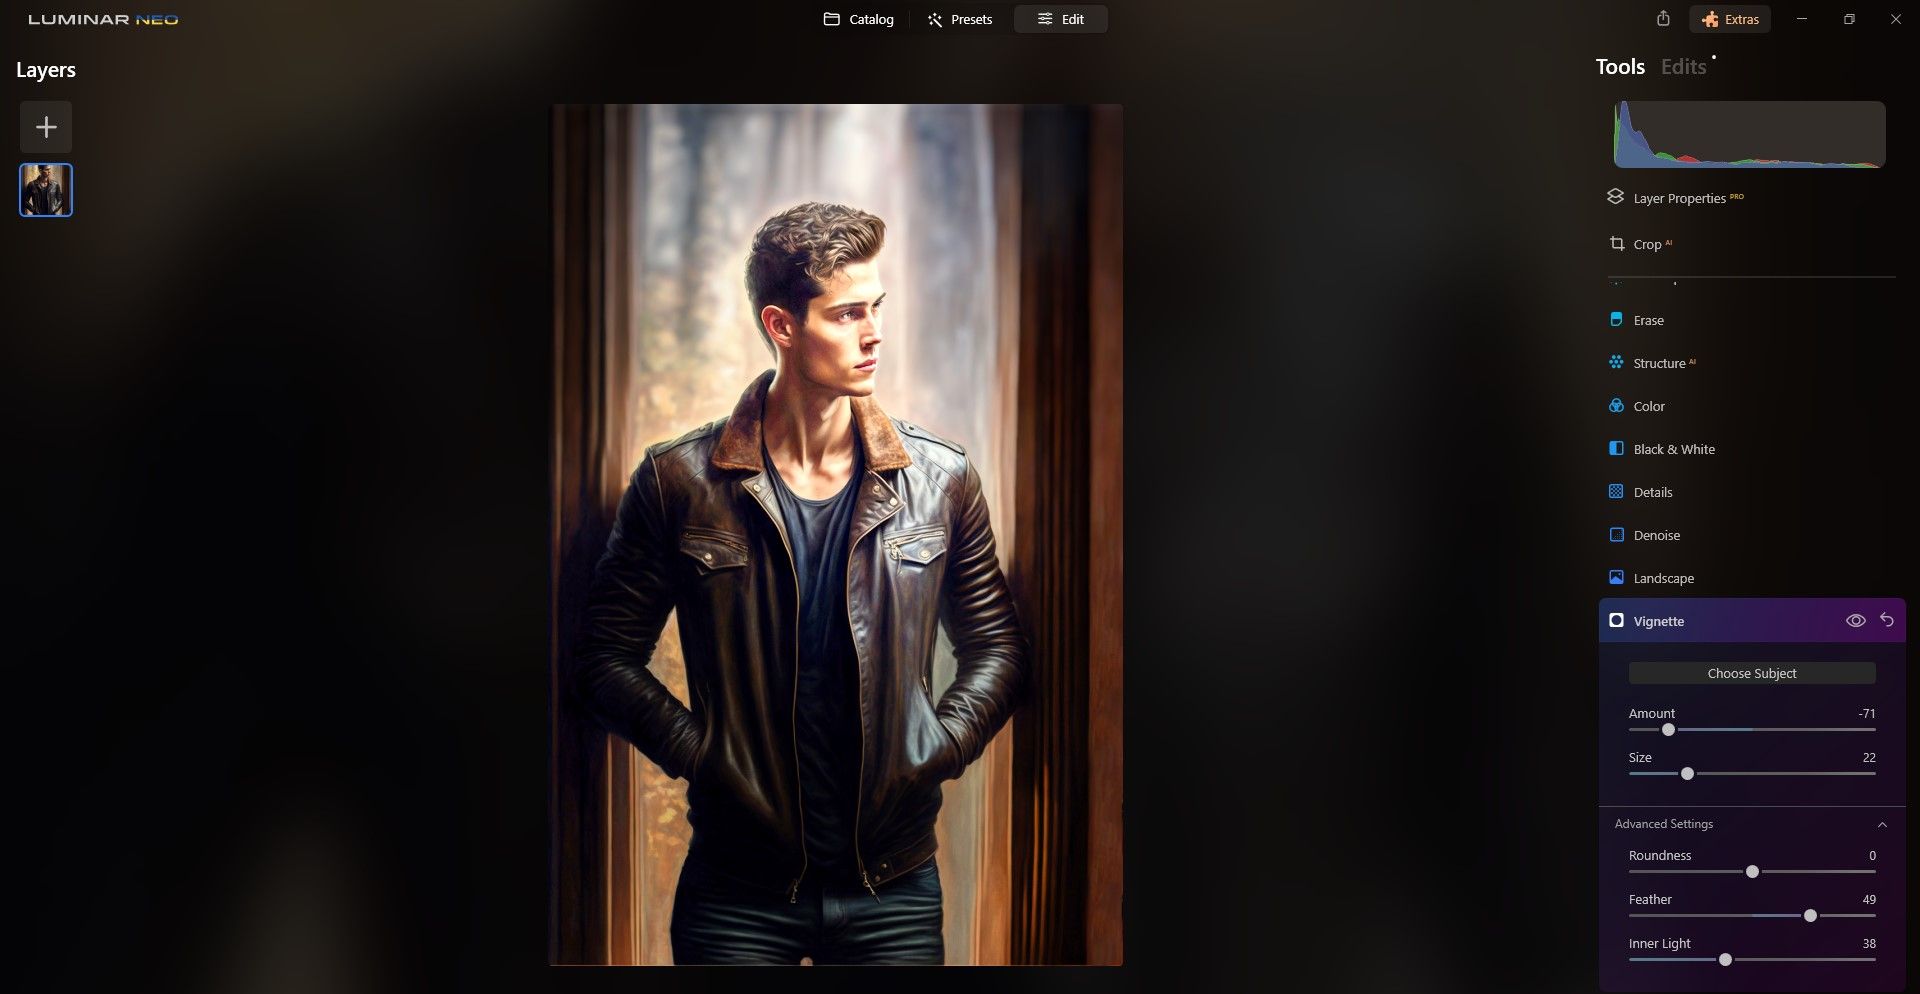
They greatly enhance your subject by drawing the viewer’s eyes to it.
UseFeatherandInner Lightto put the spotlight on the subject’s face.
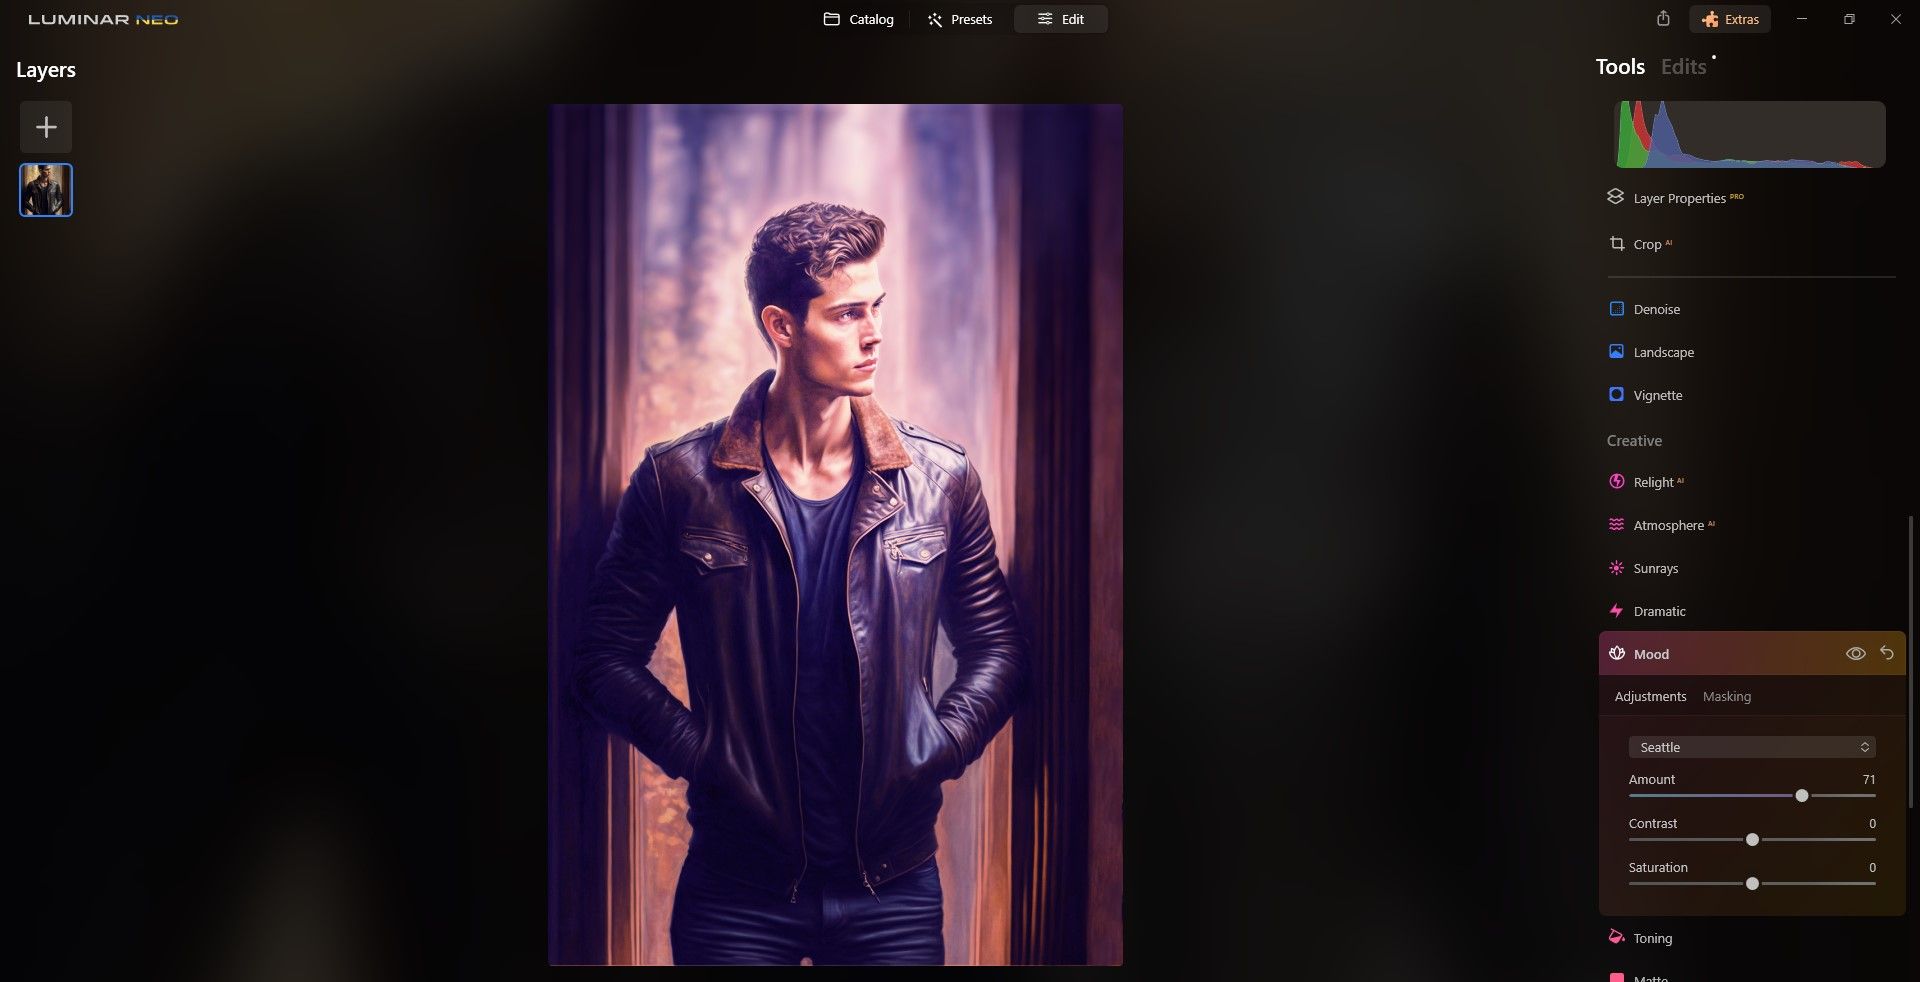
Step 10: Mood
TheMoodtool is great for dramatically changing the look of your AI portrait.
For this image, we usedSeattleas the LUT.
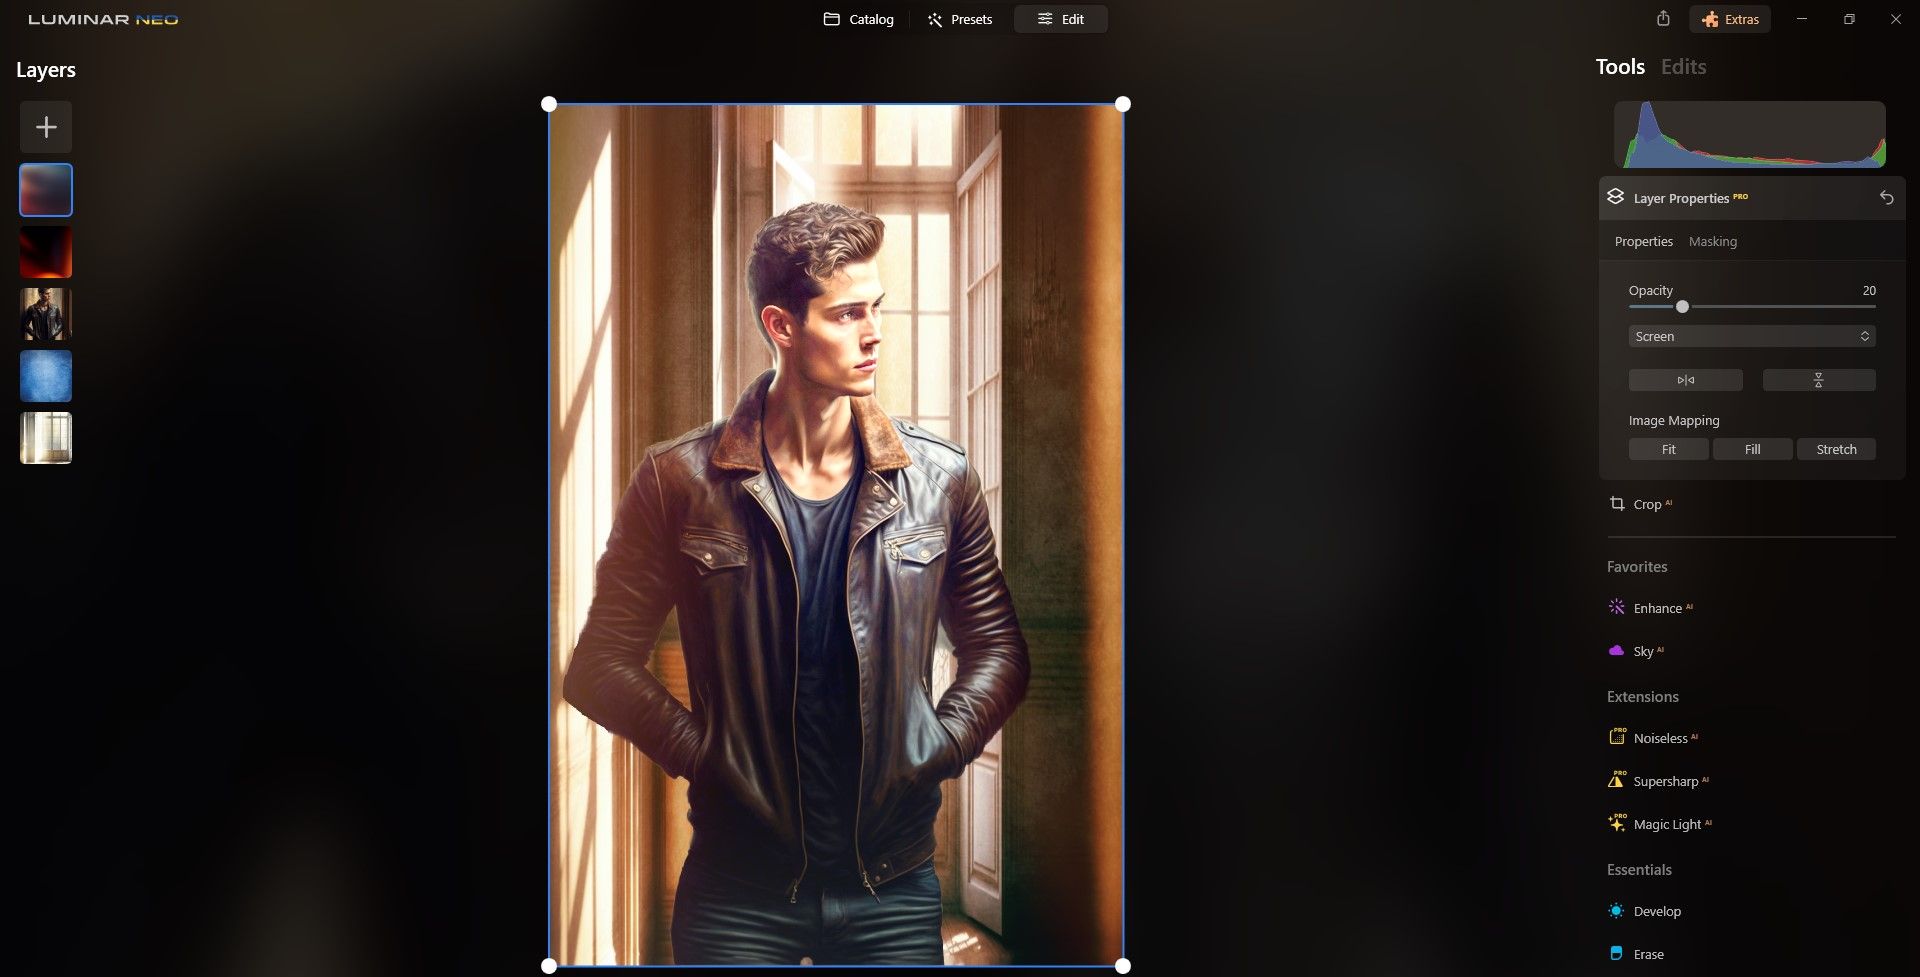
Step 11: Layers
Layersis arguably the most powerful tool for creatively enhancing your AI portraits.