Over the late 2010s and early 2020s, short-form video has become increasingly popular on social media.
TikTok has captivated audiences worldwide, and other platformssuch as YouTube and Instagramhave also embraced the trend.
However, it’s crucial that you know how to edit these videos.
Adobe Premiere Rush is a versatile and user-friendly tool perfect for the job.
This article will show you a step-by-step process for editing short-form vertical videos with Adobe Premiere Rush.
Note, however, that you dont require a paid subscription.
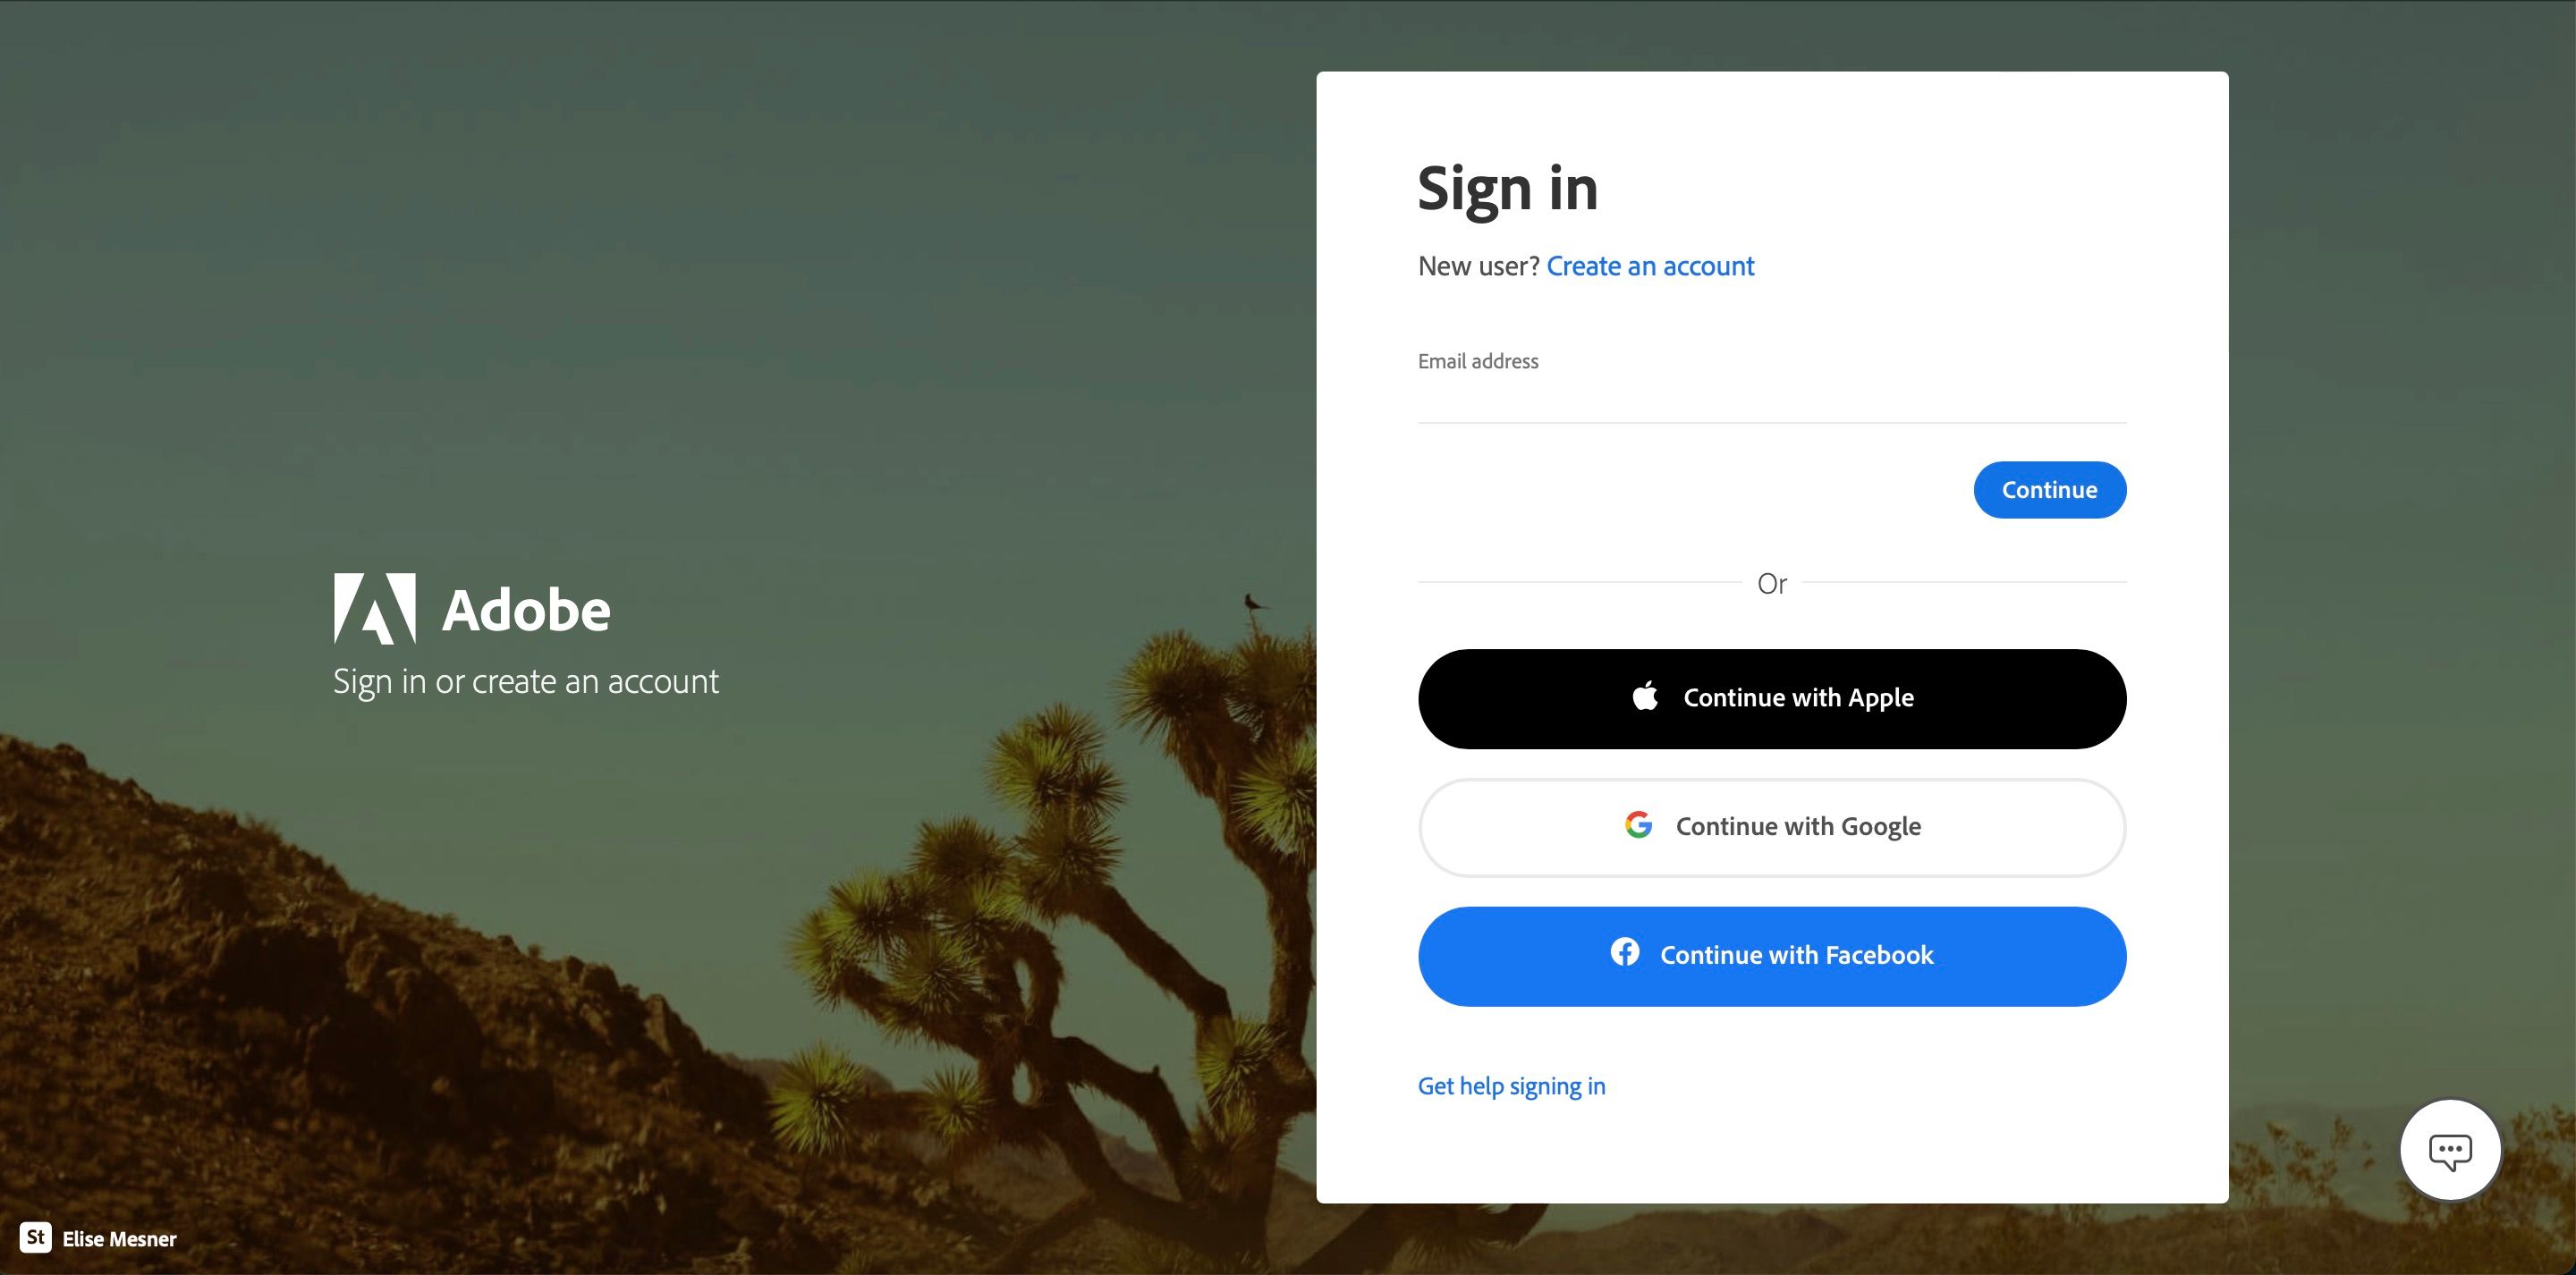
To sign up for an account with Adobe Creative Cloud, go tothe login page.
There, selectSign Inwhich is in the top right-hand corner.
After that, go toCreate an accountand follow the remaining steps.
Now, it’s possible for you to start editing your vertical short-form videos.
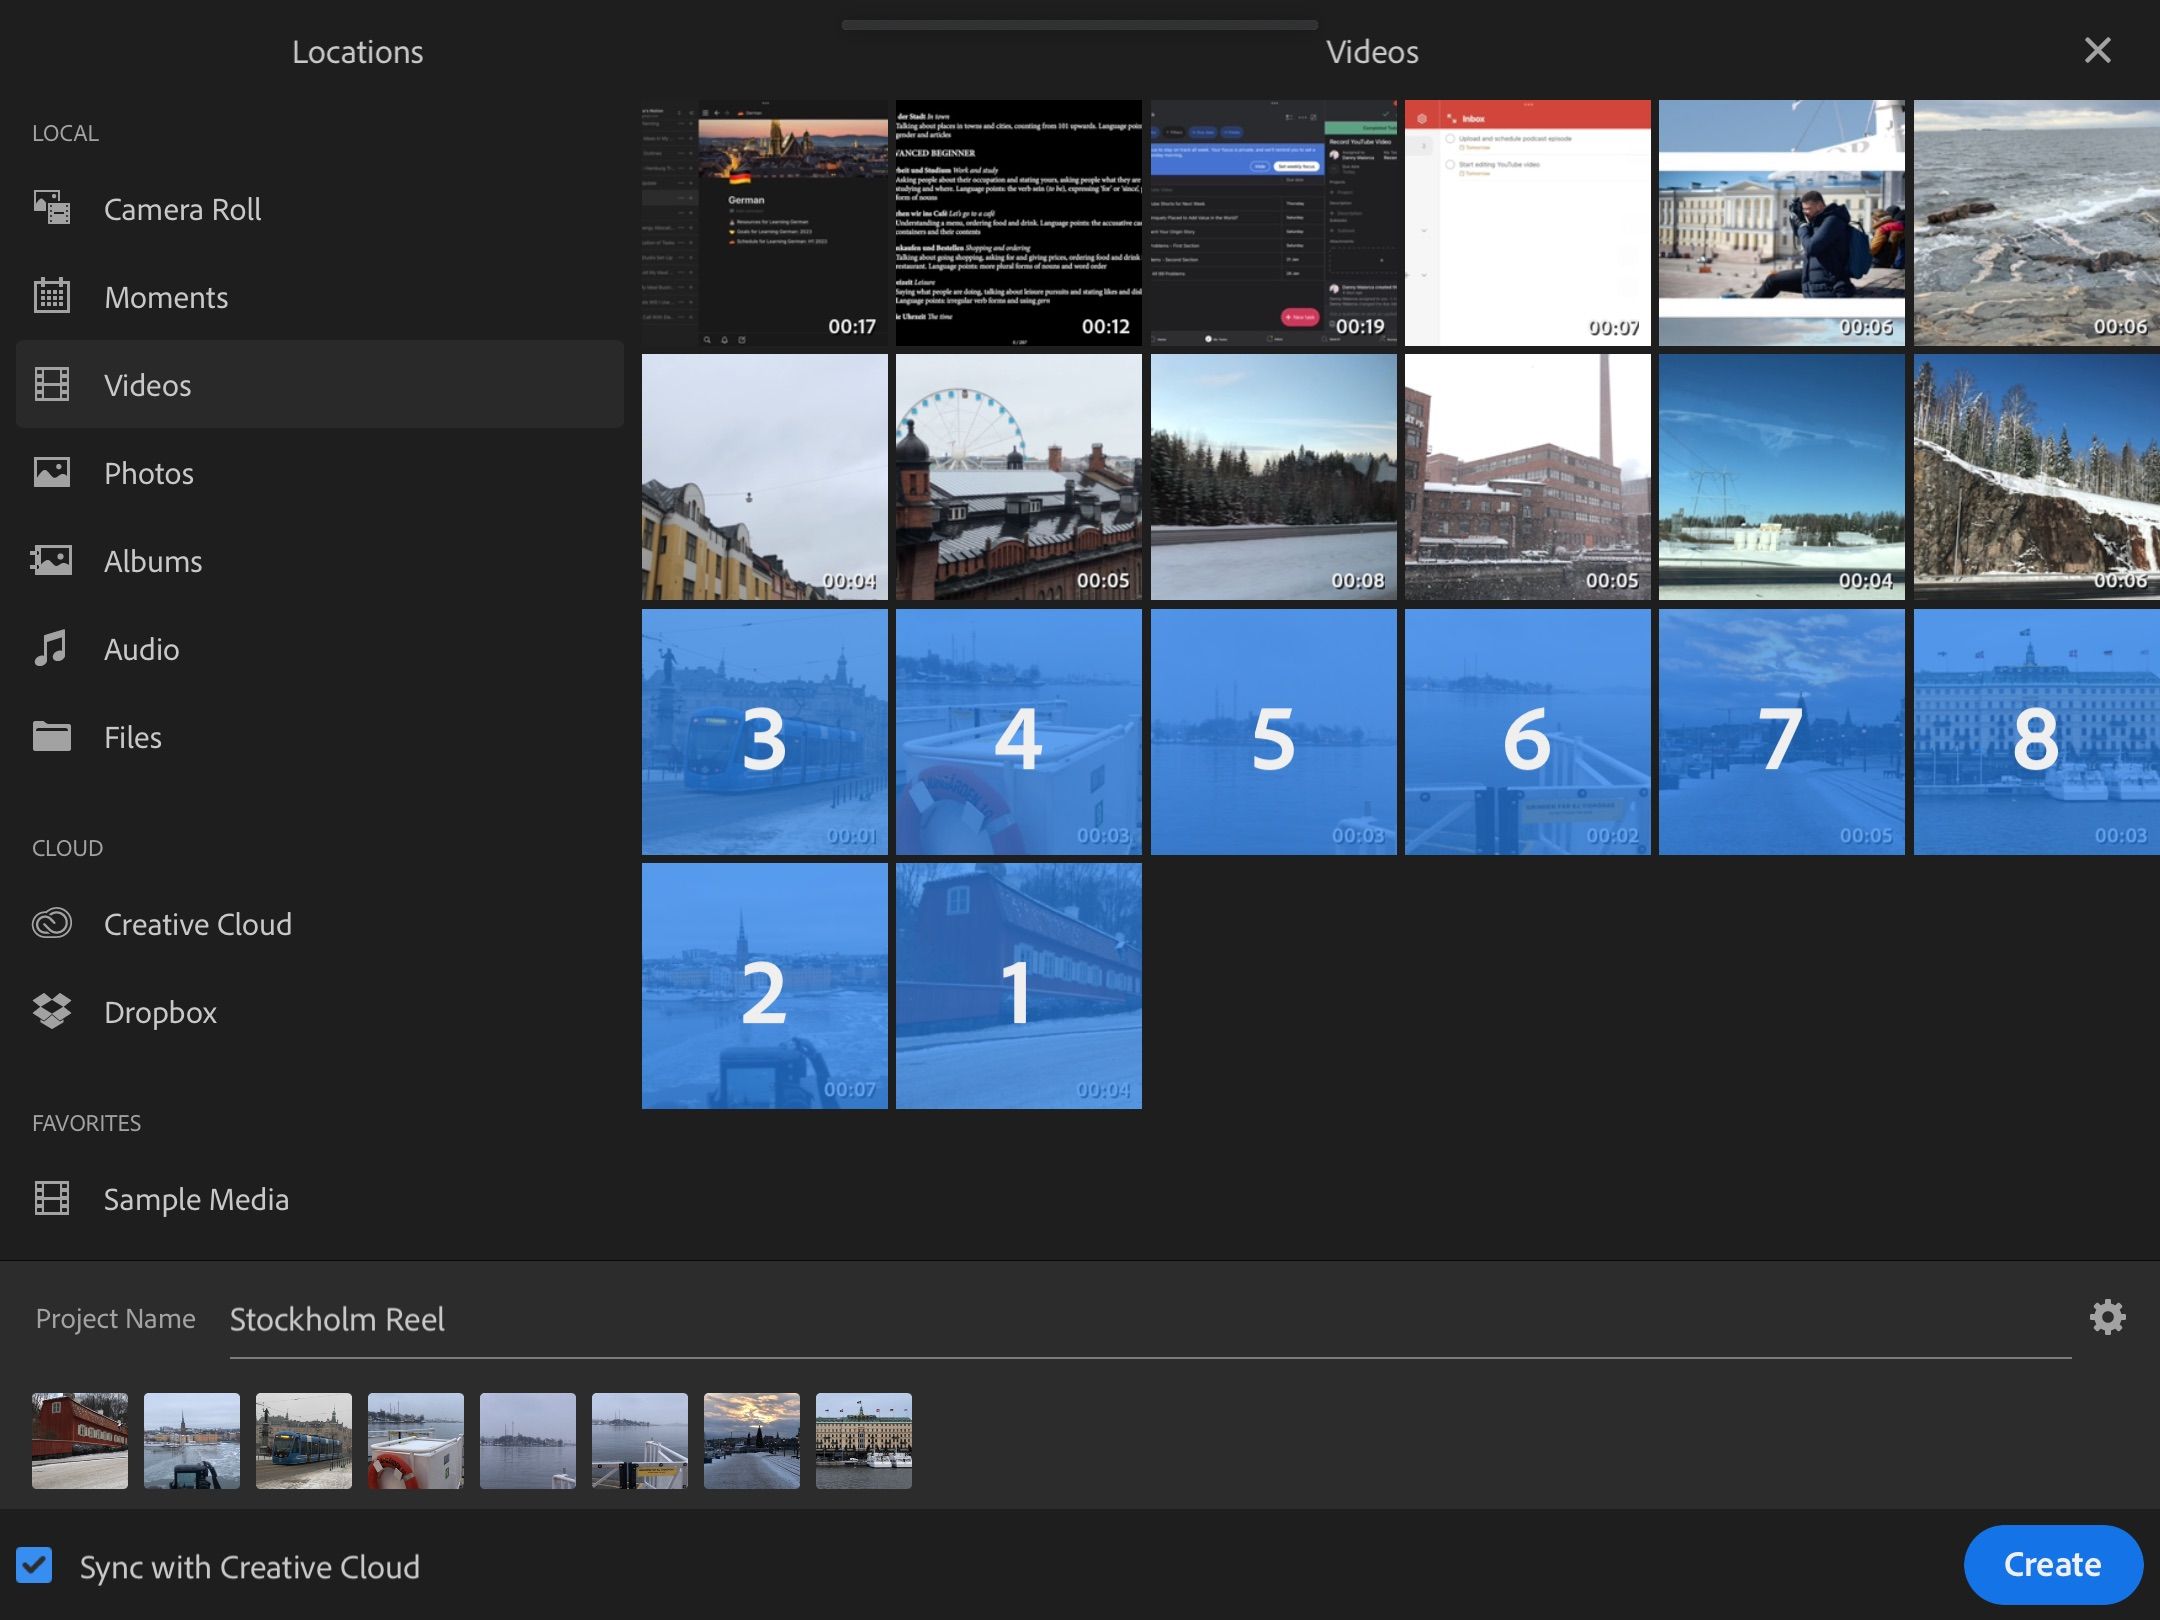
grab the+icon and choose eitherAdd MediaorTake Video or Photo, depending on what you want to do.
After selecting the clips that you want to import, give your project a name and hit theCreatebutton.
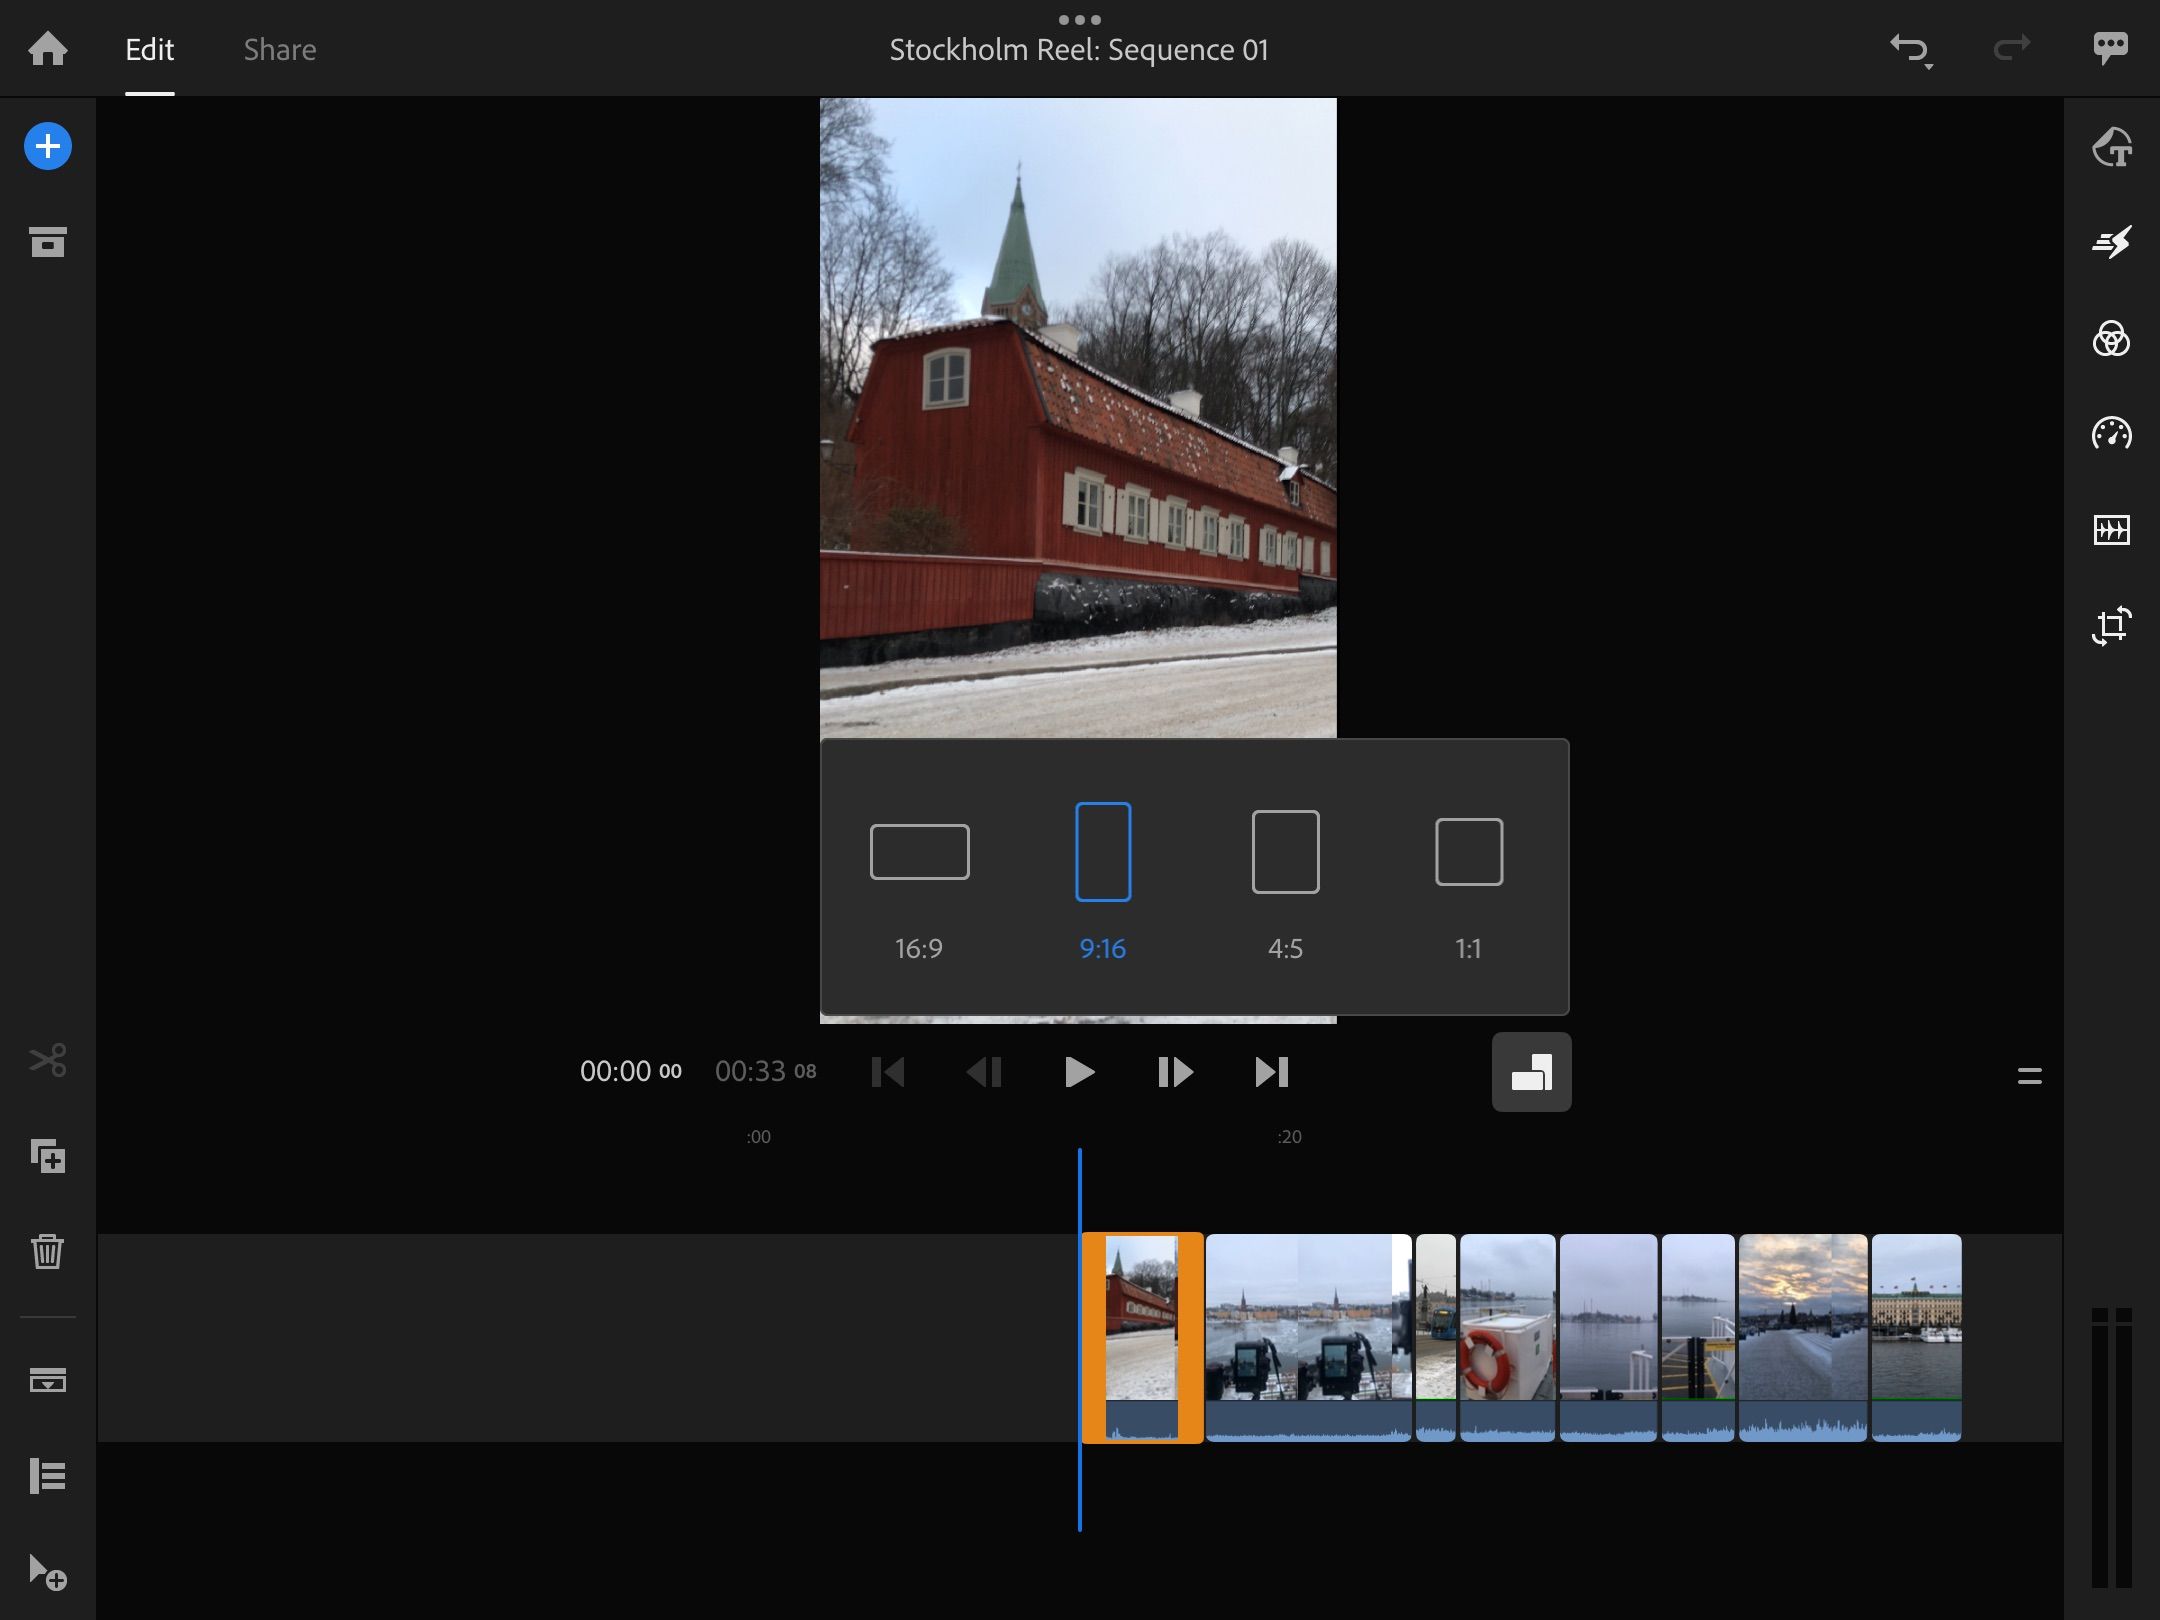
Select9:16from the options available.
Repeat this process for all the clips in your video before moving on to the next step.
Once youve done that, remove the bits that you want to take out.
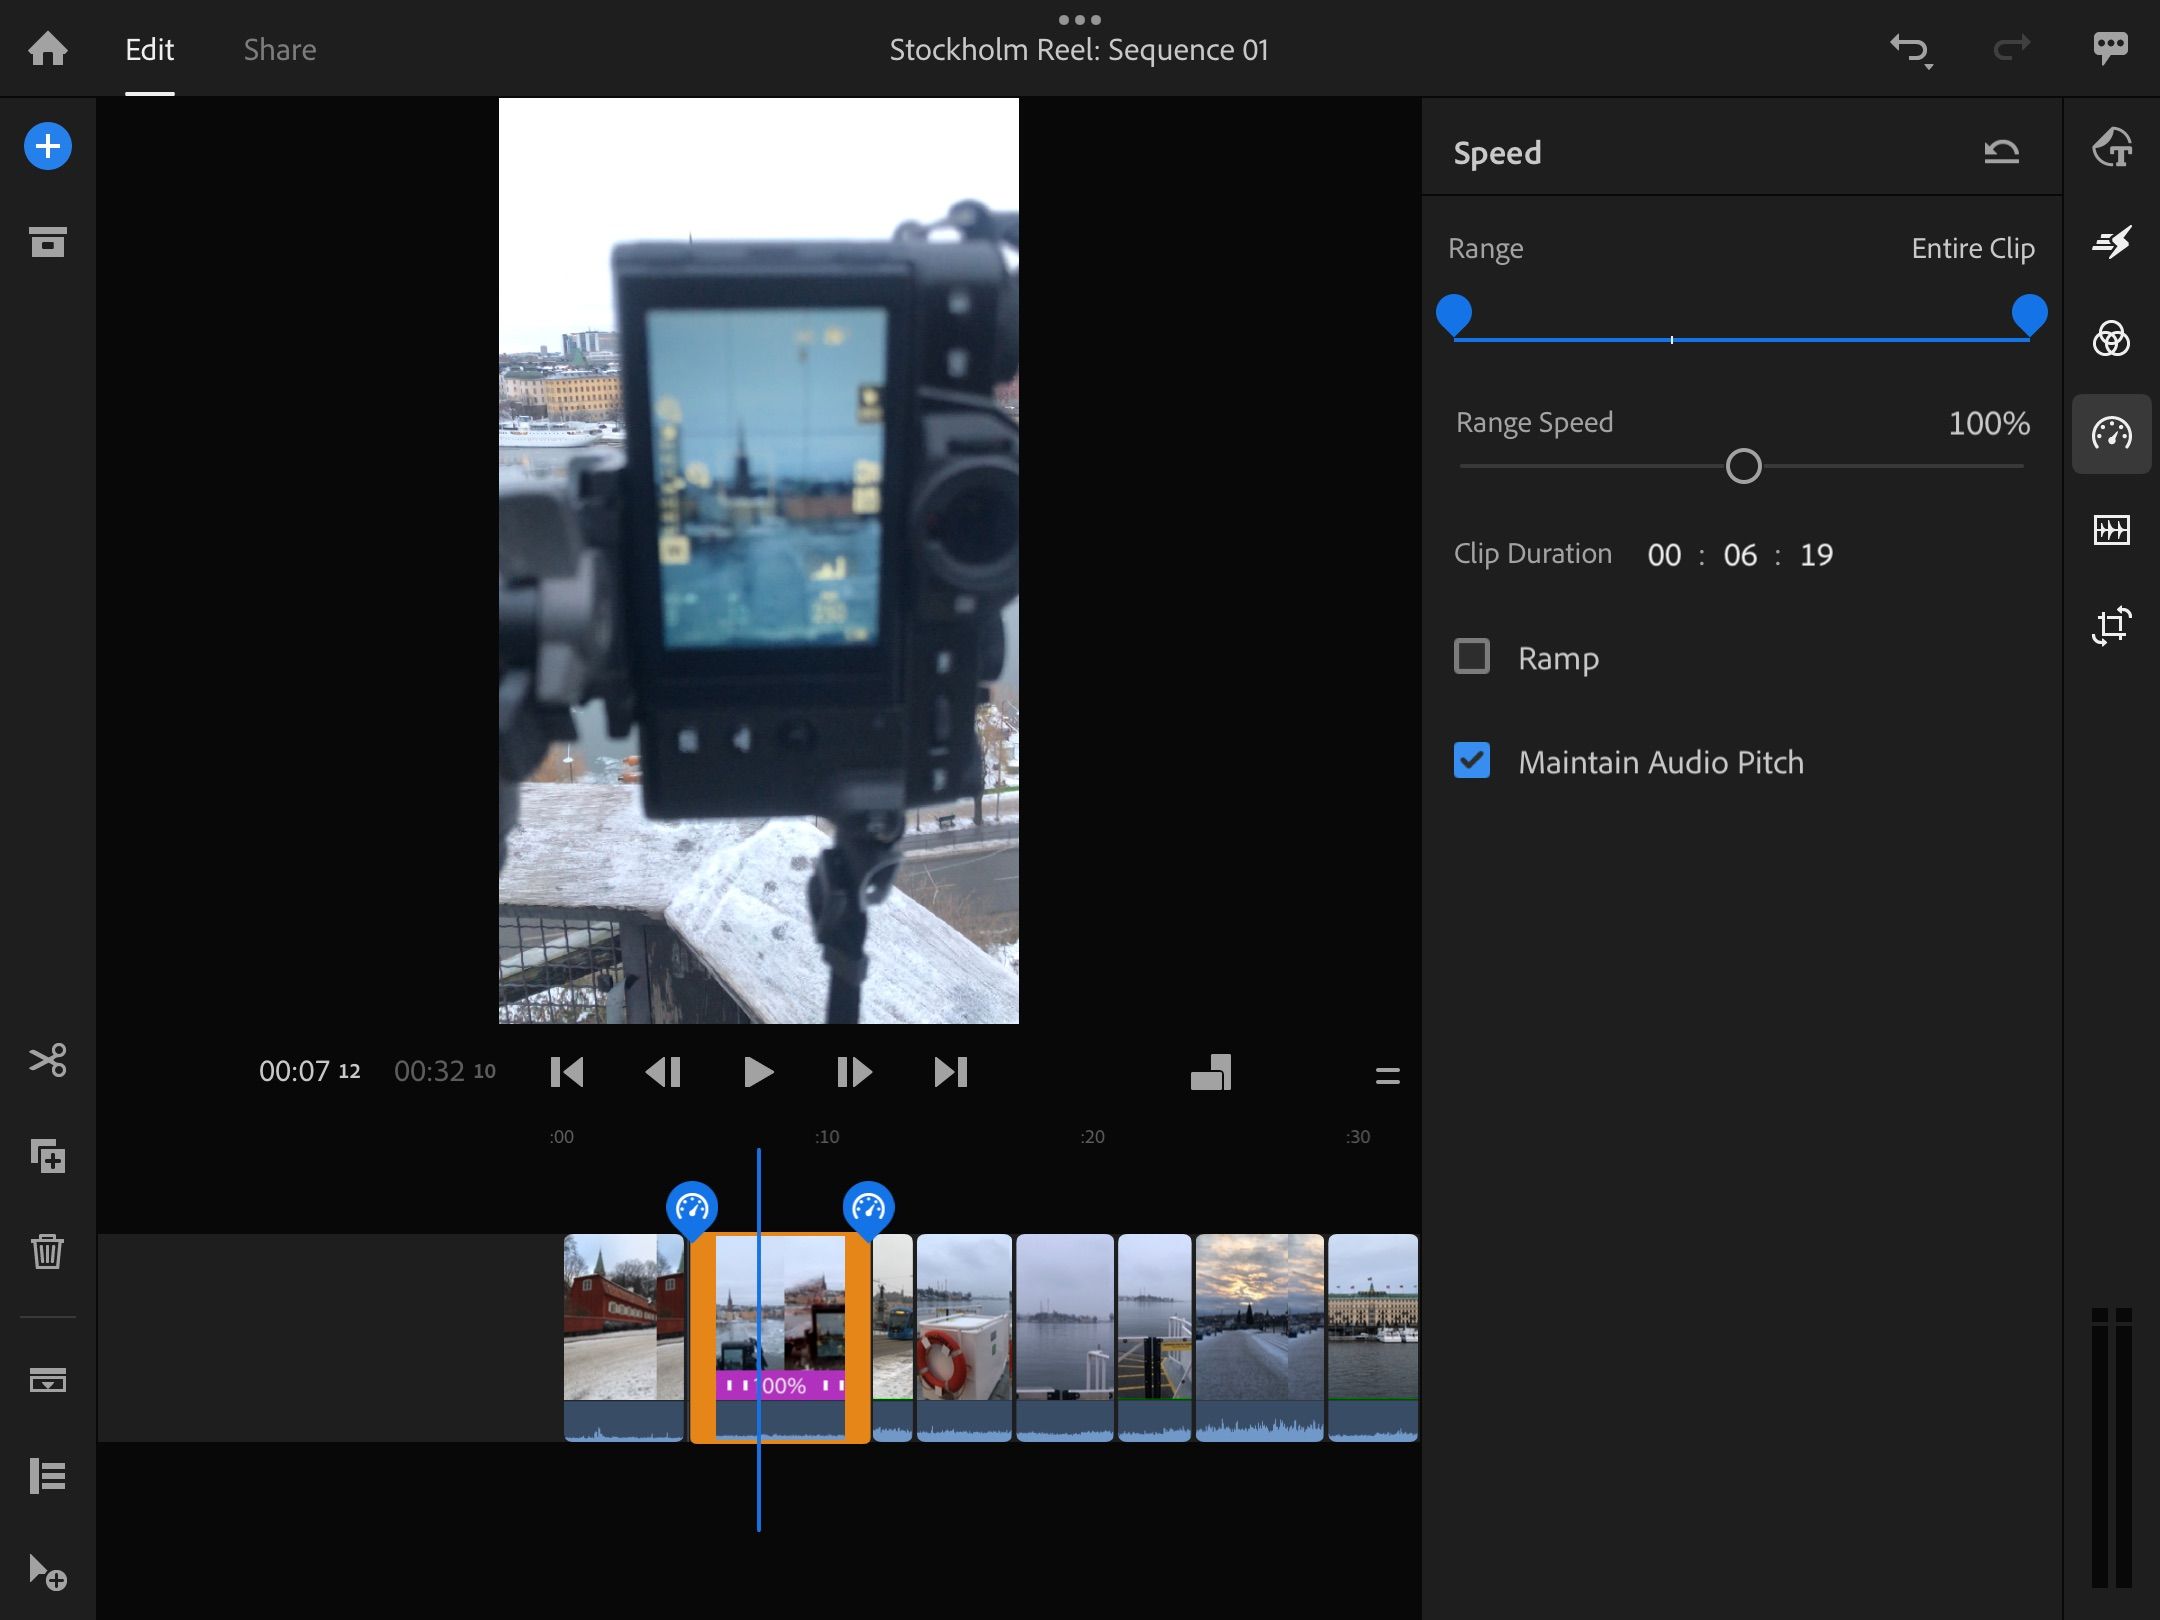
Change the Speed
Sometimes, you might want to change the pace of your short-form video.
For example, you may find that your voice wasnt at the desired speed.
Repeat the process for each clip until you achieve your desired result.
Then opt for audio and hit theDeletebutton.
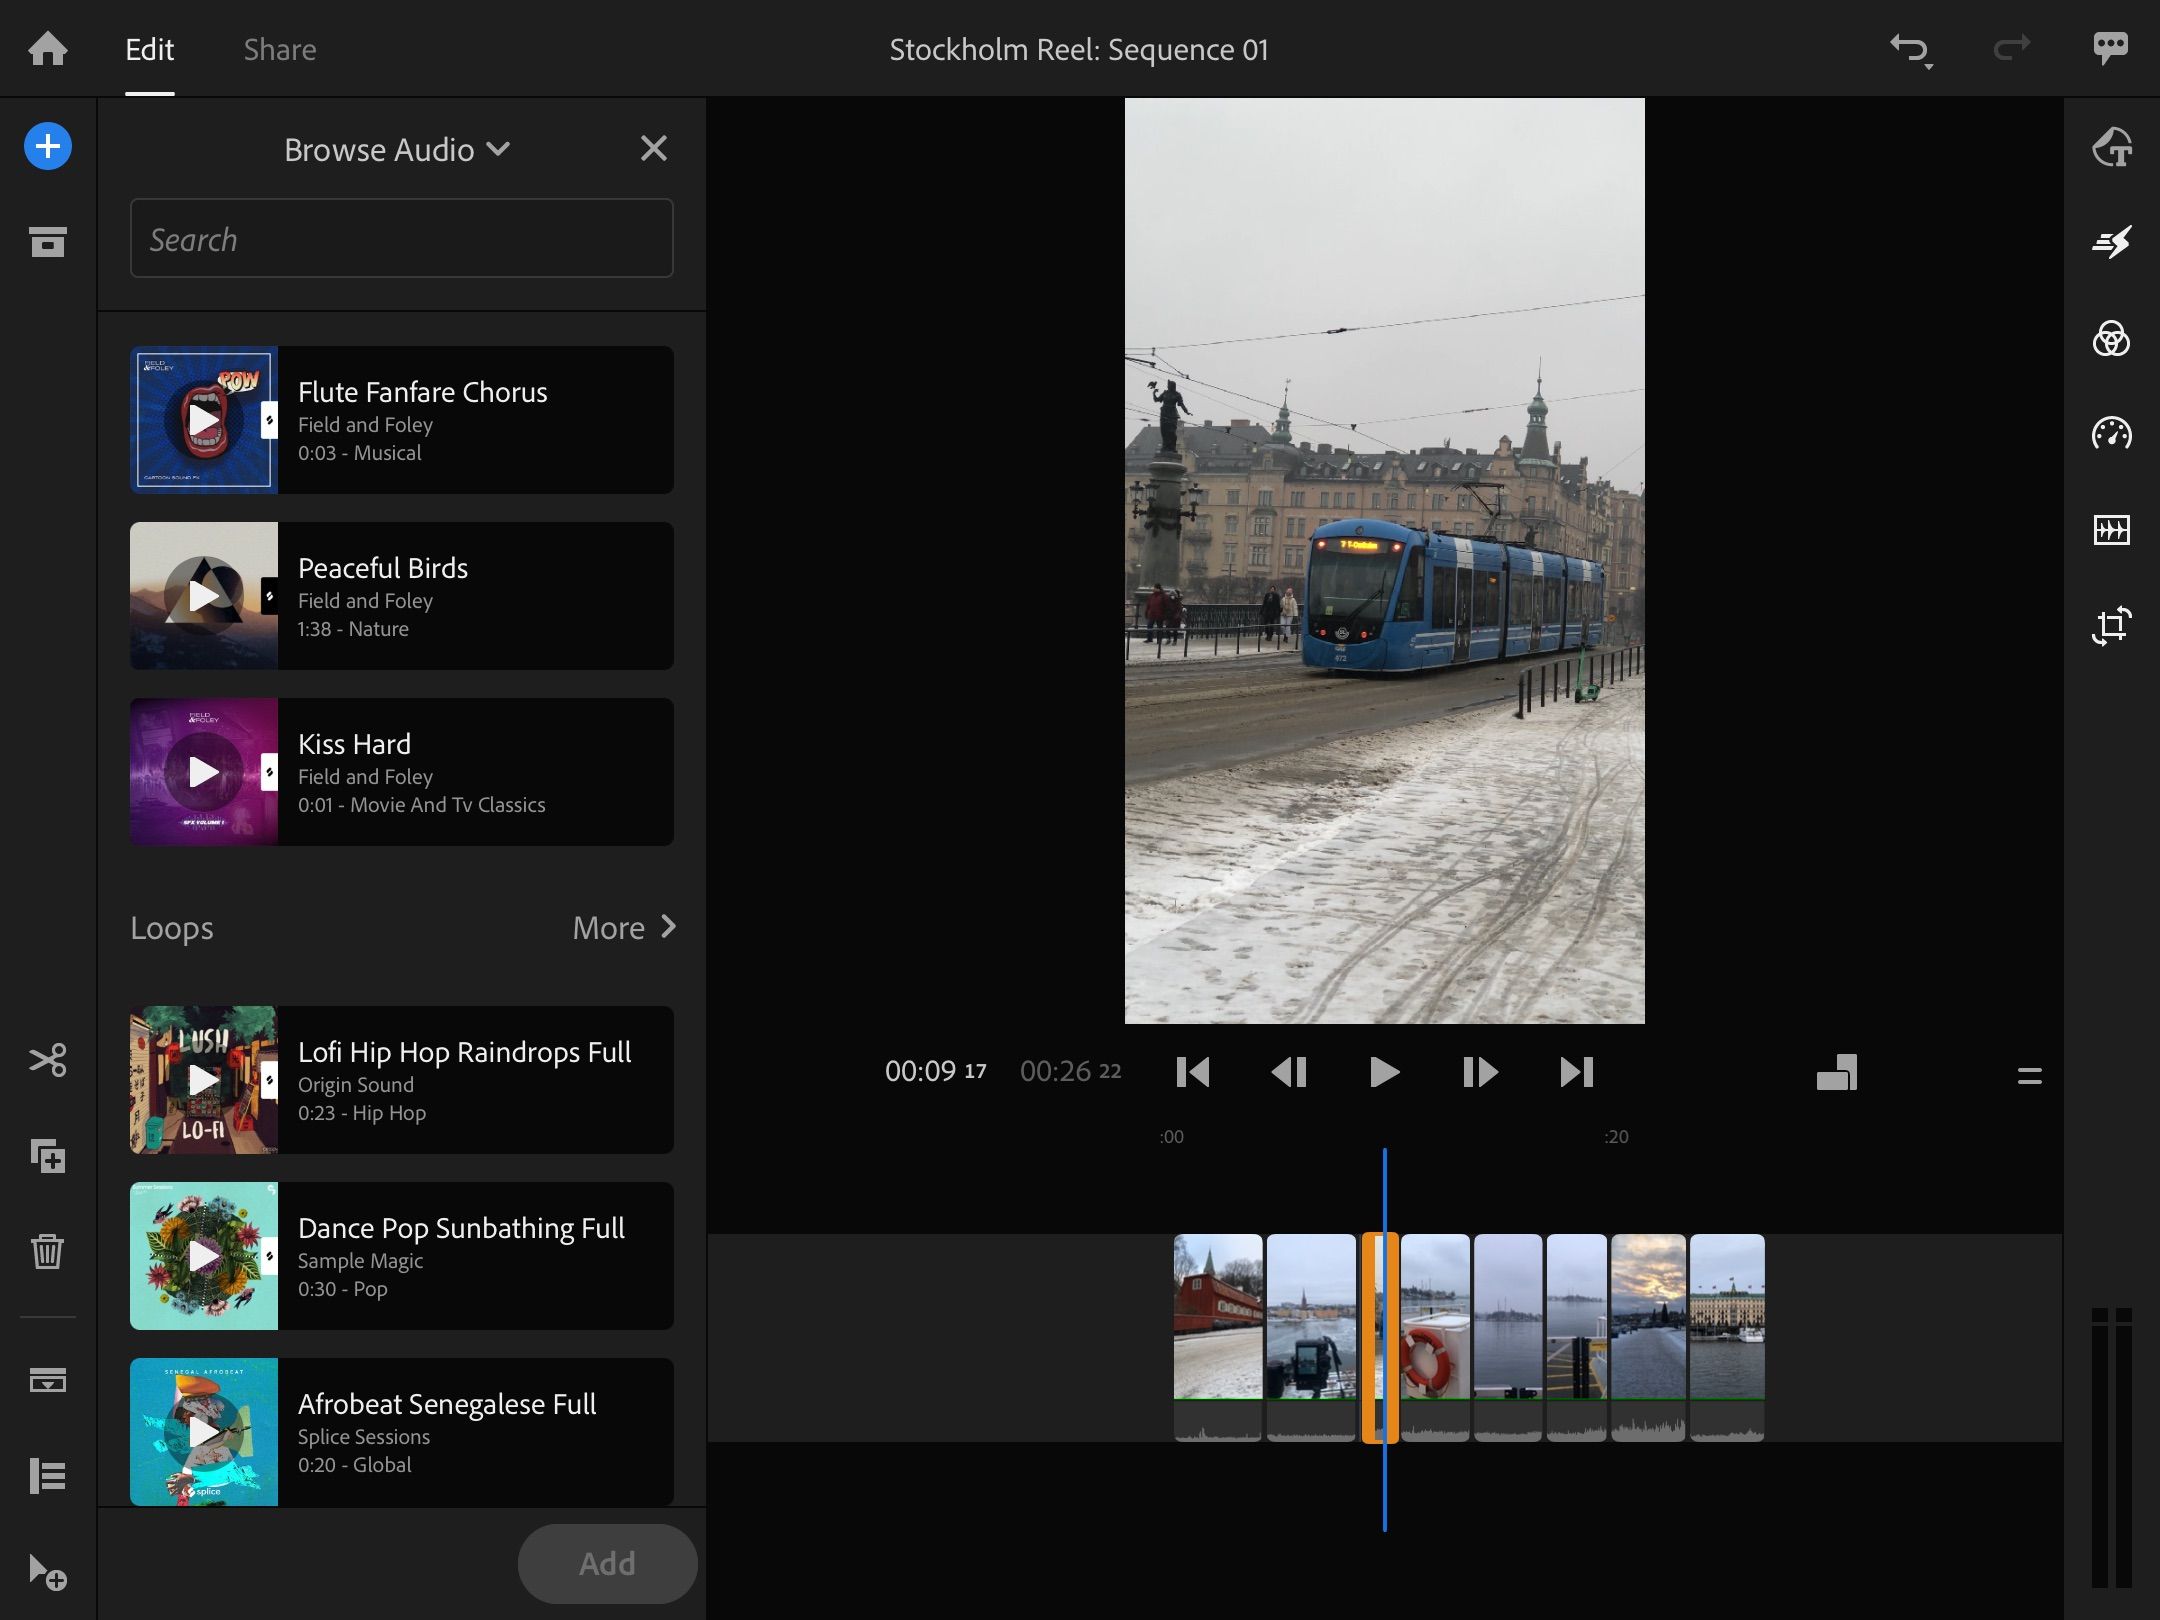
you could add multiple kinds of audio, including music and voiceovers.
punch the+icon and pick what you want to add; for things that arent voiceovers, chooseAudio.
Then, go for the sounds you want to include and hit theAddbutton.
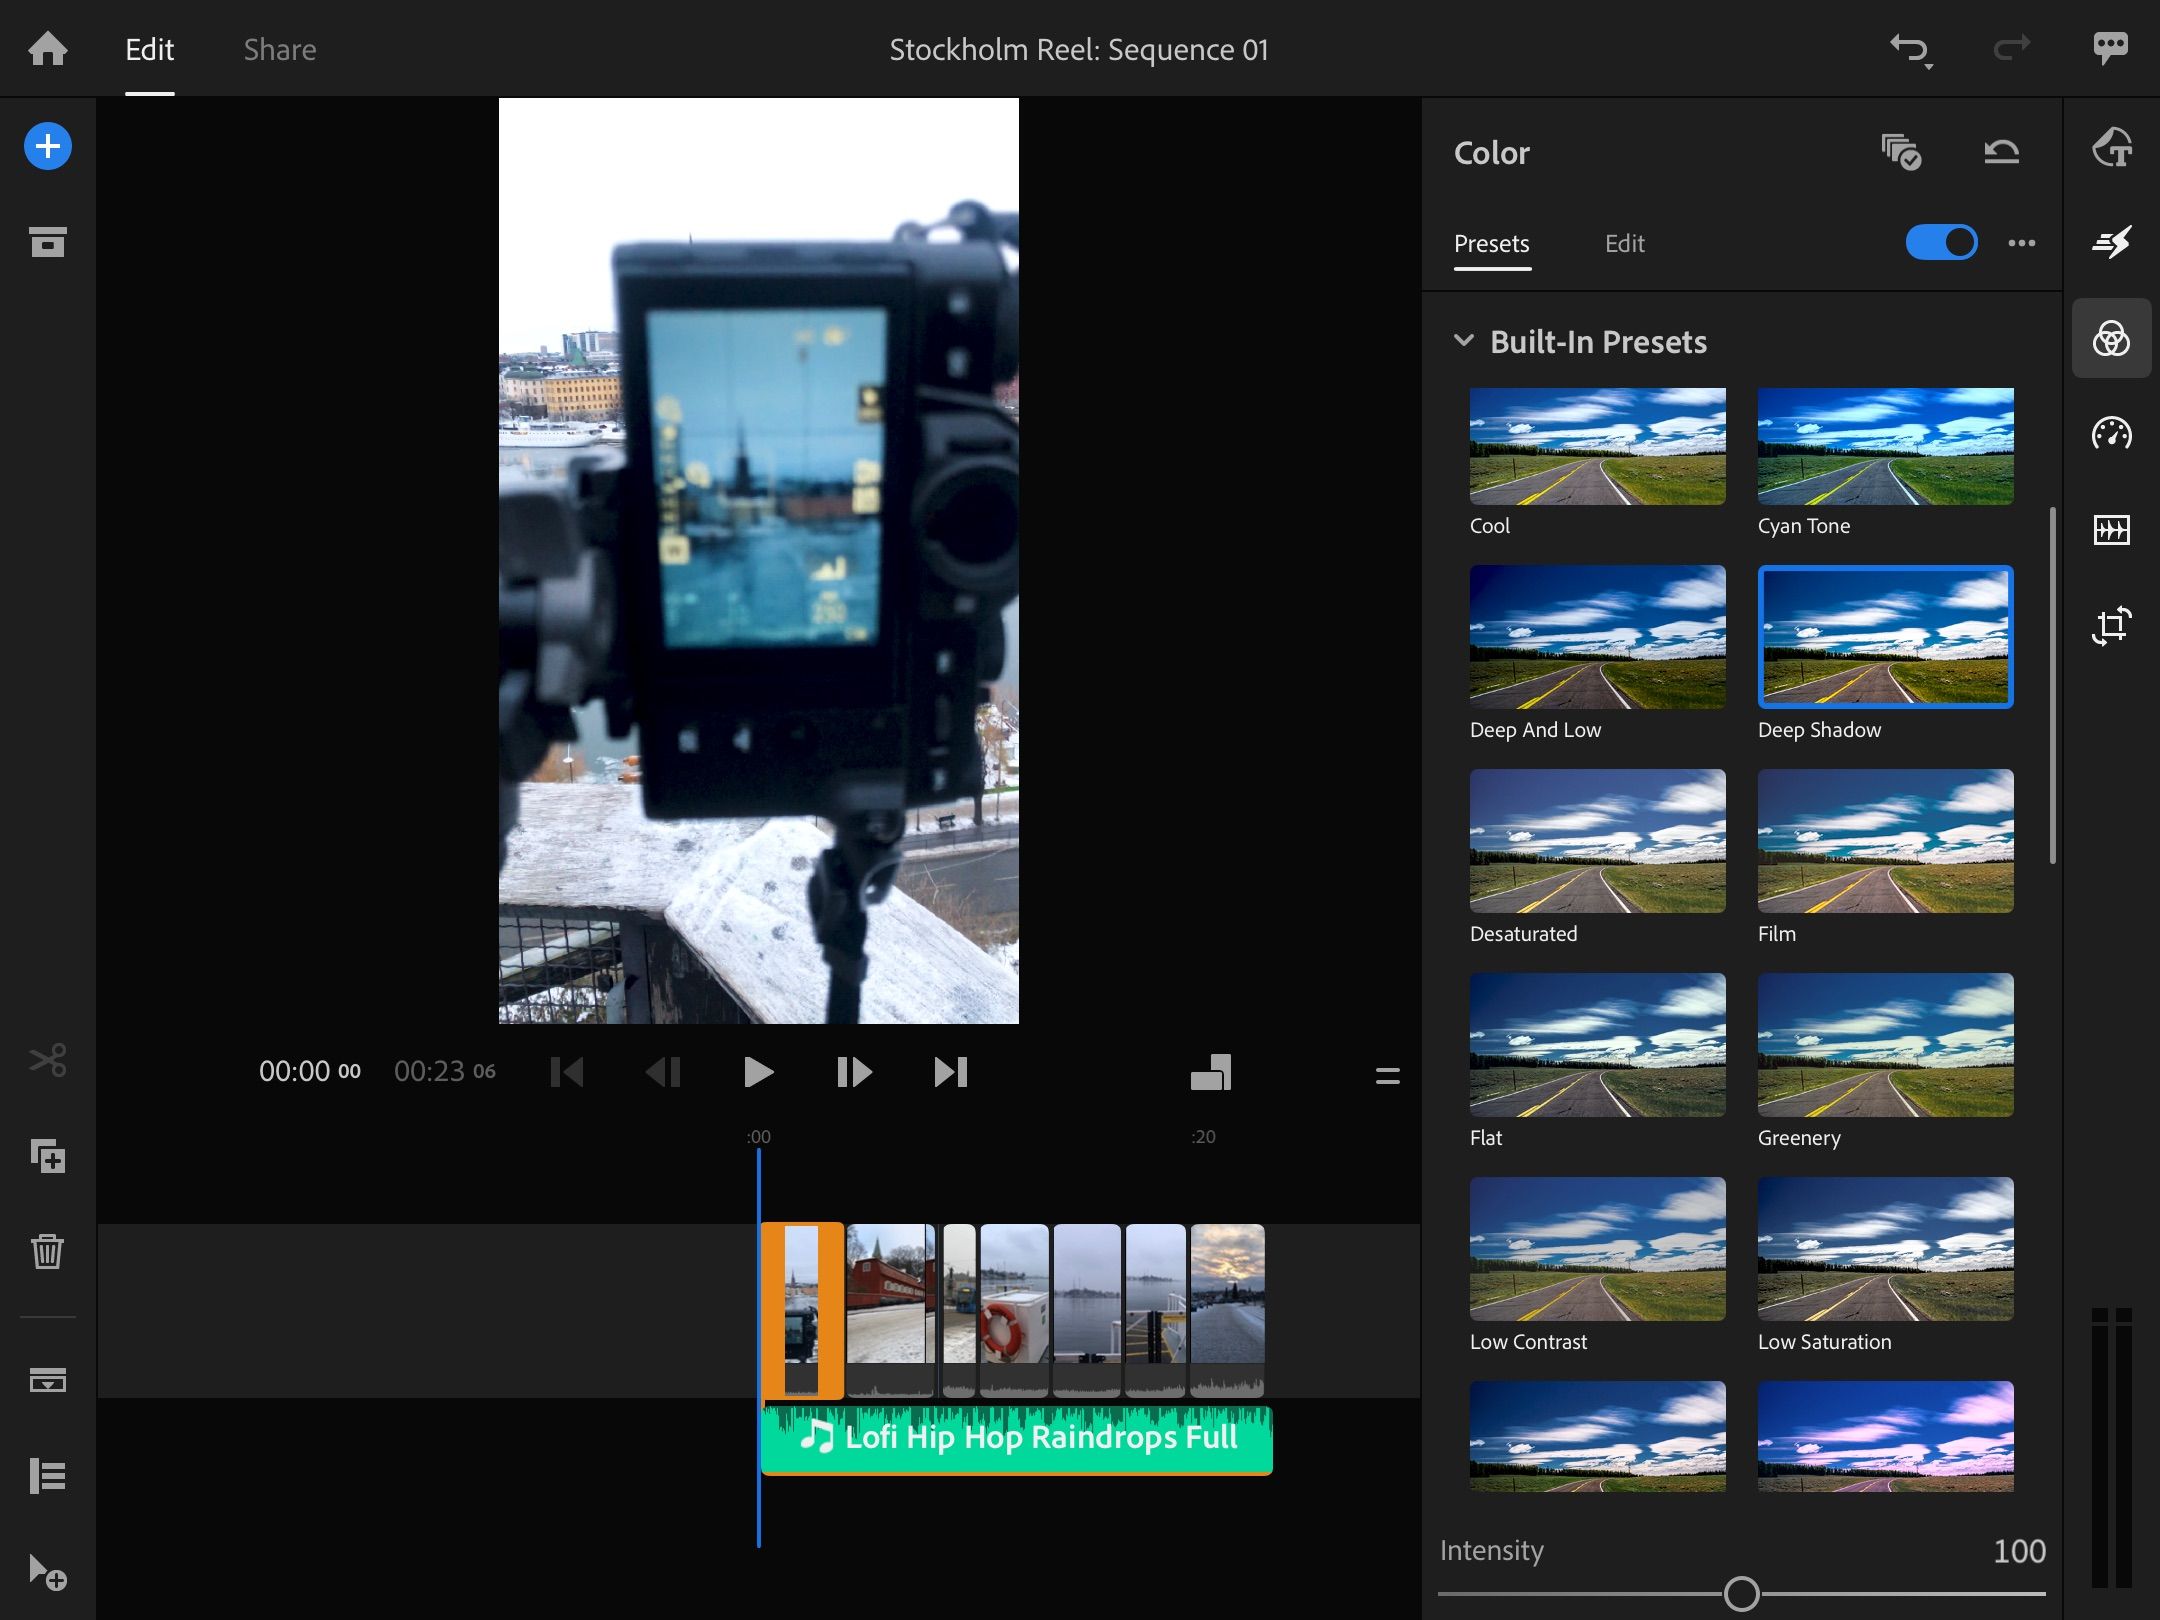
it’s possible for you to make multiple adjustments, including changes to your vibrance and saturation.
Moreover, you might alter the tint and temperature.
Alternatively, you’ve got the option to add presets.
Regardless of your choice, go to theColoricon.
To make your own adjustments, select and adjust the sliders as you feel is necessary.
To add presets, hit thePresetstab instead.
it’s possible for you to also add presets for later by selecting the three dots and hittingCreate Preset.
In the Color section, you also have the option to make adjustments related to lighting.
For example, you’re free to tweak the exposure and contrast.
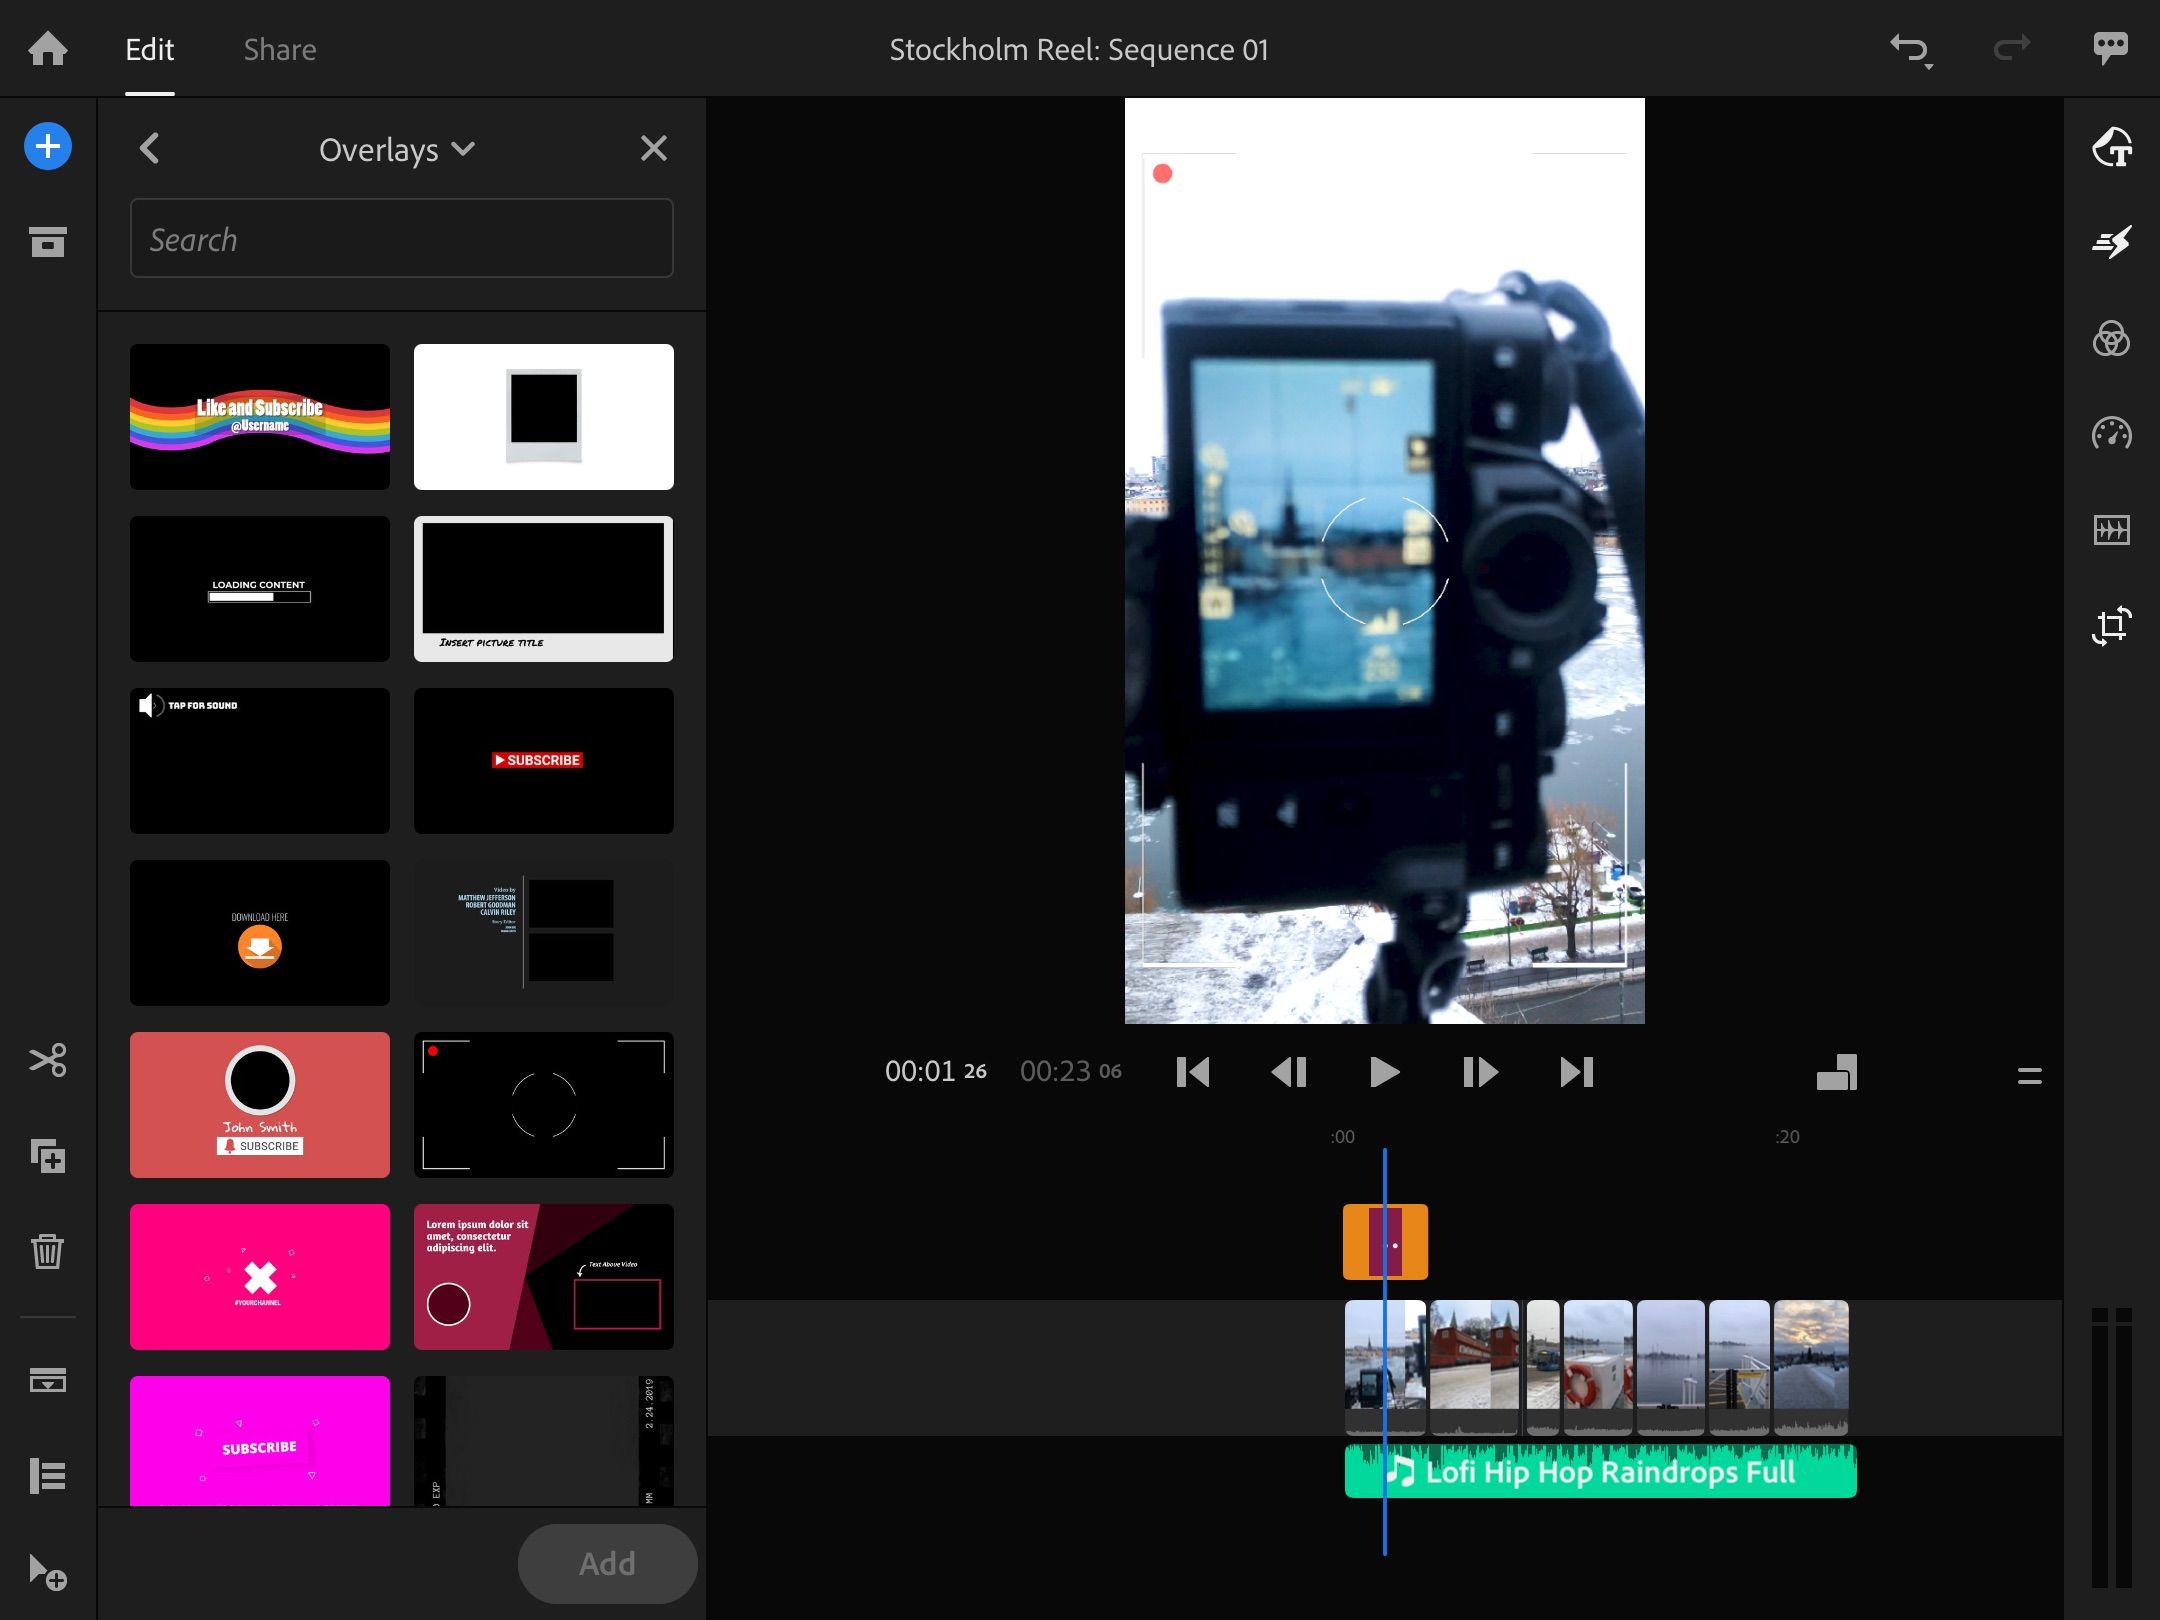
If you want to add graphics, doing so is pretty straightforward.
Go to the icon with the letterTand selectAdd Graphic.
you’ve got the option to choose from titles, transition graphics, and overlays.
Once youve found what youre looking for, select it and hit theAddbutton.
To do this, youll need to export your content from Premiere Rush.
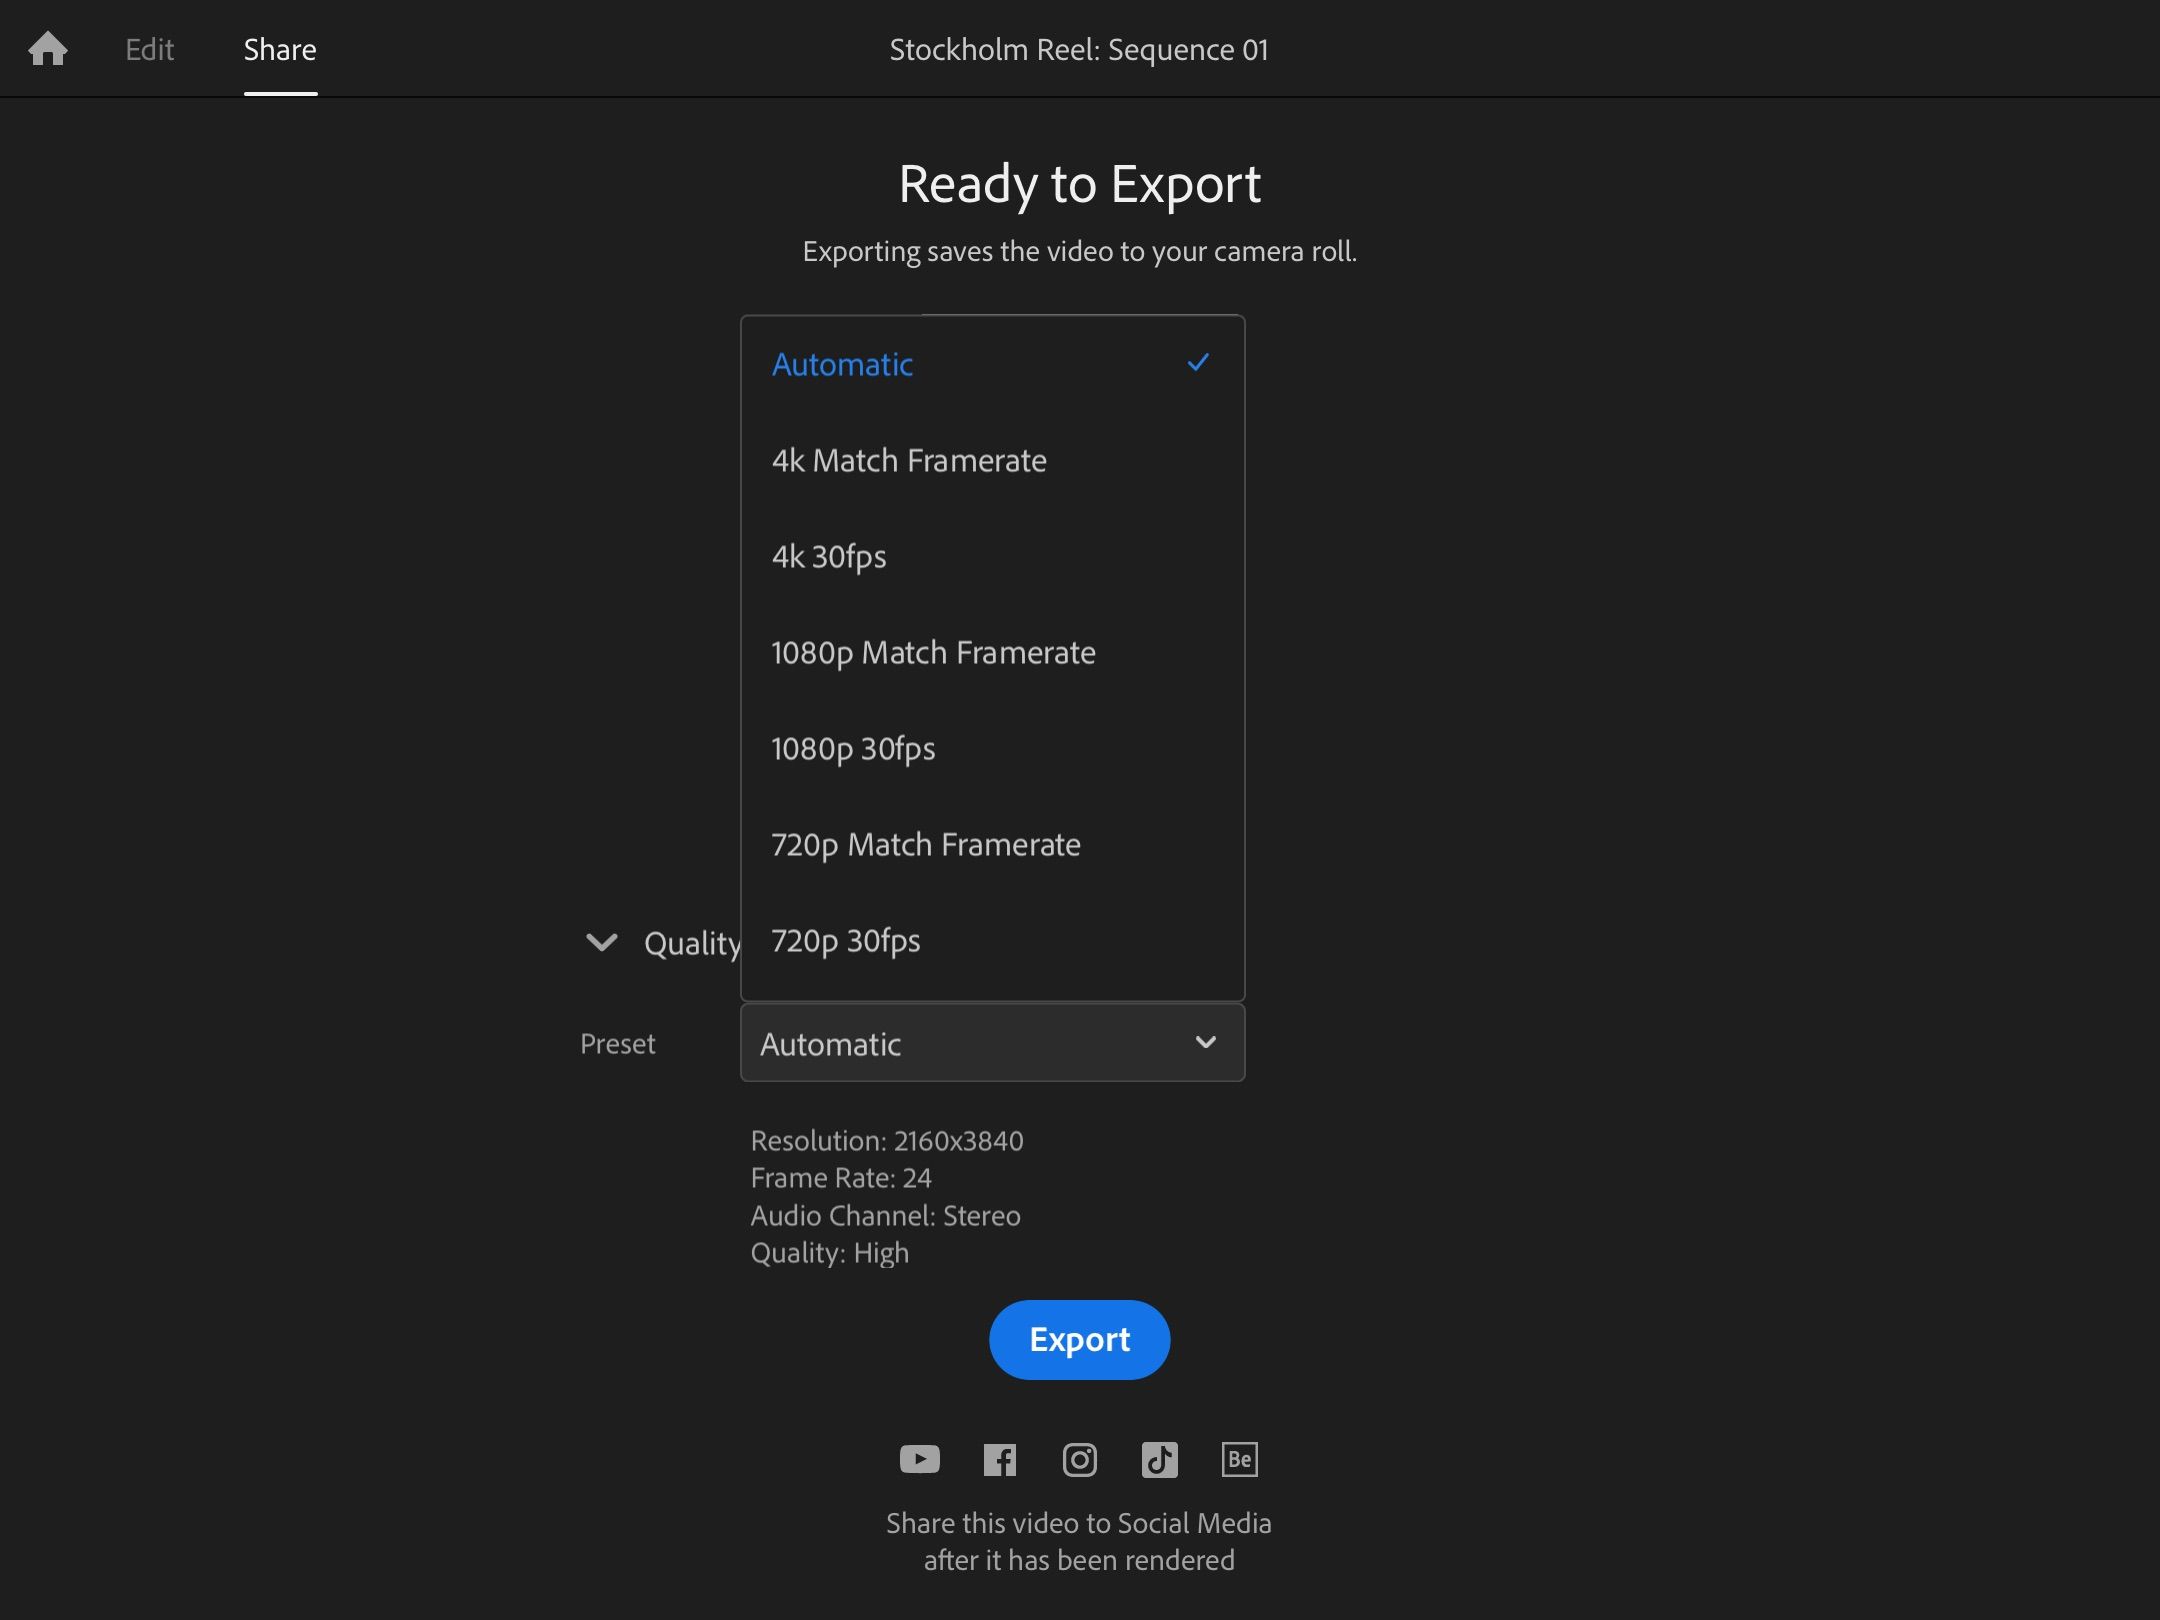
To begin exporting your video from Premiere Rush, go to theSharetab.
Expand theQuality Settingsdropdown menu.
Here, you’re free to choose the desired frame rate by expandingPreset.
Select whichever fits your needs the best.
Hit theExportbutton when youre finished.
Your video will begin rendering.
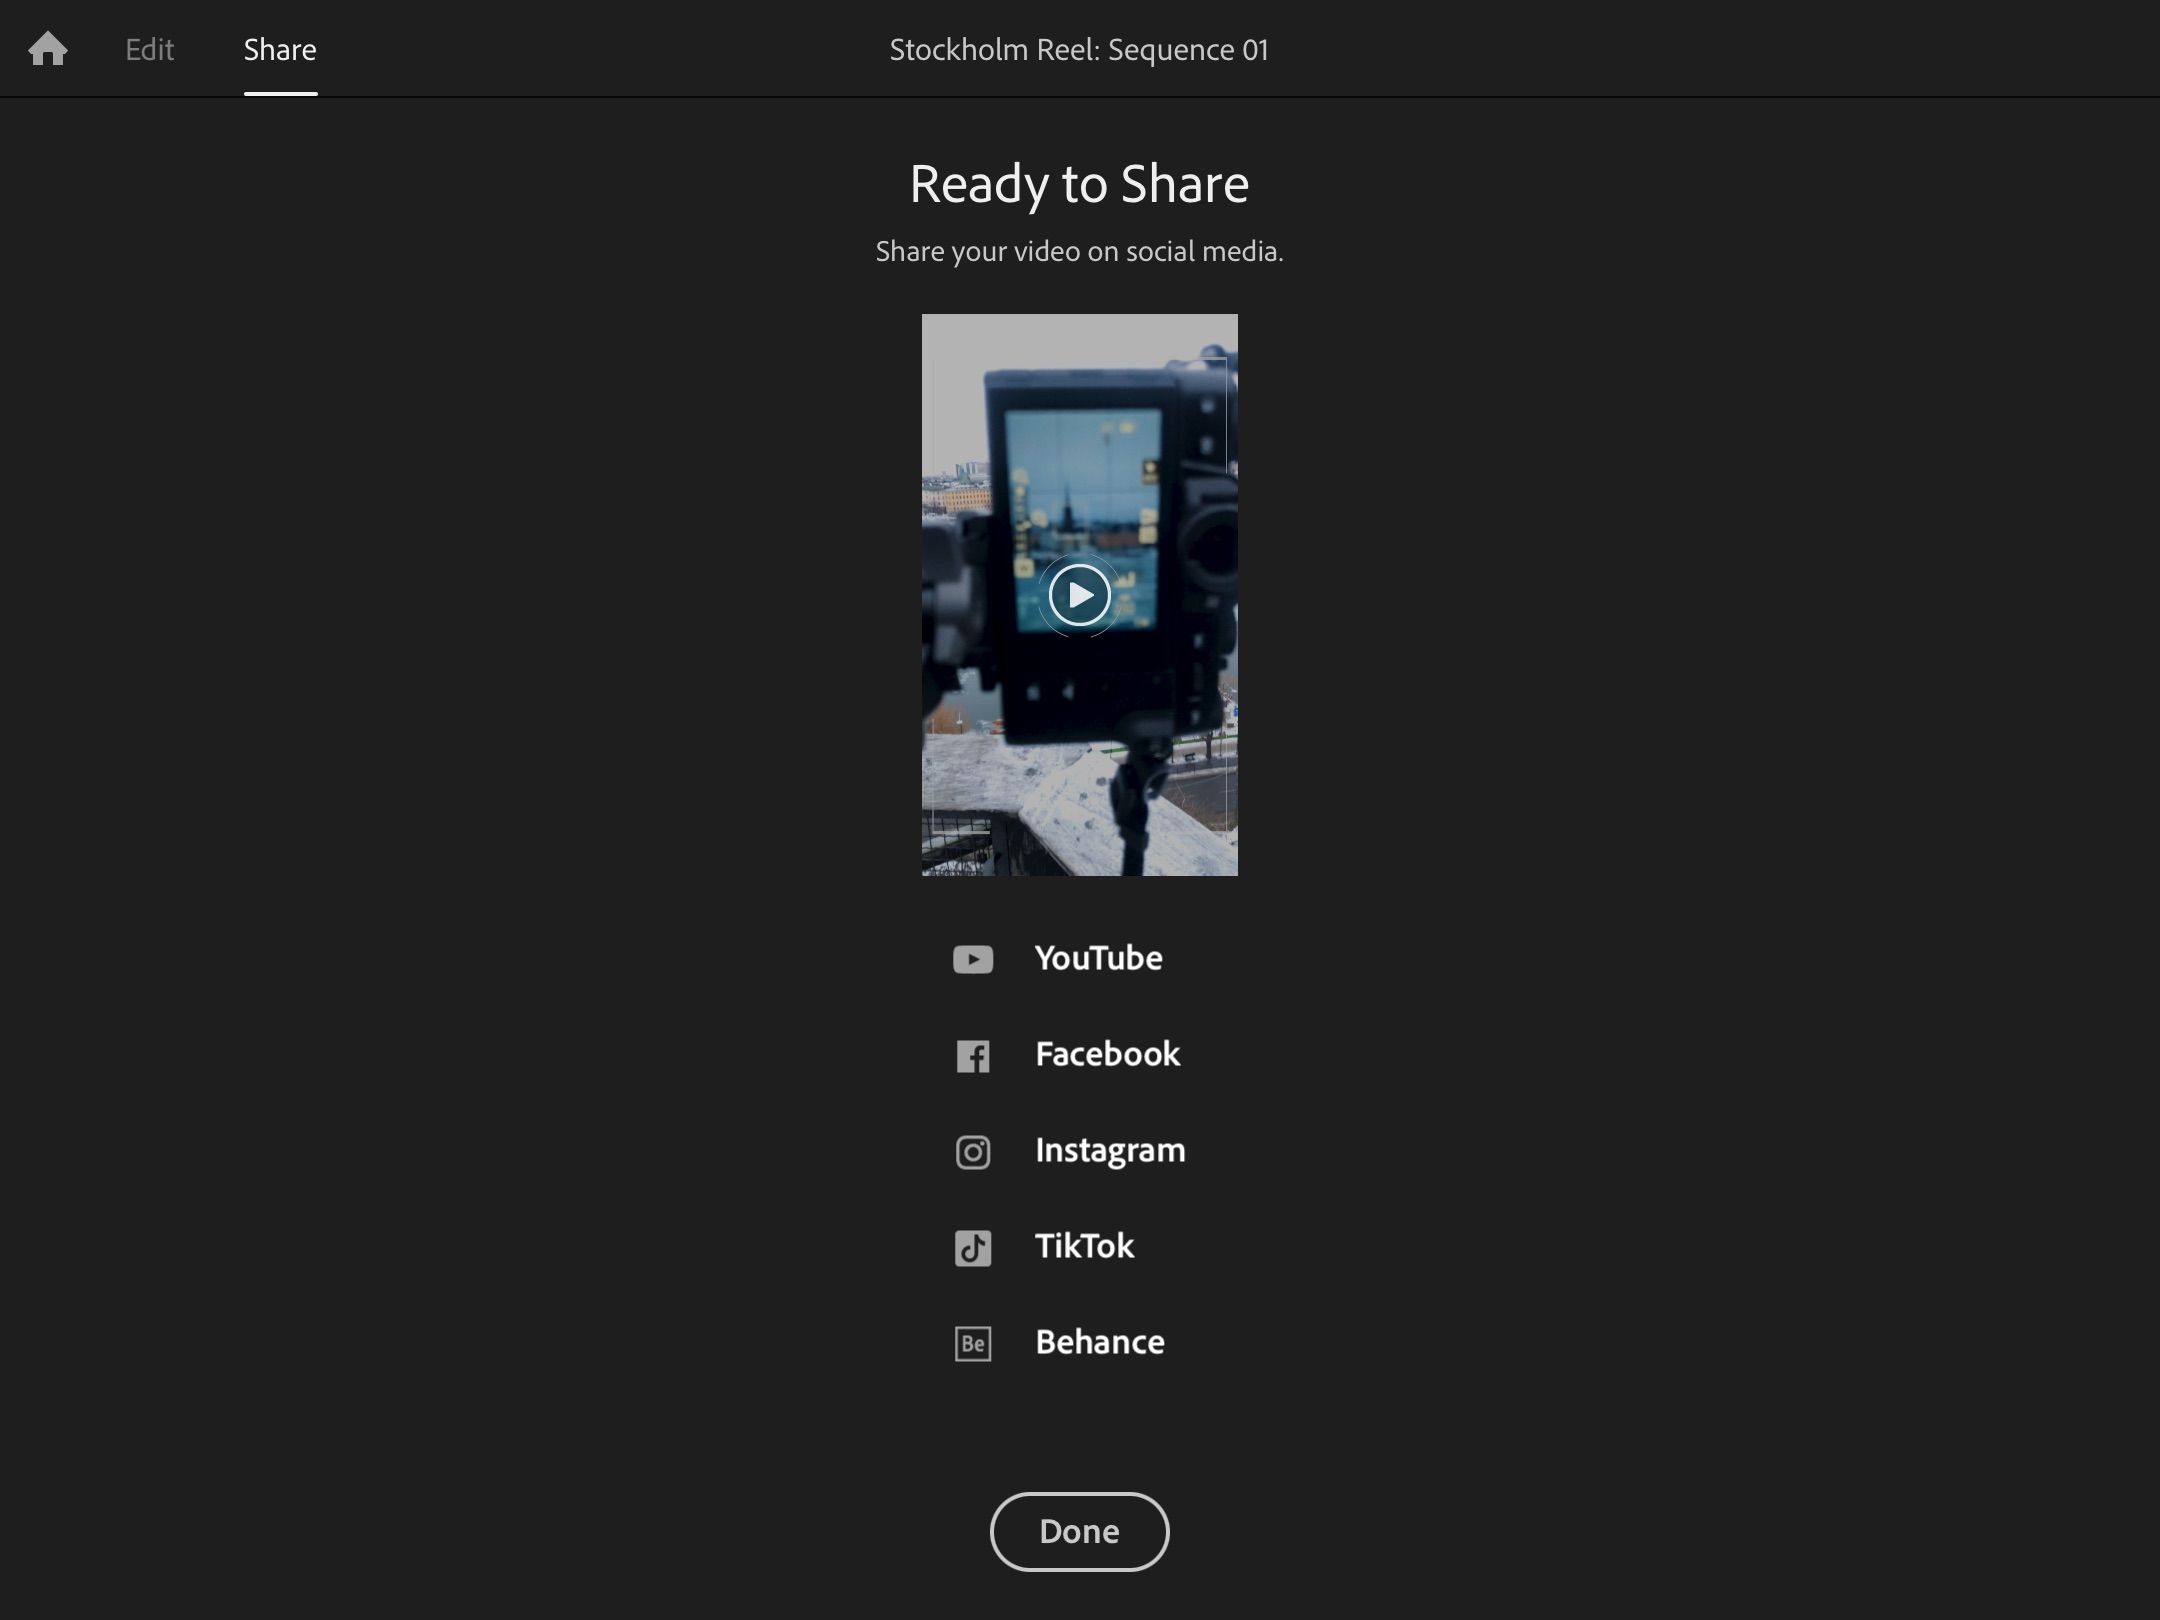
After your video has finished rendering, youll find it in your camera roll.
From there, you’ve got the option to share it on social media.
If you select one of the social media platforms, the app will redirect you to that website.
HitDonein Premiere Rush once youre finished.
Its easy to use and navigate, and youll encounter little to no issues when bringing your clips together.
