The light can make you look more youthful, and the colors are also superb for landscape shots.
Once you’ve captured your pictures, you might edit them to make them look even better.
You’re in the right place if you want to make the most of them for your pictures.

This article will show you how to edit golden hour photos in Lightroom Classic.
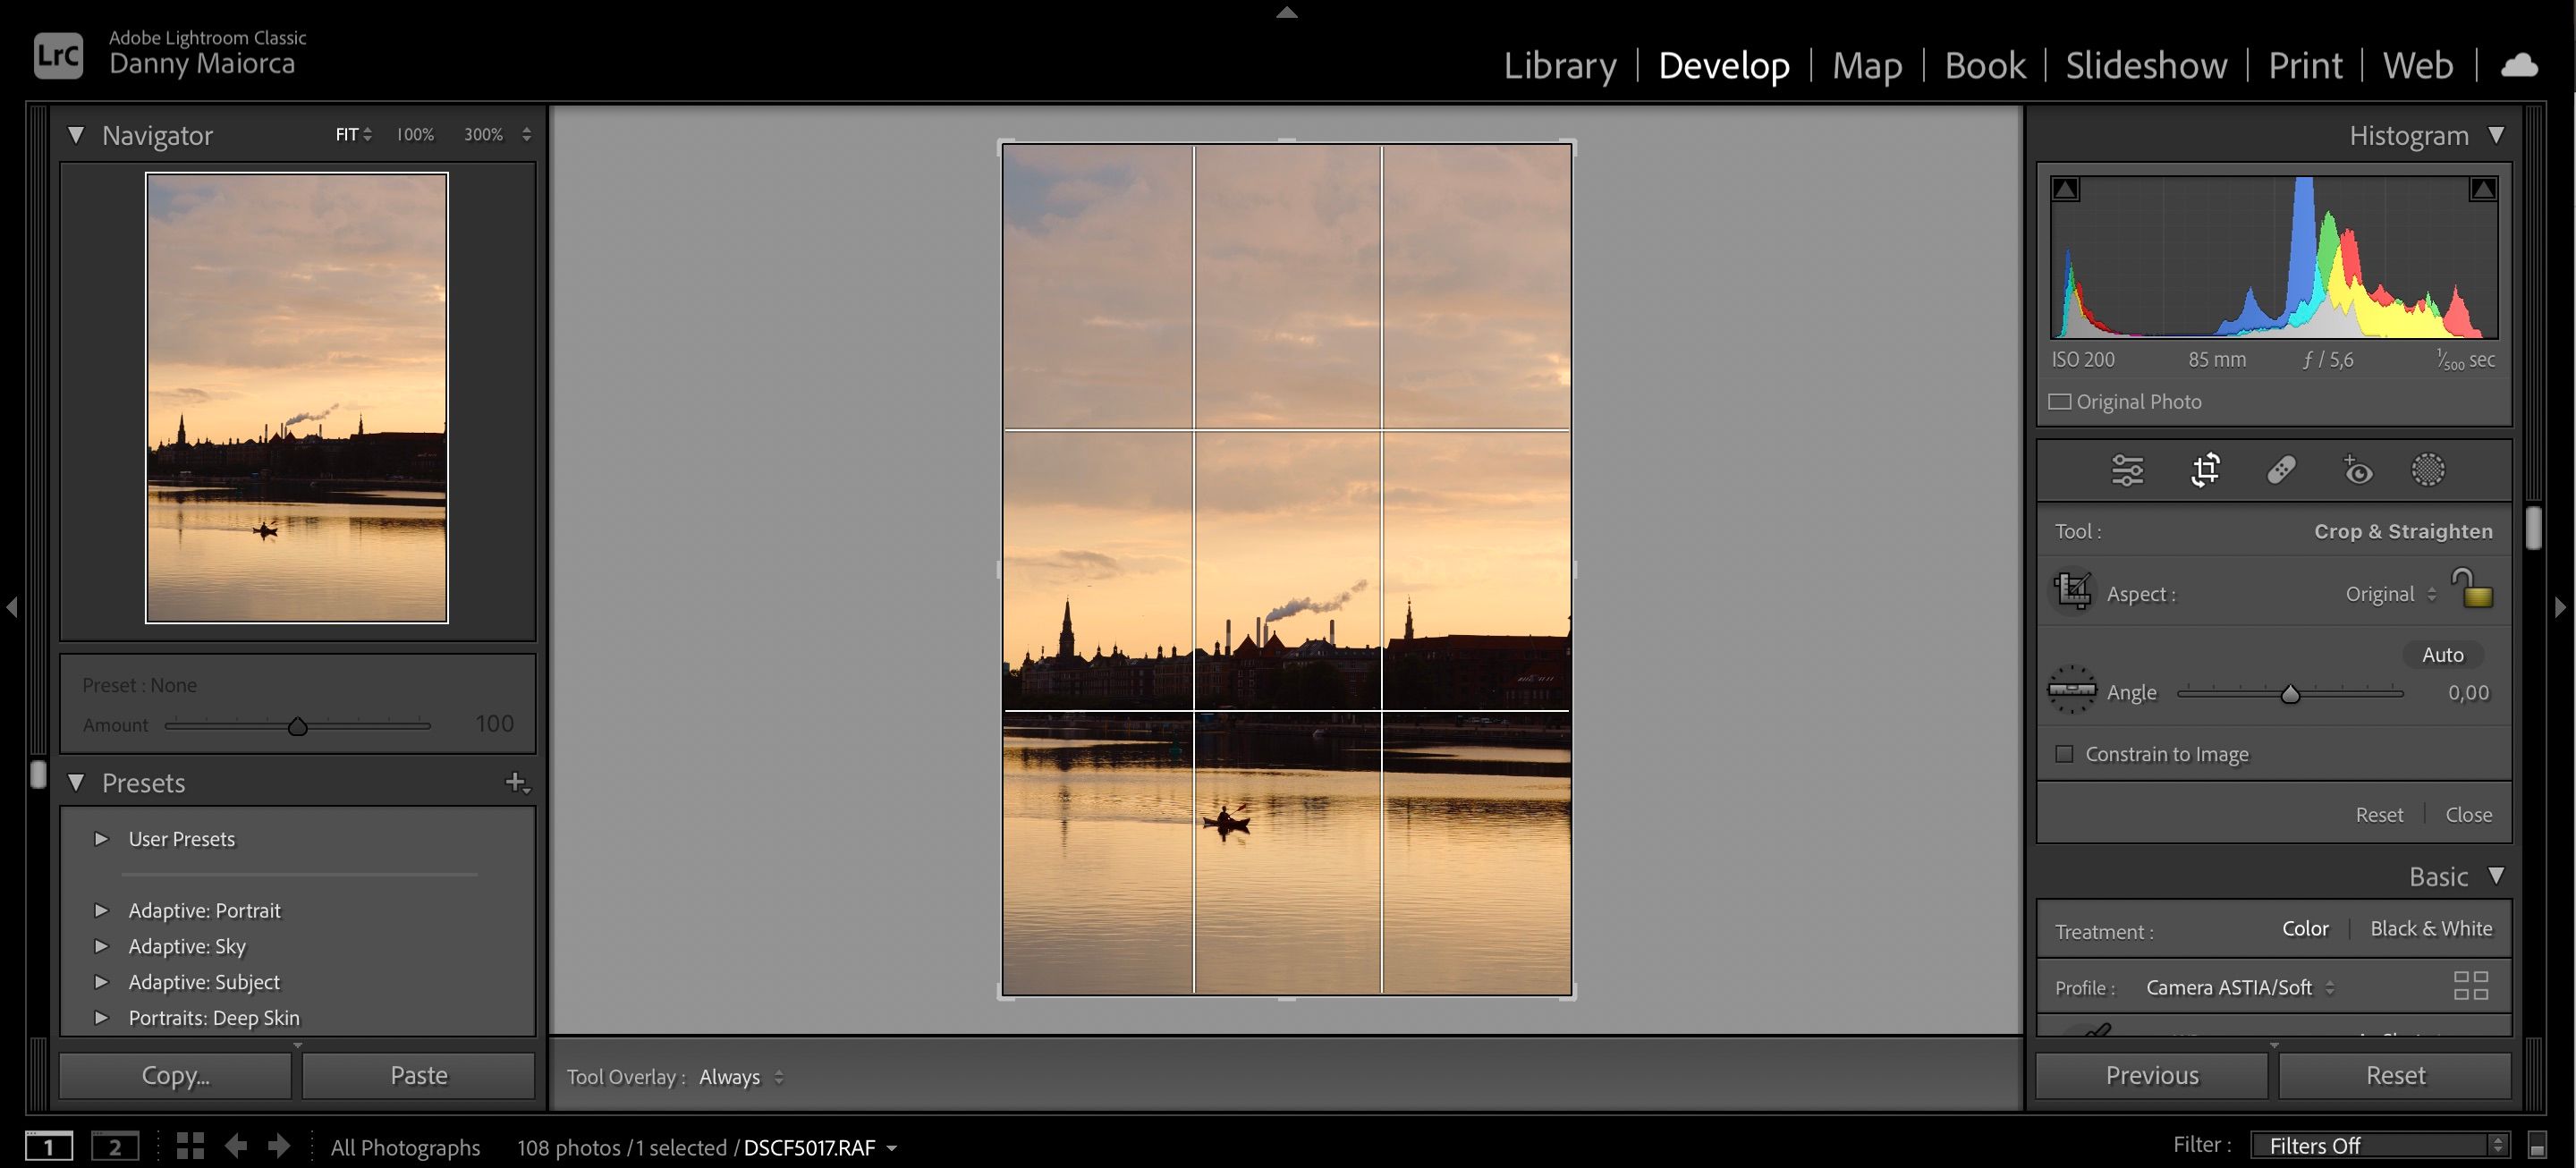
before you jump in navigating your way through the various sliders in Lightroom, choose a camera profile.
Ideally, you’ll want to pick a camera profile with softer colors.
In this instance, we’ll chooseASTIA/Soft.
Note that these profiles are available for RAW files; JPEGs have the choice of color and black-and-white.
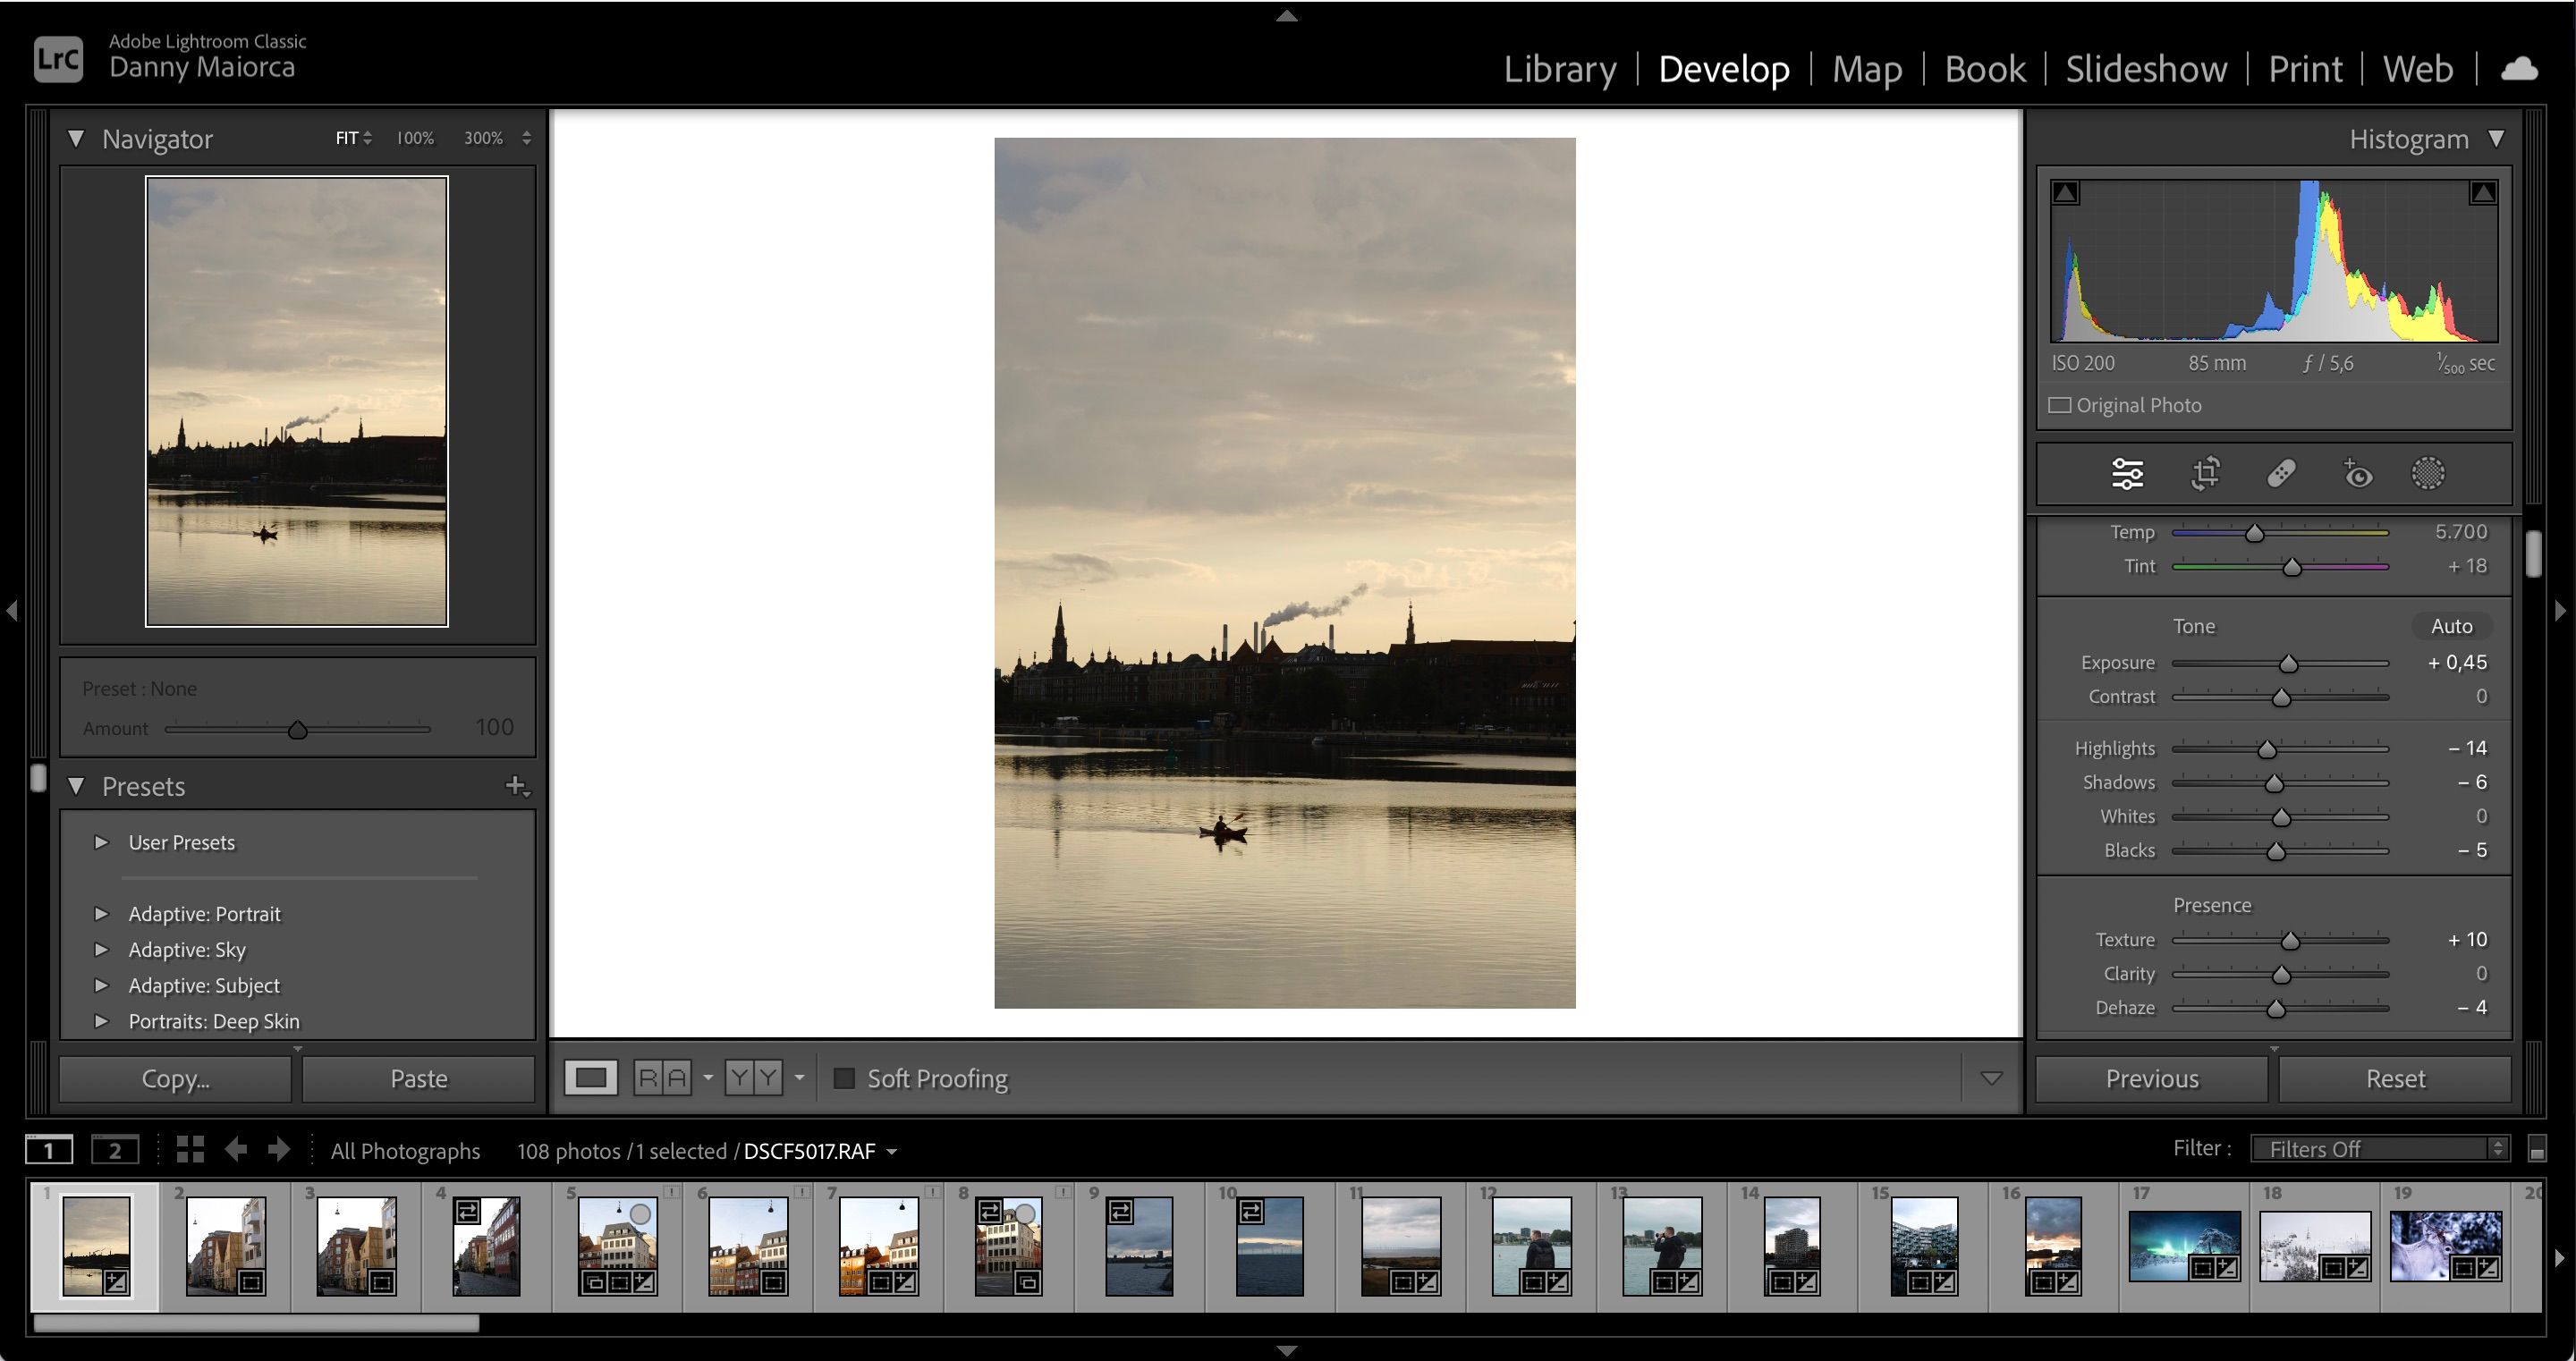
And use the tone curve tool to change the whites and blacks in your image.

When making these adjustments, there isn’t a proper guideline to follow.
Aim for a neutral-looking picture before moving on.
Before you move on to the more advanced steps, start with vibrance and saturation.

Otherwise, the photo on your screen will look more yellow than it actually is.
Once you’ve done those, you’ll want to focus more on specific colors.
Lightroom has three color grading wheels for different parts of the picture:Midtones,Shadows, andHighlights.

you’re able to also adjust the luminance for each of these areas.
To access these wheels, go to theColor Gradingsection.
Toward the bottom of the right-hand toolbar, you might adjust the hue and saturation for each of these.

You will find these incredibly useful if you’re looking to perfect the golden hour style.
When editing golden hour photos, it’s worth thinking about the blue and green primaries primarily.
you might move the sliders around until you find the sweet spot.
You’ll find these sliders under theCalibrationsection; here, you could adjust the tint in your image too.
All of these are optional, but we highly recommend using them.
All you oughta do is go to theLens Correctionstab; here, you could tick theRemove Chromatic Aberrationbox.
Like removing chromatic aberration, you will find this box under theLens Correctiontab.
Tick theEnable Profile Correctionsbox before looking for your camera lens manufacturer.
you might also find a separate tab for specific lenses.
Alternatively, hit theRkey on your keyboard.
This article should have given you a decent guideline to follow if you’re a beginner.
Lightroom has plenty of other tools we didn’t mention, but these are a good starting point.
