There are many examples of quick head swap tutorials out there that rarely look realistic.
Lighting
First and foremost, the lighting of each image should match.
Perspective and Positioning
The perspective of each image must also match.
The perspective from which both photos were taken (low, eye level, high, etc.)
must be the same, as well as the positioning of the head.
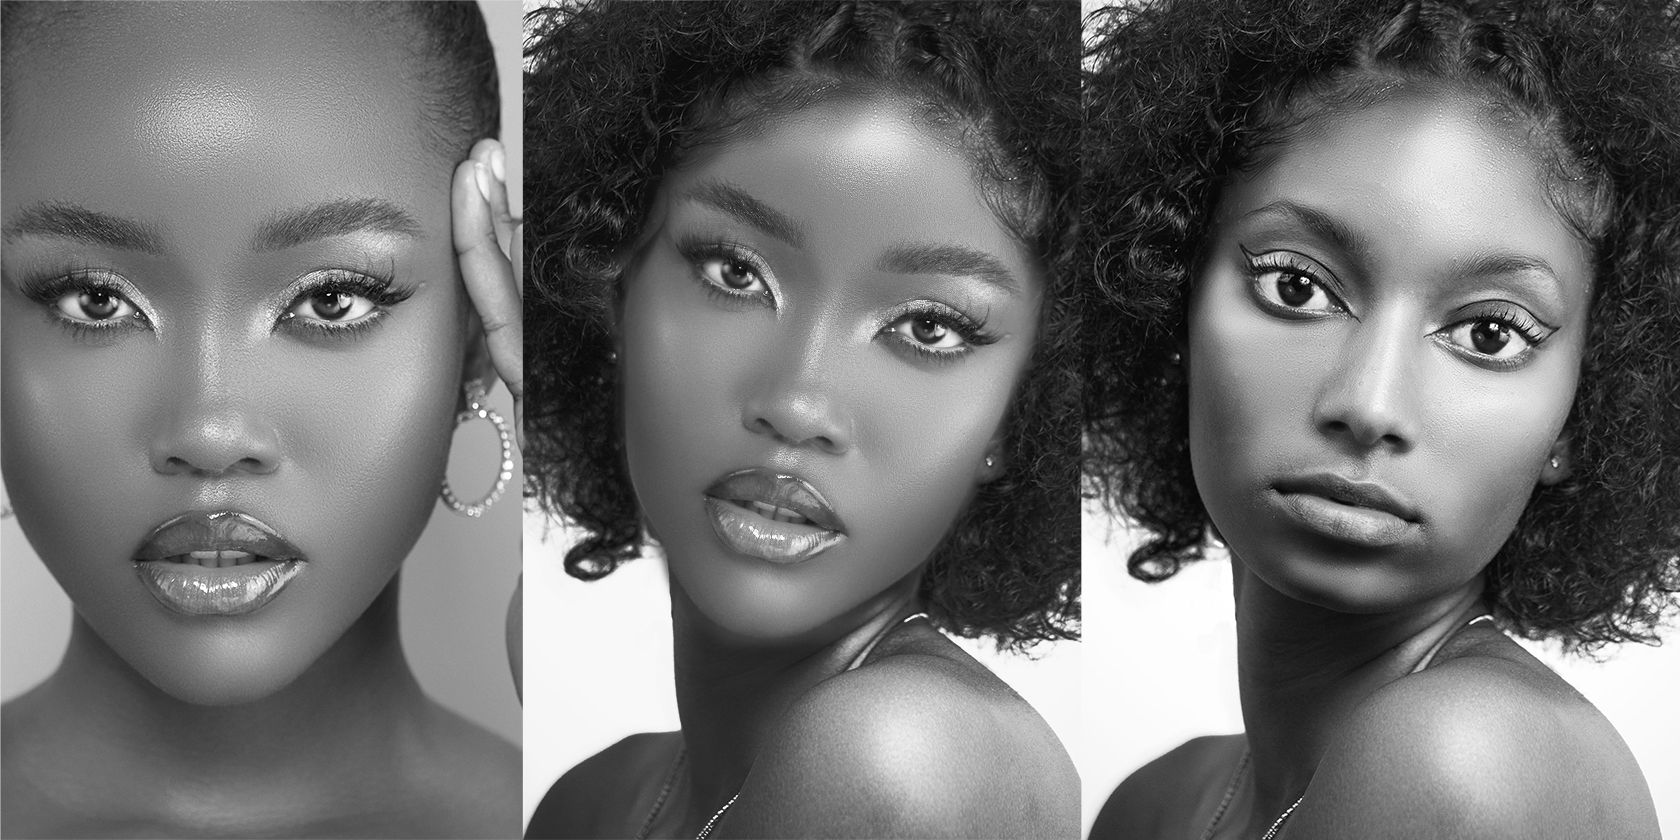
How Much of the Head Do You Want to Swap?
The final consideration is how much of the head should be swapped to pull off the effect.
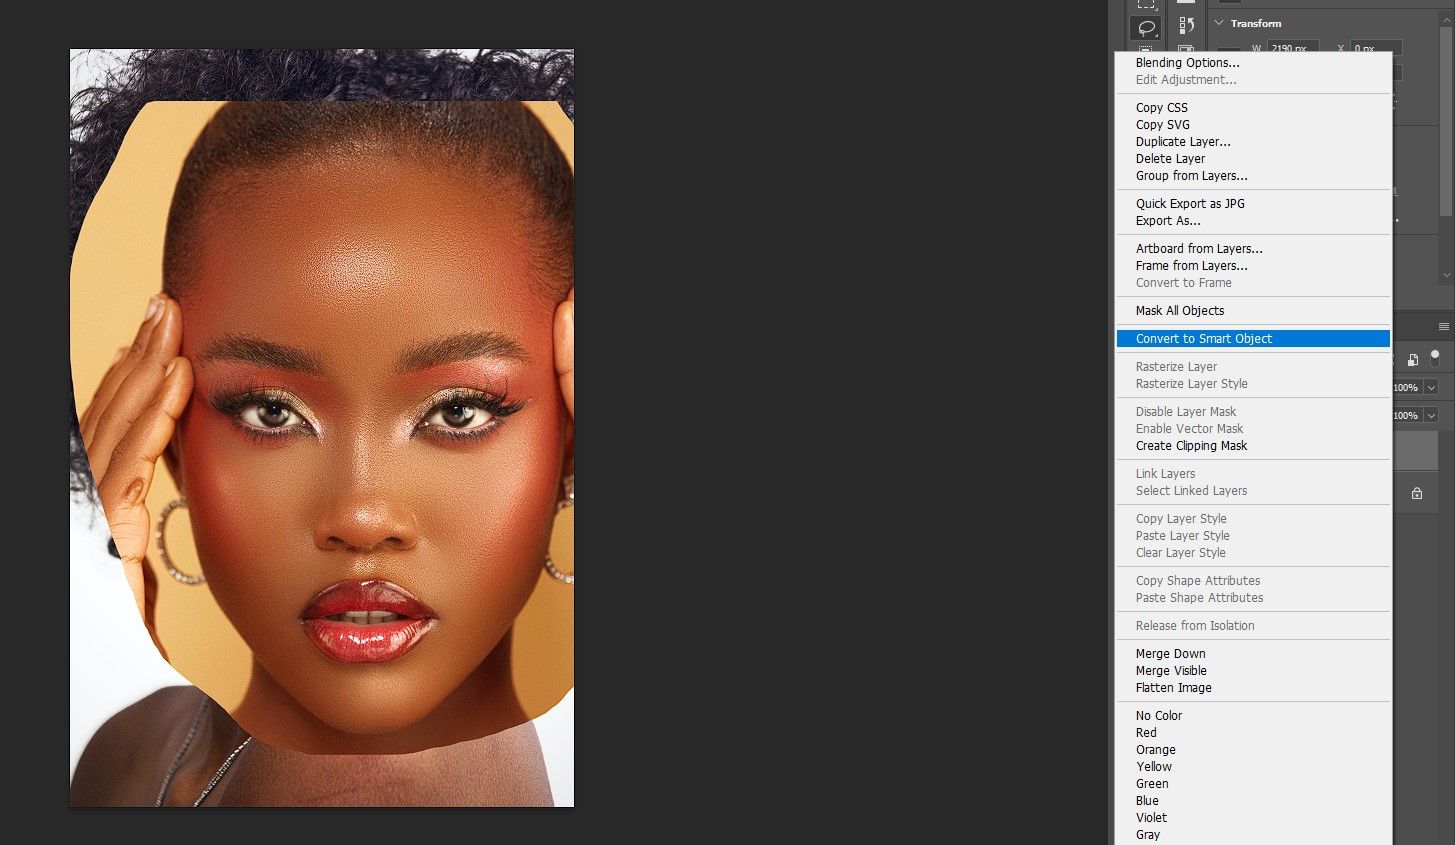
For our example, we will copy the entire head of one image and swap it out.
But we’ll strategically choose which pixels to actually keep to make a believable composite.
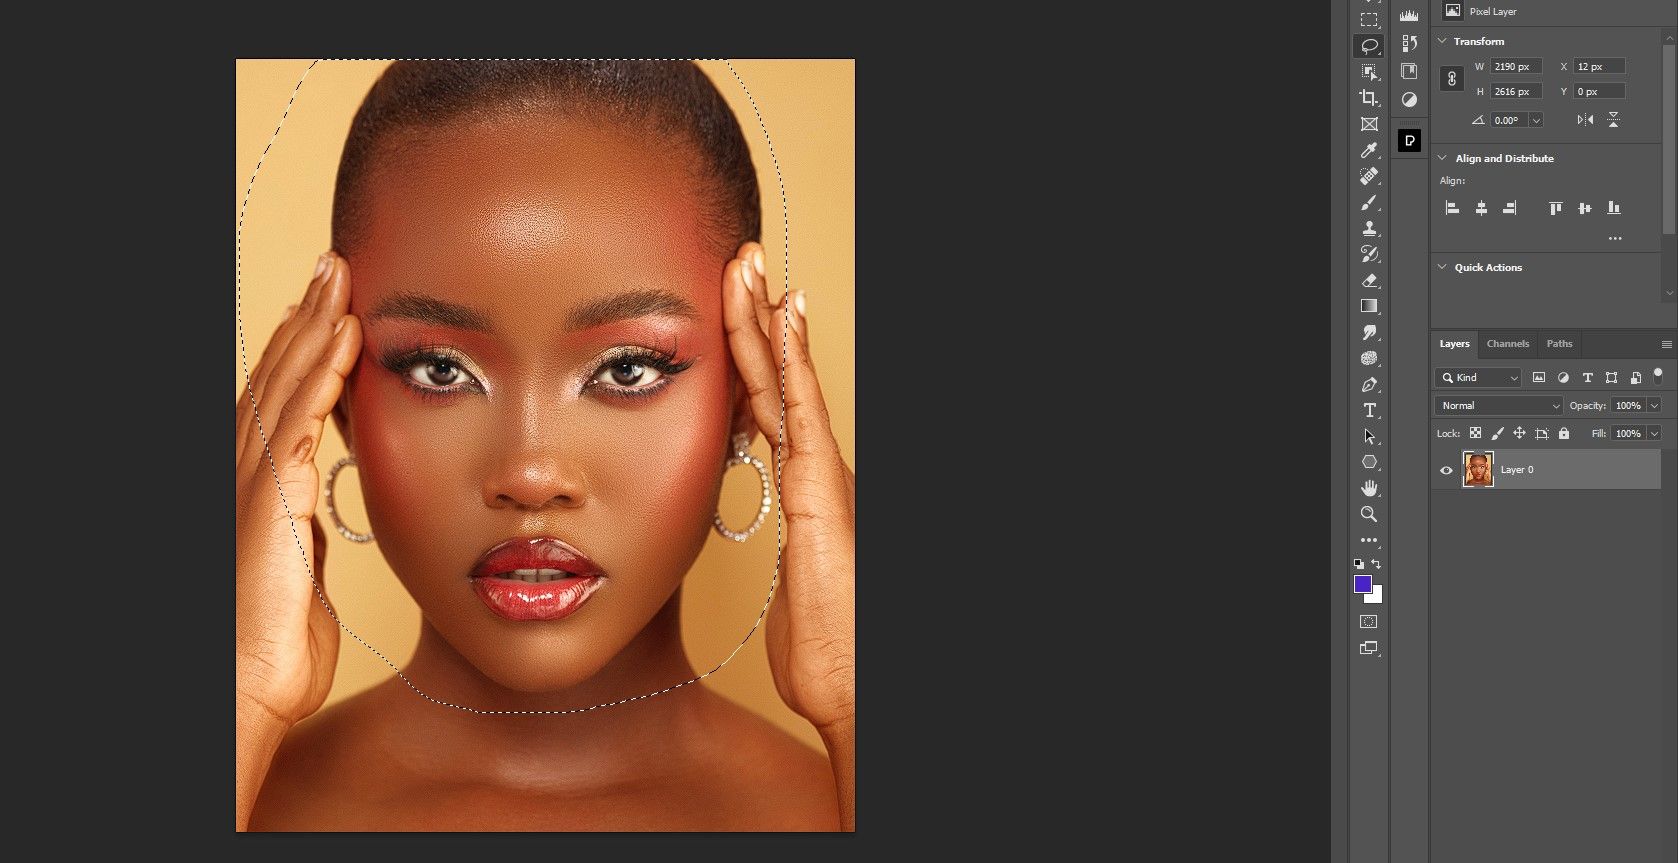
![]()
We took into consideration all three points before proceeding to the editing stage.
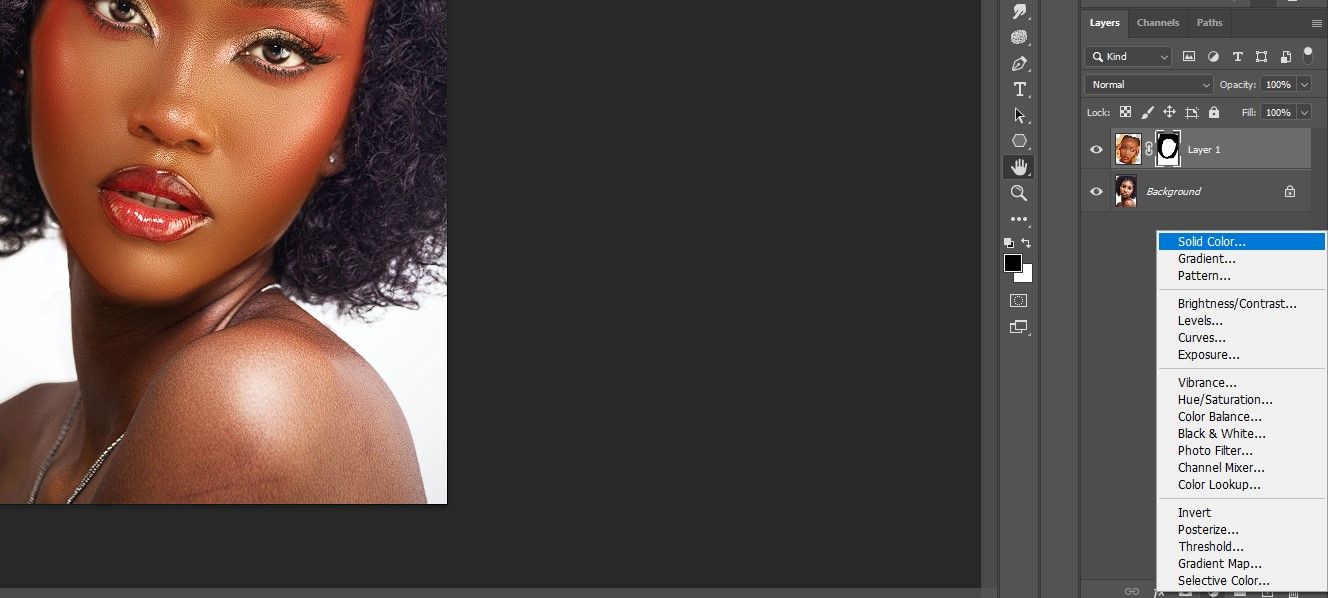
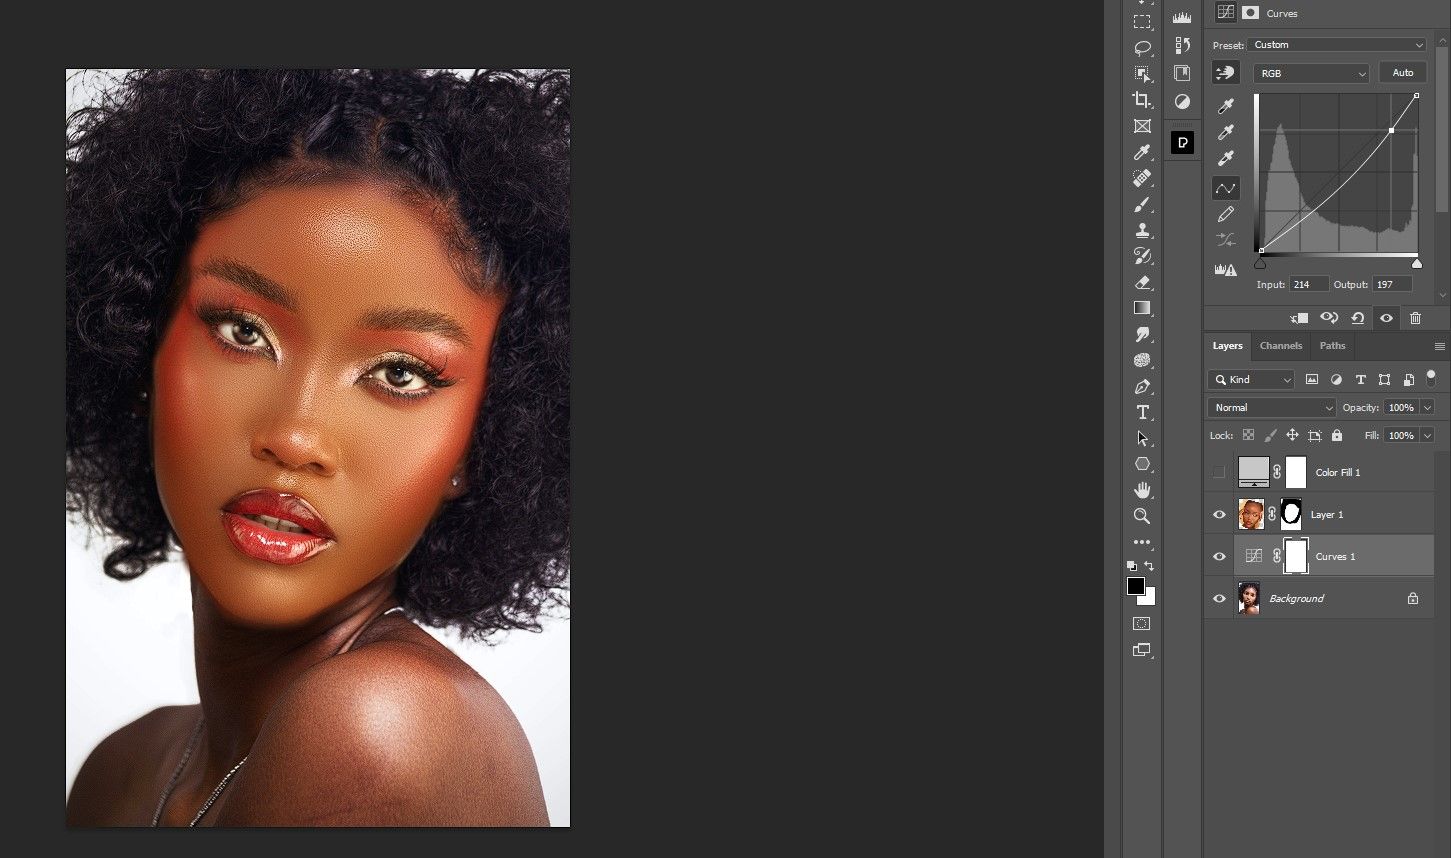
Copy the Head Onto the Body
The first major step is to perform the actual head swap in Photoshop.
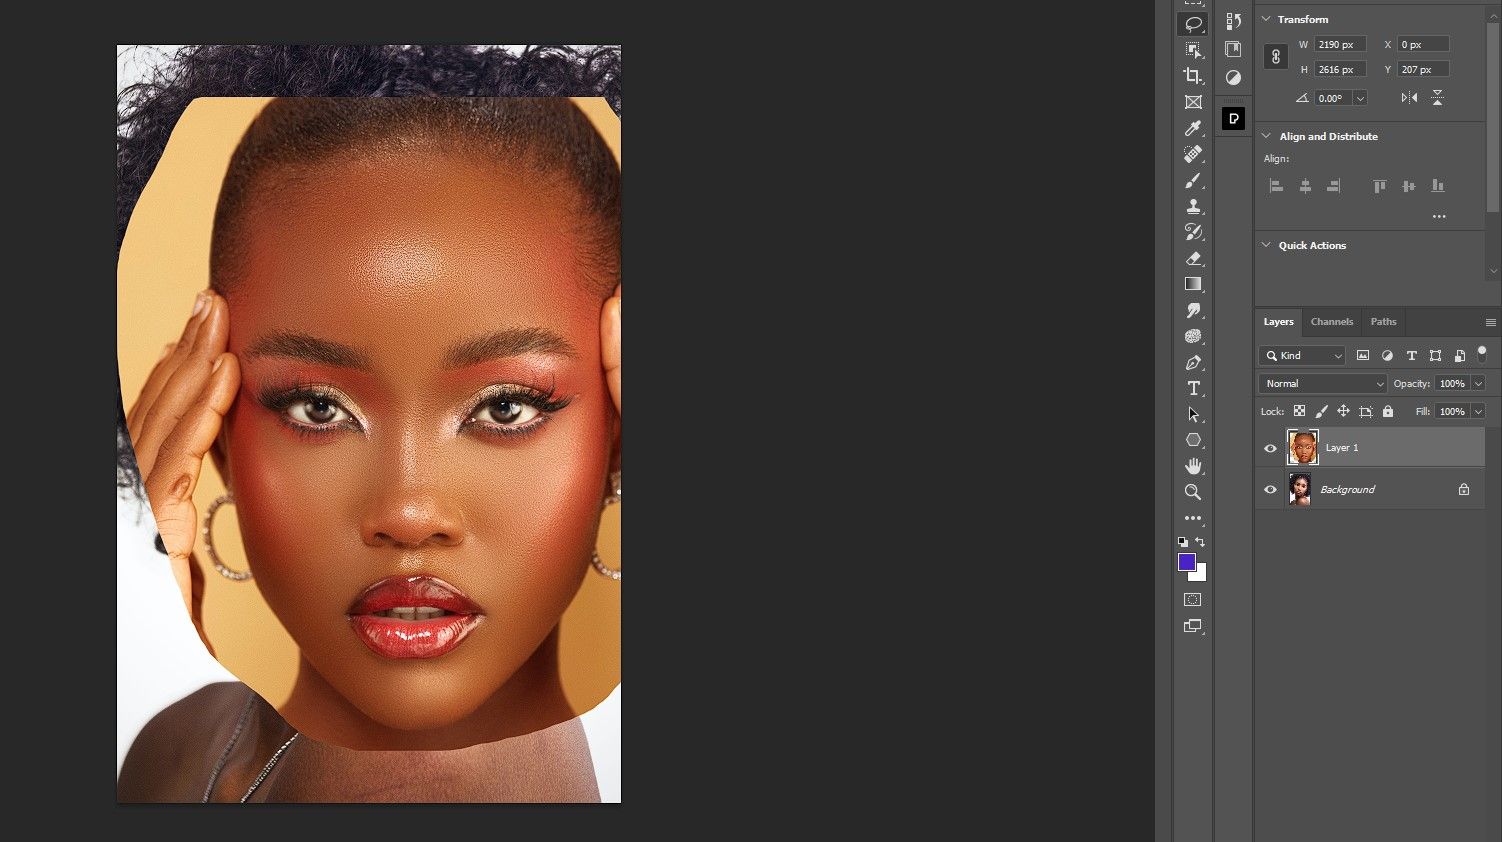
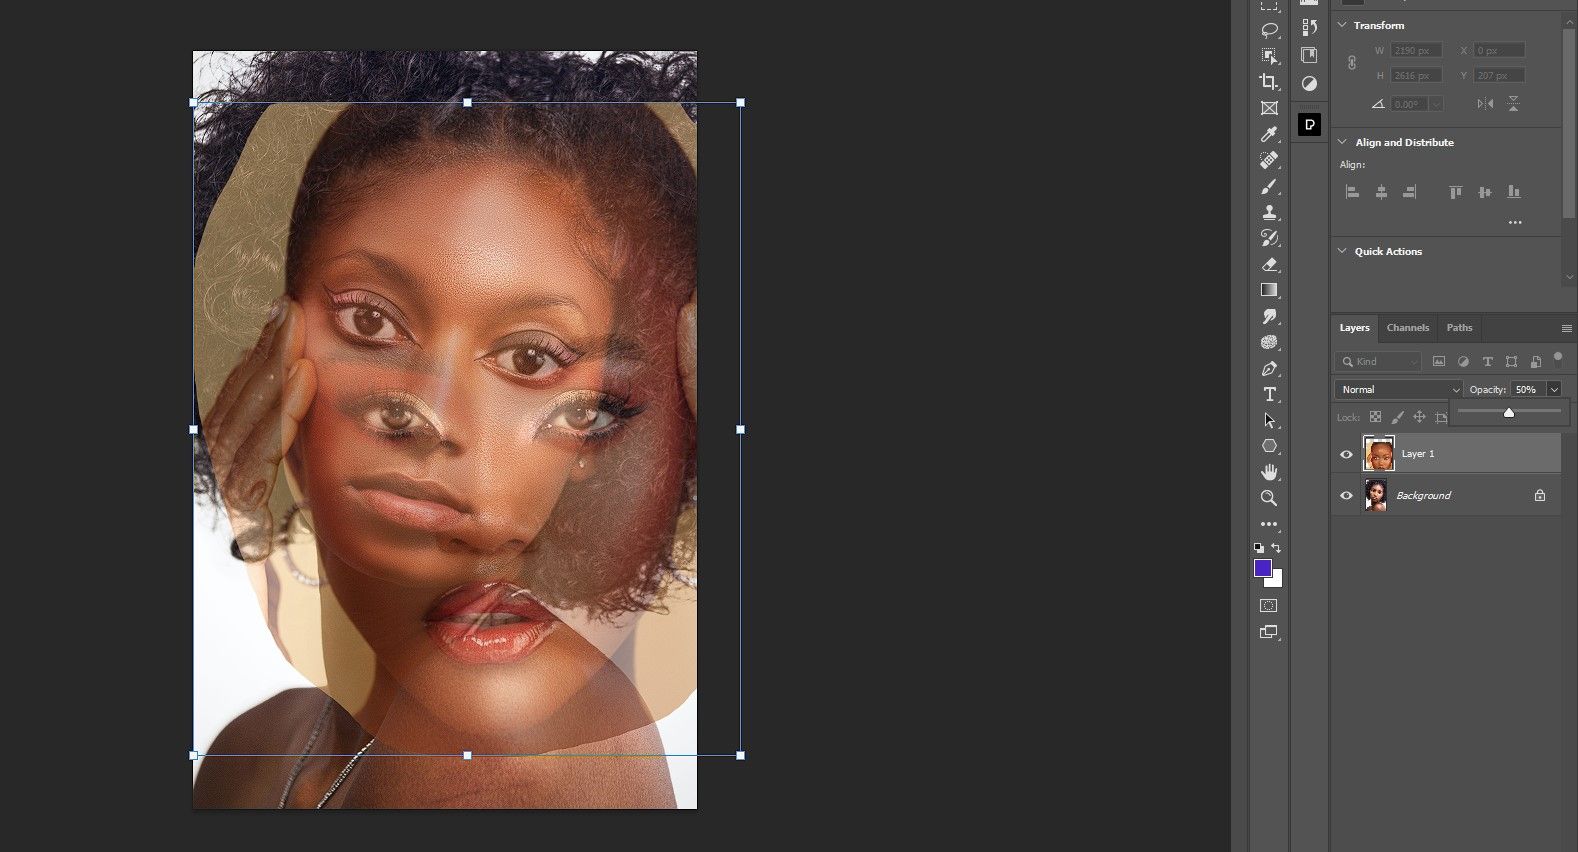
We’ve successfully swapped out our subject’s head and masked out all the unwanted pixels.
So far, so good.
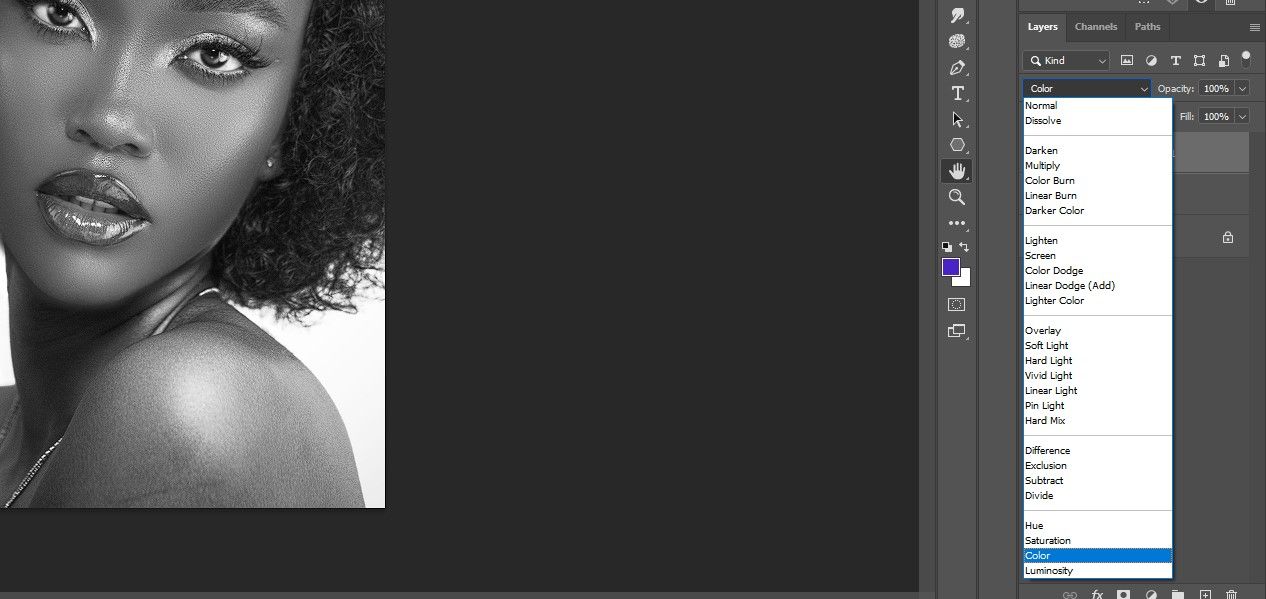
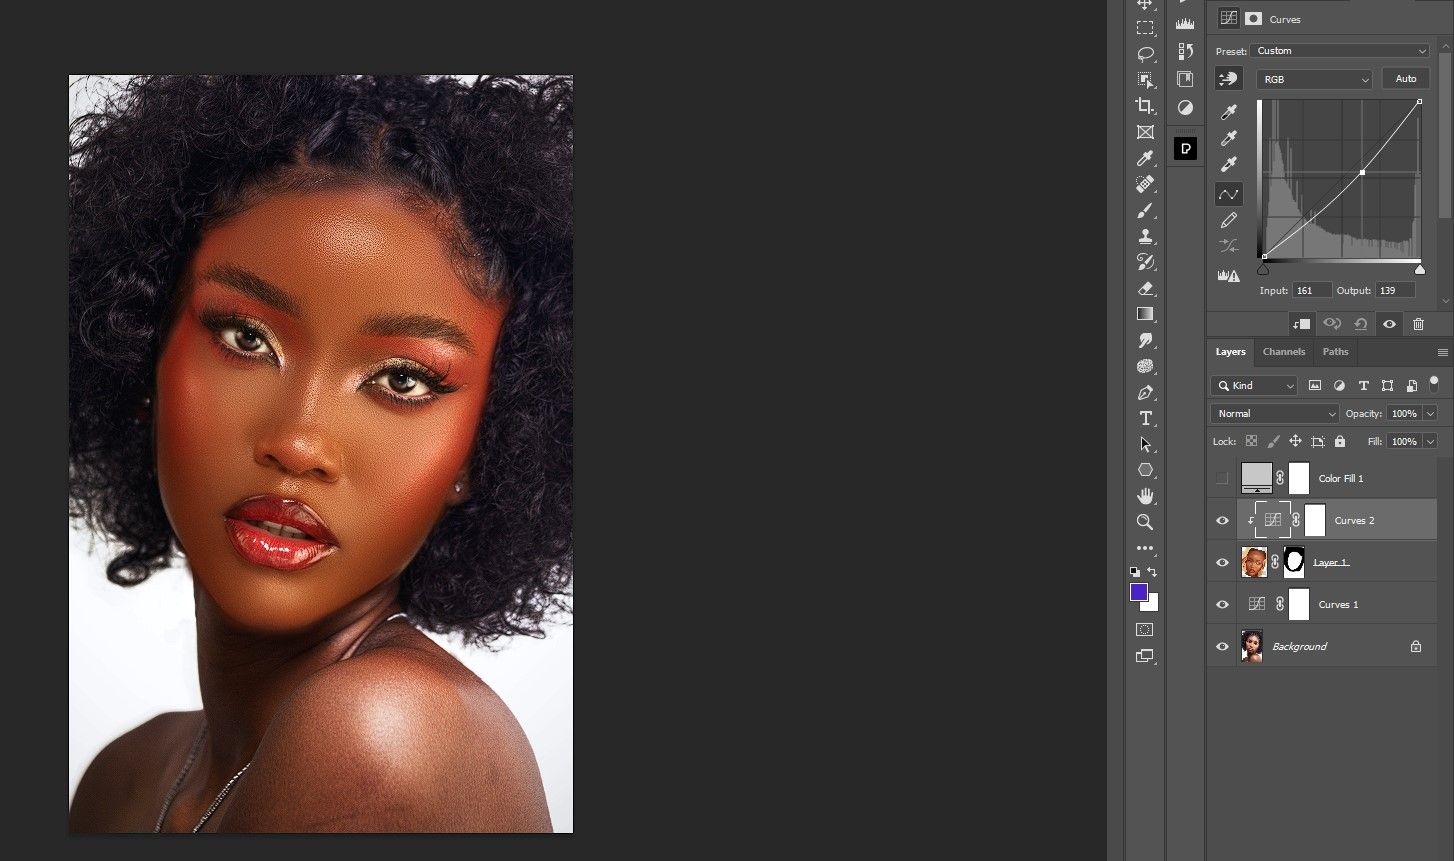
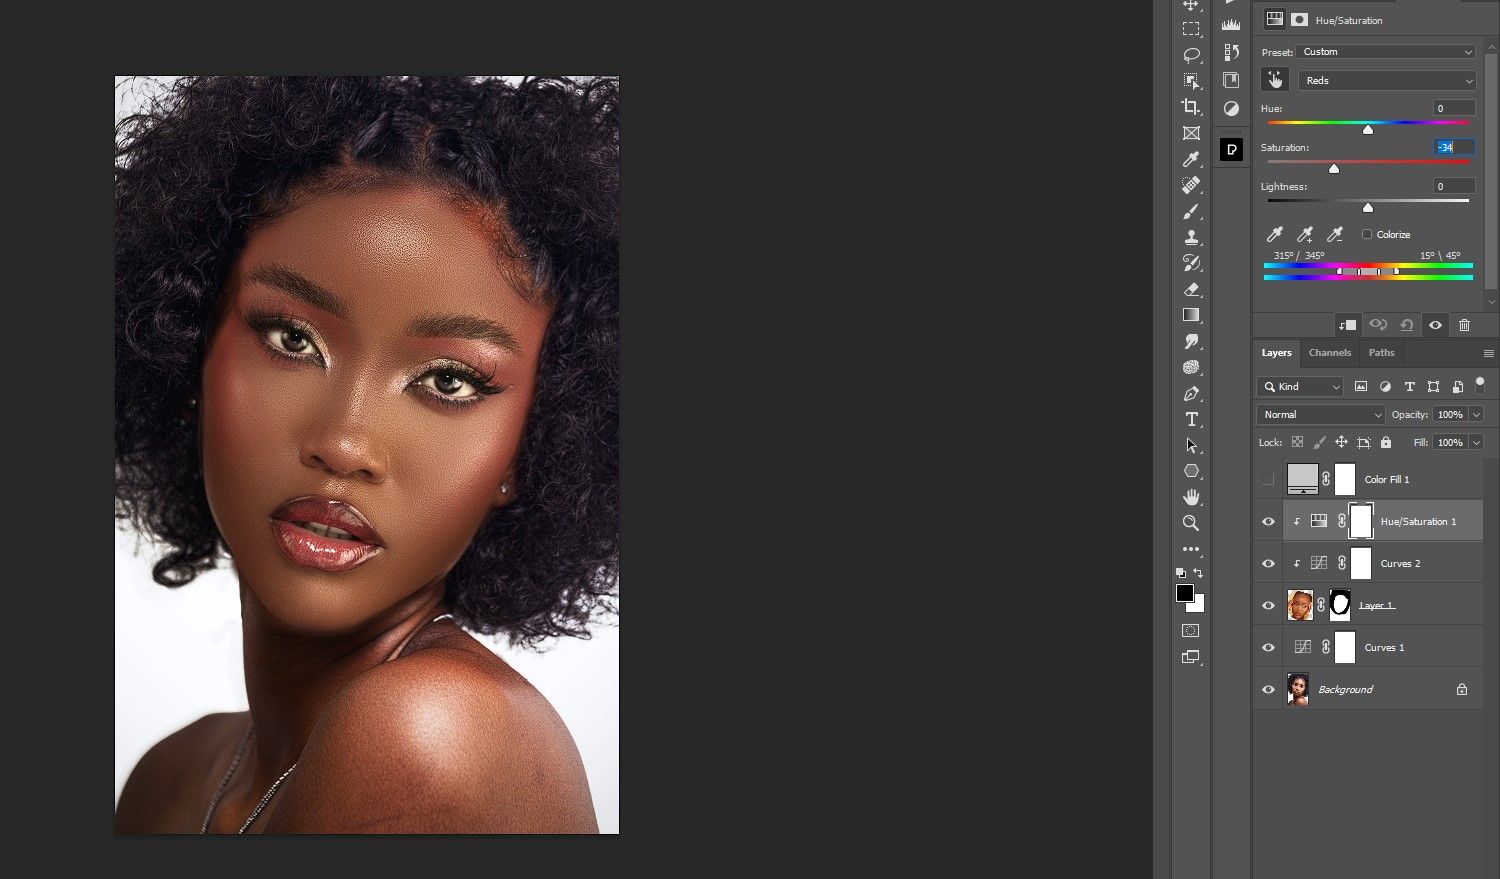
Let’s begin to blend the brightness and saturation values.
We now have to match the brightness and saturation values usingCurvesandHue/Saturationadjustments with the appropriate clipping masks.
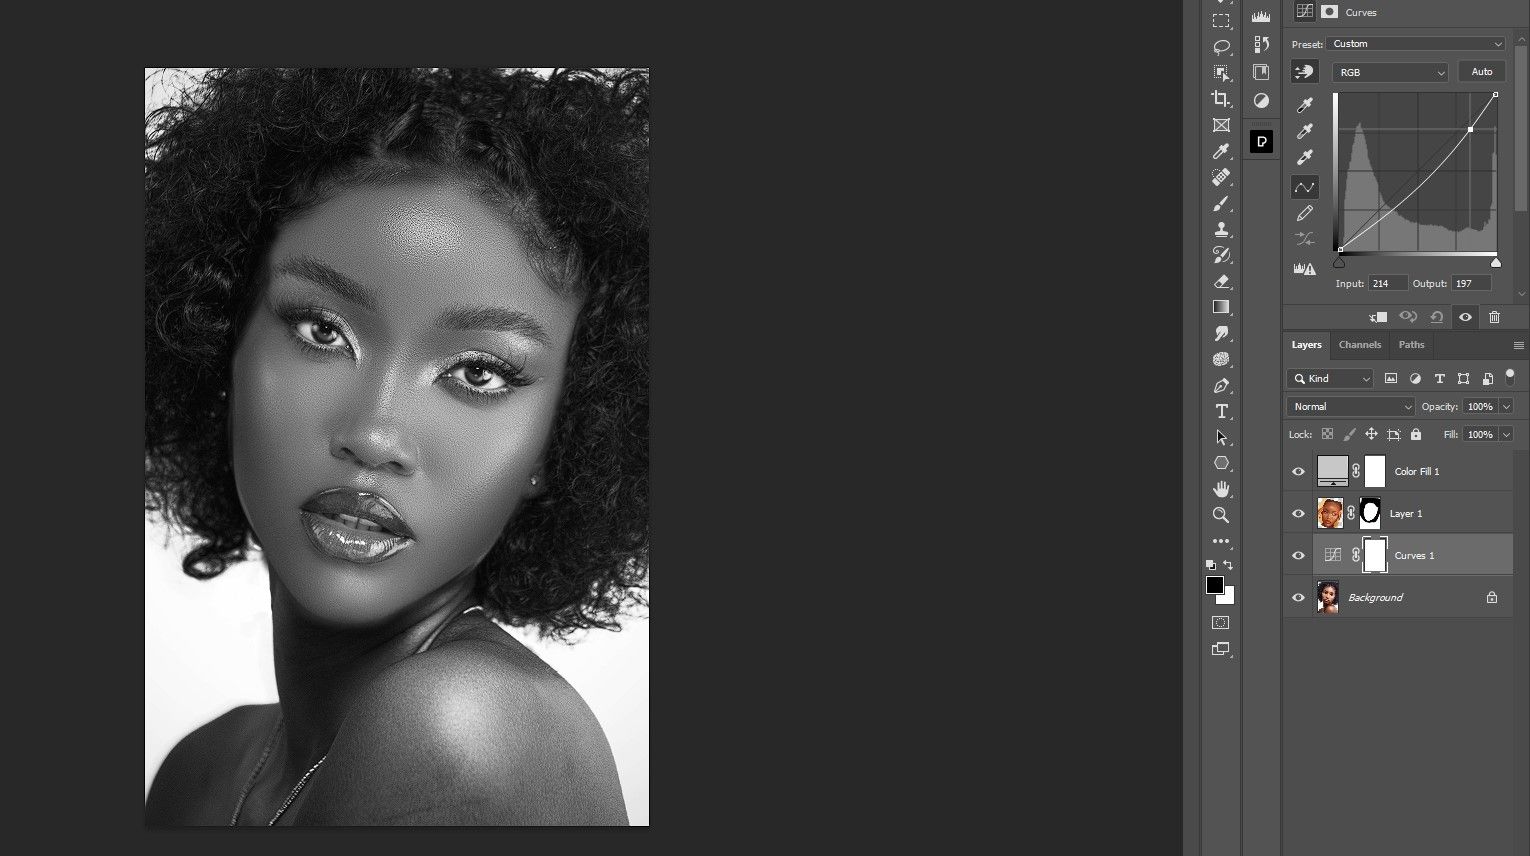
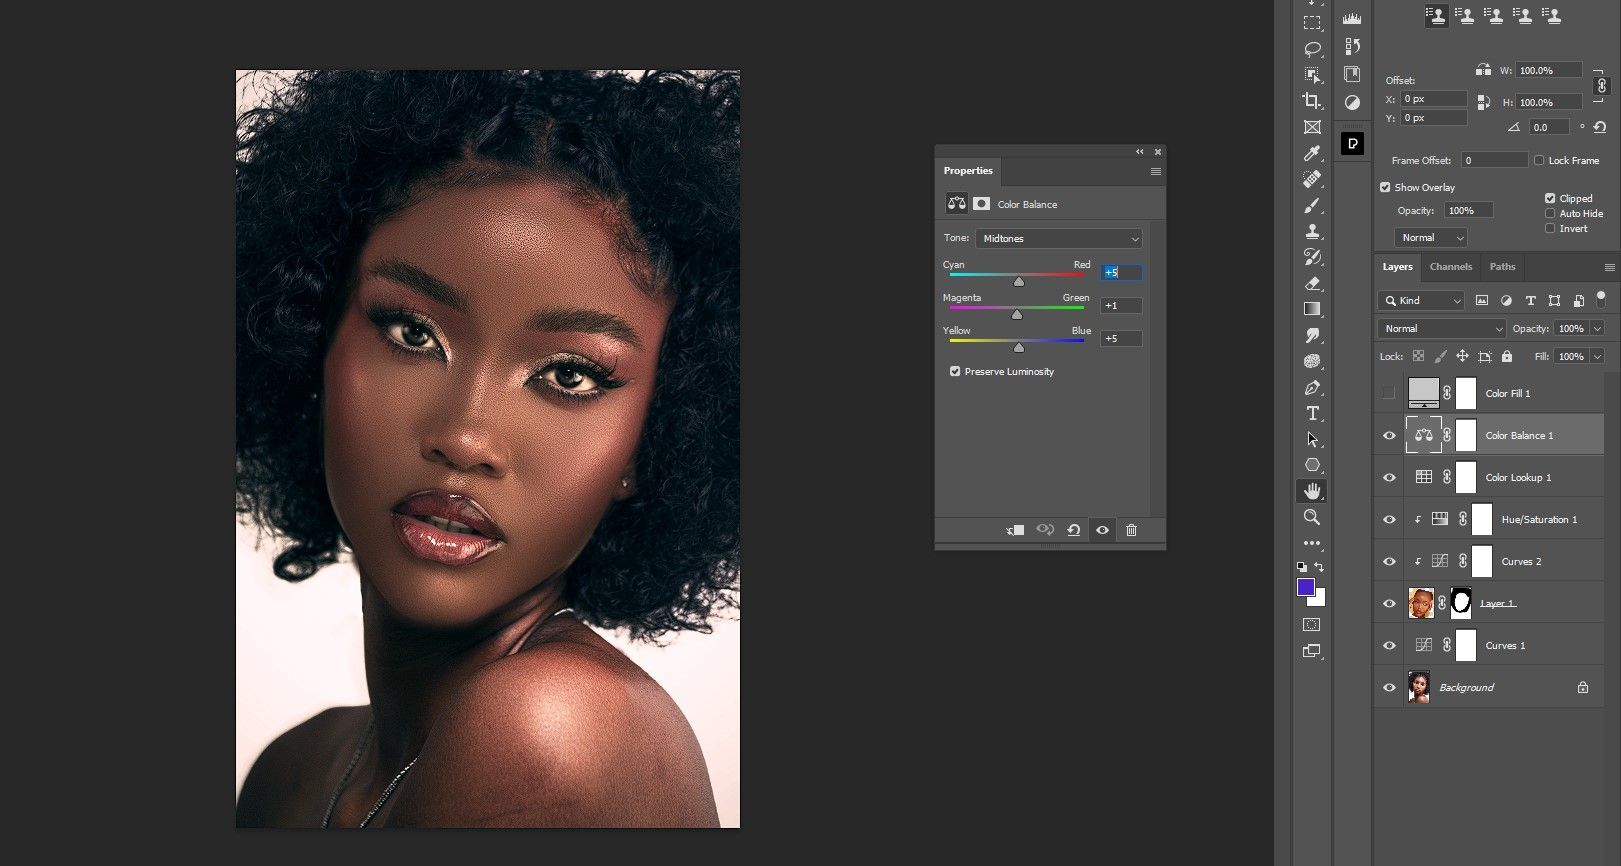
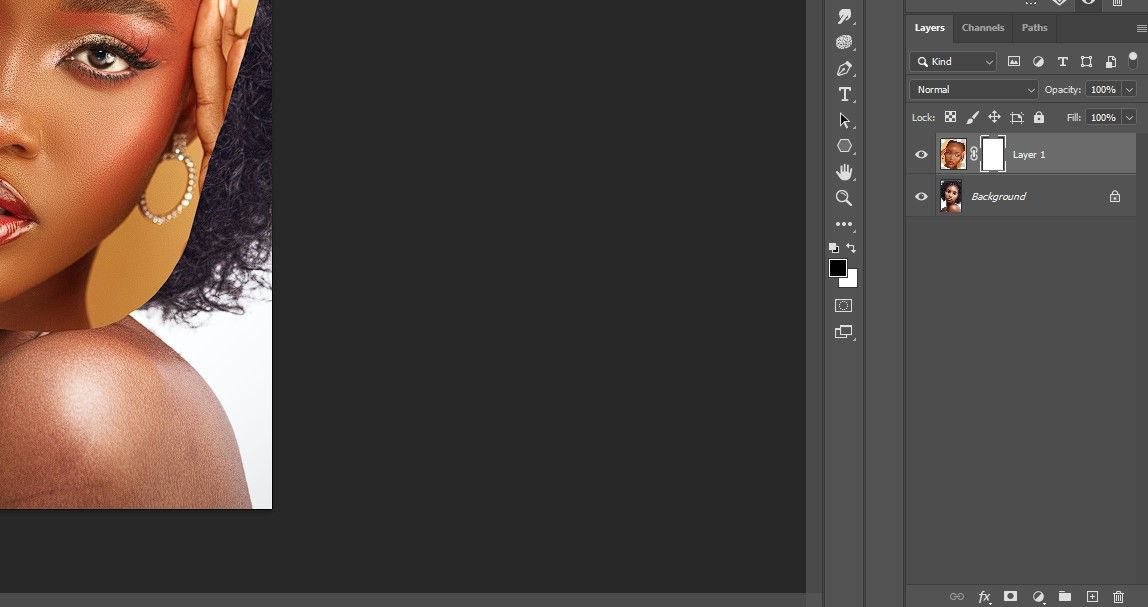
Global Adjustments for the Finishing Touches
Global adjustments are effects that apply to the entire image.
For our example, we first added aColor Lookuptable to the top of the layer stack and choseCandlelight Cube.
We reduced theOpacityto50%.
The goal is to make the head swap look natural.
With Photoshop, there are usually several ways to accomplish a realistic head swap.
You could also use third-party apps likeLuminar Neo to help create awesome photo composites.


![]()