Business cards might seem old-fashioned, but they’re still effective for professionals building their web connection.
A well-designed business card leaves a positive and lasting impression on your potential partners and clients.
With that and our guide, you’re able to create a unique and remarkable business card.

So, follow this step-by-step tutorial, and start creating your business card today.
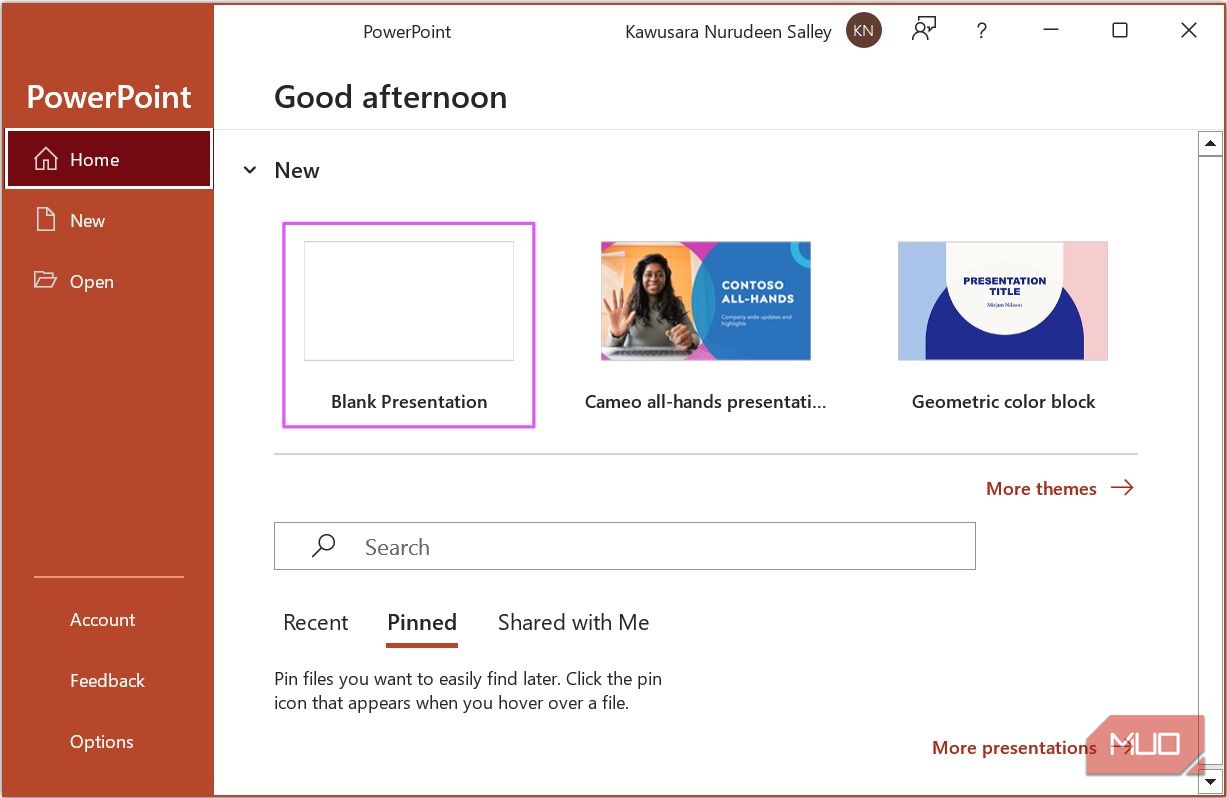
Create a Blank Document in Microsoft PowerPoint
Open PowerPoint on your rig and selectBlank Presentation.
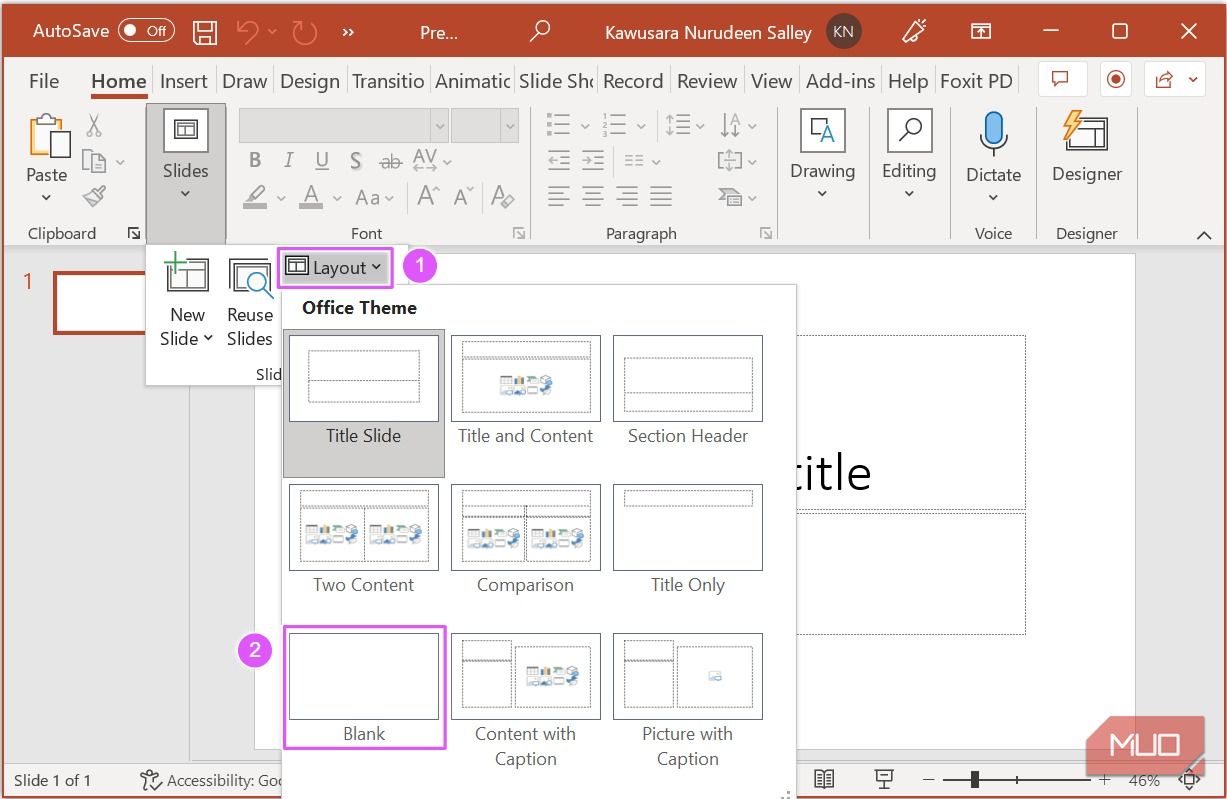
To start creating the card, you should have a completely blank canvas.
So from theHometab, clickLayoutand selectBlankfrom the drop-down options.
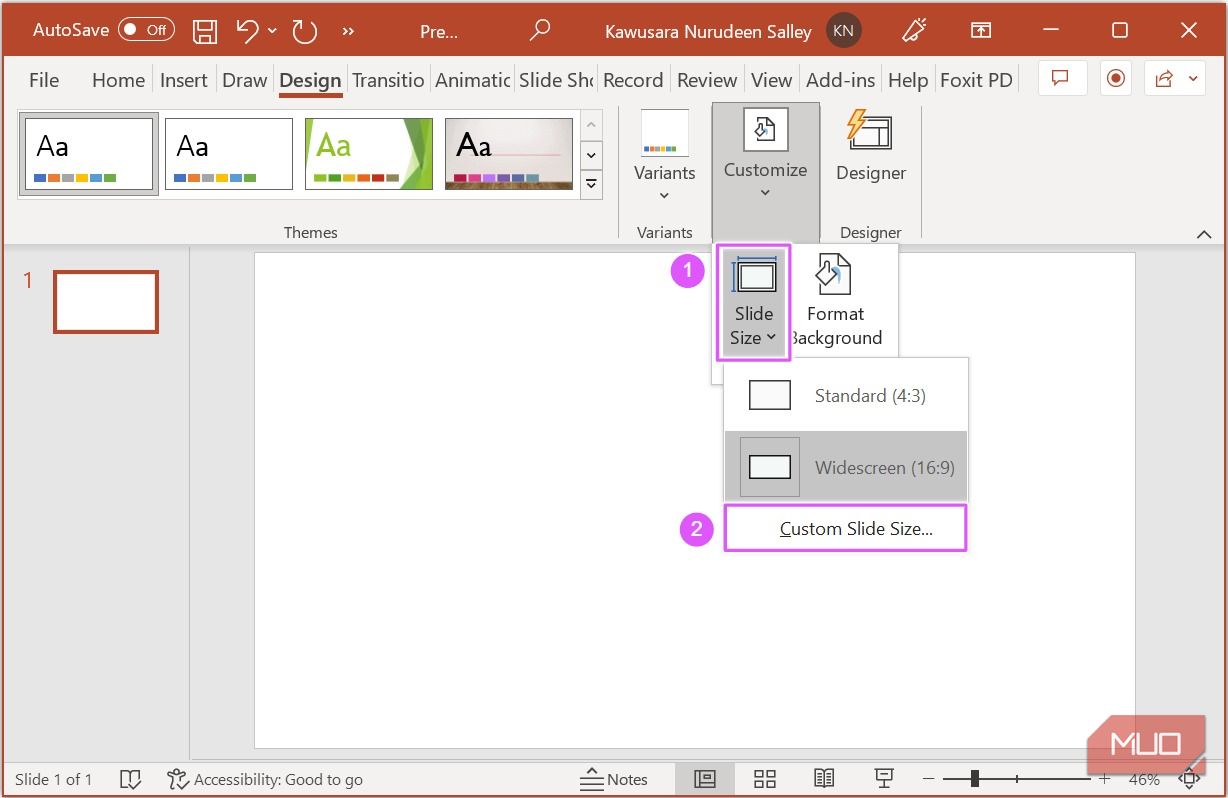
Set the Slide Size for a Business CardUnder theDesigntab, clickSlide Sizeand selectCustom Slide Size.
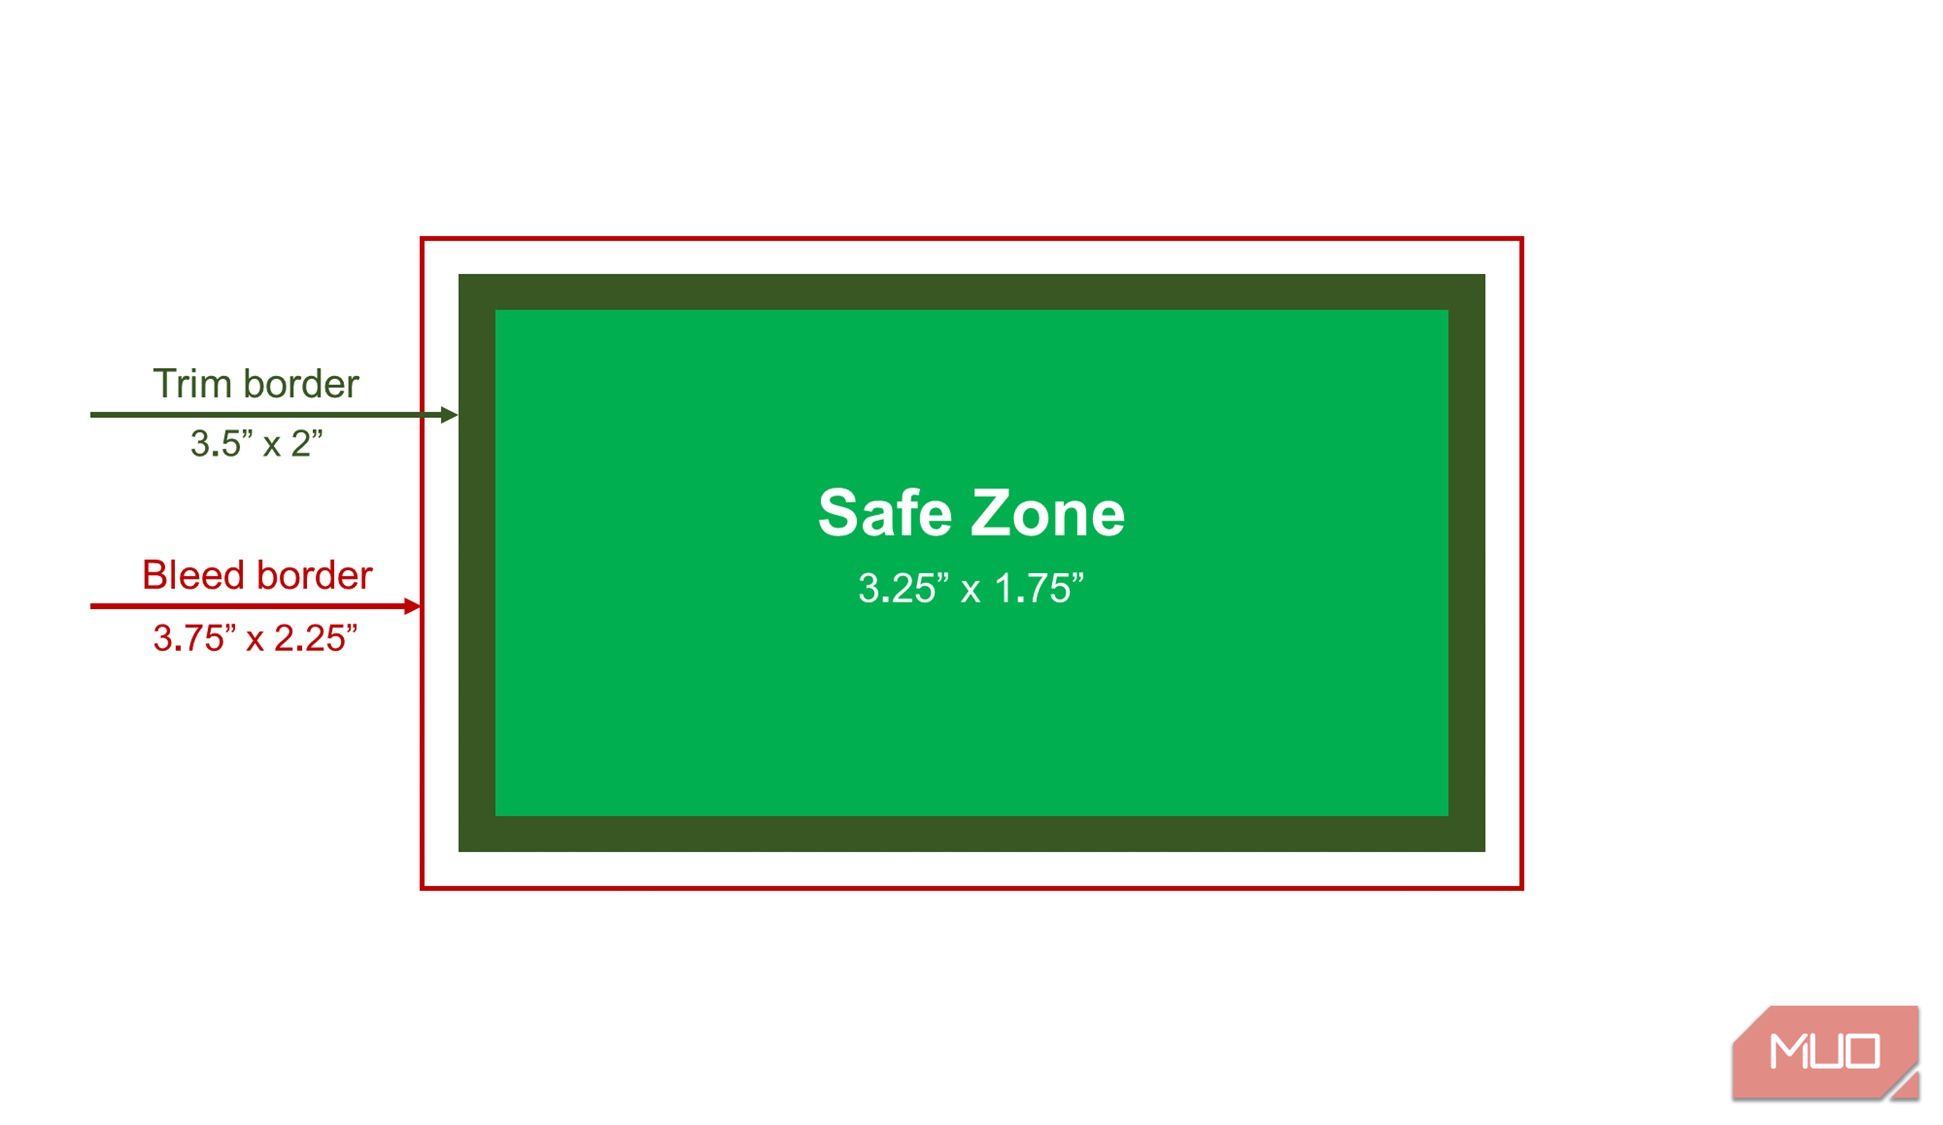
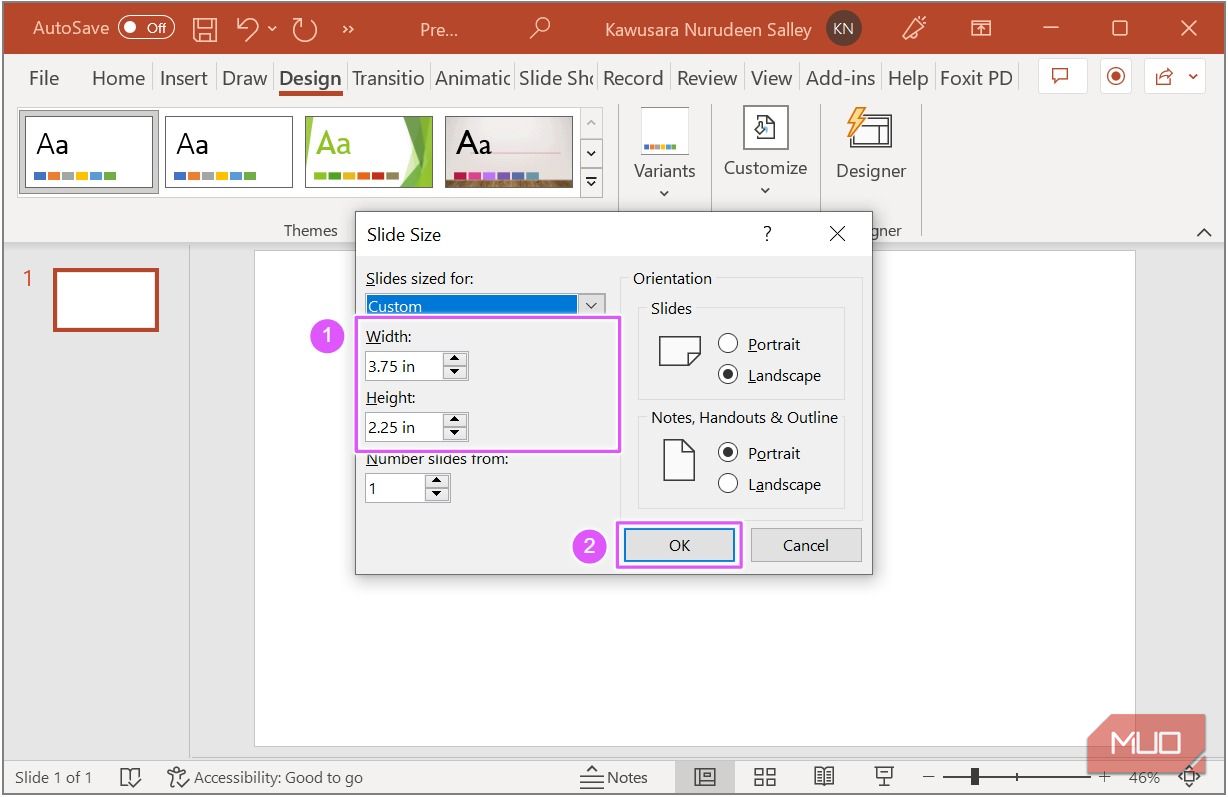
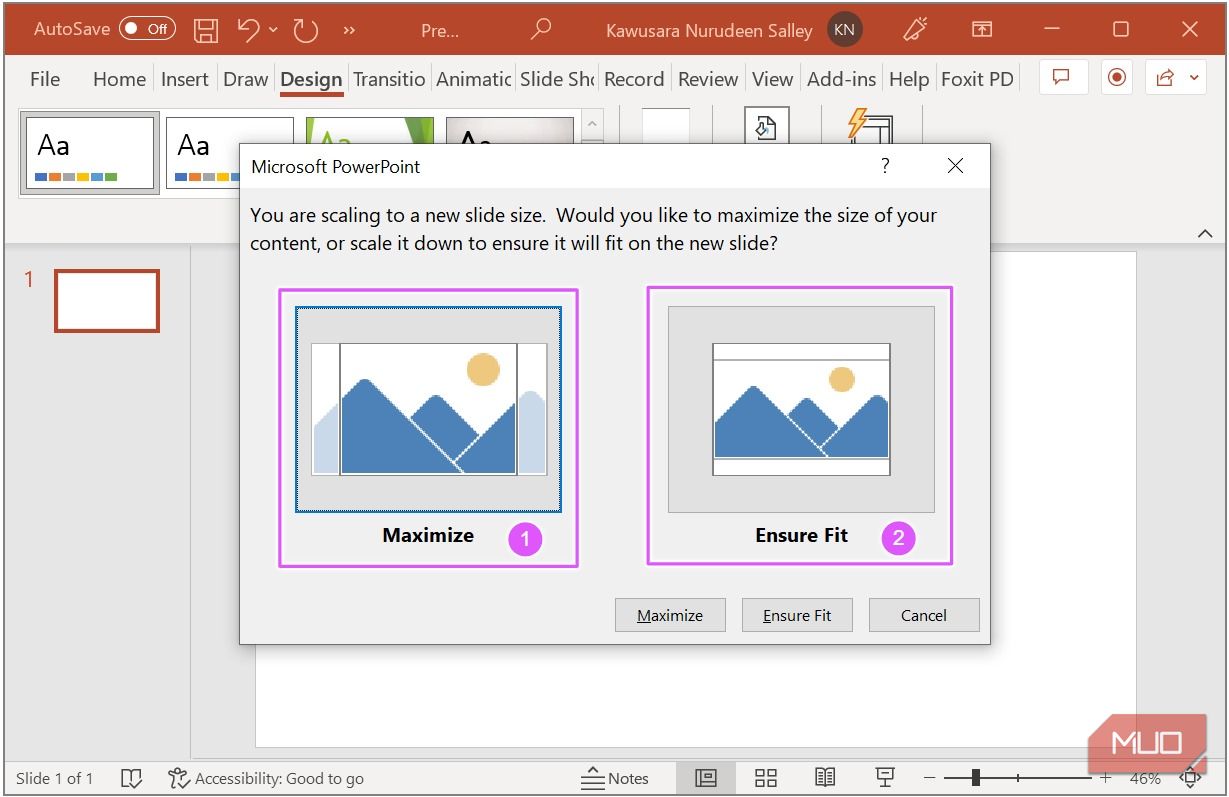
Set theWidthof the slide to 3.75 inches and theHeightto 2.25 inches.
When you’re done, clickOK.
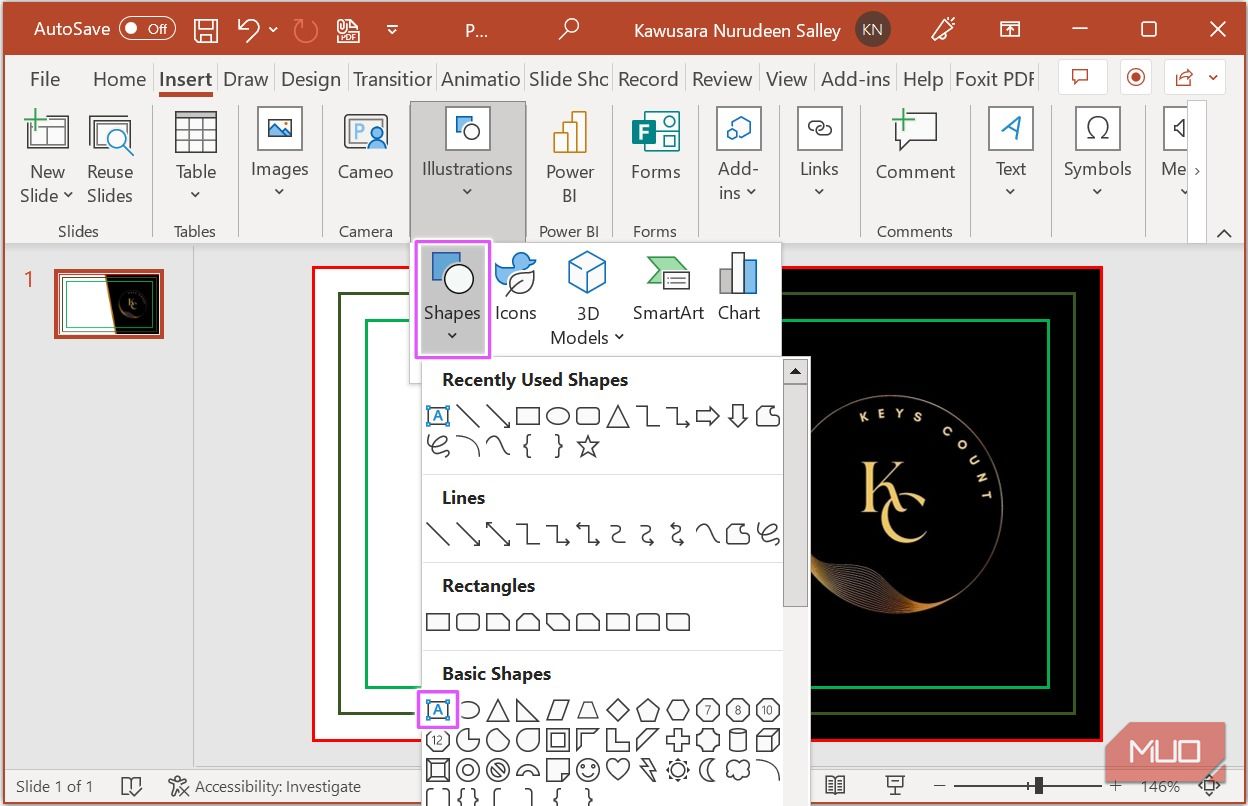
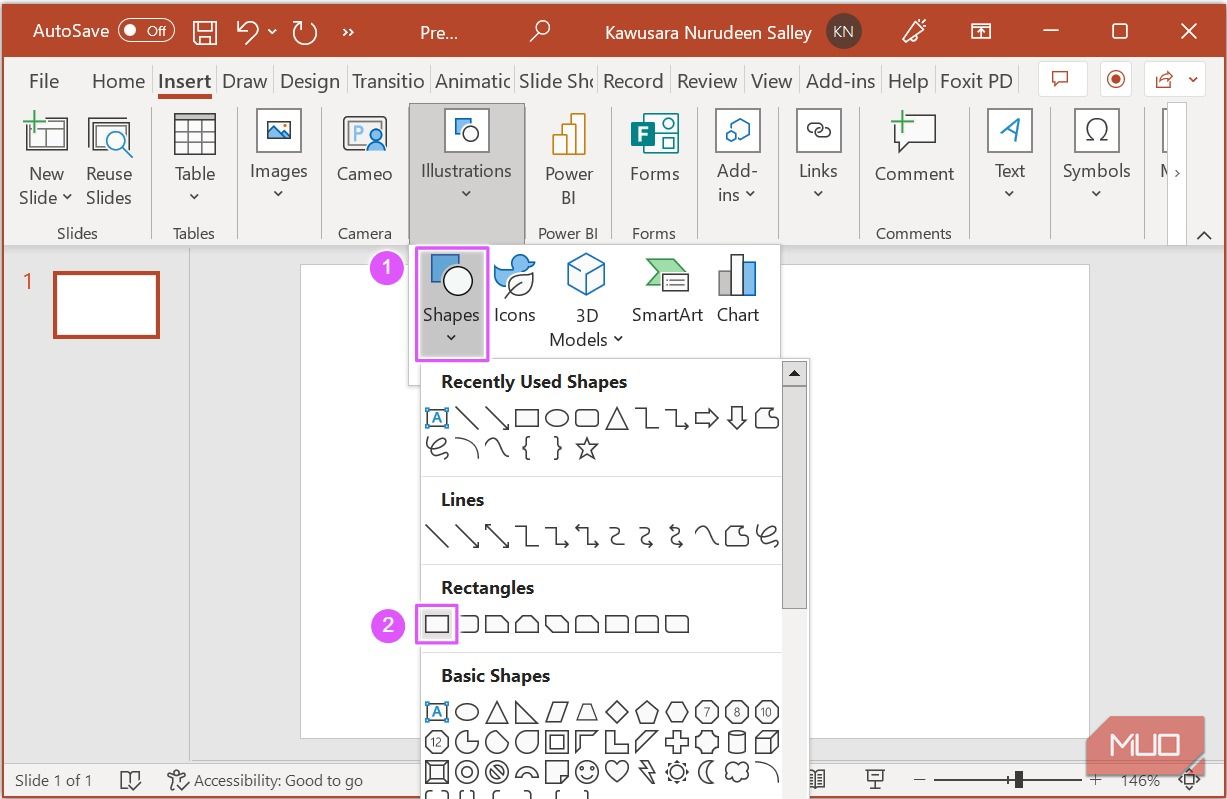
To add the bleed border, navigate to theInserttab.
Click onShapes, and select a rectangle.
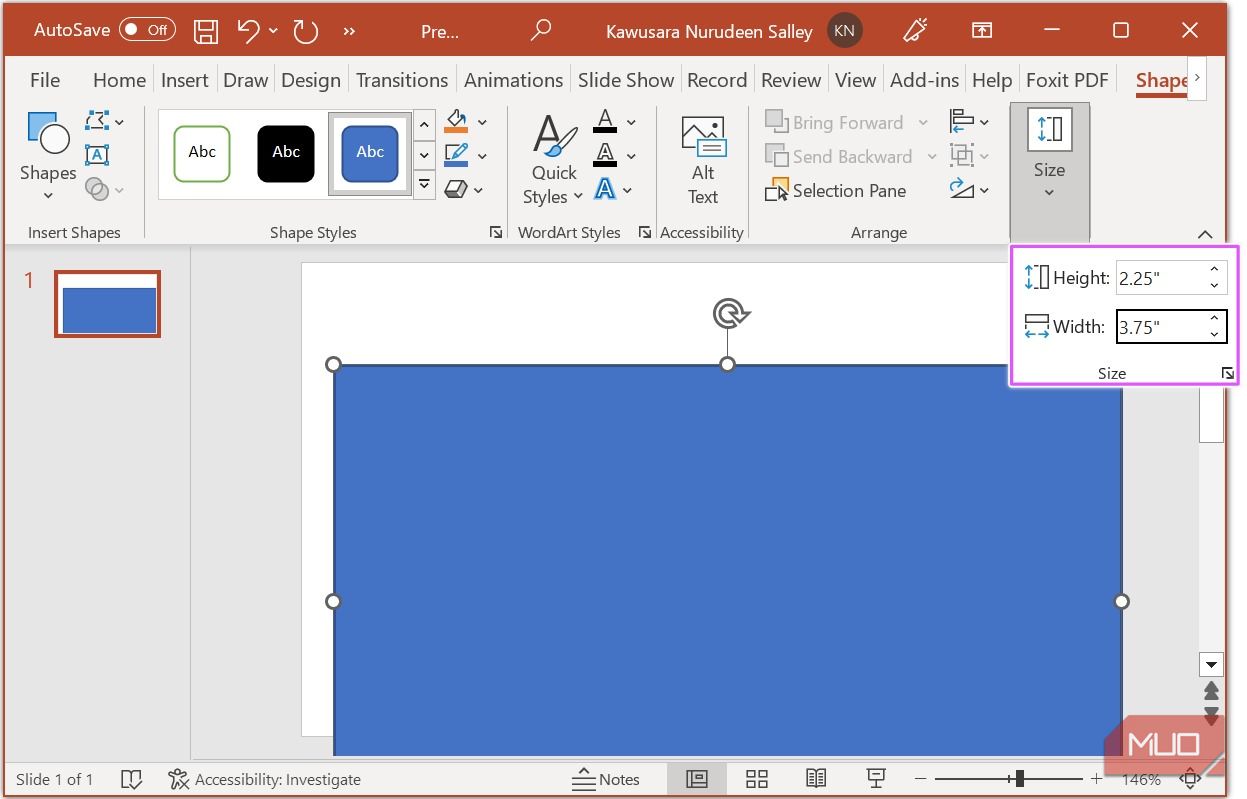
When you draw the rectangle, theShape Formattab opens up.
Set the rectangle’sHeightto 2.25 inches andWidthto 3.75 inches.
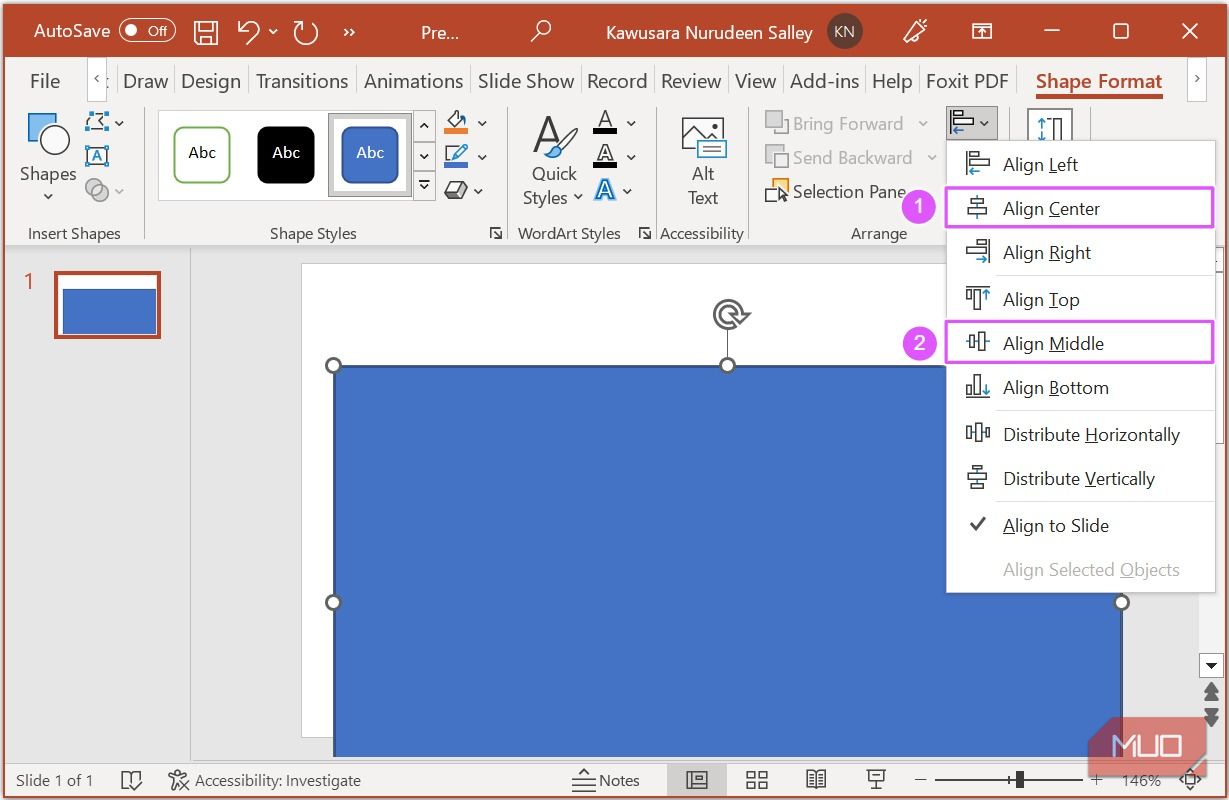
ClickAlign, then selectAlign CenterandAlign Middle.
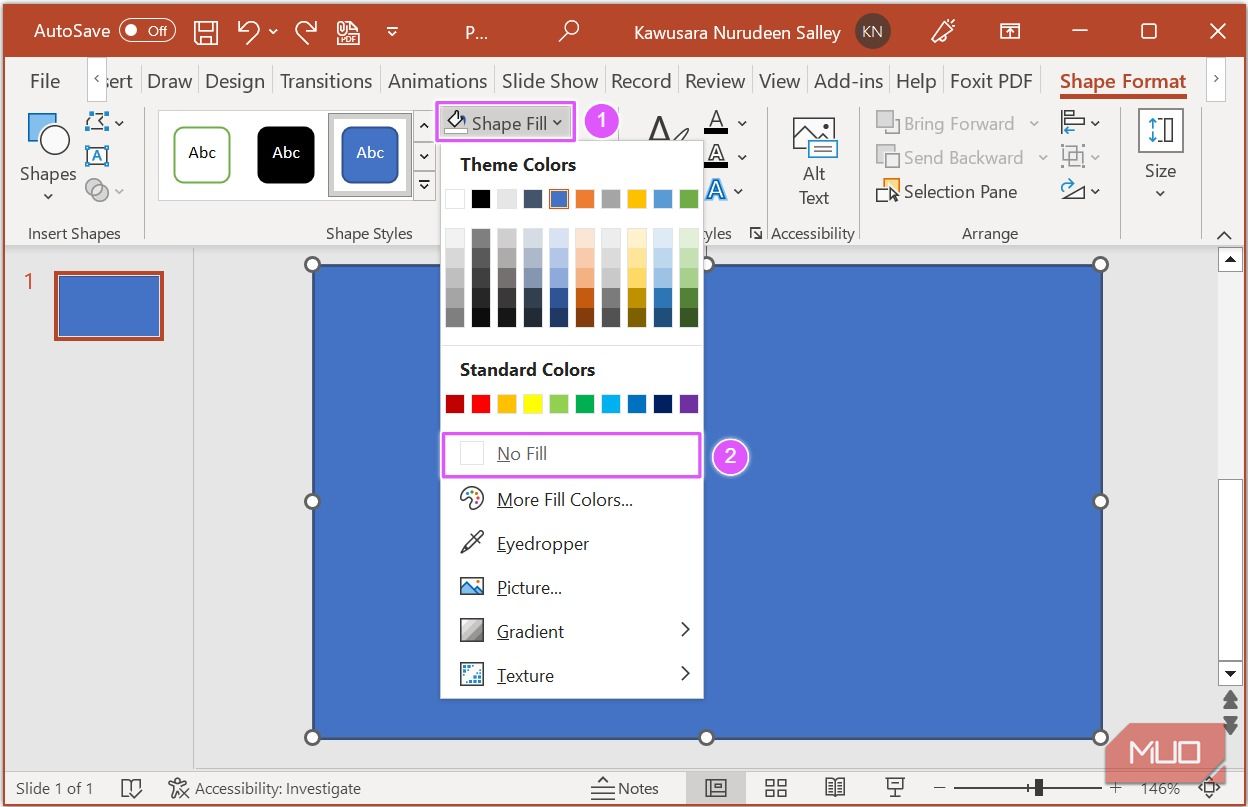
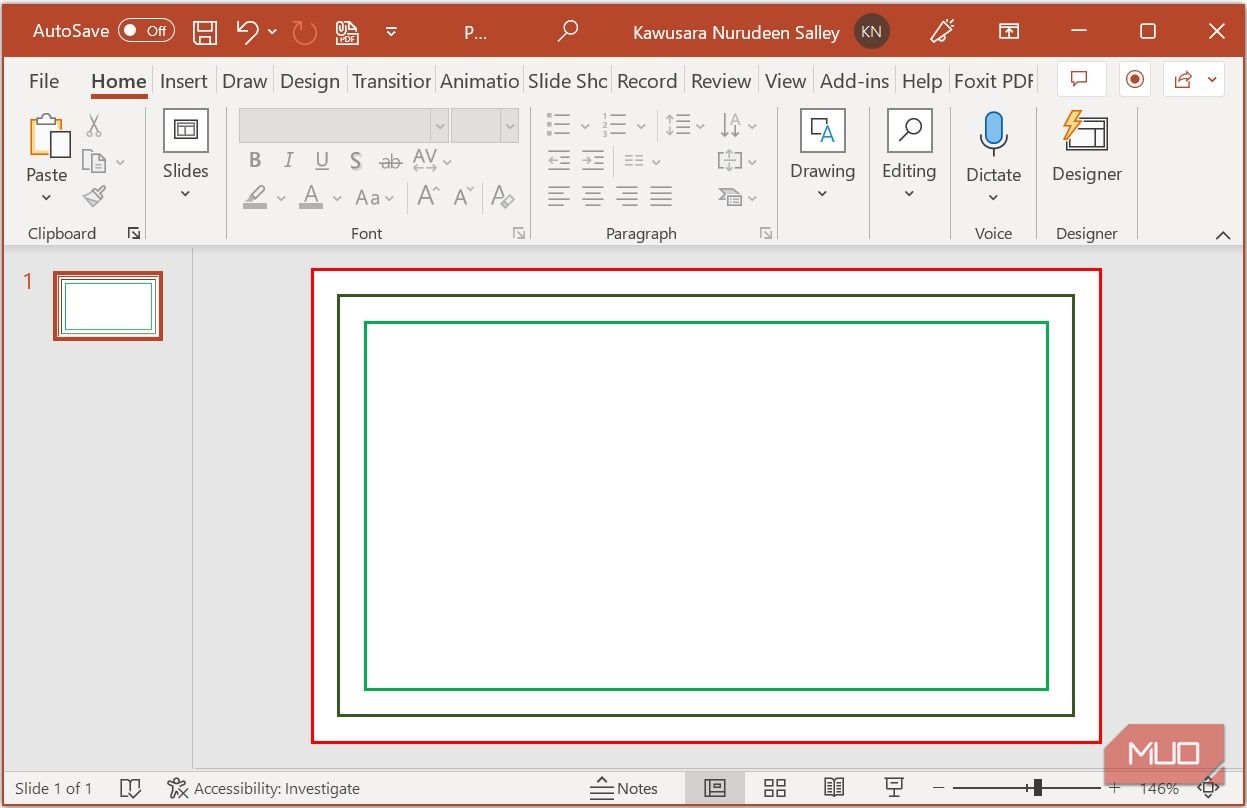
Ensure the rectangle is selected, click onShape Fill, and set it toNo Fill.
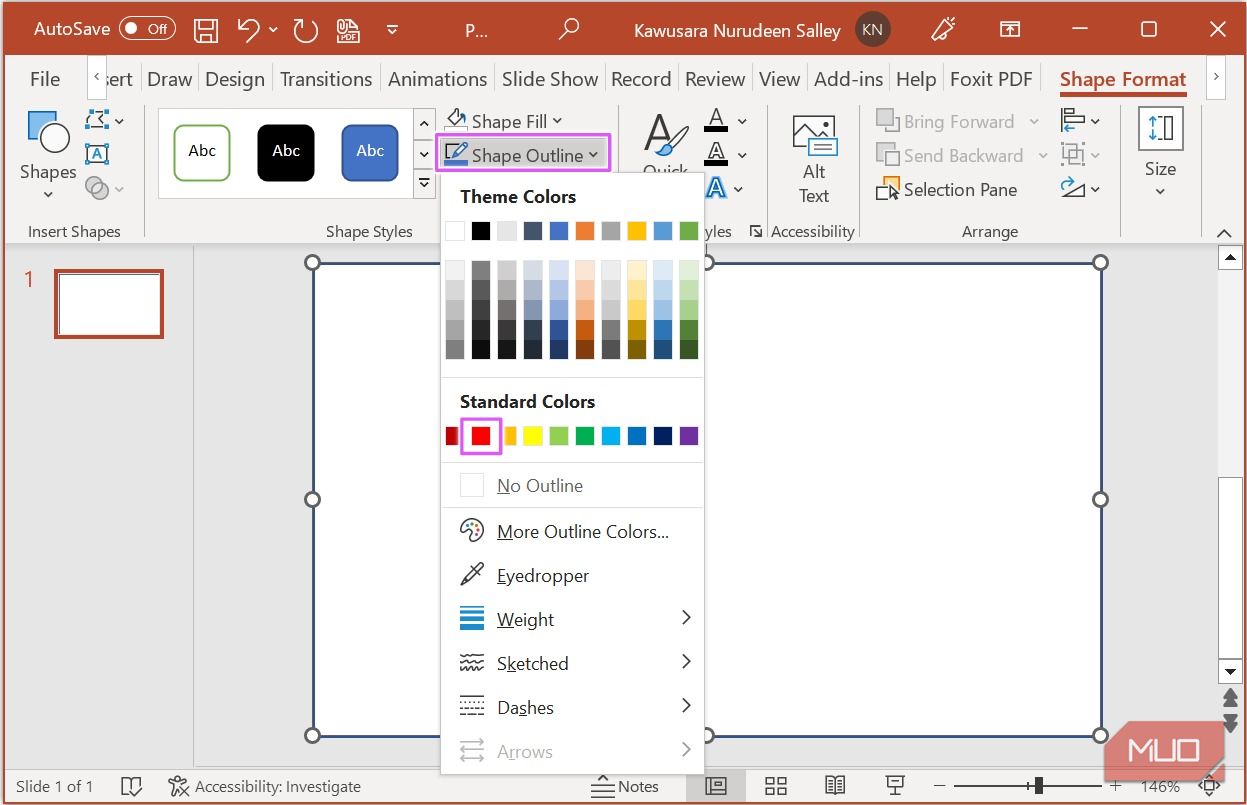
With the rectangle still selected, click onShape Outlineand set it toRed.
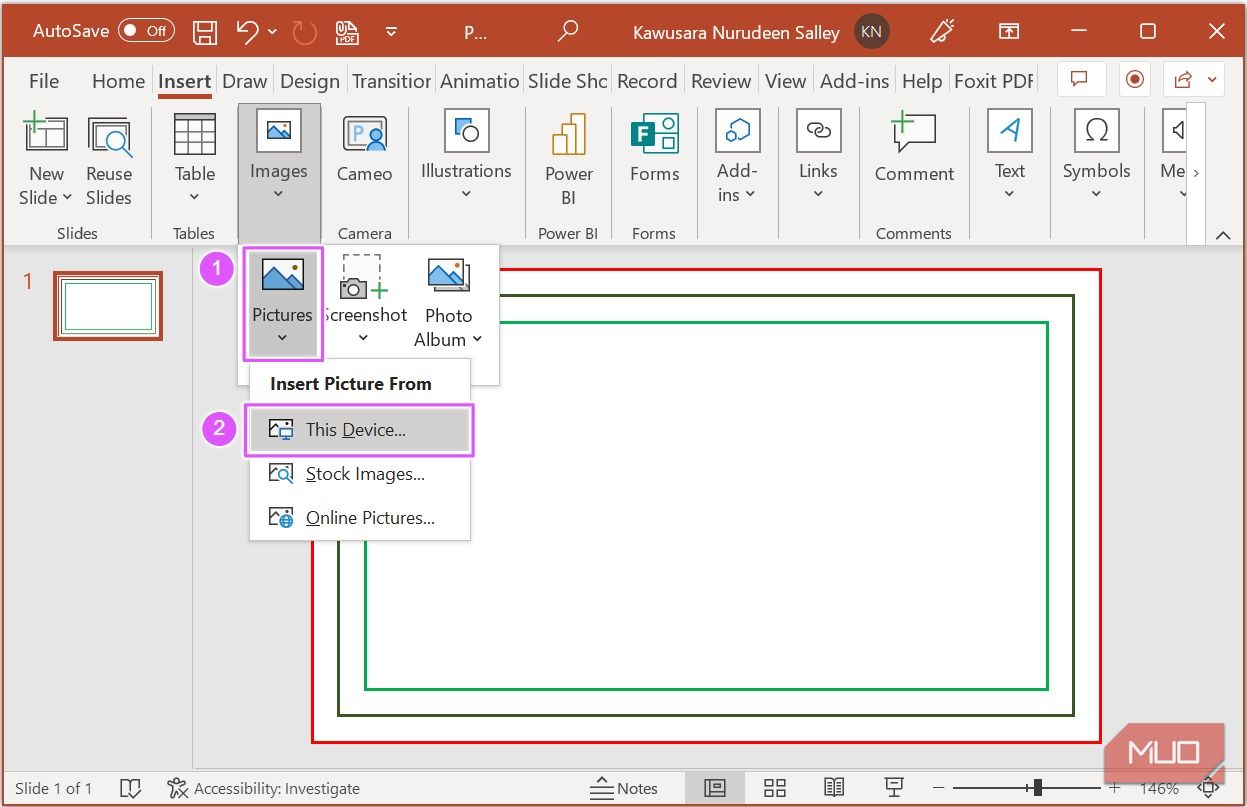
So, if you want to add an image, navigate to theInserttab.
Click onPicturesand selectThis Deviceif the image is saved on your rig.
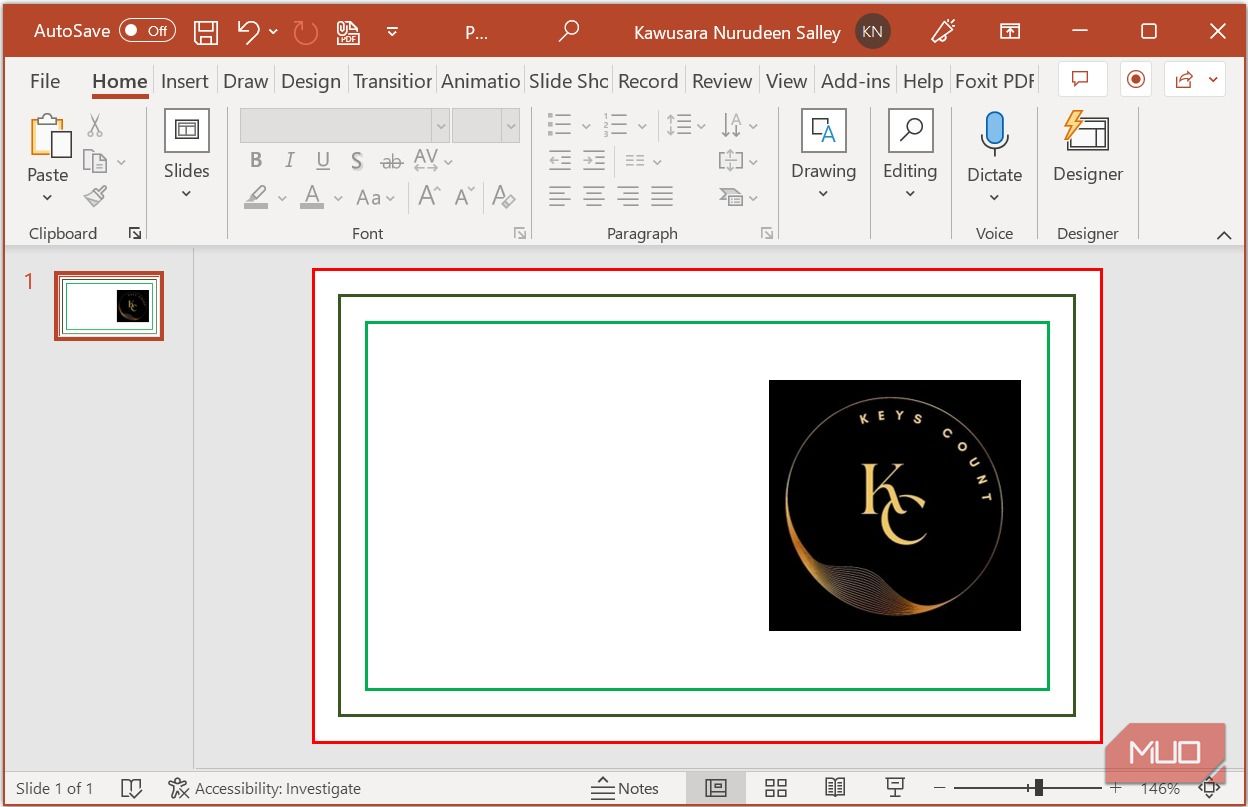
After adding the image, resize and position it as you see fit inside the safe zone.
Note: For this design, we are sticking with a white background.
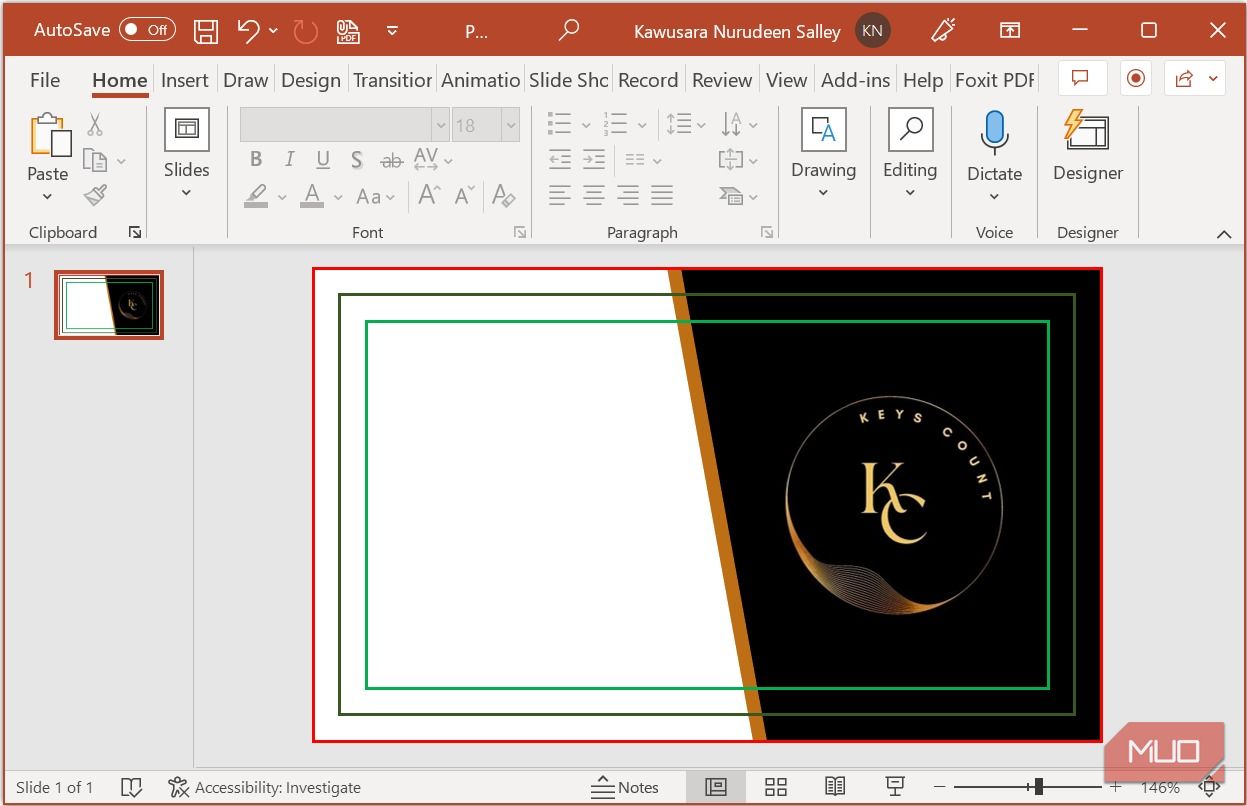
Add Shapes
Shapes are design elements you could use to elevate your design.
Right-press the rectangle again, and selectEdit Points.
hit the new custom shape, and hitCtrl+Don your keyboard to duplicate the shape.
Right-hit the duplicated shape and selectSend to Back.
With the duplicated shape selected, click onShape Fillunder theShape Formattab.
Now position the duplicate shape to suit your preference.
Add Text
It’s time to add your personal and business details to the business card.
To add text, navigate to theInserttab.
ClickShapes, selectText box, and key in the text you want to display.
To add an icon, navigate to theInserttab and clickIcons.
From the library that opens up, opt for icons you want to add and clickInsert.
When the icons are added to the slide, theGraphics Formattab opens up.
Under this tab, you could resize, re-color, and position your icons to suit your taste.
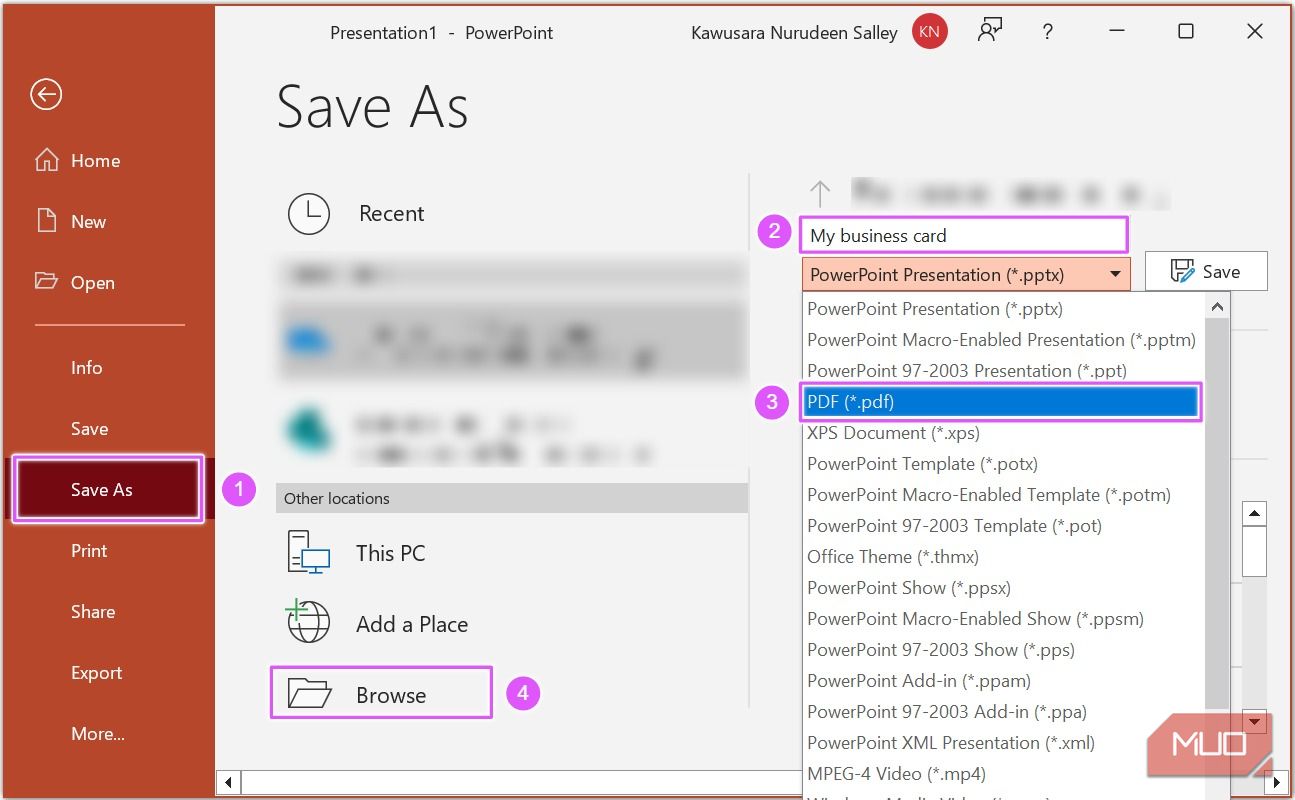
From here, you might save it for printing.
The PDF file format is best in this case.
To save the design as a PDF file, navigate to theFiletab.
Enter a name for your design and selectPDFfrom the drop-down list.
ClickBrowseto pick a folder location on your system to save the file.
When you’re done, clickSave.
This should be much easier since only a few elements go here.