Adding effects to your text designs elevates the products you create.
Cricut makes it easy to add this fun design feature on both the mobile app and the desktop version.
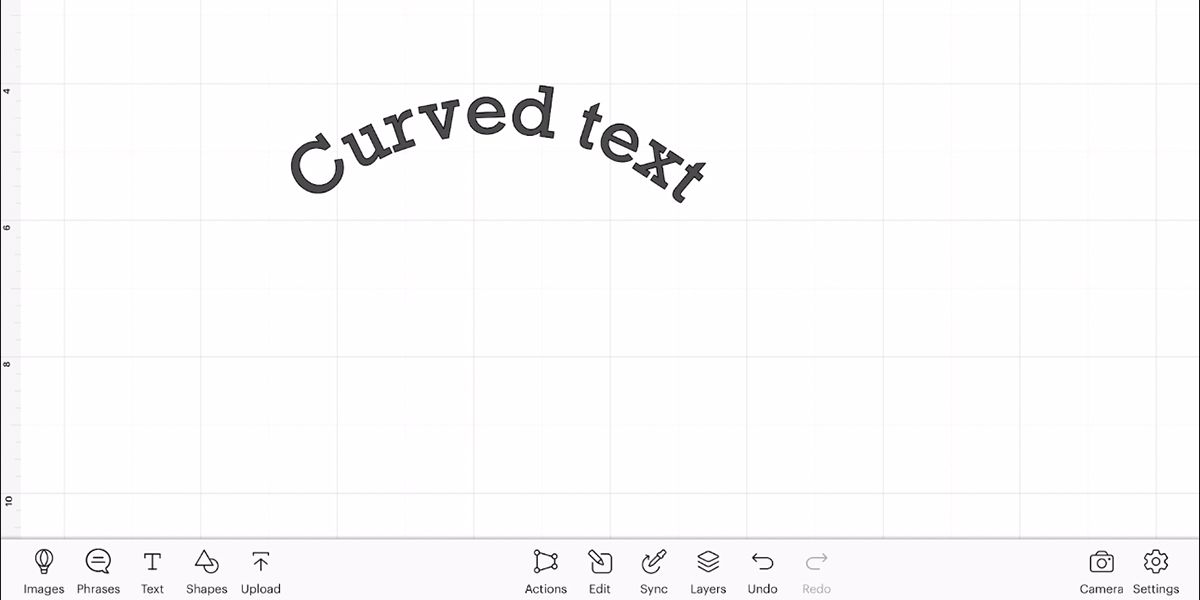
Keep reading to learn how to curve text in the Cricut Design Space app.
So keep reading to see how to make curved text in the app.
Firstly, start a new project in Cricut Design Space.
If youre on a desktop, selectNew Project, or from the app, tap+.
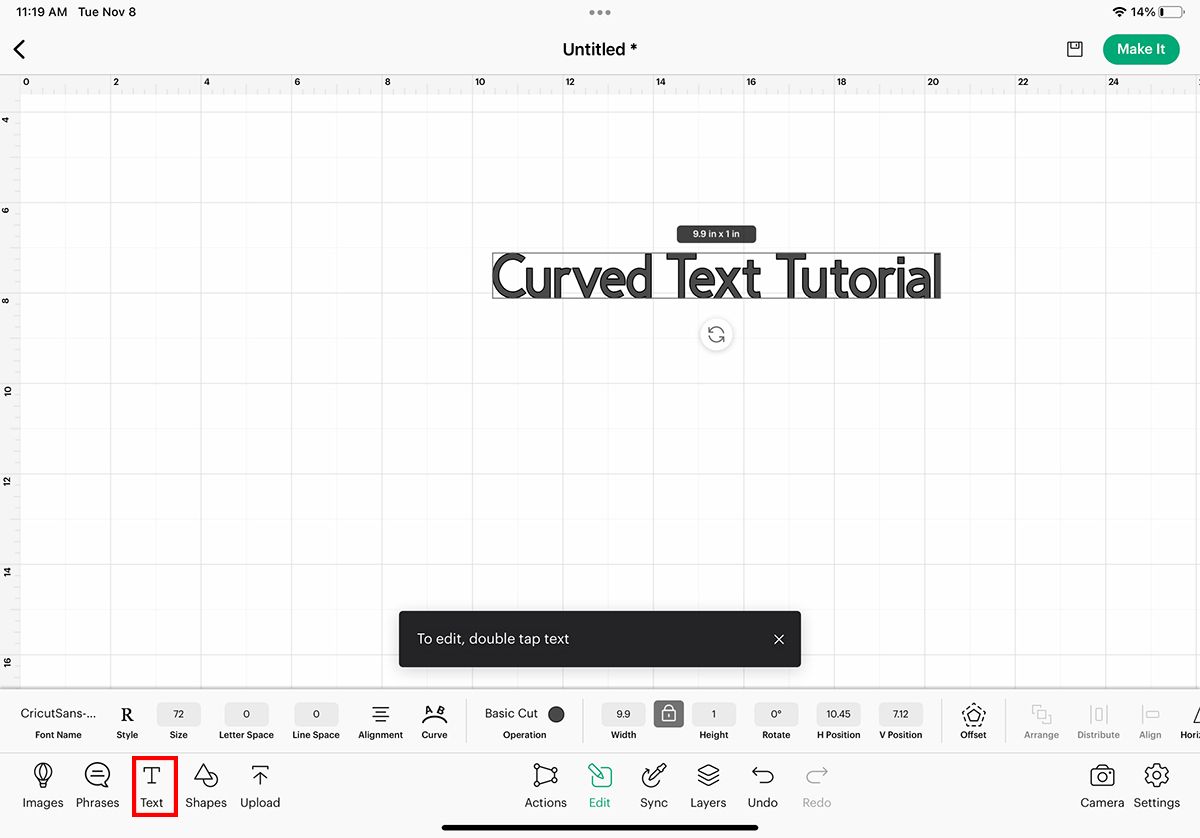
From the toolbar, selectTextto insert a text placeholder.
Double-click or double-tap the placeholder text to edit it, then key in your desired phrase.
These can also be changed after youve applied the curve, but it’s easier to set beforehand.
Once youre happy with the main aspects of your text, you could move on to curving it.
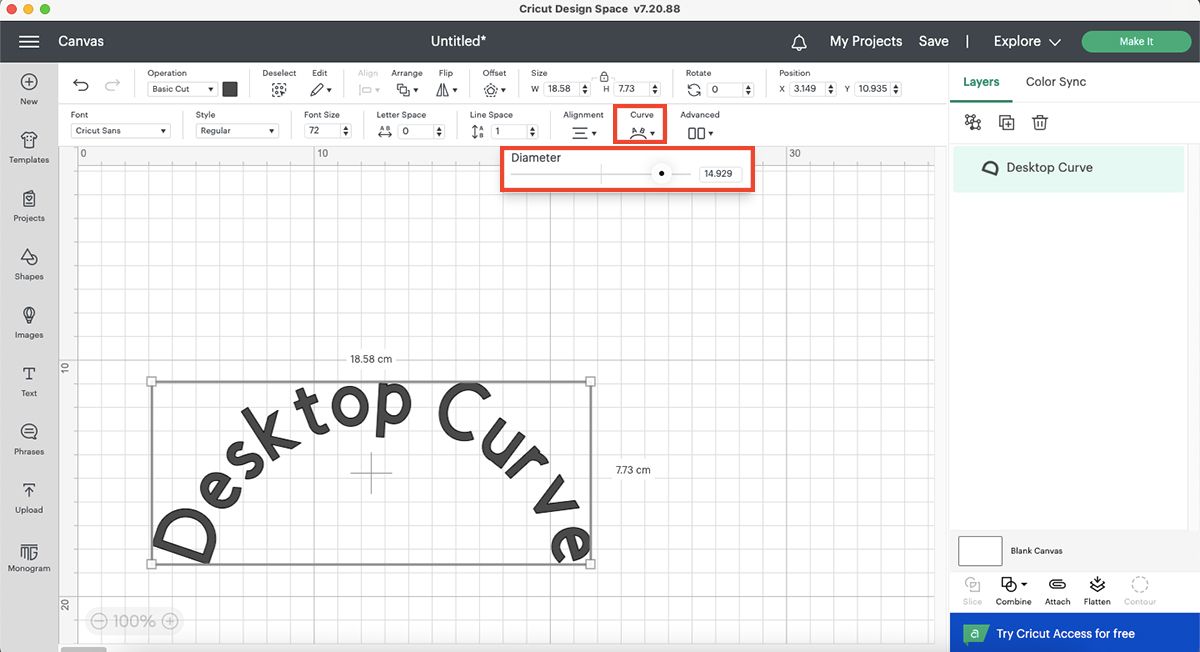
snag the text, then selectCurvefrom the toolbar to pull up the curve options.
On the desktop version of Design Space, theCurvetool appears as a slider from the icon.
you could preview the results directly on the canvas.
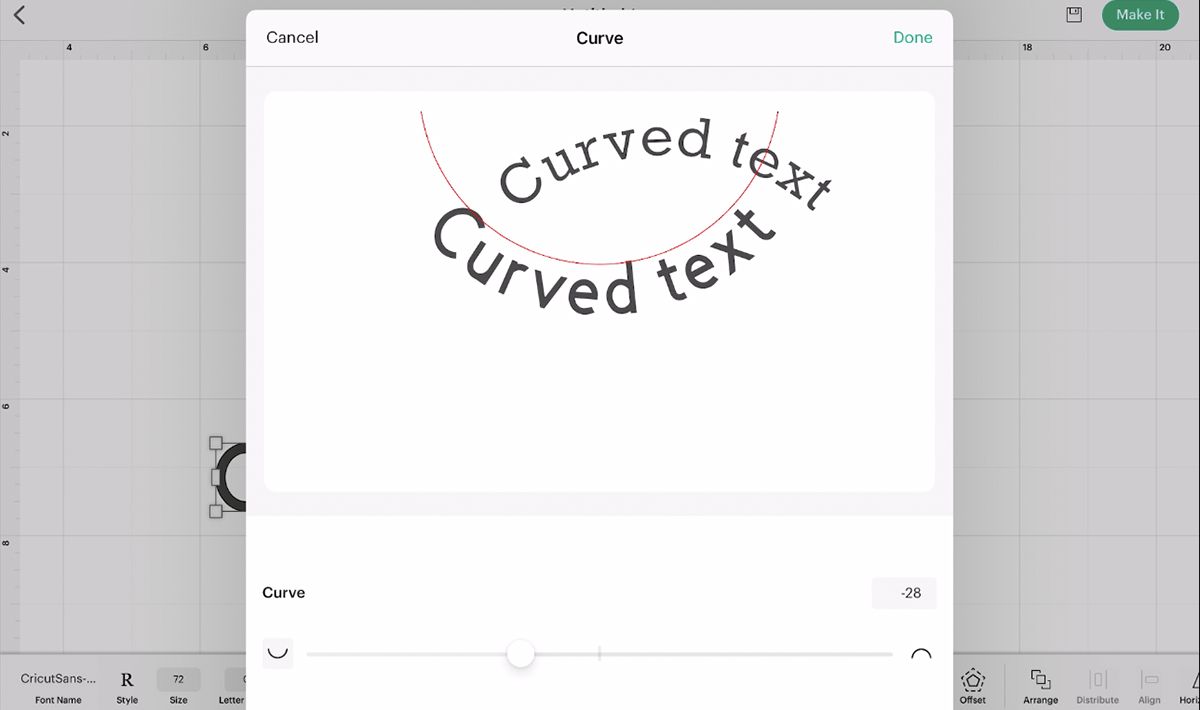
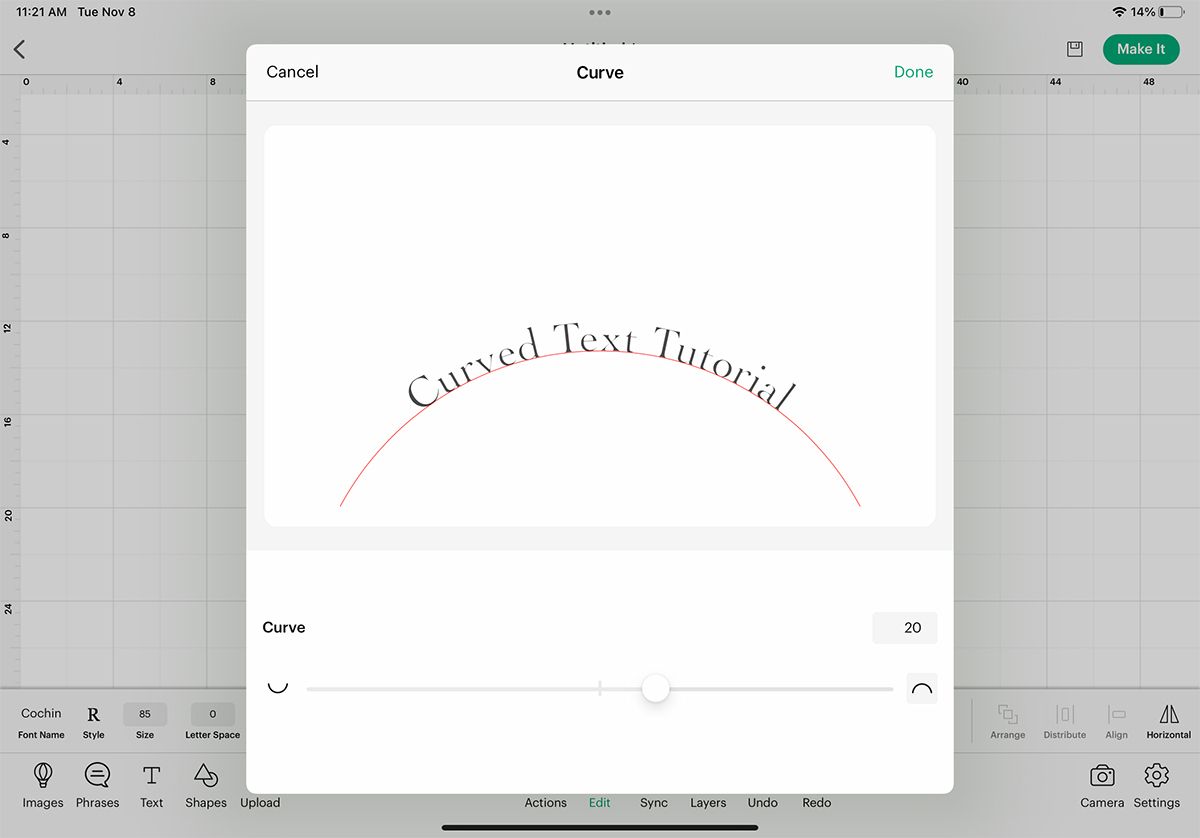
If youre using the Design Space app, selectingCurvepulls up a preview window with a slider in it.
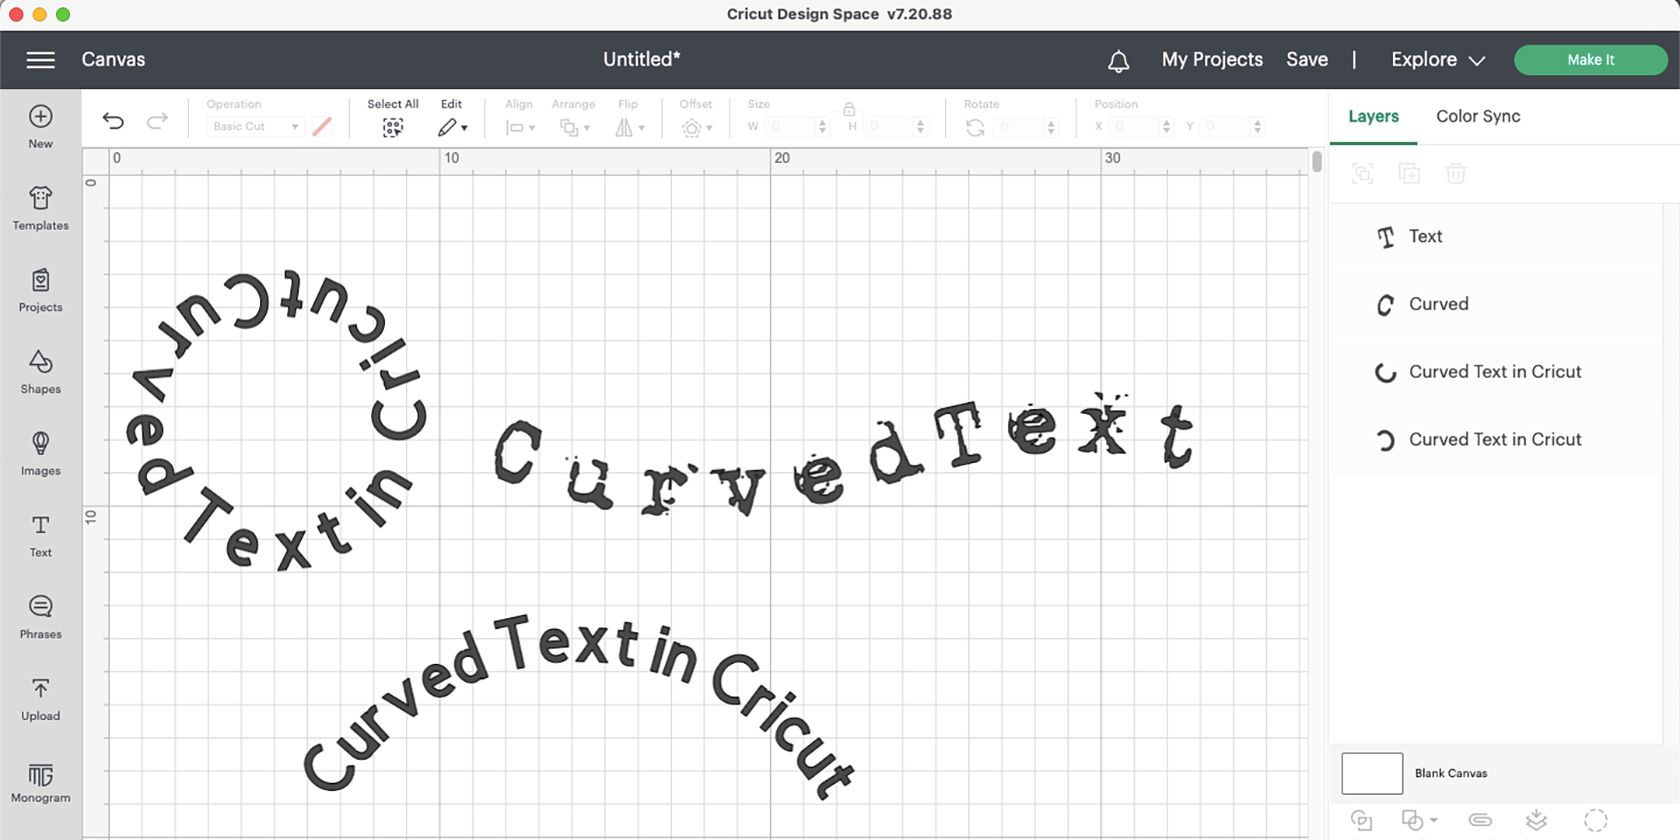
As a convex circle, the start and end of your text phrase will meet at the bottom.

you’re free to rotate the circle later on.
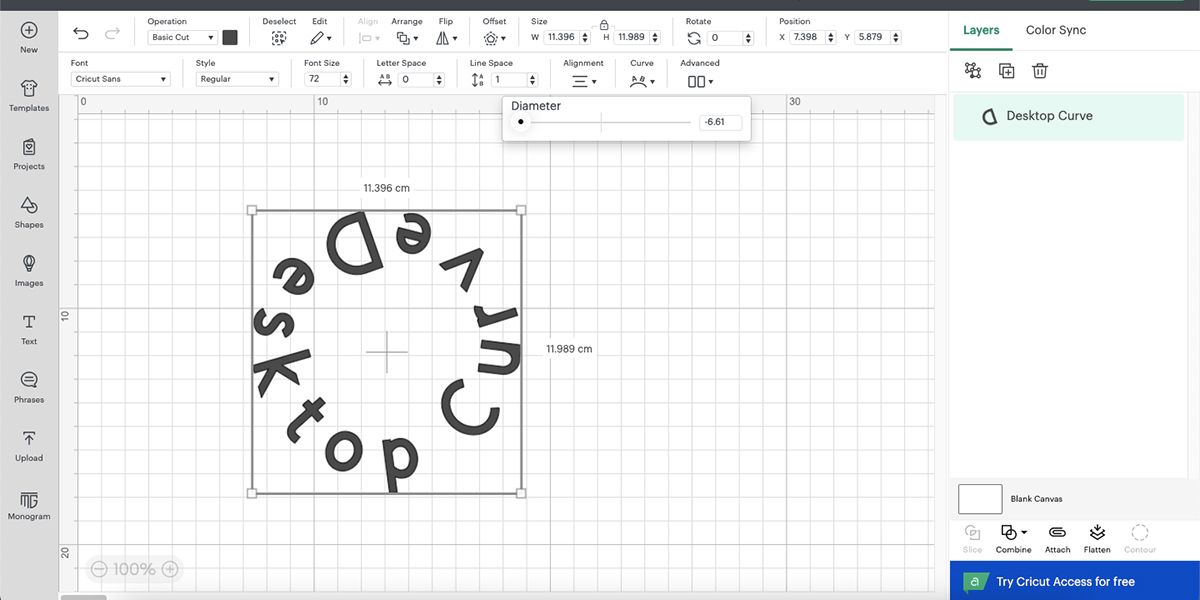
Pulling the slider to the leftinto negative numberscreates a concave curve.
This curves the text from above.
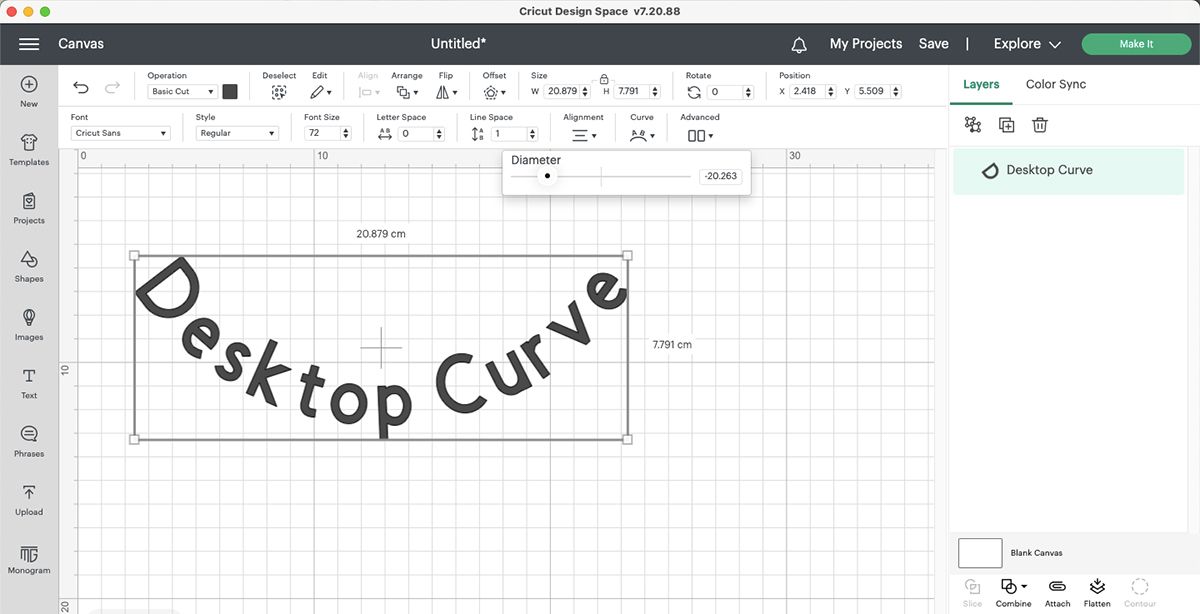
The concave curve direction makes a circle more difficult to read than a convex curve.
Select and drag the text to move it around the Canvas, and resize by dragging the anchor points.
You could alsomake editable offset text in Illustratorto easily turn into a Cricut design.
Ideally, choose the same number for each side.
After youve made your text curve, you’re able to add any other extras to your design.
Why be with boring straight text when you could add some shape to your designs?
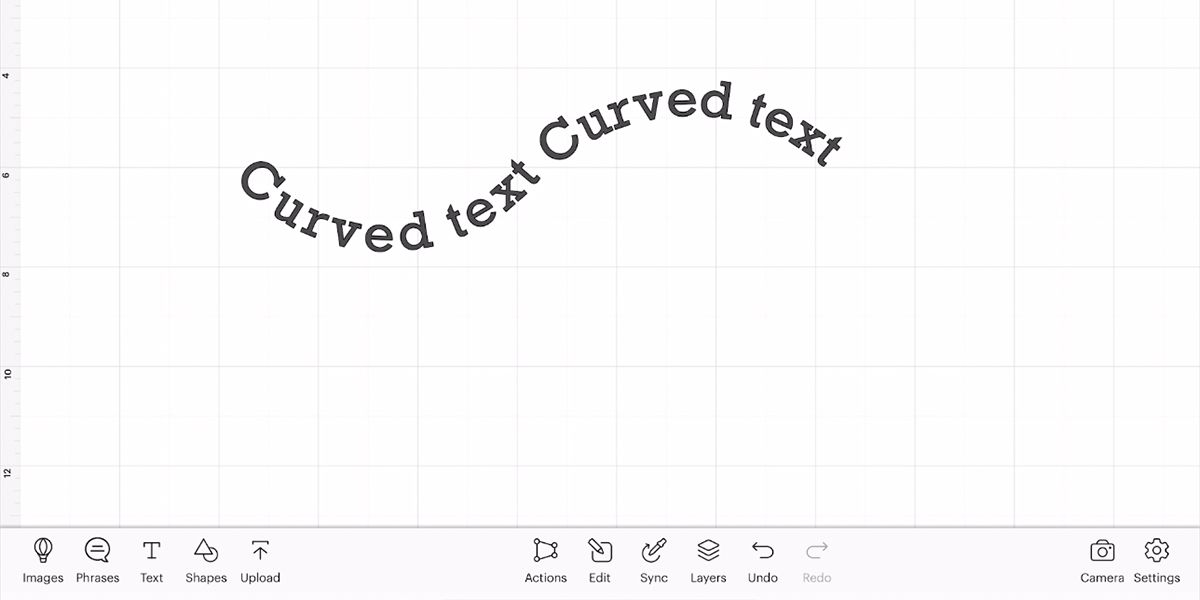
Play around with different fonts and experiment by connecting your curves to make waves or other fun shapes.