Few constructs in the world of post-production are as misunderstood as LUTs are.
Demystifying them involves breaking them down and understanding how they work from the bottom up.
A LUT is little more than an adjustment in color and tone of a clip or a photo.
Remind Me, What Is a LUT Again?
It’s acolor correction toolthat you create once and can exploit again and again.
Some LUTs sap your image of saturation entirely, leaving only the luminant values behind.

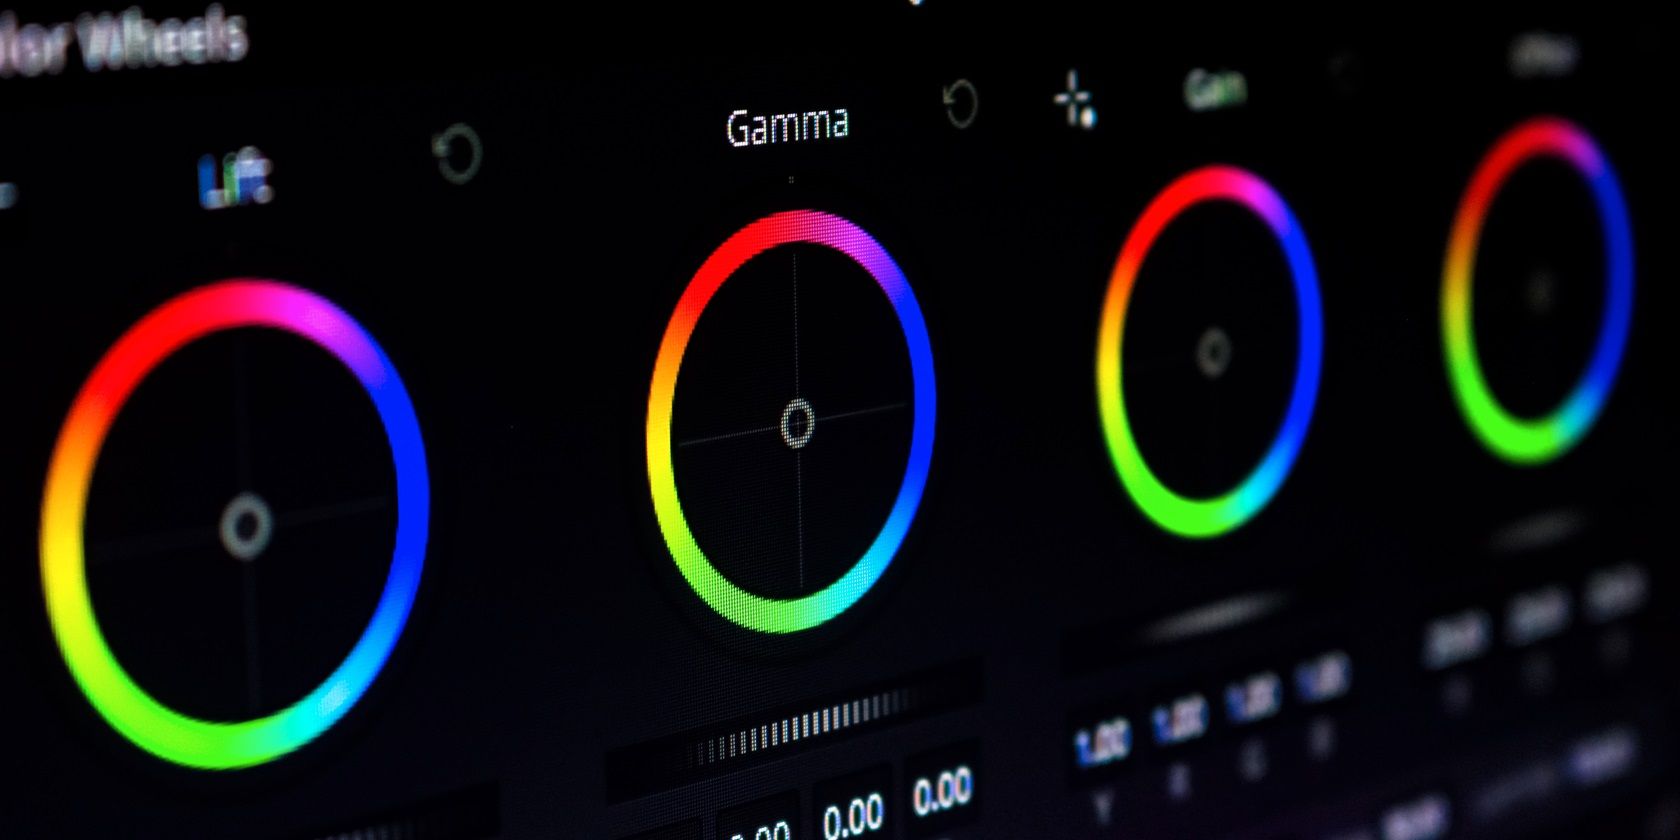
What Makes a Great LUT?
The perfect cine LUT isn’t difficult to define.
Excellent LUTs come in all formsbright and vibrant, dark and brooding, monochromatic, and even strictly technical.
With that being said, LUTs can’t fix every throw in of problem.
Understanding the way that LUTs work will help you make the most of them when coloring your video projects.
How to Create a LUT for Your Video Footage
Getting started is easy.
First, you gotta identify just what exactly you would like your LUT to do for your footage.
Ideally, you’ve already gota strong assembly cutdown.
What needs to happen next?
This should certainly happen before you begin grading it creatively.
We recommend taking an initial pass at your assembly cut before creating LUTs unnecessarily.
An exception to this would be somebody who already knows that there’s something wrong with the footage.
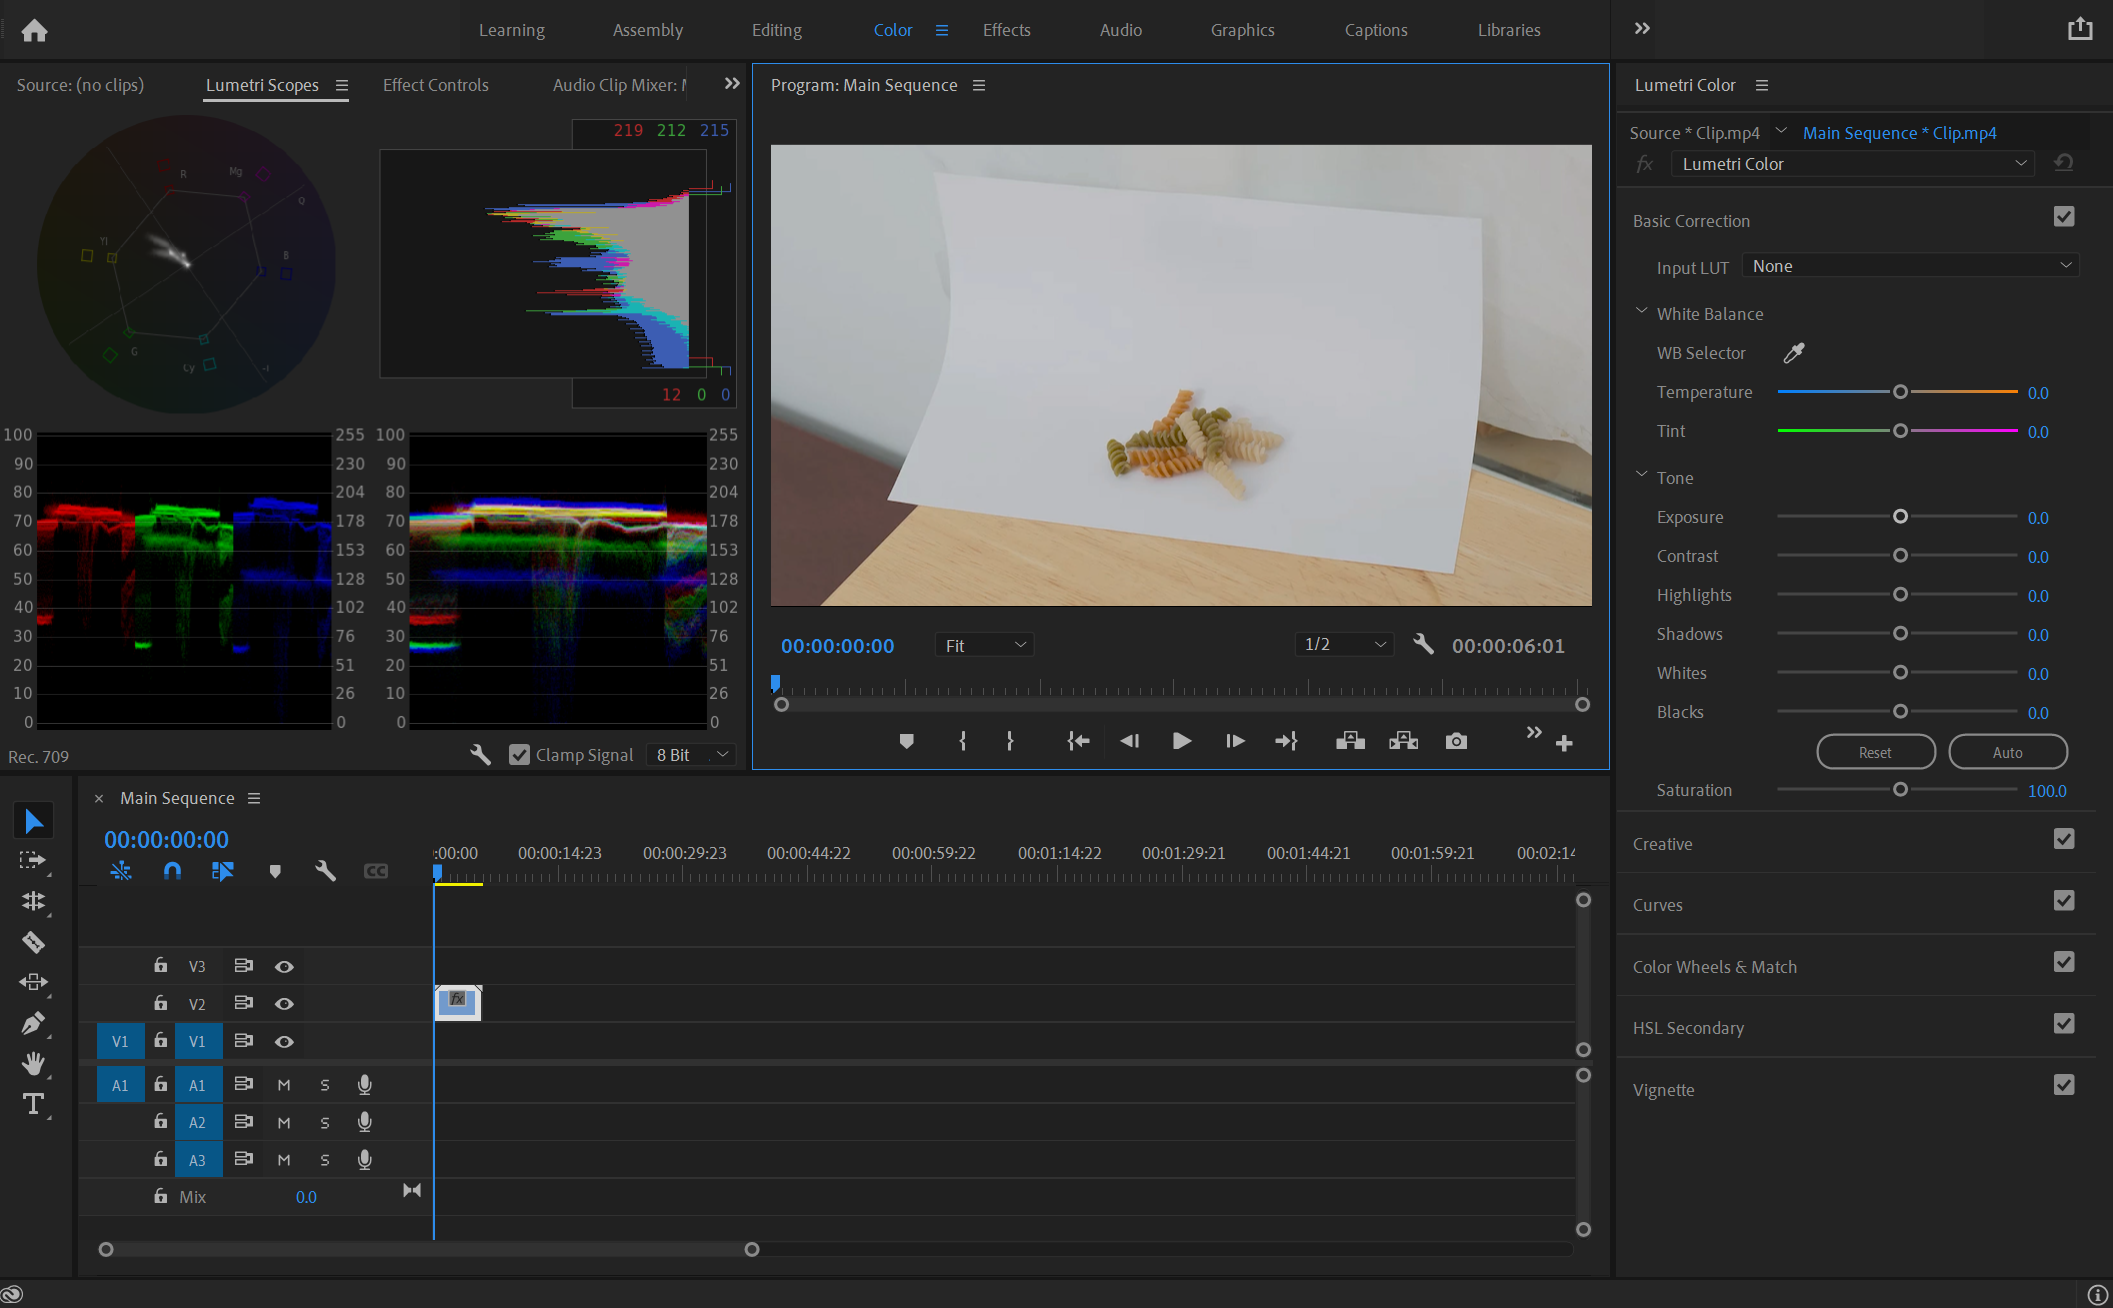
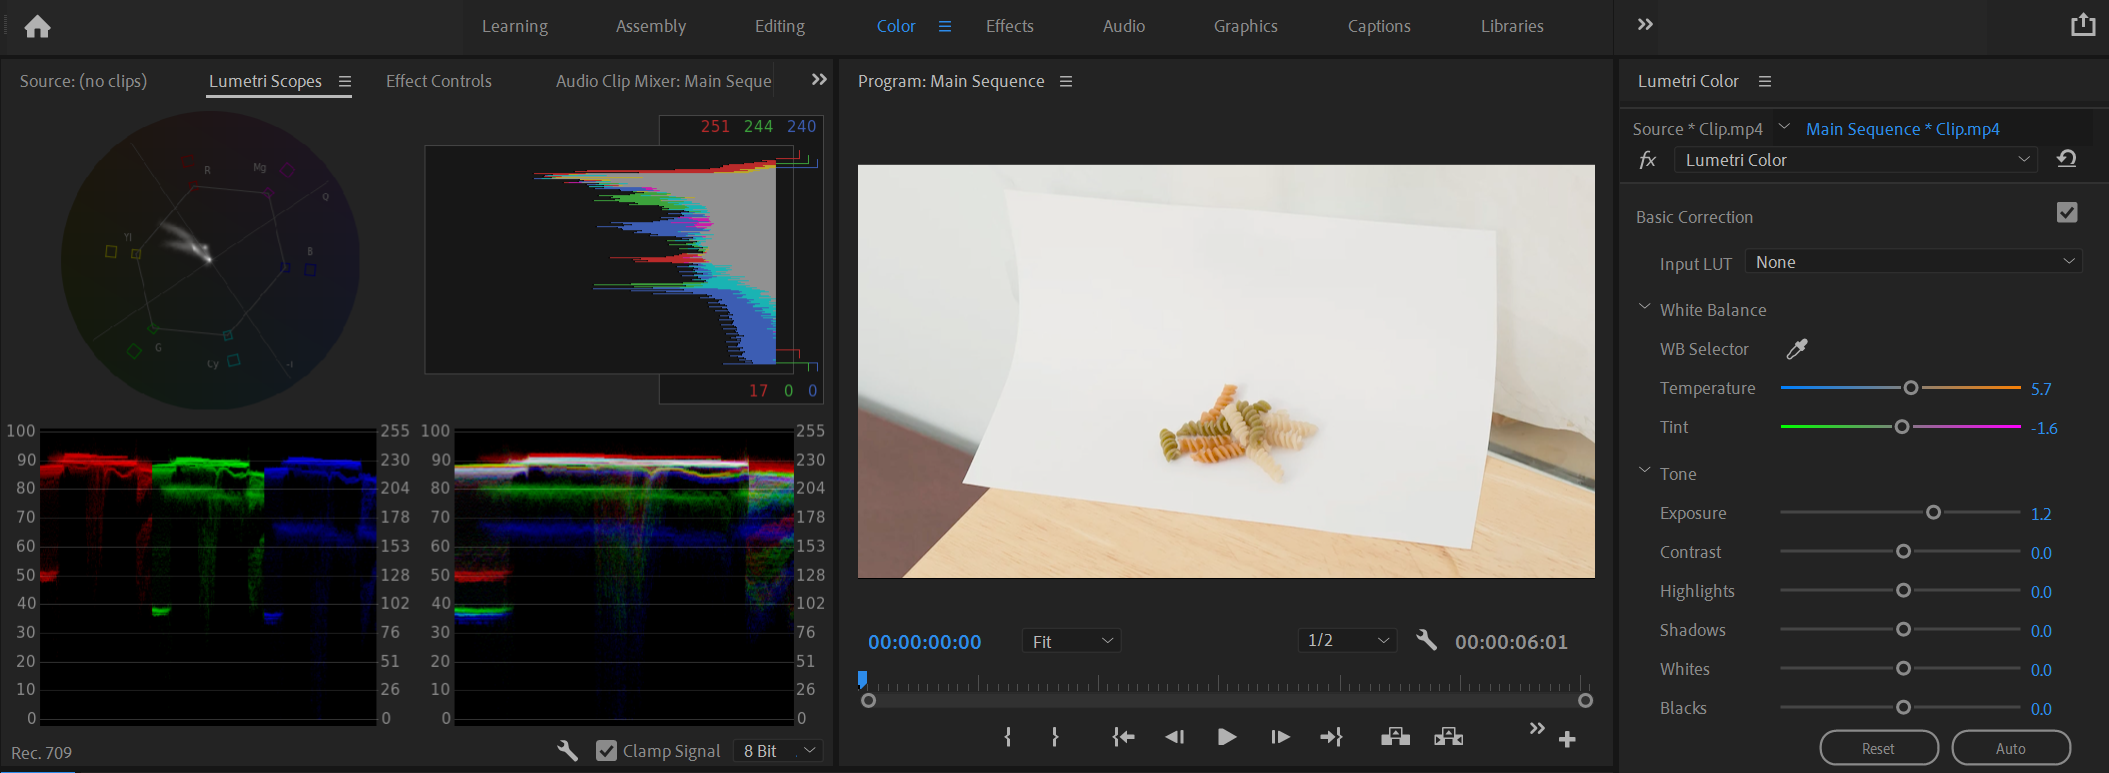
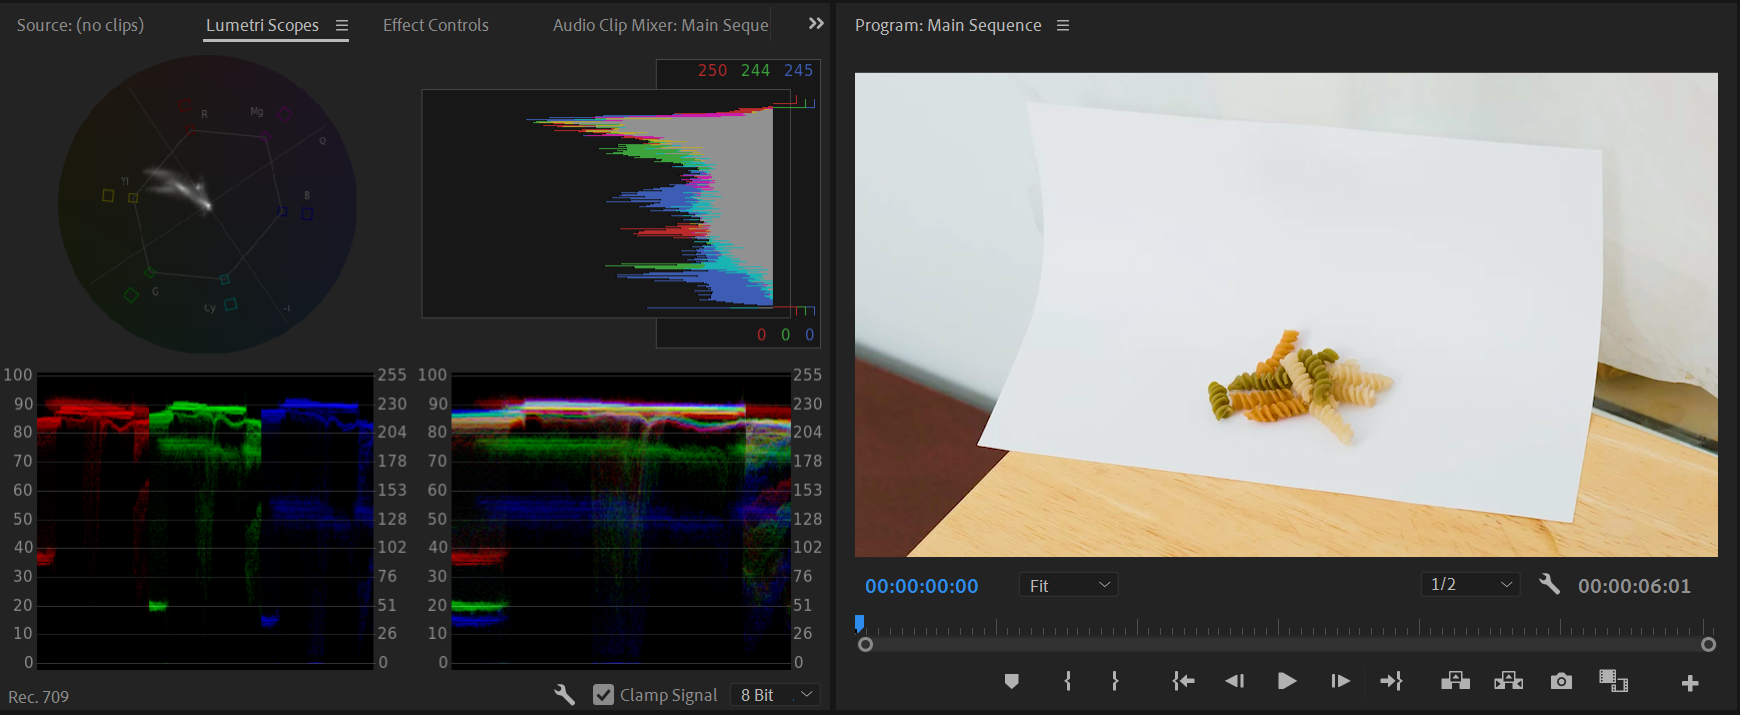
For this example, we’re going to open up Premiere and import a random clip to work with.
At the top of the app, choose the workspace dedicated toColor.
Right now, we’re going to open up these values.
We want ourWaveformandParadevalues to be hanging right around80to204, without losing any of them above our gamut.
We also want the image to be as bright as possible without clipping.
It’s a well-exposed image, so we can use theblacksslider to add more depth to the frame.
Right now, when consulting both the picture and the scopes, the picture looks and feels fine.
We’ll increase thesaturationjust a touch and call ourselves satisfied with this one.
But that’s a tutorial for another day.
