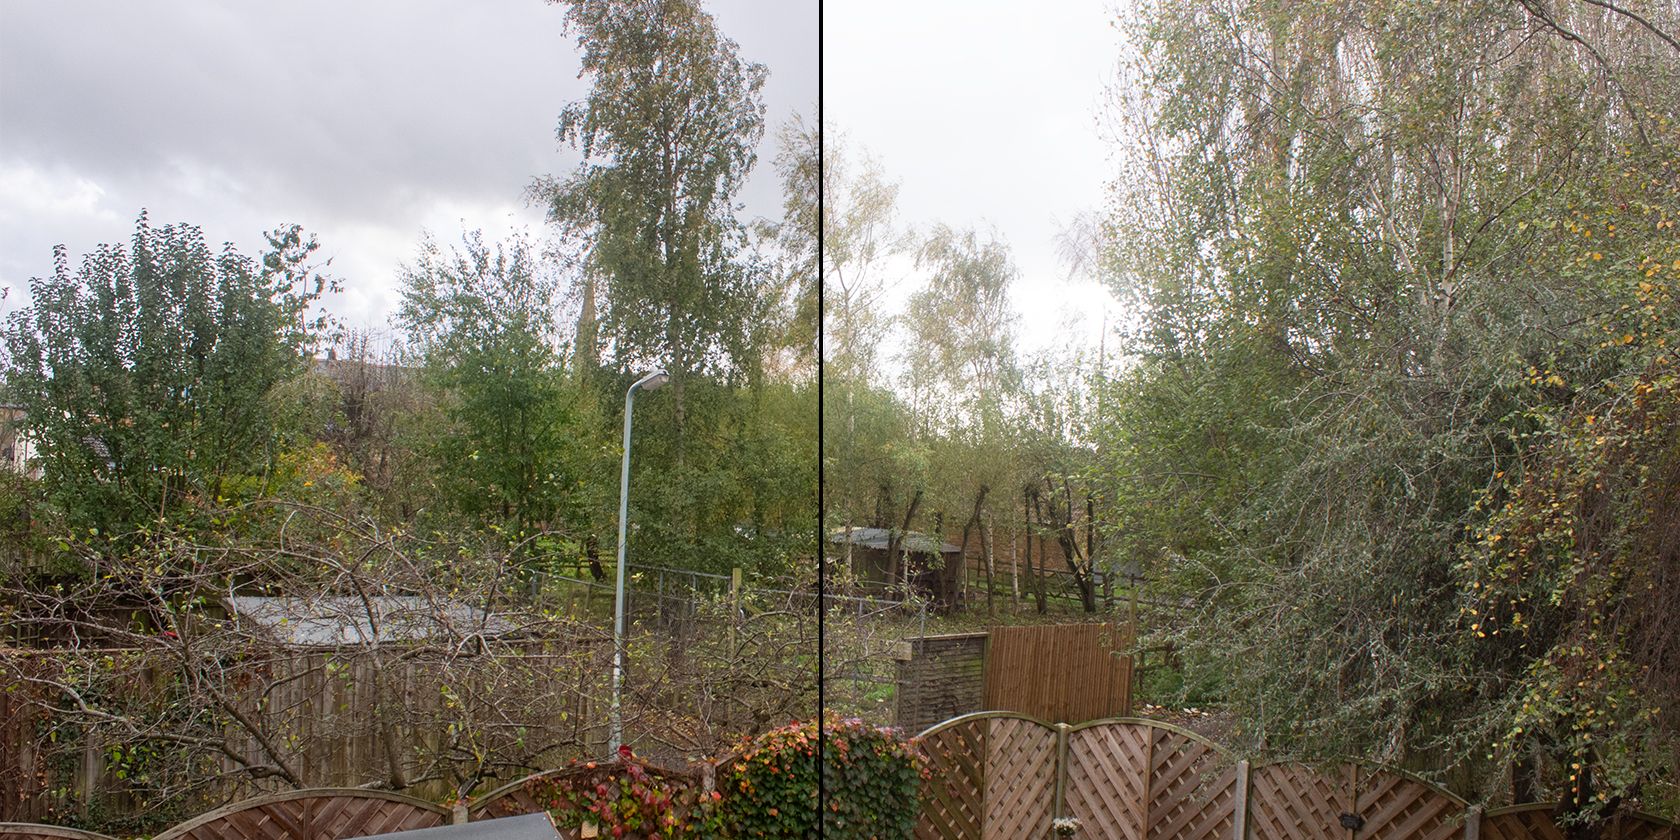
High dynamic range photos are eye-catching, have depth, and are used way more often than youd think.
But how do you create real HDR images?
What Do you better Create HDRs?
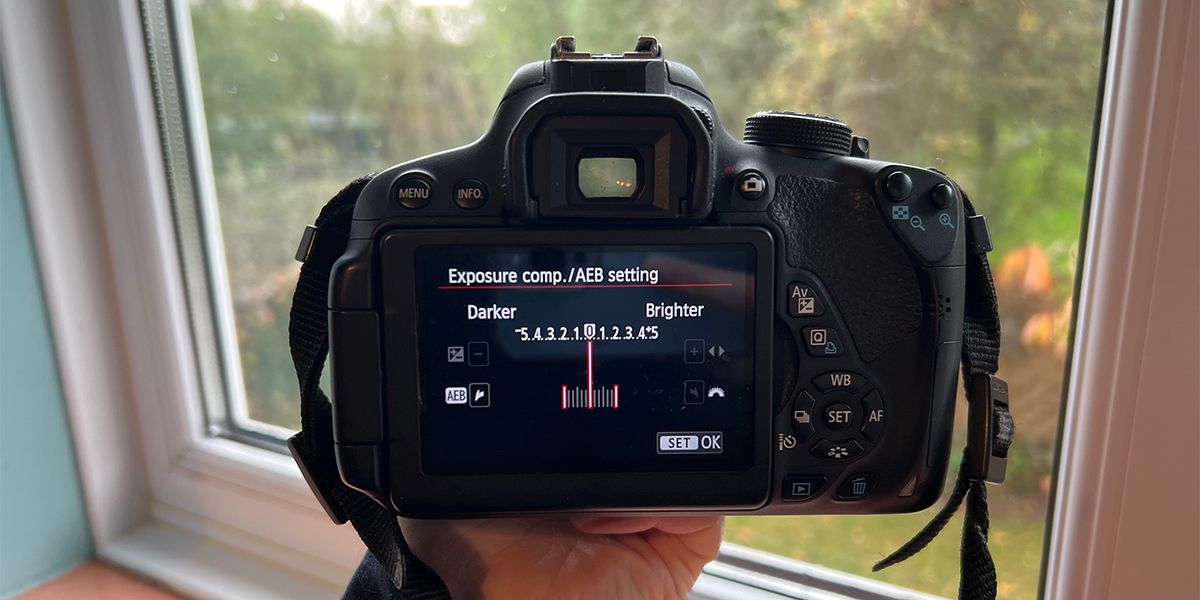
you better take three or more photos thatuse exposure bracketing; this setting is in most DSLR cameras.
Essentially, you take three or more photos at different exposure levels.
And take your photos inRAW format instead of JPEG.
You also need to use software that opens RAW images.
To open RAW images in Photoshop, you need the Camera RAW plugin.
This is included inthe myriad of Adobe Creative Cloud software.
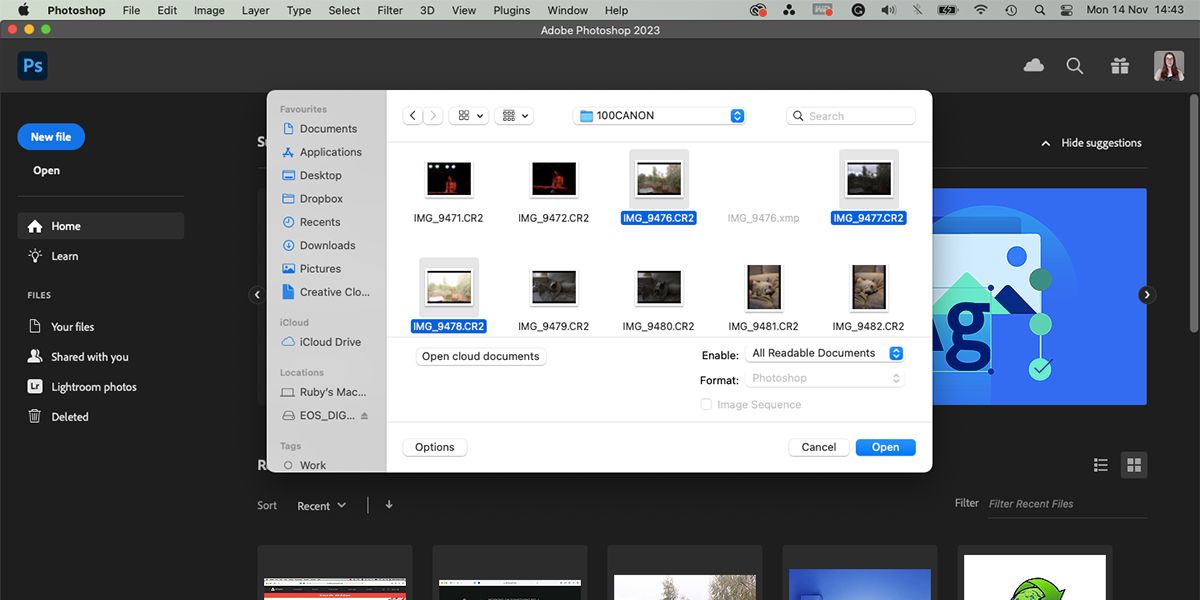
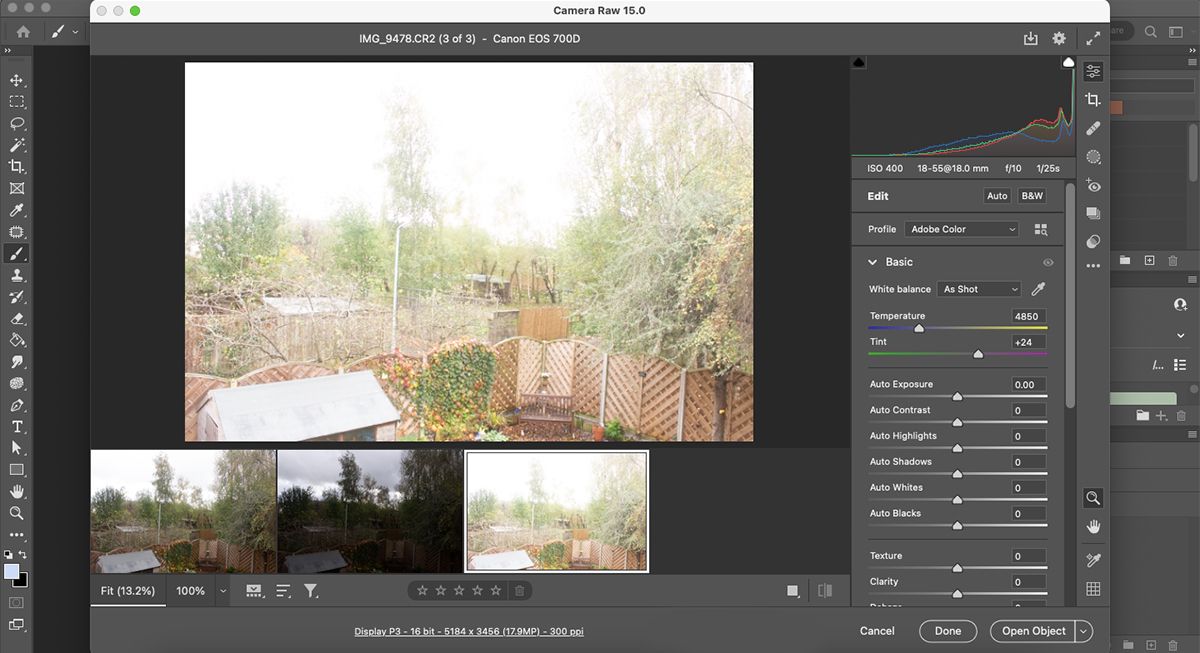
Step 1: Open Your Images in Photoshop
Open Photoshop.
From the home page, selectOpen.
Find your RAW images in the dialog box and select those you want to use.

Once selected, clickOpen.
Whichever photos you selected to open will appear in the filmstrip at the bottom of the Camera RAW window.
Below the histogram are your other photo parameters.
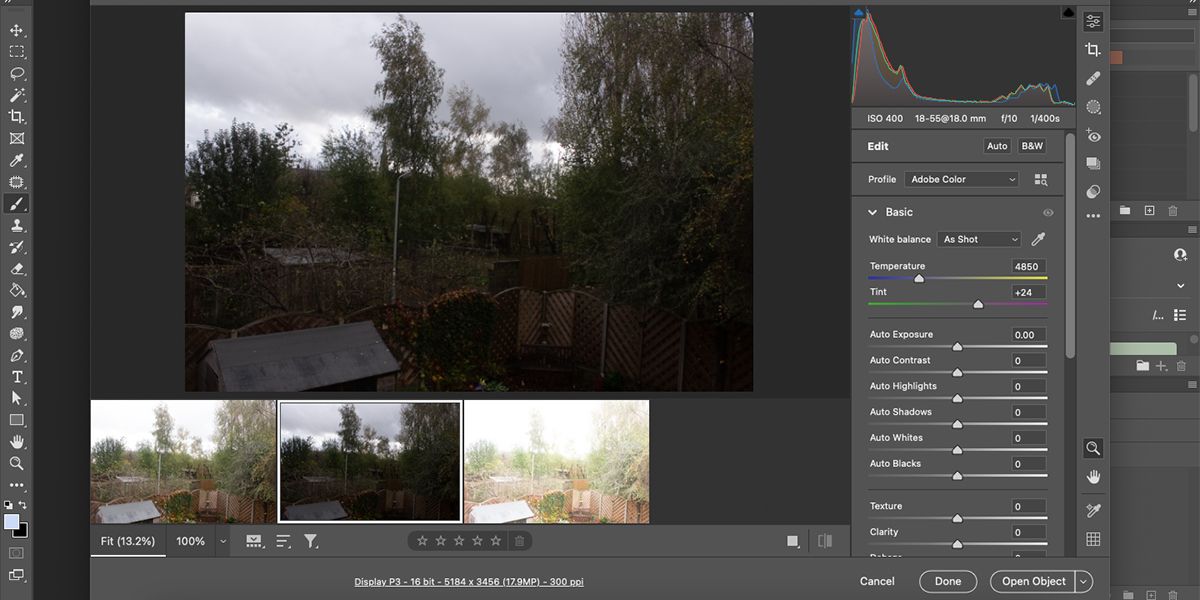
Step 3: Pre-Edit the Photos
This step is optional.
you could use the controls below the histogram to edit any of the individual images before making the HDR.
This will select all the images.
With all threeor more, if you have themimages selected, its easy to create an HDR.
Right-click any of the selected images and chooseMerge to HDR.
This immediately shows a new dialog box with a preview of the finished HDR.
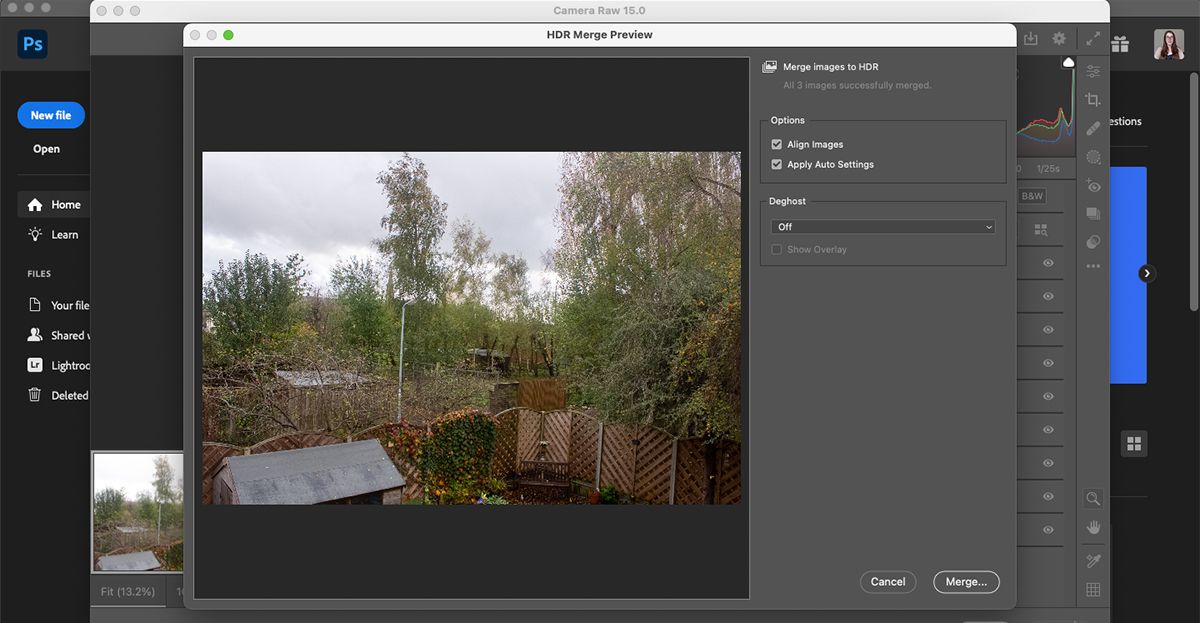
If youre happy with the preview, selectMerge.
Choose a folder to save it in, rename it, and selectSave.
Your HDR saves as a DNG format image.
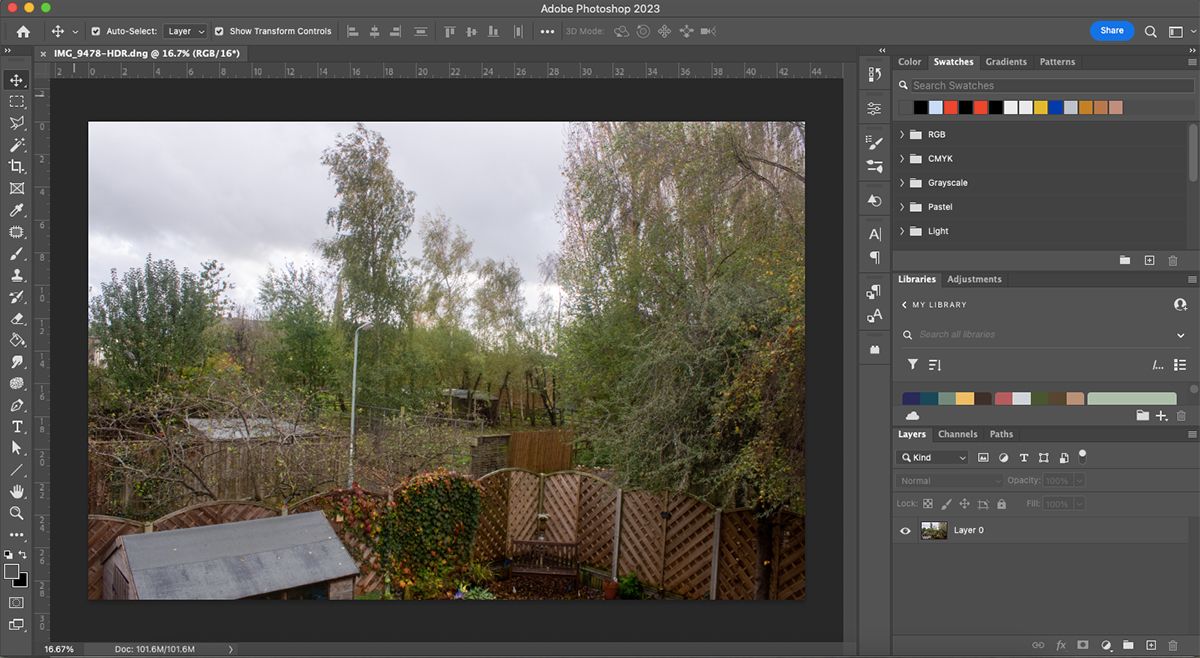
The HDR now contains information from the previous RAW images.
This makes it much easier to edit if you want to.
Open then has three more options:Open,Open as Object, andOpen as Copy.
SelectingCancelexits out of Camera RAW and takes you back to an empty Photoshop window.
If you edited your HDR after merging, canceling wont save those edits.
SelectDoneto save the edits and exit out of Camera RAW.
Creating HDR images from your RAW files adds even more depth.
