Procreate is typically used for illustration and not commonly for photo manipulation like Photoshop.
After creating your new double exposure, youll start to realize that Procreate is for more than pretty illustrations.
You may use images that match in color or theme, or go for juxtaposed imagery.
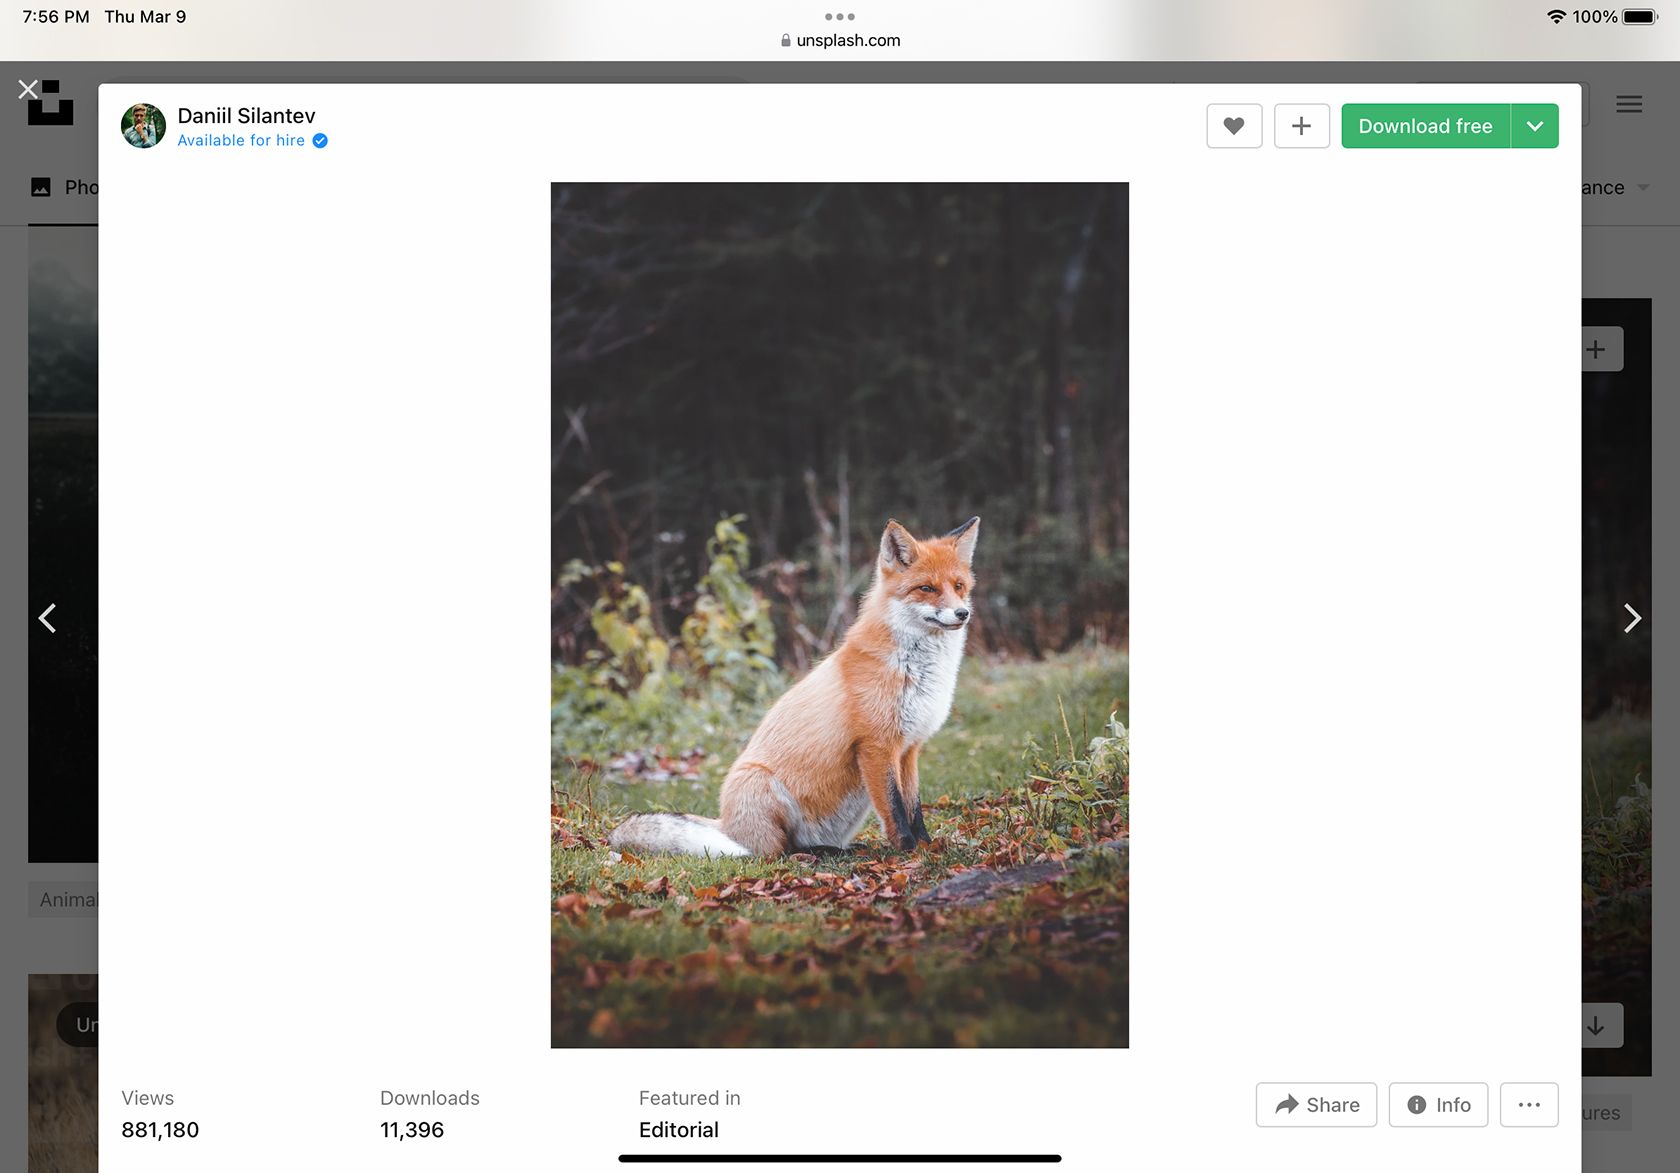
Use your own photos ordownload photos from a royalty-free website.
Save the images in your iPad Photos folder.
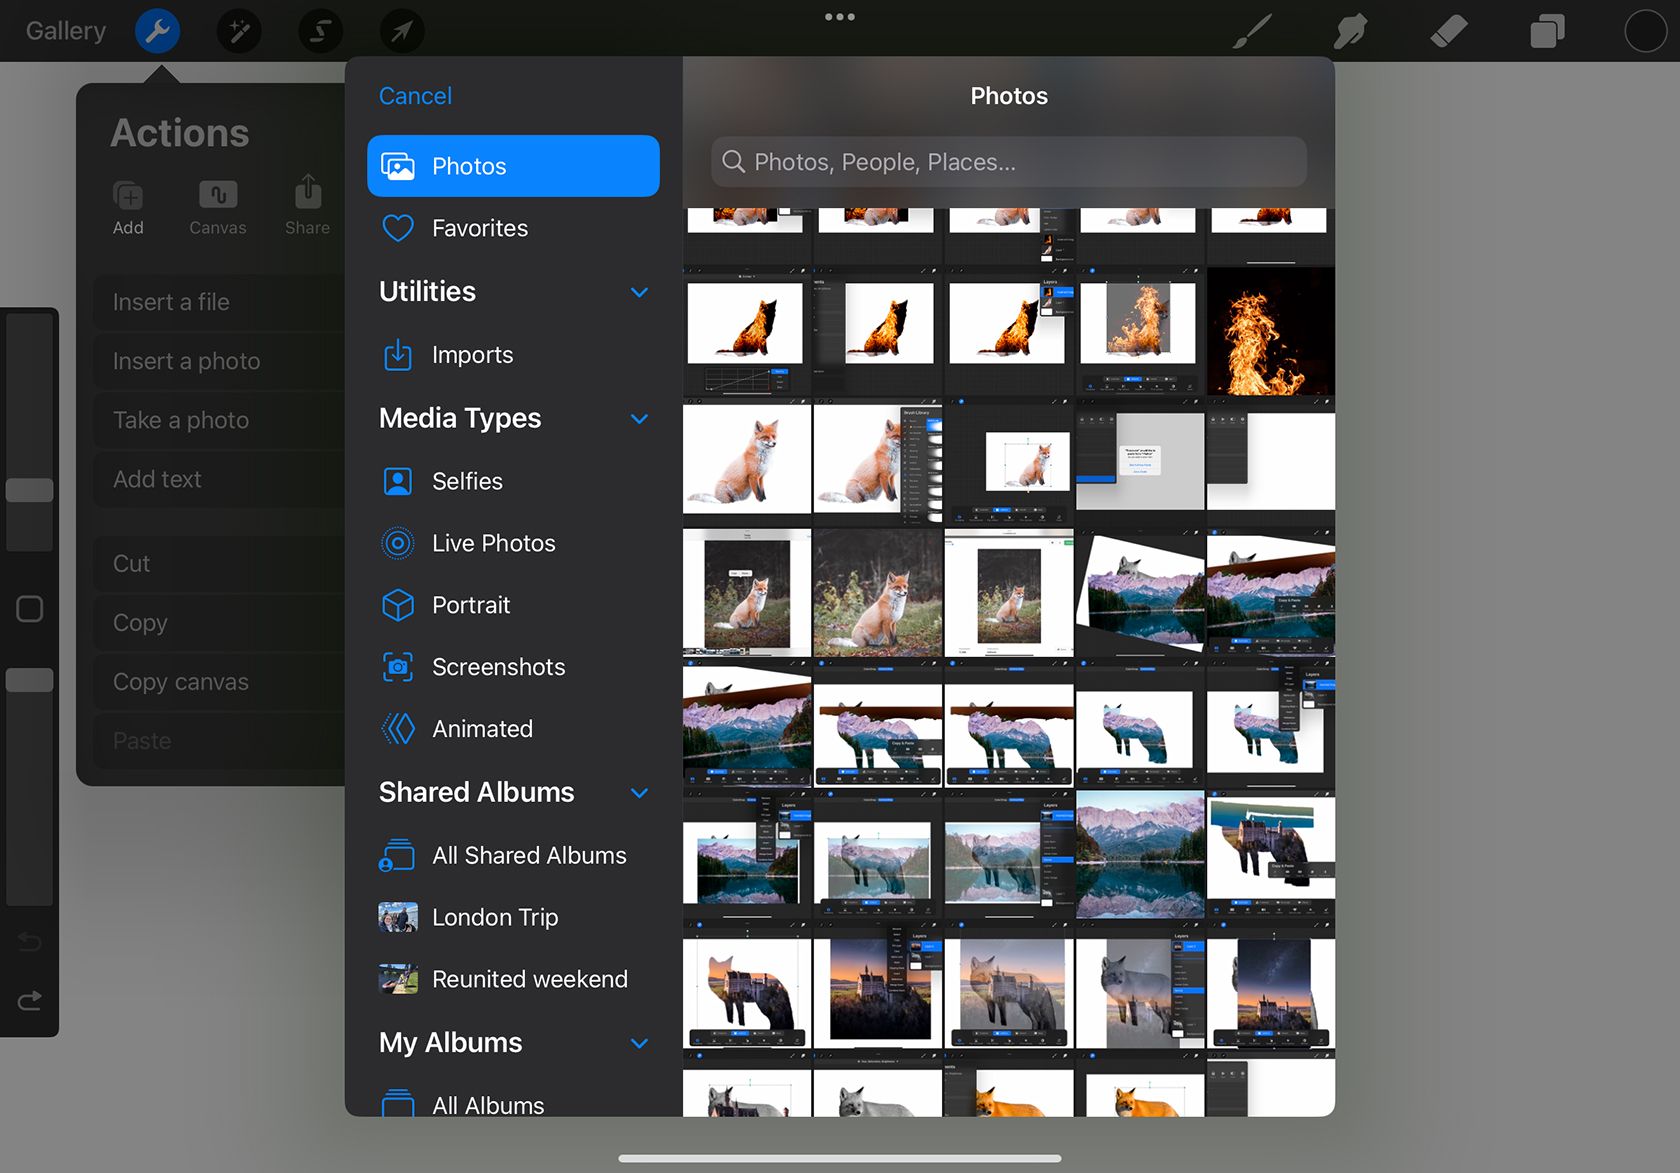
when you obtain your images, then open Procreate on your iPad.
Create a new canvas and set it toScreen Size.
There are two ways to do this depending on which iPadOS youre running.
The subject will illuminate with a white glow.
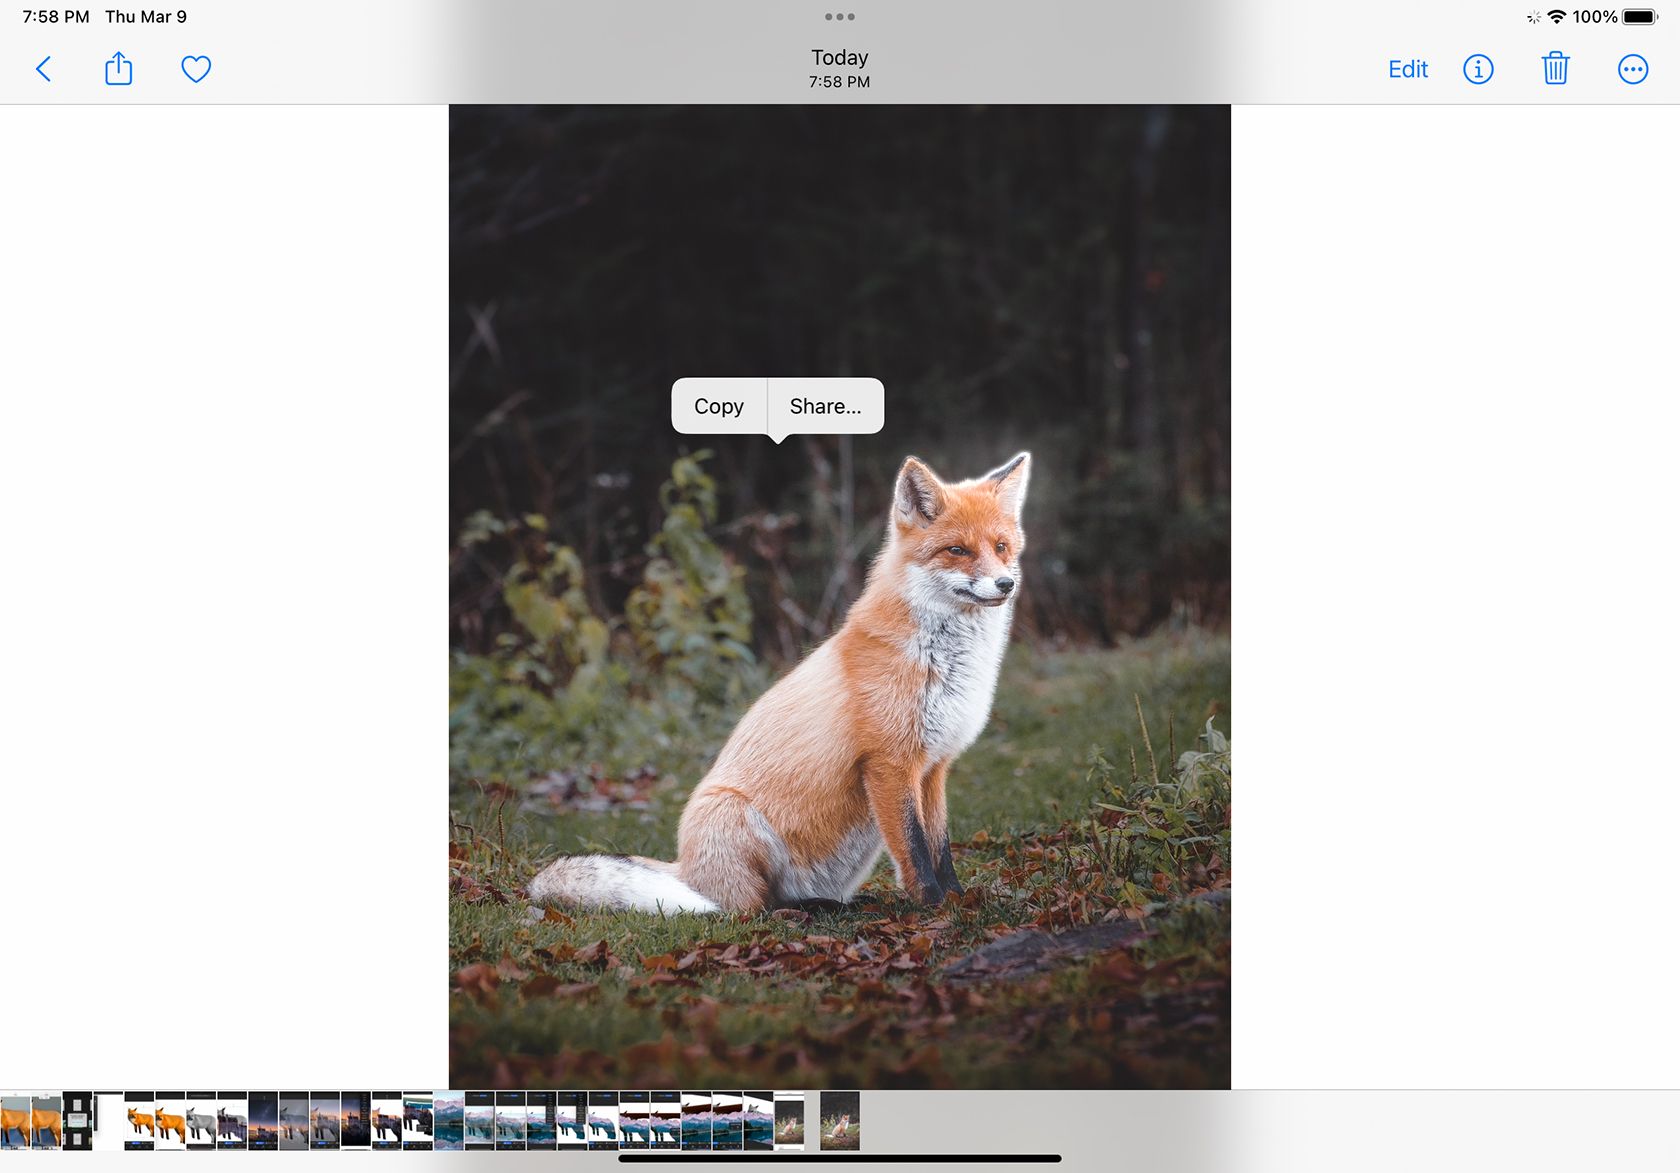
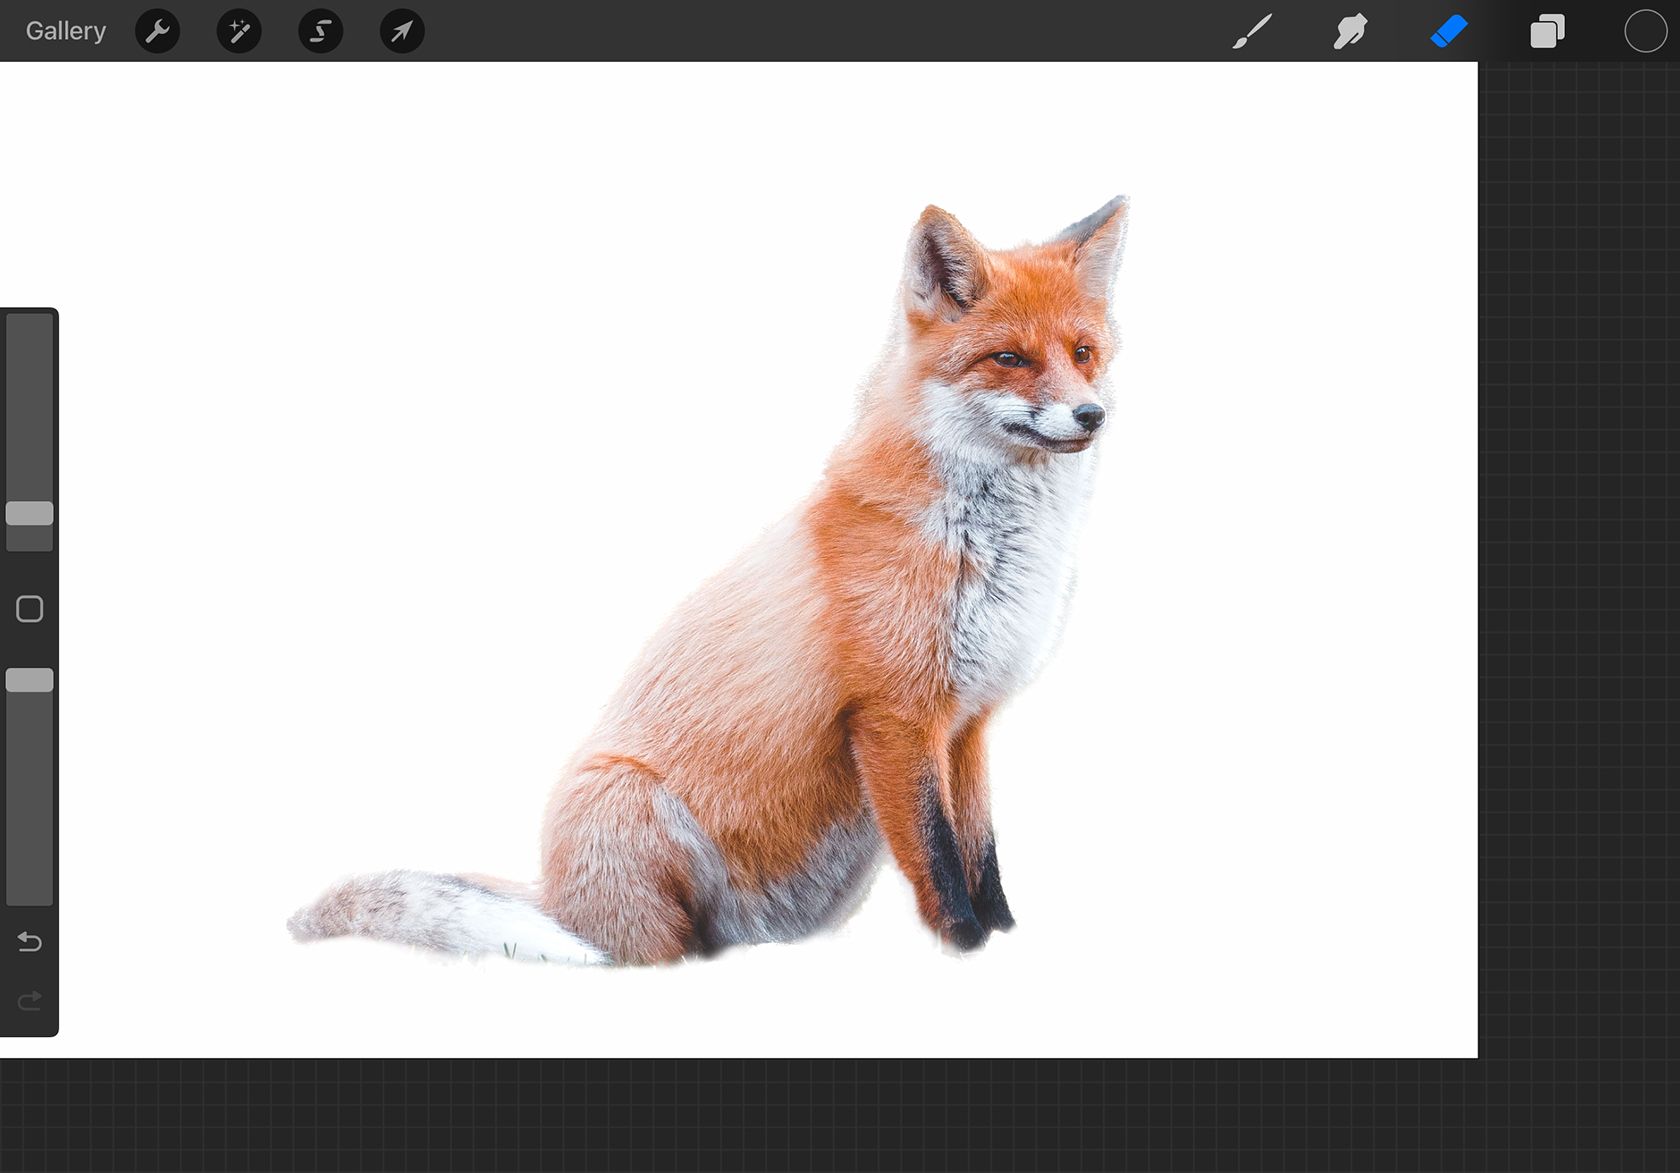
TapCopythis will copy only the cut-out subject, without the background.
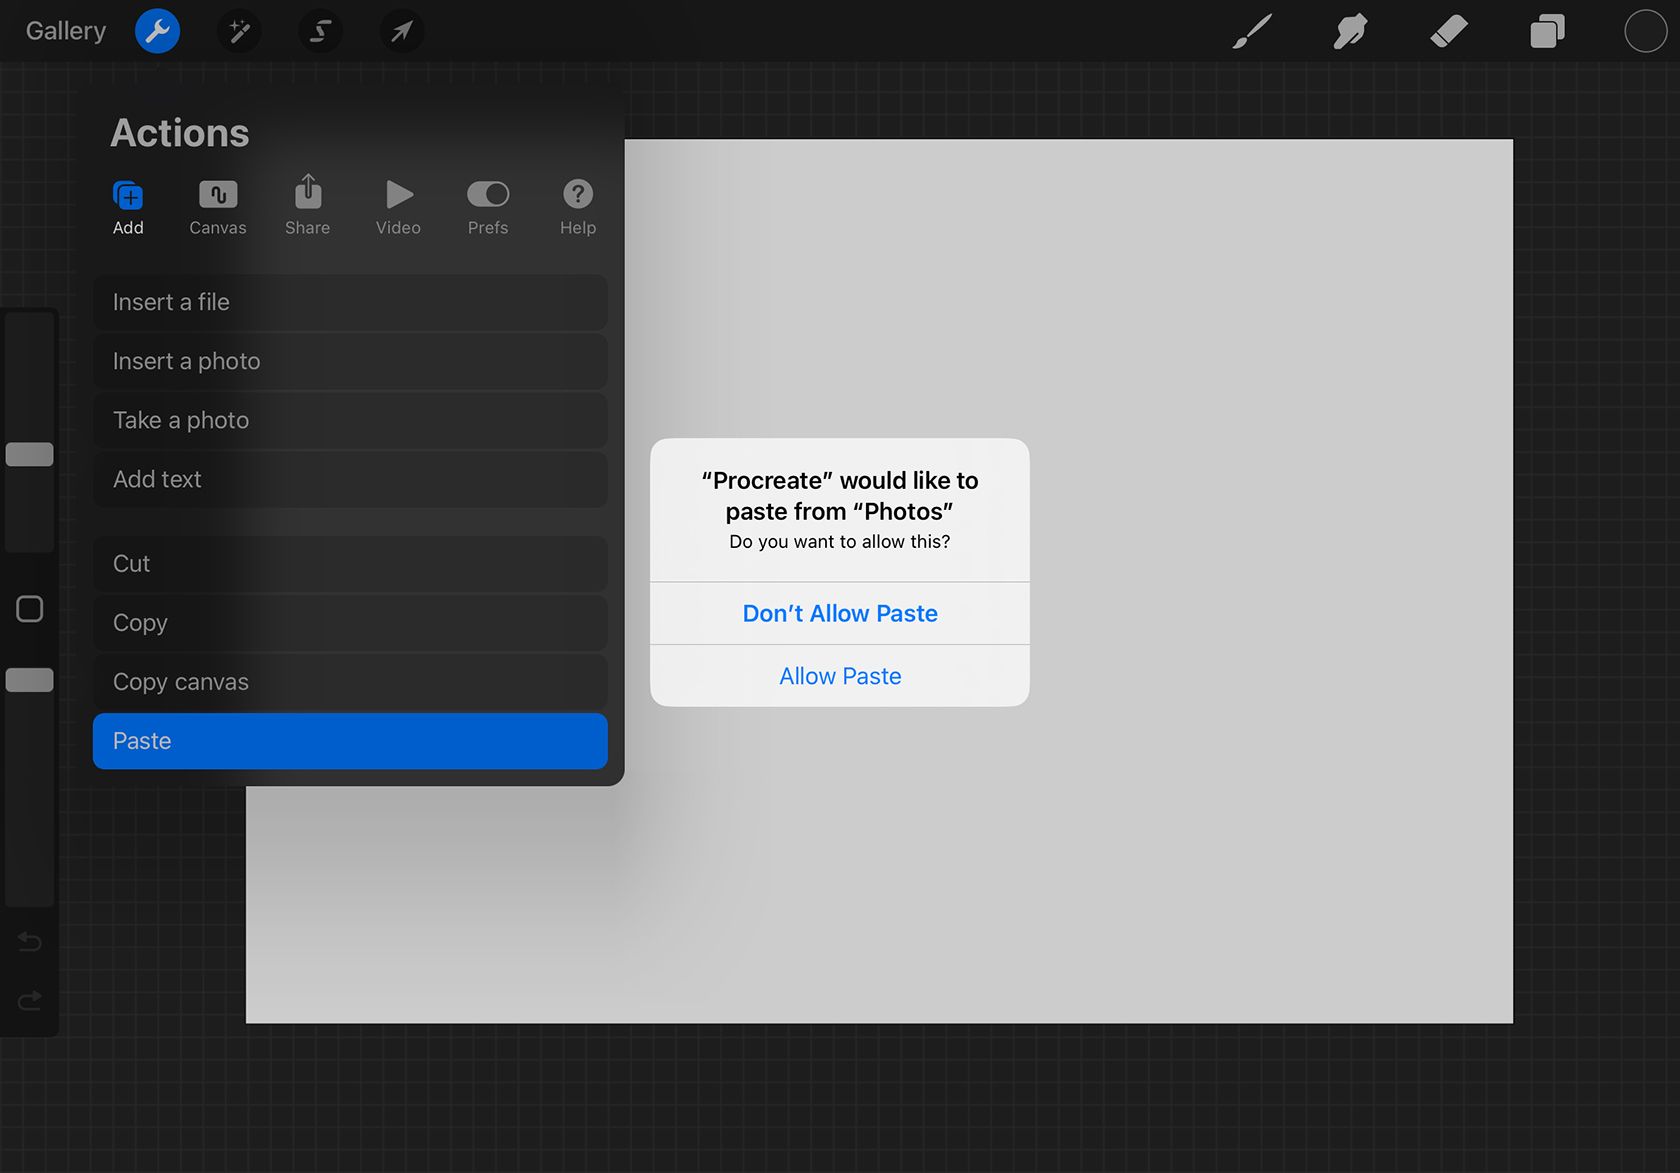
Open Procreate and go toActions>Paste, tapAllow Paste, and your subject will appear on the canvas.
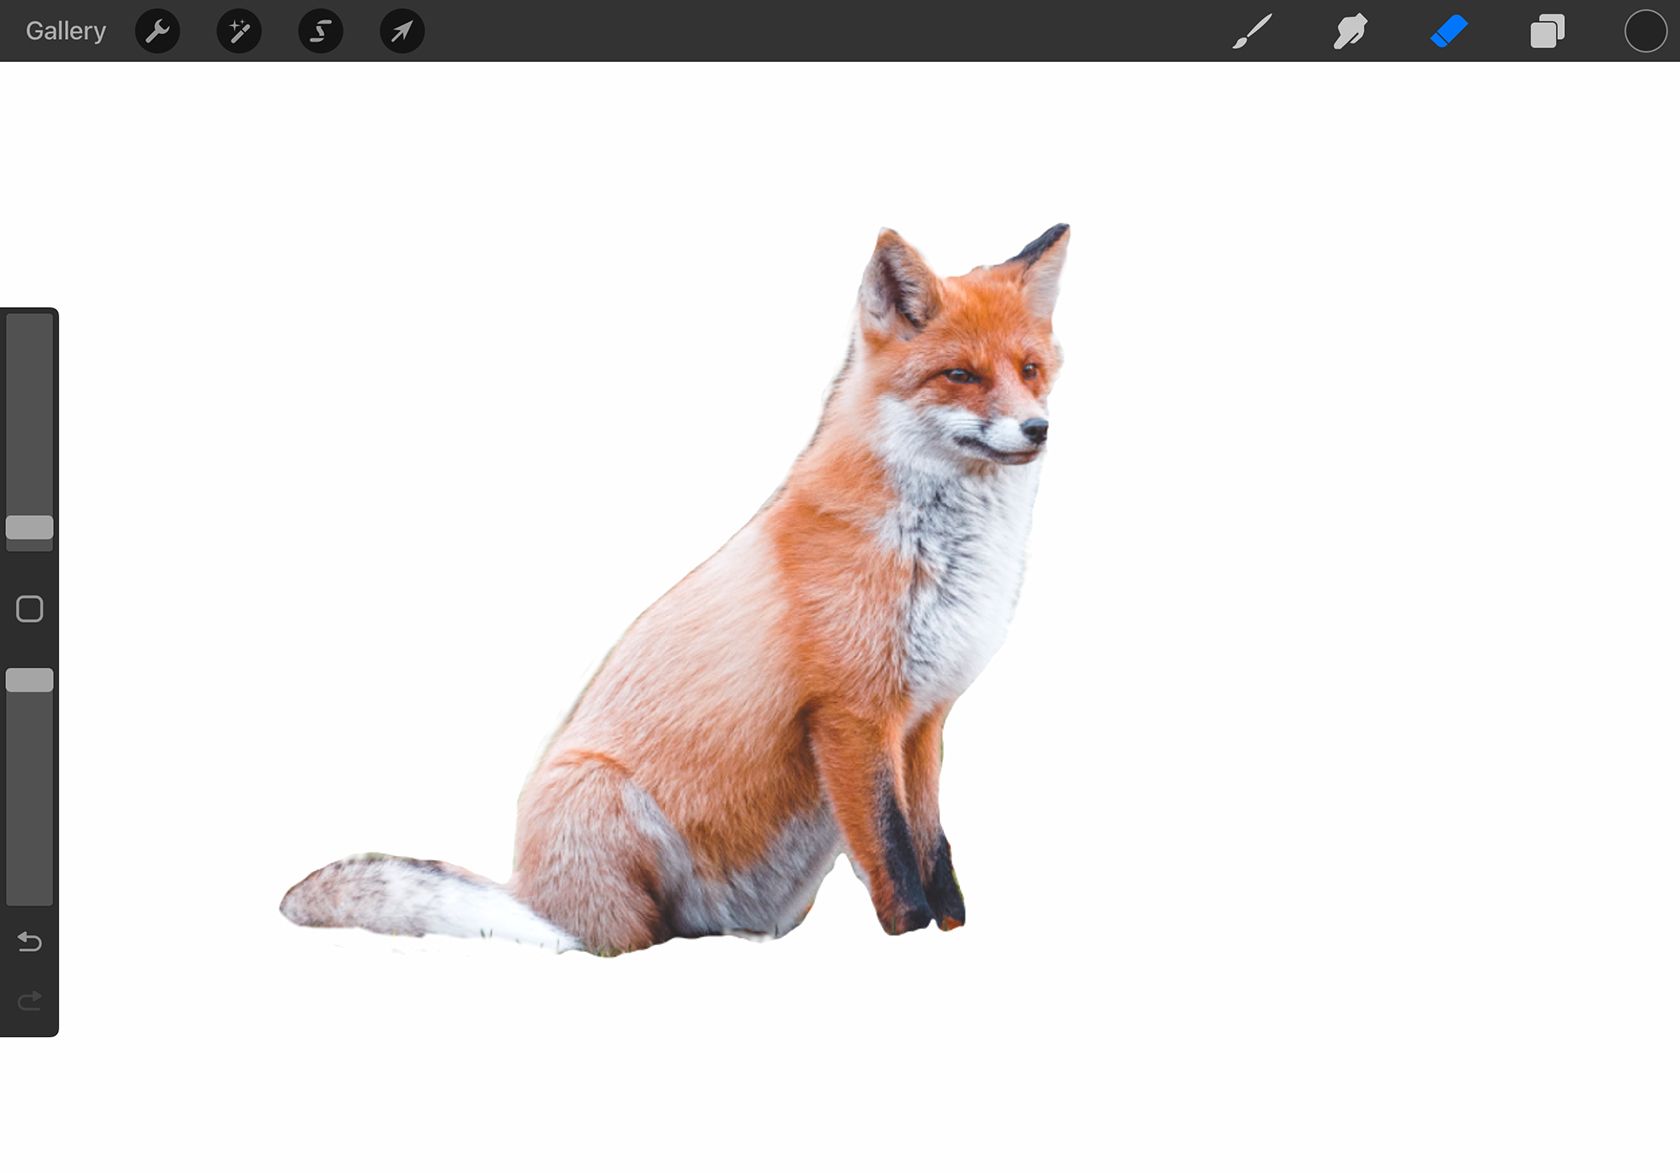
The subject will be on its own layer with a transparent background.
Even though the cut-out technology is smart, it isnt always perfect.
Use theEraserwith a soft brush to tidy up the edges and remove any distractions or imperfections.
Tap the photo to open it on your canvas.
Deselect the image by tapping the blueTransformicon.
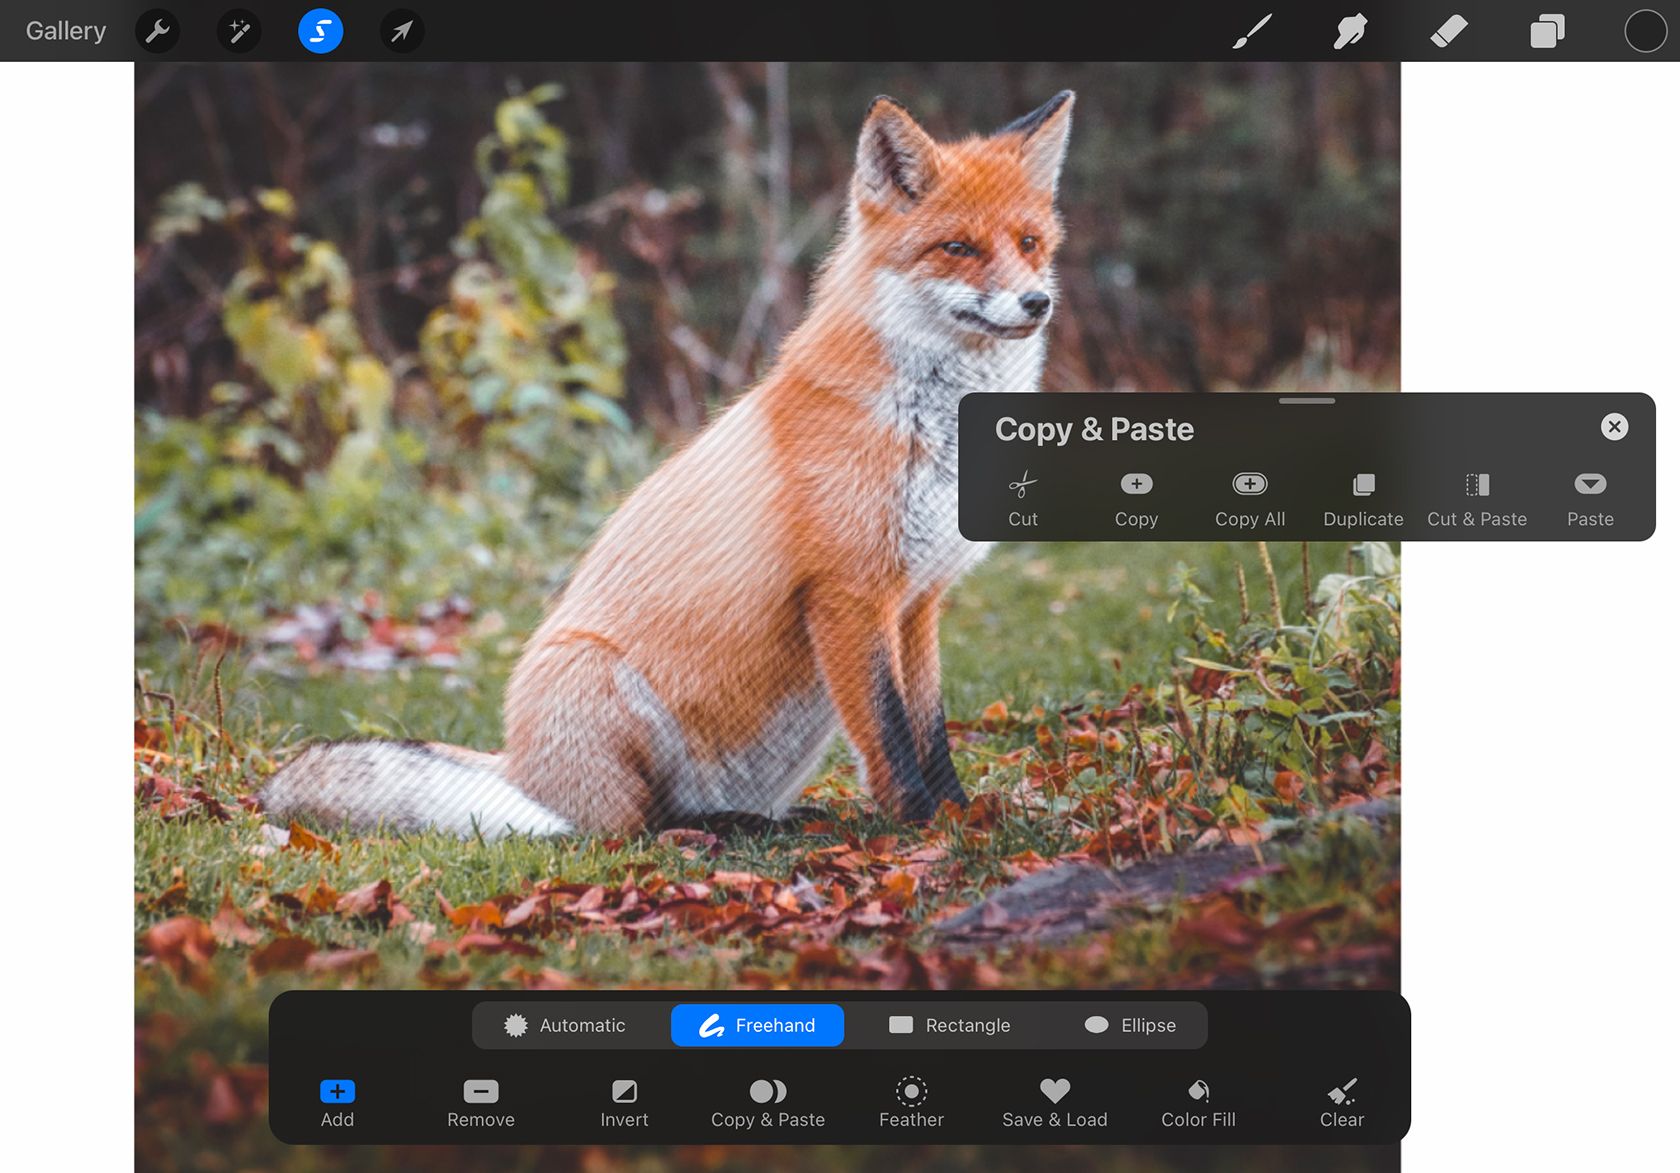
Then tap theSelectionsicon and chooseFreehand>Add.
Use your Apple Pencil to draw tightly around your subject.
Complete the selection by joining the white circle.
Then, tapInverton the Selections menu, so the background becomes selected.
Use three fingers to drag downwards on the screen; this brings up the Copy menu.

TapCutto remove the background, leaving you with a perfectly cut-out subject.
Use theEraserto clean up any imperfections if needed.
Go toActions>Insert a Photoand tap your image to open it.
Resize and rearrange the main image to fit with the subject below.
To do this, lower the opacity for better vision.
Once youre happy with the placement, return to theOpacityslider and set it back to100%.
The mask may cut off some of your main image, but thats okay for now.
If youre not happy with the placement, use theTransformtool to move the image layer until satisfied.
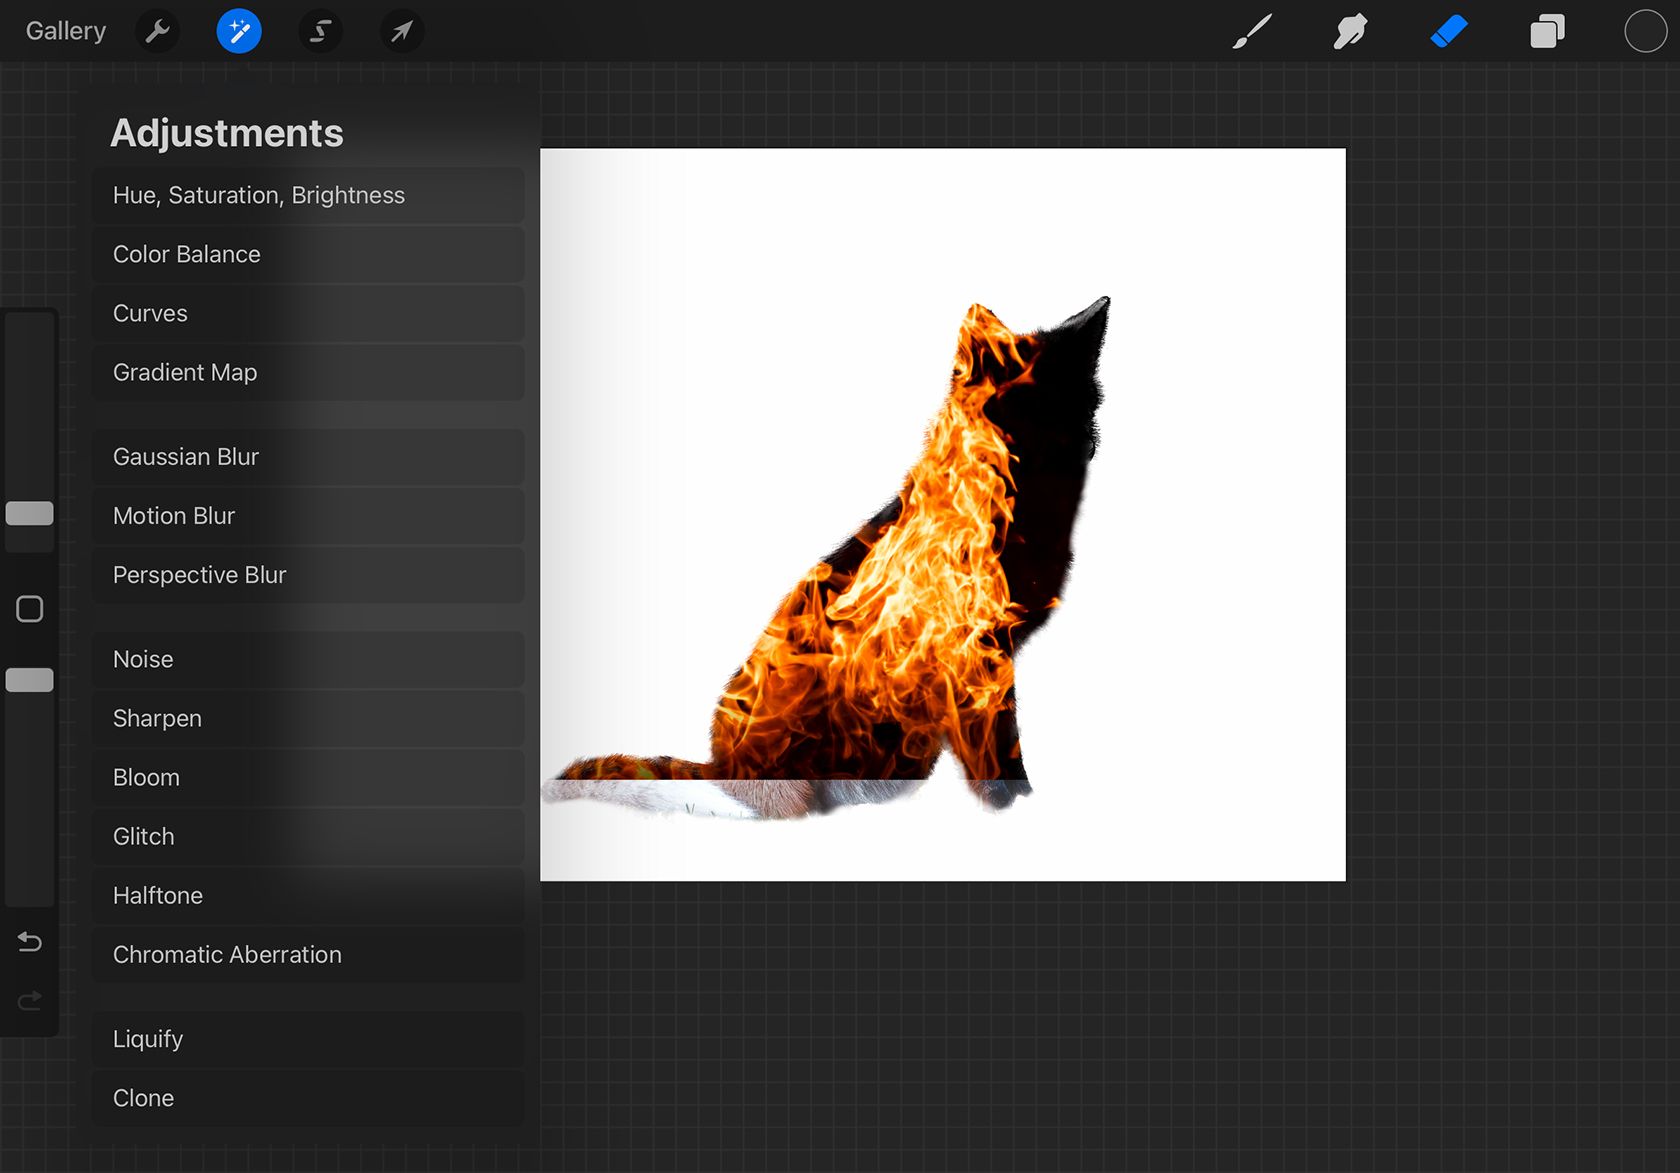
Go toAdjustments>Curves.
SelectGammato affect all the colors rather than one specific color channel.
For more color matching, go toAdjustments>Hue, Saturation, Brightness.
Use saturation and brightness levels to add contrast and drama to your double exposure.
you could also play with the hue slider if you wish to change the color theme of your image.
Play around with the levels until your image looks how you want it to.
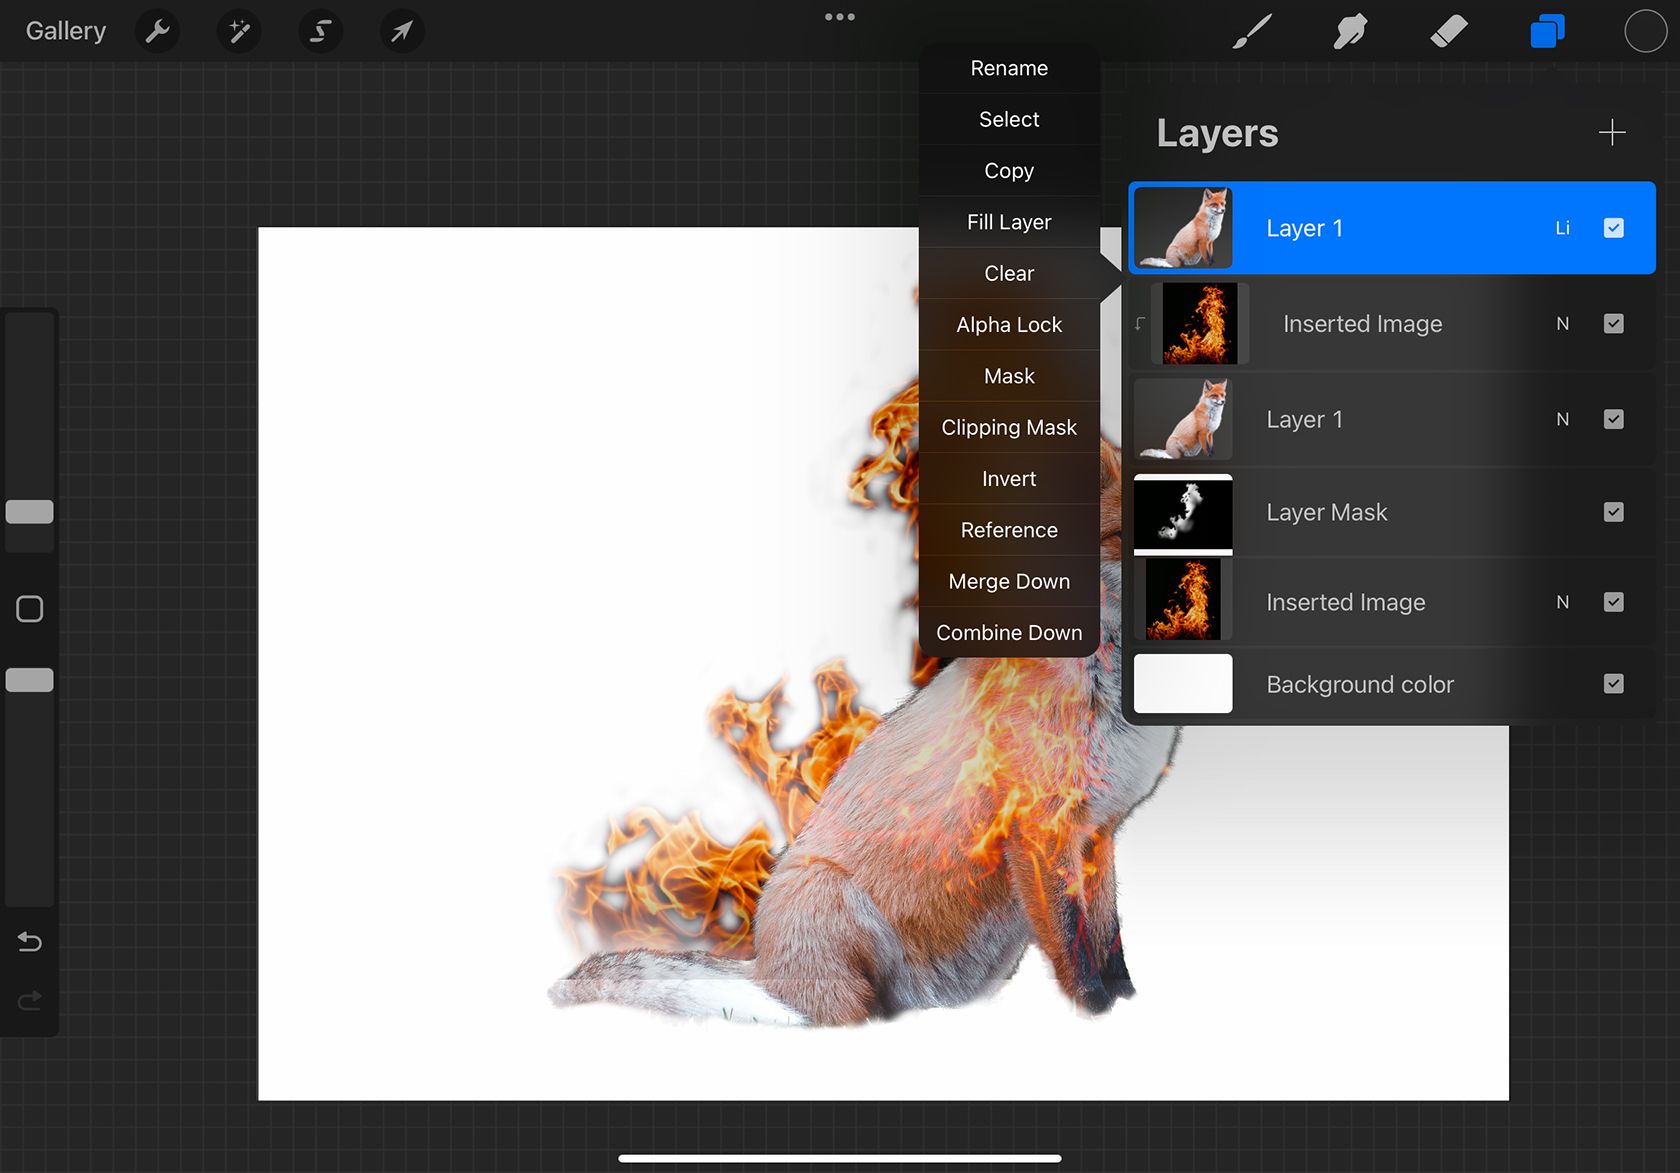
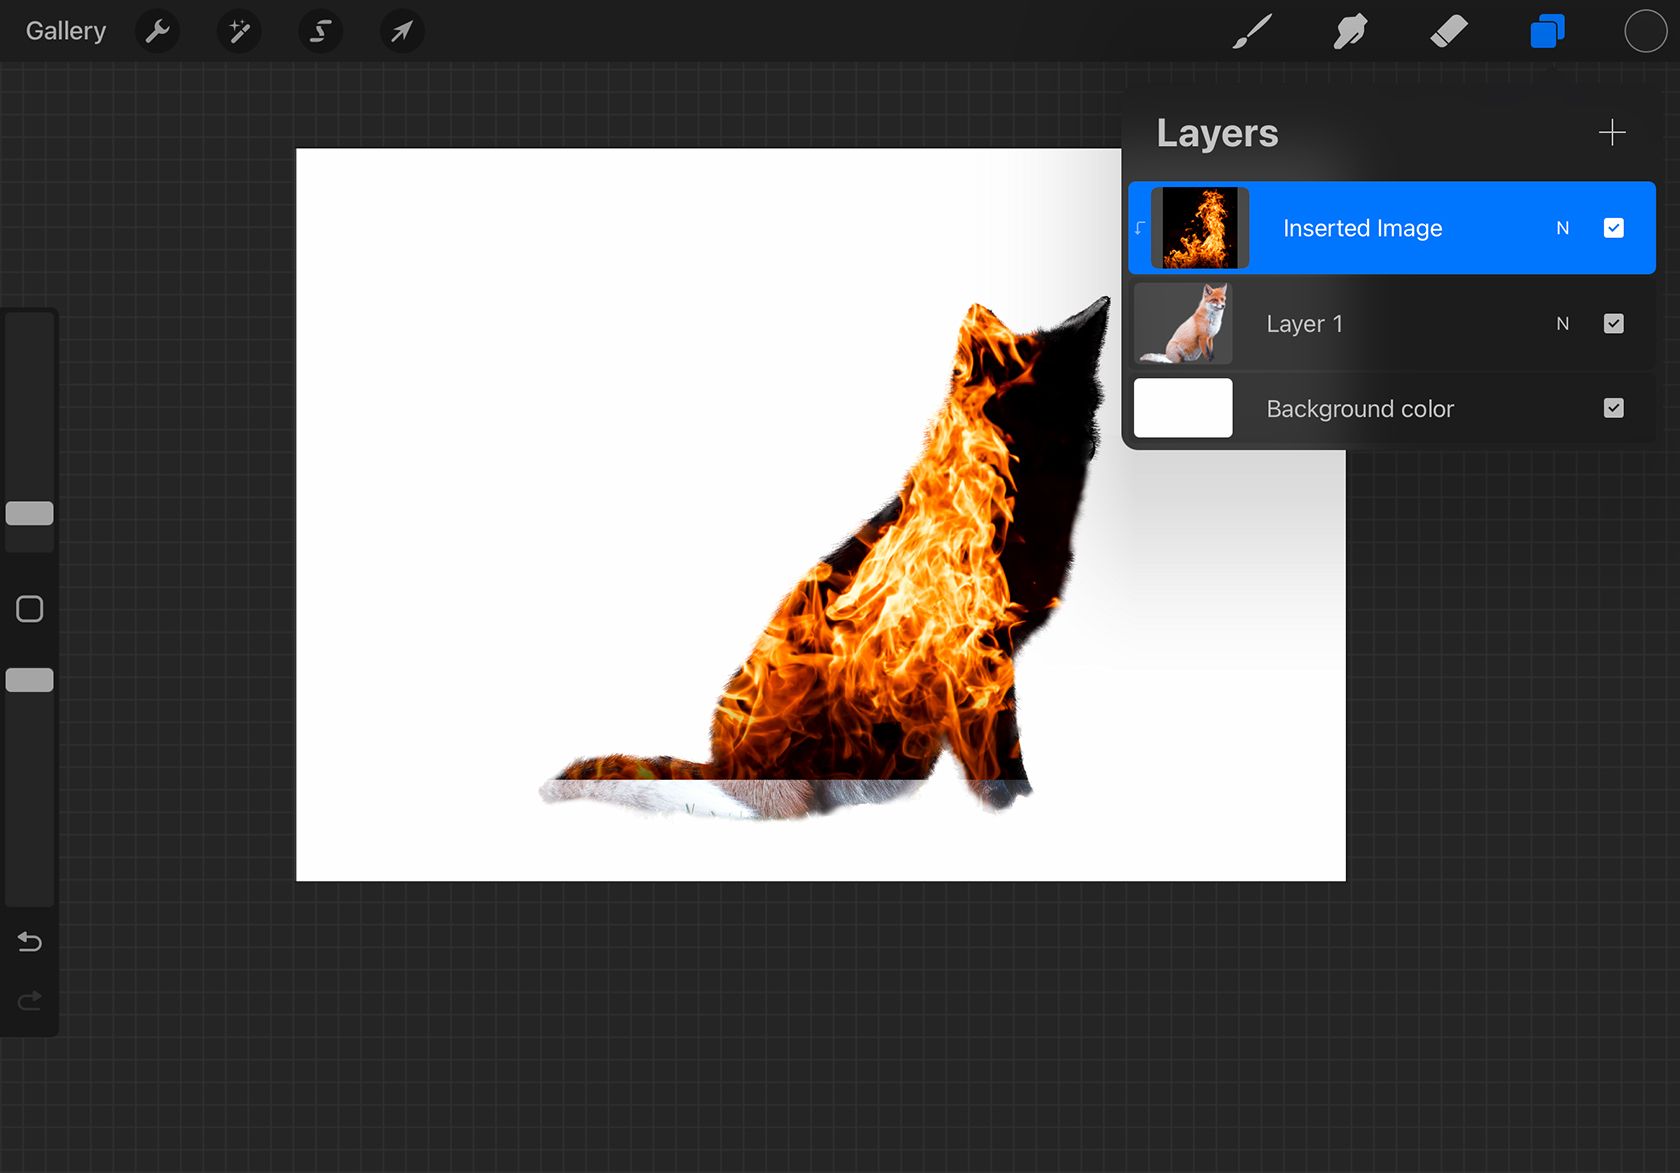
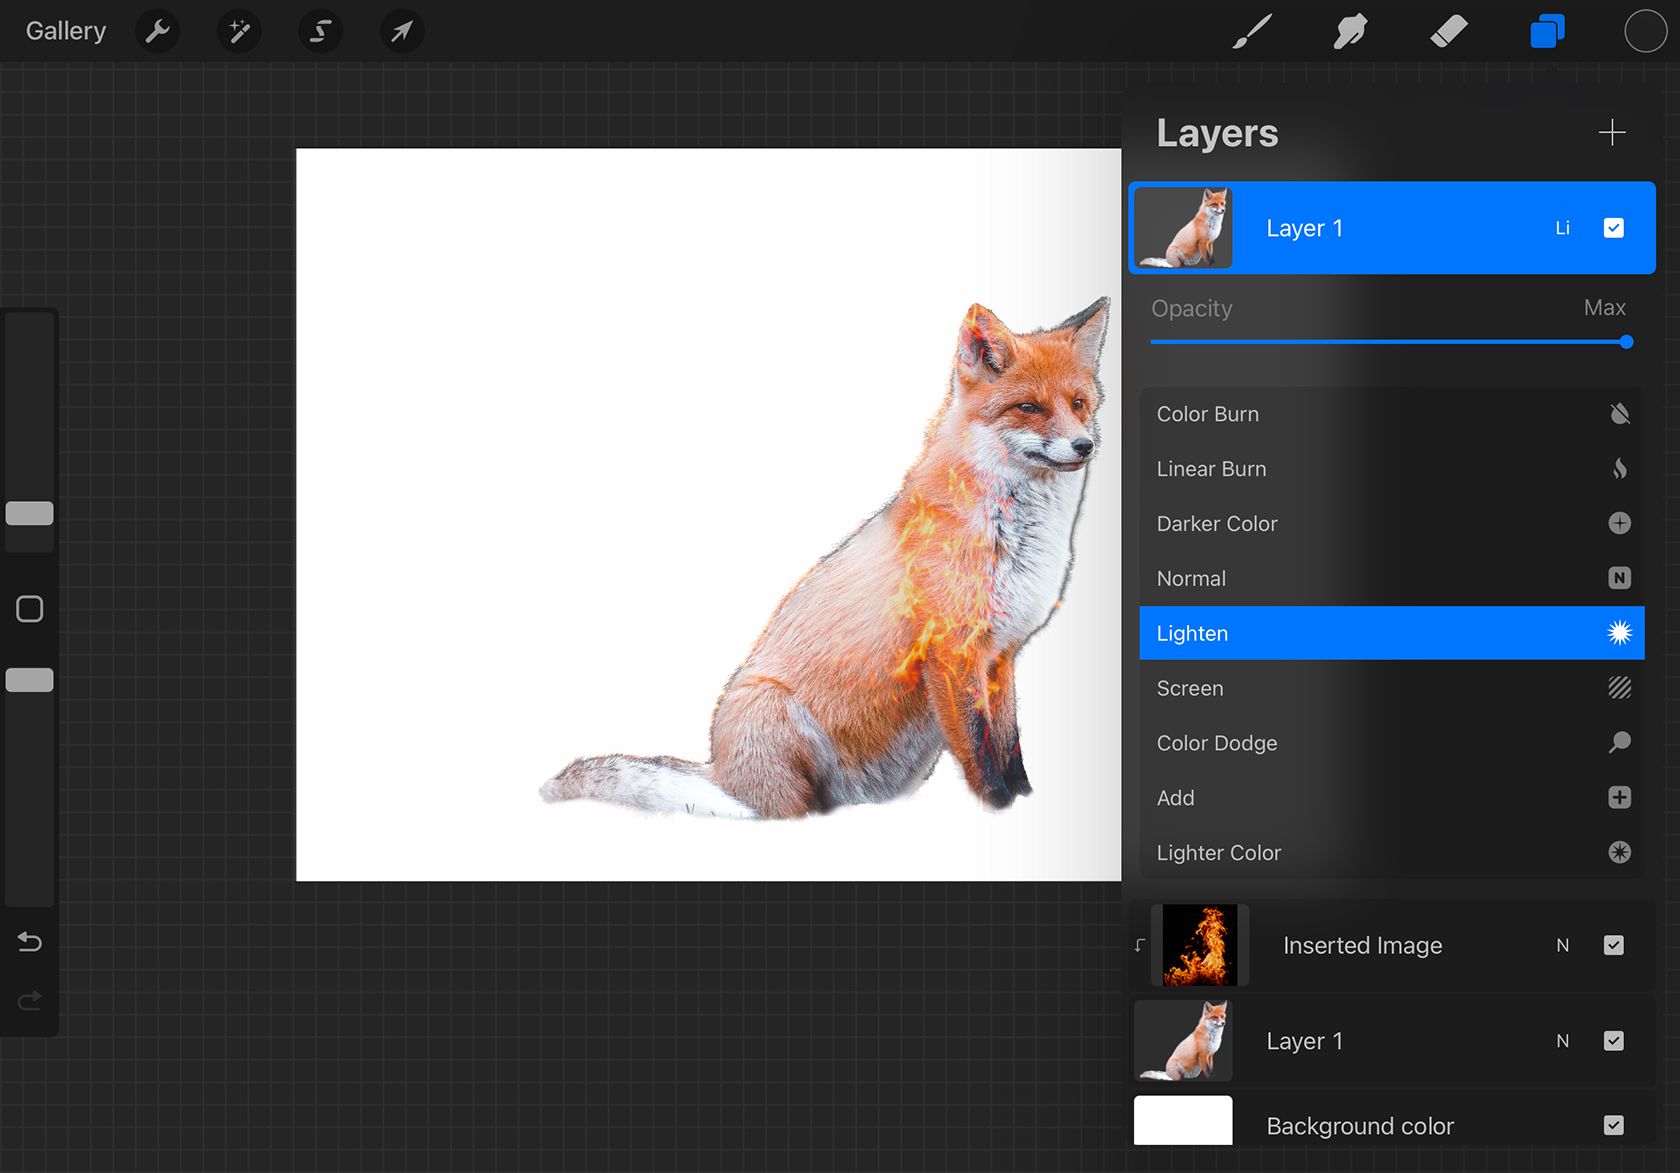
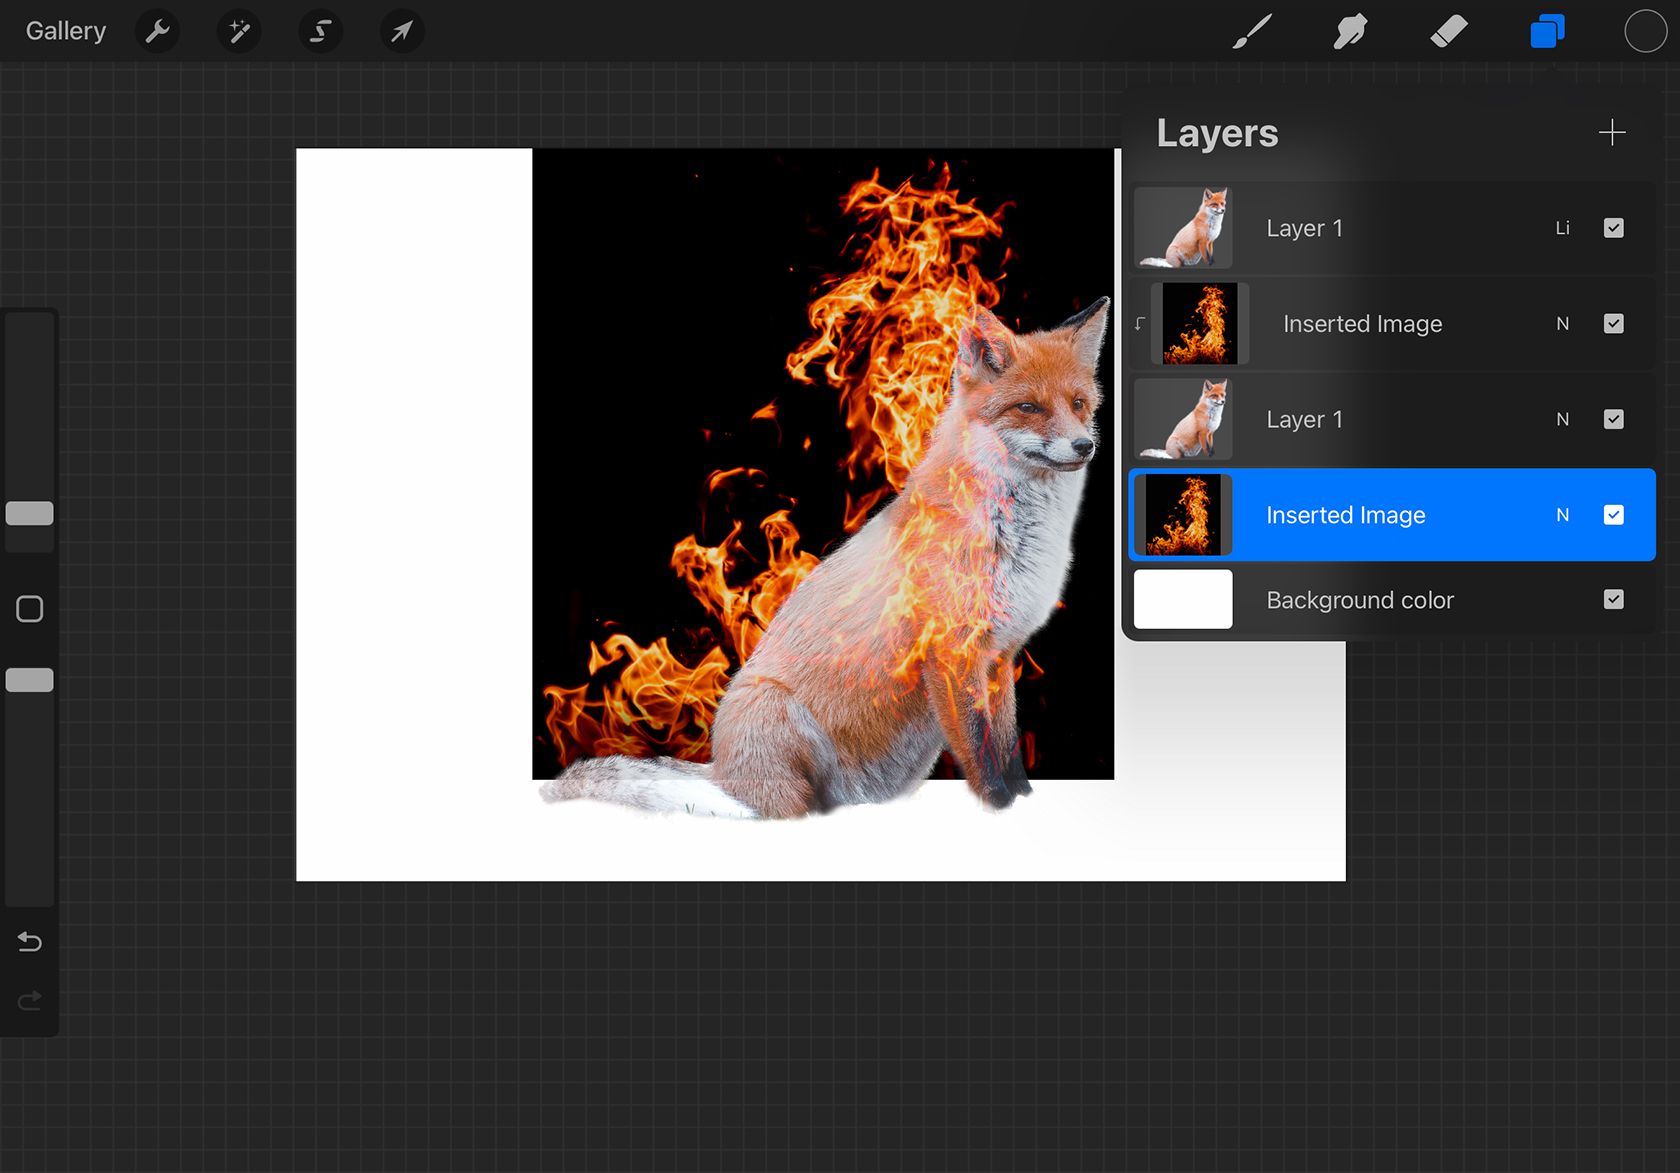
Hold anddrag the original subject layer to the top, giving the layer an order of subject-image-subject.
Tap the thumbnail of the now-top subject layer and selectClipping Maskto remove the clipping mask from this layer.
Then tapNto reveal the blending modes, chooseLighten, and lower the layersOpacityto around75%.
The mix of blending mode and lowered opacity reveals the background texture through the subject texture.

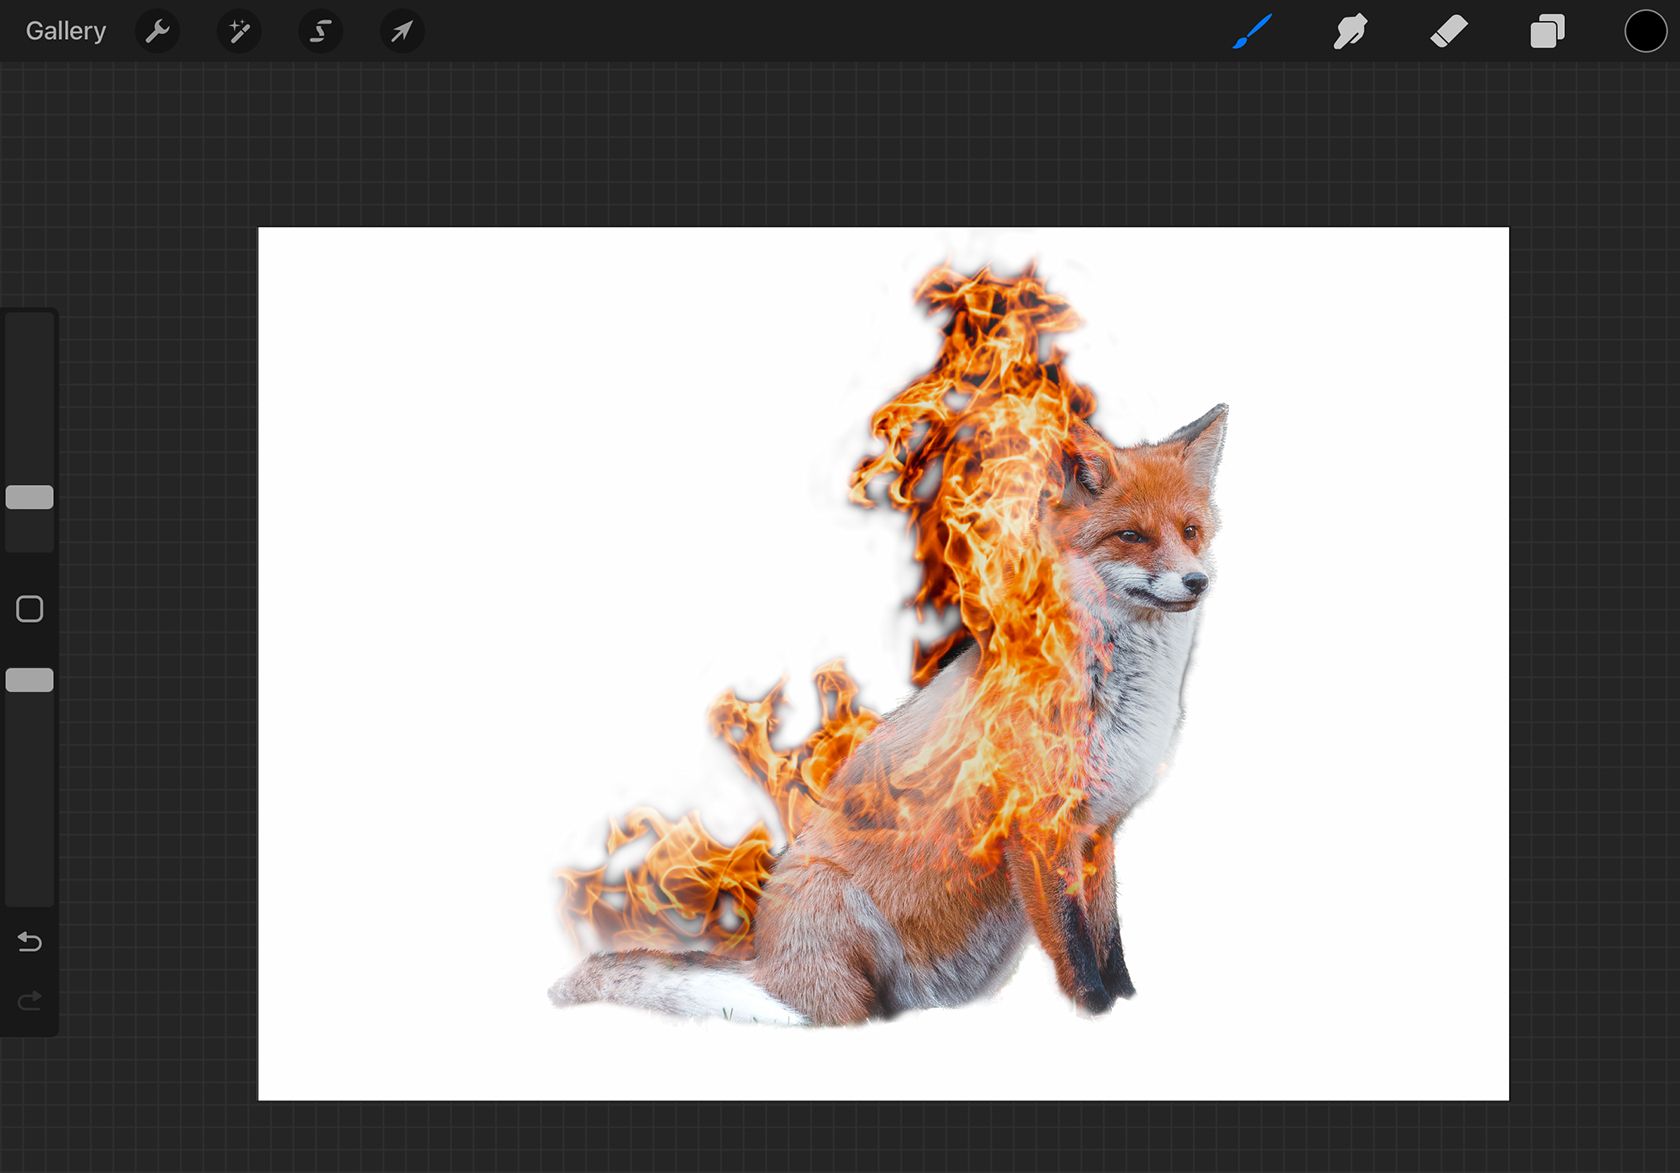
Then drag the duplicated layer to the bottom; the order should be subject-image-subject-image.
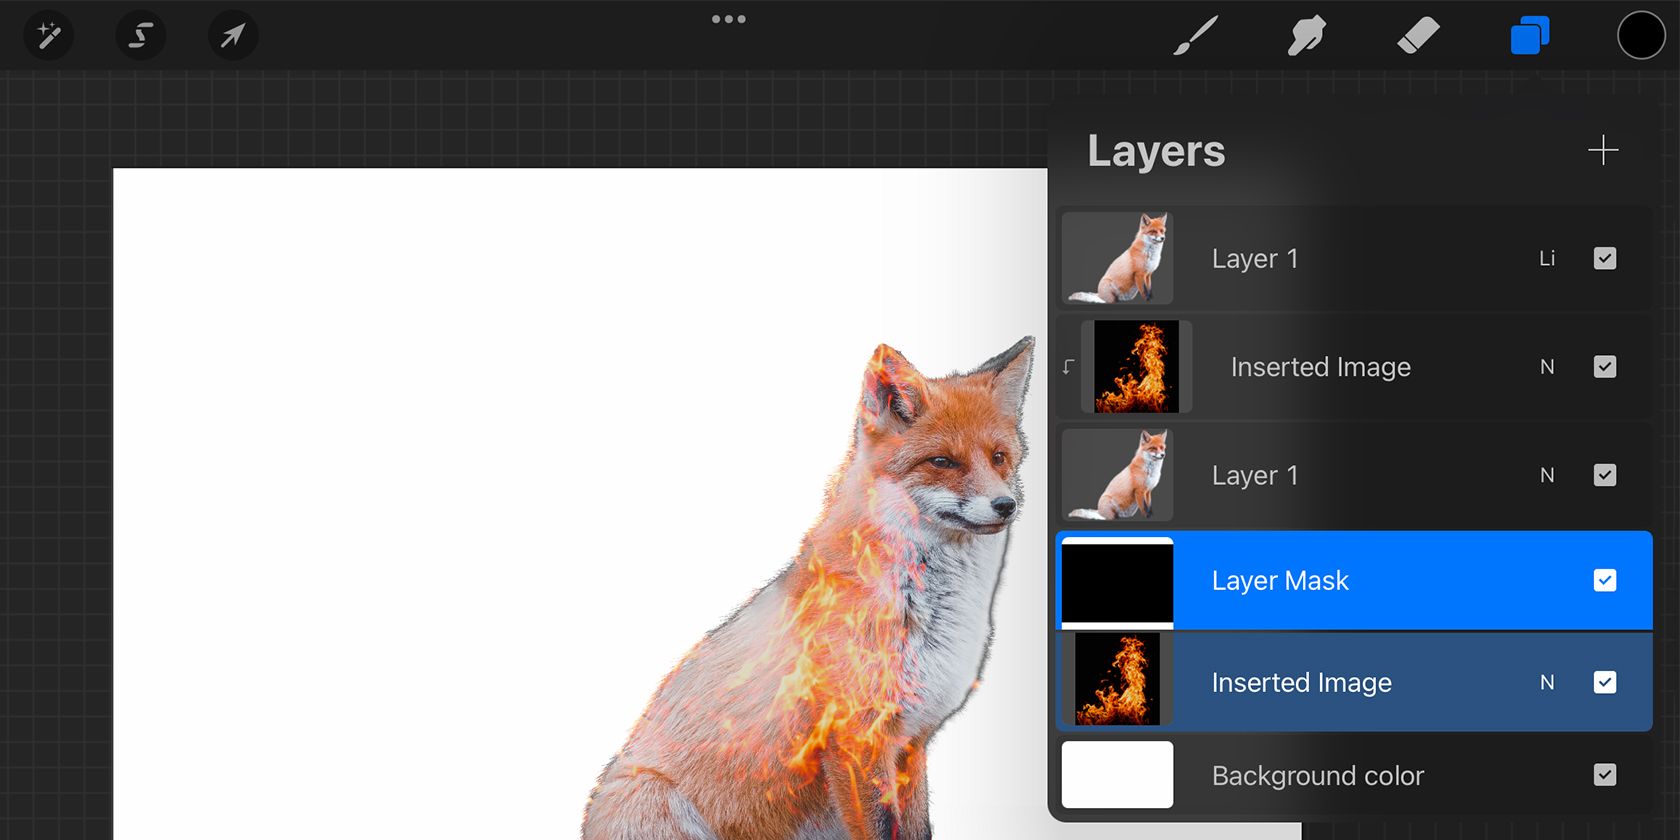
Youll see the full main image again as its no longer clipped to a layer.
But it needs a new mask.
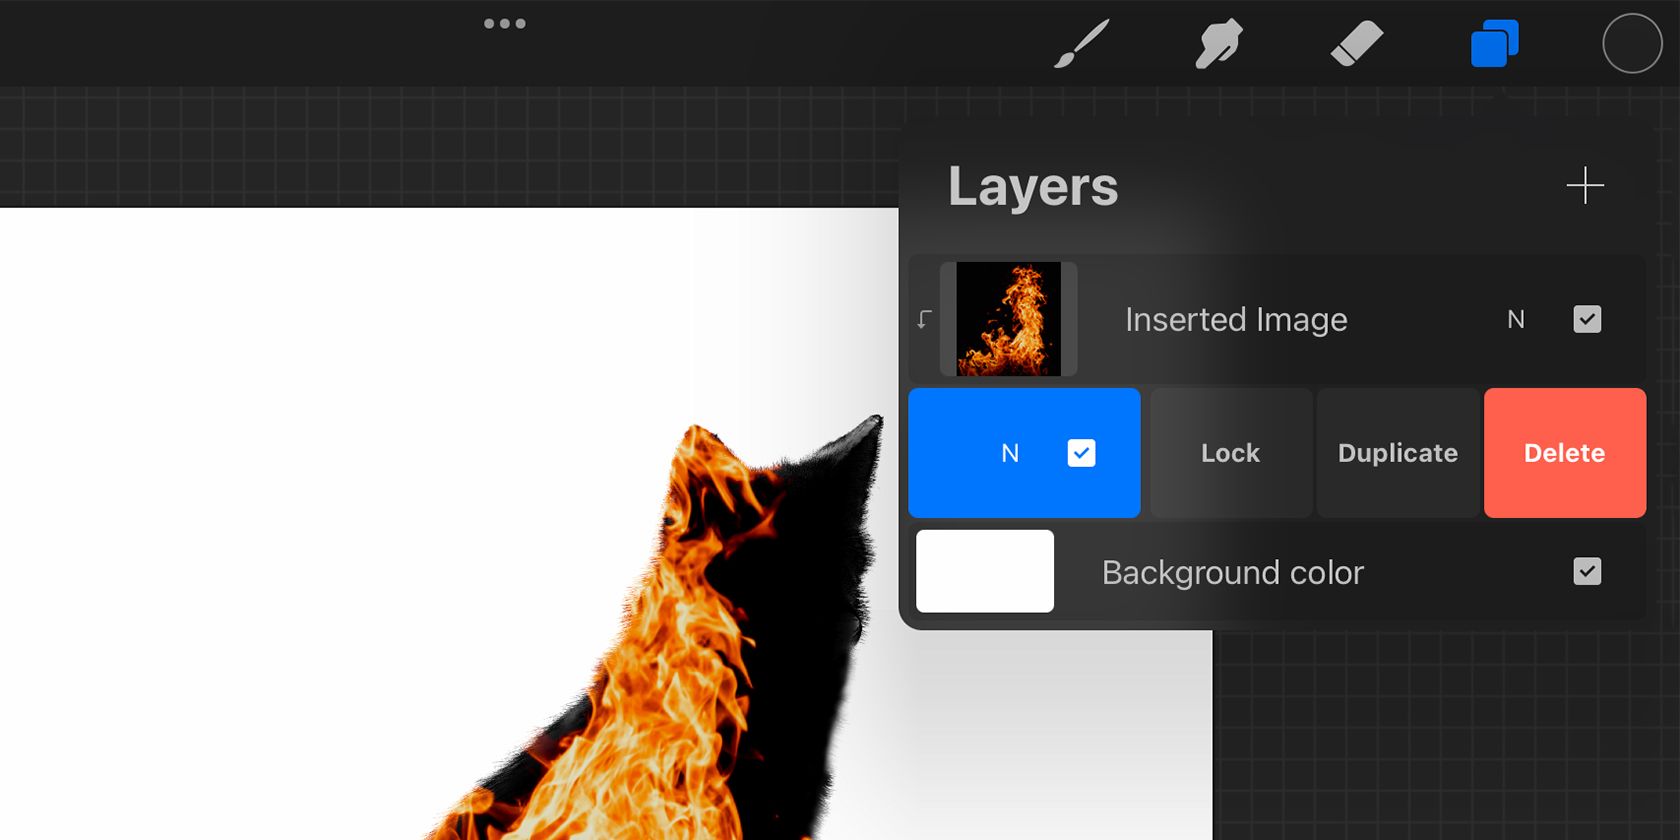
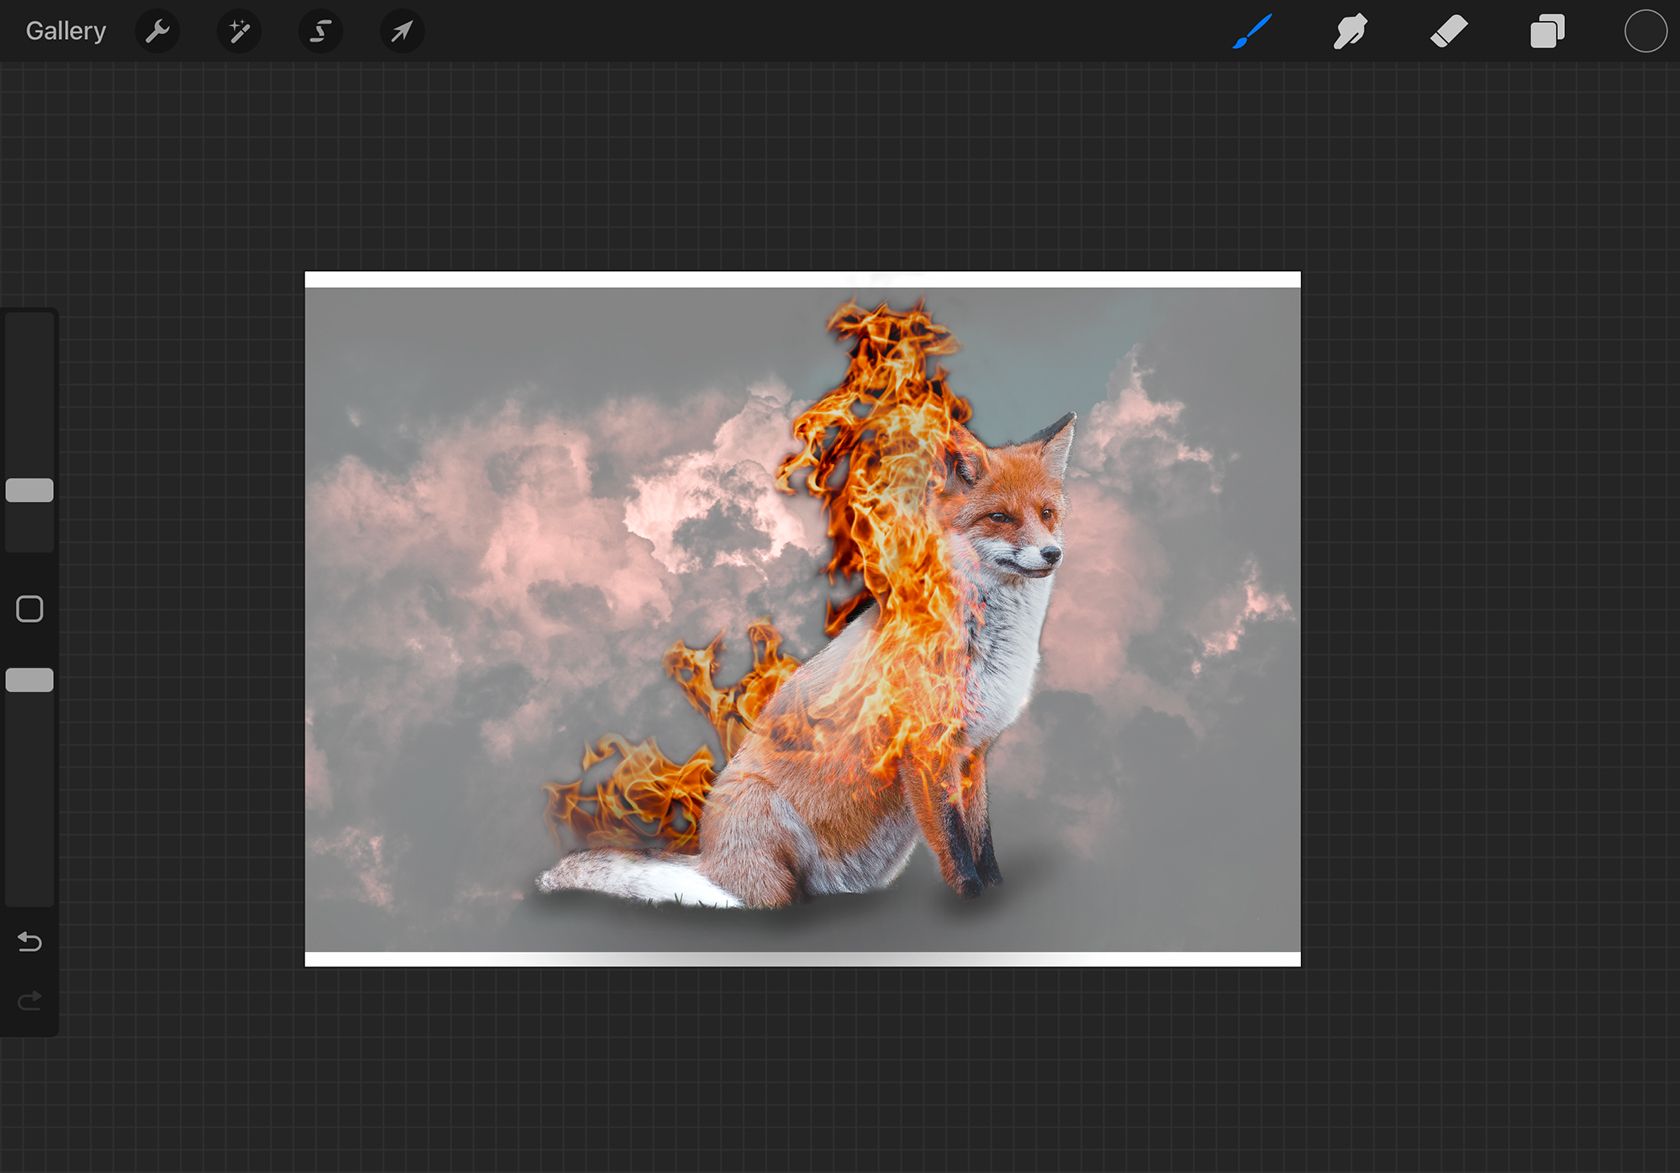
Tap the thumbnail of this bottom layer and chooseMaskto add a new masking layer above it.
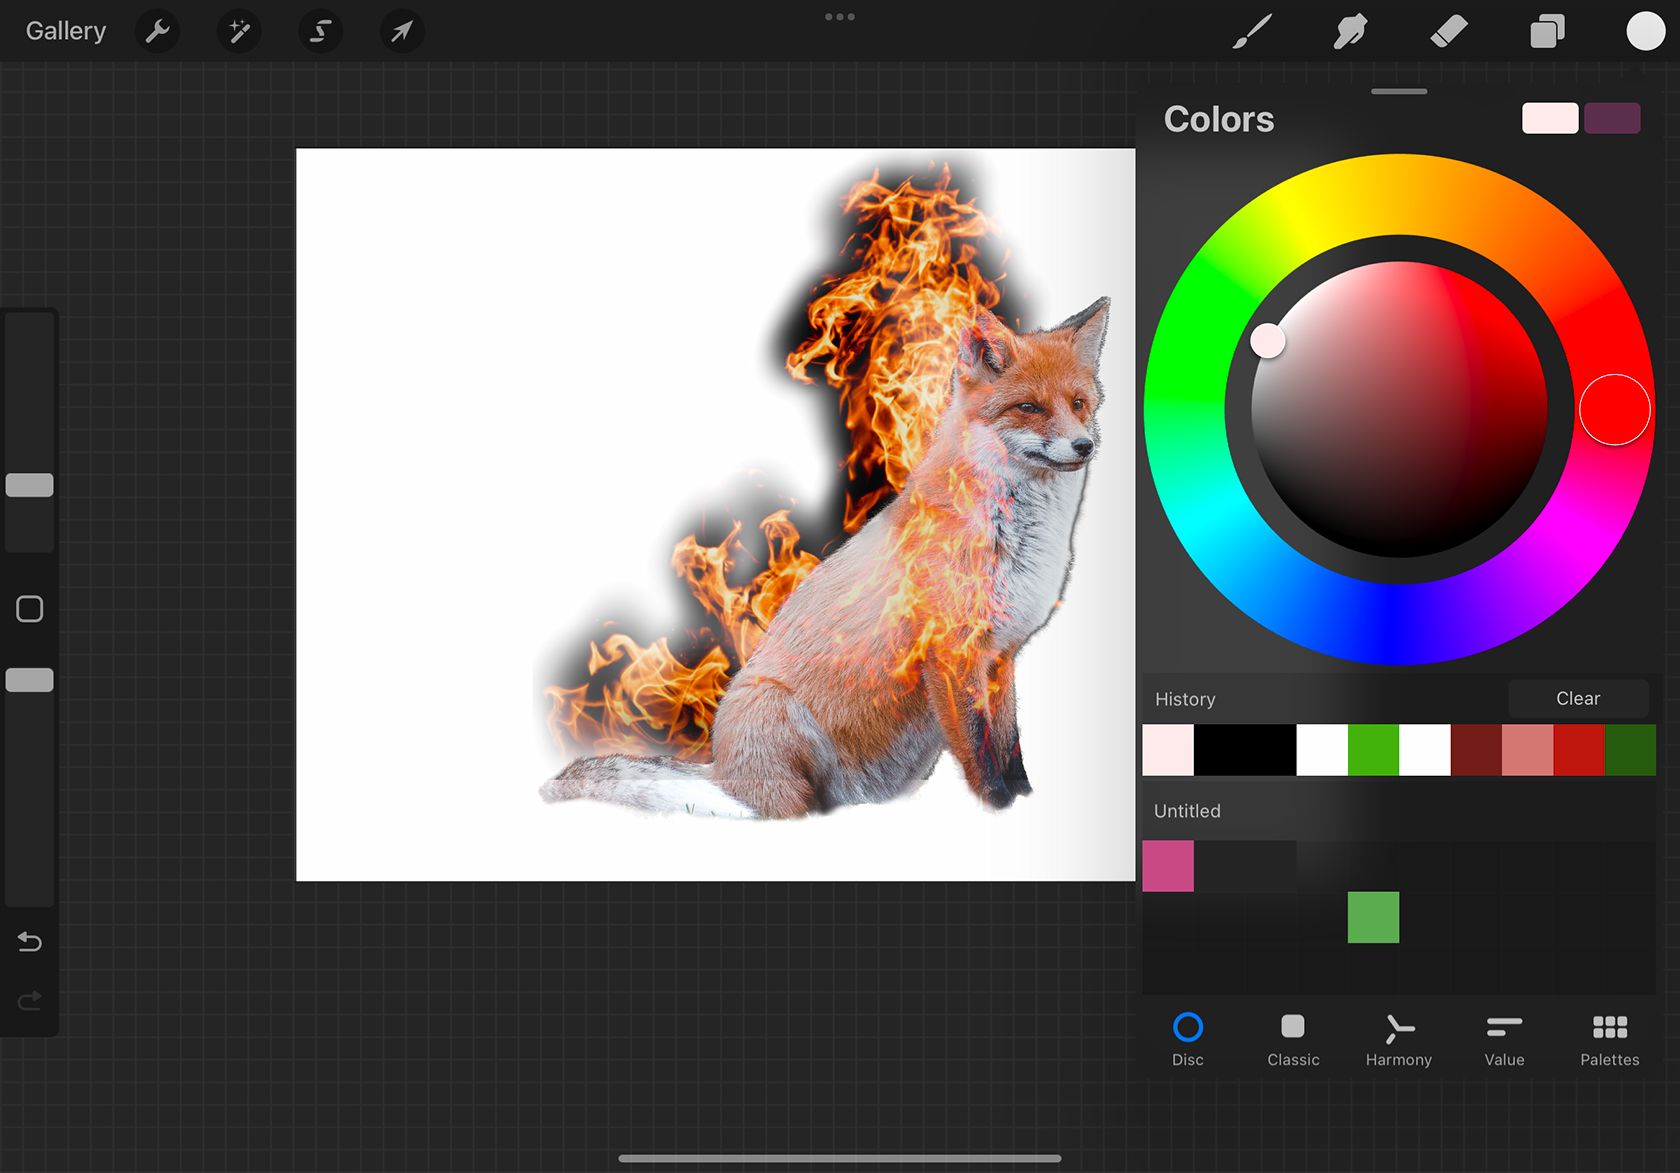
Open theColorspanel and find a black color.
Then drag the color from the corner onto your canvas to the mask layer.
This makes the background image disappear when its masked black.
If you reveal too much, switch back to black and paint over those areas to mask them again.
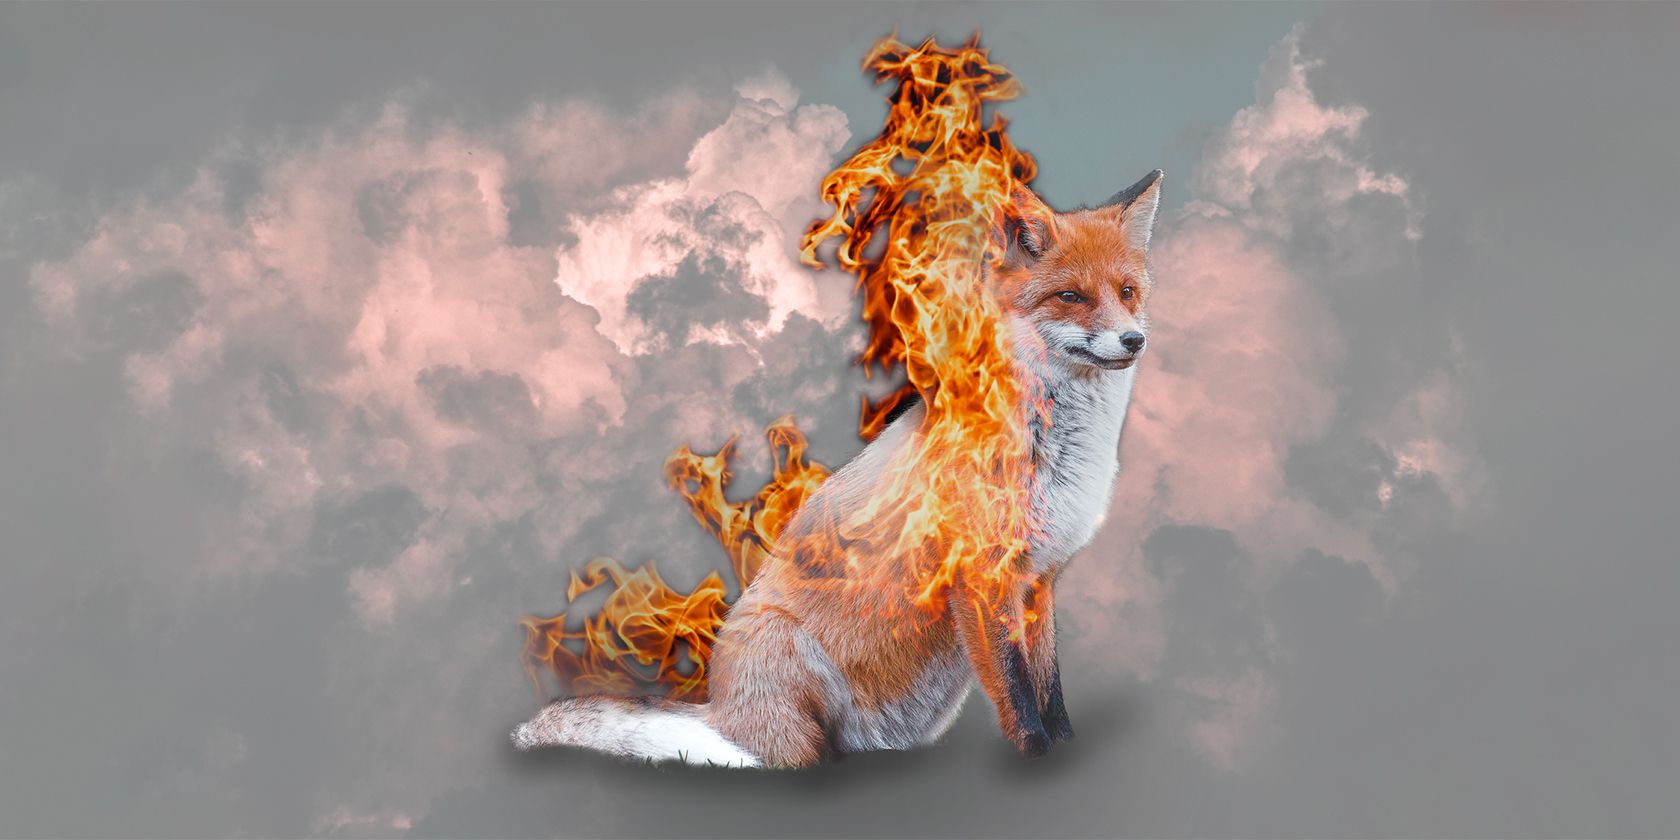
choose the top-most image layer, tap the thumbnail, and chooseMask.
Then find a black color and a soft airbrush.
Keep light pressure on your Apple Pencil to ensure you remove all hard edges without adding new hard edges.
If you have any issues using the Apple Pencil, see ourtips for fixing Apple Pencil glitches in Procreate.

Once youve done that for the top-most image layer, repeat the process for the top-most subject layer.
A gentle, soft brush will allow for a subtle blending of textures.
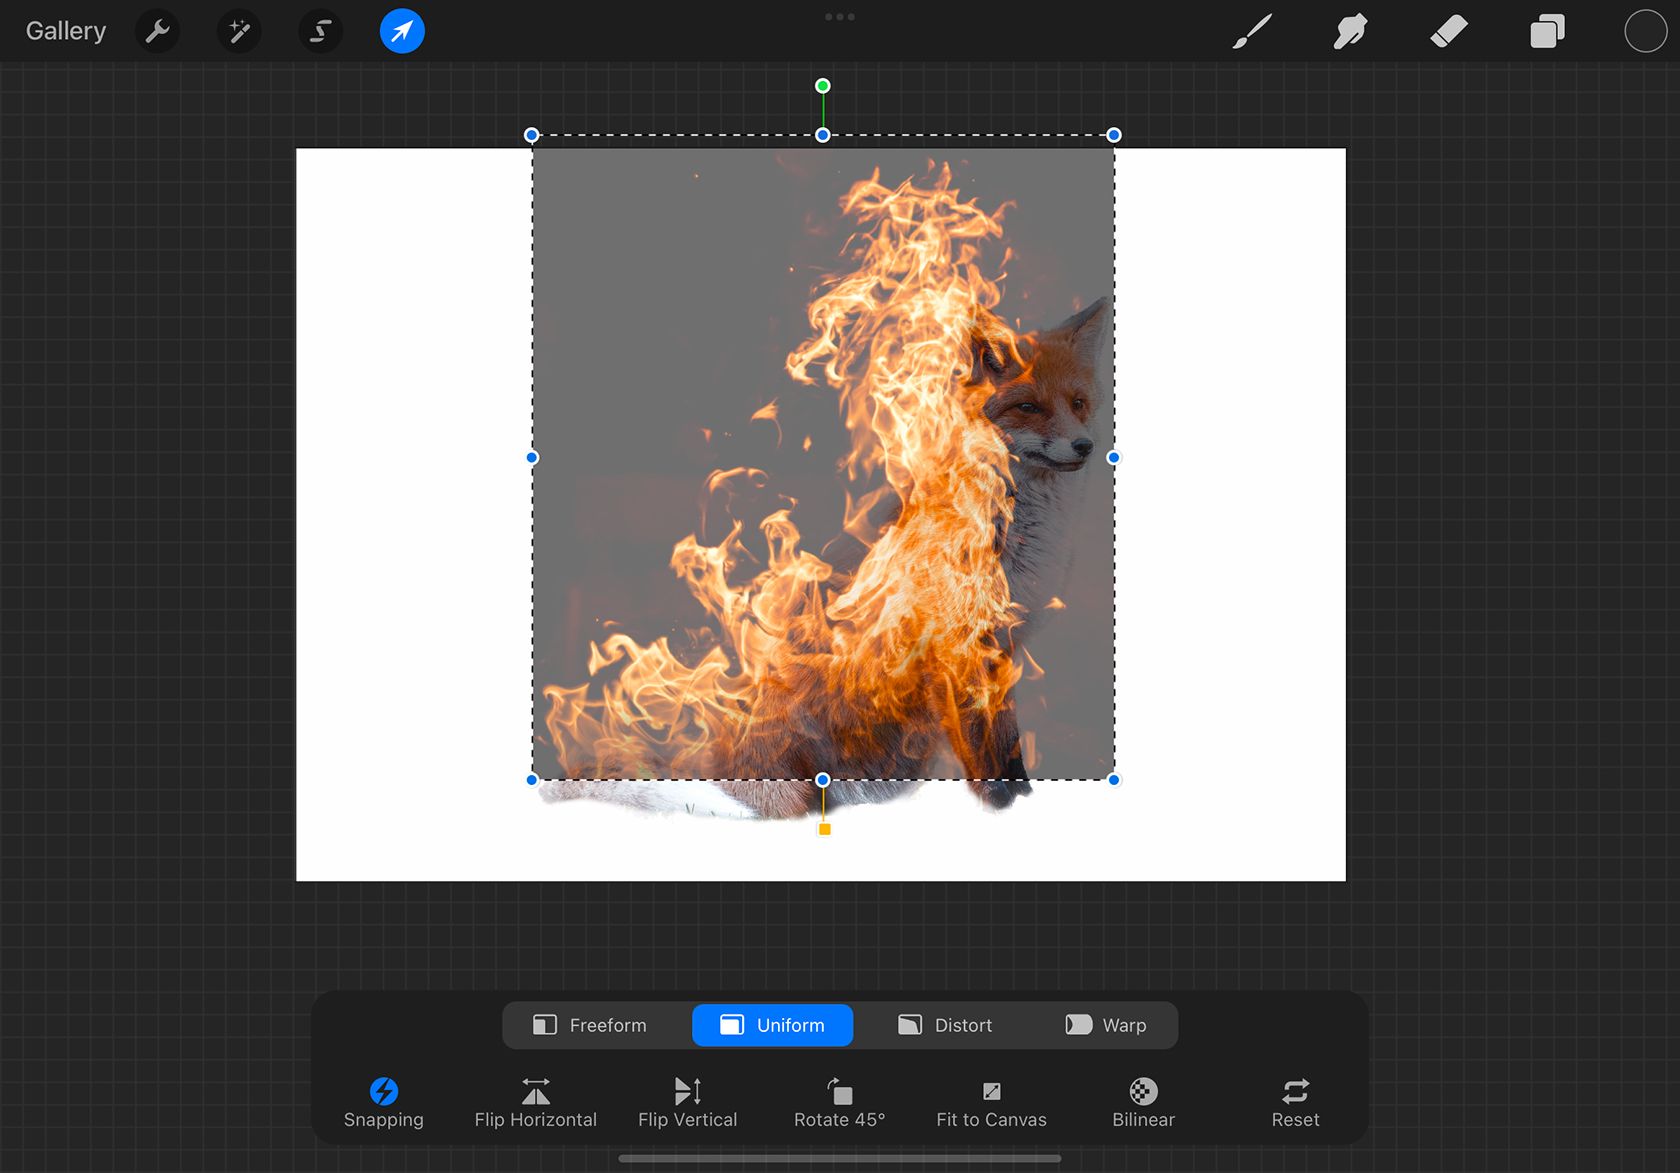
We used a smoky background to work with the flames of our fox on fire.
TapActions>Insert a Photo, then drag that layer to the bottom.
Resize it with theTransformtool if needed.
Thats all you’re gonna wanna do to create a double exposure photo in Procreate.
And don’t forget toadd your artist signature to your masterpiece in Procreate.