Related
Have you ever watched a speed-drawing video on YouTube?
A large part of what makes them so impressive is howfasteverything happens.
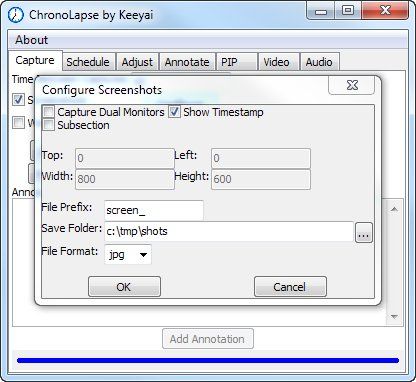
Sadly, you cannot drag a marquee to indicate the area you’d like to capture.
you’re free to only manually specify its pixel borders.
For now, let’s just leave it as it was.
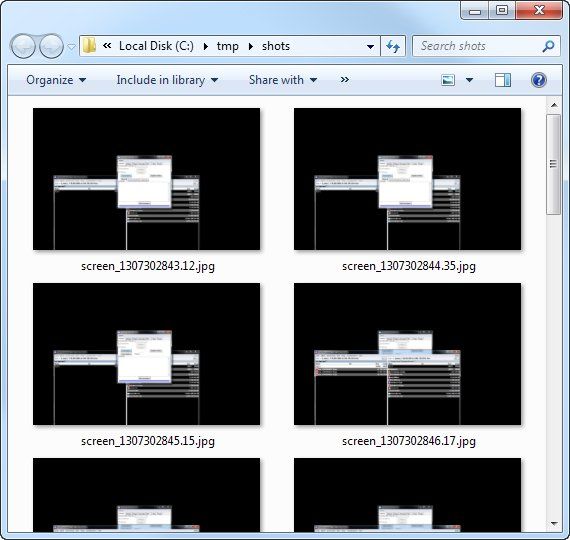
see to it you configure the Save Folder.
This is where the captured images go.
You’d want to use a new, empty folder.
Next, launch the tool you wish to capture, load your file, and get ready.
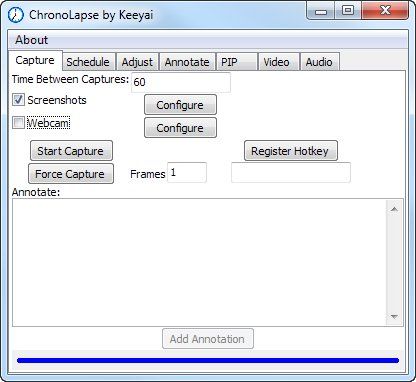
Once you’re all set, switch back to the ChronoLapse window and clickStart Capture.
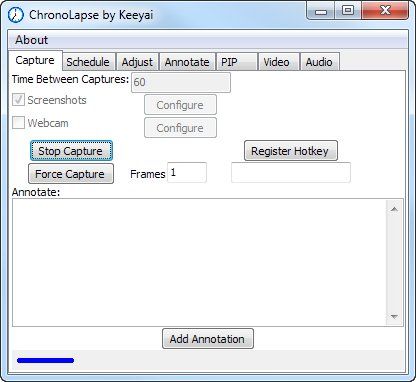
The button will change toStop Capture.
Once you’re ready to start, just clickStart Captureagain.
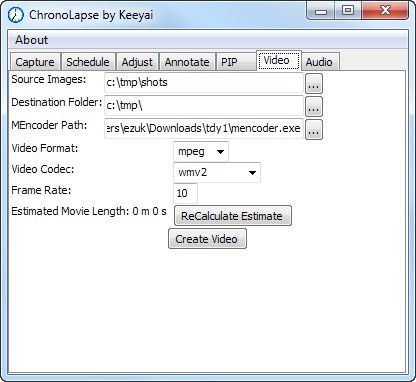
Now it’s time to make your movie!
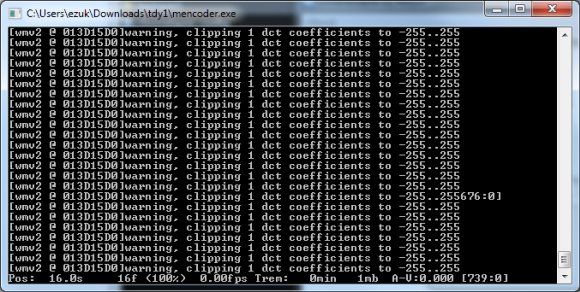
Don’t worry about MEncoder.
That’s the video encoder, and it comes bundled with ChronoLapse.
Don’t change this setting unless you have a good reason.
you’re free to also leave the codecs as they are.
The chances are you’re going to upload the video to YouTube, which can process these easily.
One thing you might want to tweak is the frame rate.
Change this value and clickReCalculate Estimate(their capitalization, not mine).
Once you’re happy with the projected duration, clickCreate Video.
Play it back and see if you’re happy with it.
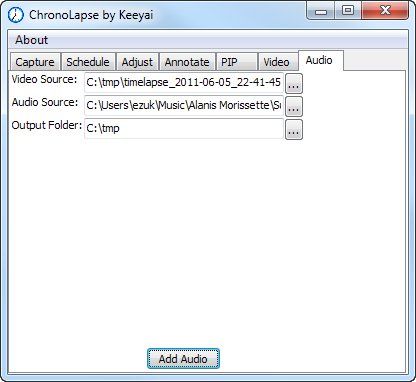
If you are, now’s the time to add audio.
HitAdd Audioand let MEncoder do its magic.