You might have seen the animated photo collage trend on Instagram Reels (or even TikTok).
It involves layering photo cutouts at different points on a video timeline, creating an animated scrapbook effect.
There are a ton of ways to create this style, but using Photoshop is one of the easiest.
you’re free to add effects to your images or use plain images and simple animation.
Lets show you how to do it.
Choose Your Photos
We recommend using six to eight photos.
you’re free to evenmake your photos look vintage in Photoshop.
This saves time and gives you the chance to curate your photos before making your animation.
Below is the final result of the example tutorial in this article.
How to Make an Animated Scrapbook Reel in Photoshop
Open Photoshop with a new file.
Set the size to 1920h x 1080w.
This will be a 16:9 ratio which is perfect for both Instagram Reels and TikToks.
Set the background to be transparent and the color profile to RGB.
Keep the other configs as their default.
Import Your Photos
Import your chosen photos by dragging and dropping them into Photoshop.
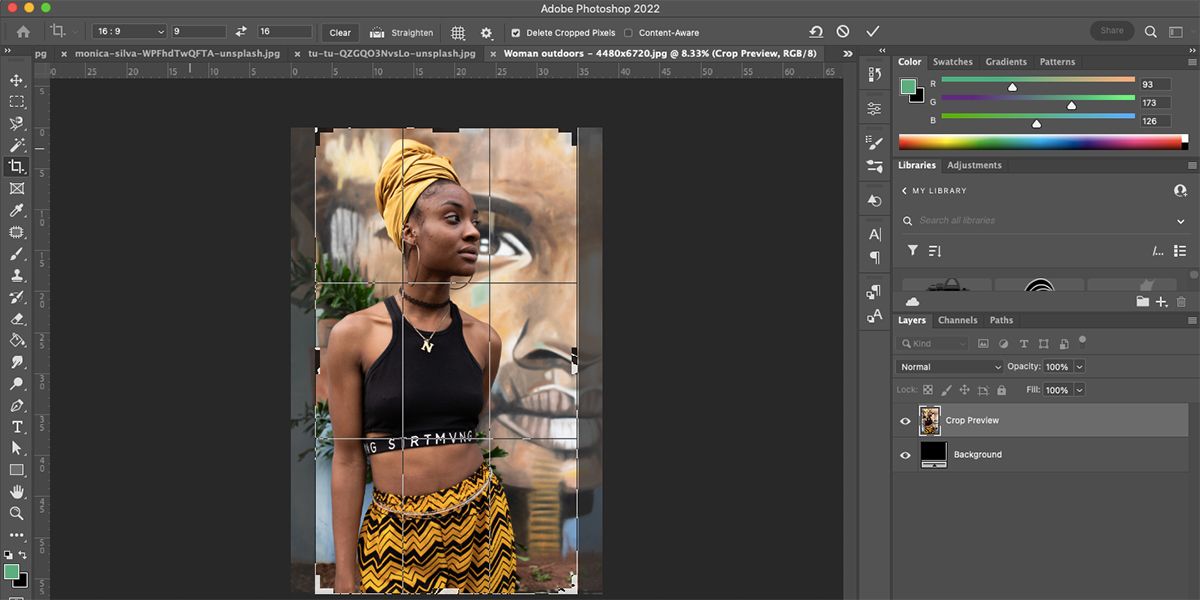
Crop your photos individually by selecting theCroptool (C) in the toolbar.
In the upper controls bar, choose16:9in the ratio box.
This ensures your cropped image is in the correct ratio for your final animation.
Crop the image by pressingEntertwice.
After cropping, resize your images to fit the artboard for a smoother process.
Go toImage>Image Size, set the width to1080and the height will automatically scale to 1920.
Do this for all the photos so they are the right size and ratio for the Reel.
Once all your photos are sized correctly, move them all to the transparent artboard.
Do this for each photo, so each one is on its own layer.
Delete the transparent background layer by right-clicking it and choosingDelete Layer.
Choose the order you want the photos to appear in the animation by reordering the layers.
Click and drag a layer to move it up or down on the layers panel.
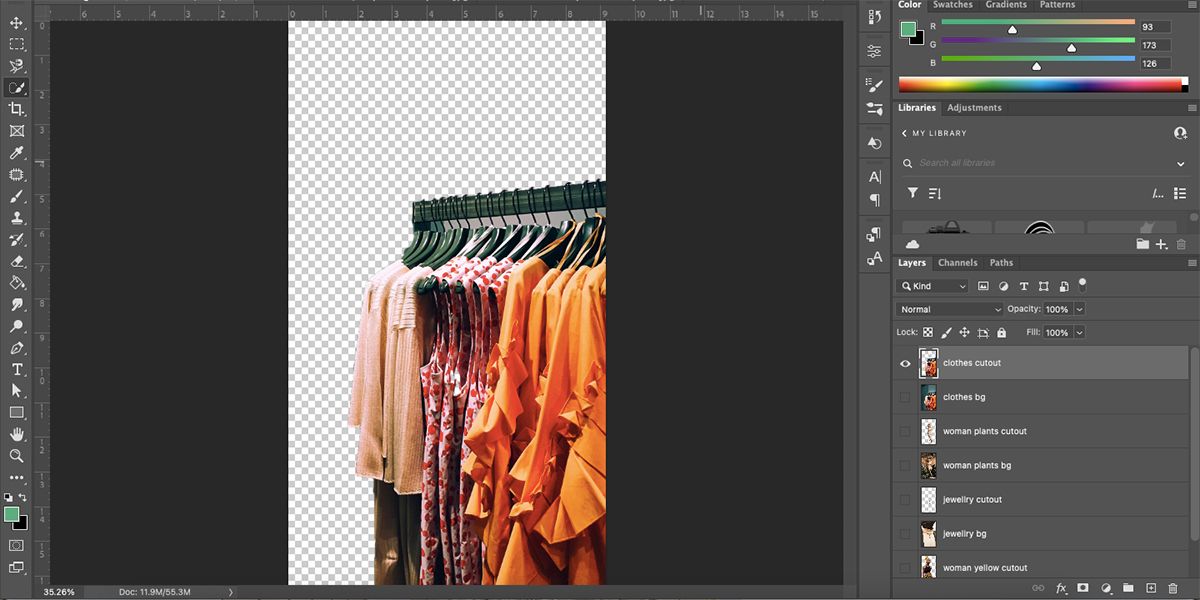
Cut Out the Subjects
Now its time to make the cutouts.
First, hide all but one image layer by selecting theEyeicon on the layers.
Then duplicate the remaining layer by right-clicking and choosingDuplicate Layer.
Hide the bottom layer, so only the duplicated one is visible.
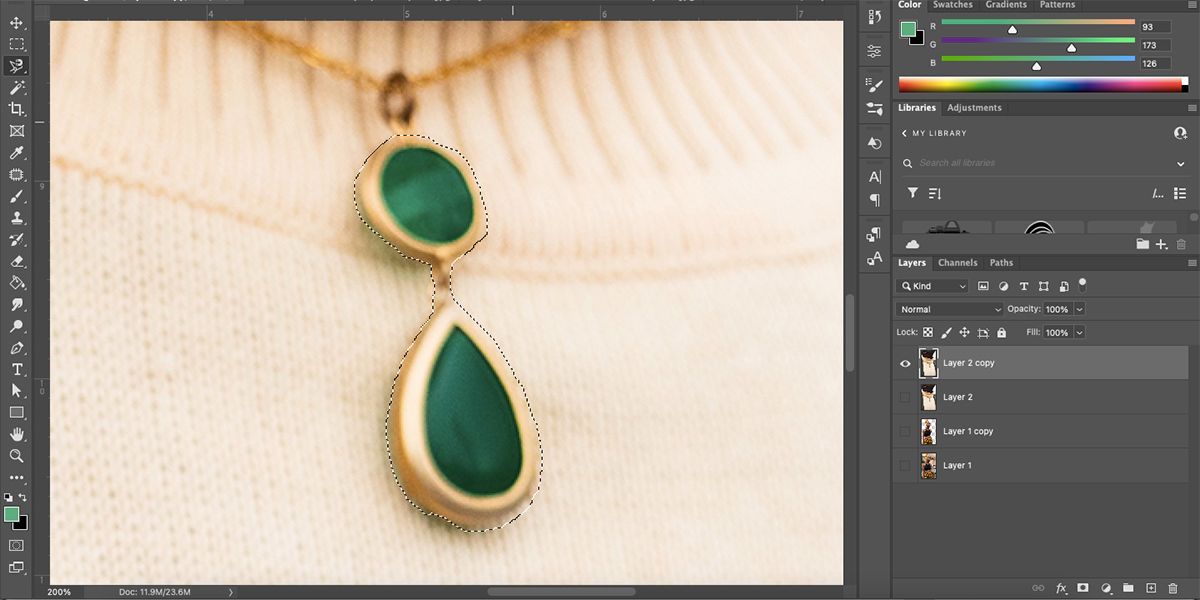
Choose whatever you want to cut out.
Erase the background of the image and anything that you dont want in the animation.
you’re free to use theSubject Selecttool for obvious subjects like people or animals.
Your subject will be left on a transparent background.
Use theErasertool to erase anything accidentally left behind.
Repeat this process for every image youre using.
Click theEyeicon on all layers to make them all visible.
Youll only see the top layer.
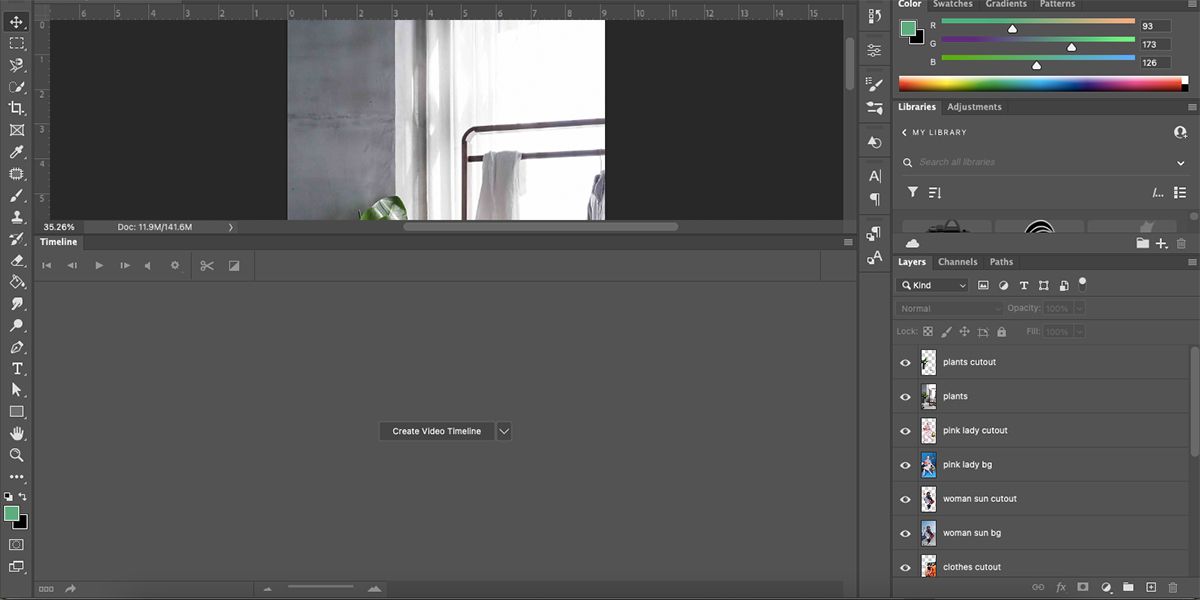
Animate Your Scrapbook Reel
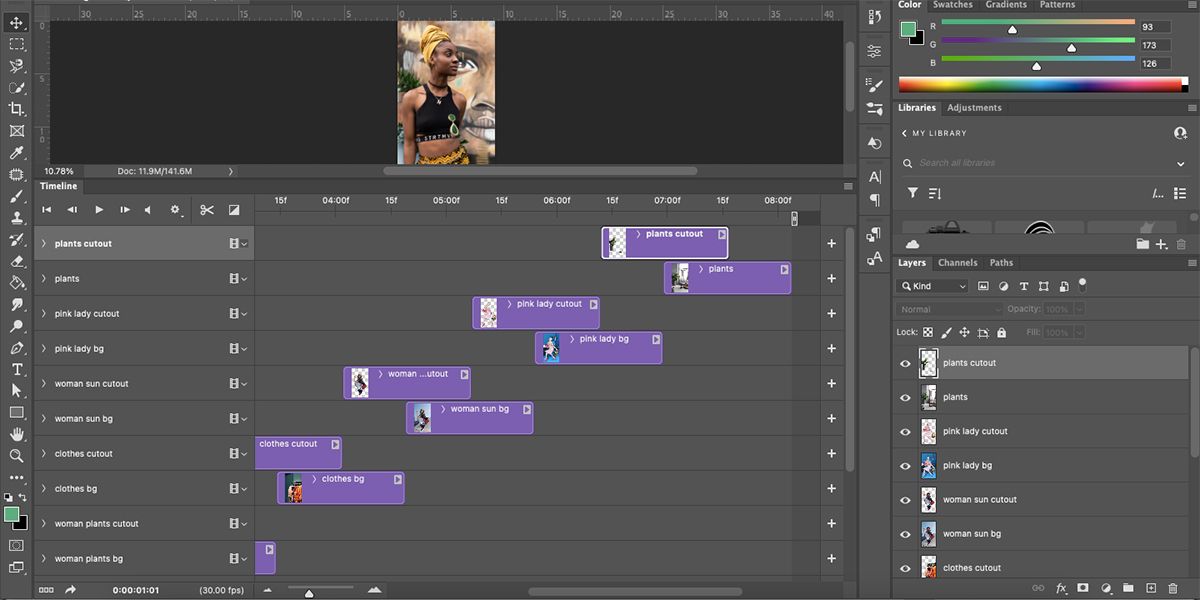
Go toWindow>Timelineto launch the timeline.
Each photo layer will become a layer in the timeline.
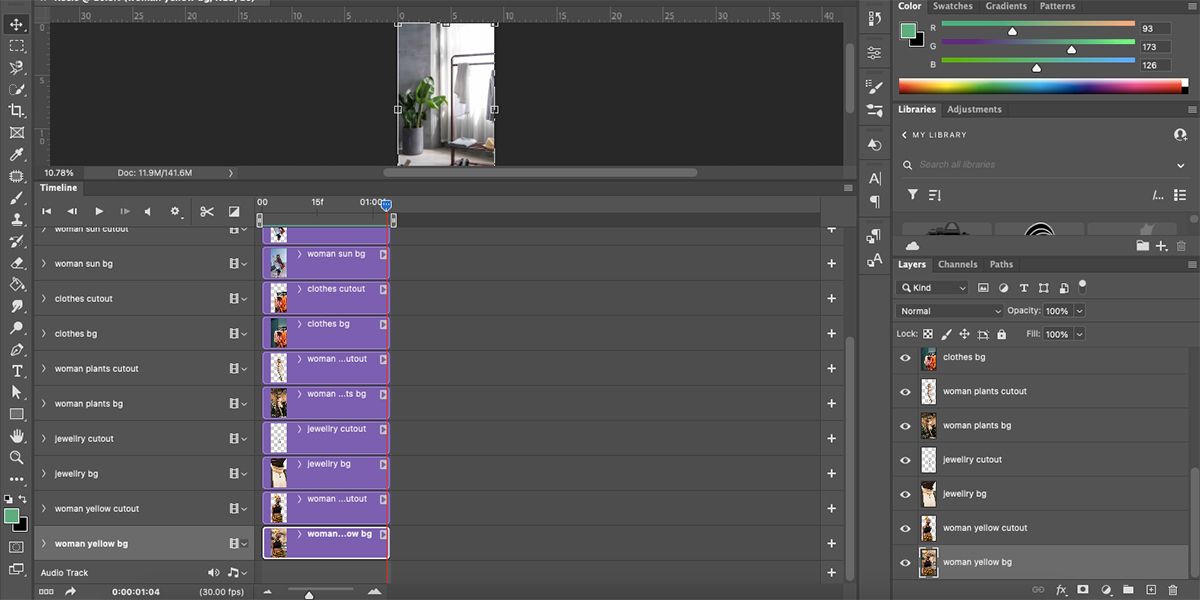
Move your cursor to the right edge of any layer until it changes to a square bracket with arrows.
Then click and drag the edge of the layer to the time indicator.
Do this for all the layers so theyre all the same length.
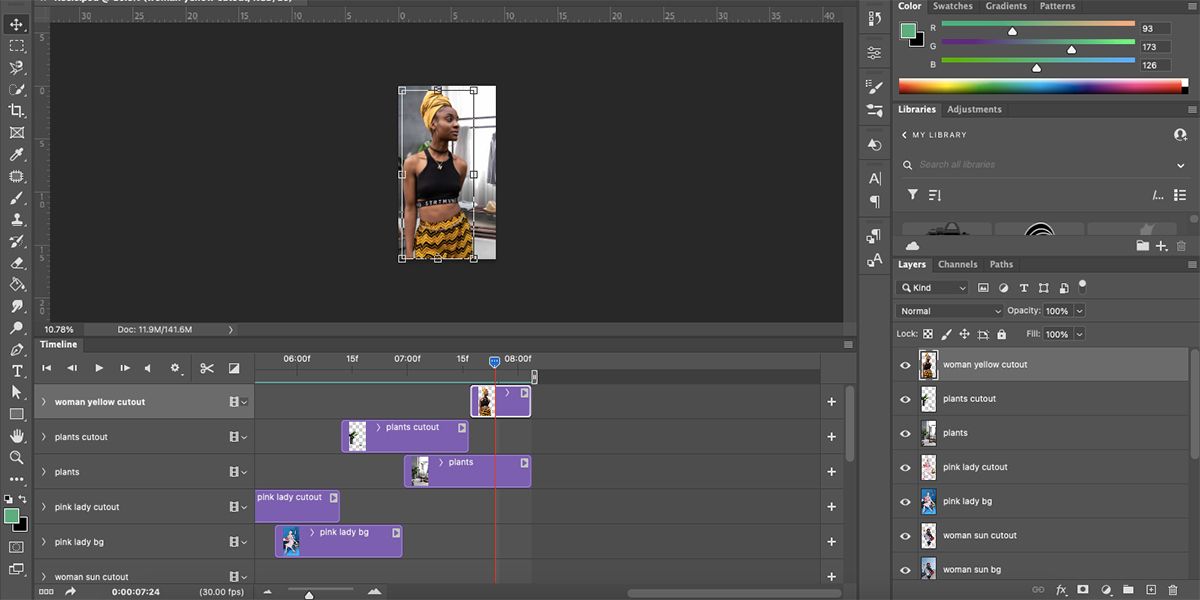
Ignoring all the cutout layers, repeat this process with all the background layers.
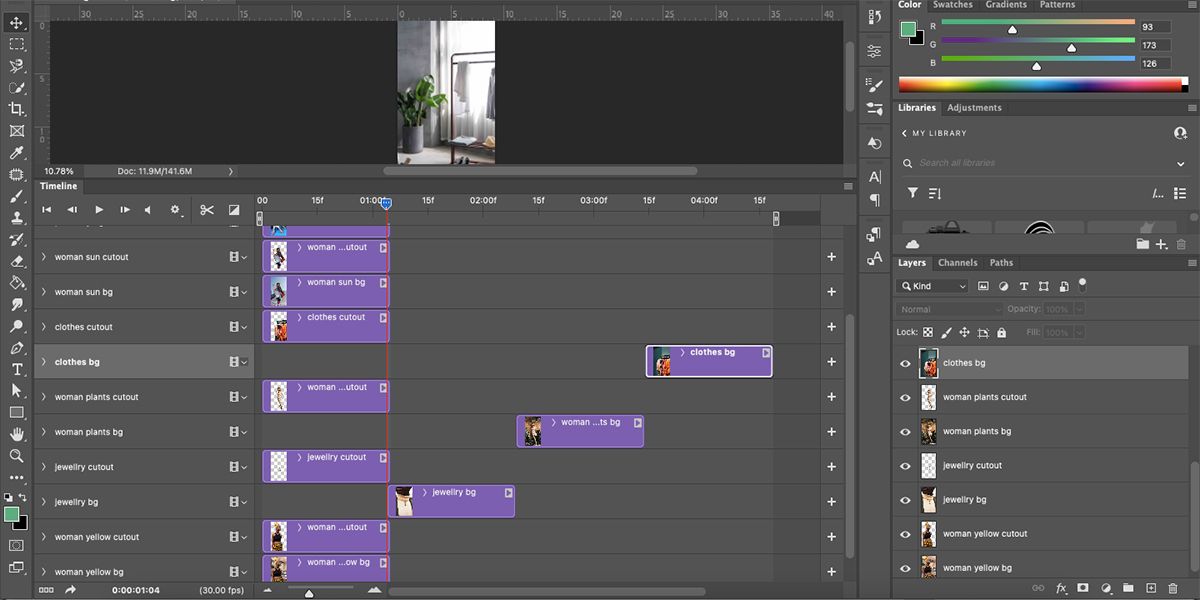
PressPlayon the timeline to check there are no gaps between the images.
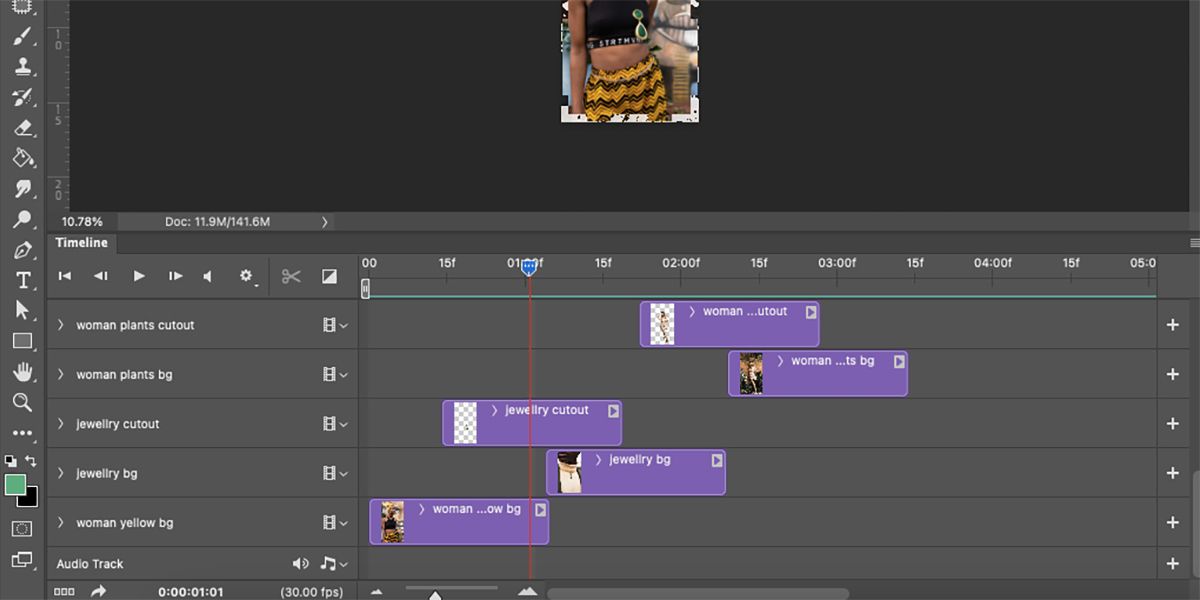
Drag the cutout layers so they each sit overlapping the edges of two background layers.
The frames should run in pairs across the timeline.
This will create a perfect animation loop.
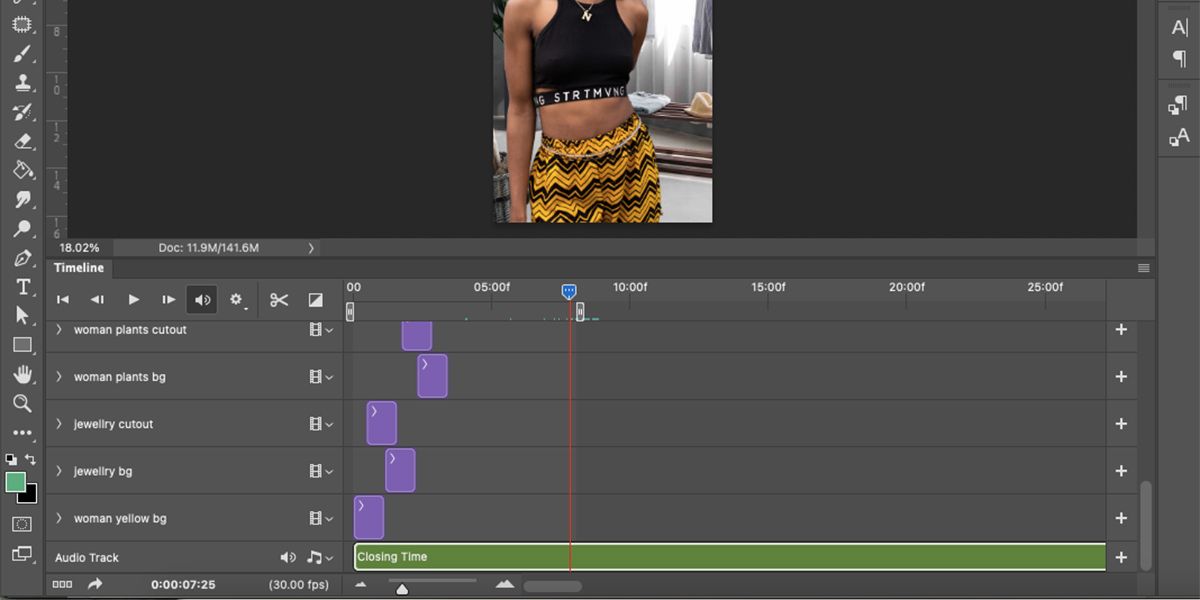
Add Audio (Optional)
Your animated scrapbook-style Reel is complete.
Find your audio in your files and selectOpen.
Drag the Work Area end to the edge of the last image.
SelectEnable Audio Playbackon the timeline options and pressPlayto see how the music lines up with the frames.
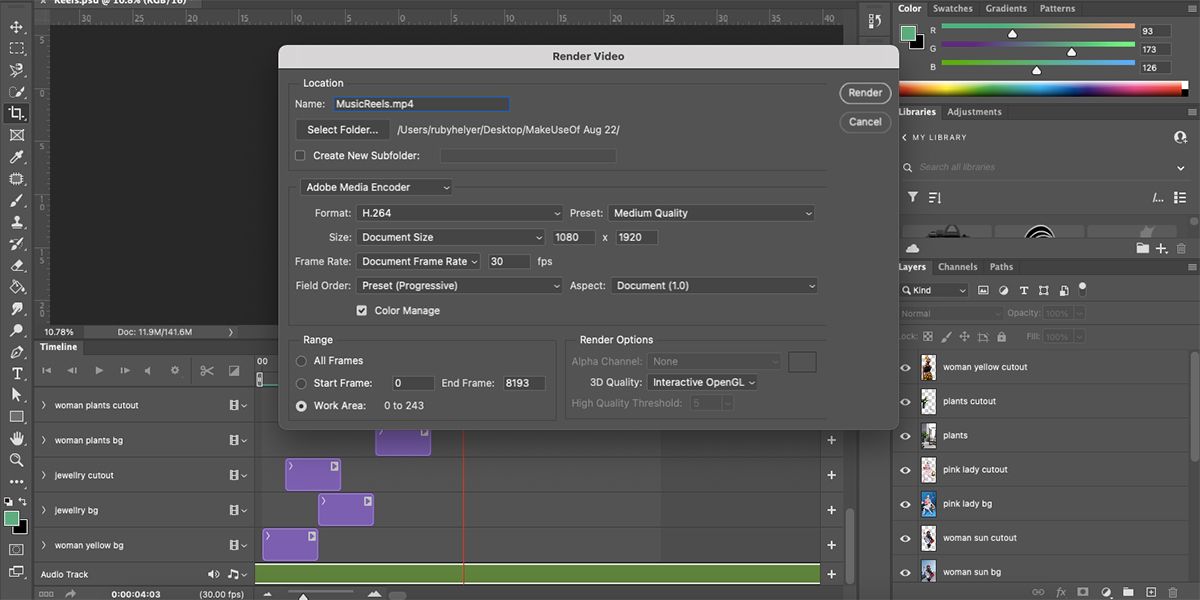
Export Your Animated Reel
To export your videowith or without audiogo toFile>Export>Render Video.
Set the size to1080 x 1920and selectRender.
Once your video has been saved, send it to your phone and upload it to Instagram.
you’re able to even add other effects with Photoshops filters and adjustments if you want.
Your video result will look complex, but now you know just how easy it is to create.
