Those statements tell you the importance of first impression.
There’s even a statement saying “You only have three seconds to make your first impression”.
It is like a handshake and will tell the visitor about your personal quality.

There are many ways to create a header image.
Beyond The Power Of Points
Let’s try using PowerPoint for our project today.
Before starting to create a header image, we have to be ready with the concept first.
That should be easy enough, right?
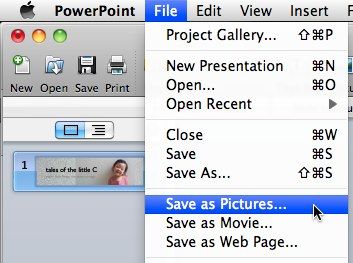
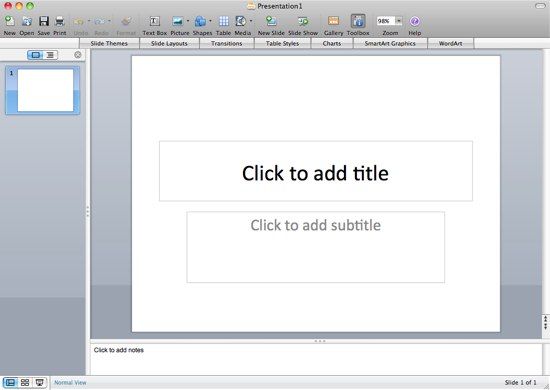
So the first thing to do is to launch PowerPoint.
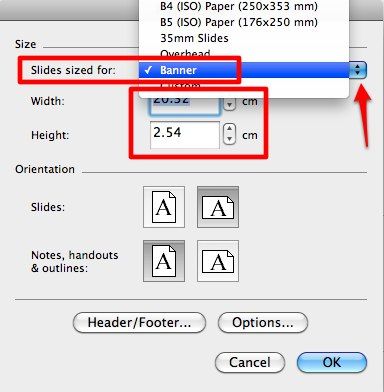
Start by resizing the size of the slide to the size of web header that you need.

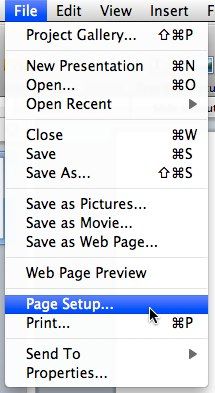
Go to “File - Page Setup” menu to launch the setting window.
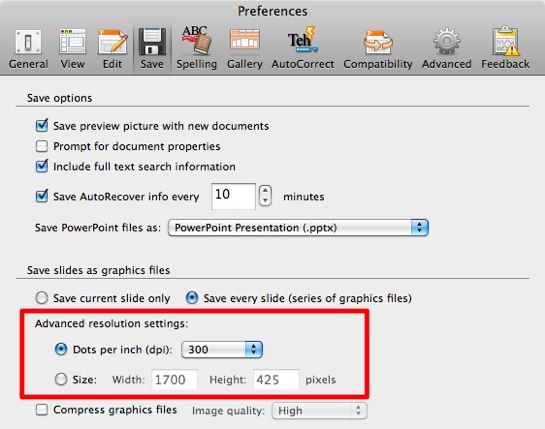
Then choose the appropriate size from the drop-down menu.
If the size that you want is not on the list, you might always adjust the size manually.
I chose to go with the proportion of 720 x 180 for this project.
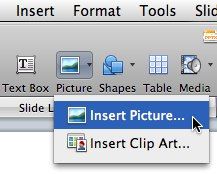
Continue by inserting the background image.
smack the “Insert Picture” icon, or use the “Insert - Picture” menu.
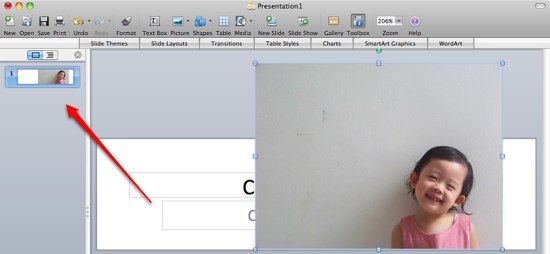
Resize the image and drag it to the position that you want.
So always refer to the thumbnail on the left.
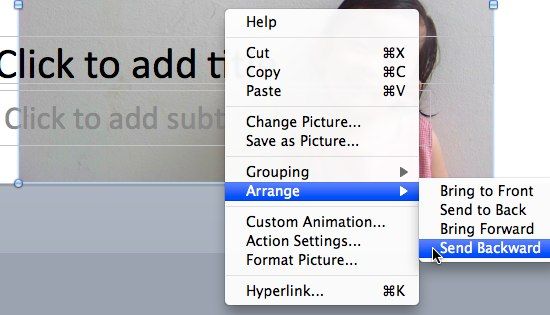
Send the image to the back by choosing the action from the right-click context menu.
If you do not do this, your text will be placed behind the image.
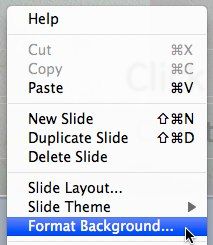
Choose how you want to fill in the background.
you could choose solid color, gradient, picture or texture.
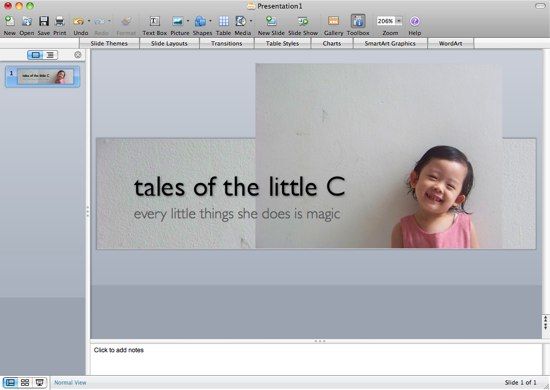
My personal favorite font is Gill Sans Light with a drop shadow.
And here’s the result of our little project.
Have you tried to use PowerPoint beyond creating presentation?
Or do you have personal favorite non-graphic editor app to create quick graphics for everyday use?
Share using the comment below.
Image credit:Aidan Jones