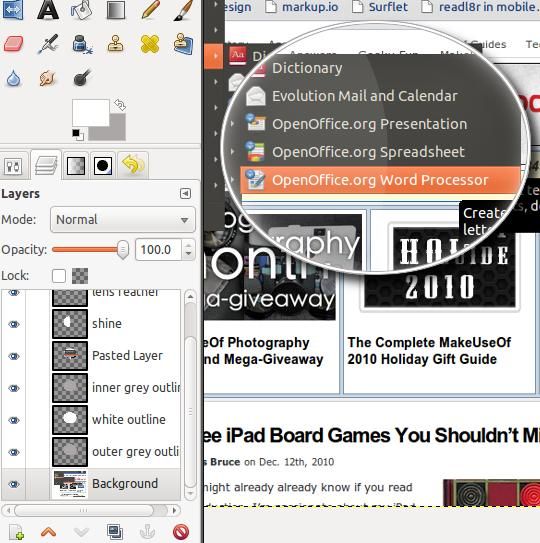
Here is what I did to create the introductory image.
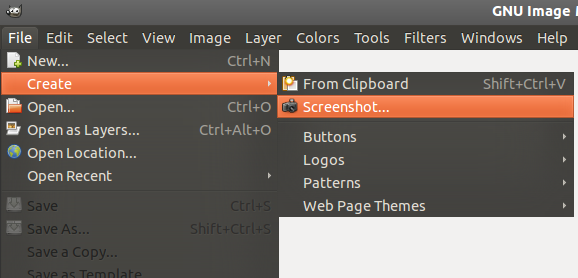
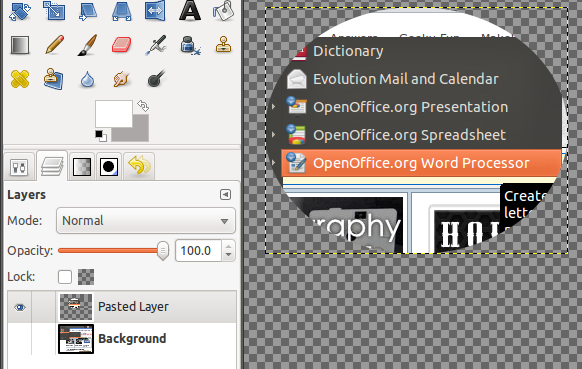
I will be pasting a screenshot of my entire screen (1280 x 800).
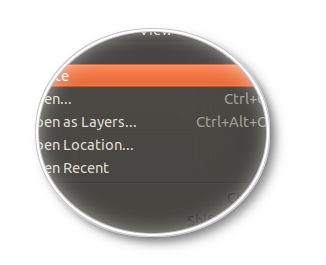
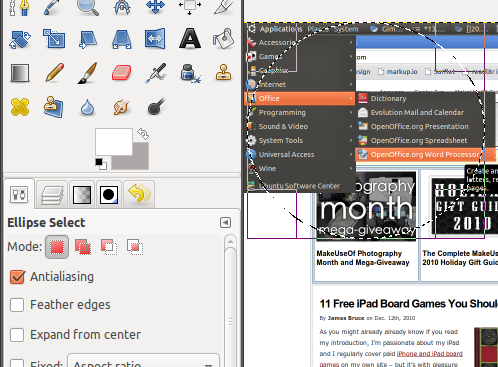
PressCtrl + Cfollowed byCtrl + Vto simply copy and paste the selection.
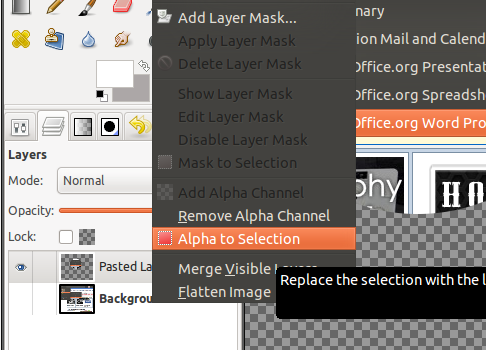
Right-hit the same layer and chooseAlpha to Selectionwhich will snag the circle’s outline.
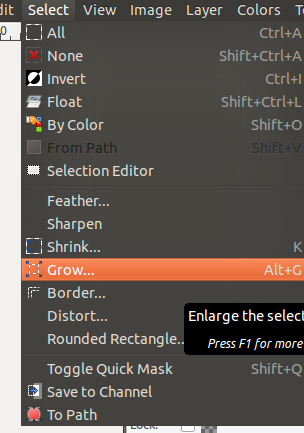
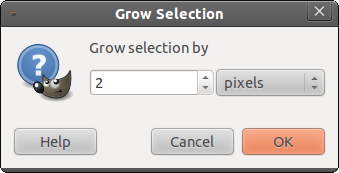
To create the outline for the zoomed image in white and grey, go toSelect > Grow.
jot down 1 (pixels), if it’s not there by default already, and clickOK.
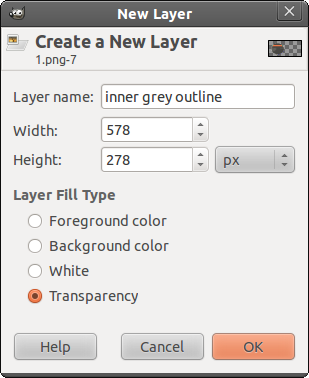
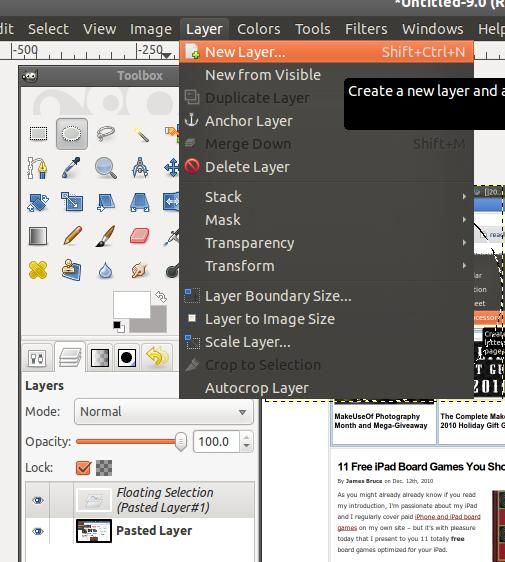
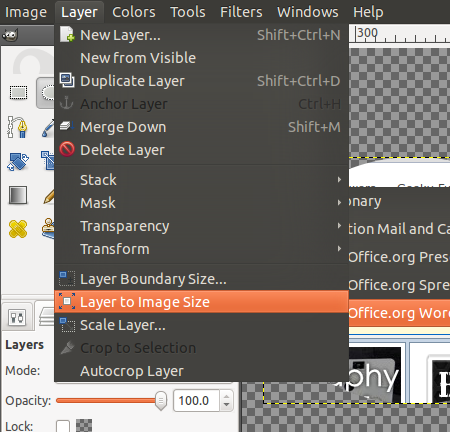
Go toLayer > New Layer.
ForLayer Fill pop in, chooseTransparency.
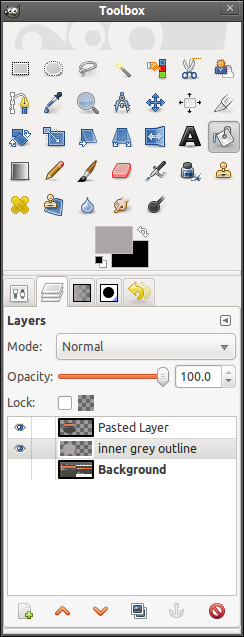
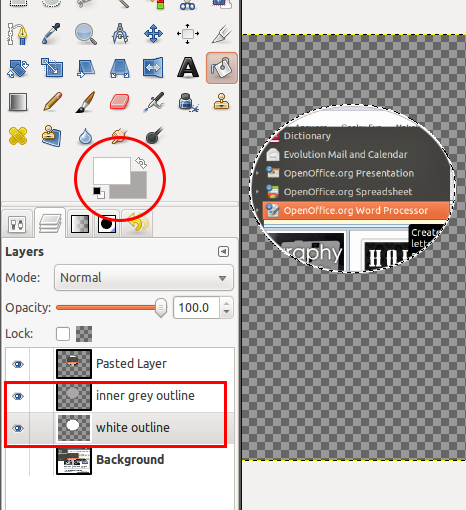
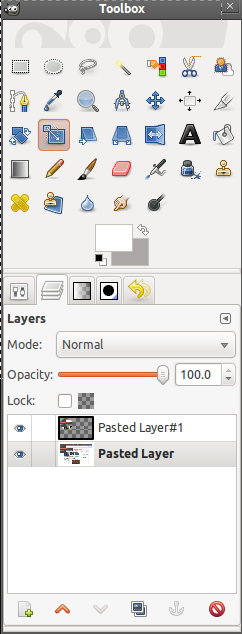
Fill the circle and go to theLayersdialog to lower this “inner grey outline” layer.
Go toSelect > Growand jot down “2” this time for the thicker white outline.
Create a new layer, naming it “white outline” if you want and selectingTransparencyagain.
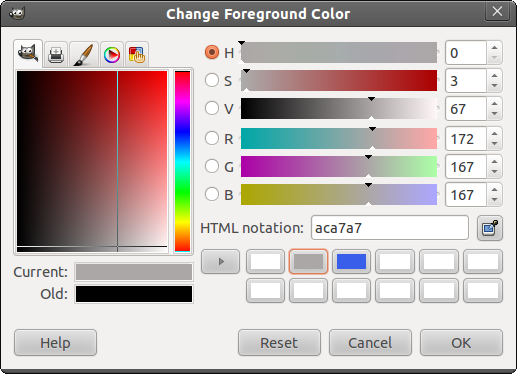
Use theBucket Filltool to fill the circle with this white foreground color.

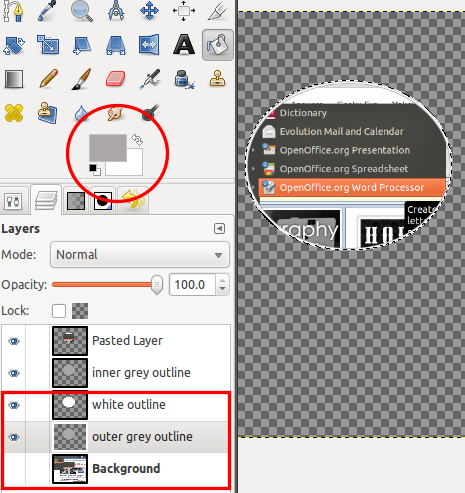
Lower this “white outline” layer so it’s right under the grey outline layer.
Lower this layer so it’s under the white outline layer and above the original background/screenshot layer.
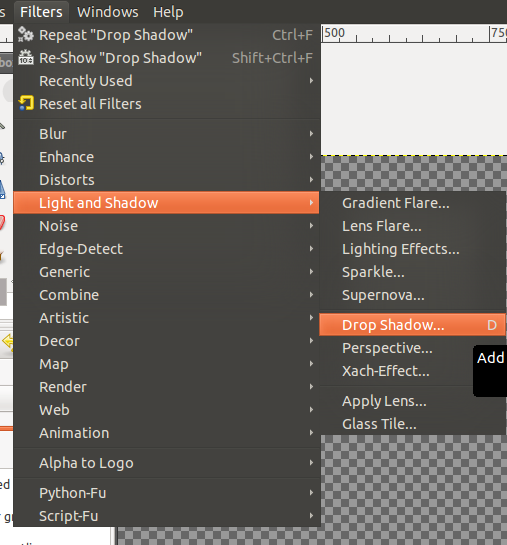
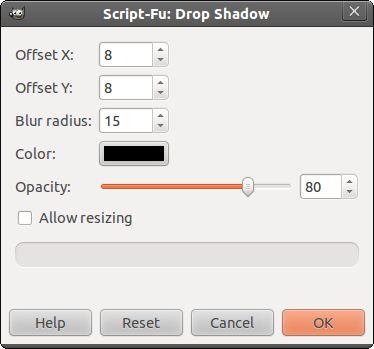
Now with the selection still active, go toFilters > Light and Shadow > Drop Shadow.
The default values should be fine, but uncheckAllow Resizingbefore clicking OK.
11.
Now that the drop shadow’s done, we will proceed to create the glow.
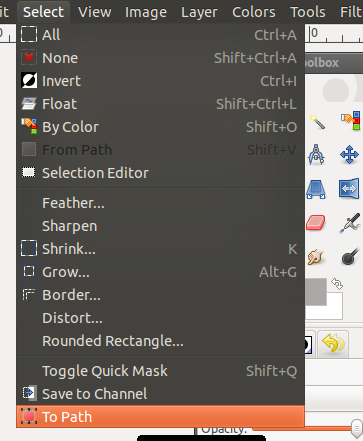
Click onPasted Layer(the zoomed screenshot layer) in theLayerdialog, right-click and selectAlpha to Selection.
Then go toSelectin the menu bar >To Path(the last option).
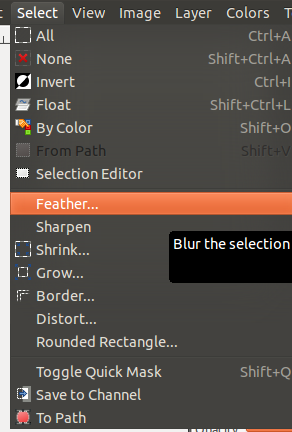
Go toSelect > Featherand punch in in 50 (pixels) in the dialog box that shows up.
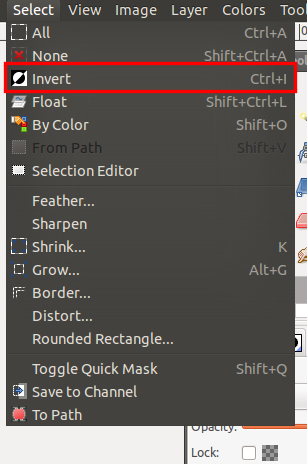
Go toSelectagain >Invertto make whatever we do next apply to outside the circle only.
Swap the colors so white is the foreground color and bucket-fill the new layer with it.
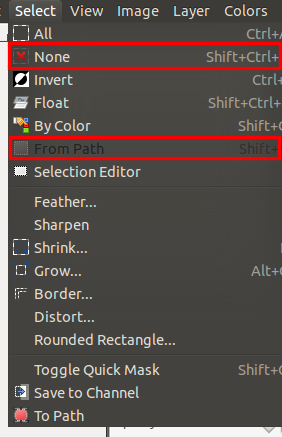
Go toSelect > Noneto de-select.
Then go toSelect > From Path, then go toSelect > Invertand press the Delete button.
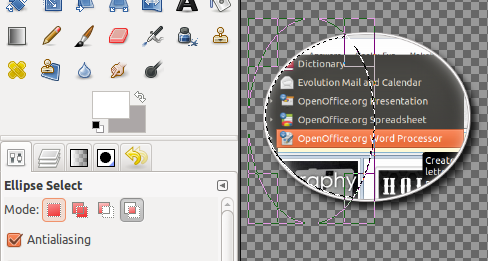
You should have something like this.
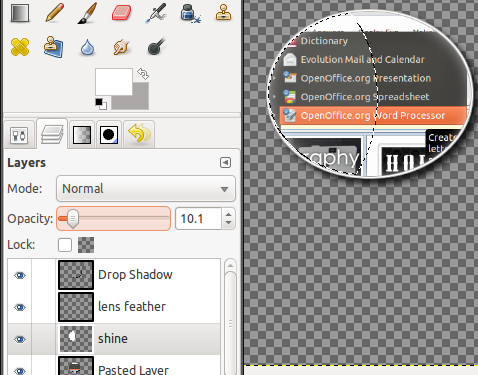
Create a new transparent layer, naming it “shine” if you want.
Bucket-fill the selection with white as the foreground color.
Tone down the opacity to about 10.
Go toSelect > None.
Toggle the background (bottom) layer so it’s visible again.
Feel free to experiment with the feather value.
What do you think?
Do you have tips or suggestions on achieving the zoom effect with fewer steps?
If so, kindly share them with us!