We also covered this area in6 quick ways to jazz up your photos.
Varun also recentlycovered AndreaMosaic.
All will become clear.
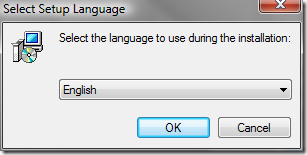
But first you obviously need to go ahead anddownloadand load the program.
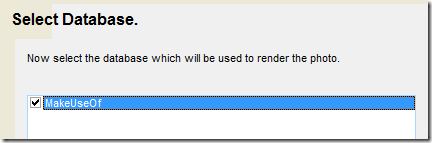
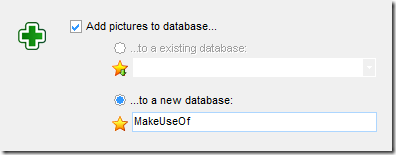
Click onAdd pictures, and name the database something useful.
you’re able to also change the folder used to store the database if you wish.
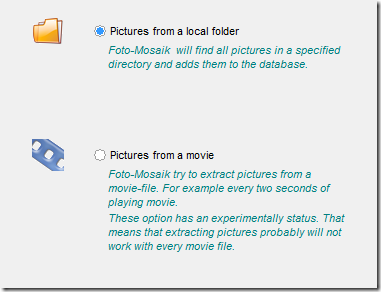
Foto-Mosaic can extract the necessary images from pictures of movies.
We’re sticking with pictures here.Next.
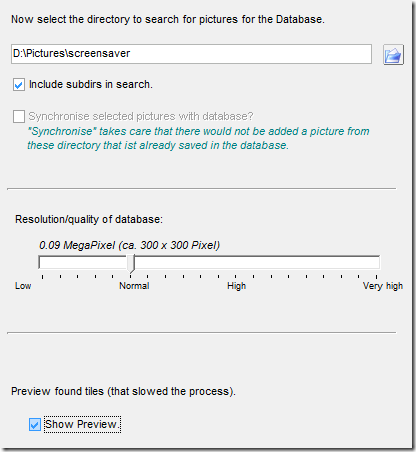
Browse to the images you want to use.
In my case I’ve taken the folder that contains my screensaver images.
I’ve also told it to use any subfolders it finds there.
Don’t mess with the resolution configs this time around.

Click onShow Previeweven though it slows things down.Next.
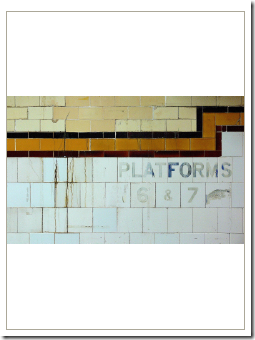
If you have a lot of images, or they are very large, you might need a coffee.
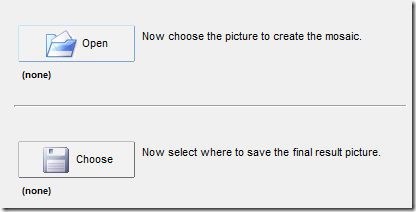
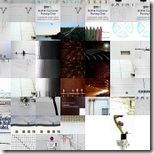
This is the image from which the software is going to build a new picture.

Then you better tell Foto-Mosaik where to put the result.
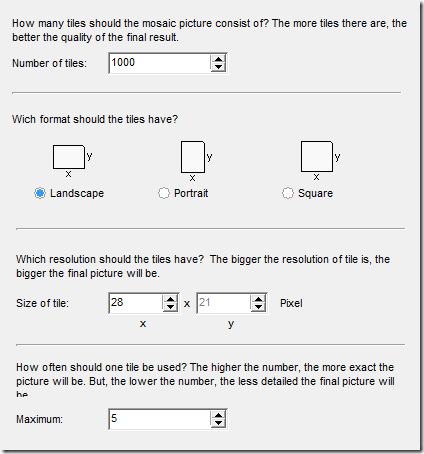
Time for some options.
The first is the number of tiles to use.
The more the better, within reason.
The second option is the orientation of the resulting image.
It should be the same as the original image normally.
The third option is the size of the tiles to use.
The defaults are a good place to start.
The last option is how many times to use the same tile.
you might experiment later, but stay with the default of 5 for now.
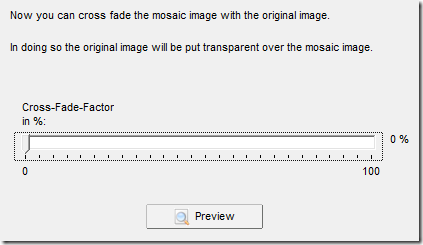
A number of analysis steps take place, and then the final image is constructed.
Nextagain, for the last time.
The image has been built, and you’re free to close Foto-Mosaik.
Just for a change of pace, clickClose.
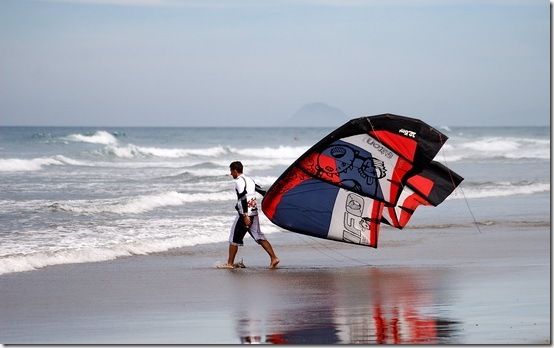
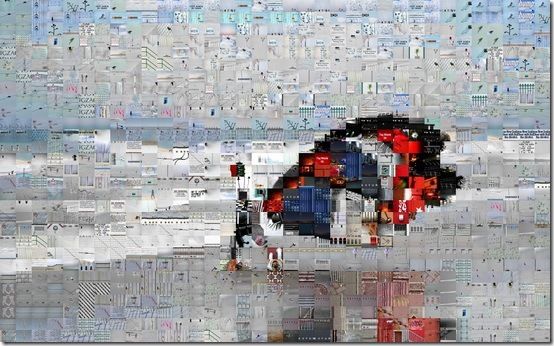
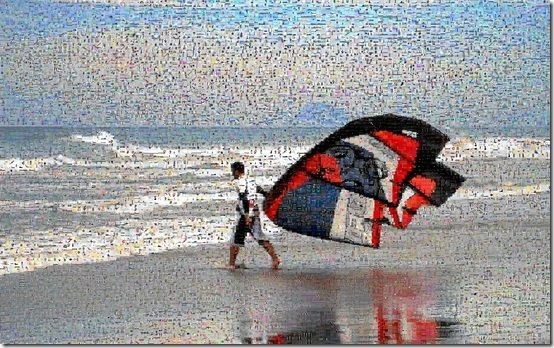
My first result looked like this:
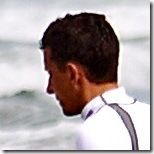
A closer view revealed a fairly grainy attempt.
The details are still pretty bizarre.
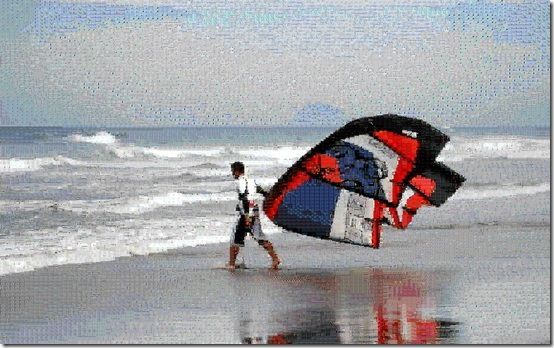
Obviously your results will depend entirely on your raw material.
So, how did you go?