DVD Flick supportsa huge number of audio and video file formats.
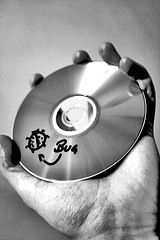
For starters, we’ll need a good video file.
If you’re able to read that last part, you might have already seen the show.
(photo credit:Silvio Tanaka)
Open DVD Flick and hit the New Project button.
You should have a blank canvas before you.
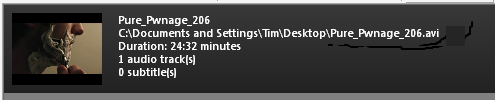
Click Add title on the right side and pick your video files.
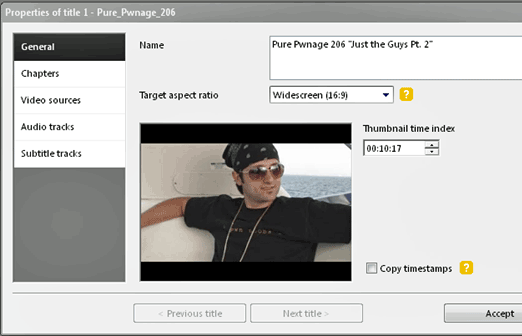
Now, select your title and hit the Edit title button on the right.
This is where you’ll be doing a lot of your customization.
Under Chapters, you’re able to specify the length of each chapter.
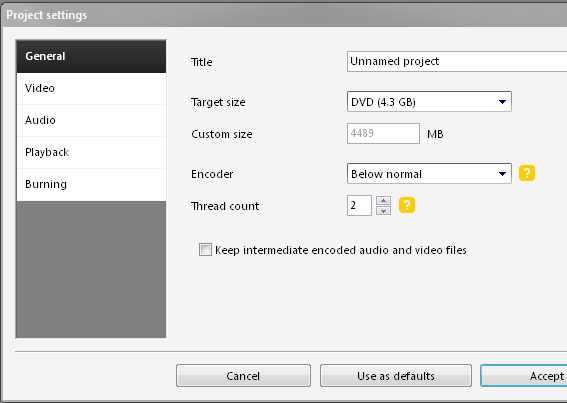
Under the Project configs button you’ll find more options to fine-tune your DVD.
If you plan on opening this project again later, you may want to give it a title.
Your Target size will likely not change from 4.3GB DVD, unless you’ve bought some special-format disks.
Under Video, c’mon be sure that your Target video format is appropriate for your region.
For the Americas, select NTSC.
For just about everywhere else, choose PAL.
Finally, under Burning, check the box next to Burn project to disc.
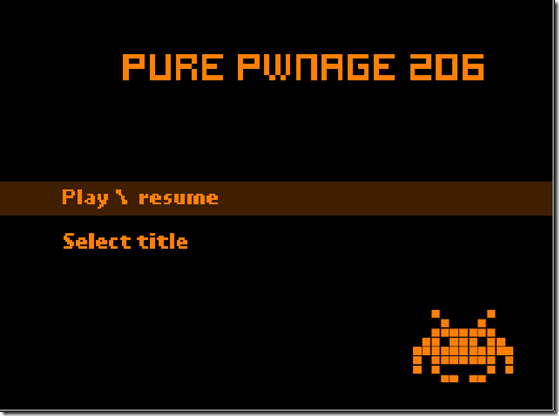
Under Menu configs, you may select your preferred template, with options such as forcing audio track selection.
You may preview the menu to see to it that it navigates the right way.
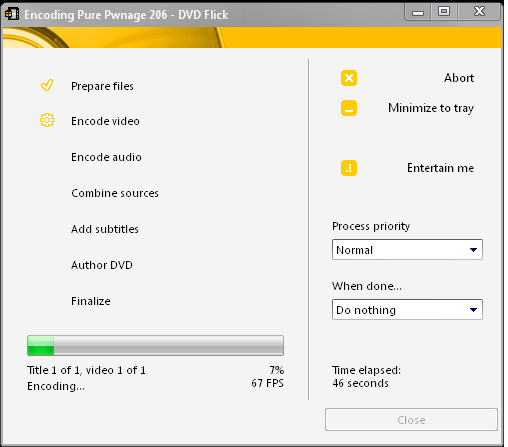
It may take some time for the process to complete, especially with larger video files.
It was quite nice of the developers to include a Tetris game to pass the time.
Just hit that little Entertain me button.
As for me, I’m off to pwn some n00bs.