How many times have you intentionally shortened and simplified your password for the sake of remembering it?
How about all the times you got paranoid typing in your password when out in public?
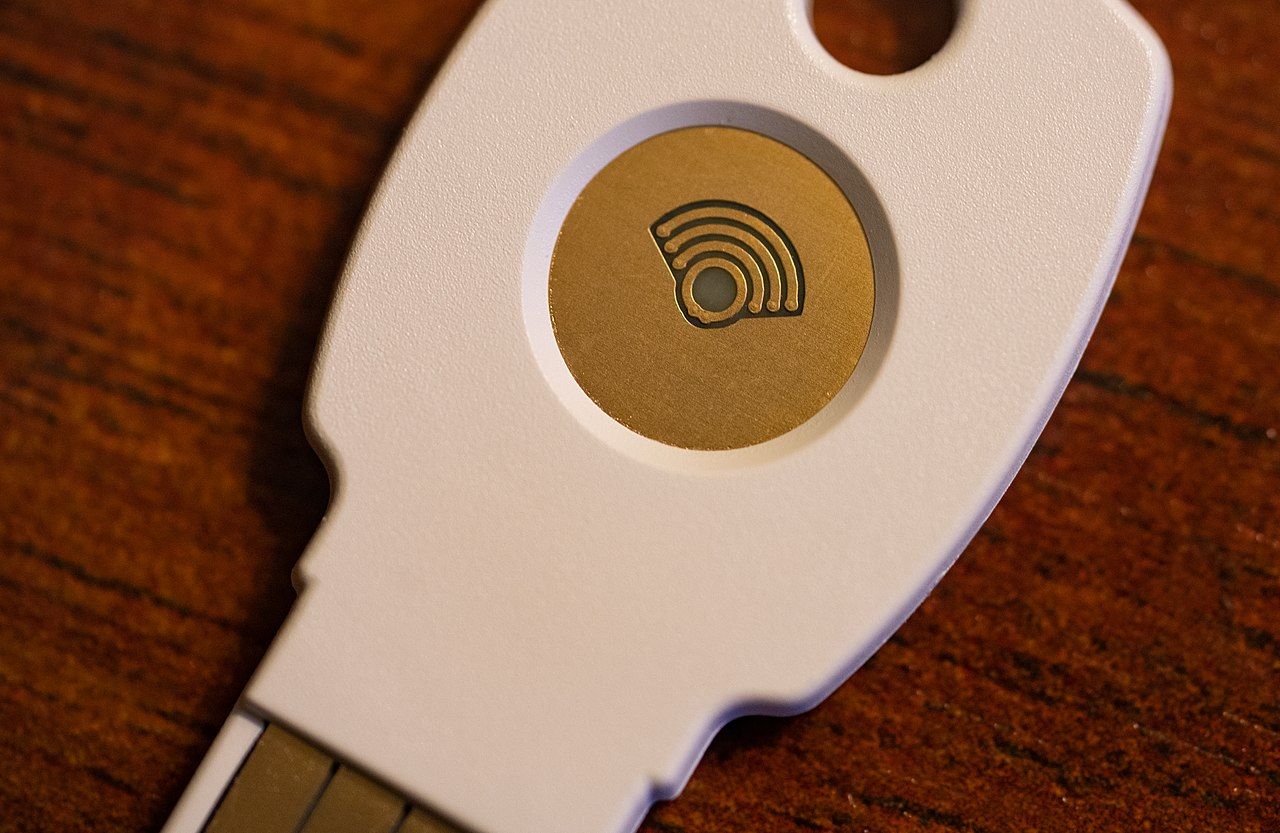
Although YubiKey and Google Titan provides reliable security keys, they can be expensive.
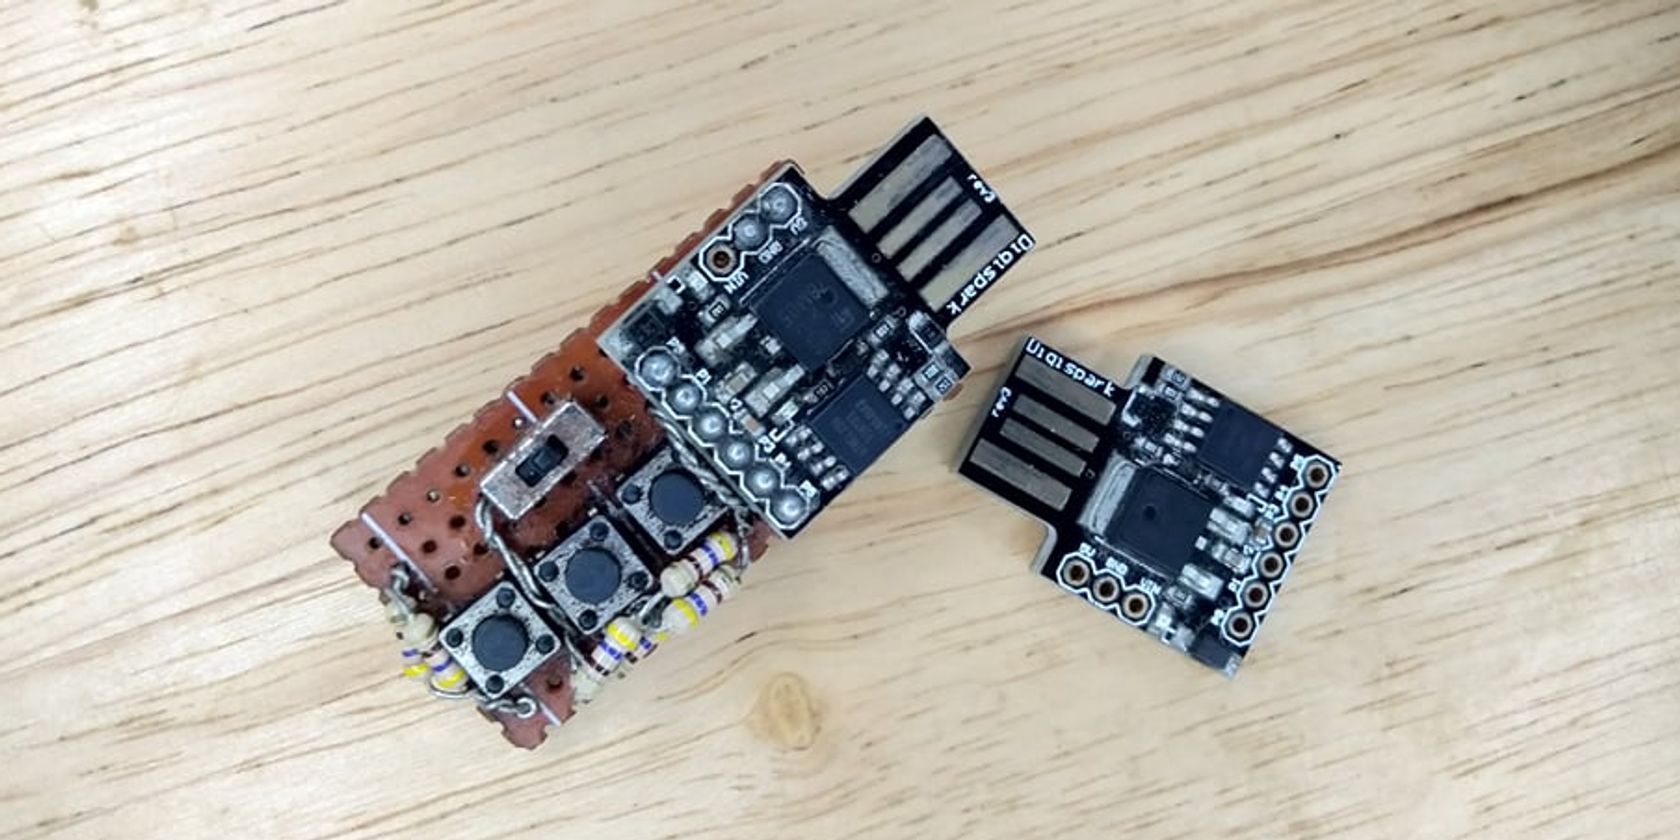
So today, learn how to make your own affordable security key with a Digispark programable board.
Many people use them for convenience and security purposes.
Security keys also allow users to bypass physical keyloggers since typing on the keyboard is no longer required.
Another reason to use a security key would simply be for convenience.
A lot of people are slow and unconfident typers.
When typing a password, keying in one wrong character often leads to deleting everything and starting over again.
With a security key, users no longer have to worry about making incorrect keystrokes.
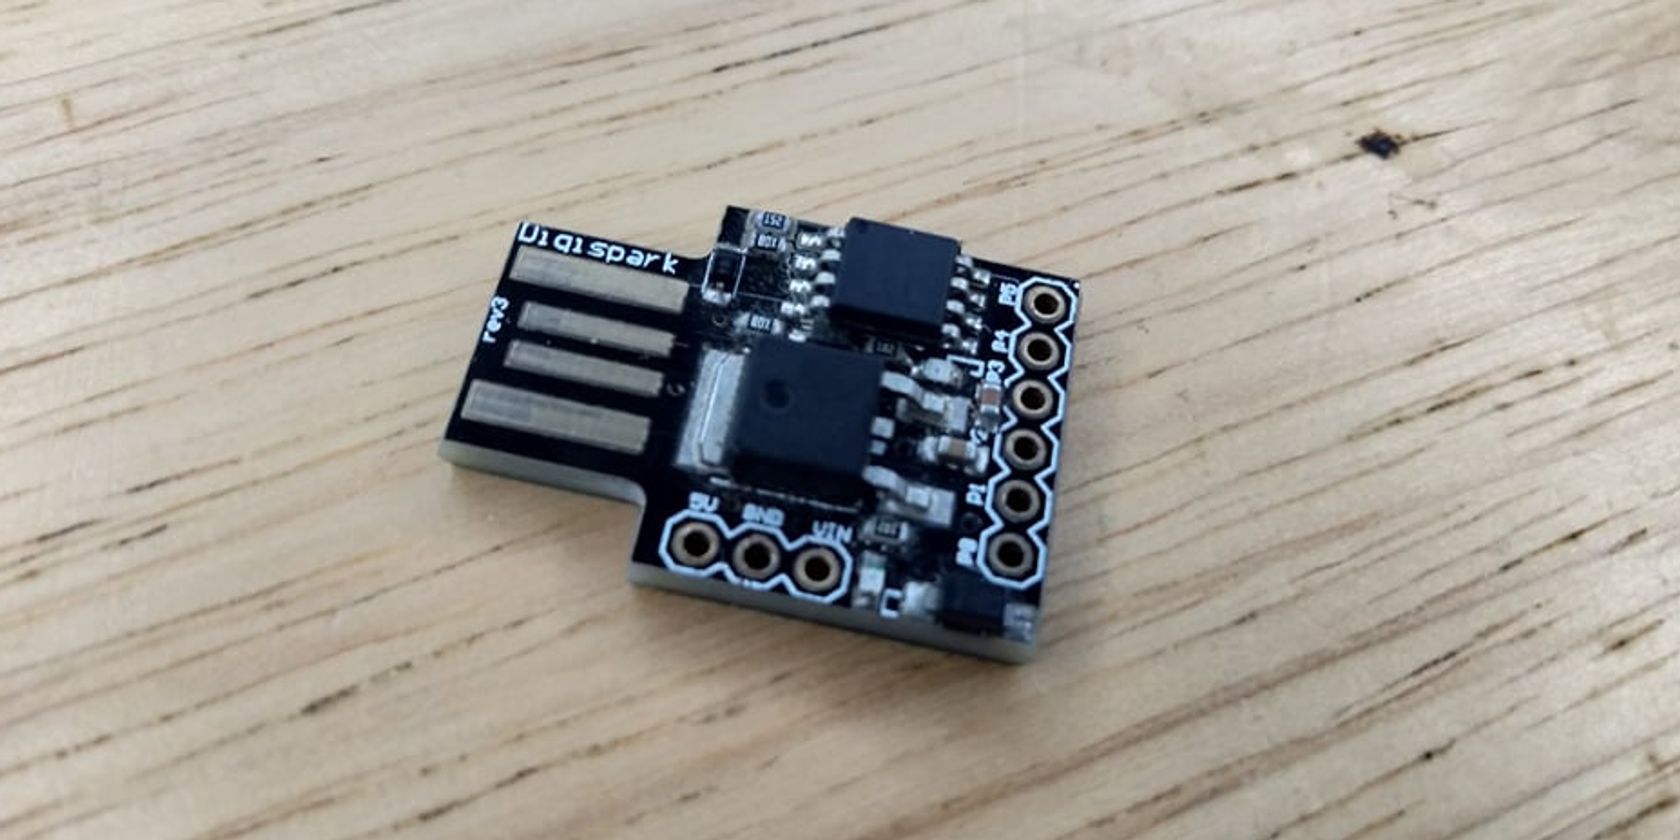
Why a Digispark?
We want to use a Digispark primarily for its cost.
As of writing, you’re able to find one on eBay for between three and four dollars.
Since the microprocessor is already packaged in such a discreet board, soldering components are no longer required.
Don’t worry; this isn’t complicated.
The code is already provided below.
Related:Why Everyone Should Learn Arduino
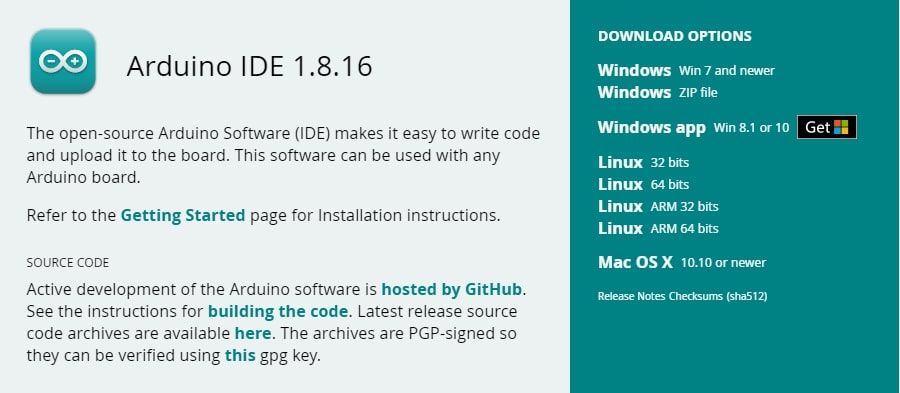
Step 1:Download theArduino IDE.
For Windows and Mac, just go for the first provided option.
After the download completes, set up the IDE with all the default tweaks.
Then fire up the program.
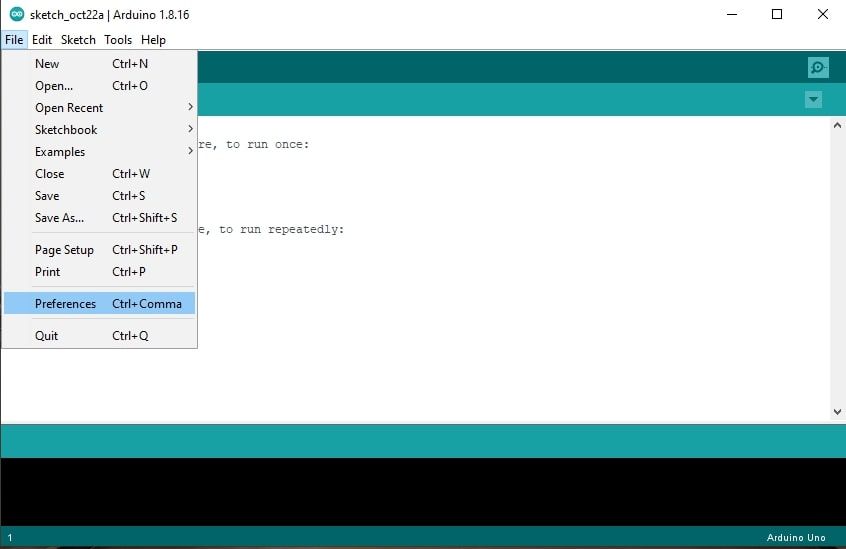
you’ve got the option to do this by hovering overFileand clicking onPreferencesor by using the shortcutCtrl+Command.
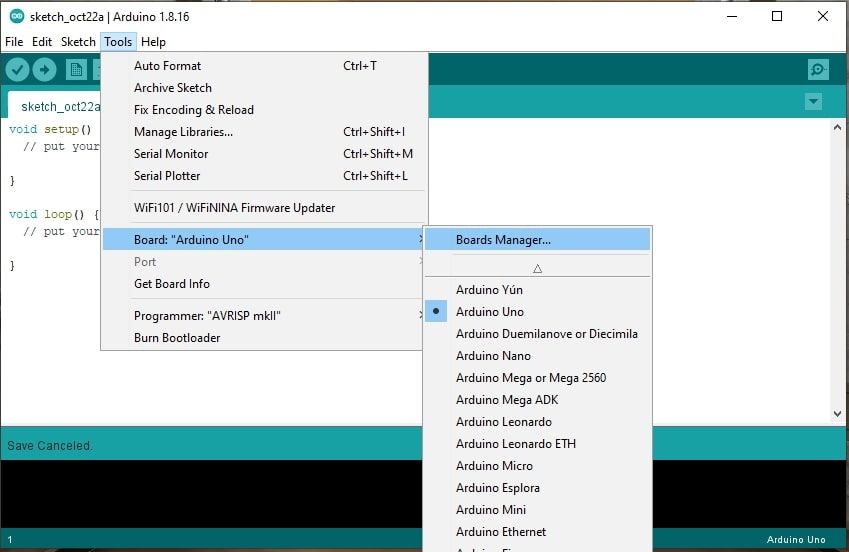
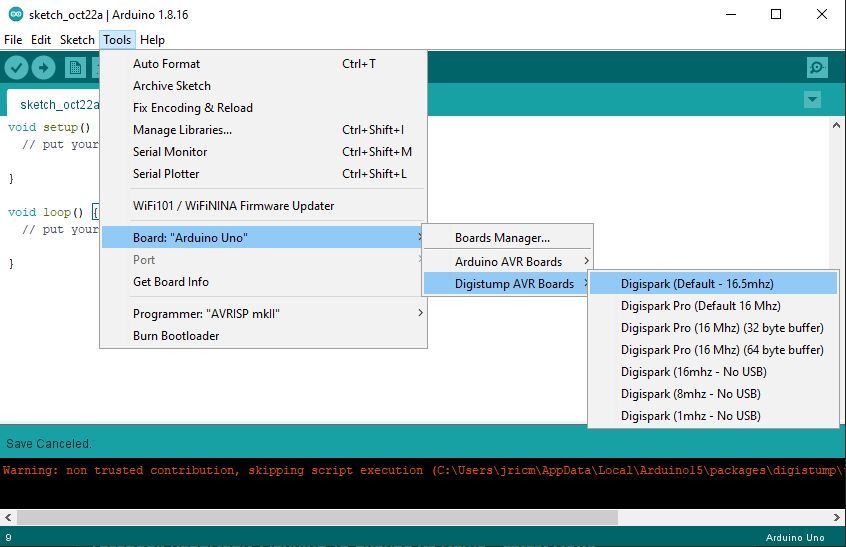
Step 3:Select your Digispark board
Hover overTools > Boards, then clickBoards Manager.
Search fordigistump, then selectDigistump AVR Boardsand click install.
It will take a moment to download and install all Digistump Boards into our IDE.
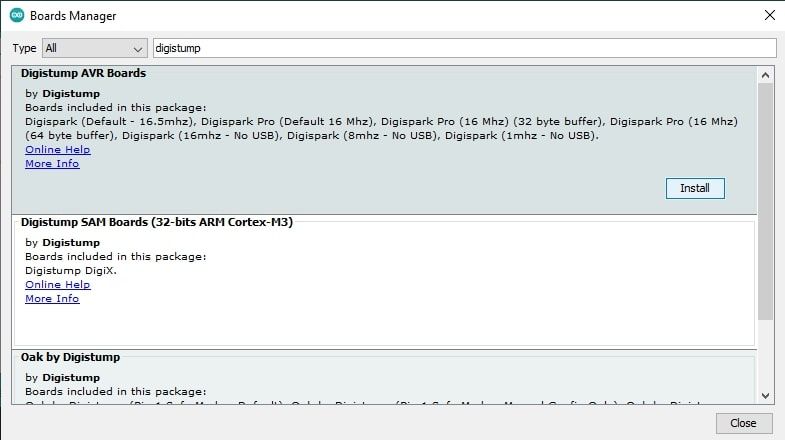
After the installation, clickClose.
Hover overTools > Boards > Digistump AVR Boards, then click onDigispark(Default 16.6mhz).
Your IDE is already set to program the Digispark.
Installing Digitump Drivers to your PC
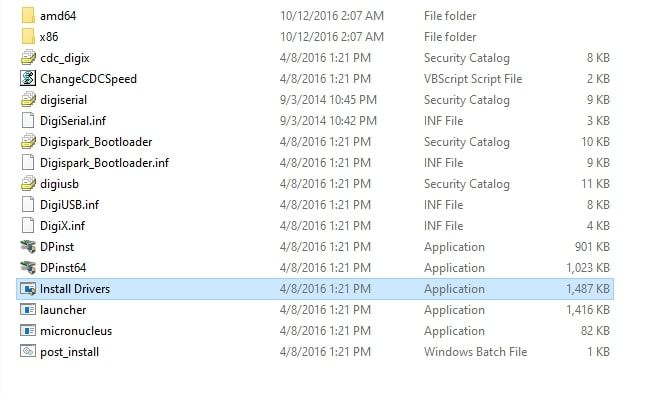
Step 1:Download theDigistump Drivers.
Step 2:Extract the zip file and kick off the folder.
Double click onInstall Driversto install.
You are all set and ready to program the Digispark.
Programming the Digispark
Programming in Arduino is relatively straightforward.
However, it does require a bit of tinkering for you to get used to it.

TheDigiKeyboardfunctions under the loop make the Digispark jot down your username and password.
Now that you understand how the sketch works, start programming your Digispark security key.
Remember that your username and password have to be in quotation marks.

Once the sketch is successfully uploaded to your Digispark, you should see a prompt like this.
Congratulations, you now have a Digispark security key!
However, it is still pretty limited.
That’s because you’re free to only store one username and password.
Furthermore, there is a couple of seconds delay before the Digispark inputs your credentials.
it’s possible for you to remove the startup delay by installing a different bootloader on the Digispark.
Related:What Is a Bootloader?
How Does a Bootloader Work?
