A character controller can help you implement simple movement physics in your game.
you’ve got the option to approach Unity3D character controllers from several angles.
While this project is basic, it’s a great way toget started with Unity.

A 3D Plane Object for Terrain
The first object to add to your scene is a plane.
Right-click inside the hierarchy pane, hover over3D Object, and selectPlanefrom the list.
Right-click inside the hierarchy pane, hover over3D Object, and selectCubefrom the drop-down menu.
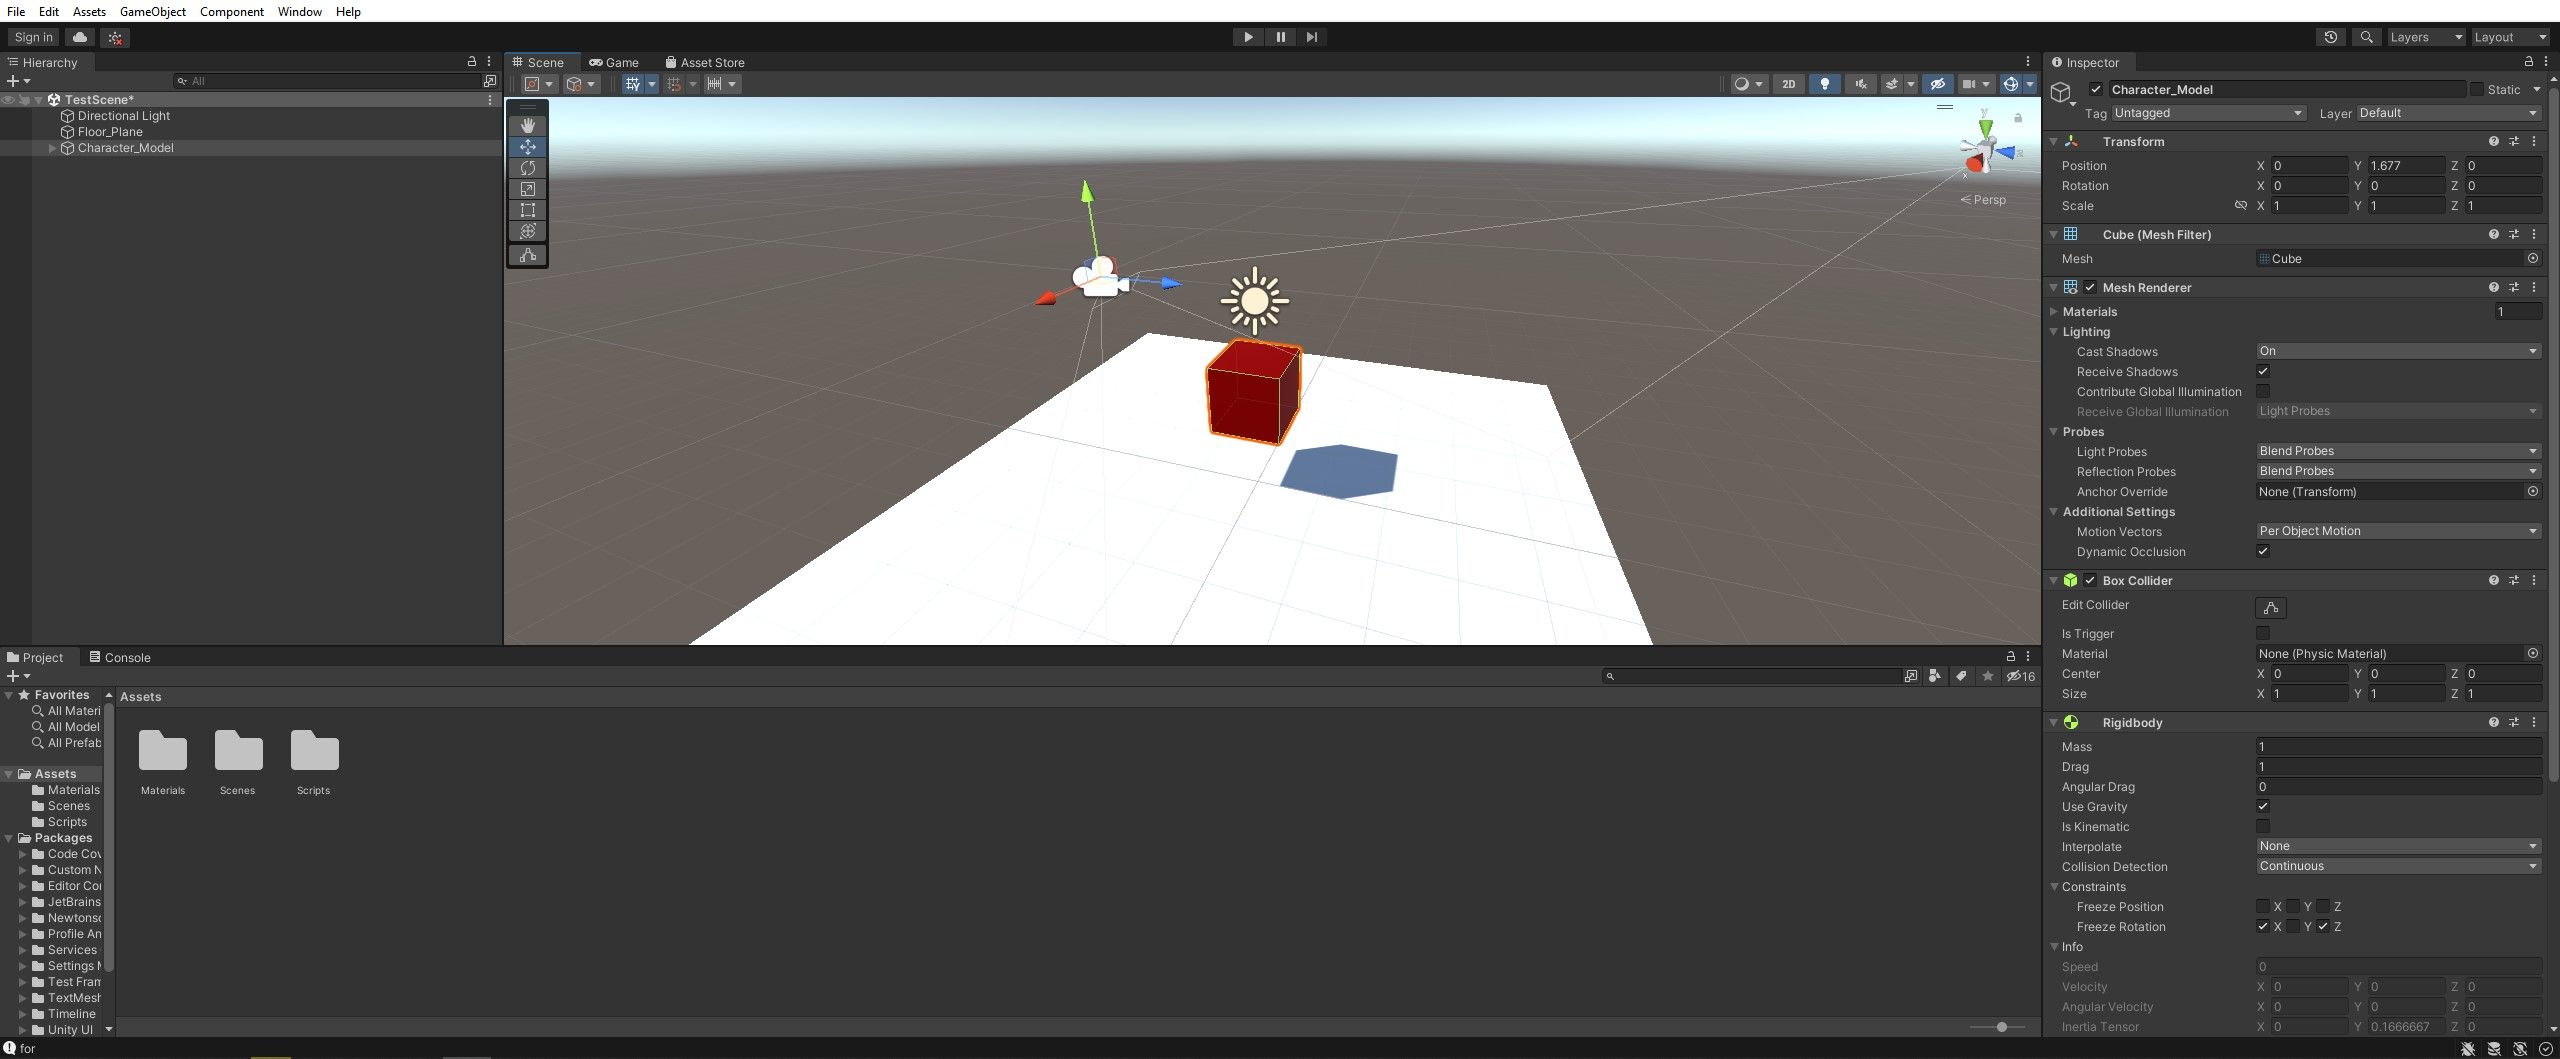
Position the new cube so that it sits above the plane youve also added.
You also need to add a rigidbody component to make the cube into a physics object.
snag the cube and go to the Inspector.
Tick theUse Gravitytickbox and leave the rest of the parameters as they are.
you could findfree Unity assets onlineto spruce your project up.
Position the camera so that sits in a comfortable third-person position above your cube.
Go to the hierarchy pane before dragging and dropping the camera onto the cube to create a parent-child relationship.
The camera will automatically follow your cube with this done.
Click thePlaybutton at the top of the screen to load your game.
Go to the Project section, right-click, hover over Create, and select Folder from the list.
Name the folder Scripts or something similar.
Navigate within your new folder and repeat the process, but select C# Script from the list.
check that your new C# looks like this.
First up is a Rigidbody to store the player model.
Also declare a float to keep track of movement speed.
These variables go in the main class, outside of any functions.
Next, its time to add a single line of code to the Start function.
This uses a GetComponent declaration to assign the Cubes rigidbody component to the rigidbody variable you created.
Now you’re free to add some code that will get your player model moving.
you’ve got the option to use Input.GetKey to determine when a key is being pressed.
In this case, you are looking for presses of the W and S keys.
Pressing either of these keys adds a force to the cube rigidbody using rigidbody.AddForce.
Save the C# file and navigate back to Unity.
When you opt for Cube you should see the script as a component in the Inspector pane.
Click inside the rigidbody variable box and select your cubes rigidbody.
Theres a problem; your Cube is going to roll rather than move straight forwards.
Now it should work.
You need another variable for this: a public float to assign a torque value.
secure your code and head back to Unity to test it out.
This example project settles on 1 mass, 1 drag, and 2 torque.
Start by adding a private boolean variable to track whether or not the player is jumping.
This variable wont do anything without a statement to test it.
In this case, a basic if statement to verify if the variable is false will do the trick.
Adding the same condition to the other movement if statements will stop the player from moving during jumps.
Adding the same condition to the other movement if statements will stop the player from moving during jumps.
Finally, its time to use an invoke declaration to call a different function after 0.8 seconds.
you’ve got the option to view the full code for this project on ourGitHubpage.
Exploring different options like this is a great way to learn about tools like Unity.
