All you have to do is change the default DNS server on your unit.
What Is DNS?
A request to open a web page or to download a file must pass through it.
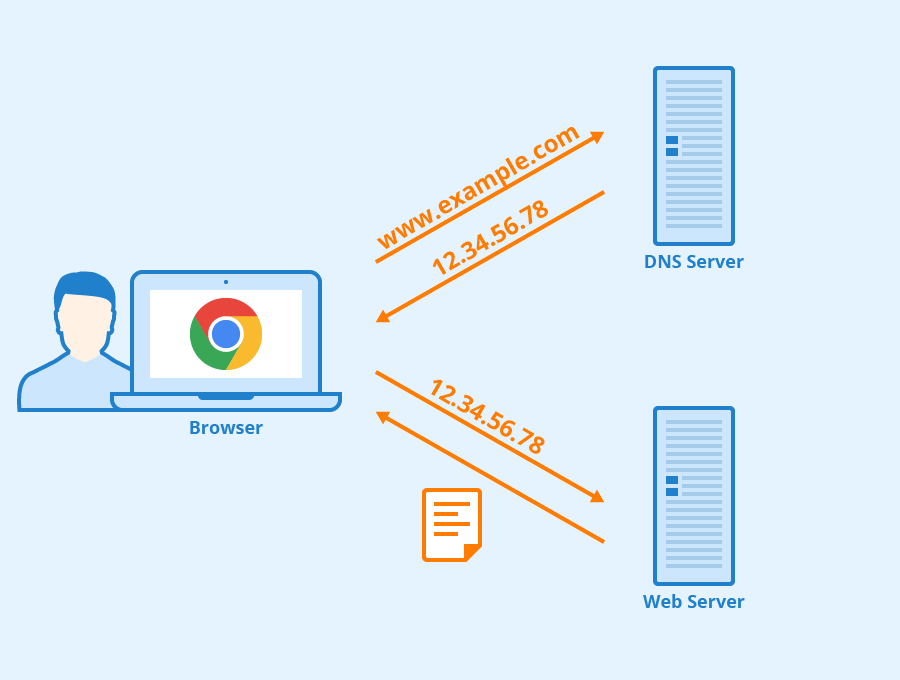
Image Credit: Seobility/Seobility.net
By default, your Internet Service Provider or ISP sets the DNS server, which is not always reliable.
It is sometimes unable to process requests and slows down the internet.
Moreover, the ISPs often block access to several websites through their DNS.
Although, this is rarely the case as most ISPs take care of this issue at their end.
By changing the DNS, you’ve got the option to access geographically-restricted content.
Most DNS servers allow you to configure parental controls and filter the web according to your preferences.
They also protect you from fake websites trying to hack you through malware.
Your rig is using the DNS provided by your internet service provider by default.
Before changing the DNS, first, decide on which new DNS youd like to use.
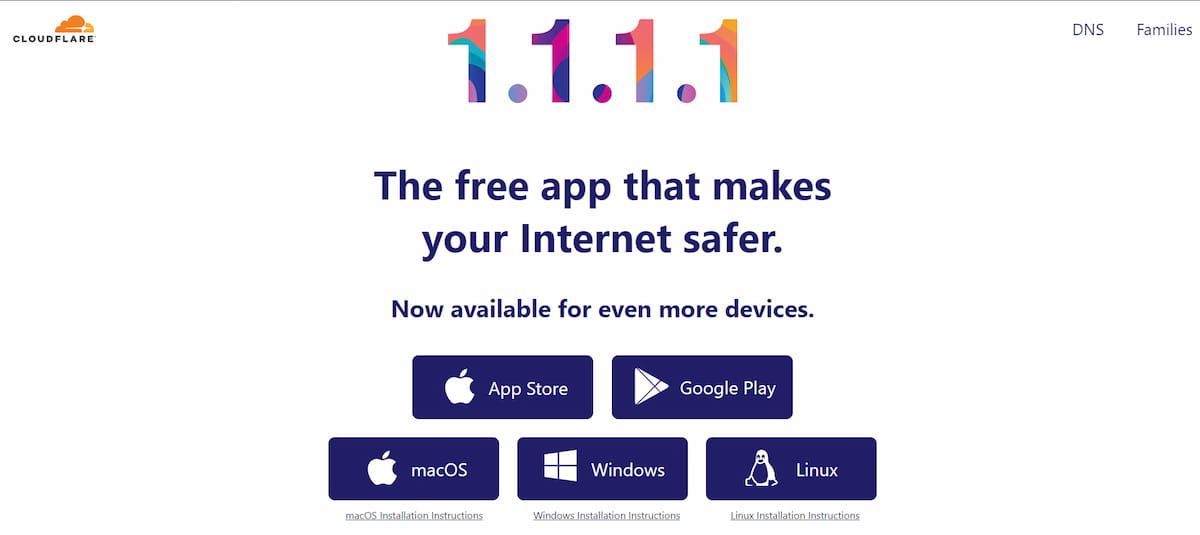
There are many public DNS servers available such as Google, Cloudflare, OpenDNS, and many others.
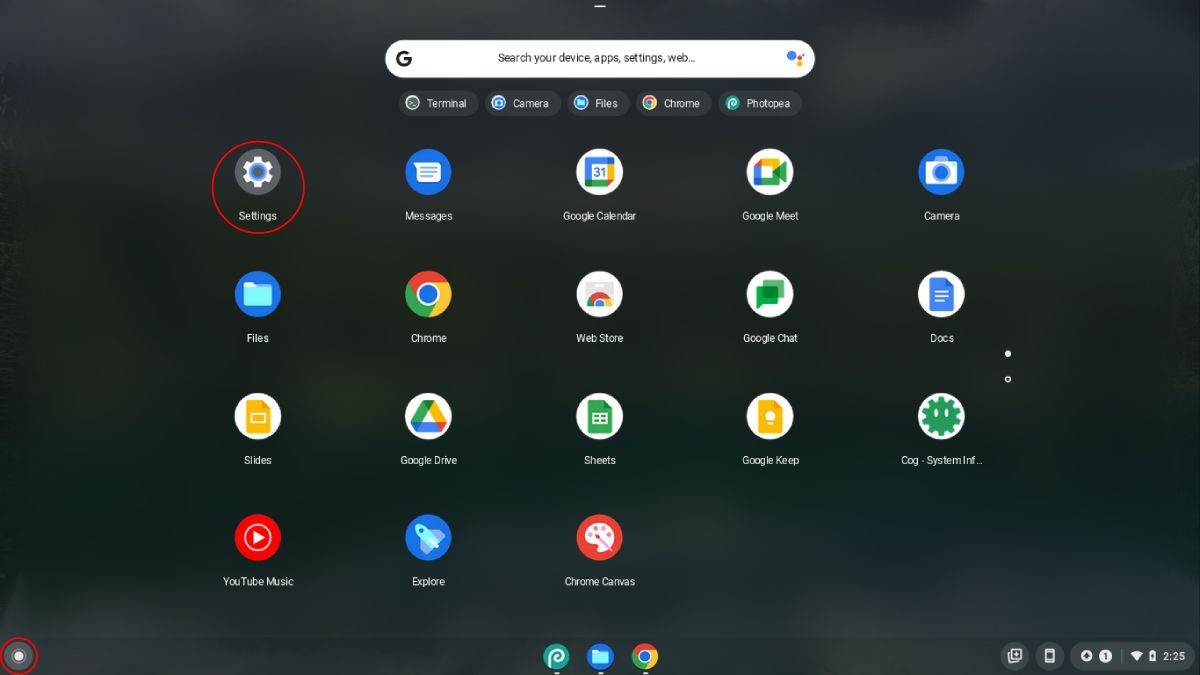
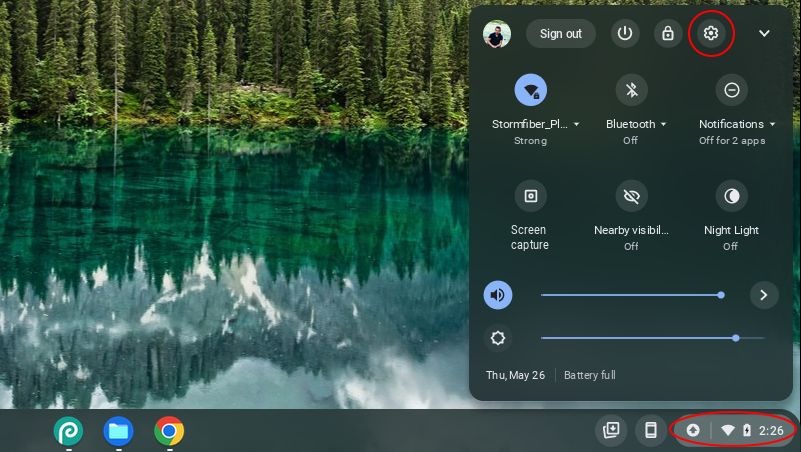
Now, to switch to the DNS server of your choice, fire up the Chromebook configs.
To do this, go to the internet menu in the tweaks.
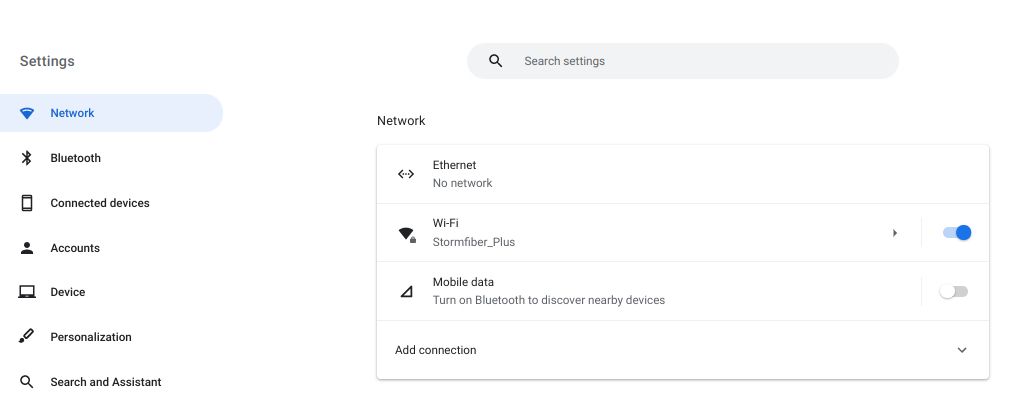
The online grid menu will present you with several options.
hit the connection punch in you are using, for example, Ethernet, Wi-Fi, or mobile connection.
We chose Wi-Fi and then the specific Wi-Fi that the gear was connected to.
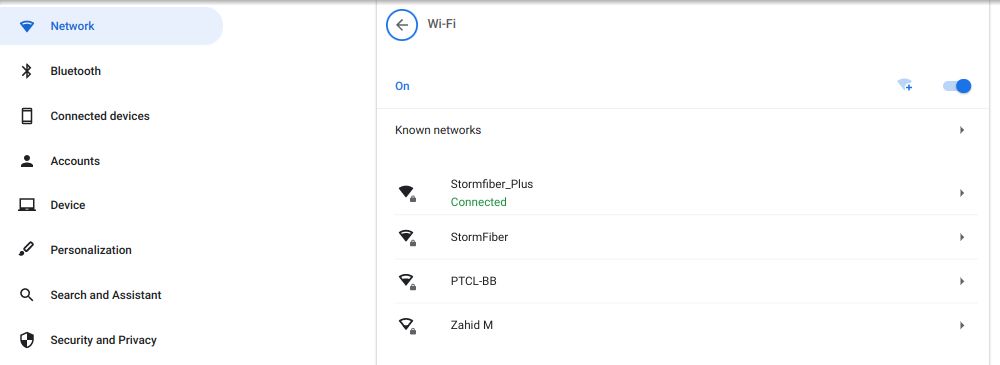
After that, click onNetworkto expand the options.
The option youre looking for is Name Servers, which is another name for DNS servers.
Under Name Servers, you have three options for setting the DNS.
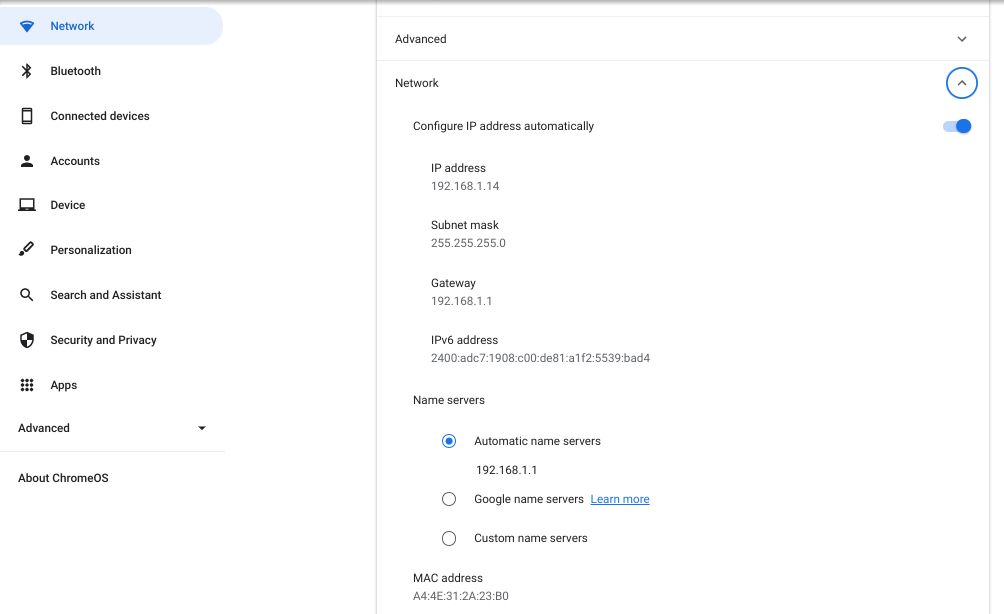
By default, theAutomatic name serversare selected, which are the DNS servers provided by your ISP.
The second option isGoogle name servers, which is the DNS provided by Google.
To change from default DNS to Google name servers, simply select theGoogle name serversoption.
It will then change your DNS to 8.8.4.4 and 8.8.8.8.
Here, you’ve got the option to enter the DNS servers of your choice.
For example, the OpenDNS servers are 208.67.
Once youve added the custom values in this space, you have successfully set a custom DNS.
Here isa comparison of Google DNS and Cloudflare DNS, as these are among the best providers these days.
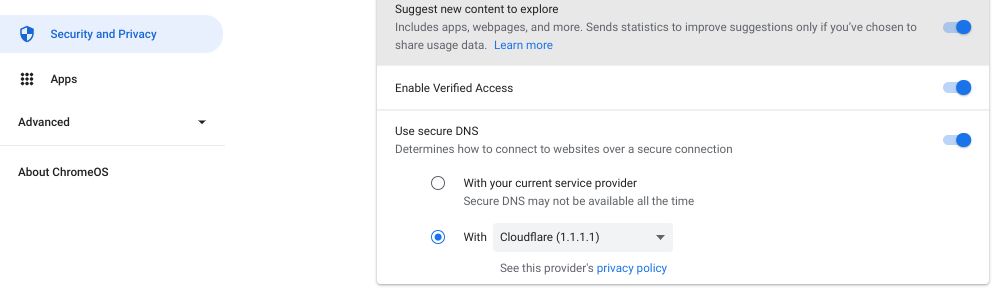
To do this, go to your Chromebooks parameters as mentioned above.
From the left sidebar, click onSecurity and Privacy.
Here, choose the last option that saysUse secure DNS.
In this option, your ISPs DNS is selected by default.
Whichever name server you set here will work on all of your internet connections.
So, you dont have to change every single one of your connections DNS servers manually.
Just check that to check the reviews of the provider before using it.
