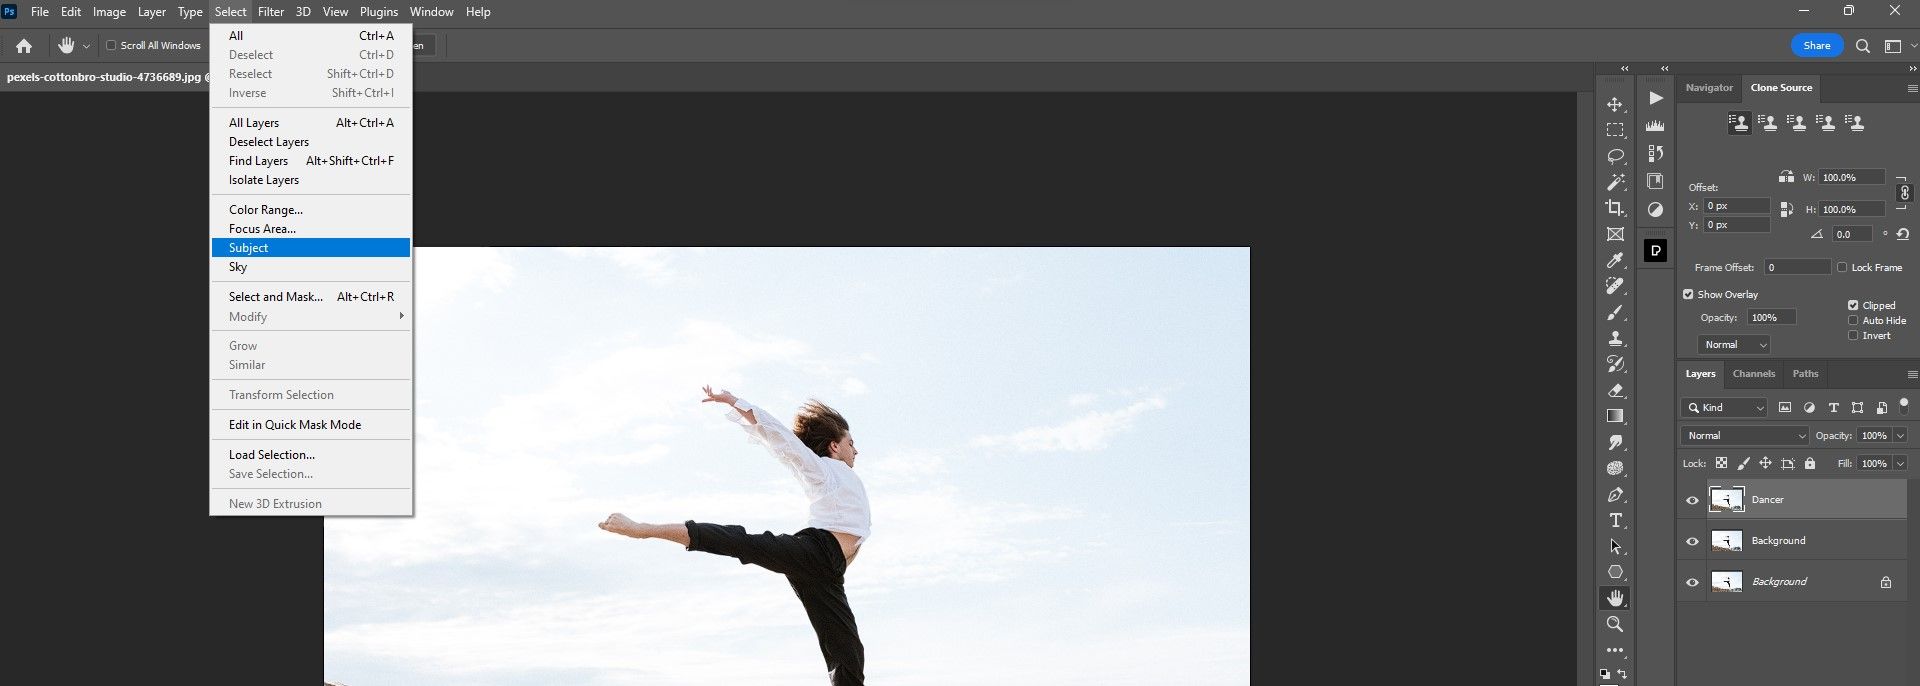
Changing a body pose in Photoshop is easy.

It’s just a matter of using the Puppet Warp tool in most cases.

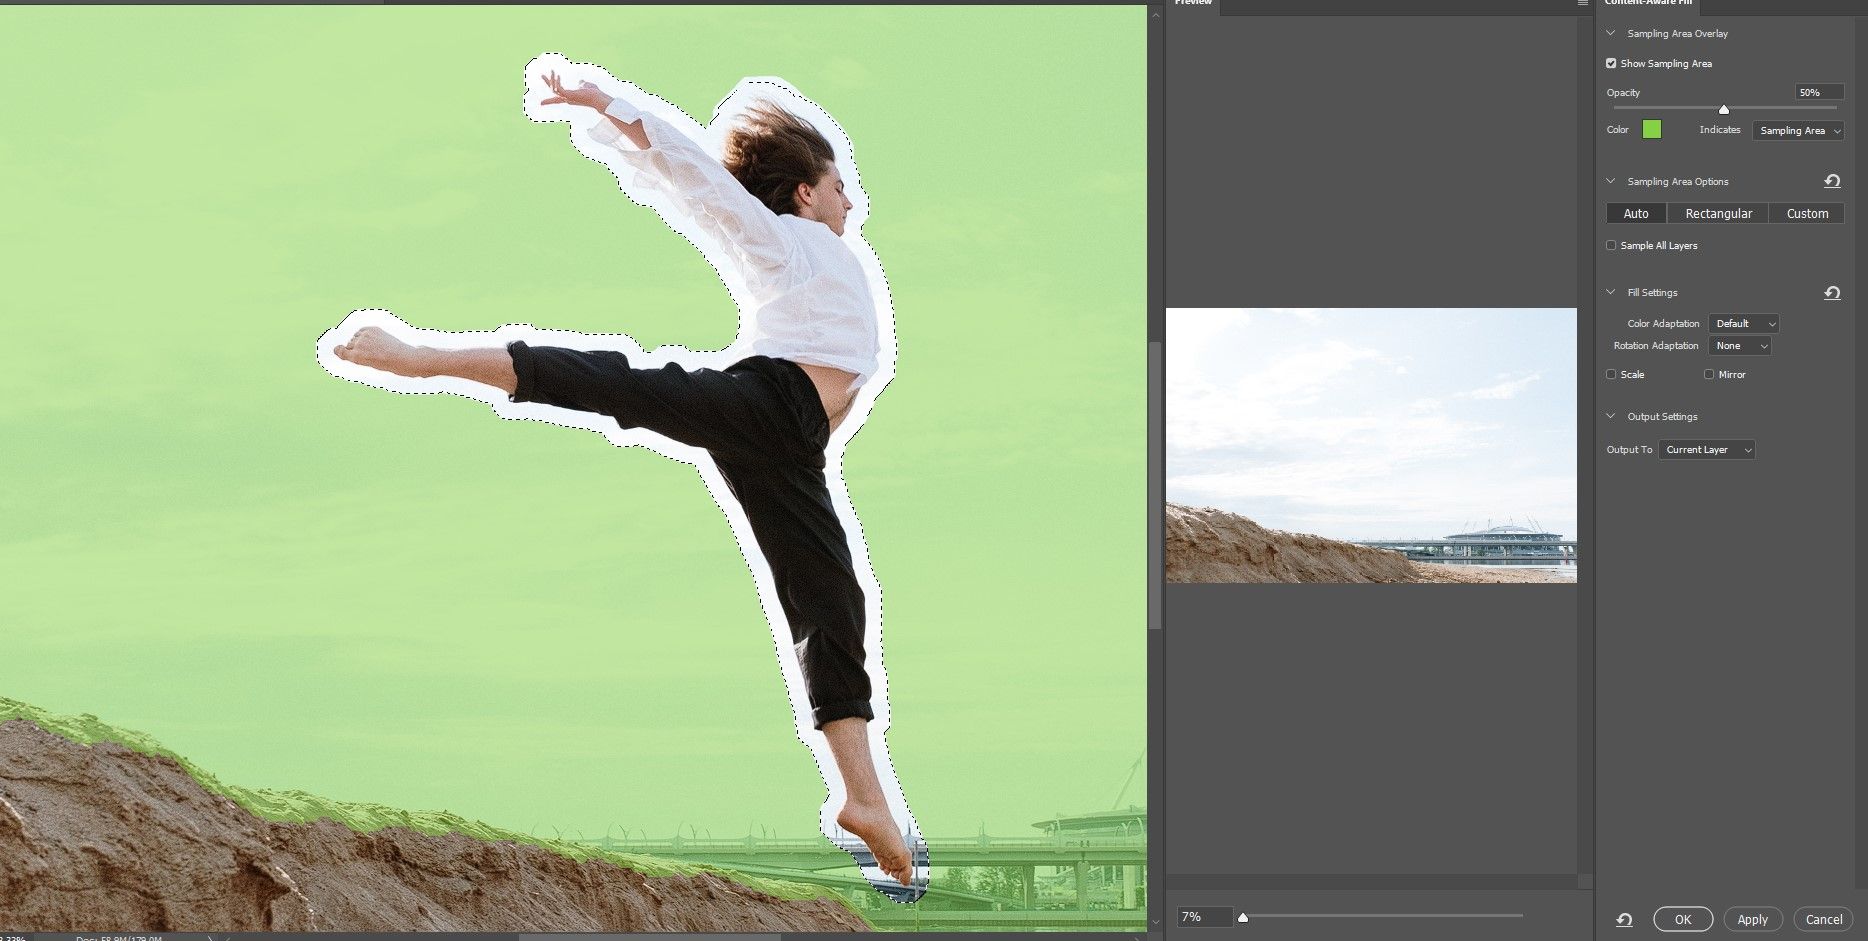
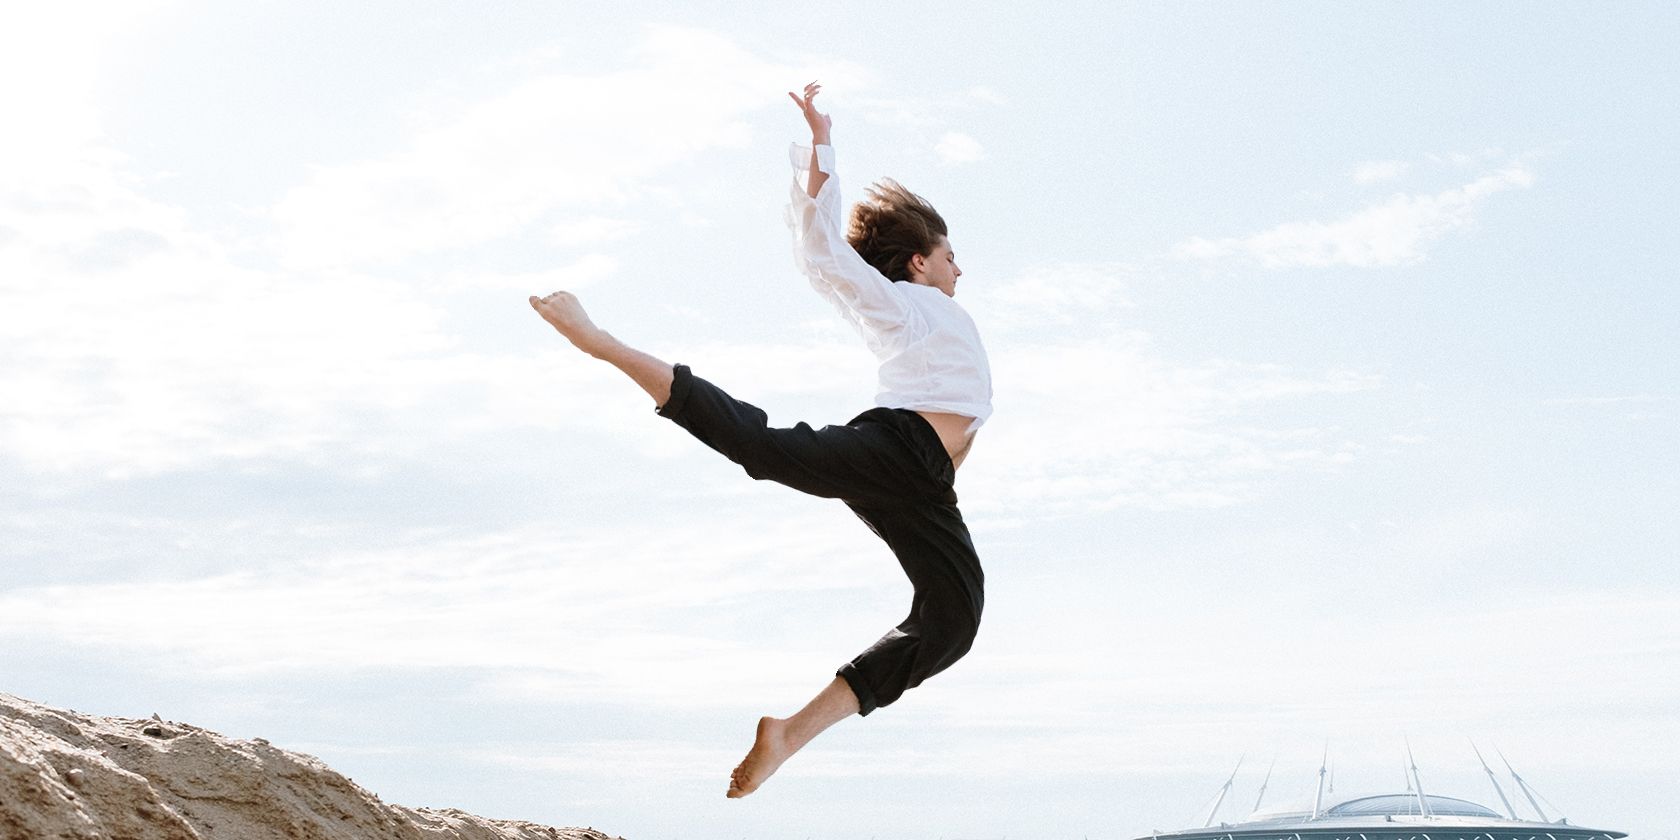
If you want to follow along, you might download the example image fromPexels.

Cover image of a male dancer leaping through the air

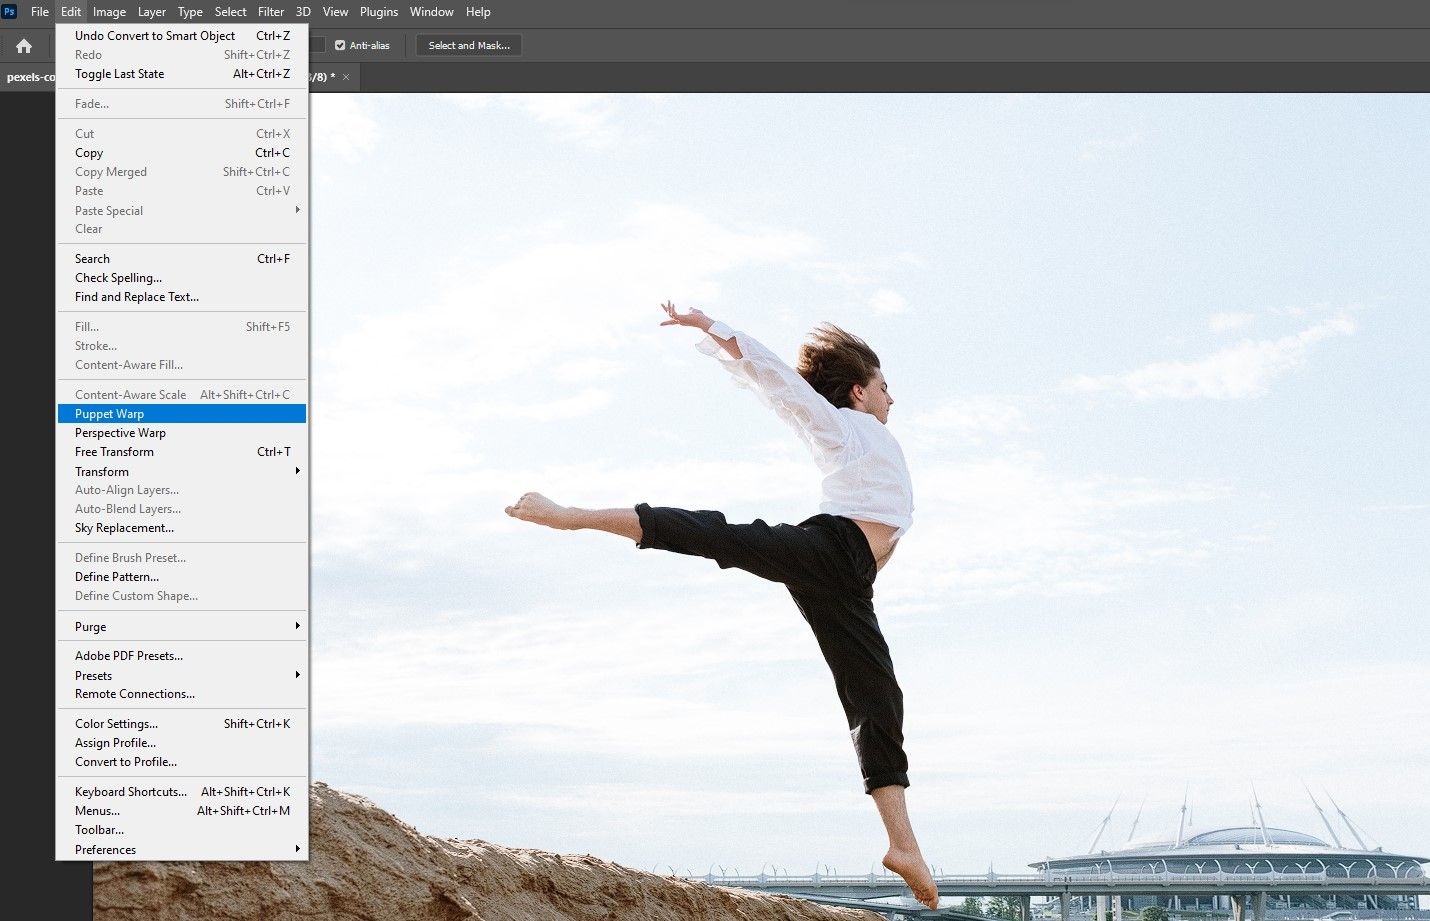
We’re now ready for the second step; using the Puppet Warp tool.

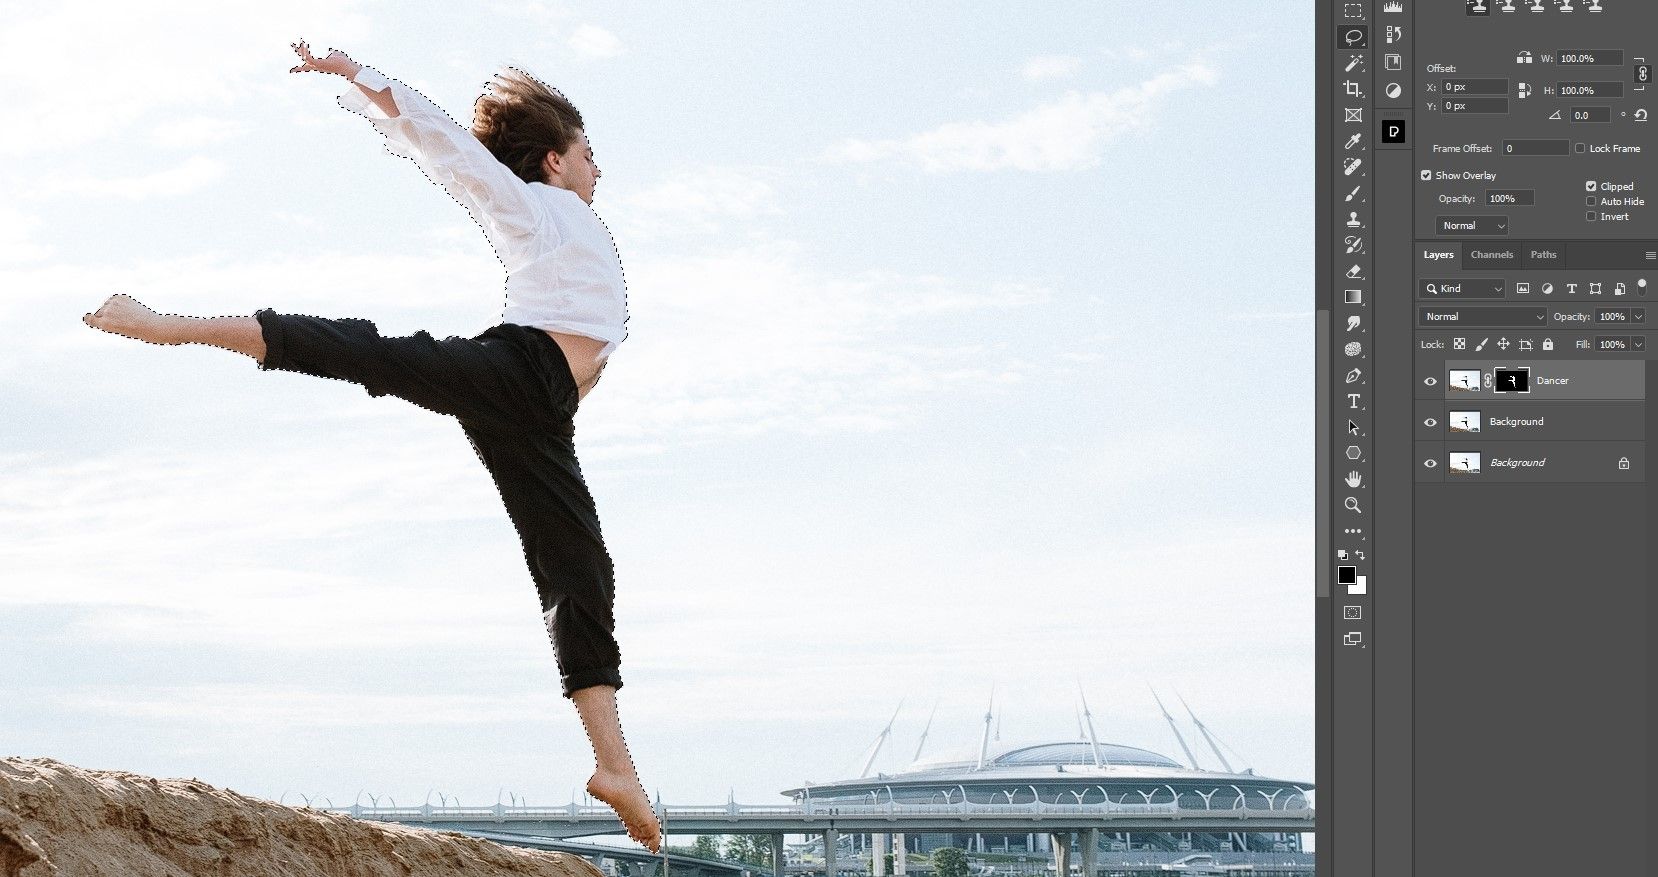
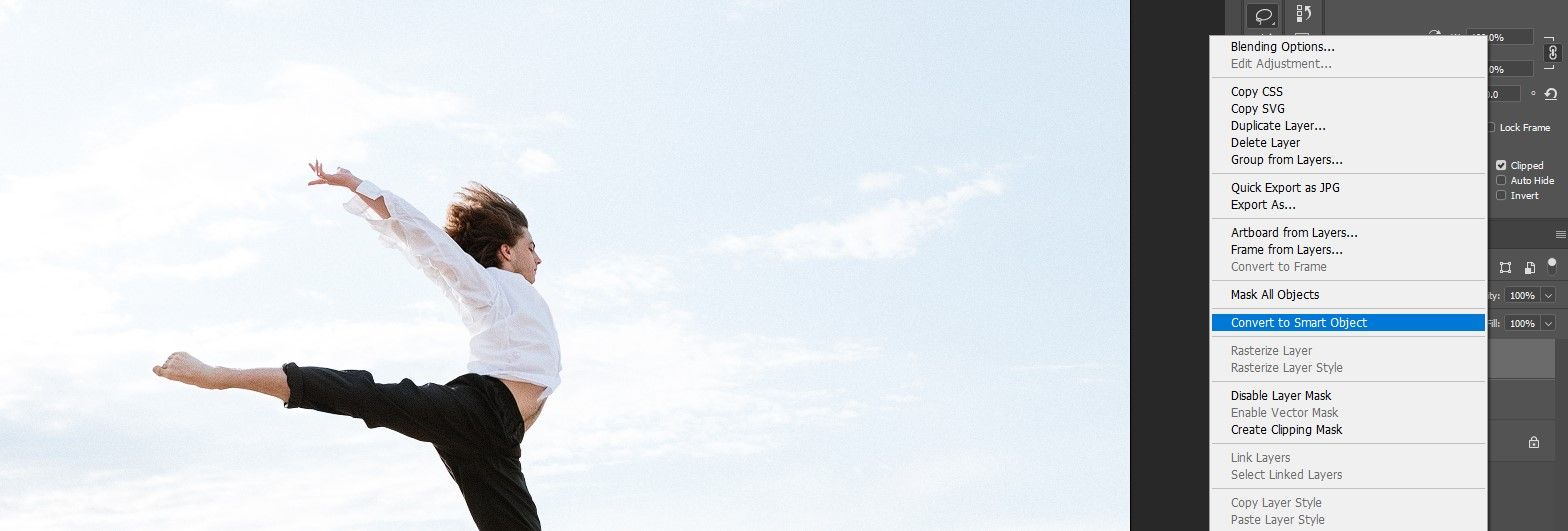
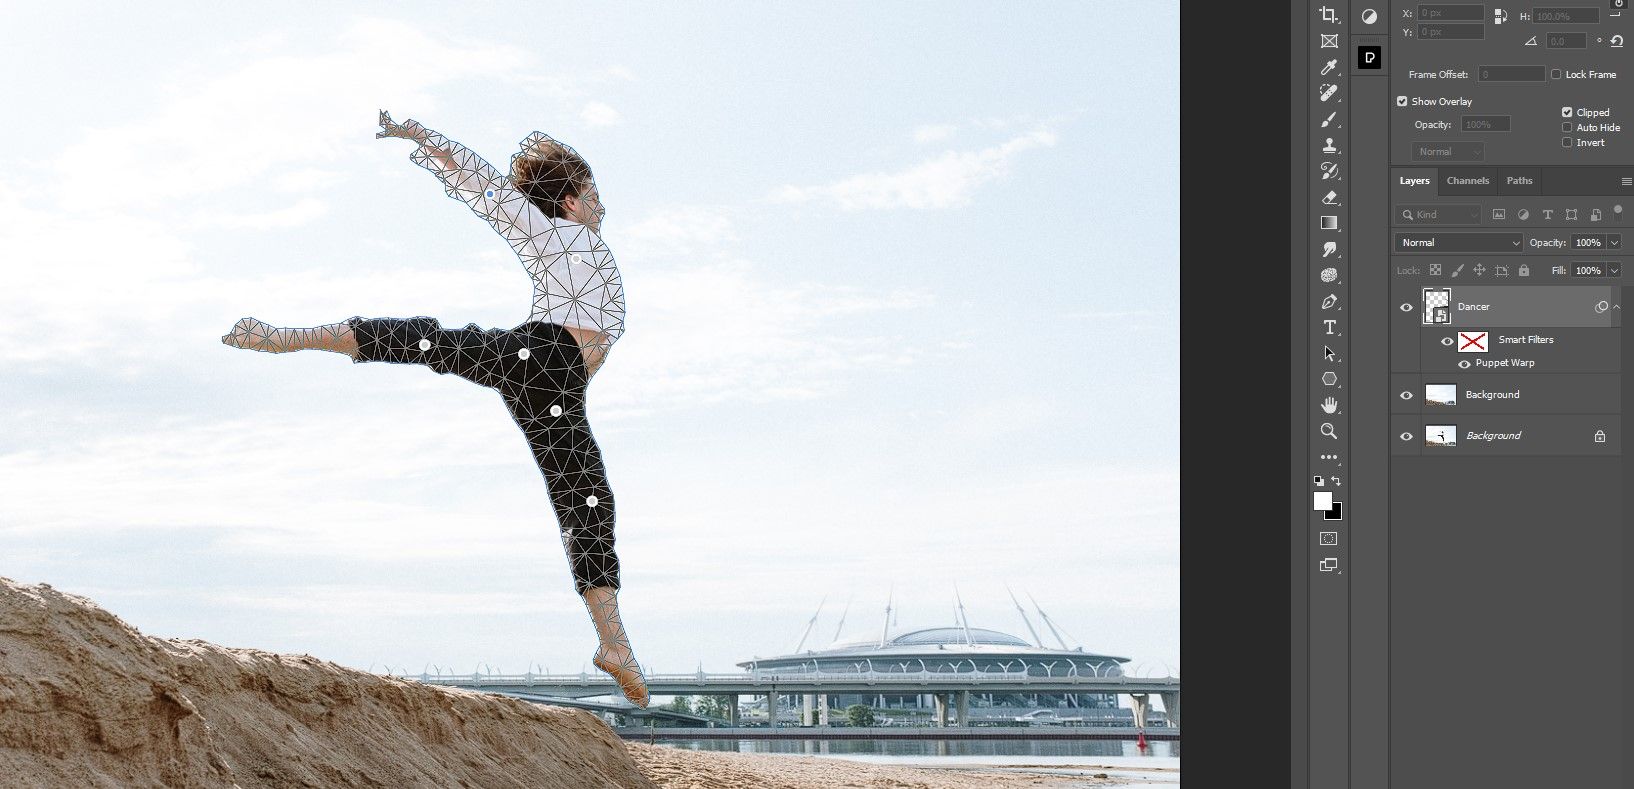
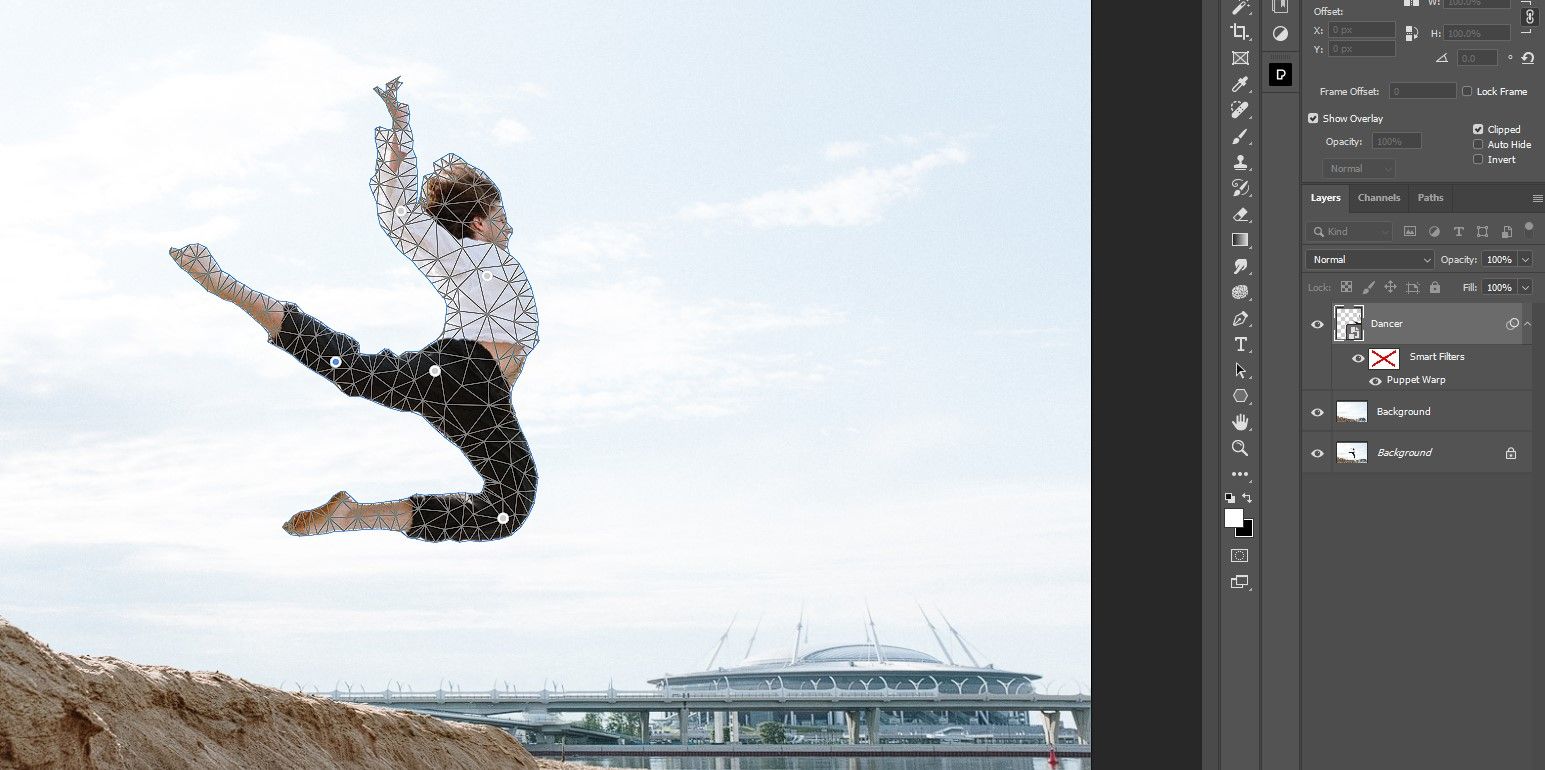
For example, the dancer’s front leg looks a little unrealistic.

We can fix this by double-clicking onPuppet Warpand simply repositioning the pin.

Step 3 Rename the middle layer Background

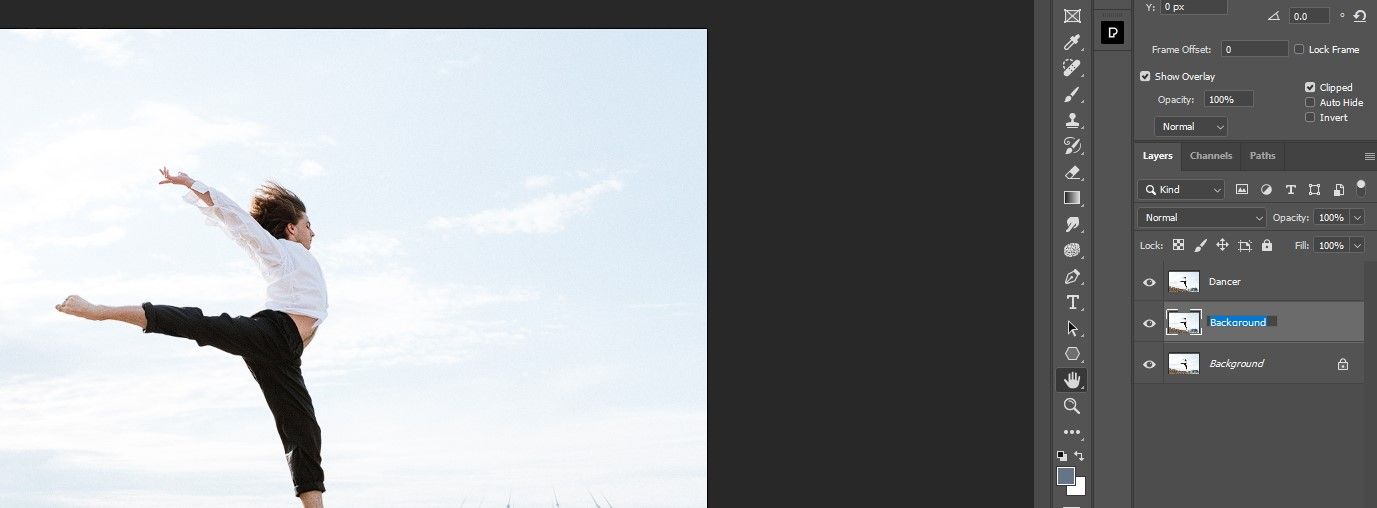
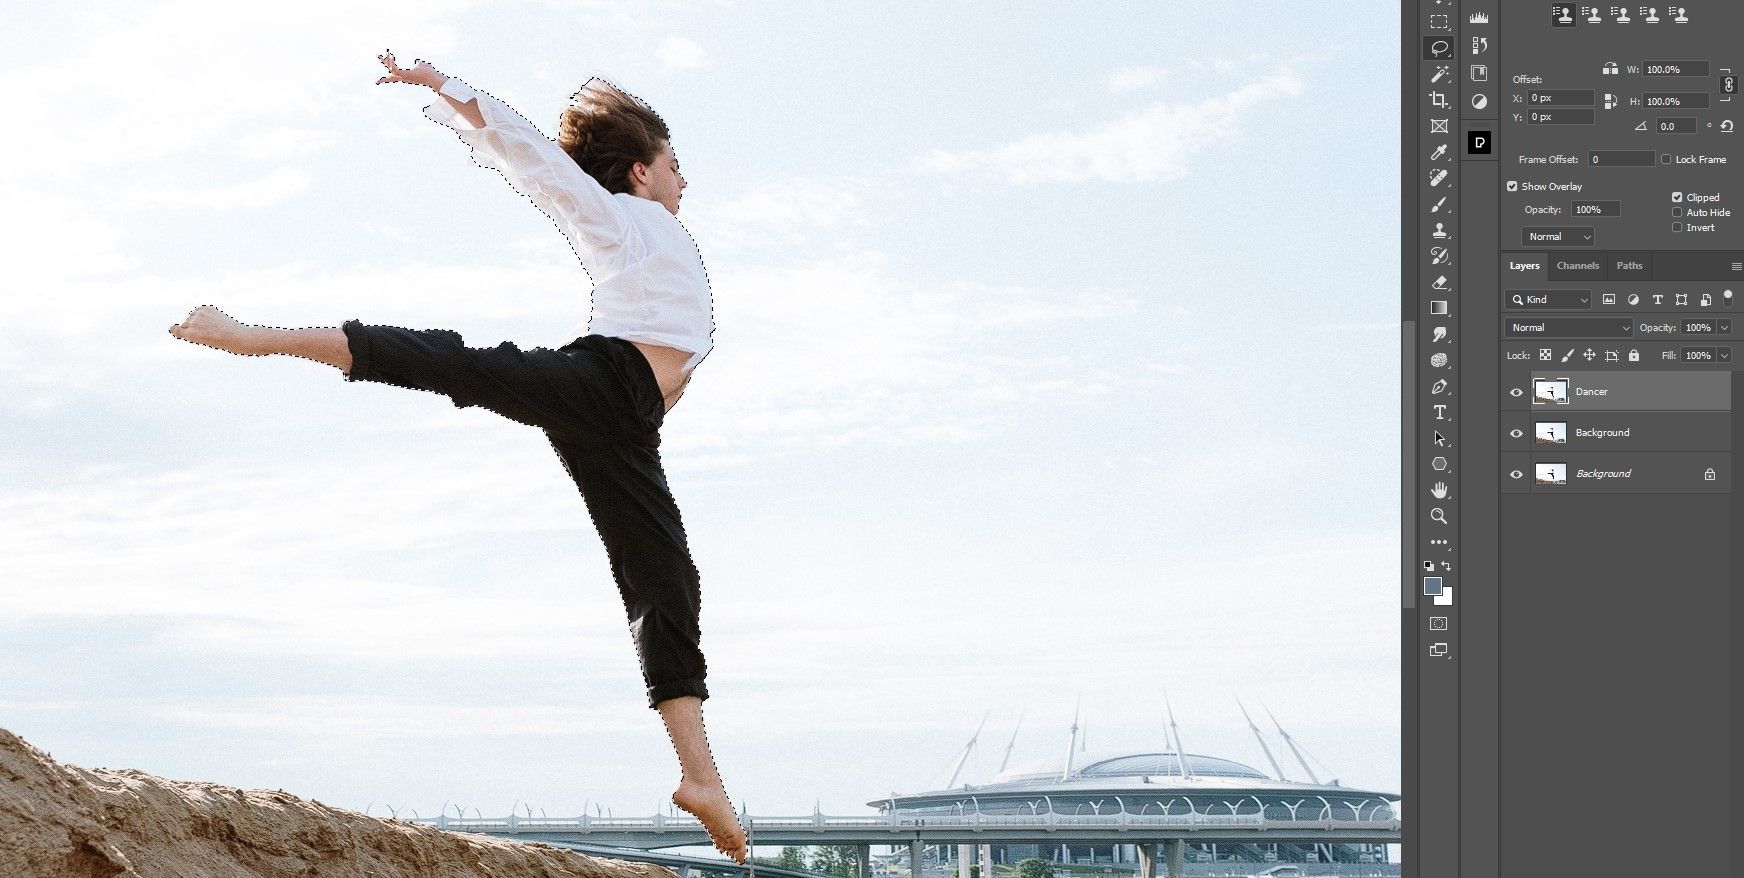
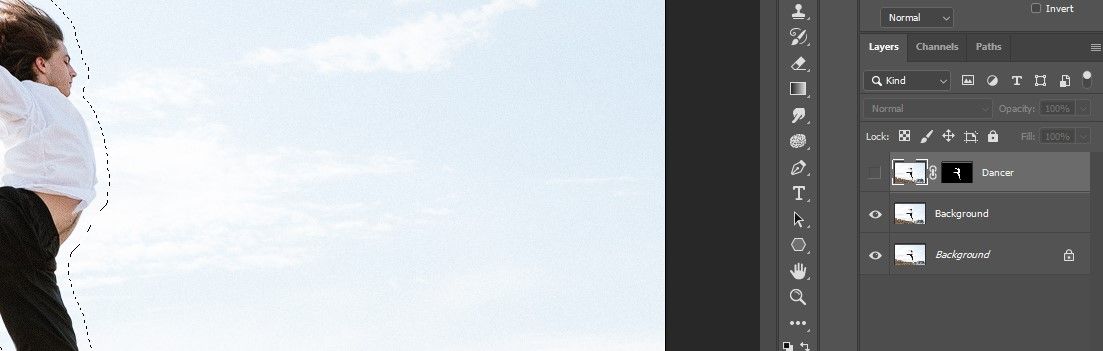
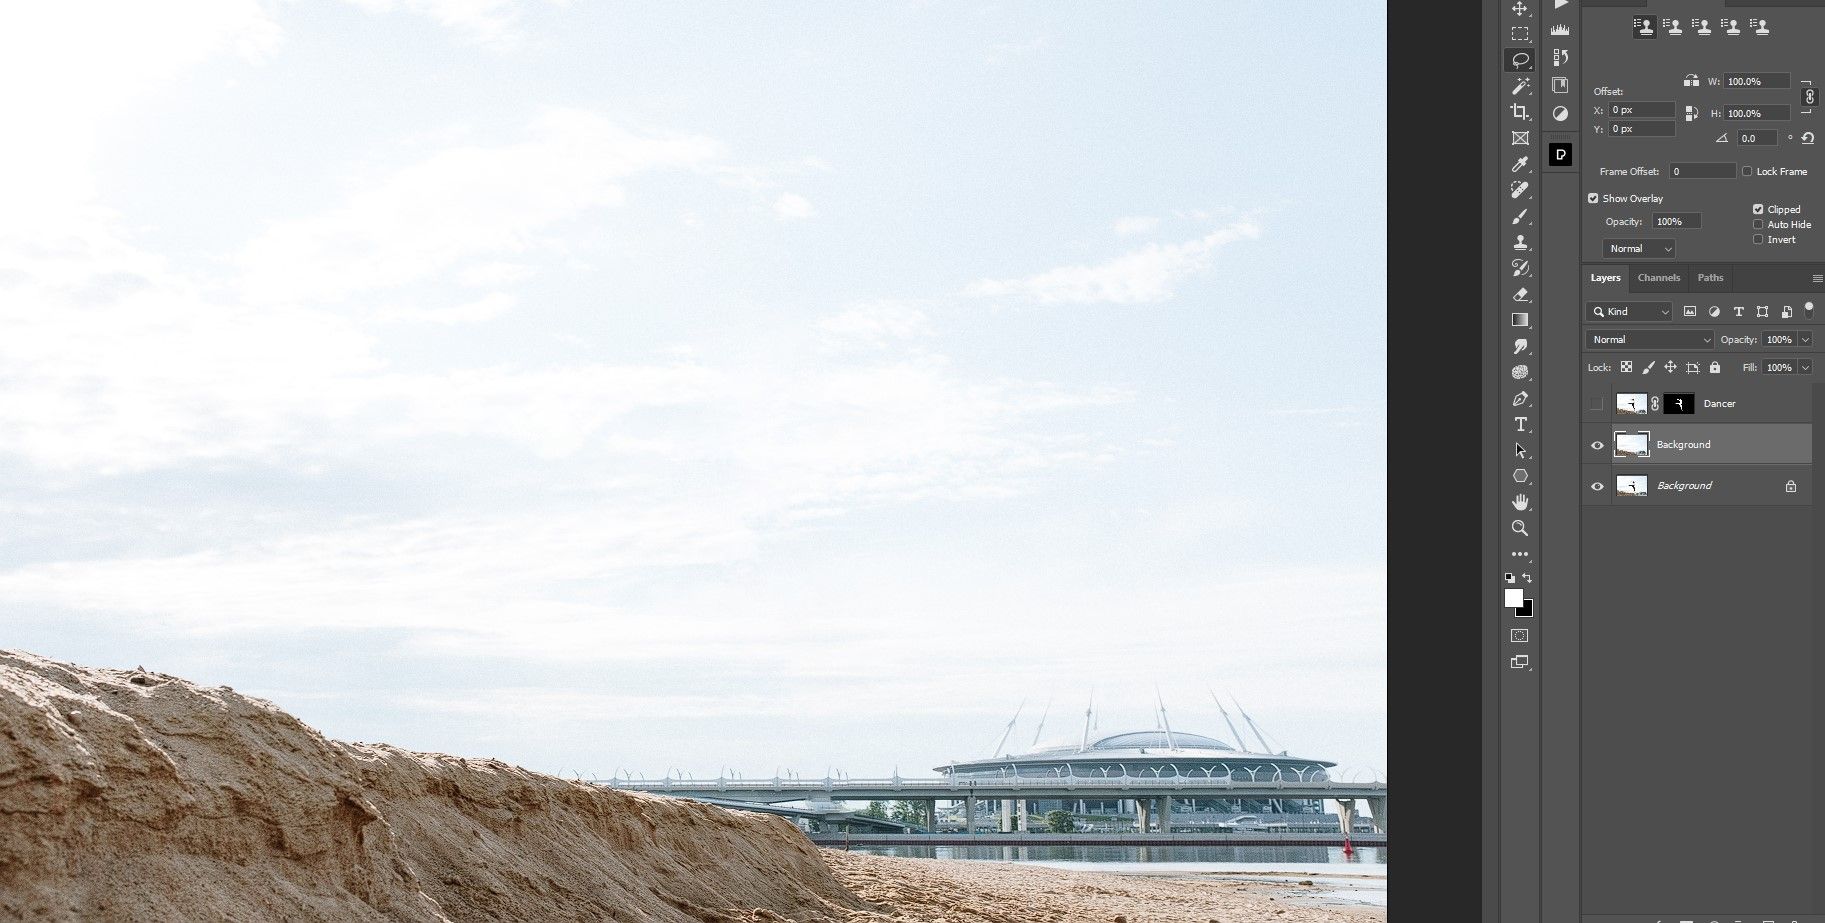
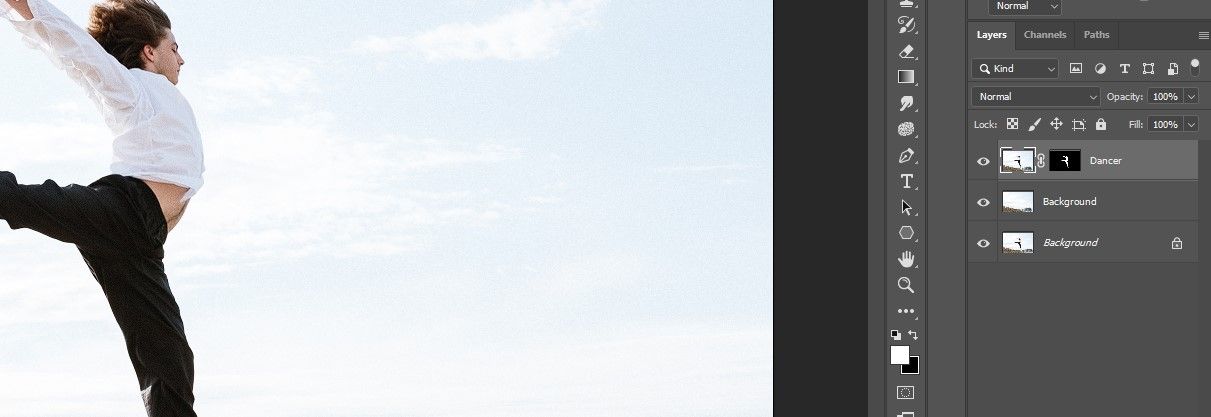
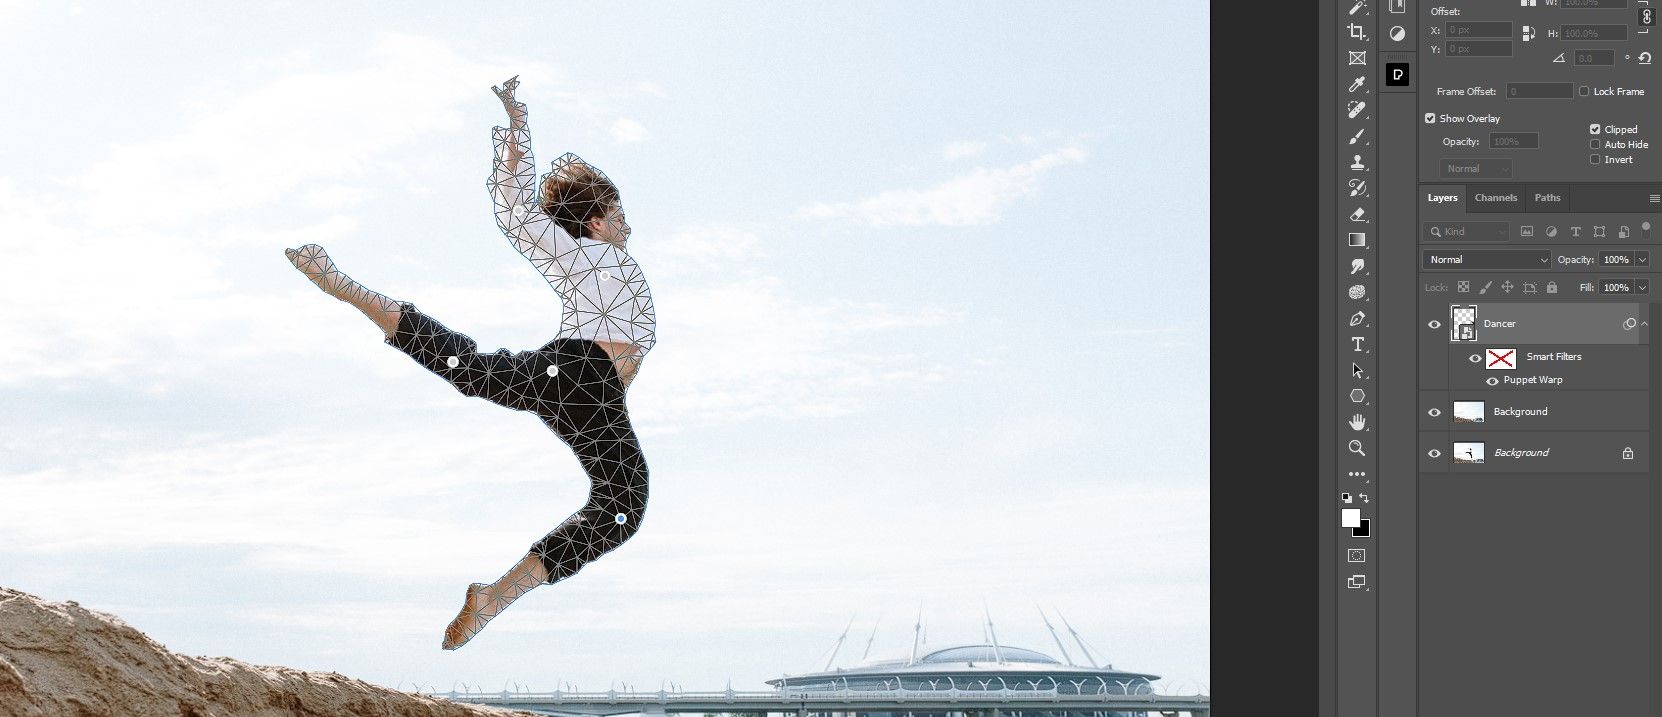
That’s the magic of separating the subject from the background.

Changing a body pose is quick and easy in Photoshop in most situations.

Give it a try on one of your images.

Step 4 Select Subject

Step 5 Zoom in and check selection

Step 6 Create a mask for the Dancer layer

Step 7 Ctrl + Left Click on the mask

Step 8a Make the top layer invisible

Step 8 Select Modify Expand

Step 9 Change Expand by to 50

Step 10 Content Aware Fill

Step 11 Click Auto in the menu options

Step 12 Click Ctrl + D

Step 1 Turn on Layer Visibility

Step 2 Convert to Smart Object

Step 3 Go to Edit Puppet Warp

Step 4 Add points on all joints and one on chest

Step 5 Rotate Arm using Puppet Warp

Step 6 Repeat Step 5 to move limbs into new pose

Repositioning a pin to adjust body pose