The accuracy of a 3D printer is paramount to the success of your 3D prints.
It determines how well it can lay down layers, especially the first layer.
Several factors can affect a 3D printer’s accuracy; calibration is one of them.
What Is Calibration in 3D Printing and Its Benefits?
Calibration in 3D printing involves making slight adjustments to the machine to produce prints that match the desired specifications.
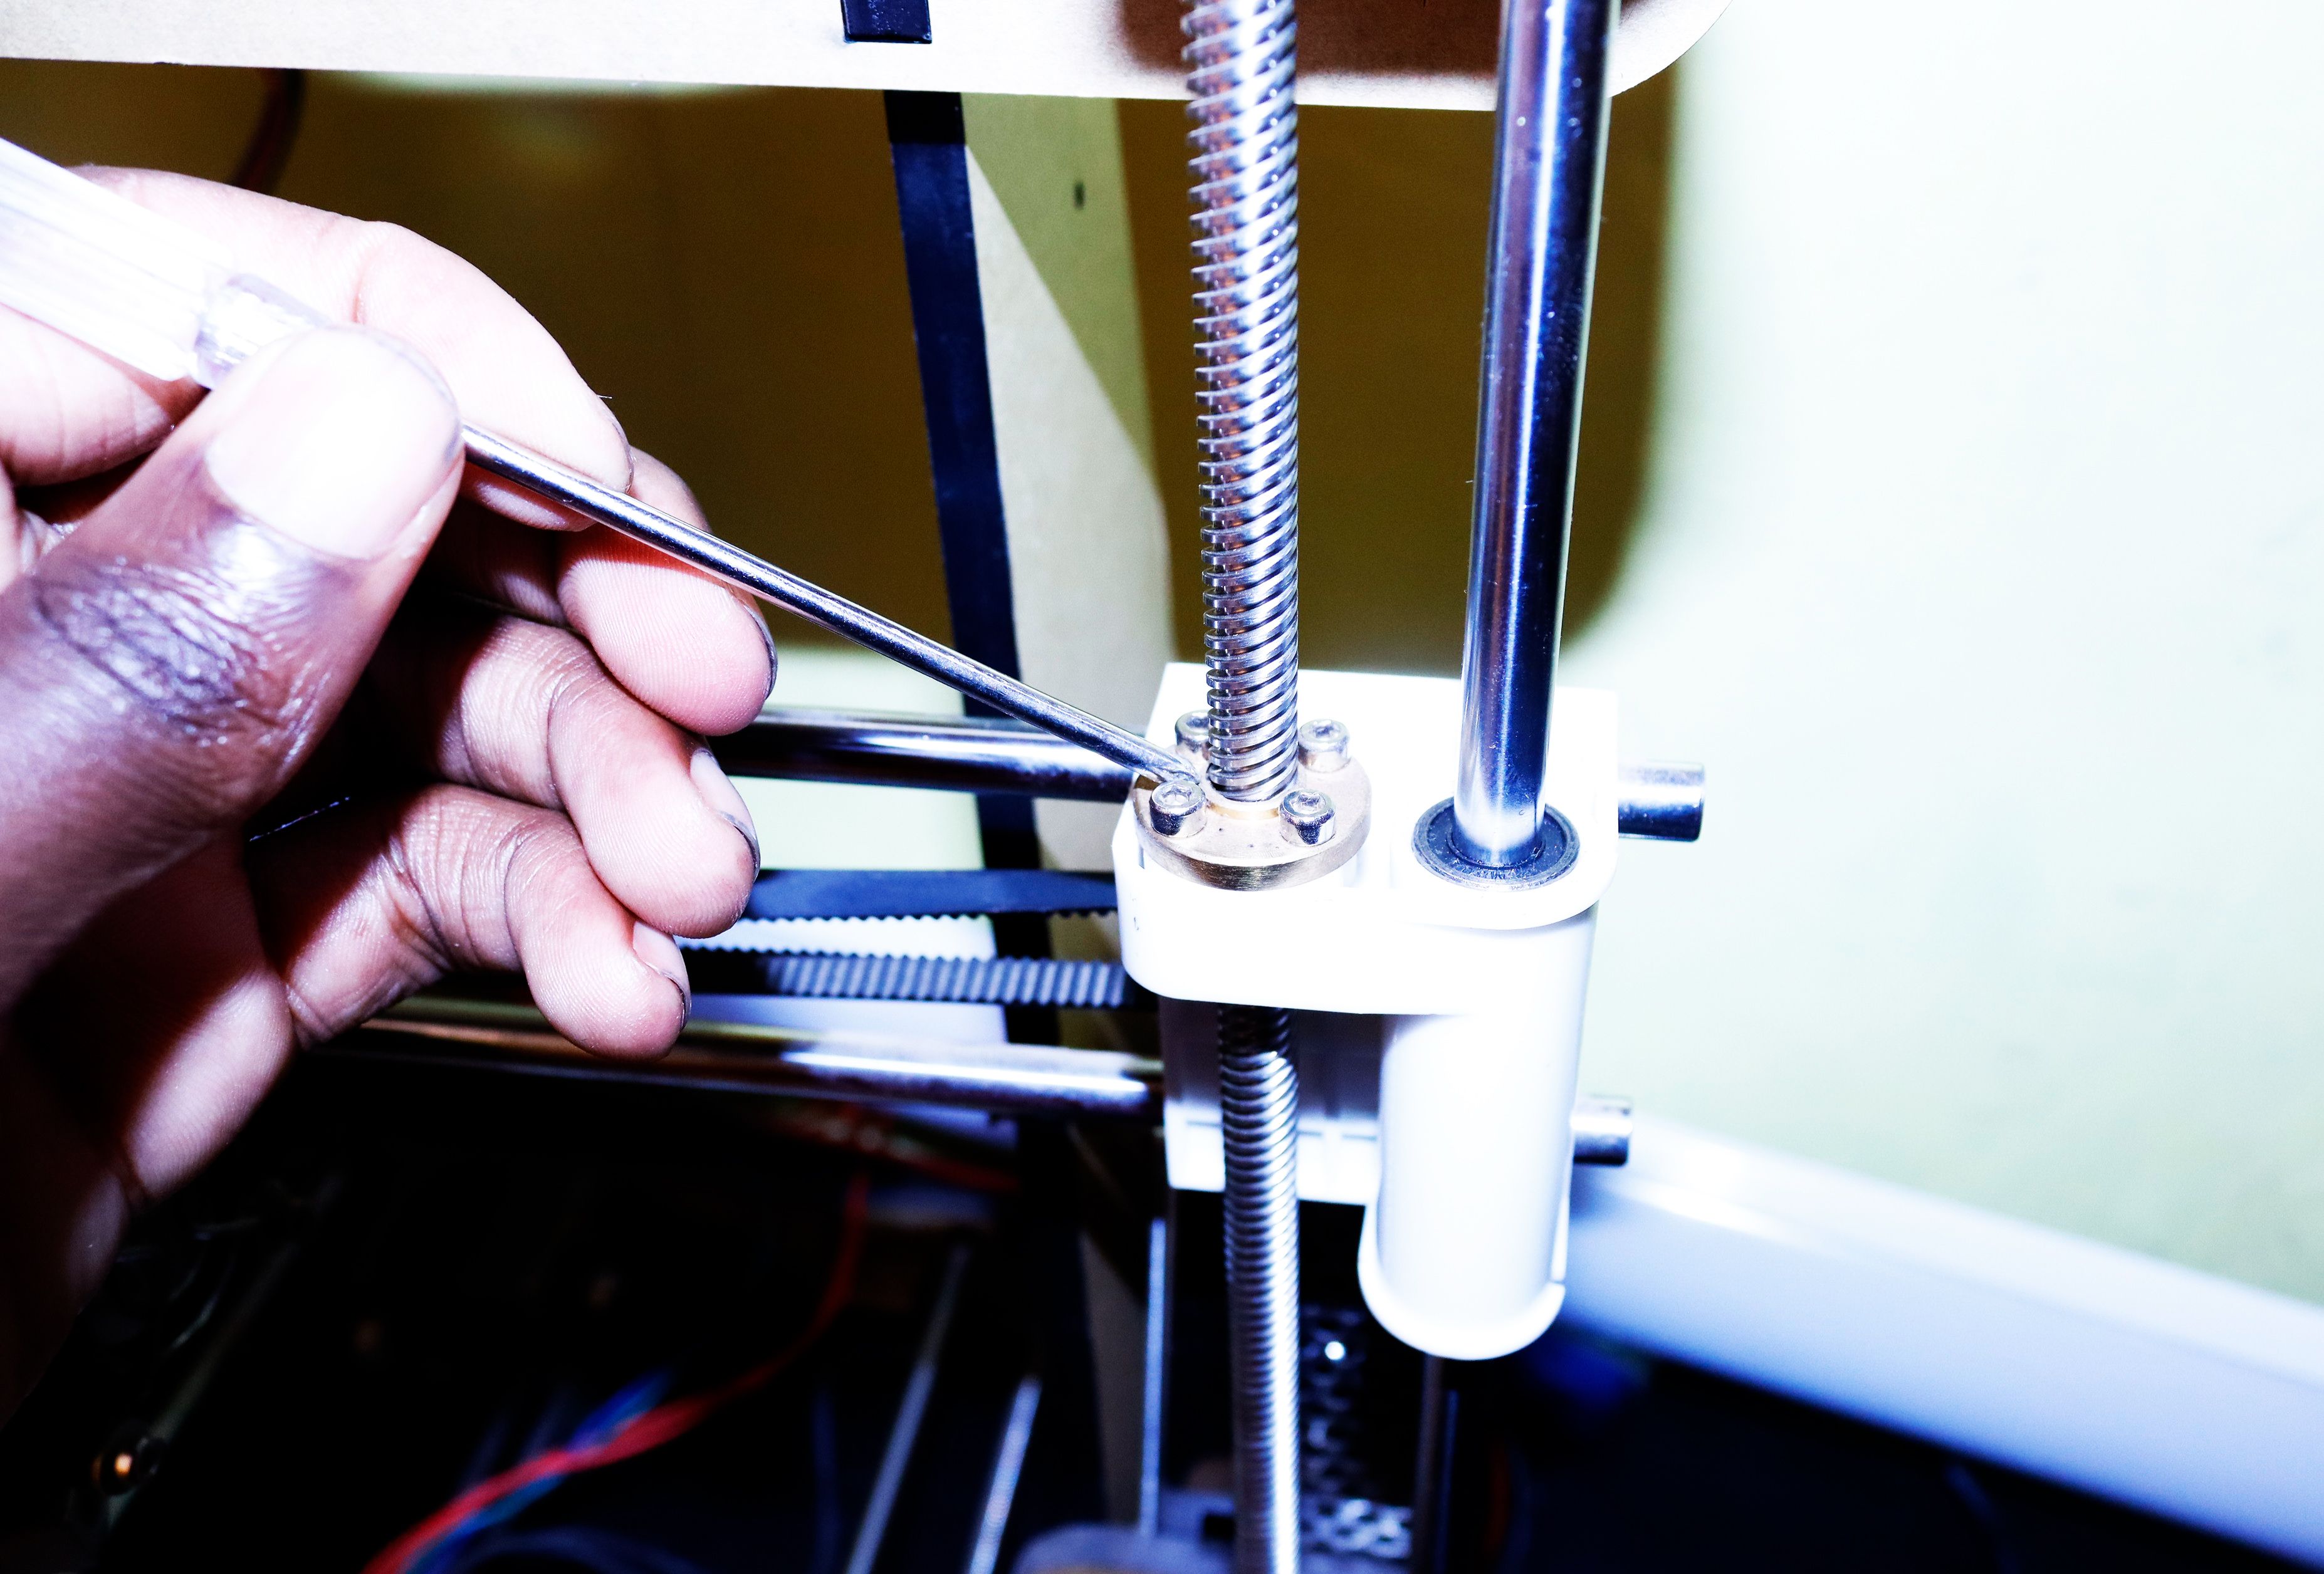
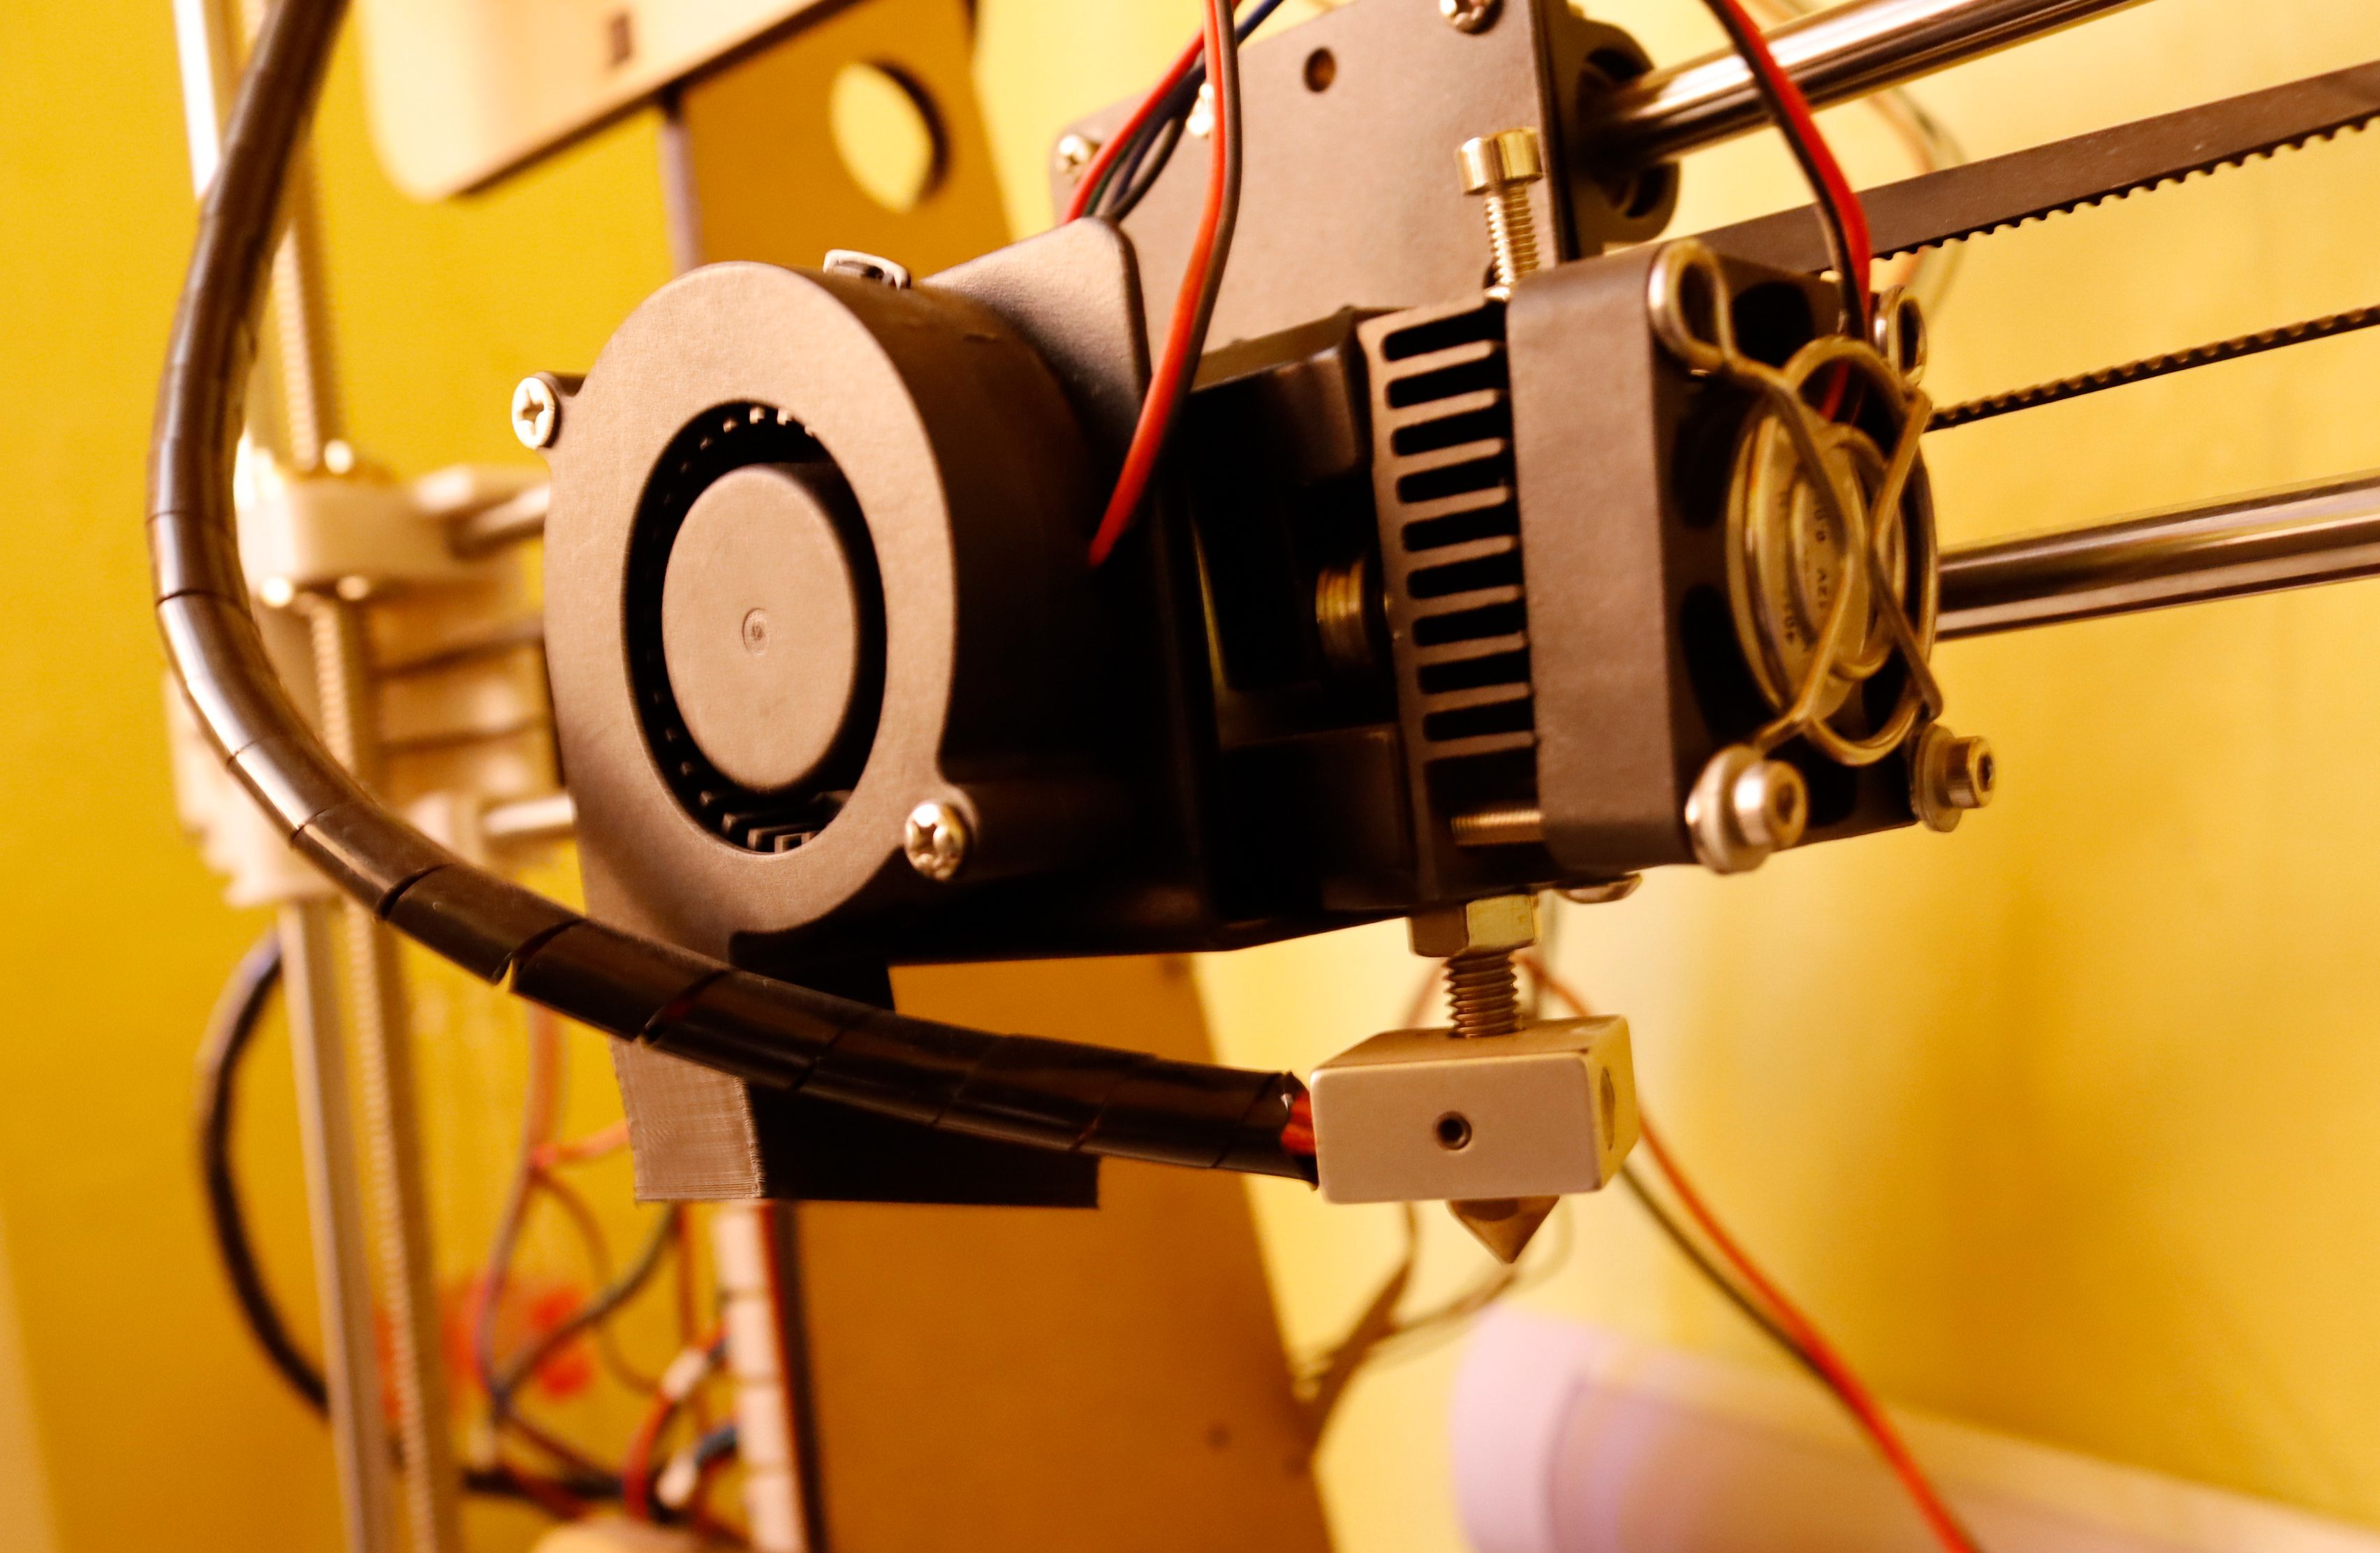
Several components of a 3D printer need to be calibrated.

Image Credit: Teachingtech/YouTube
These include the stepper motors, the extruder, and the3D printer filament jot down.
it’s possible for you to use a ruler, dial gauge, or calipers.
Here, we are going to use a dial gauge.
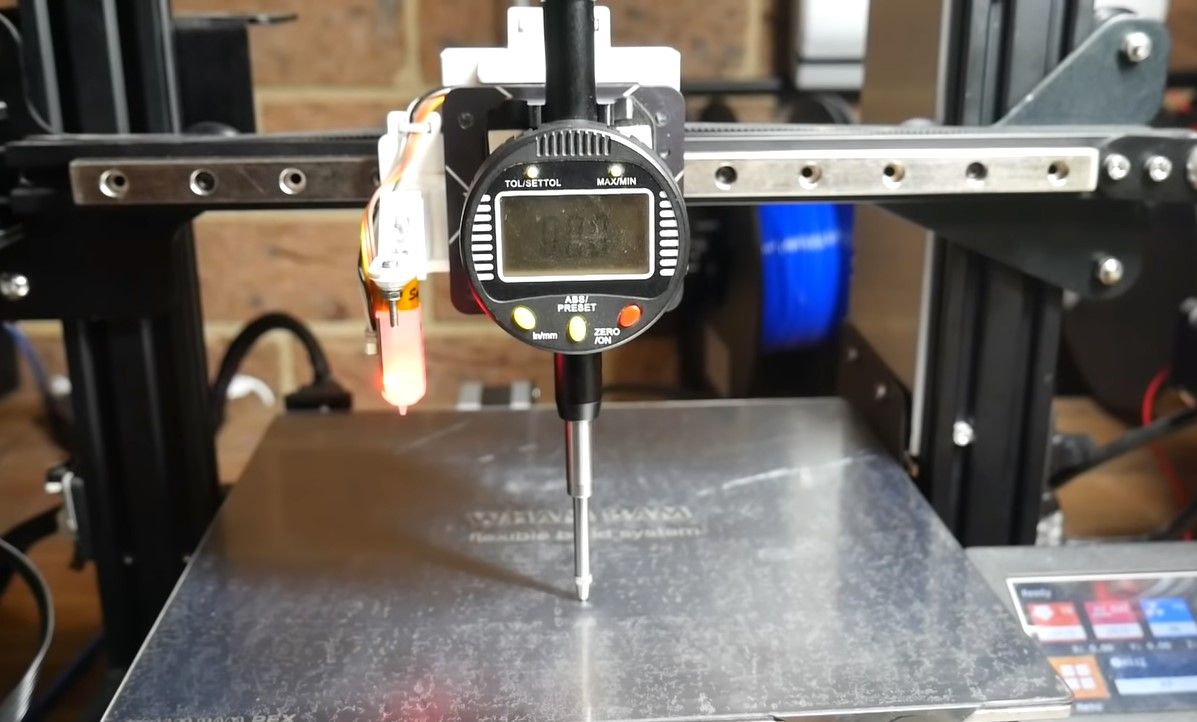
Image Credit: Teachingtech/YouTube
This works too, but for accurate results you should use a dial gauge.
E-steps are the steps the motors need to go to extrude one millimeter of filament.
Each 3D printer comes from the factory calibrated.
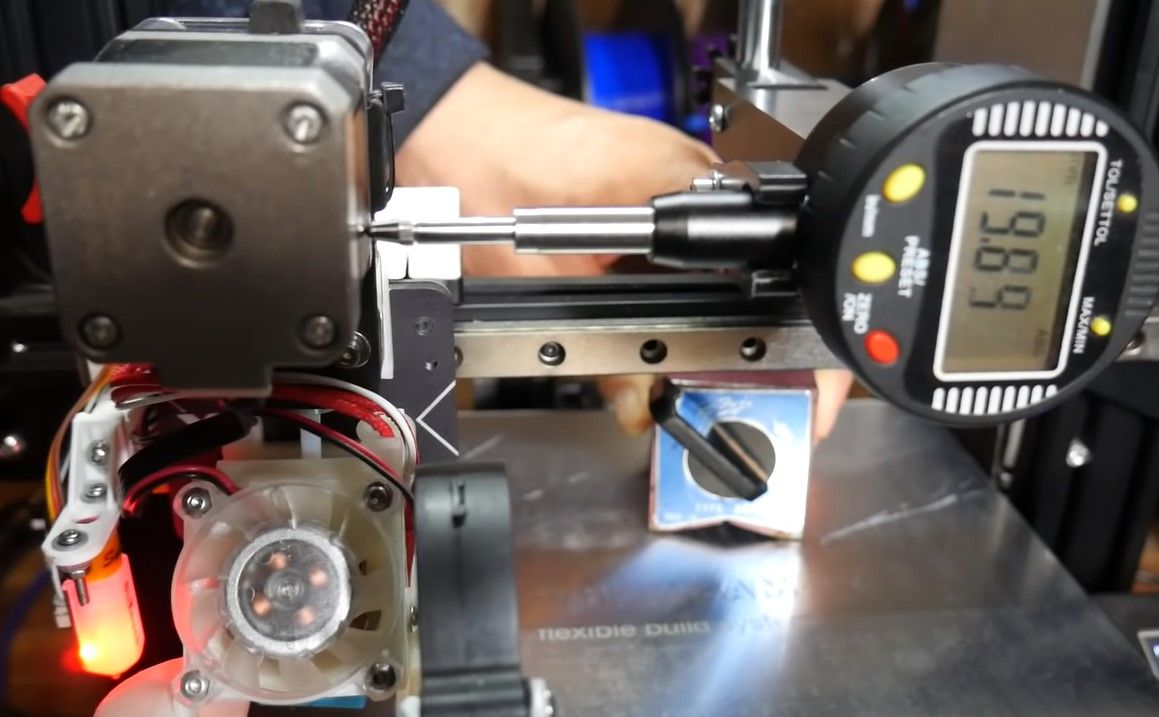
Image Credit: Teachingtech/YouTube
The image below shows a default E-step setting of 93.
The prefs for accessing the steps might vary depending on the bang out of your 3D printer.
The goal is to ensure that the dial gauge measures as close to 10mm as possible.
you’ve got the option to do this with the X, Y, and Z axes.
Doing this helps avoid distorting the measurement already generated.
Once you obtain the value, you’re free to set it in your firmware.
Once that’s done, measure how much filament was extruded.
If it’s less than 100mm, then you gotta increase your E-steps.
If it’s more than 100mm, then you’re gonna wanna decrease your E-steps.
Keep adjusting until you get it right.
The next thing you oughta do is calibrate your Z-axis offset.
Setting this is crucial as it will determine the height of your layer.
it’s possible for you to calibrate the Z-axis offset on your 3D printer in several ways.
The first is to use a piece of paper or a thickness gauge.
Then, measure the distance from the top of the paper to the tip of the extruder.
This measurement is your Z-axis offset.
For more details, check out our detailed guide oncalibrating your 3D printer extruder.
you’re able to begin by removing and disassembling the hot end to clean the nozzle.
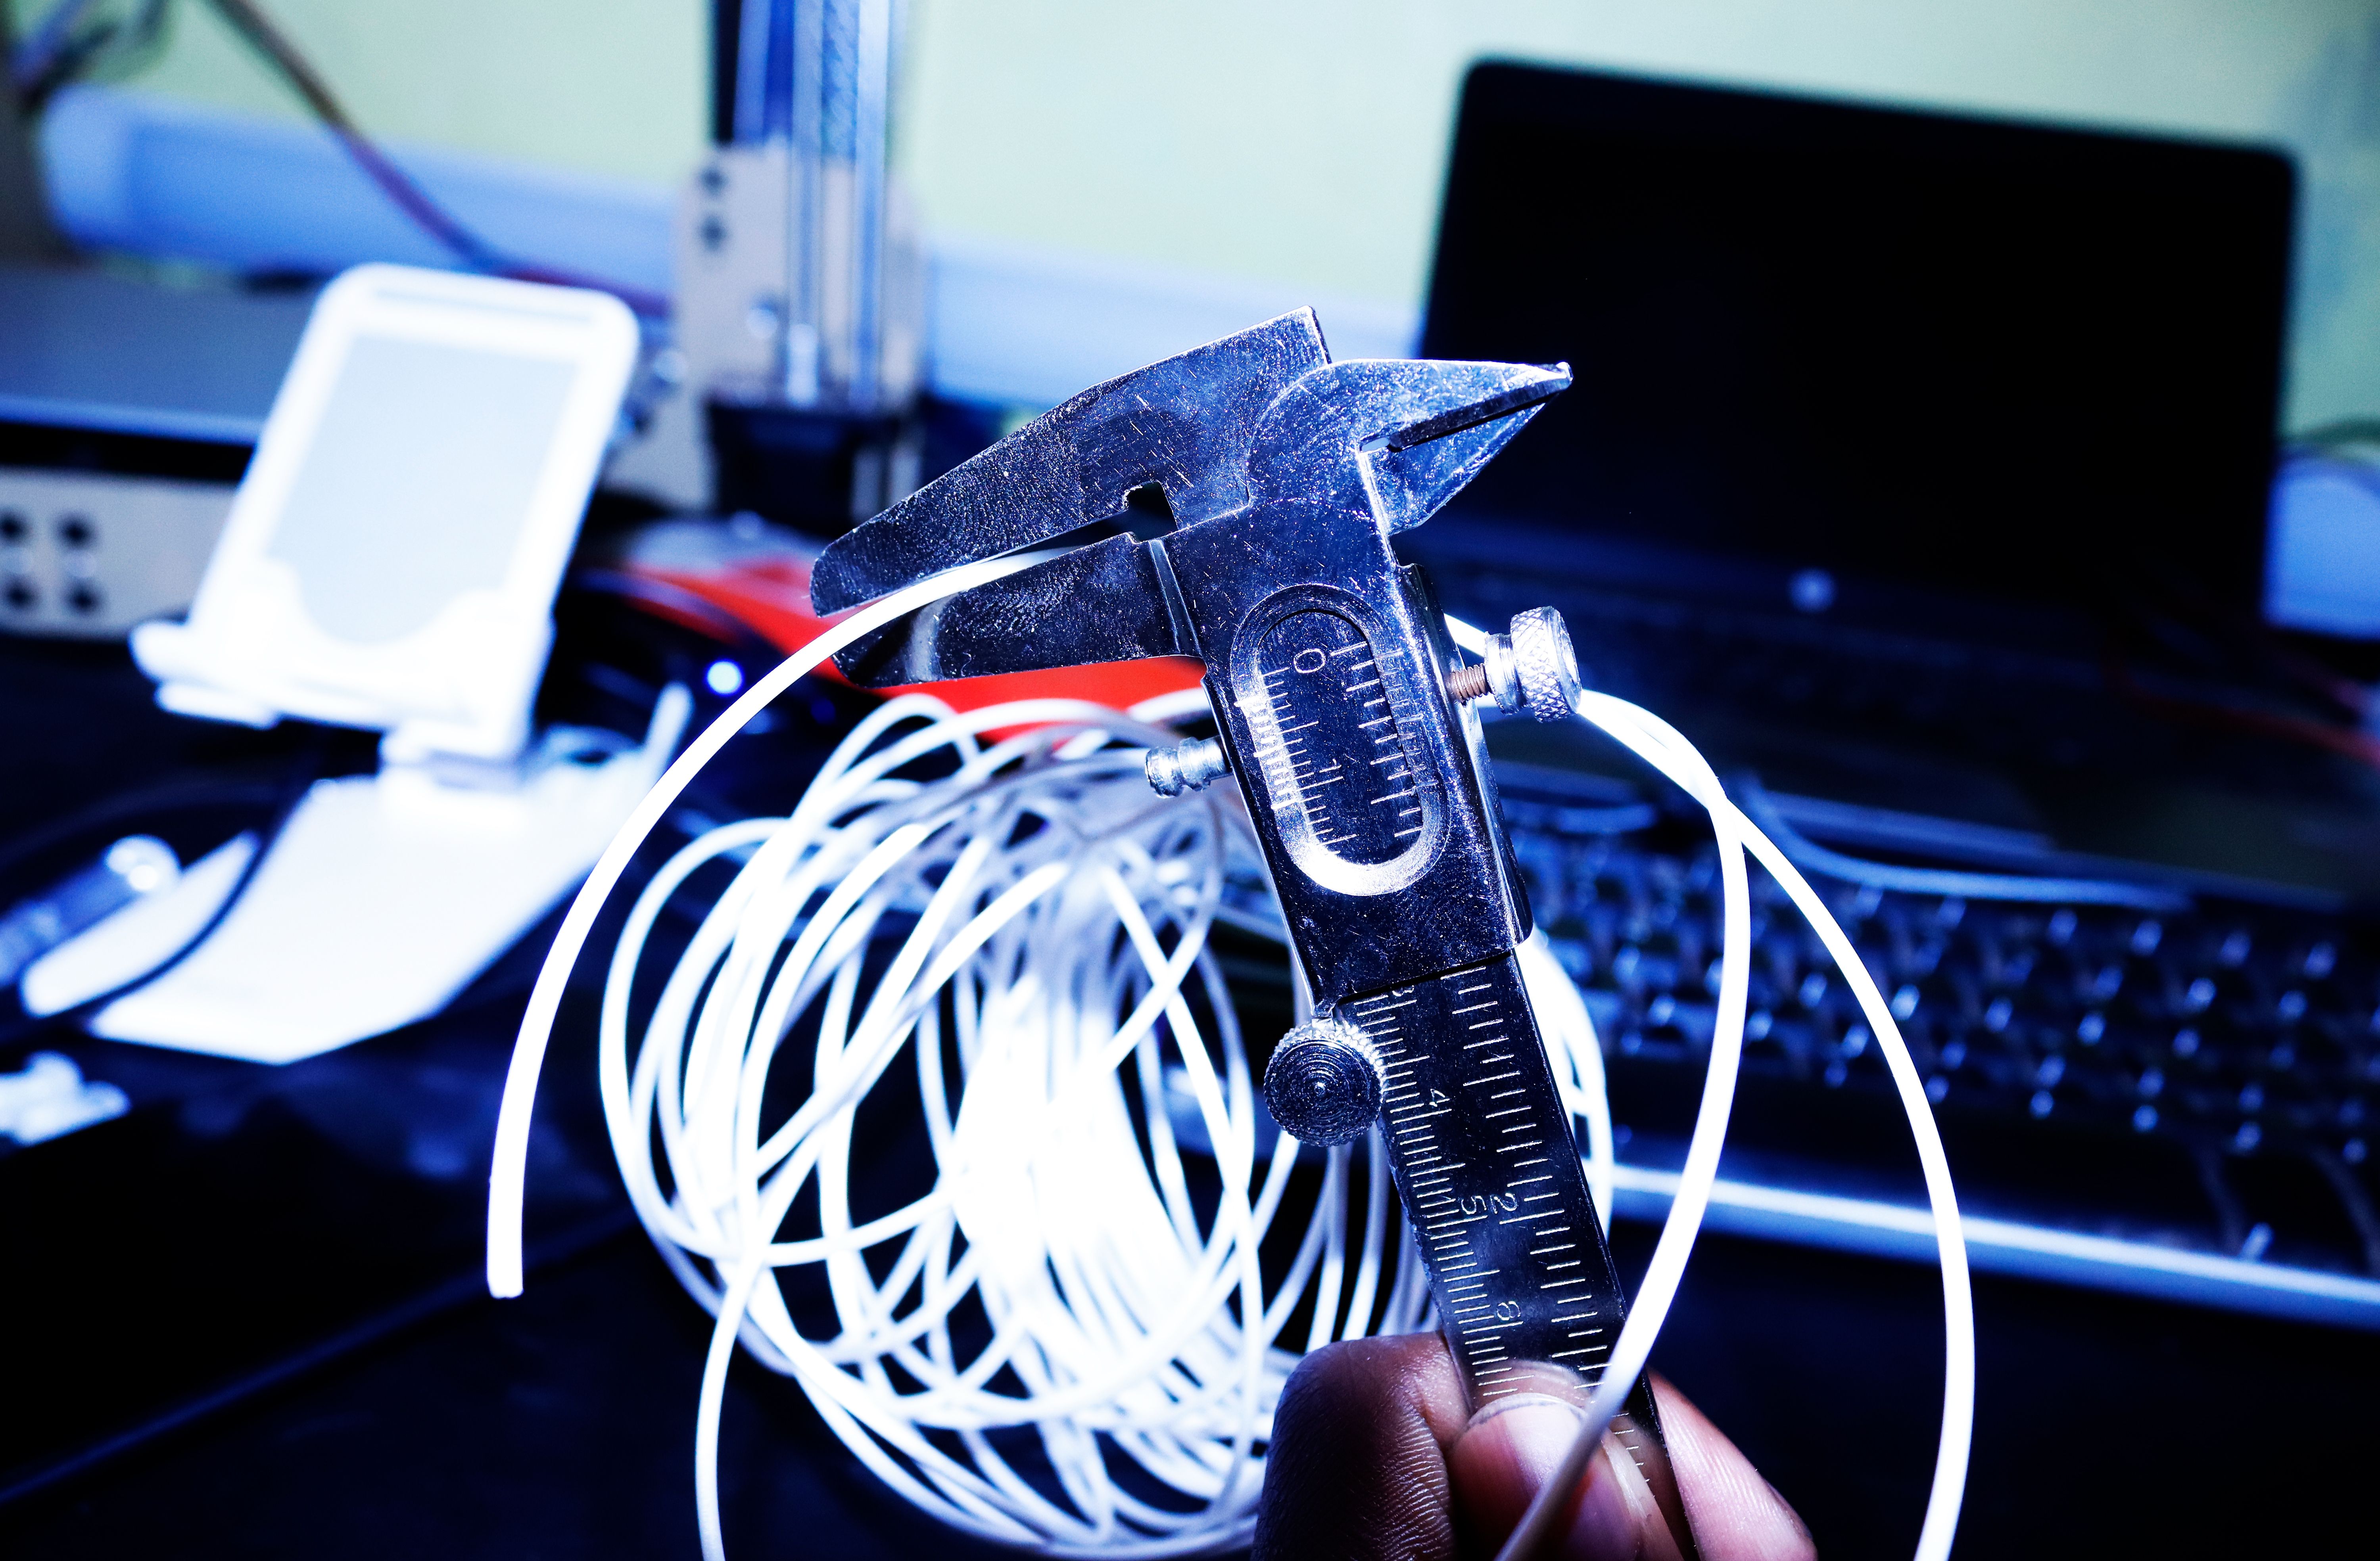
Once the nozzle is clear, you must calibrate the filament diameter.
The easiest way to do this is with a caliper, as shown in the image above.
It is also essential to ensure that the filament is correctly aligned with the hot end.
If the filament is not properly aligned, it can cause problems with the extrusion process.
Once the filament is adequately aligned, you’re free to tighten the set screw and resume printing.
If the extrusion rate is too high, it can cause stringing.
you might adjust it in your printer’s software.
Another setting that can cause stringing is the retraction distance.
