A mini tripod helps secure your camera while taking pictures or filming videos.
you might find them in most camera shops; they come in various sizes and prices.
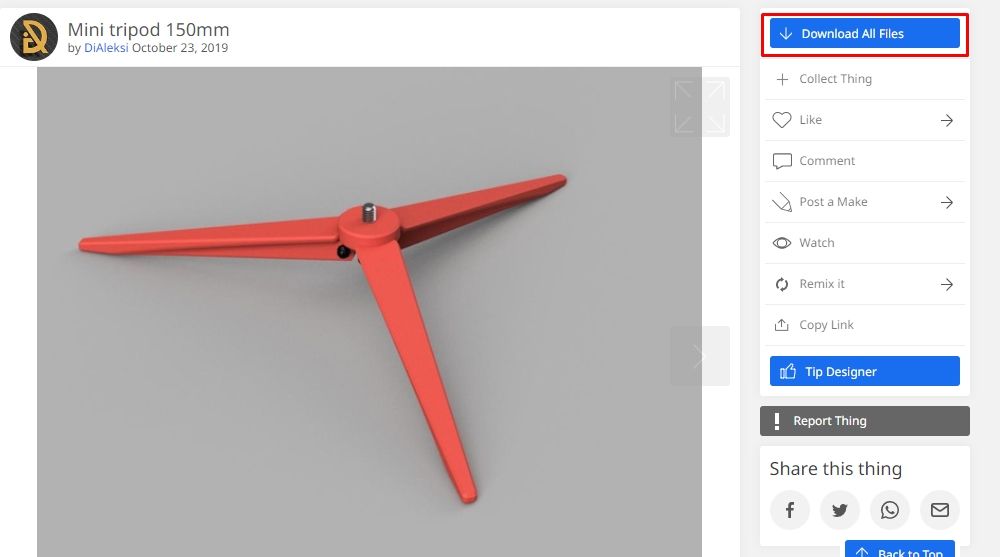
To get the files, clickDownload All Files, as shown below.
The files will come in ZIP format; you must extract them usingWinRARor another archive extractor.
you might alsouse the Command Prompt to unzip your filesin Windows.
Step 2: Prepare the Models for 3D Printing
A 3D printer understands afile format called G-code.
The G-code consists of instructions that control the movement of the 3D printer and how it operates.
To prepare the G-code, we will need to use a 3D slicer.
There are a lot of 3D slicers available, but we are going to useCura.
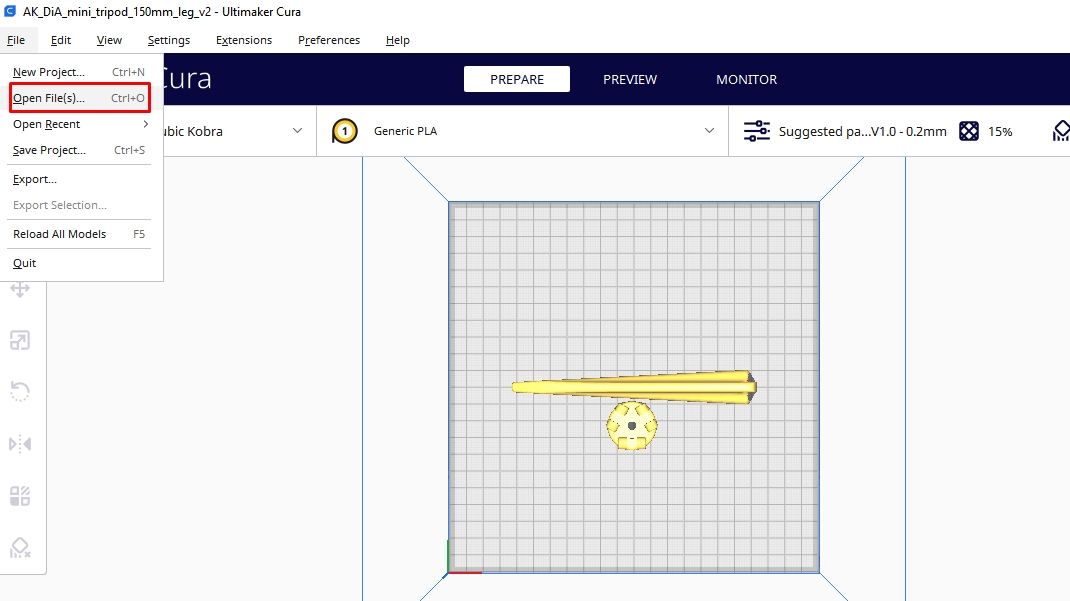
Once you load the software, go toFile > Open File(s).
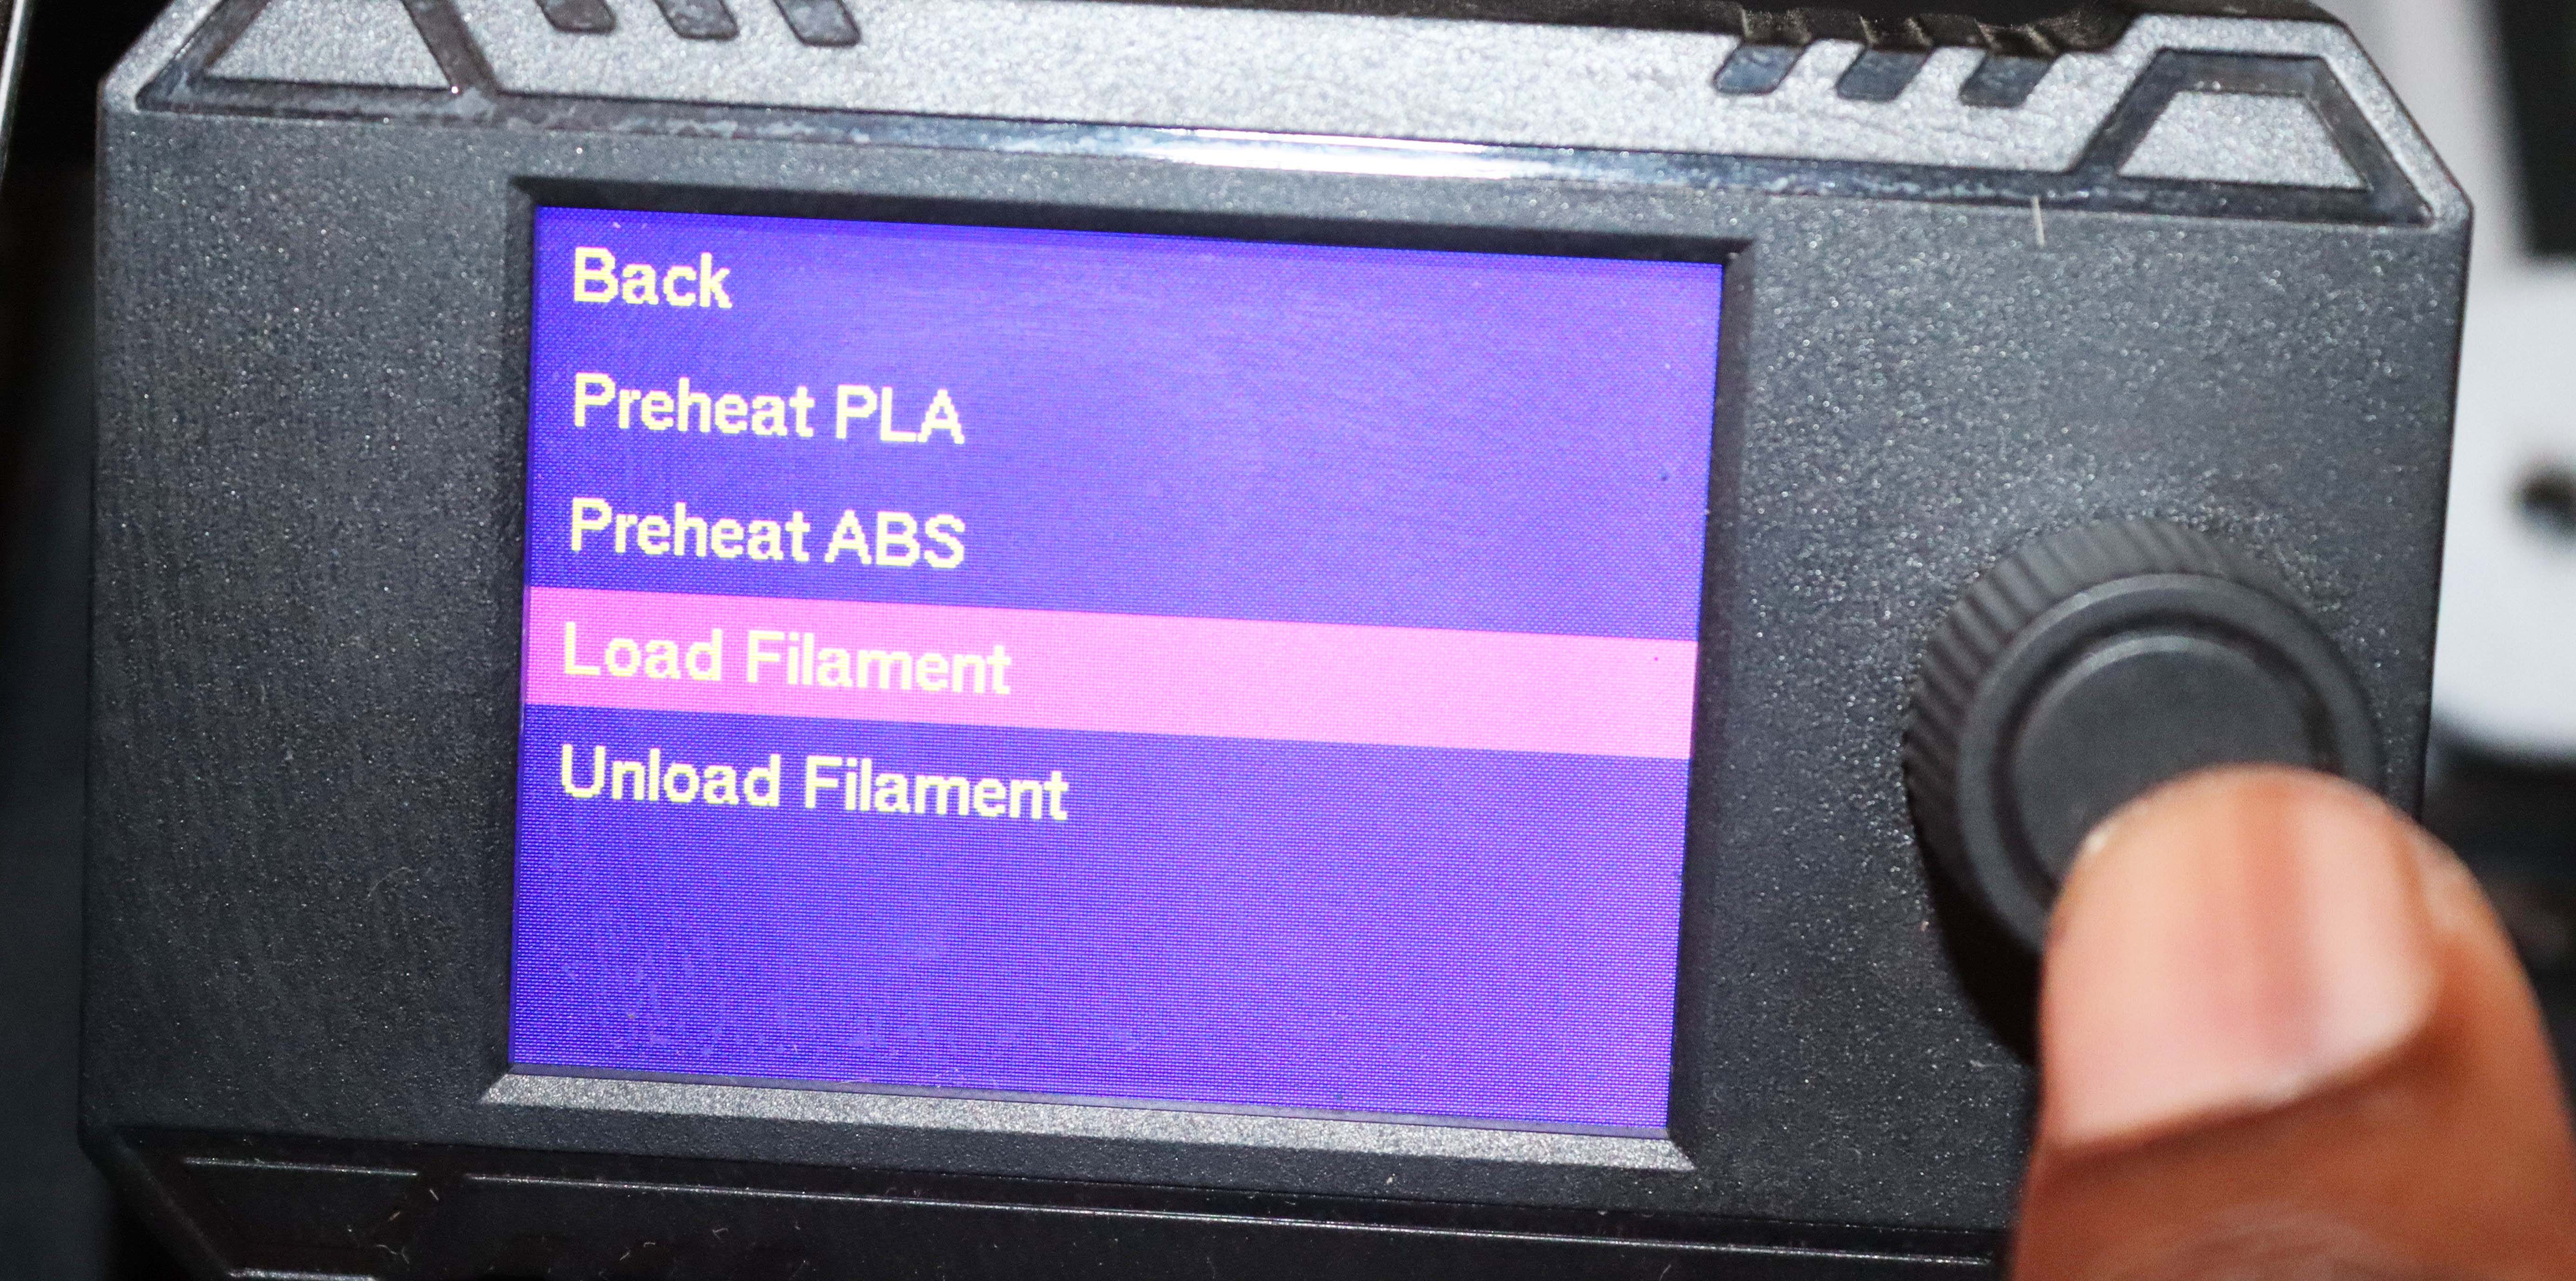
All of these activities vary depending on your 3D printer punch in.
We will not level the bed manually as the machine we’re using has automatic bed leveling capabilities.
So we shall go toMenu > Leveling > Auto Leveling.
After selecting that option, the 3D printer will start leveling itself.
You will print one leg first and repeat the same process with two others.

Printing them when lying flat instead of standing is a good idea to avoid the need for3D printing supports.
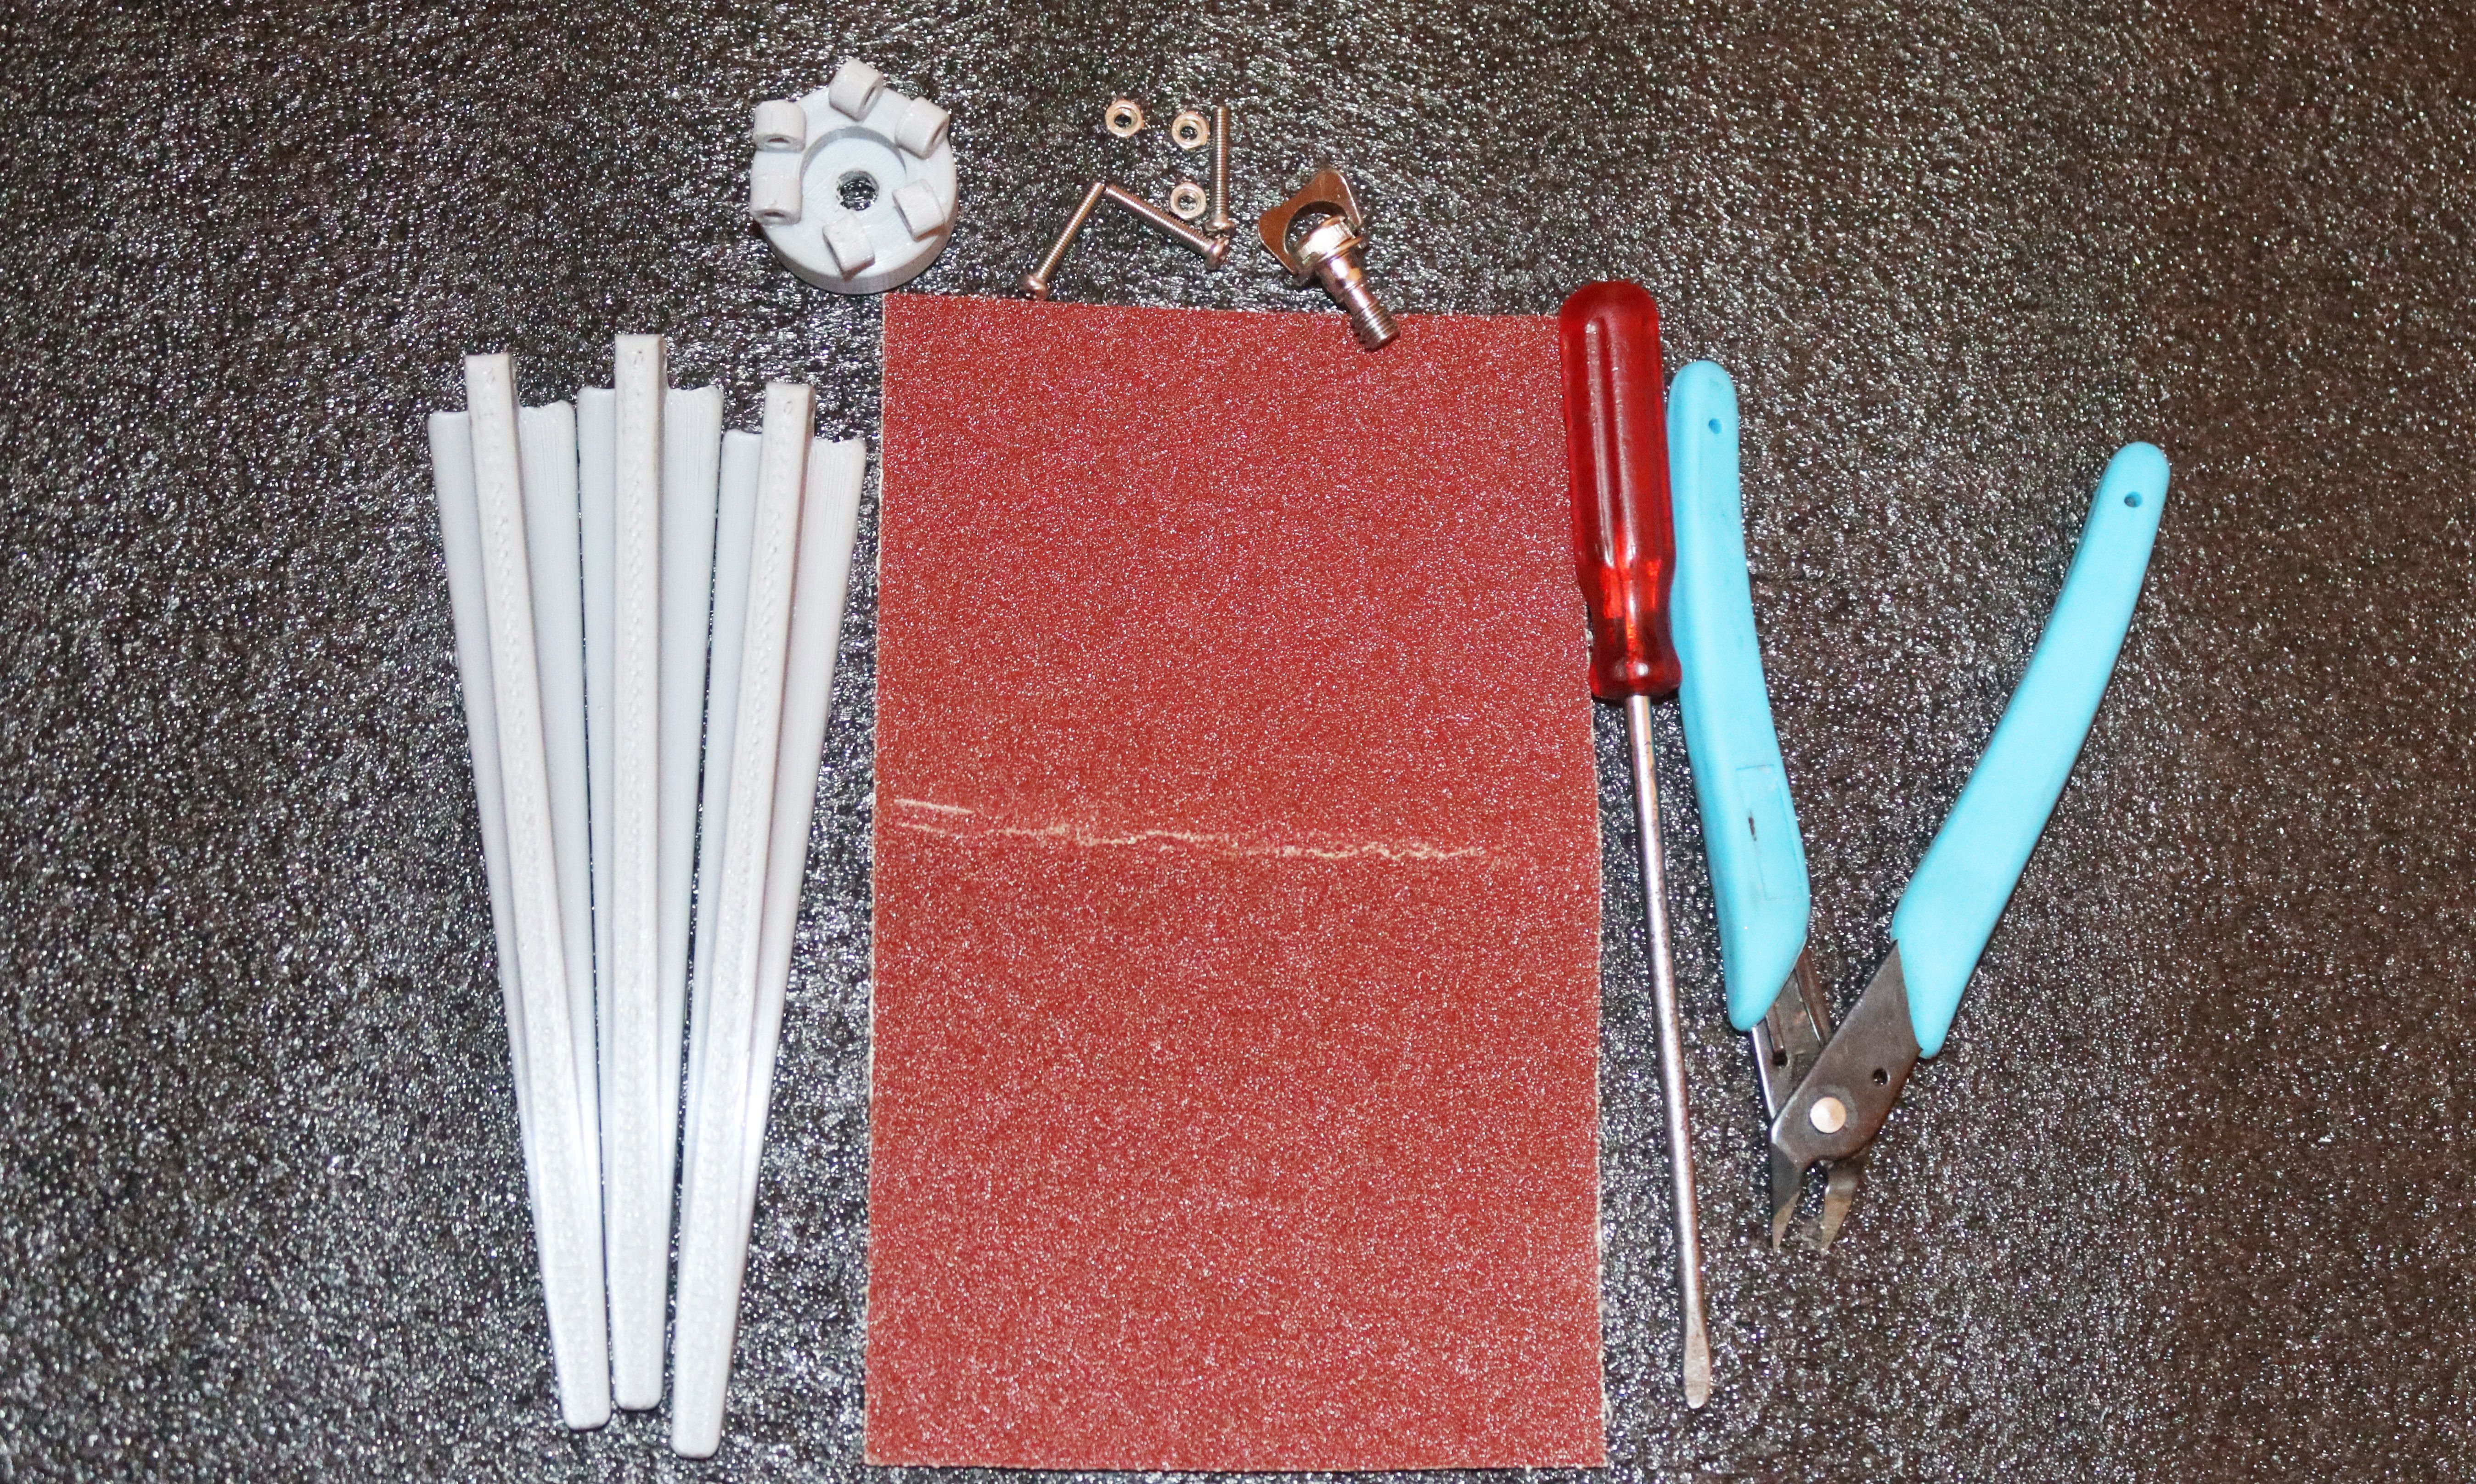
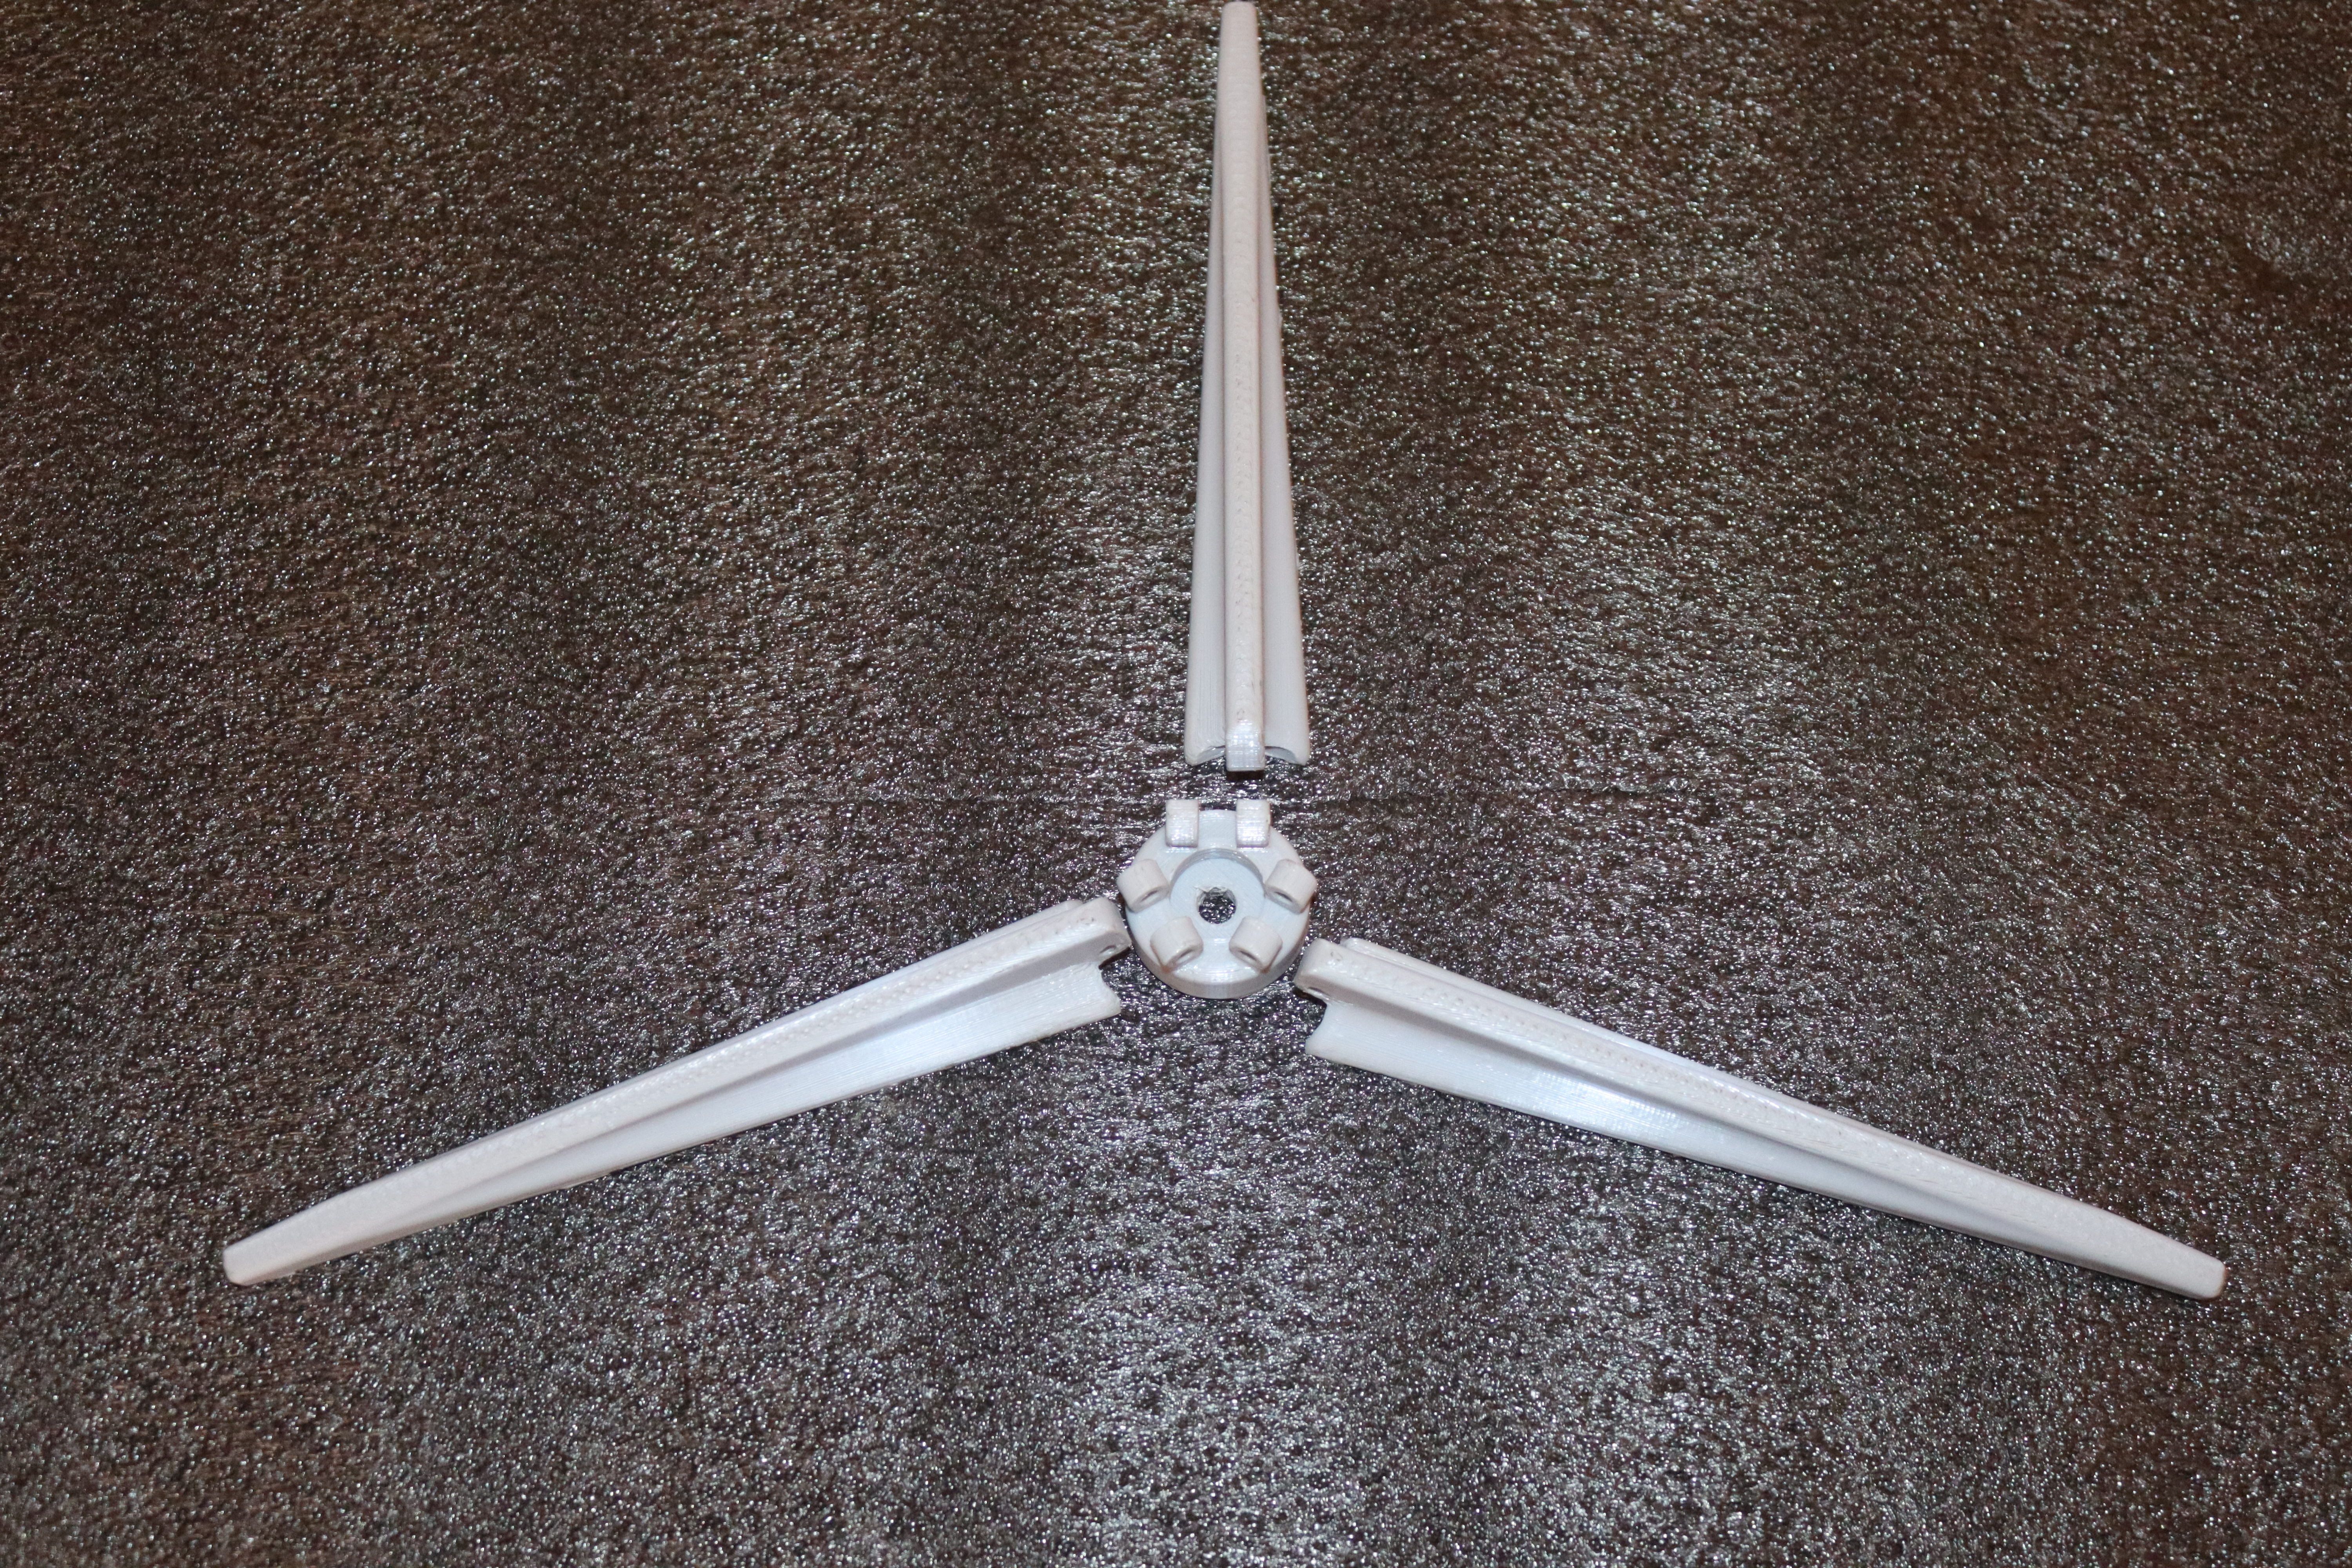
After 3D printing, you should have the parts shown below.
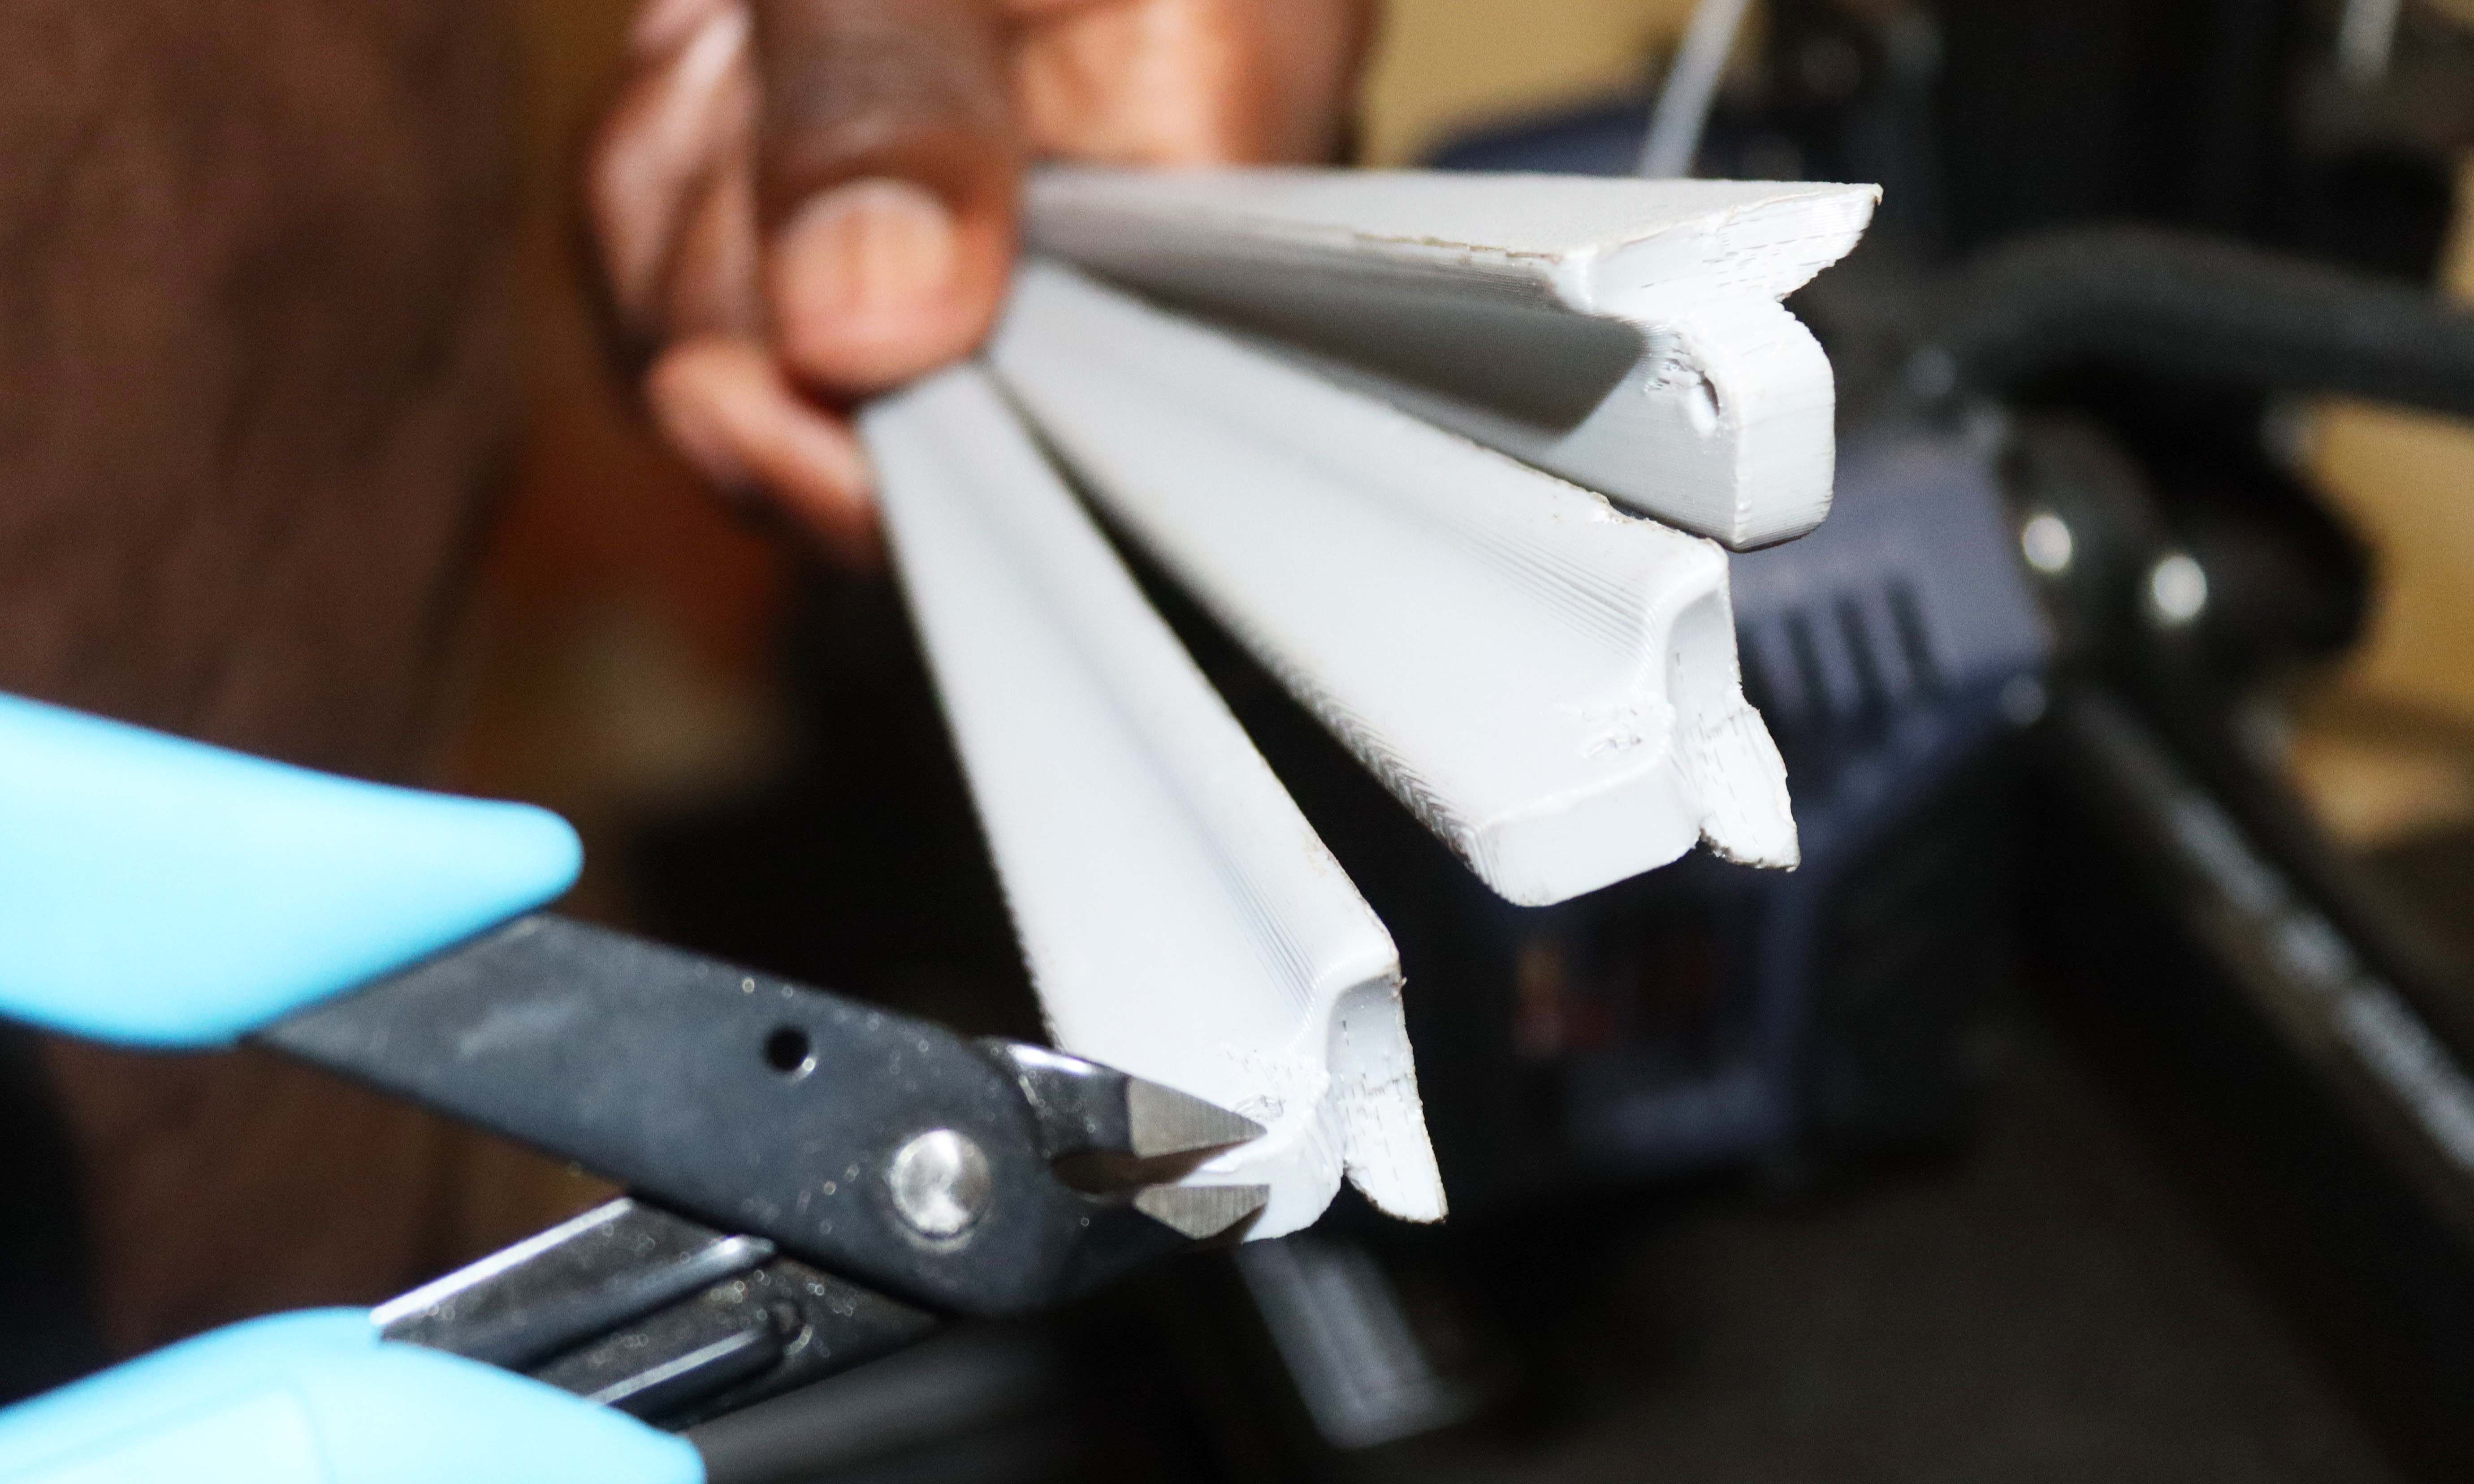
The next step will be applying variousfinishing activities to the 3D prints.
To do this, remove unwanted parts using a pair of nippers.
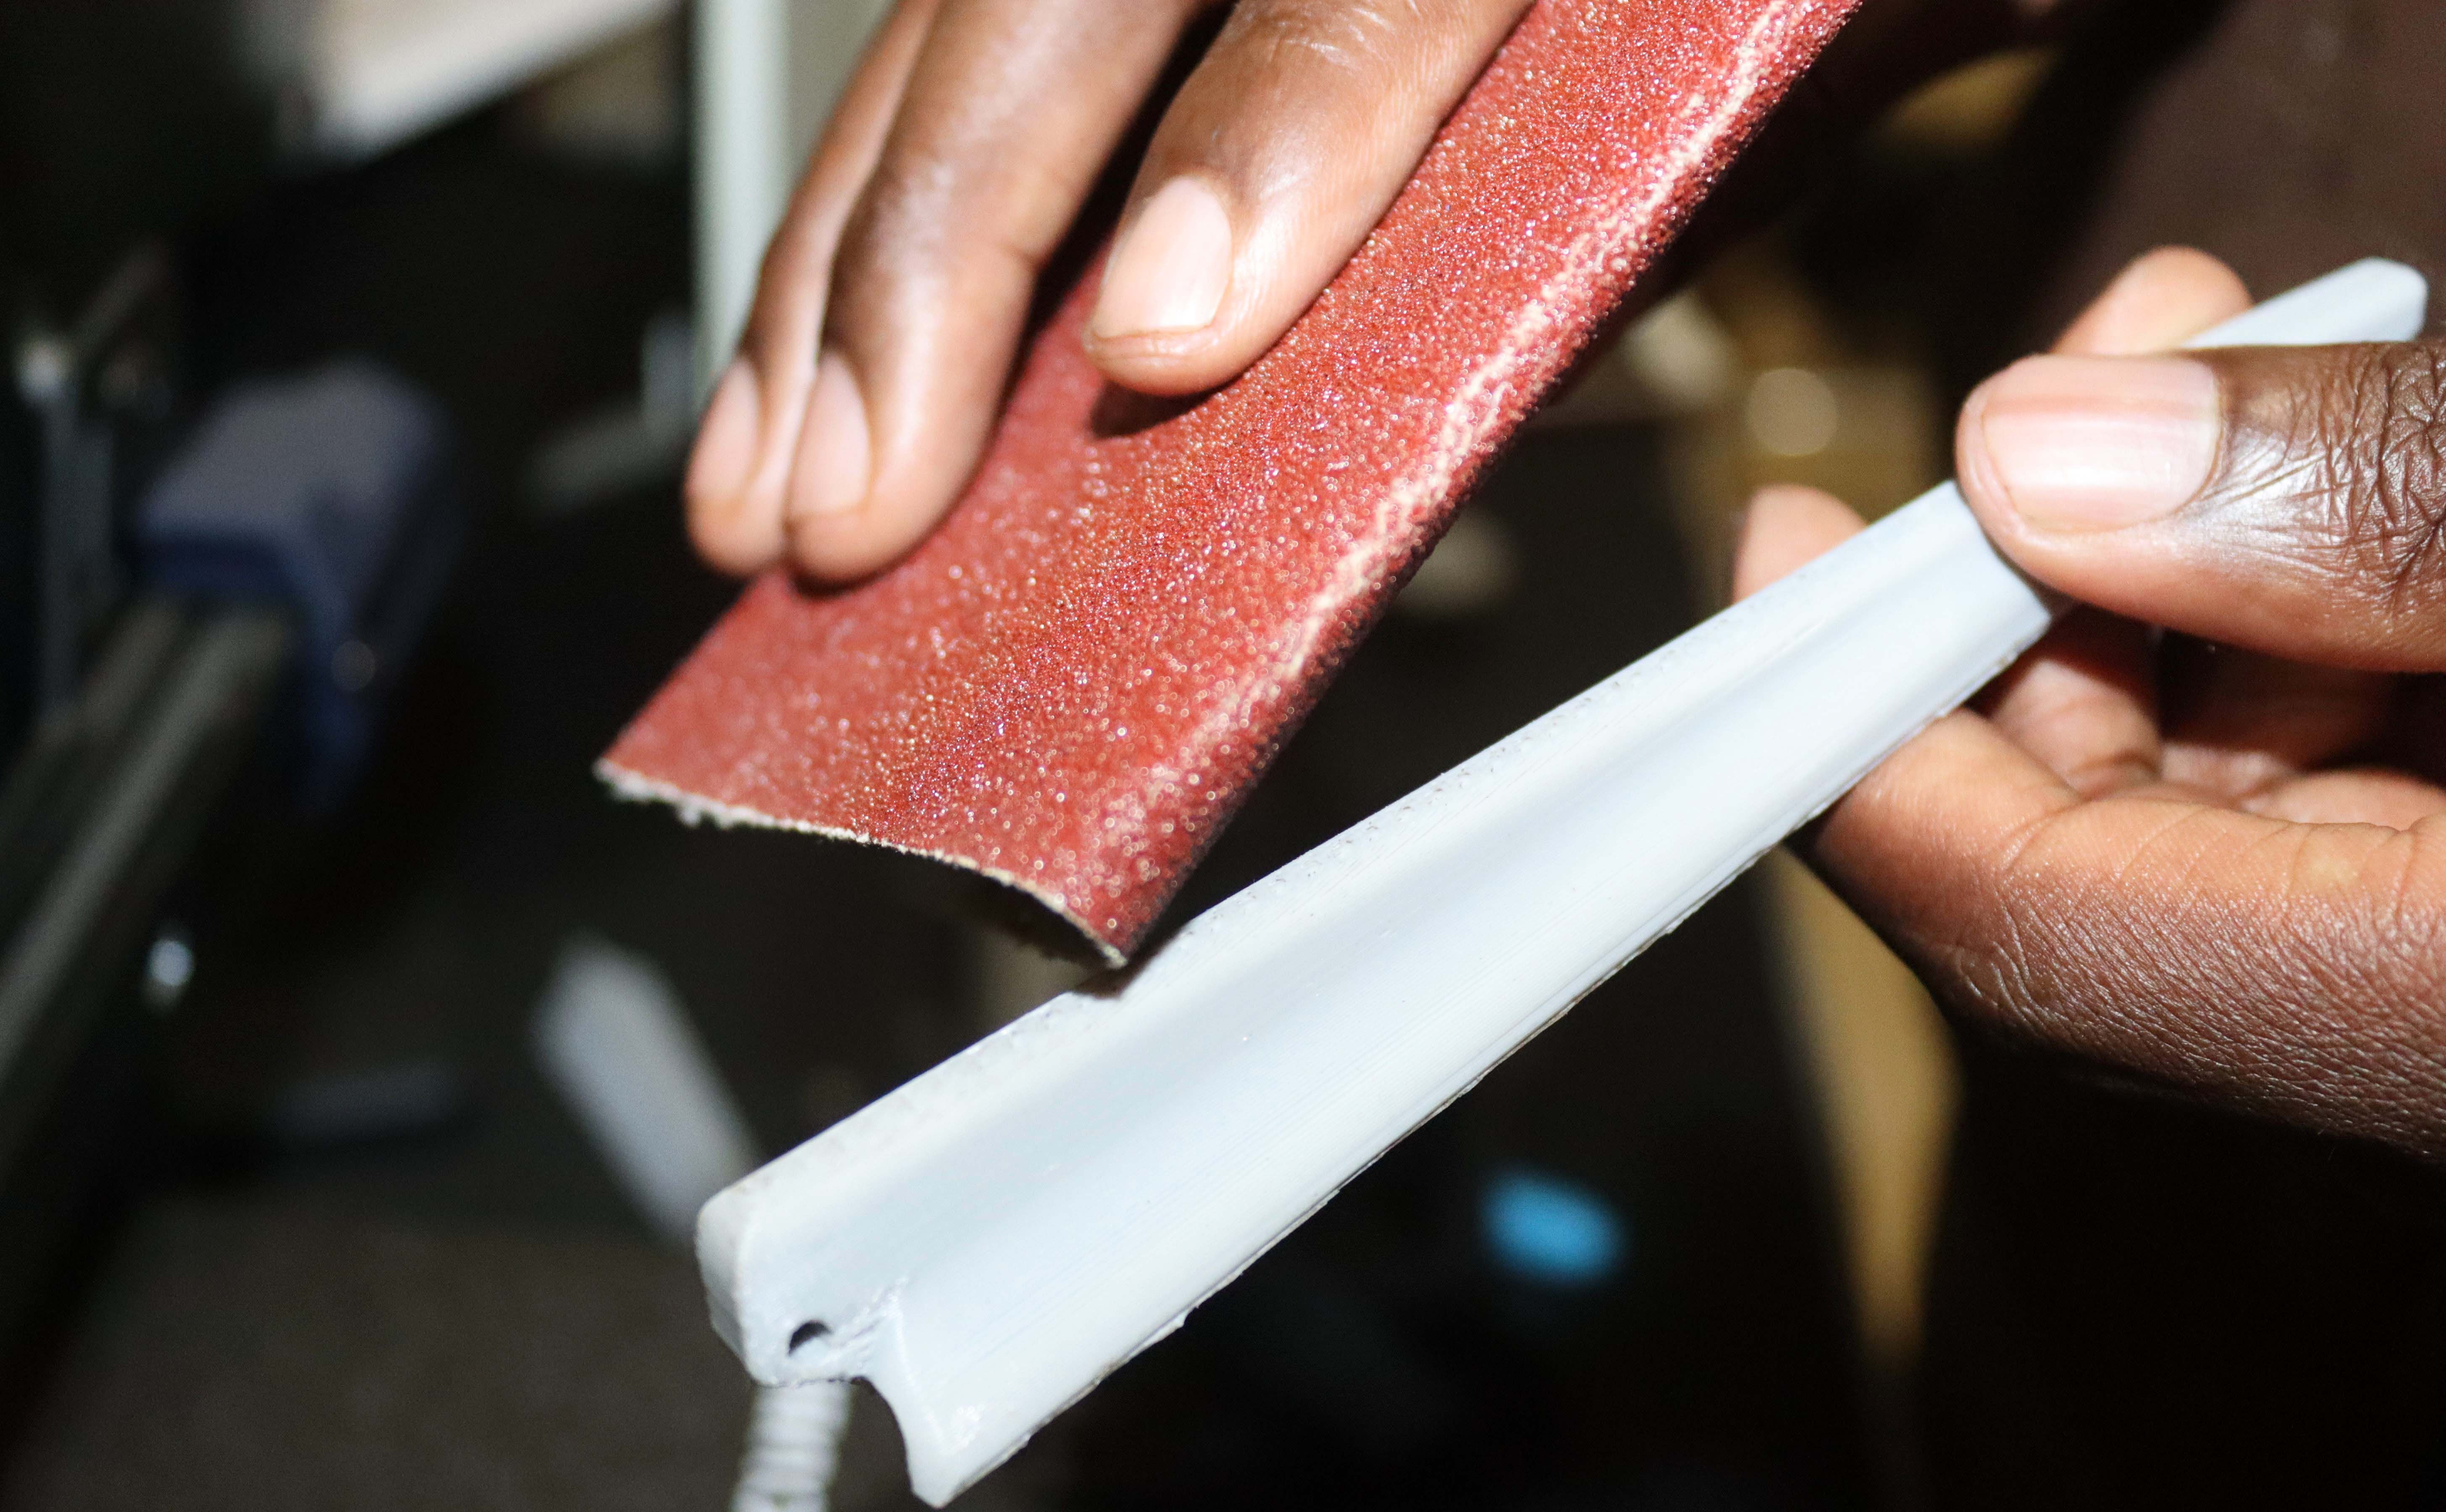
When you finish, take a piece of sandpaper and start smoothing your 3D prints.
you could then wipe it with a cloth to remove any remaining debris.
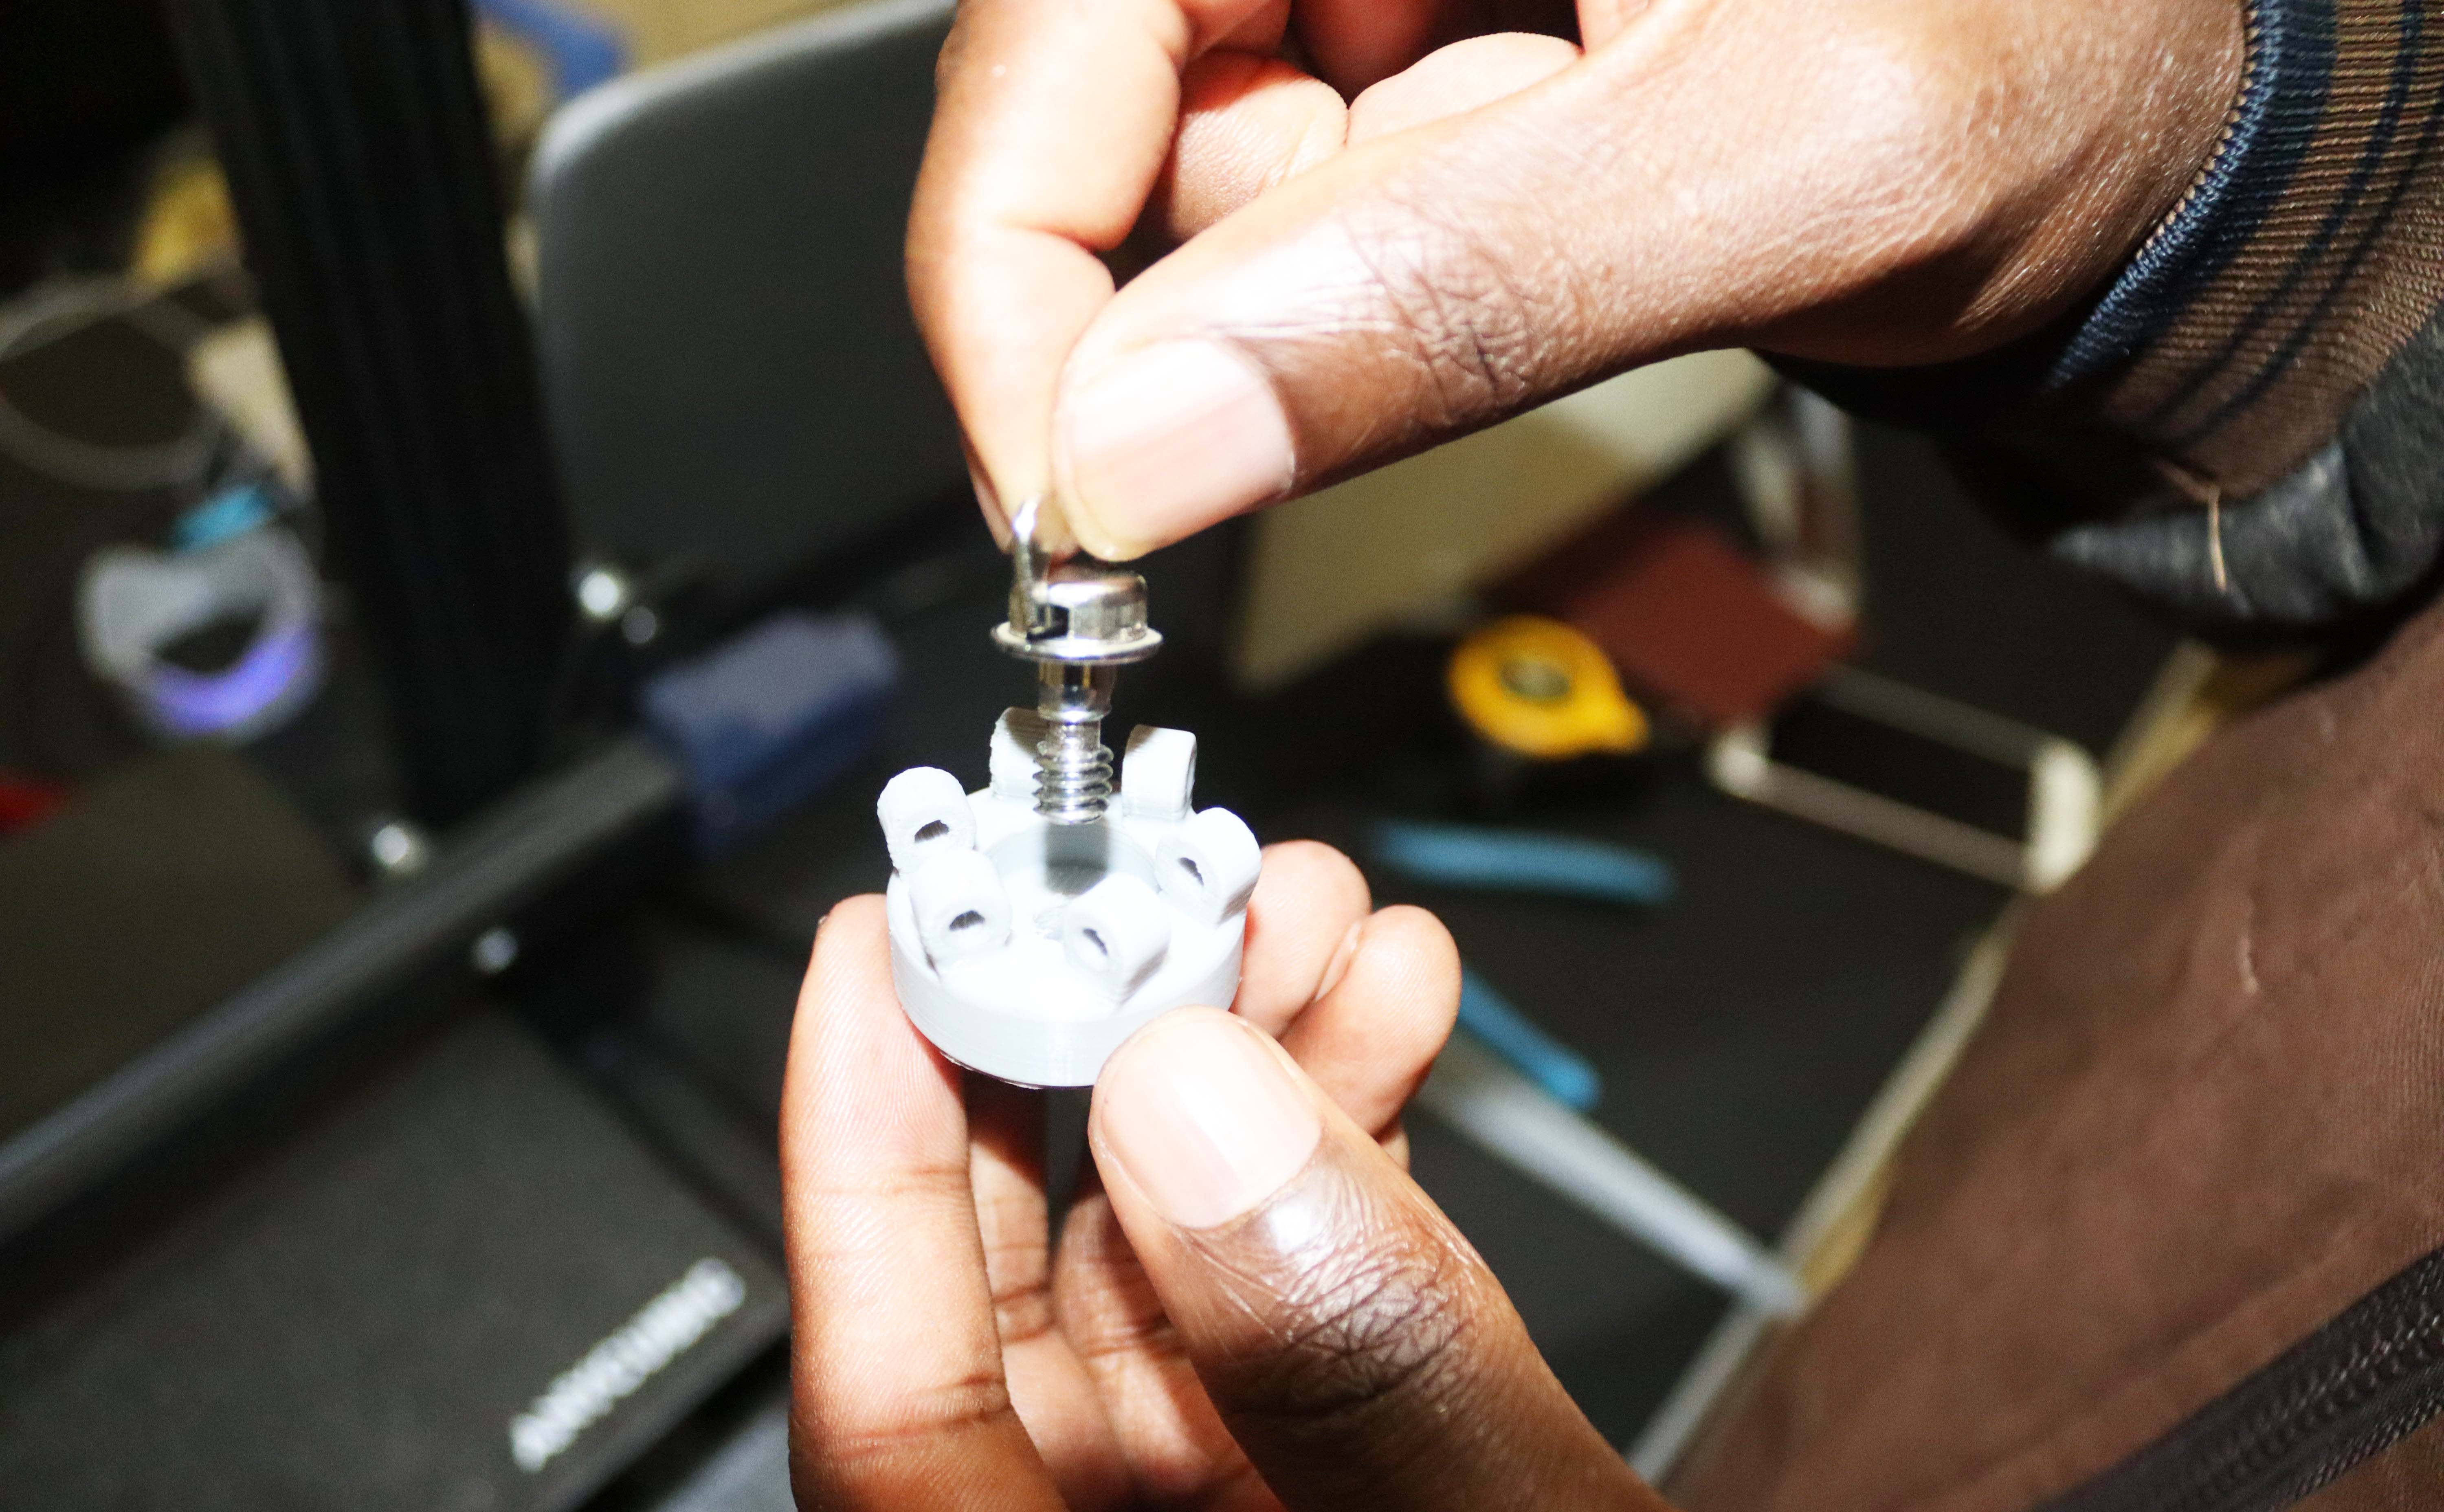
Rotate it in a clockwise manner until it fits.
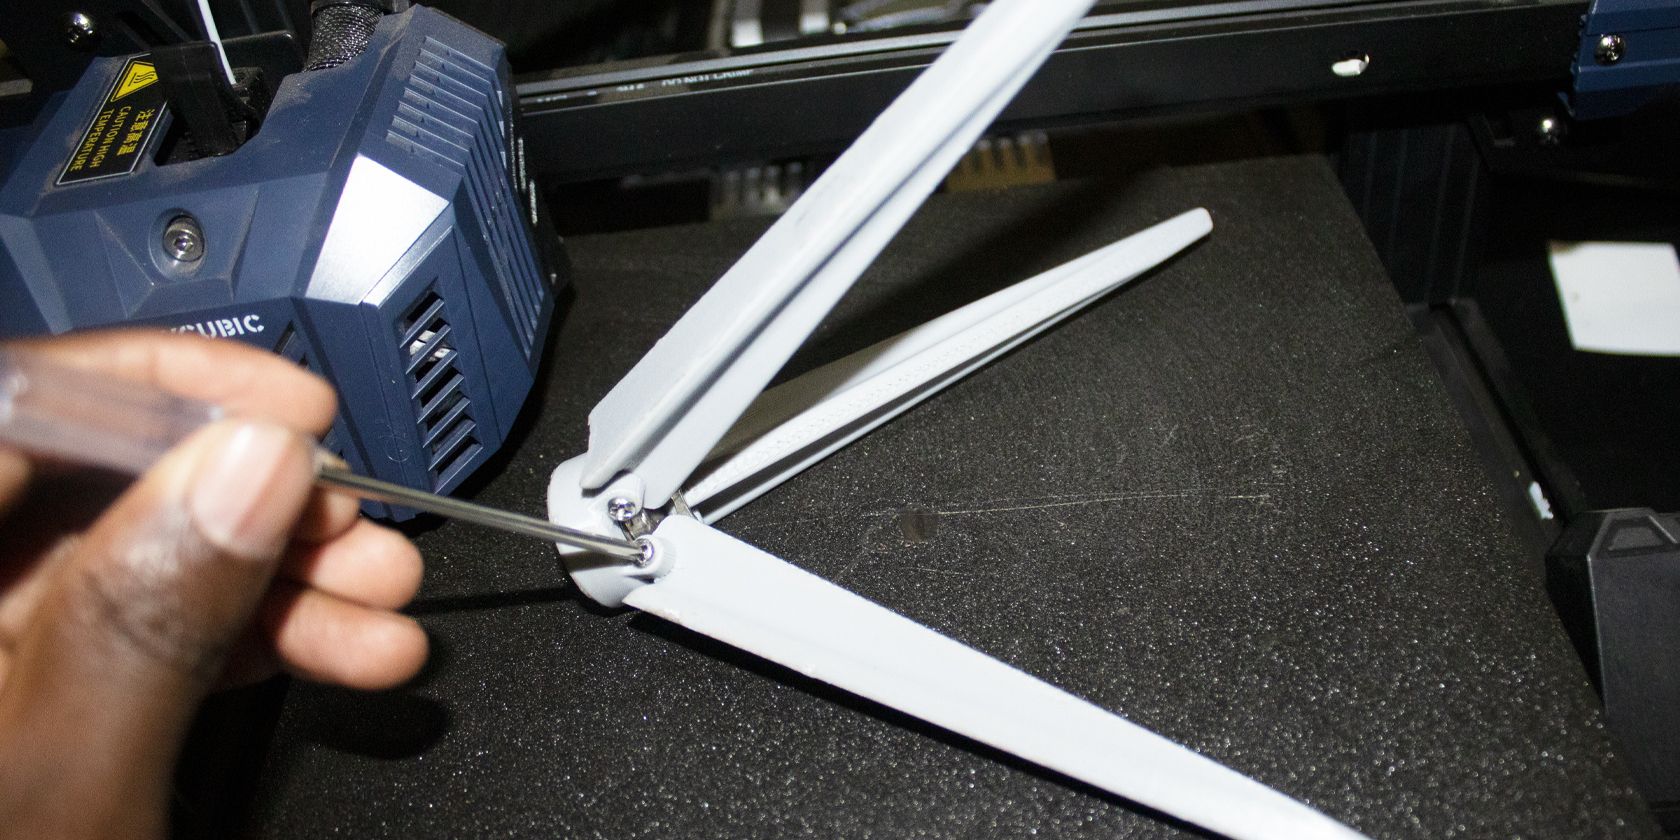
Next, take the three stands and attach each of them to the center hub usingM3 X 16mm screws.
Then, start rotating the camera clockwise until the screw fits entirely into the camera.
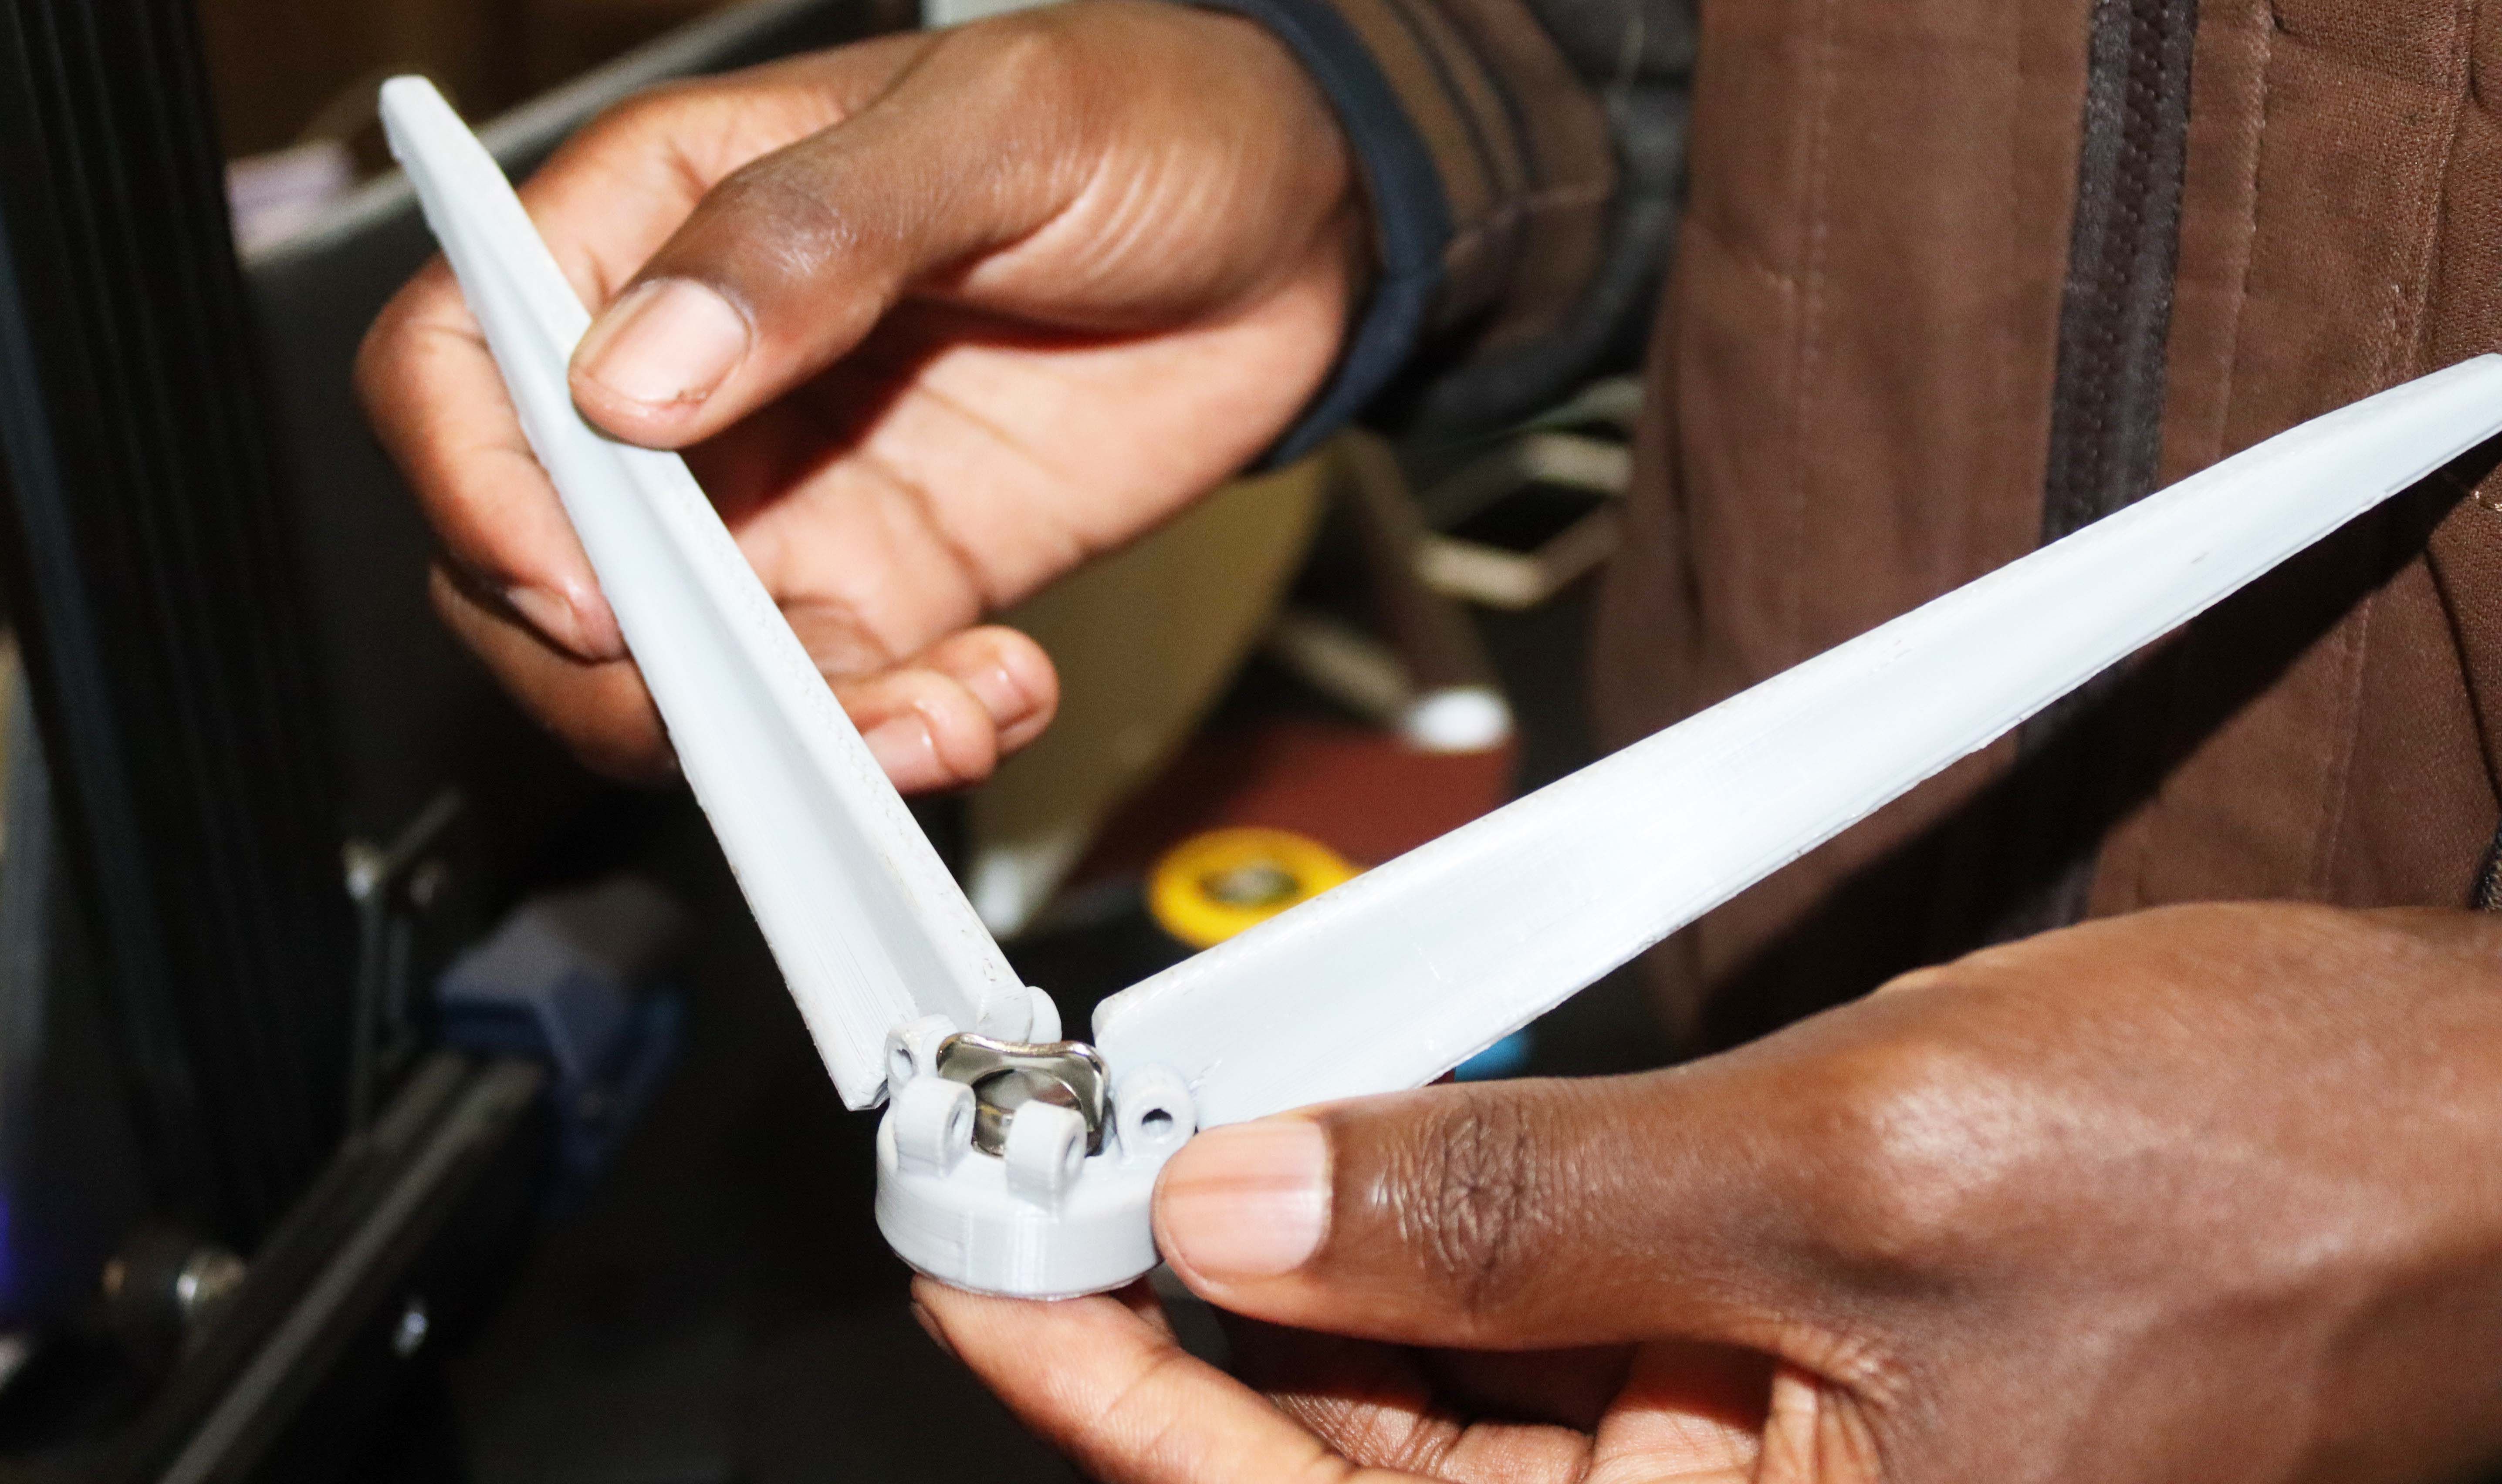
Remember, however: the tripod will be fairly unstable when you move the legs close together.