You might be wondering where to start.
Well, you oughta have all the components first.
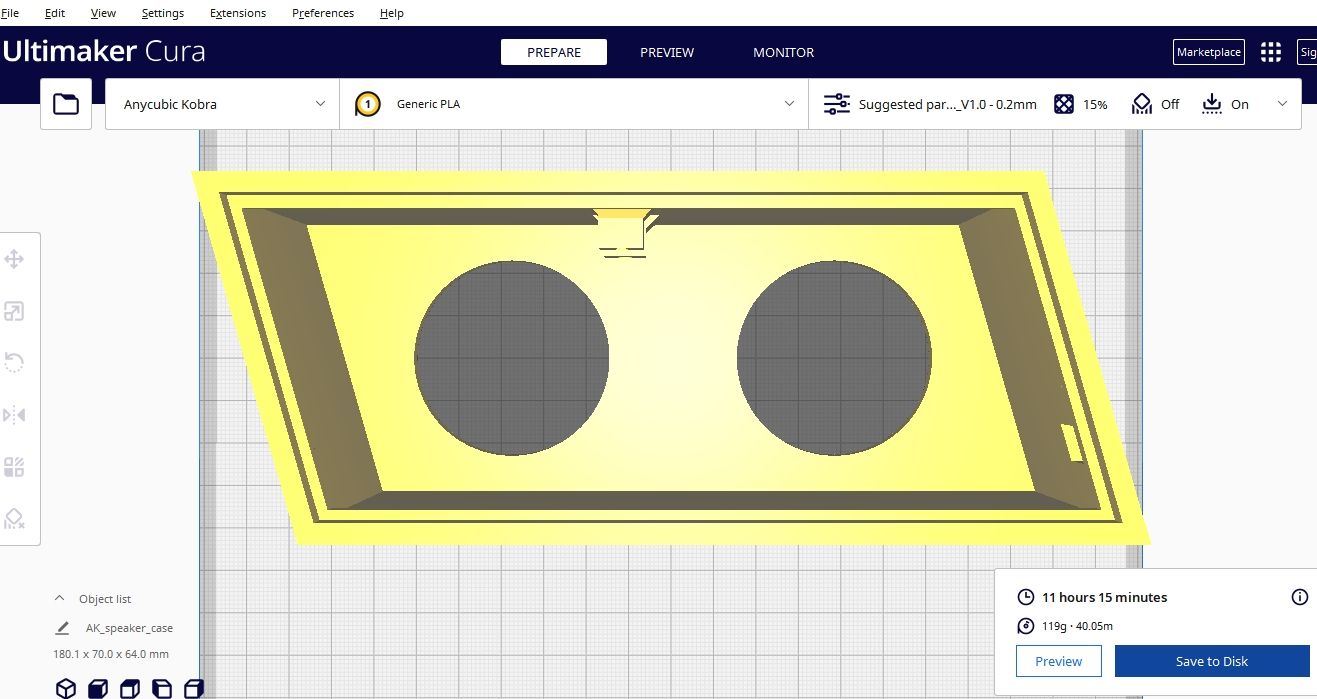
When you finish slicing, back up your G-code and send it to the printer.

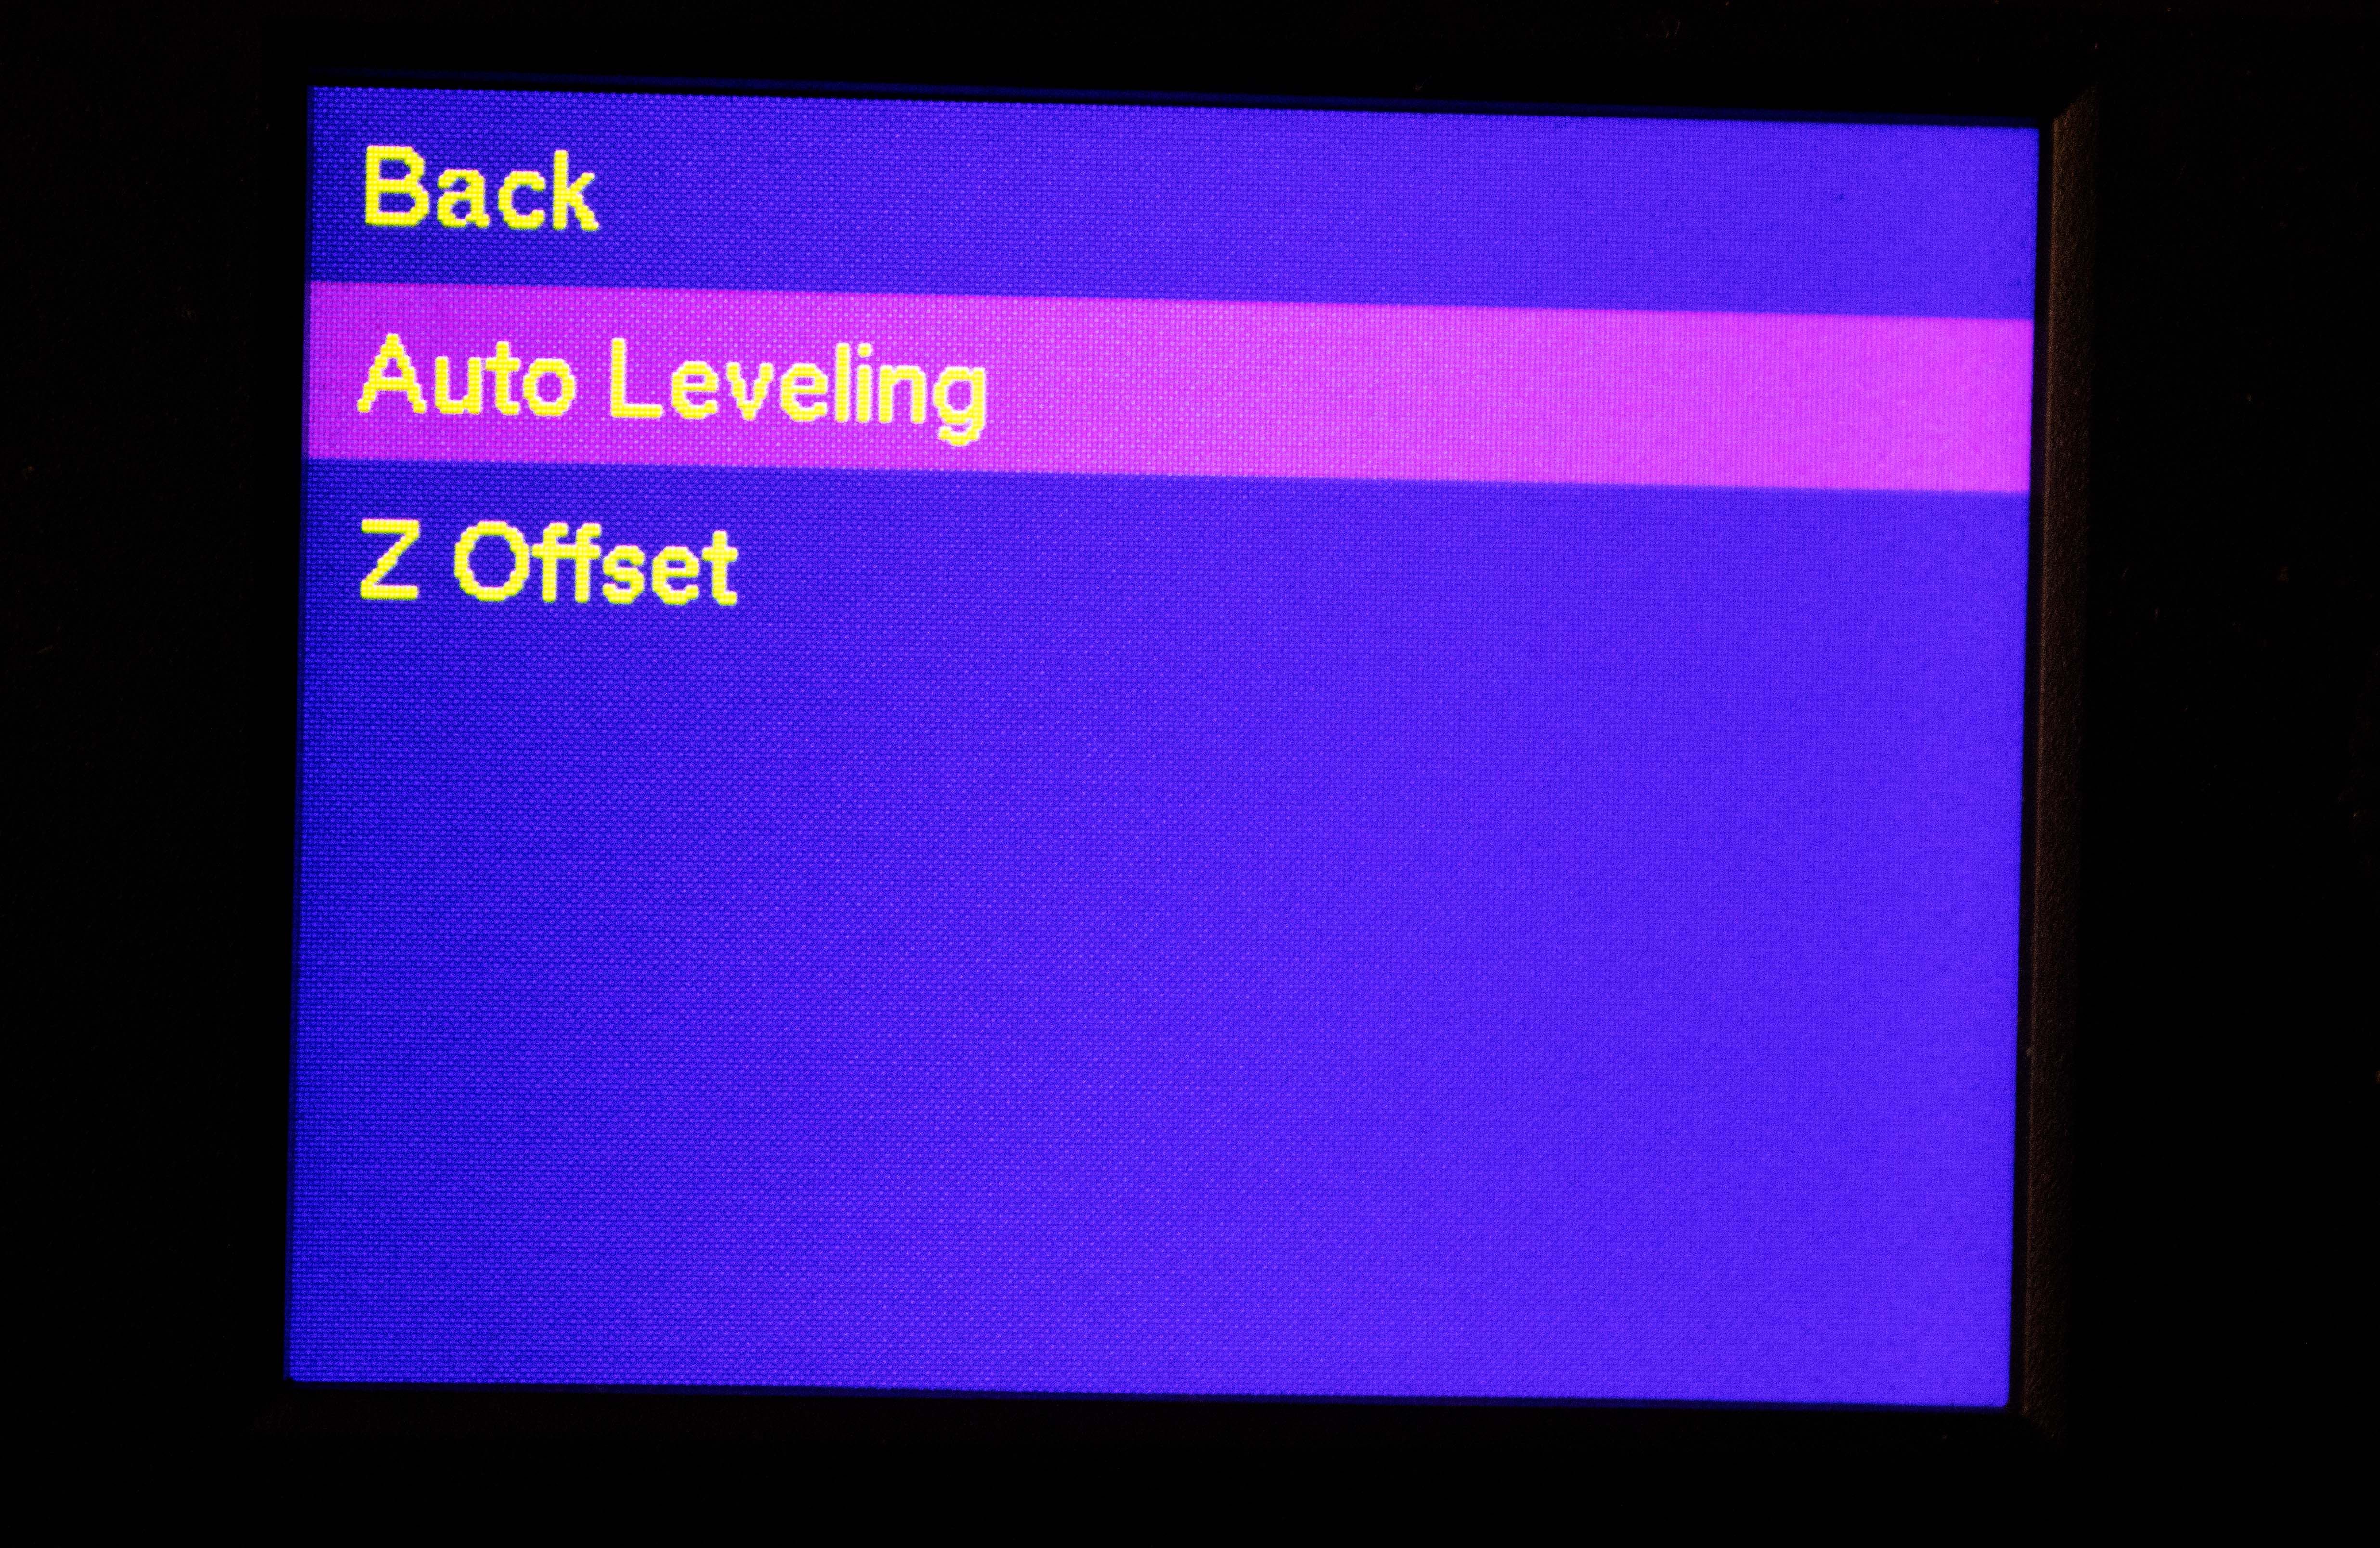
To set the Z-offset, go toMenu > Levelingand selectZ-offset.
Adjust the height until you find the correct setting for your machine.
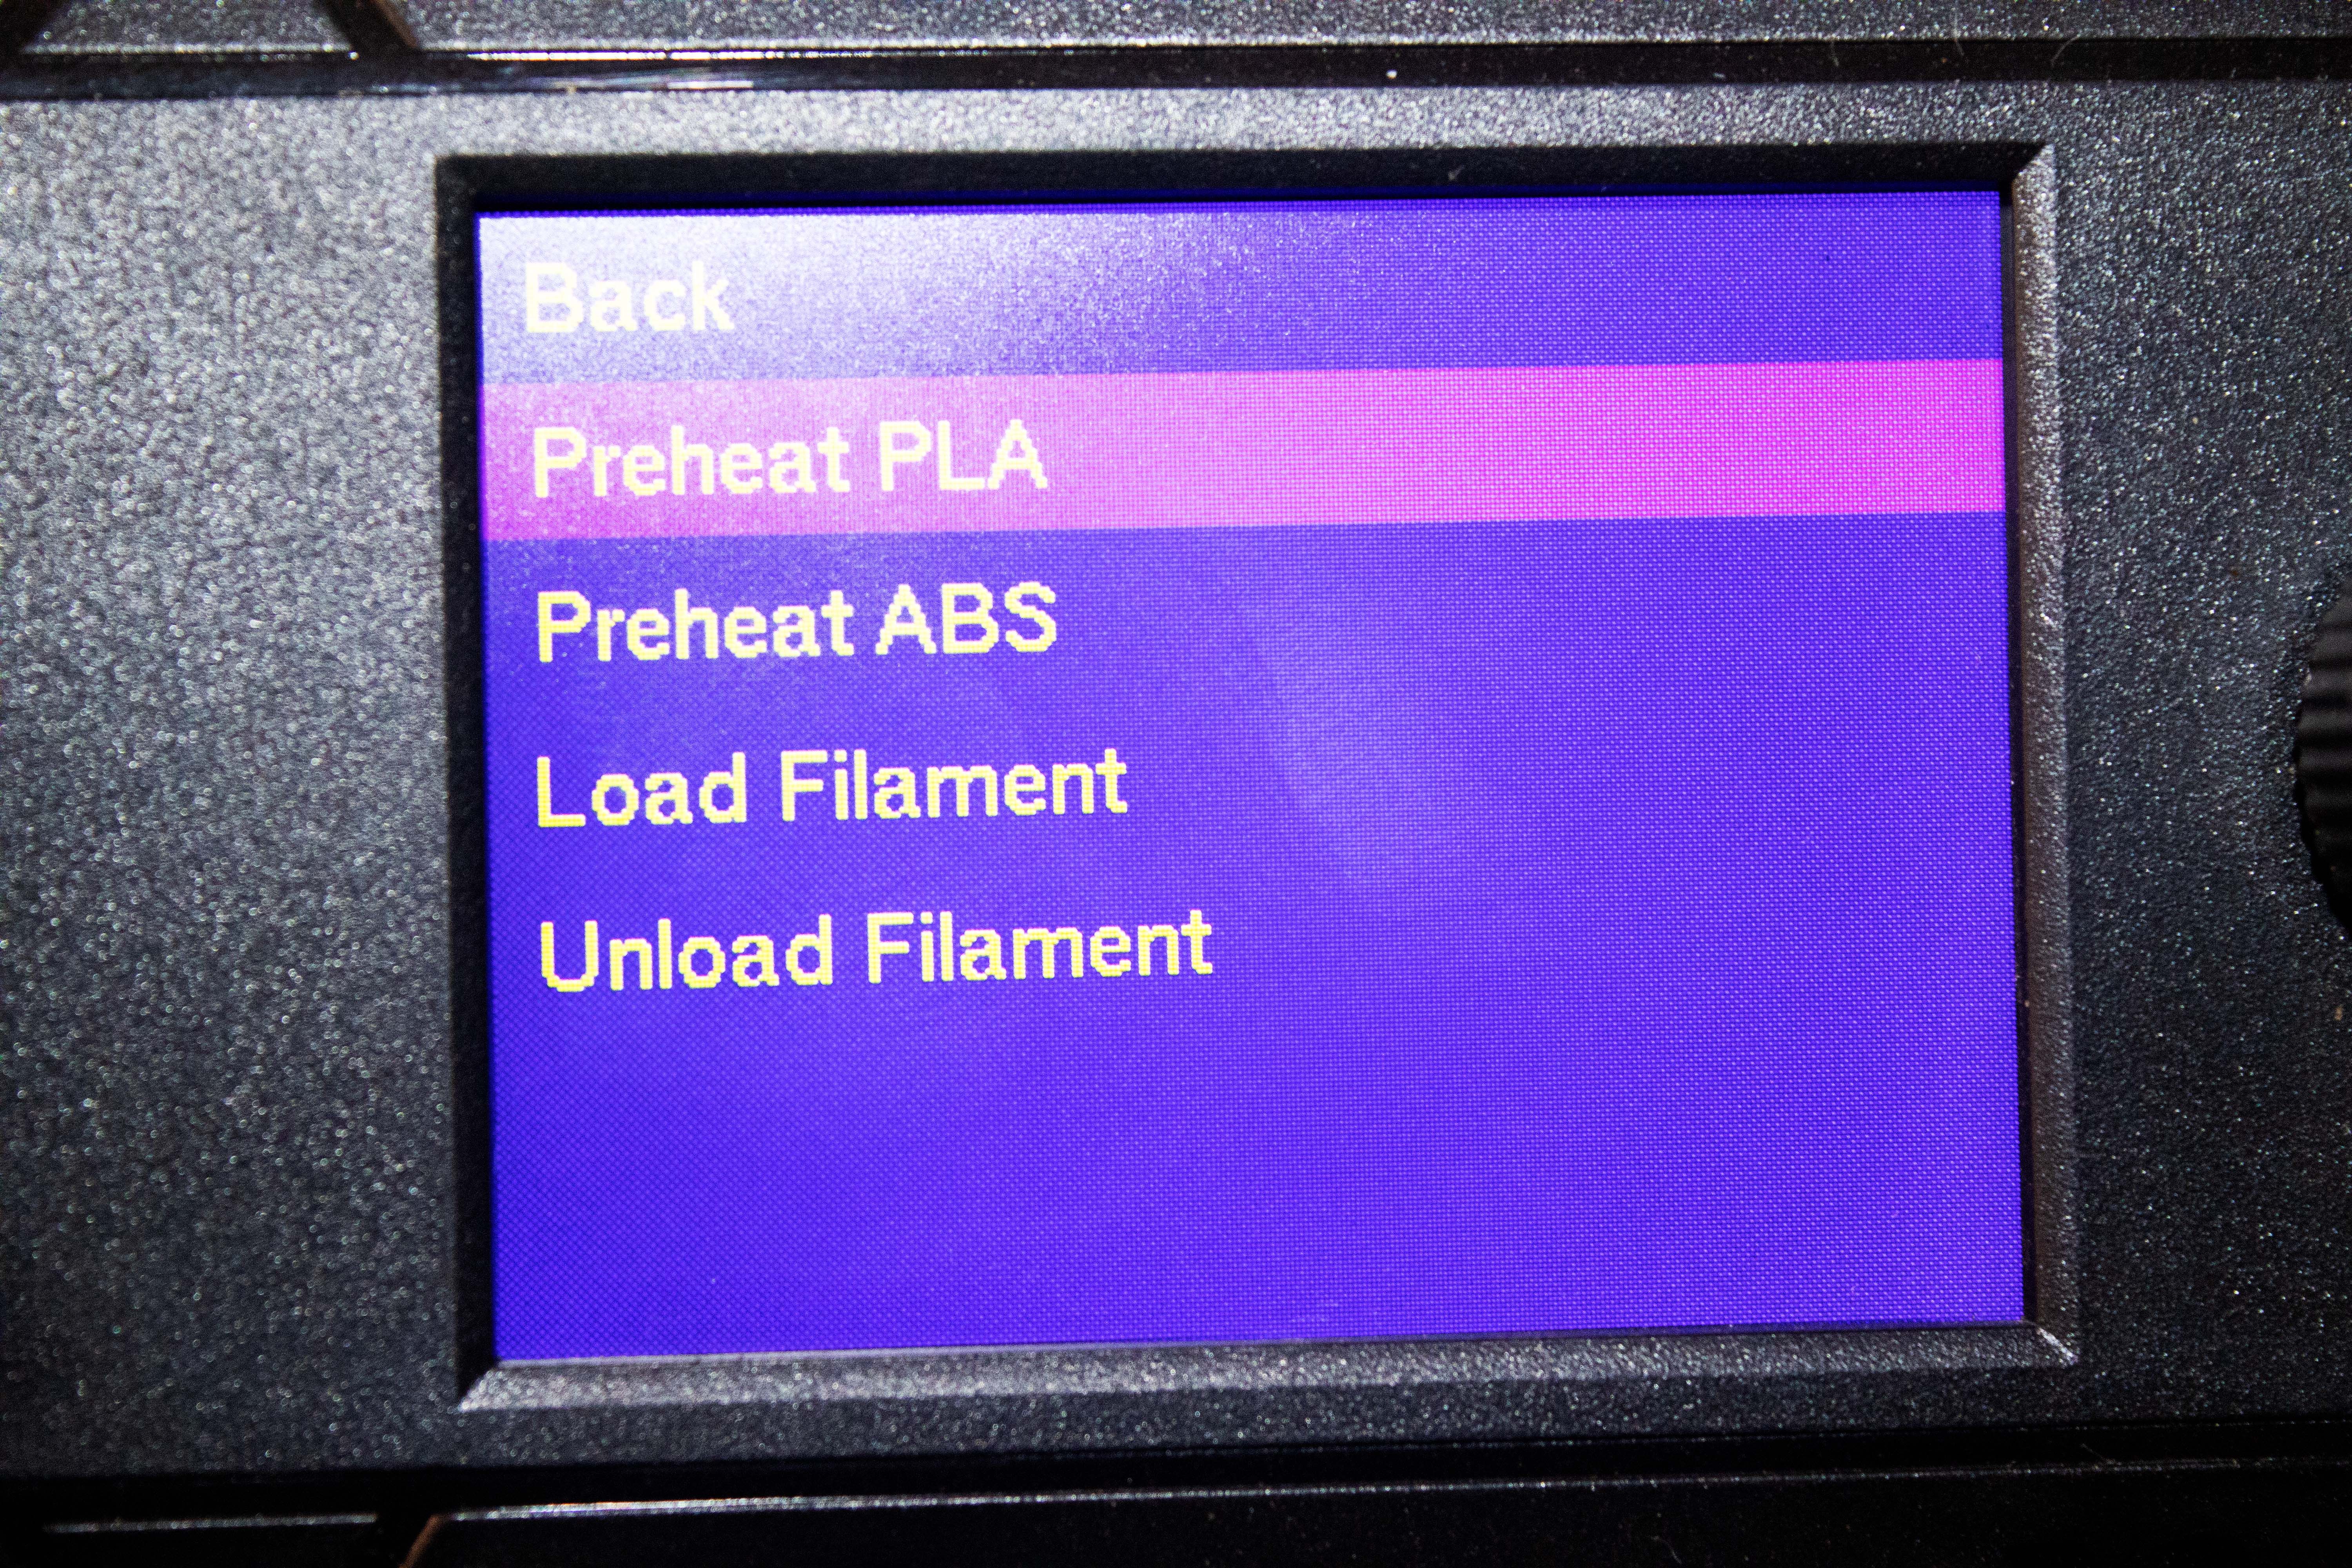
Next, choosePreheat PLA(the material we will use).
If you are using ABS, you’re able to selectPreheat ABSinstead.
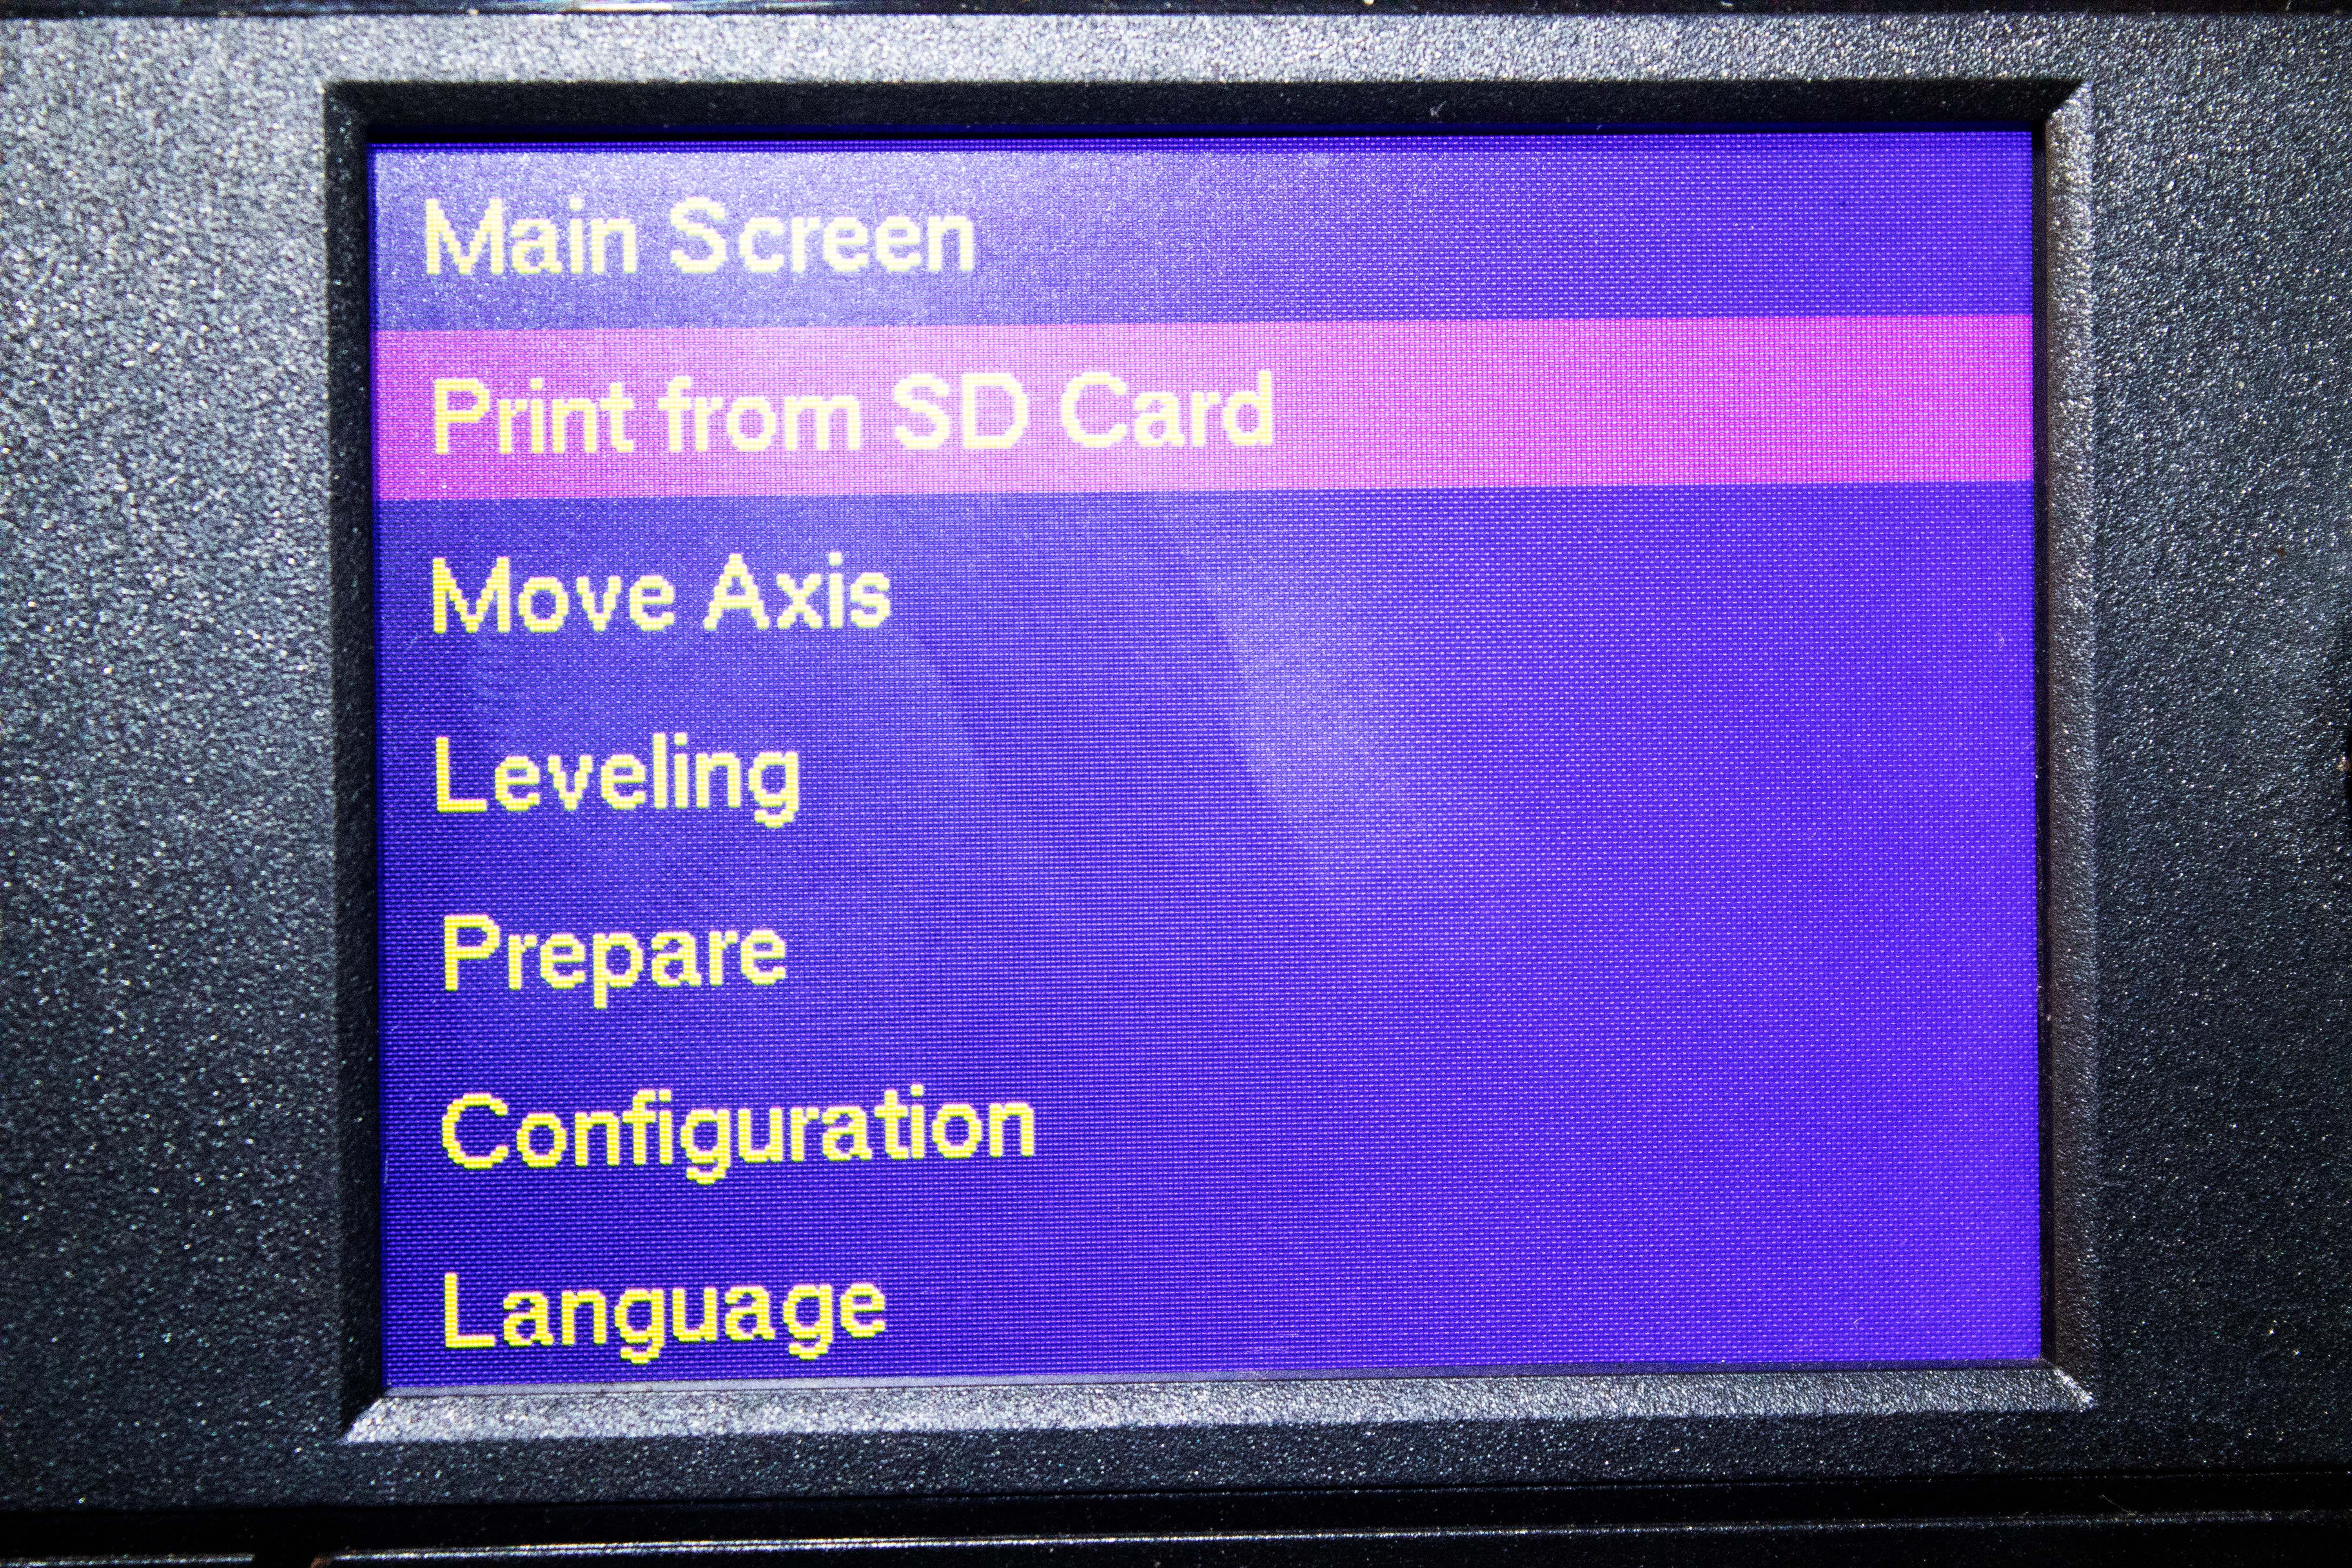
you might find more prefs inMenu > Prepare.
Finally, go toPrintfrom SD Cardfrom the menu options, select your model, and start 3D printing.
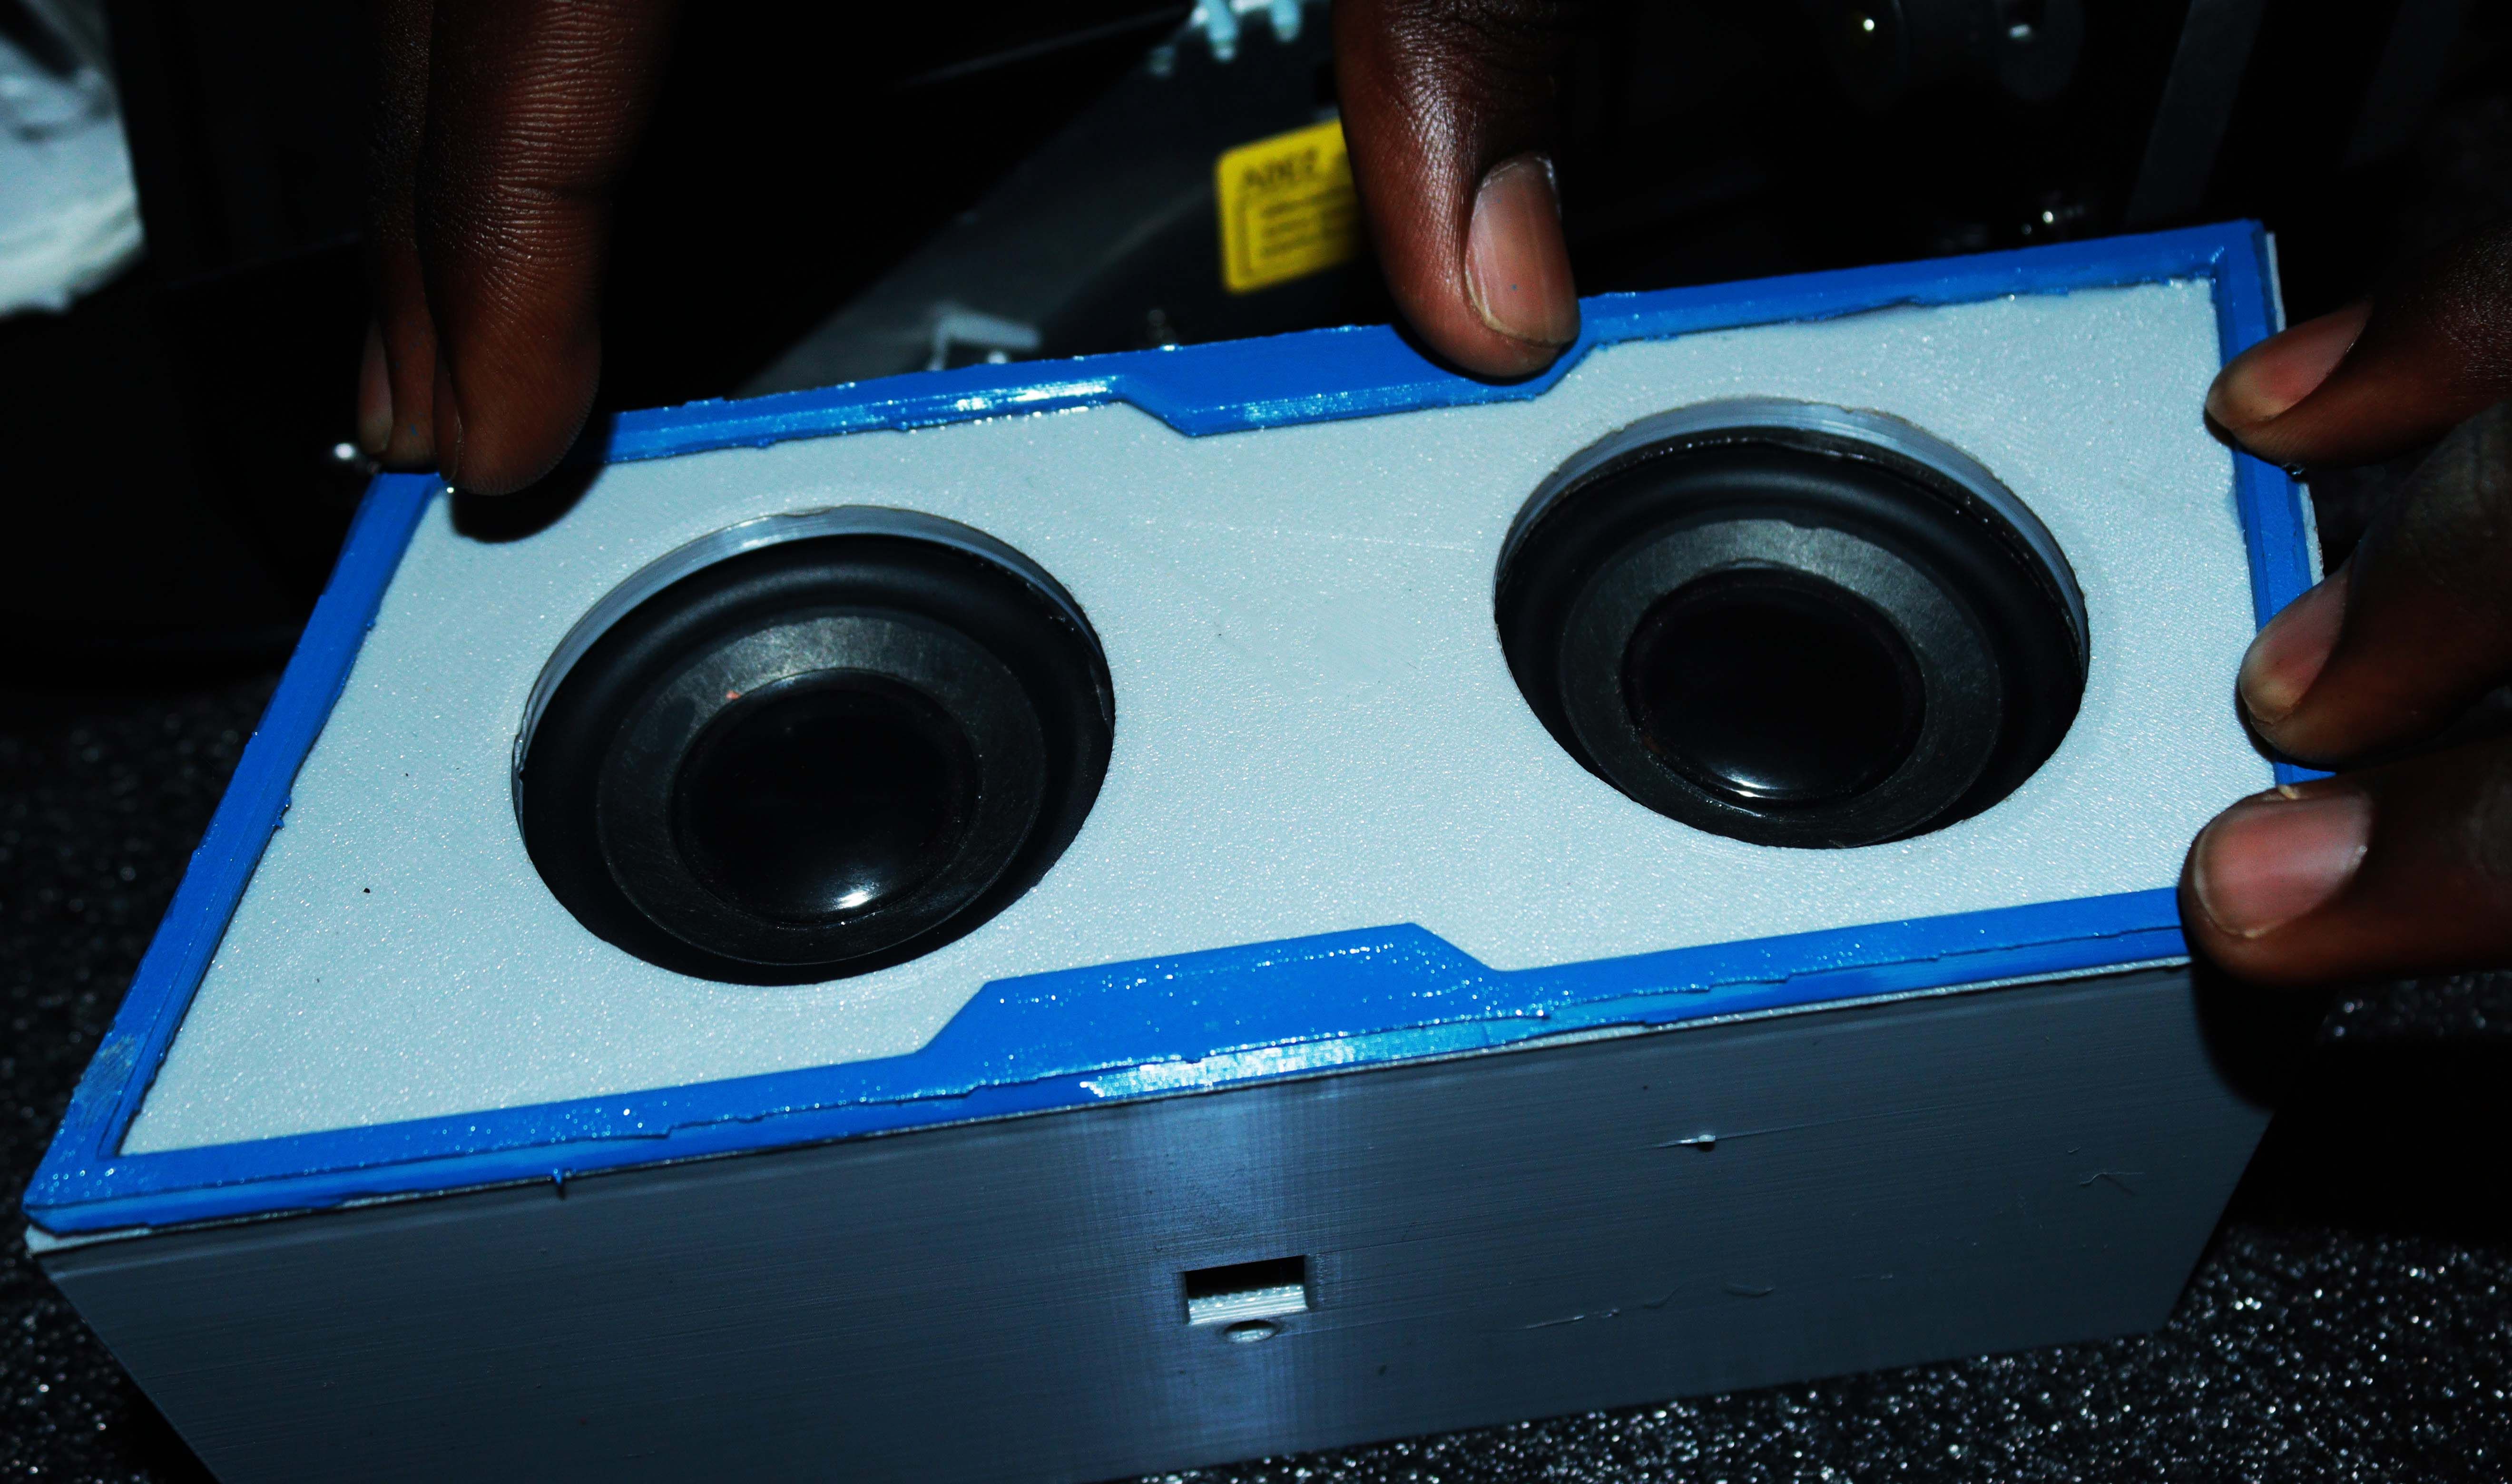
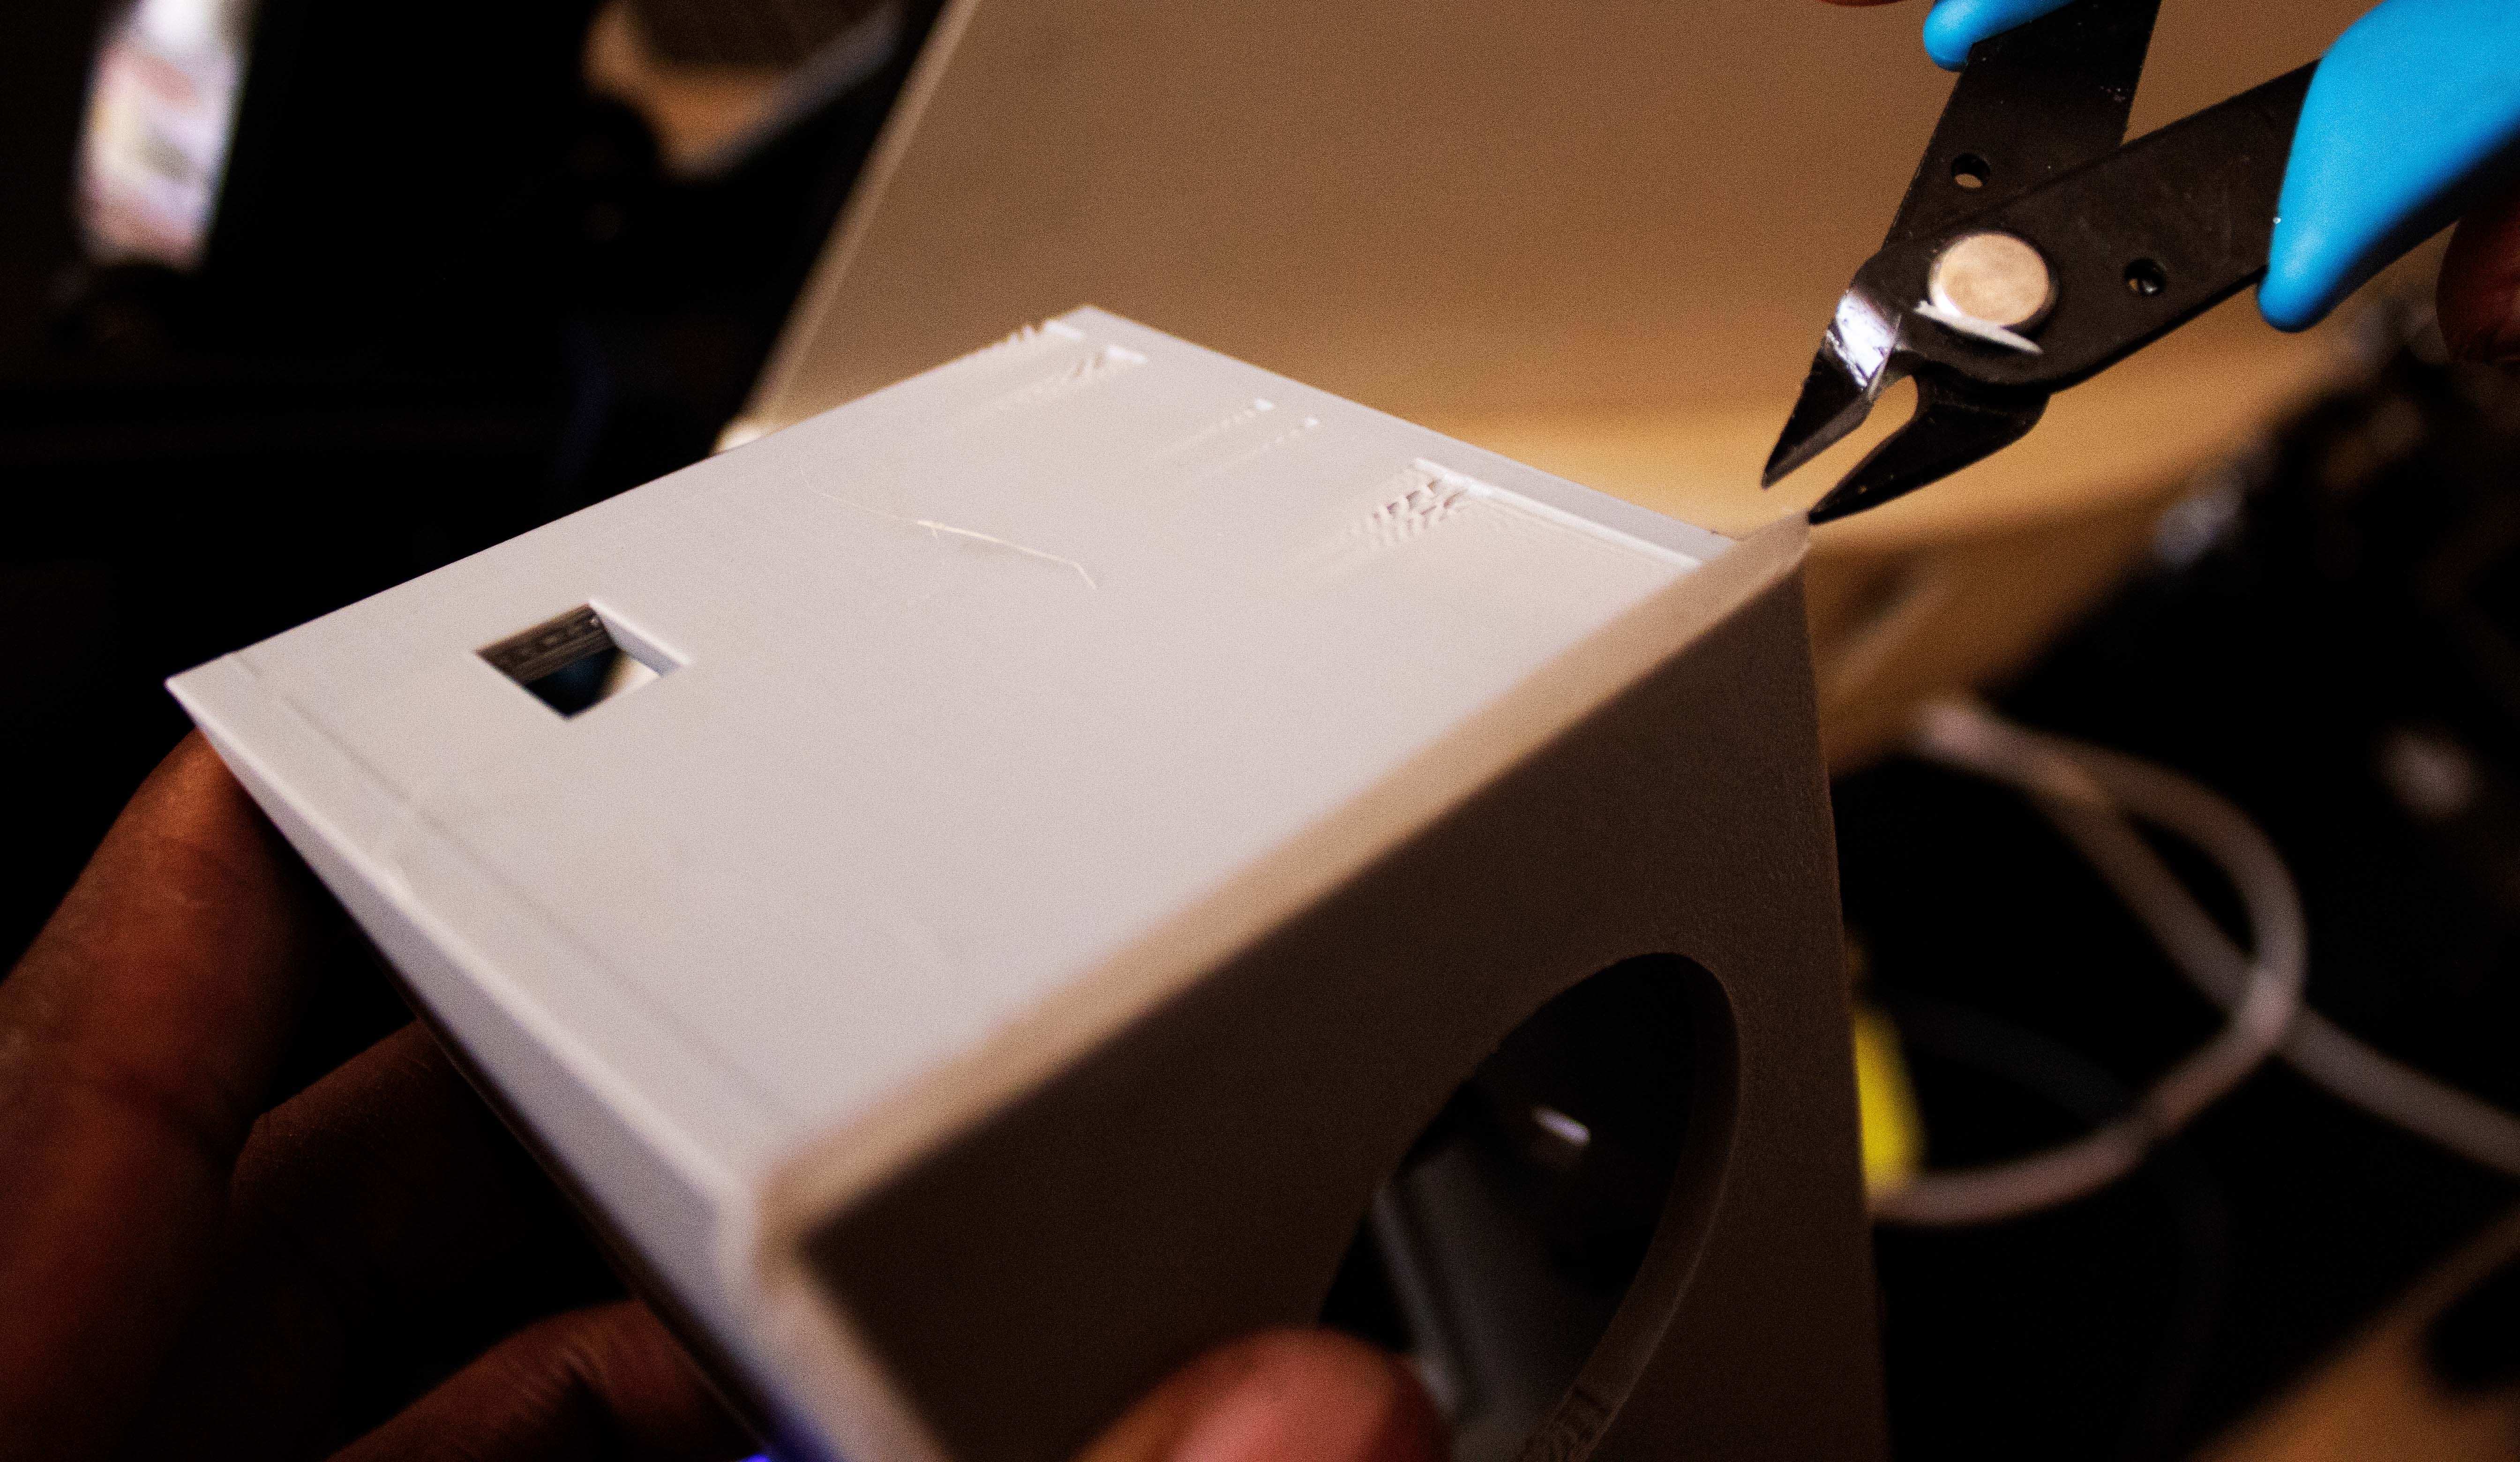
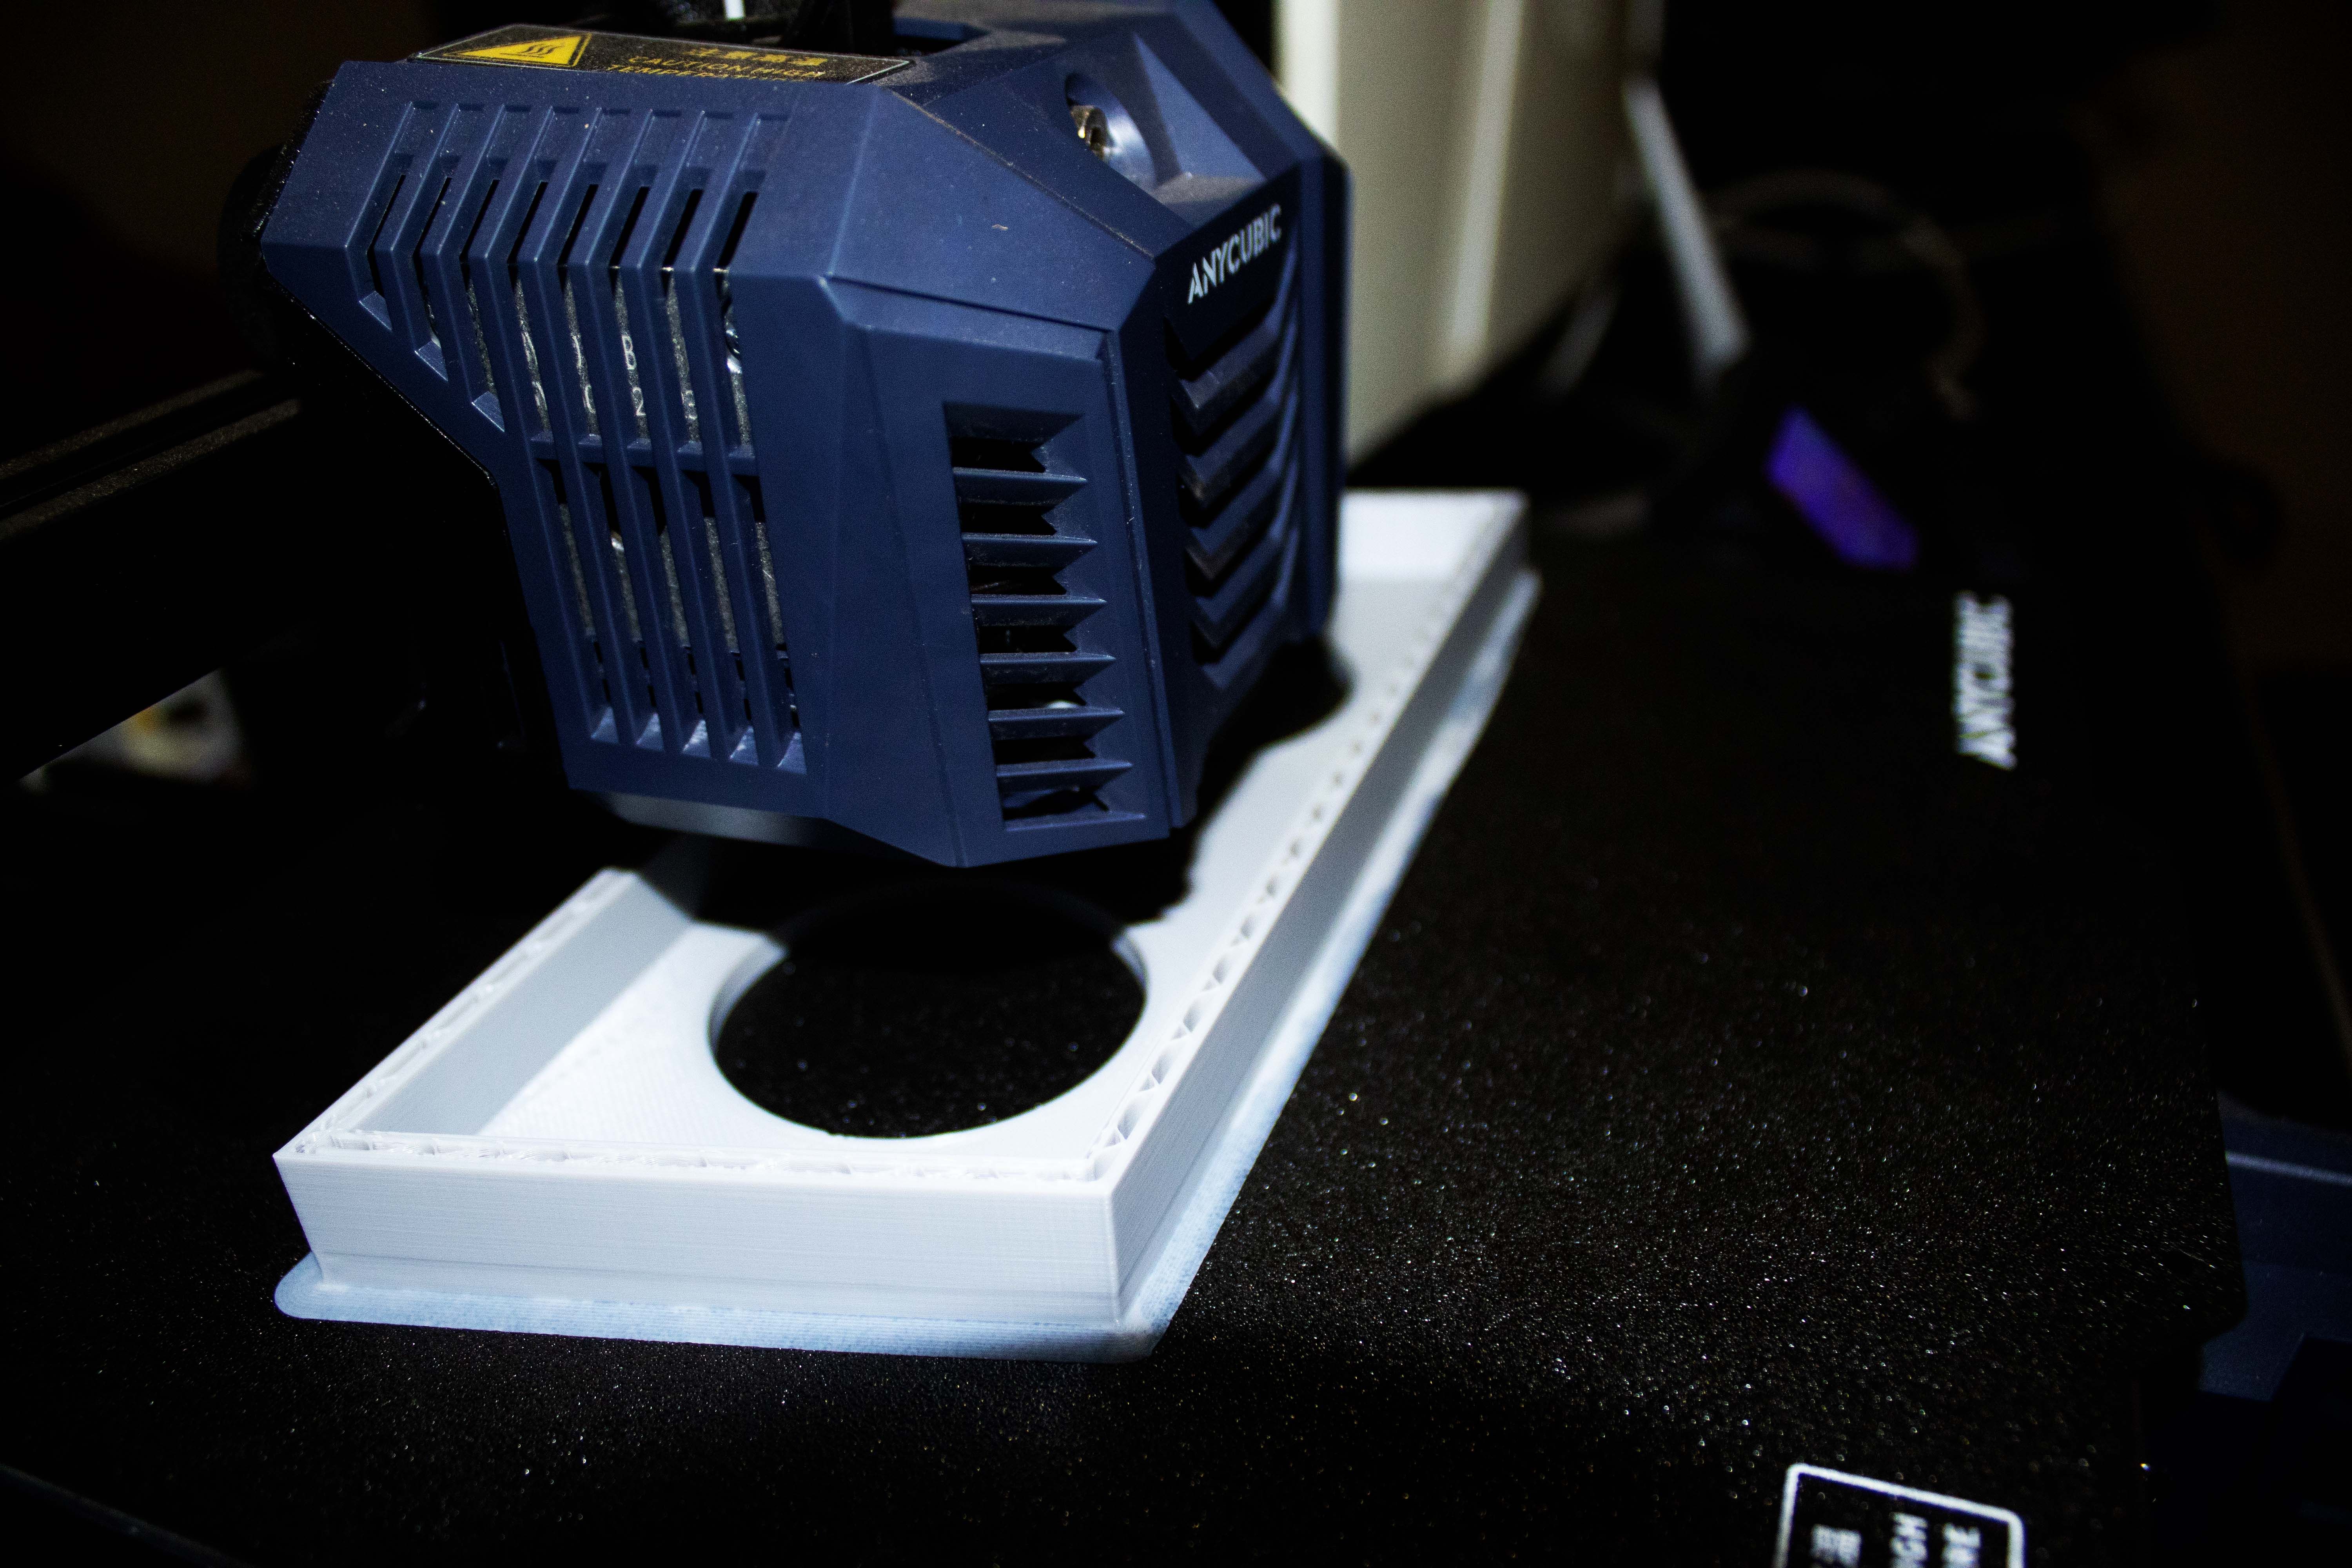
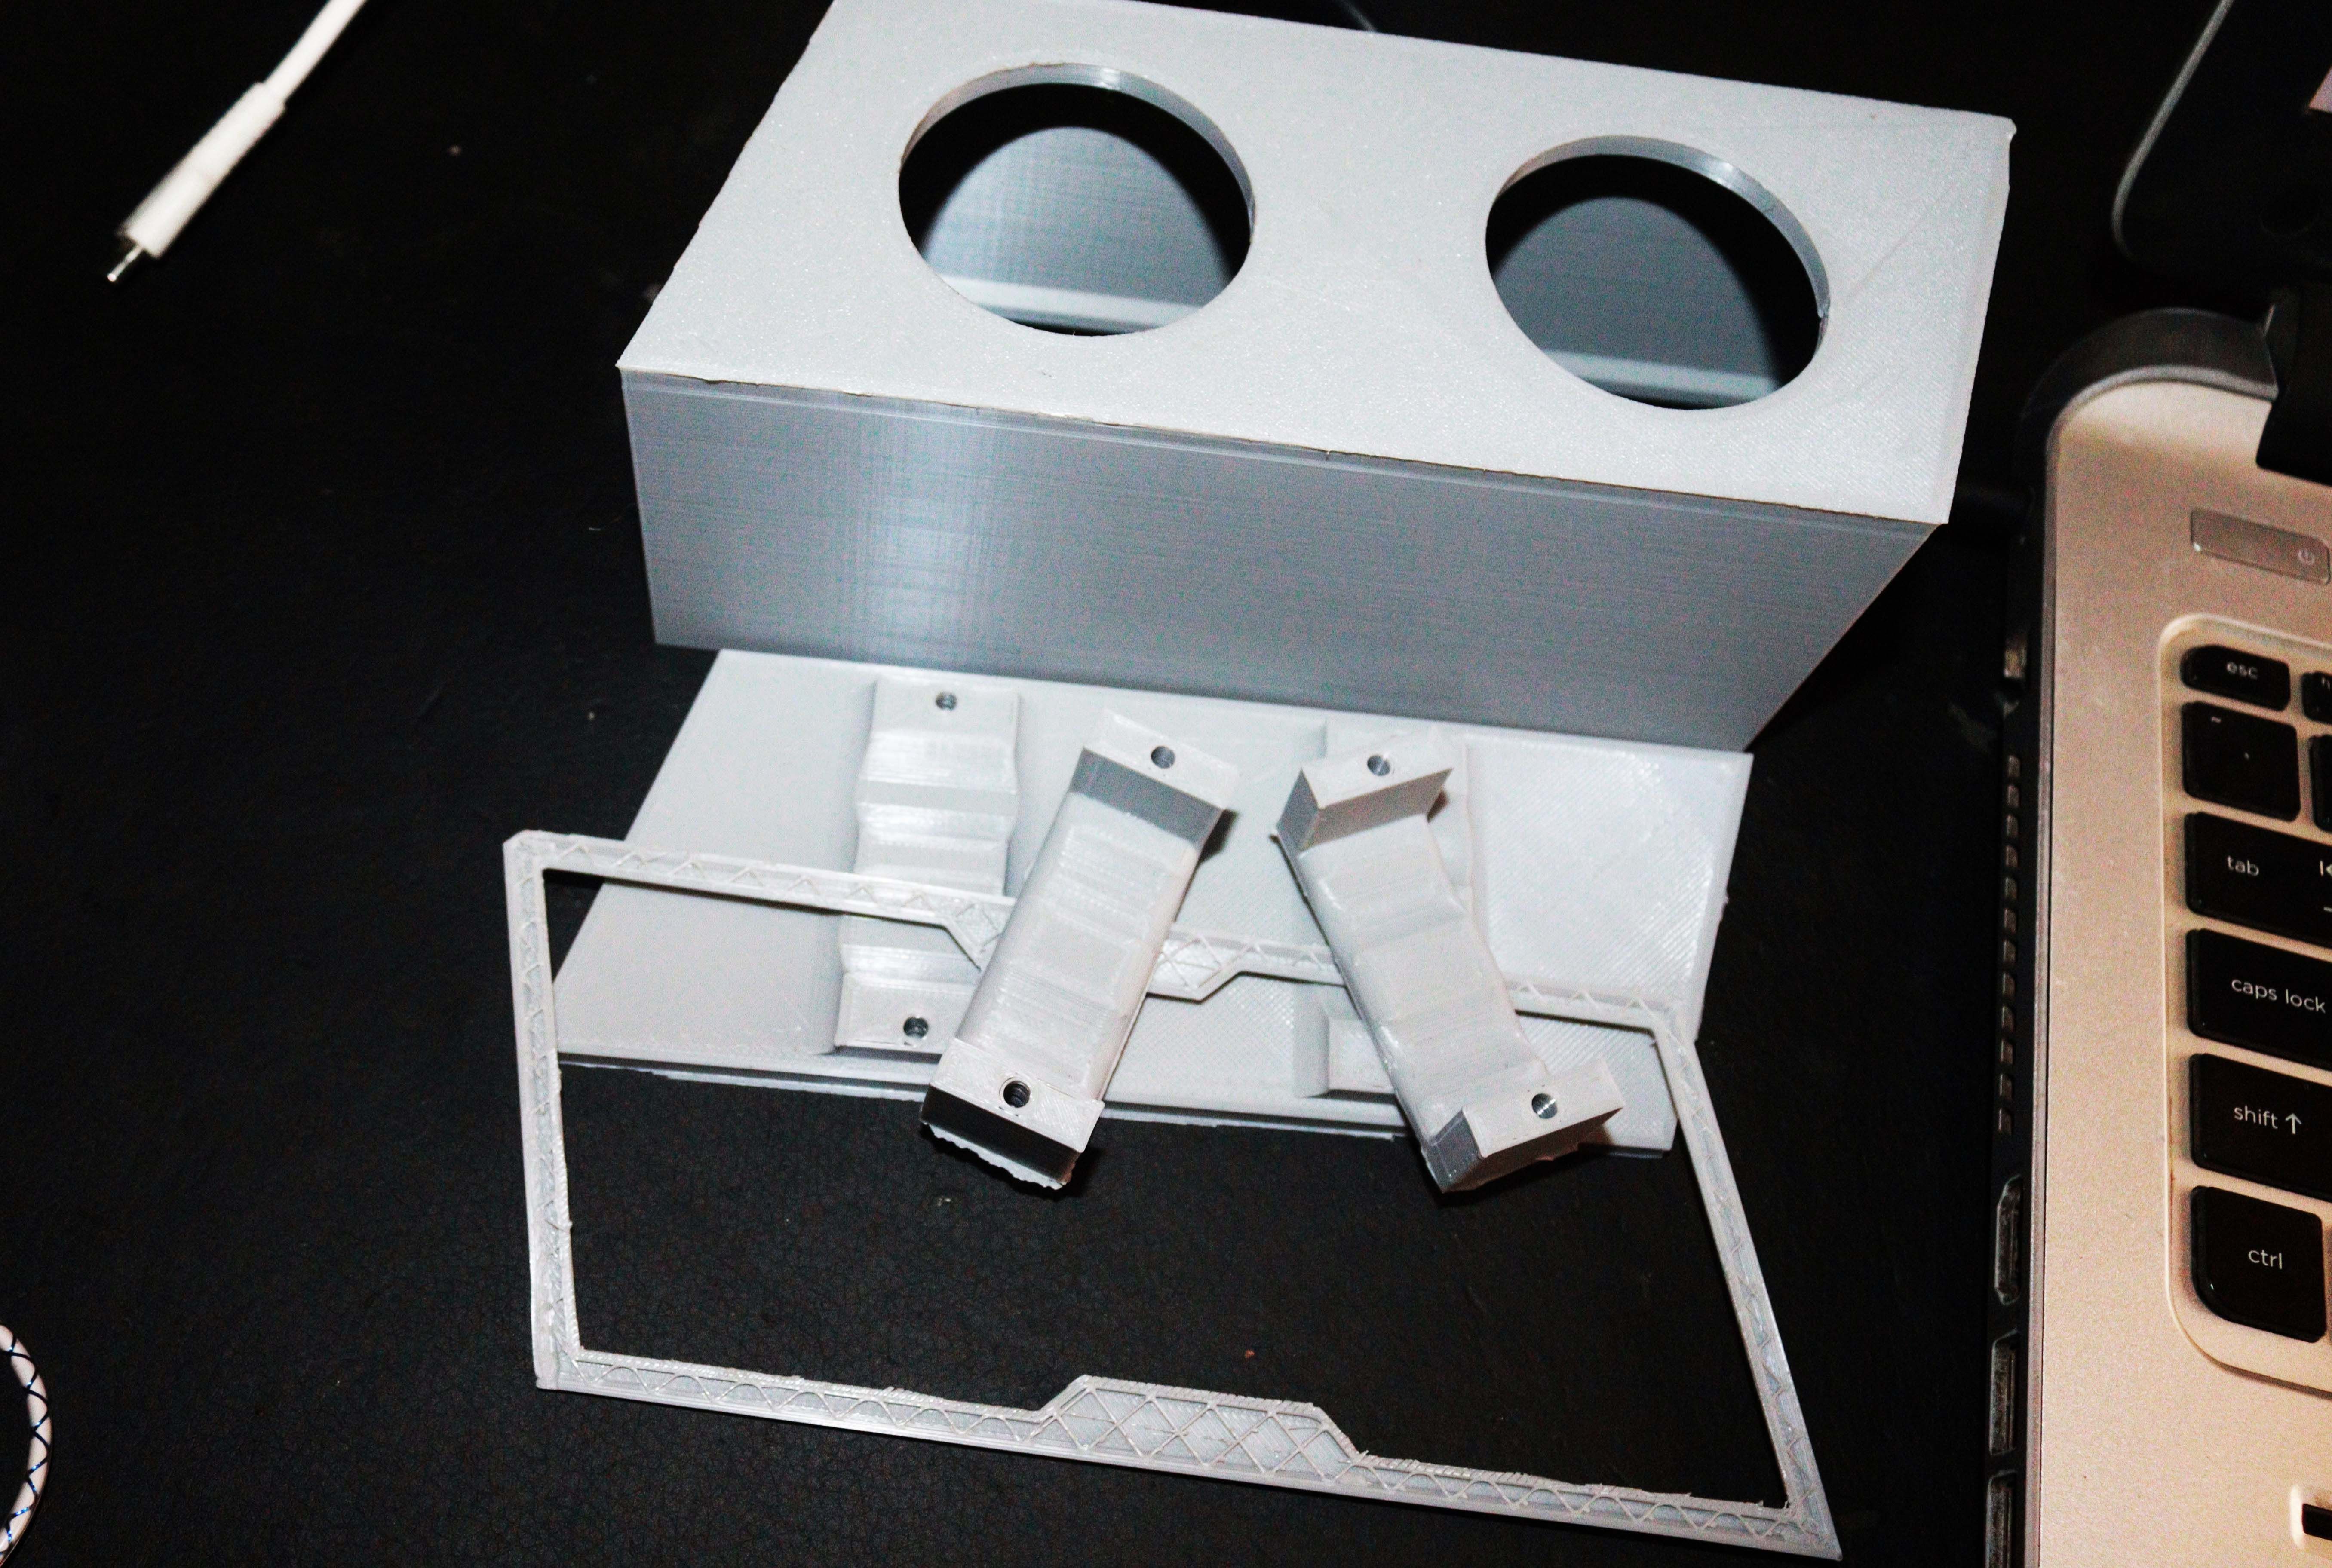
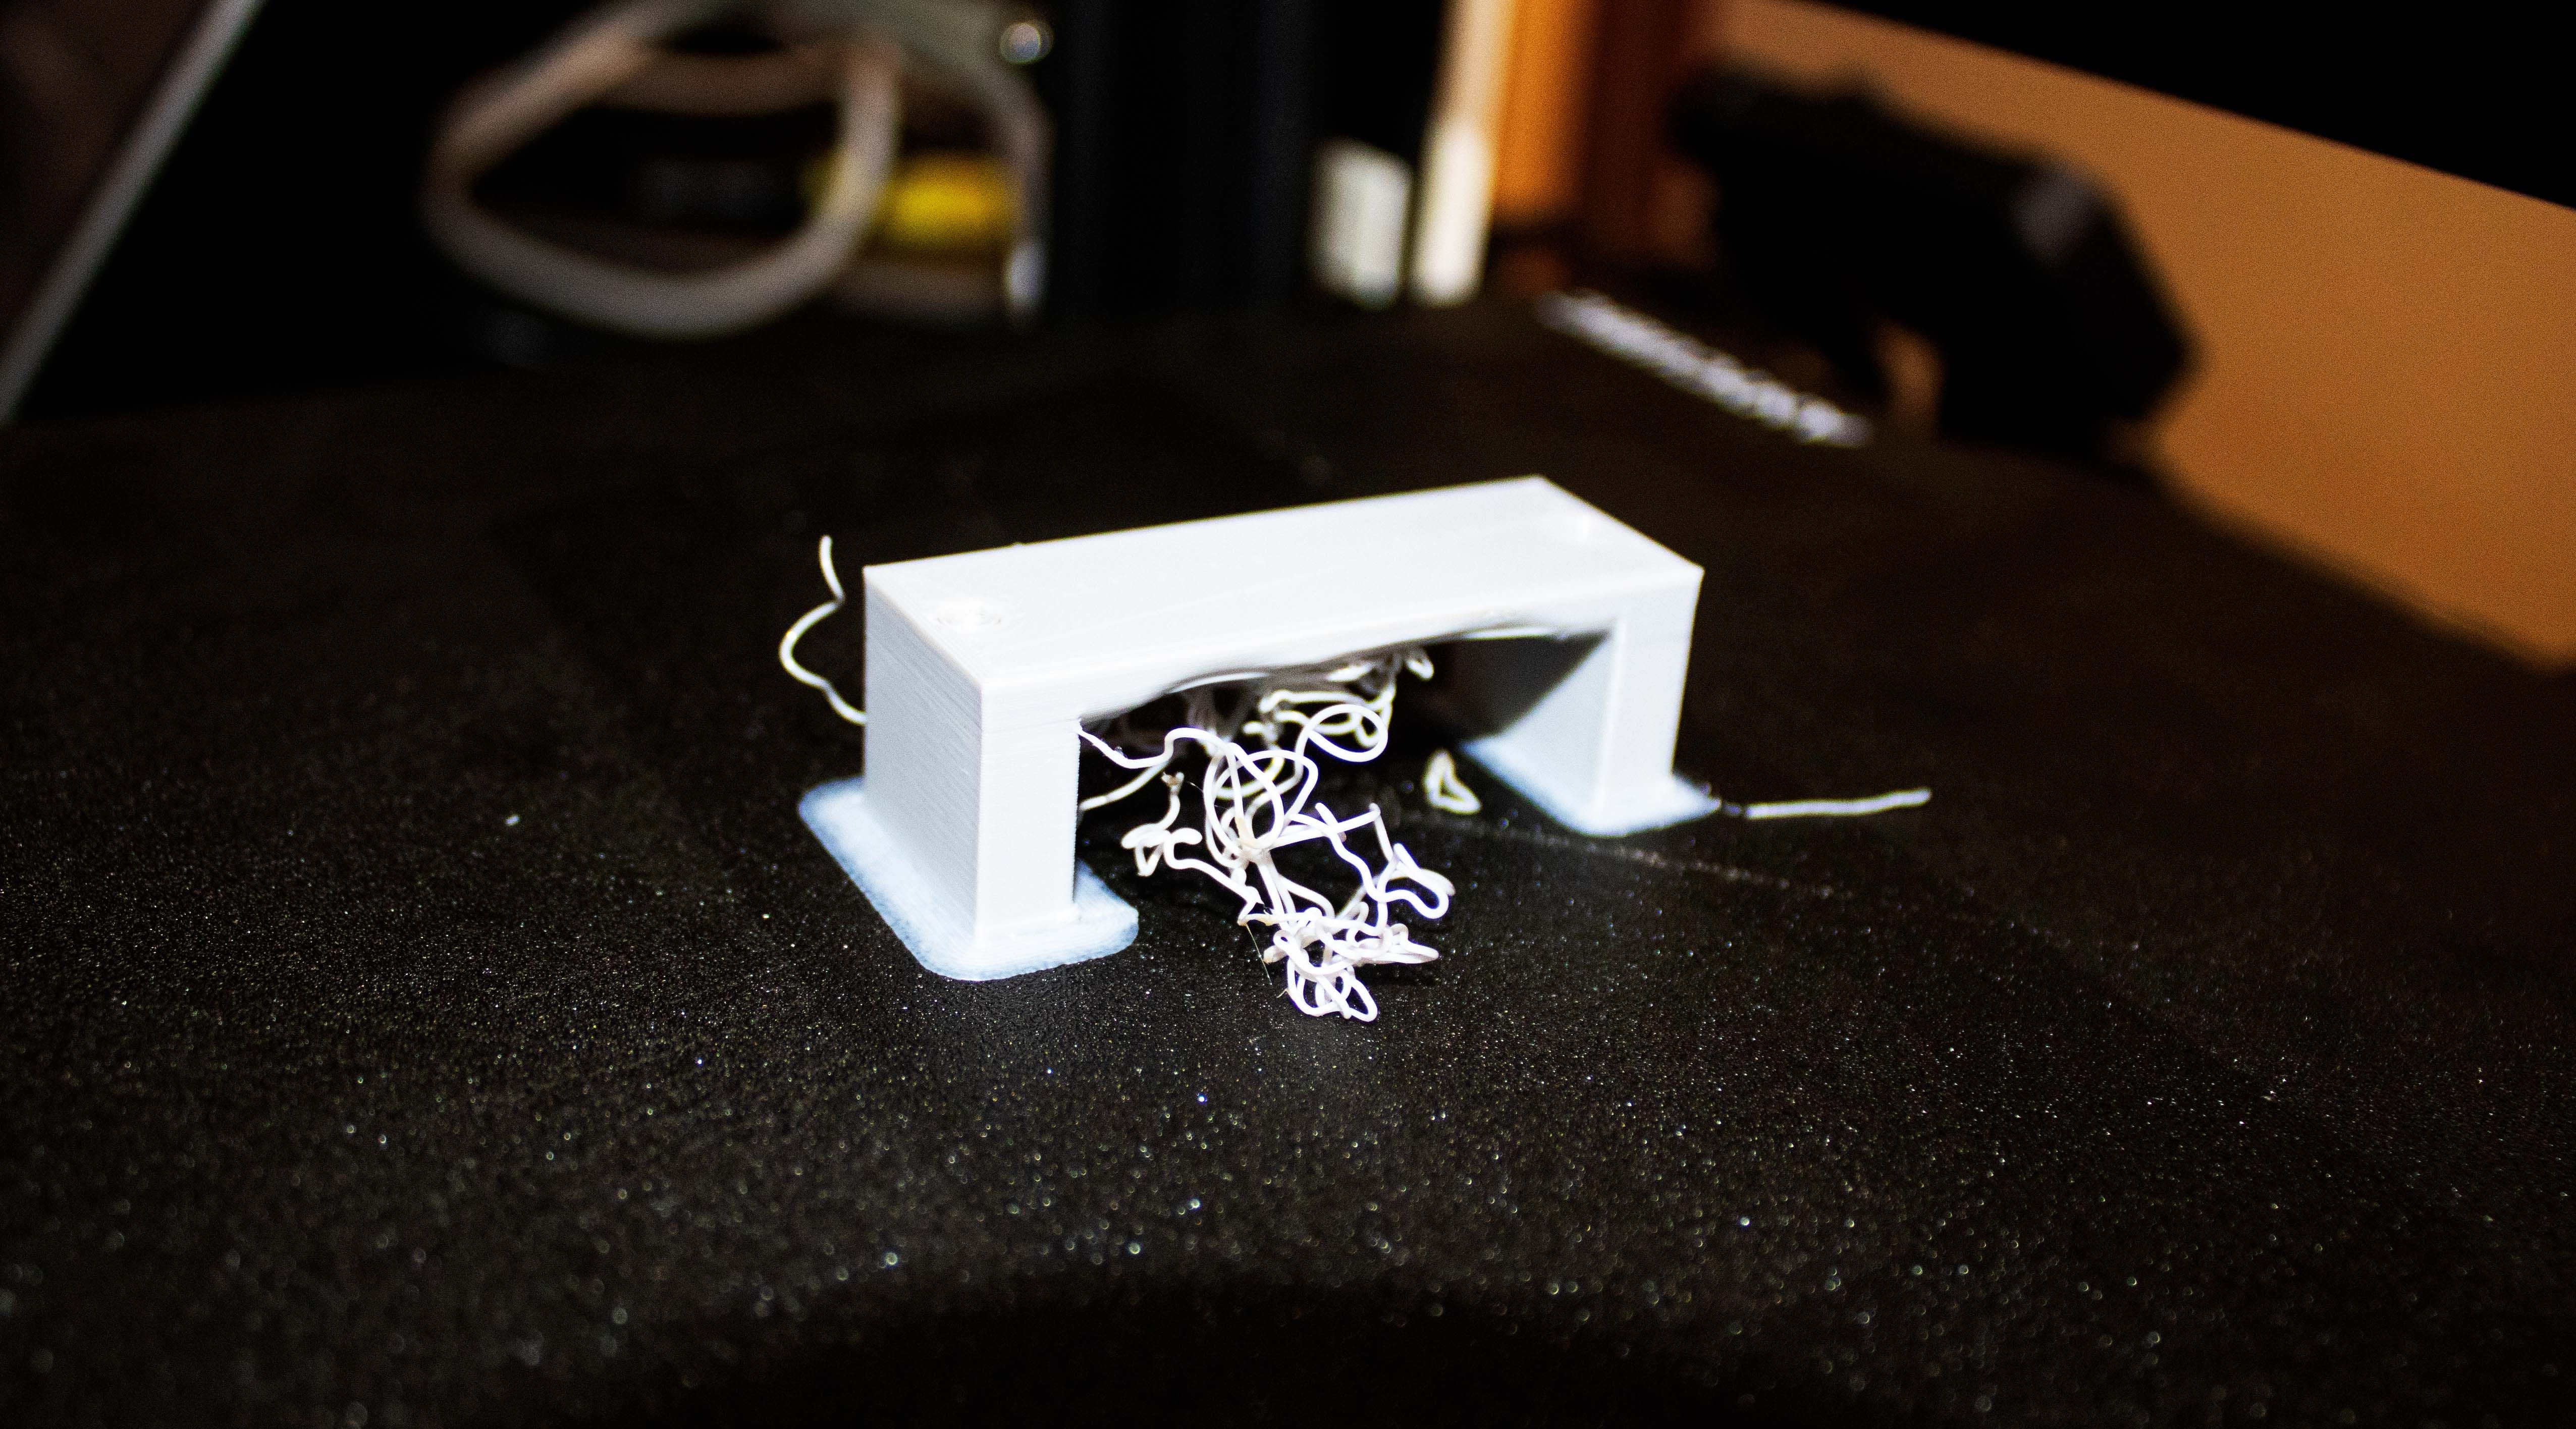
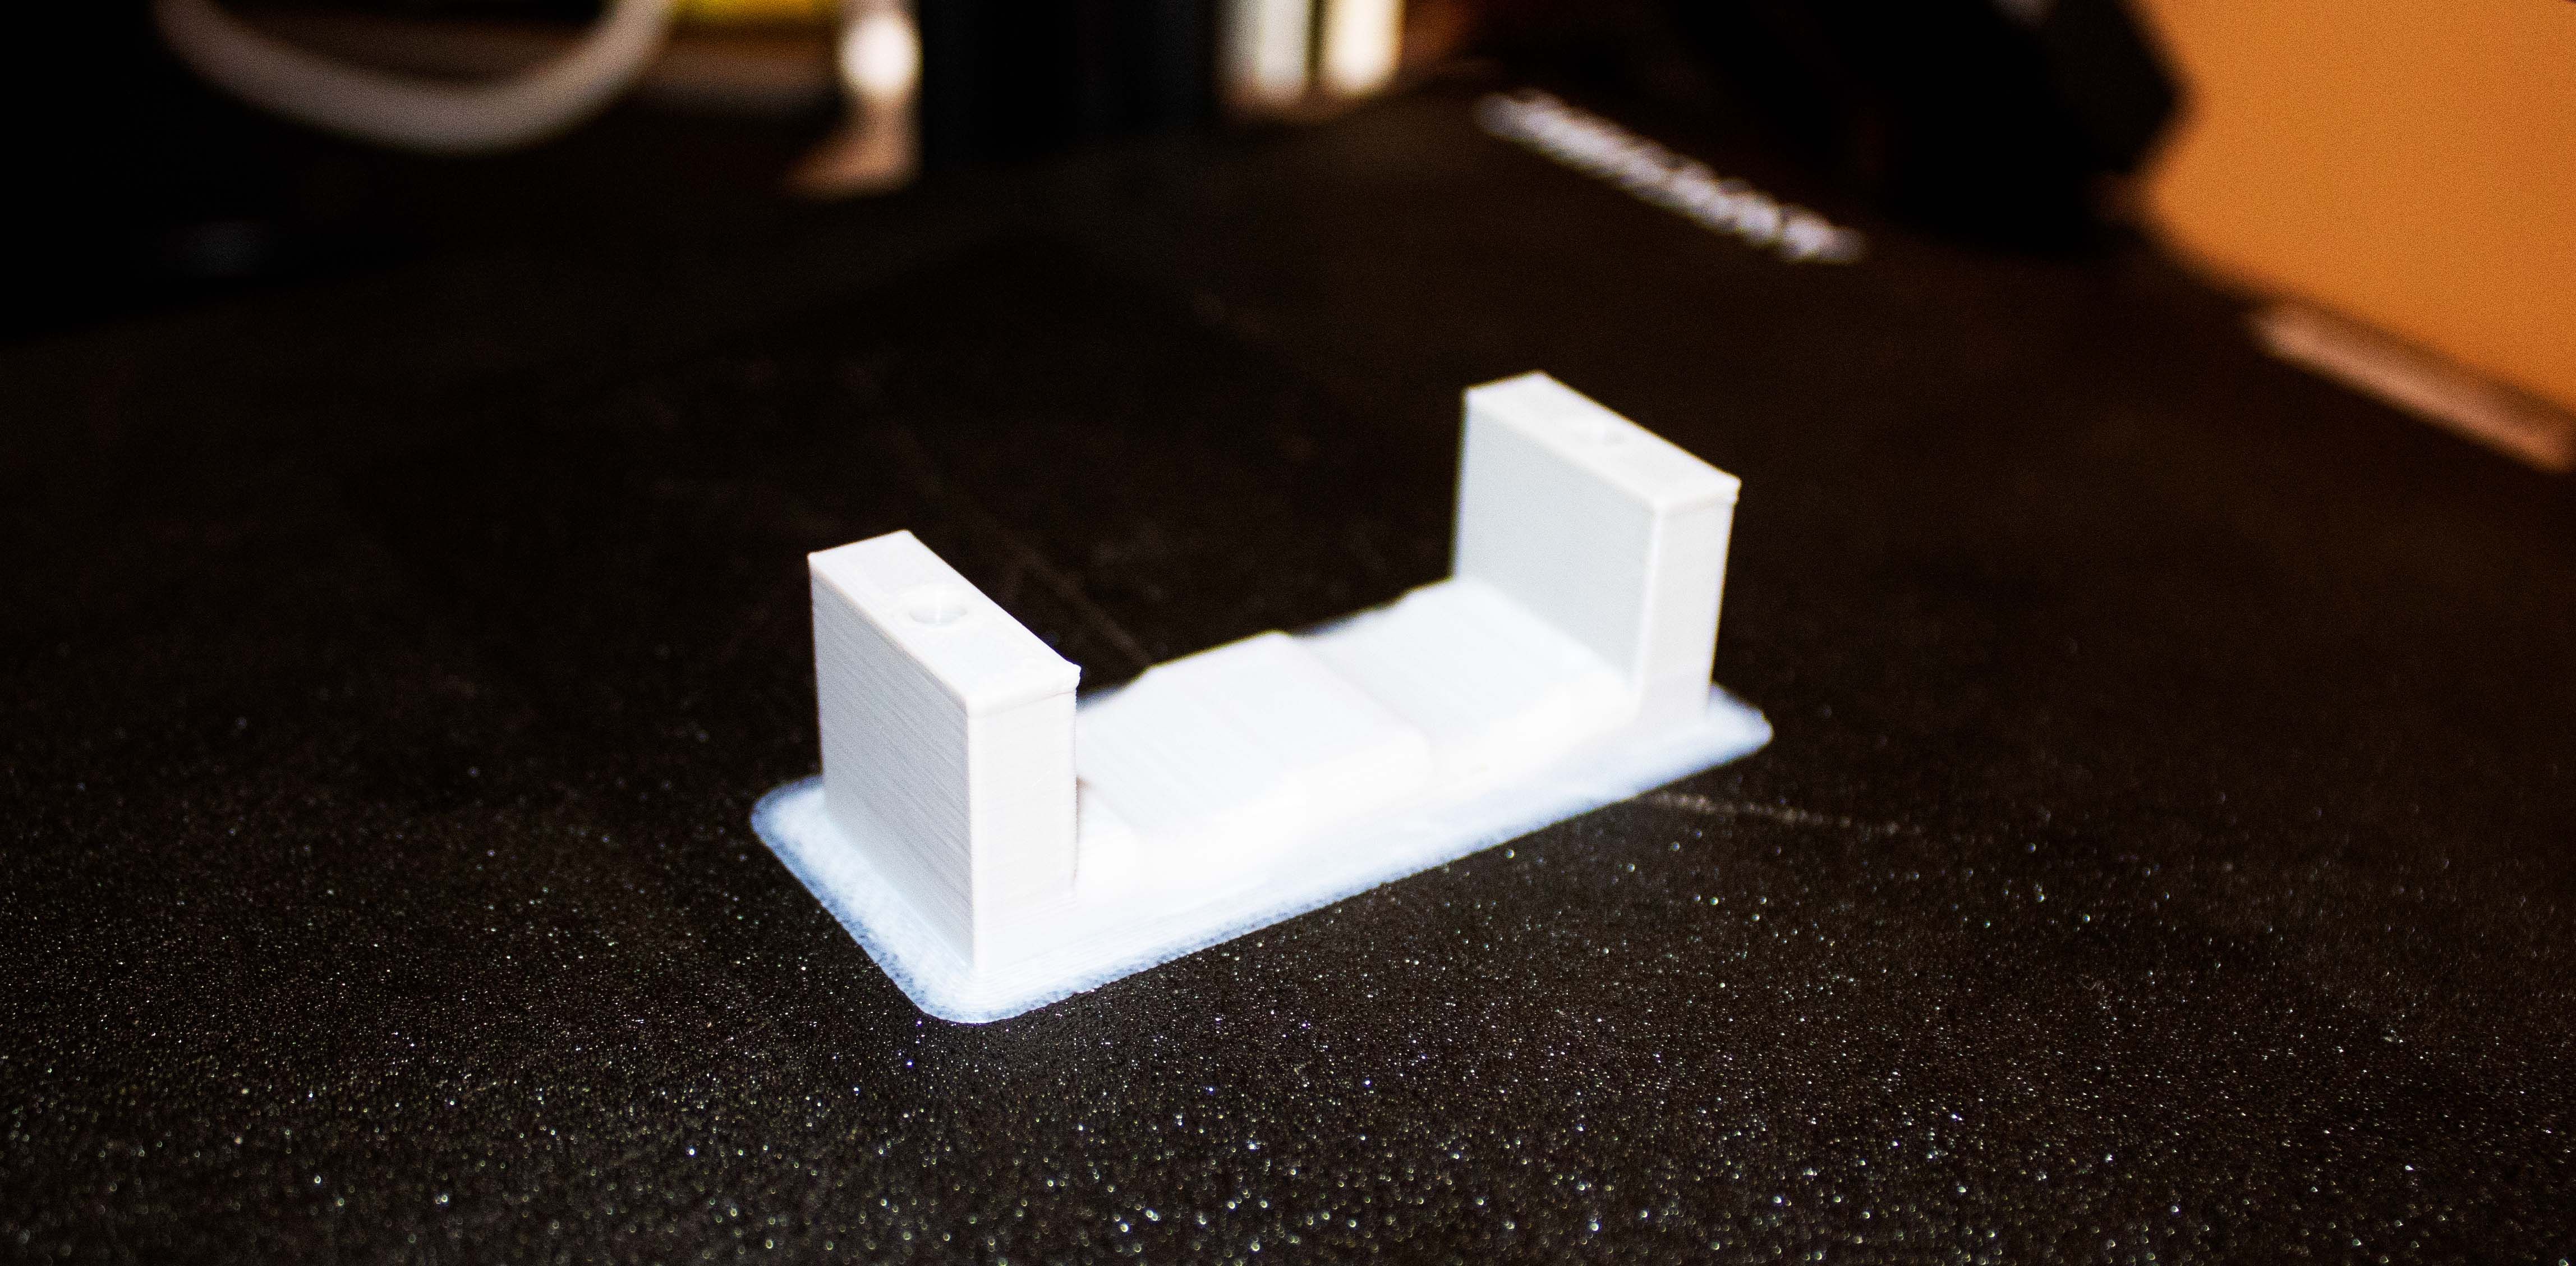
When you finish 3D printing, you should have the parts shown below.
Next, you’ve got the option to paint it based on how you want it to appear.
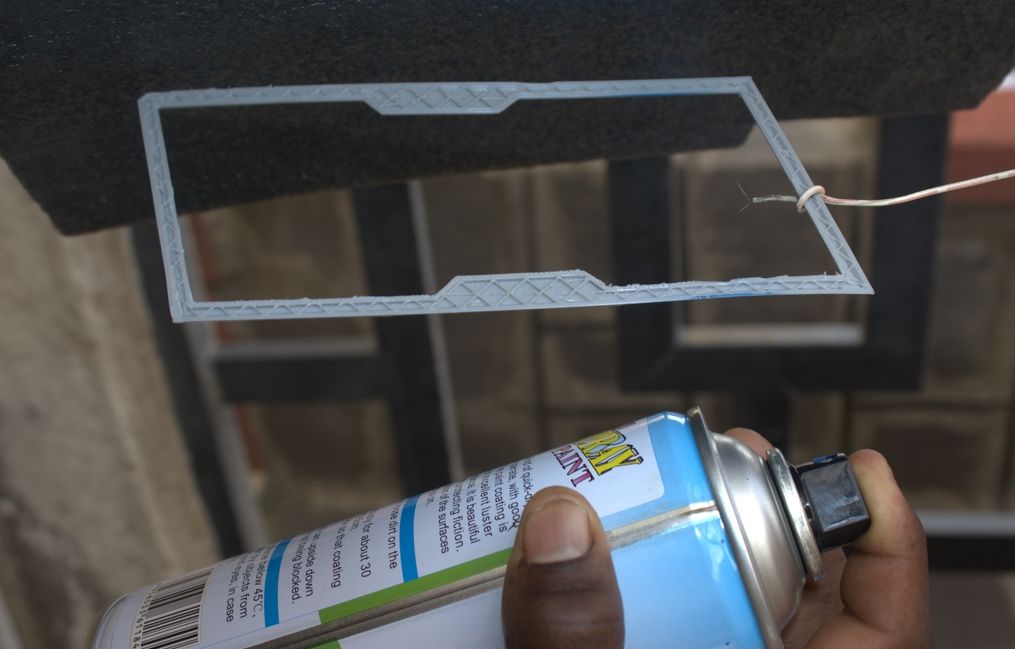
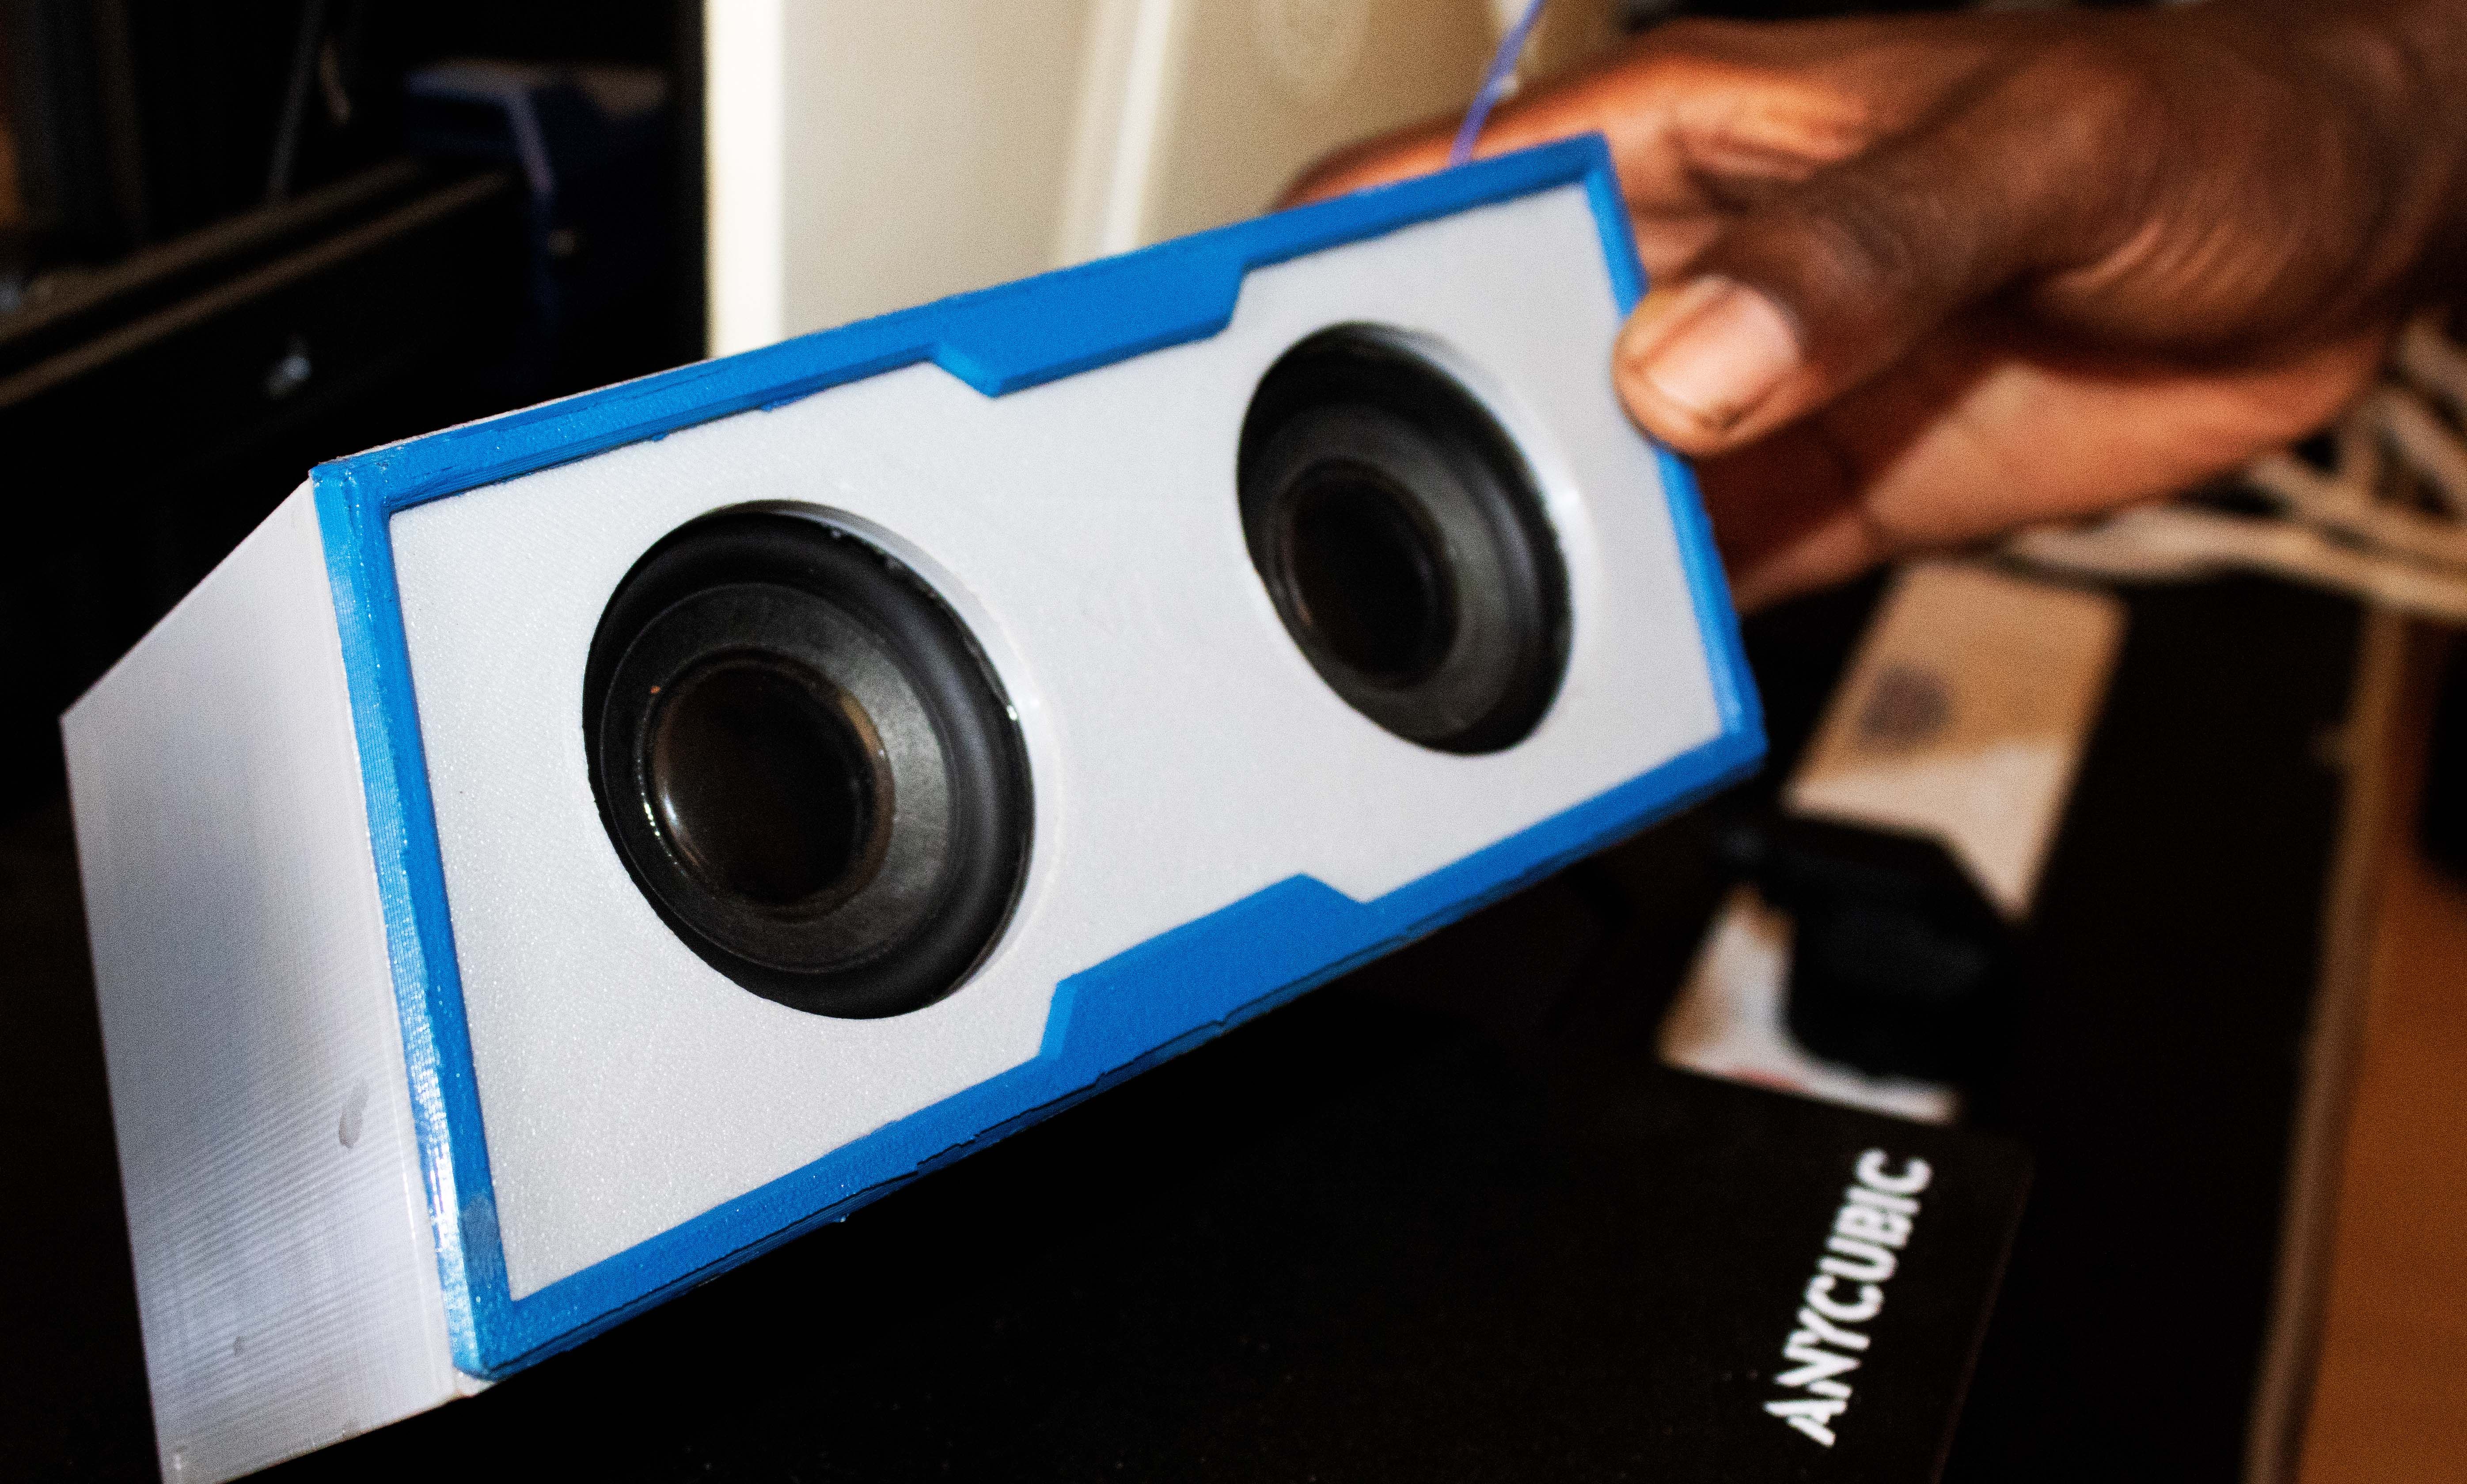
In our case, we will paint the outer front part blue.
Once the primer is dry, its time to apply your paint.
you’ve got the option to use either acrylic or spray-on paint, depending on your preference.
Be sure to apply thin coats of paint to avoid runs and streaks.
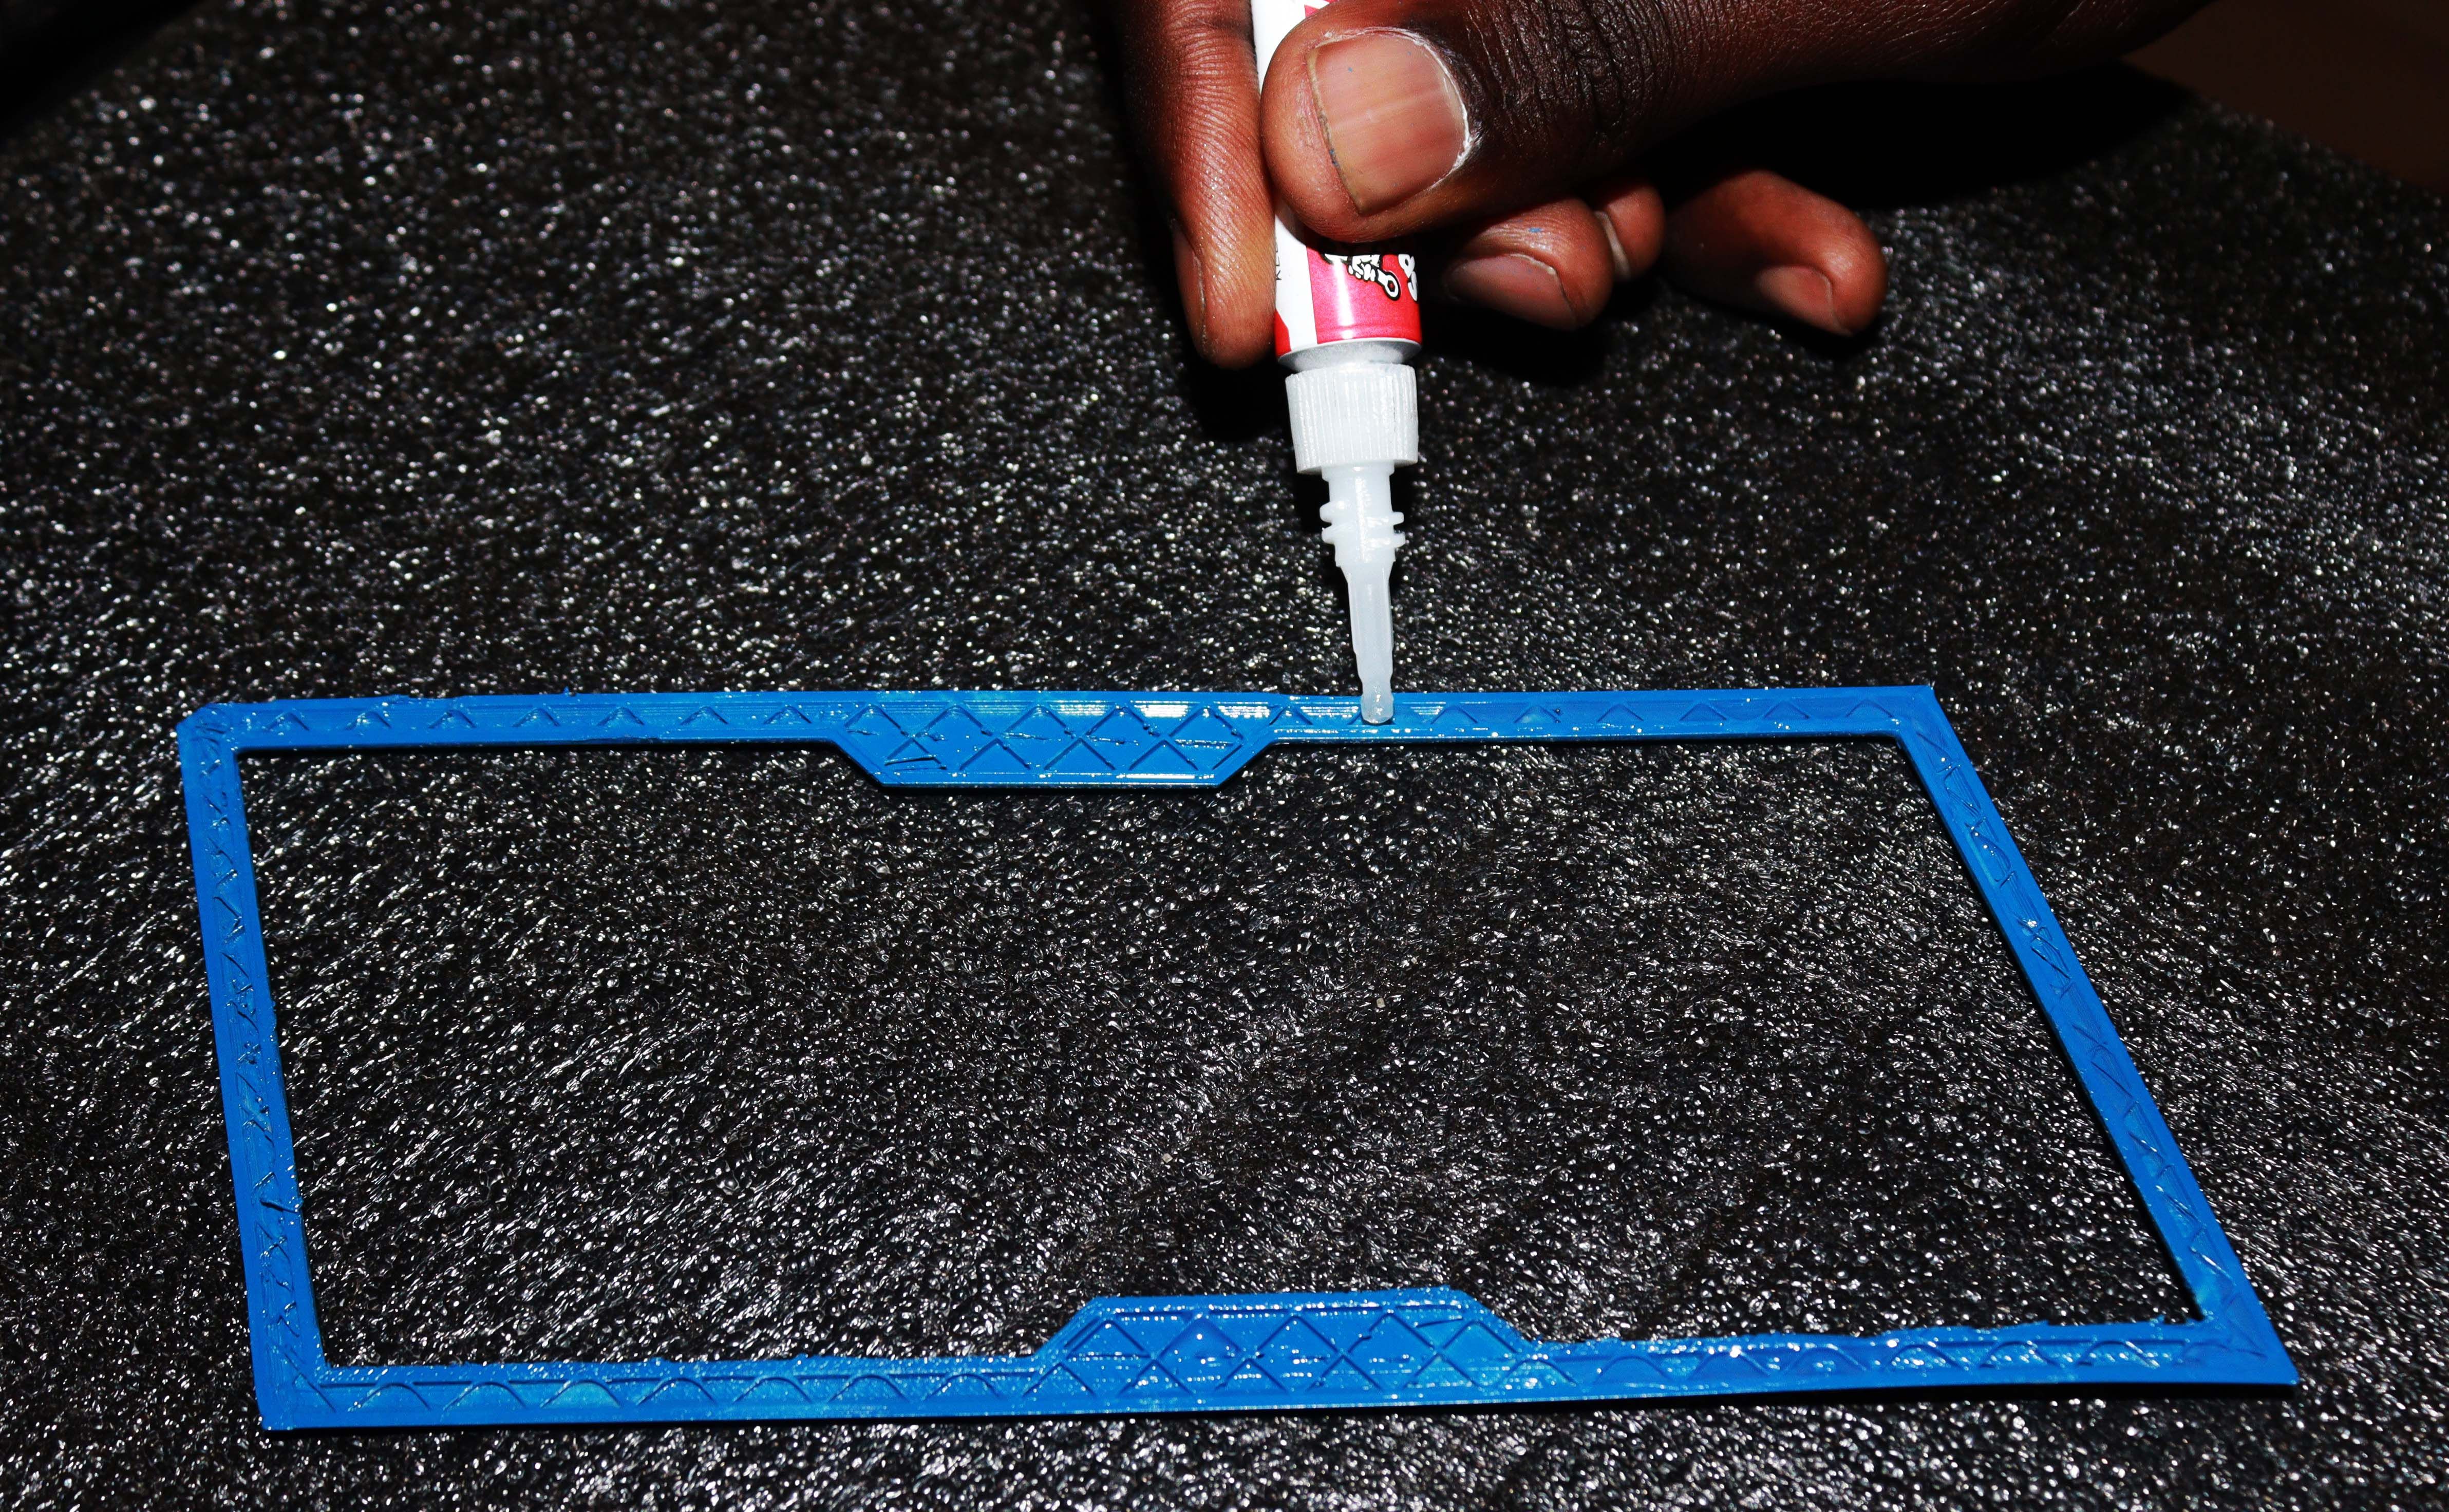
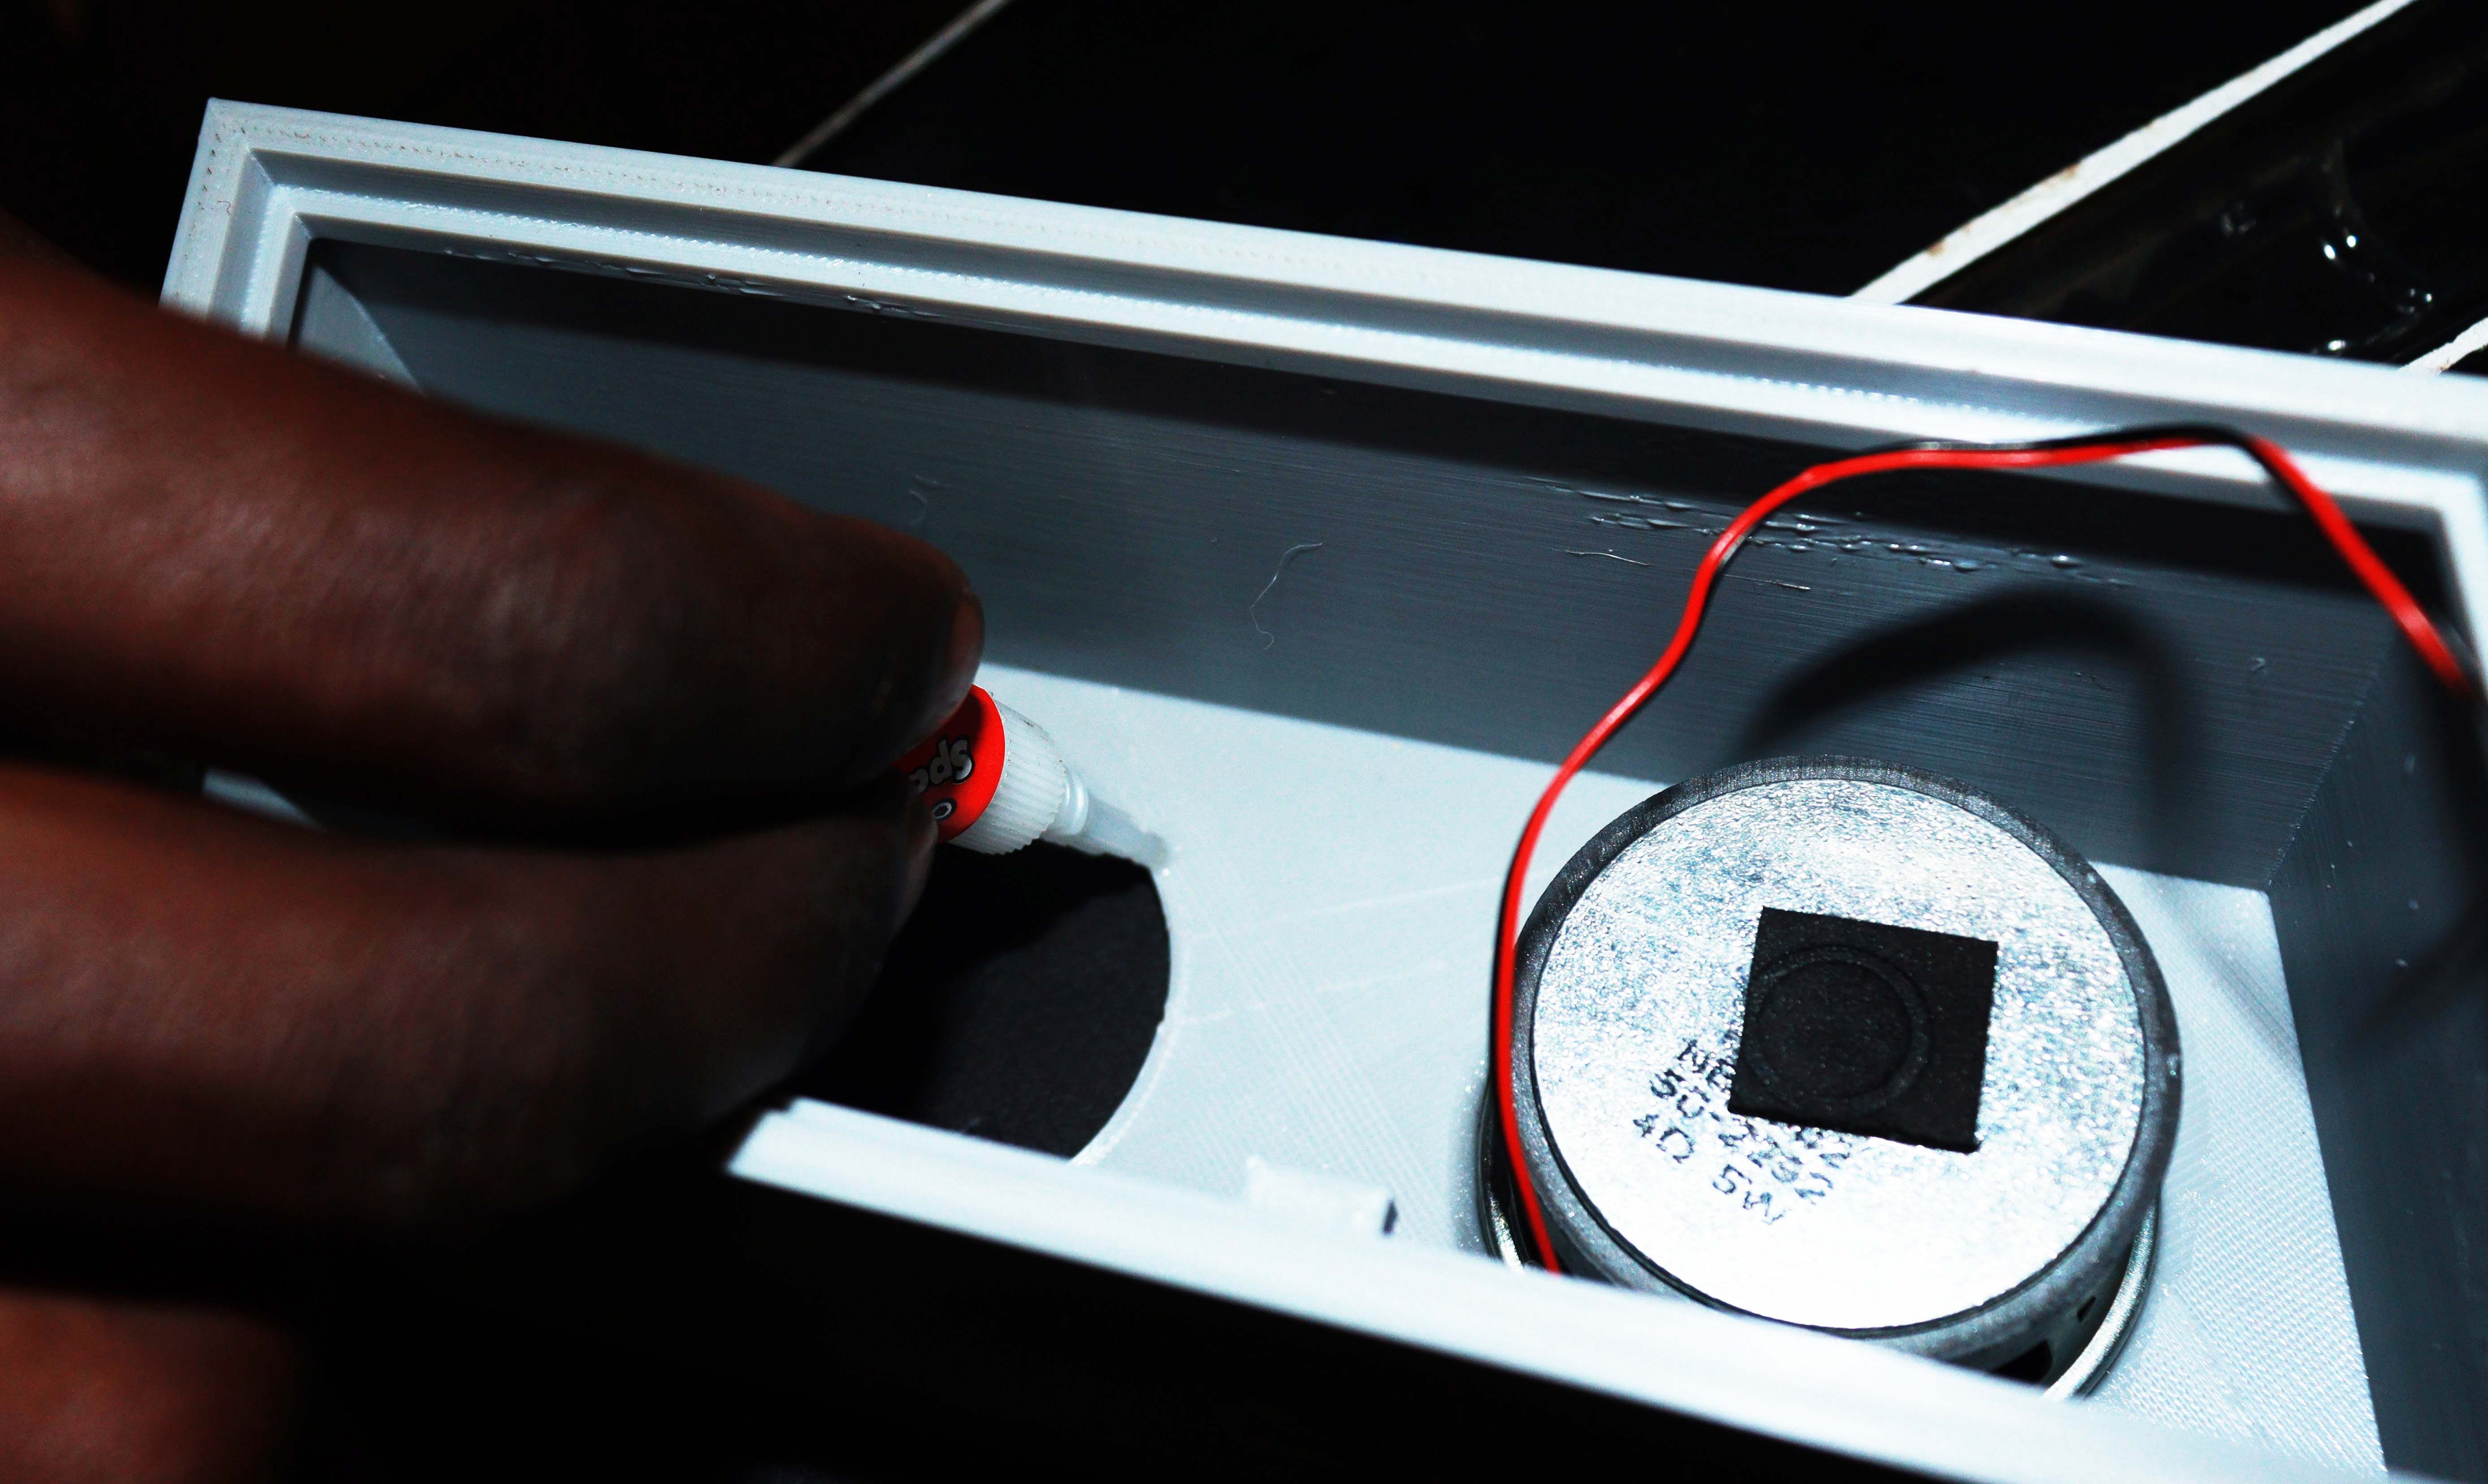
After painting, it’s crucial that you apply the glue around it, as shown below.
The glue is helpful in ensuring that the front trim attaches to the Bluetooth speaker box easily.
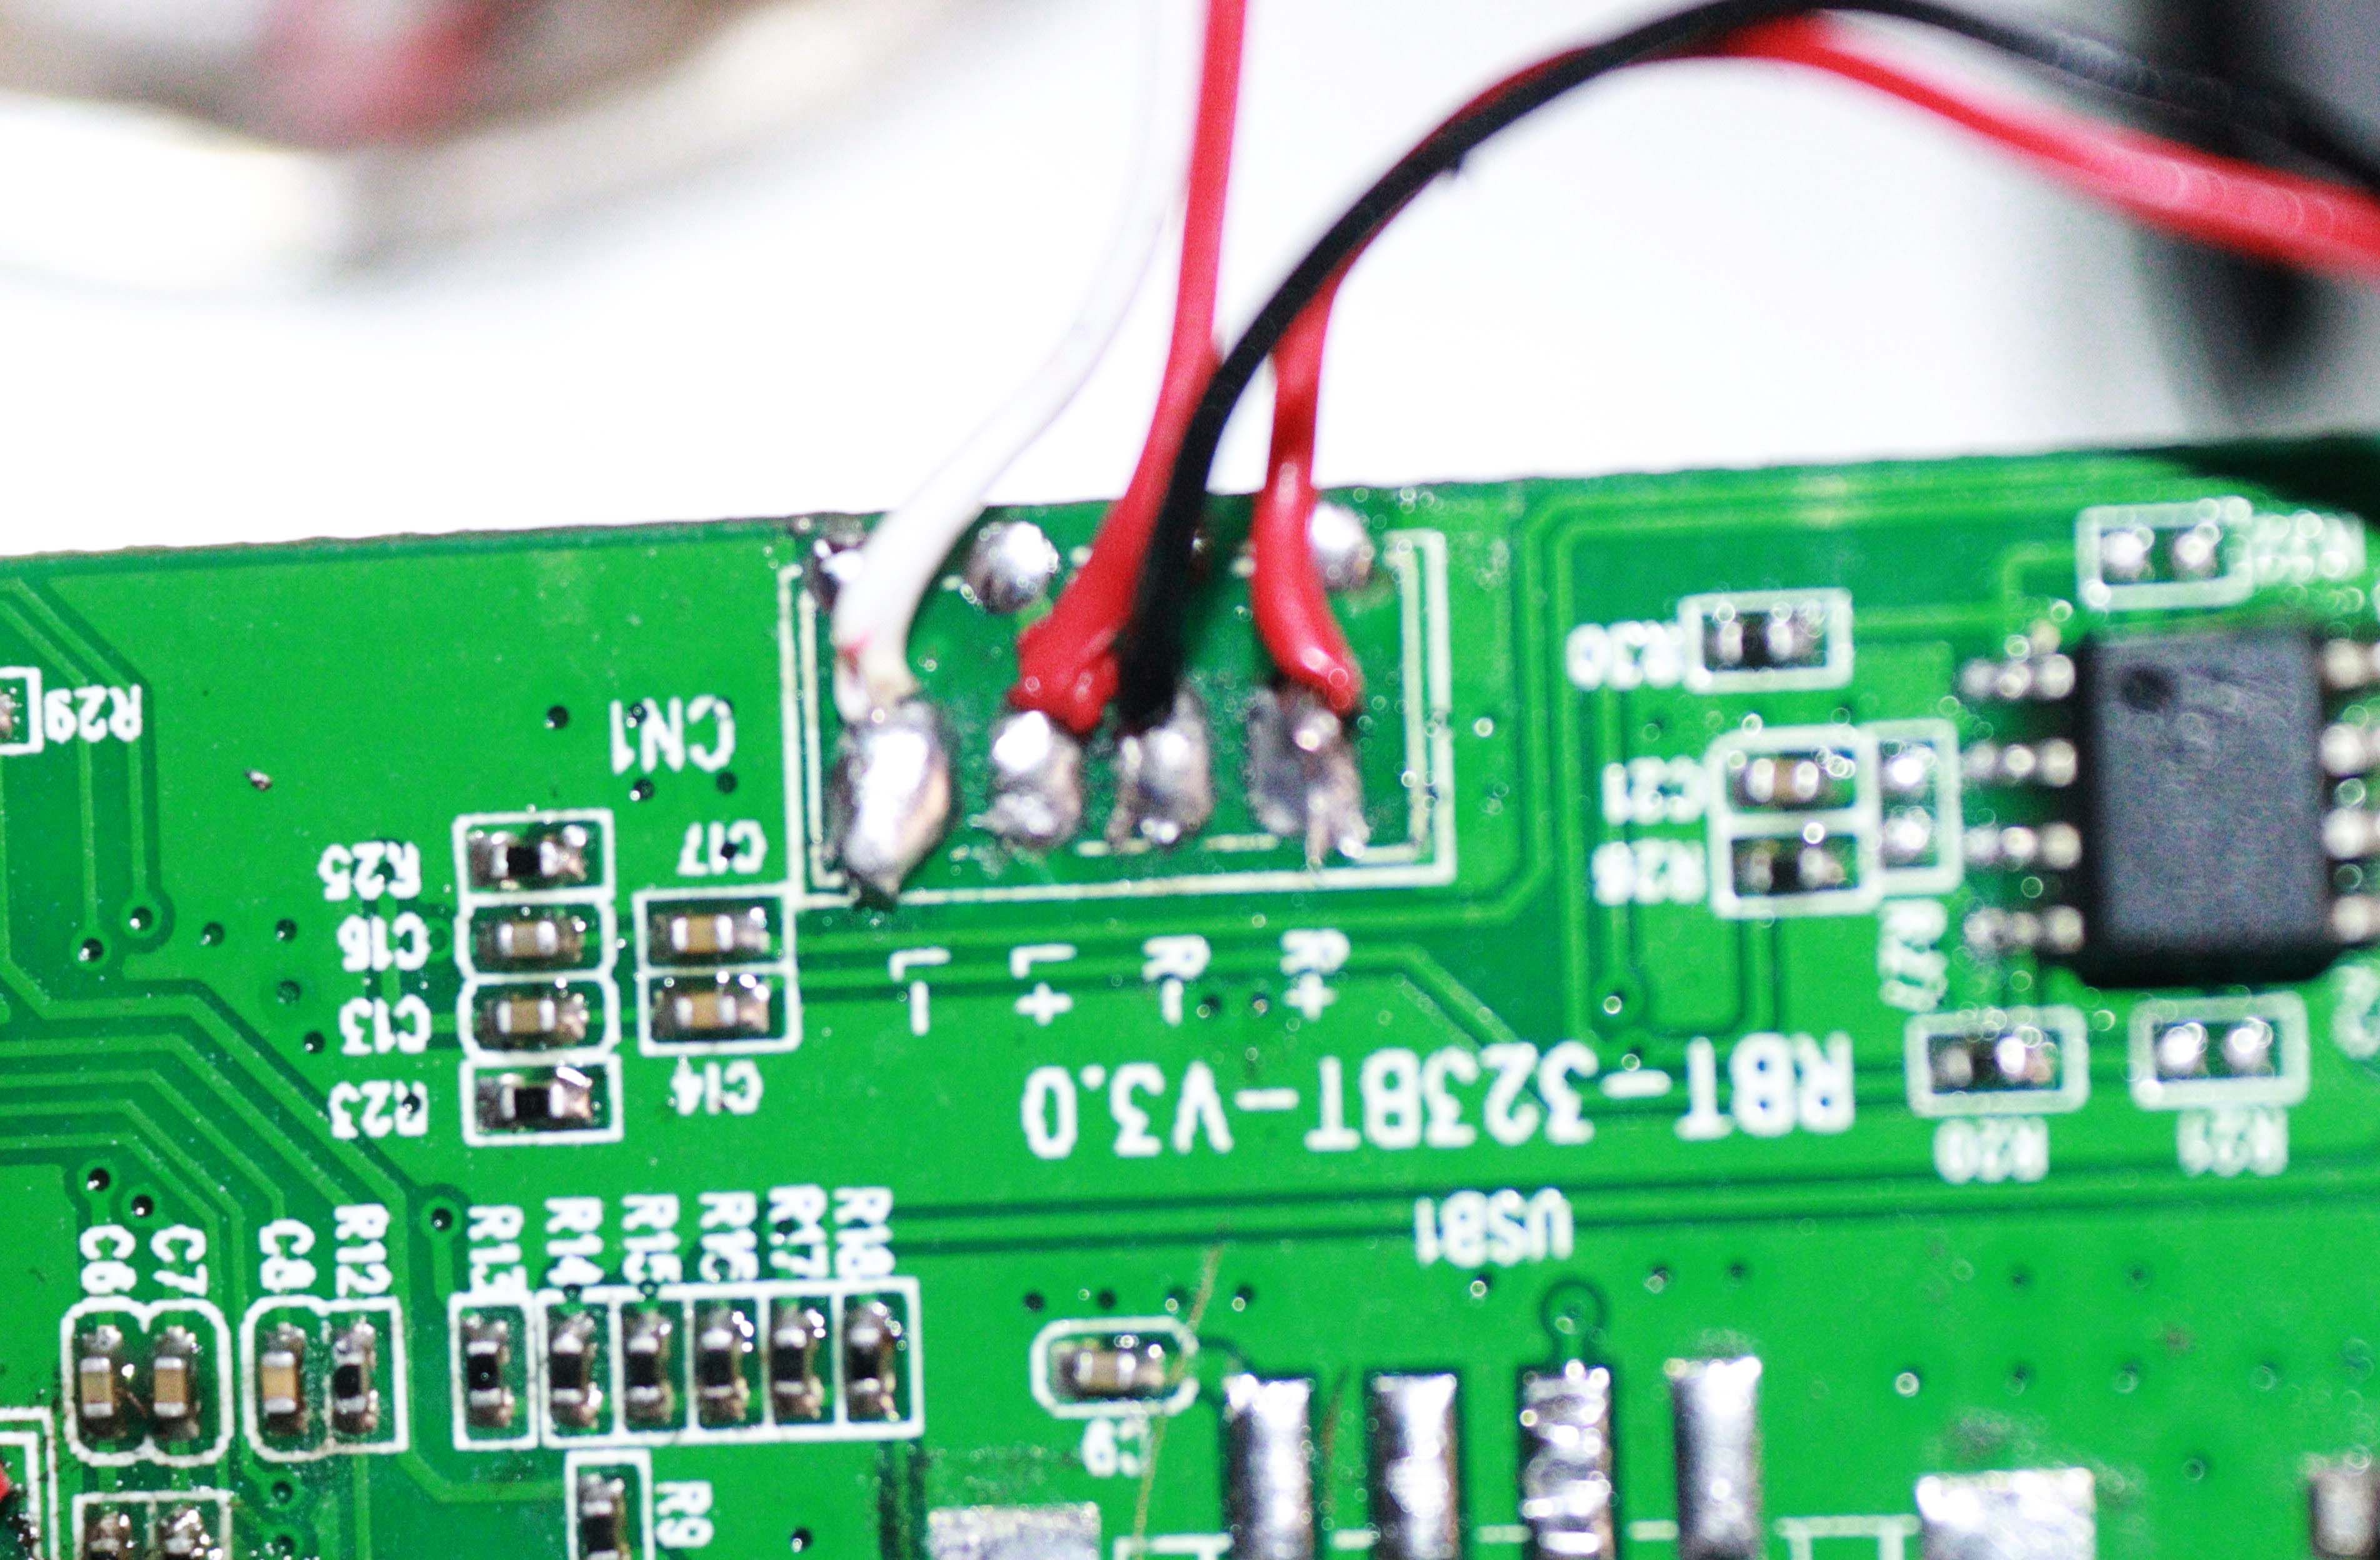
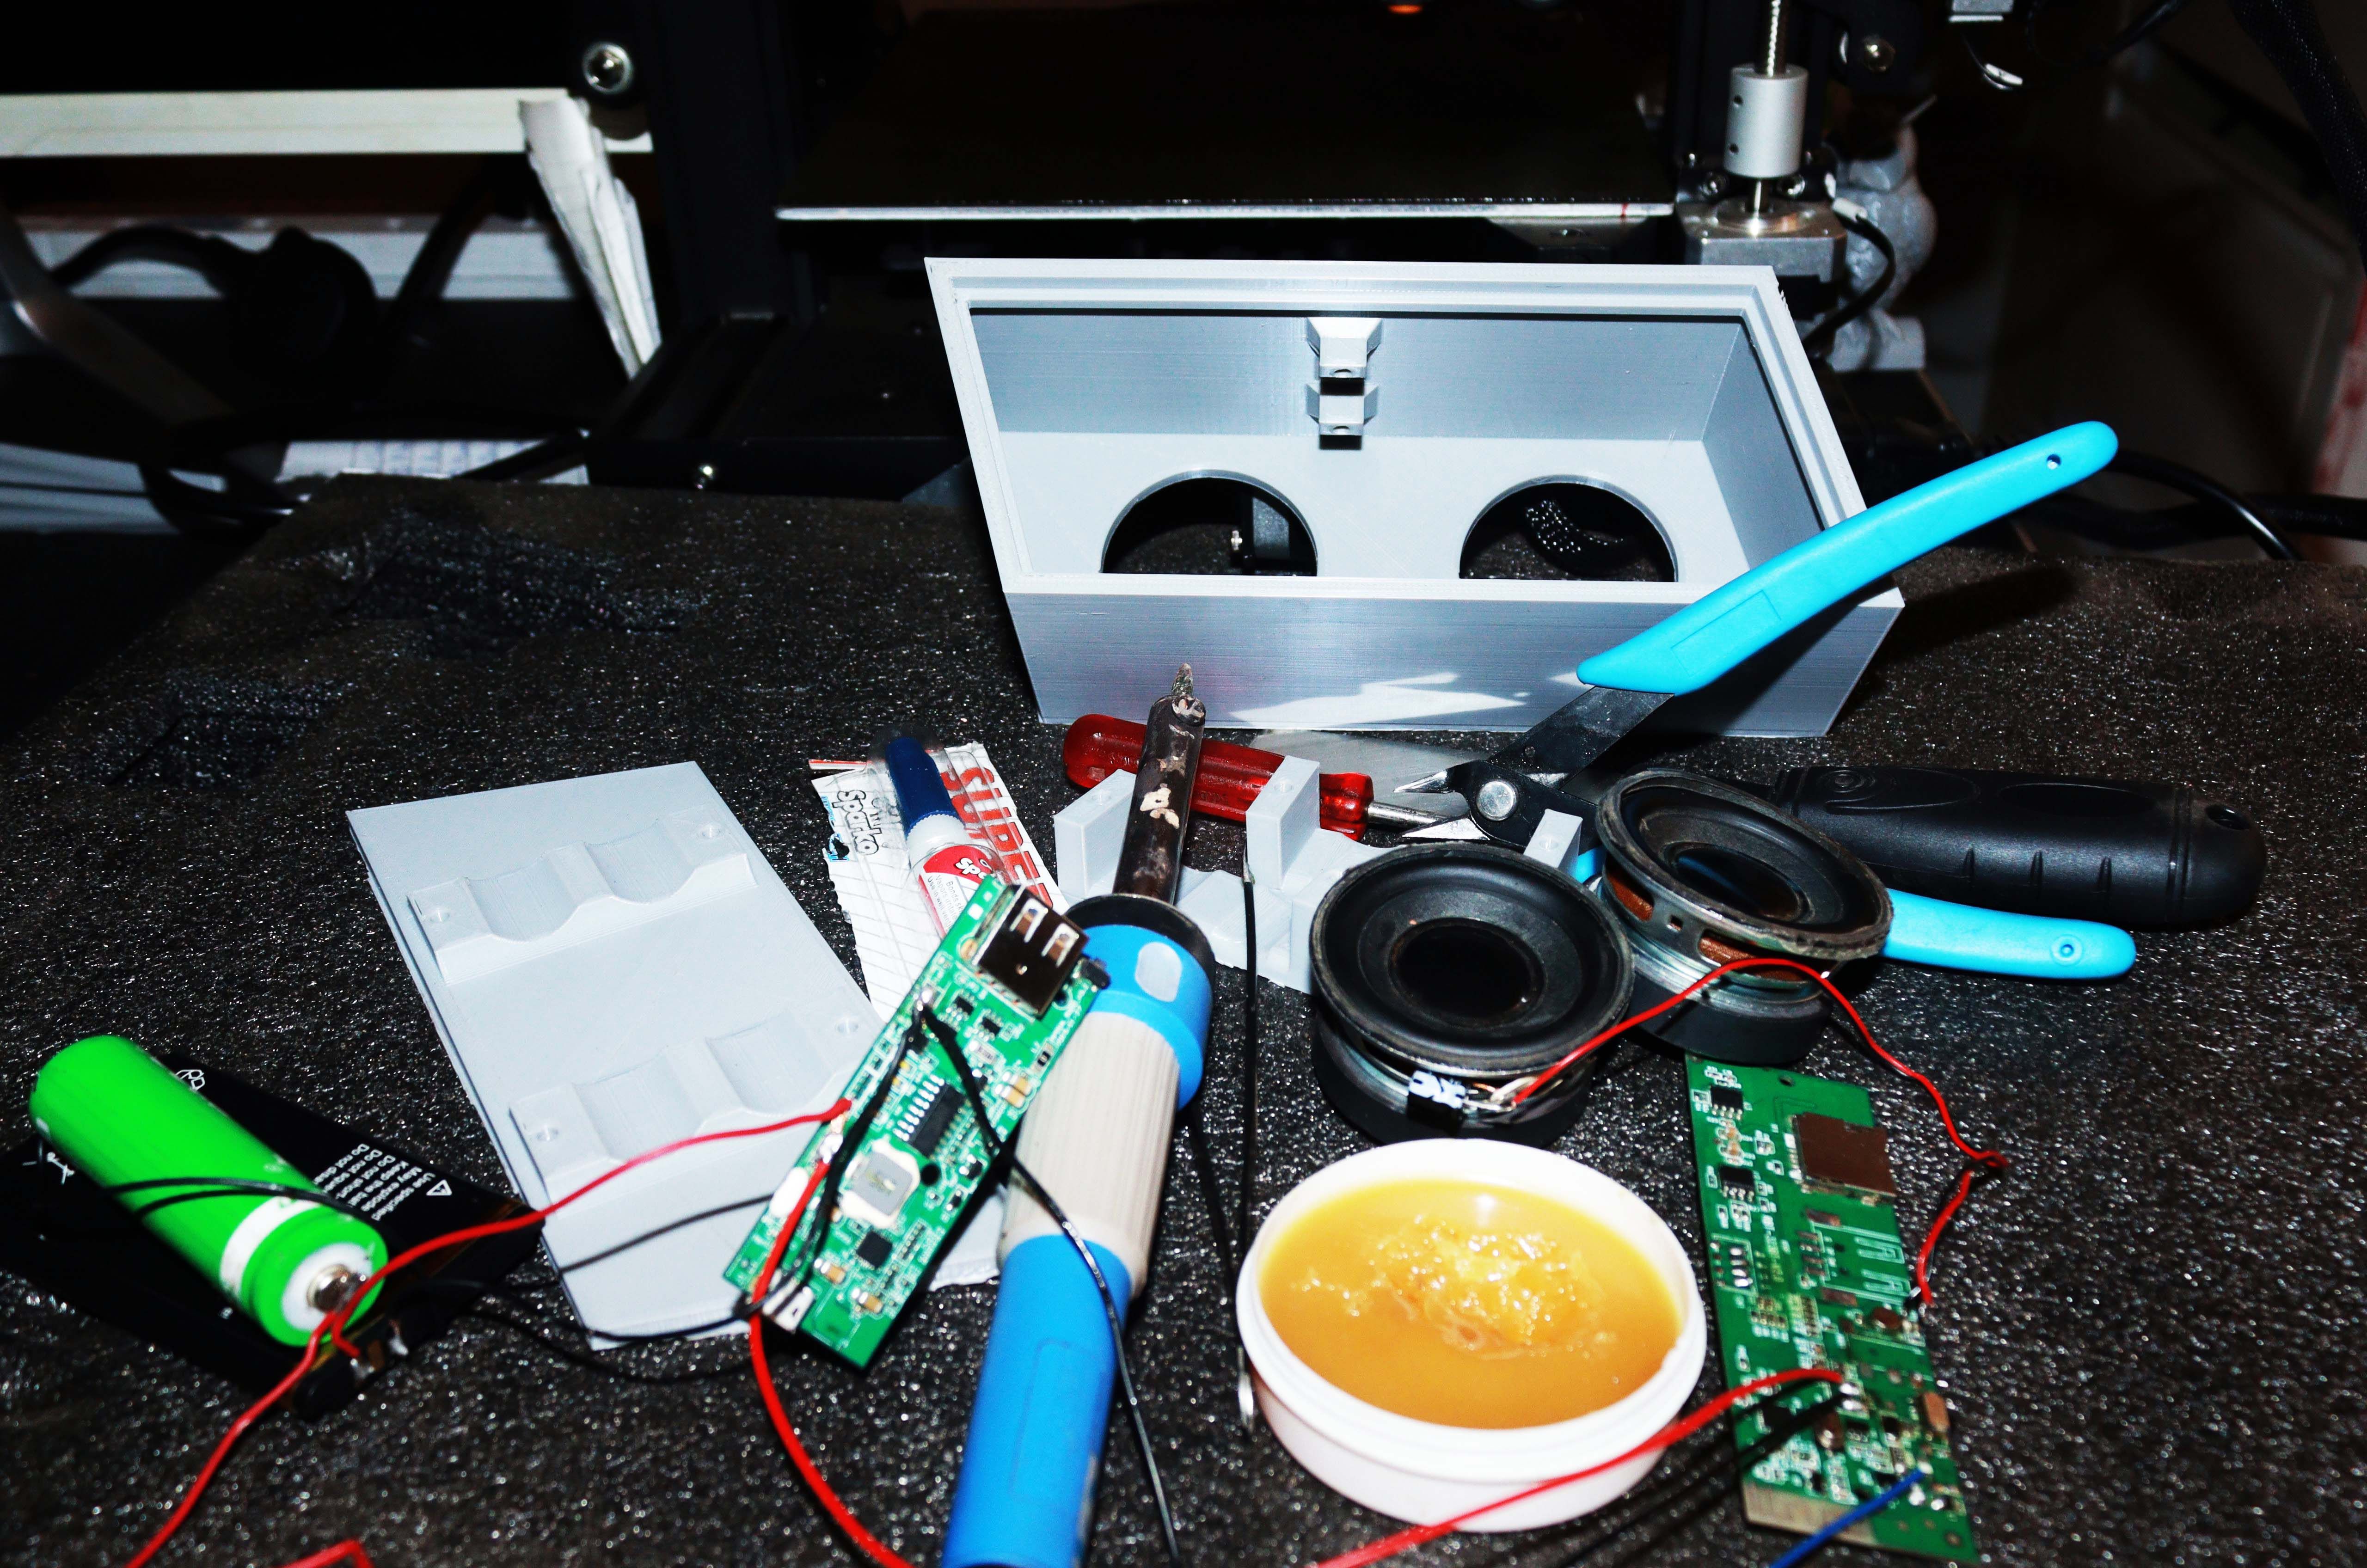
As shown above, take four wires and connect them to the amplifier.
Ensure that you secure them appropriately.
That is, the positive wire should go to the positive terminal on the amplifier.
Next, attach those wires to the two speakers, as shown below.
This is a crucial step as it will be the foundation for your speaker.
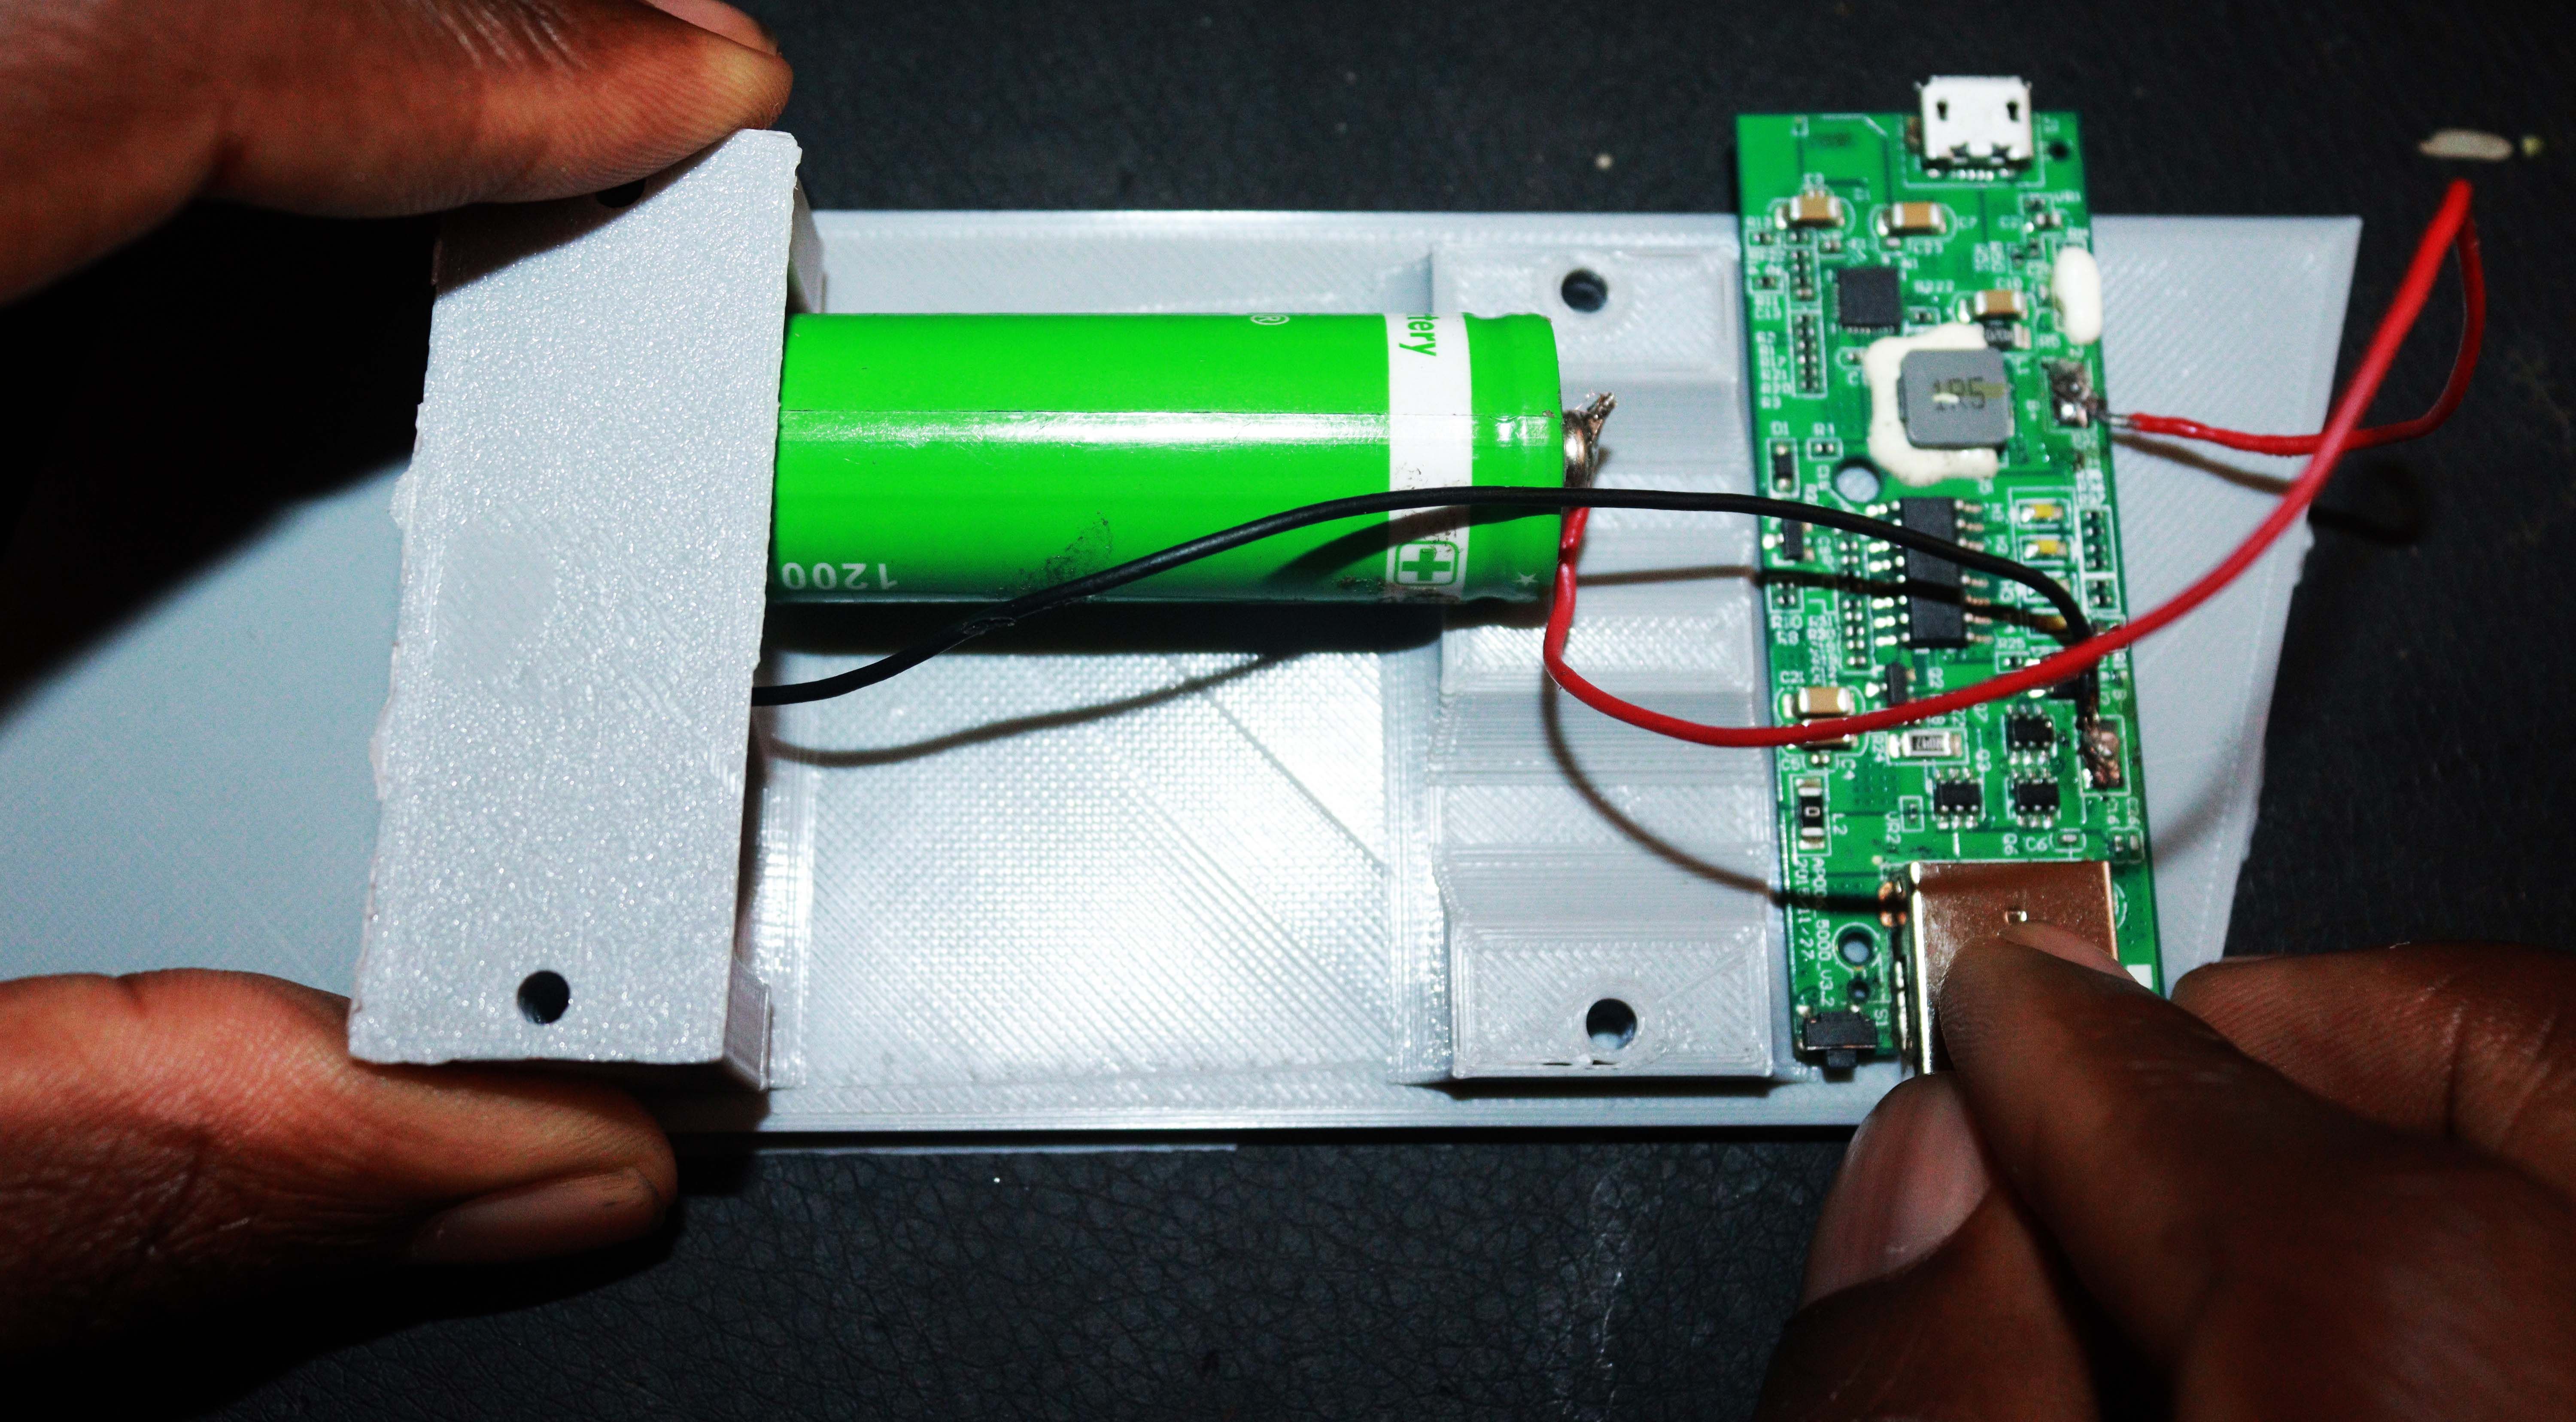
Then, take four screws and use them to attach the battery holders to the speaker trim.
After that, take the battery and place it in the holder, as shown below.
The battery holder accommodates two batteries, so you could add a second one.
Ensure you secure all the sides with screws and ensure they hold firmly.
Once the solder melts and is in place, remove the iron and allow the solder to cool.
Finally, inspect the solder joint to confirm it is secure.
You should see a blue signal on the amplifier when everything is good.
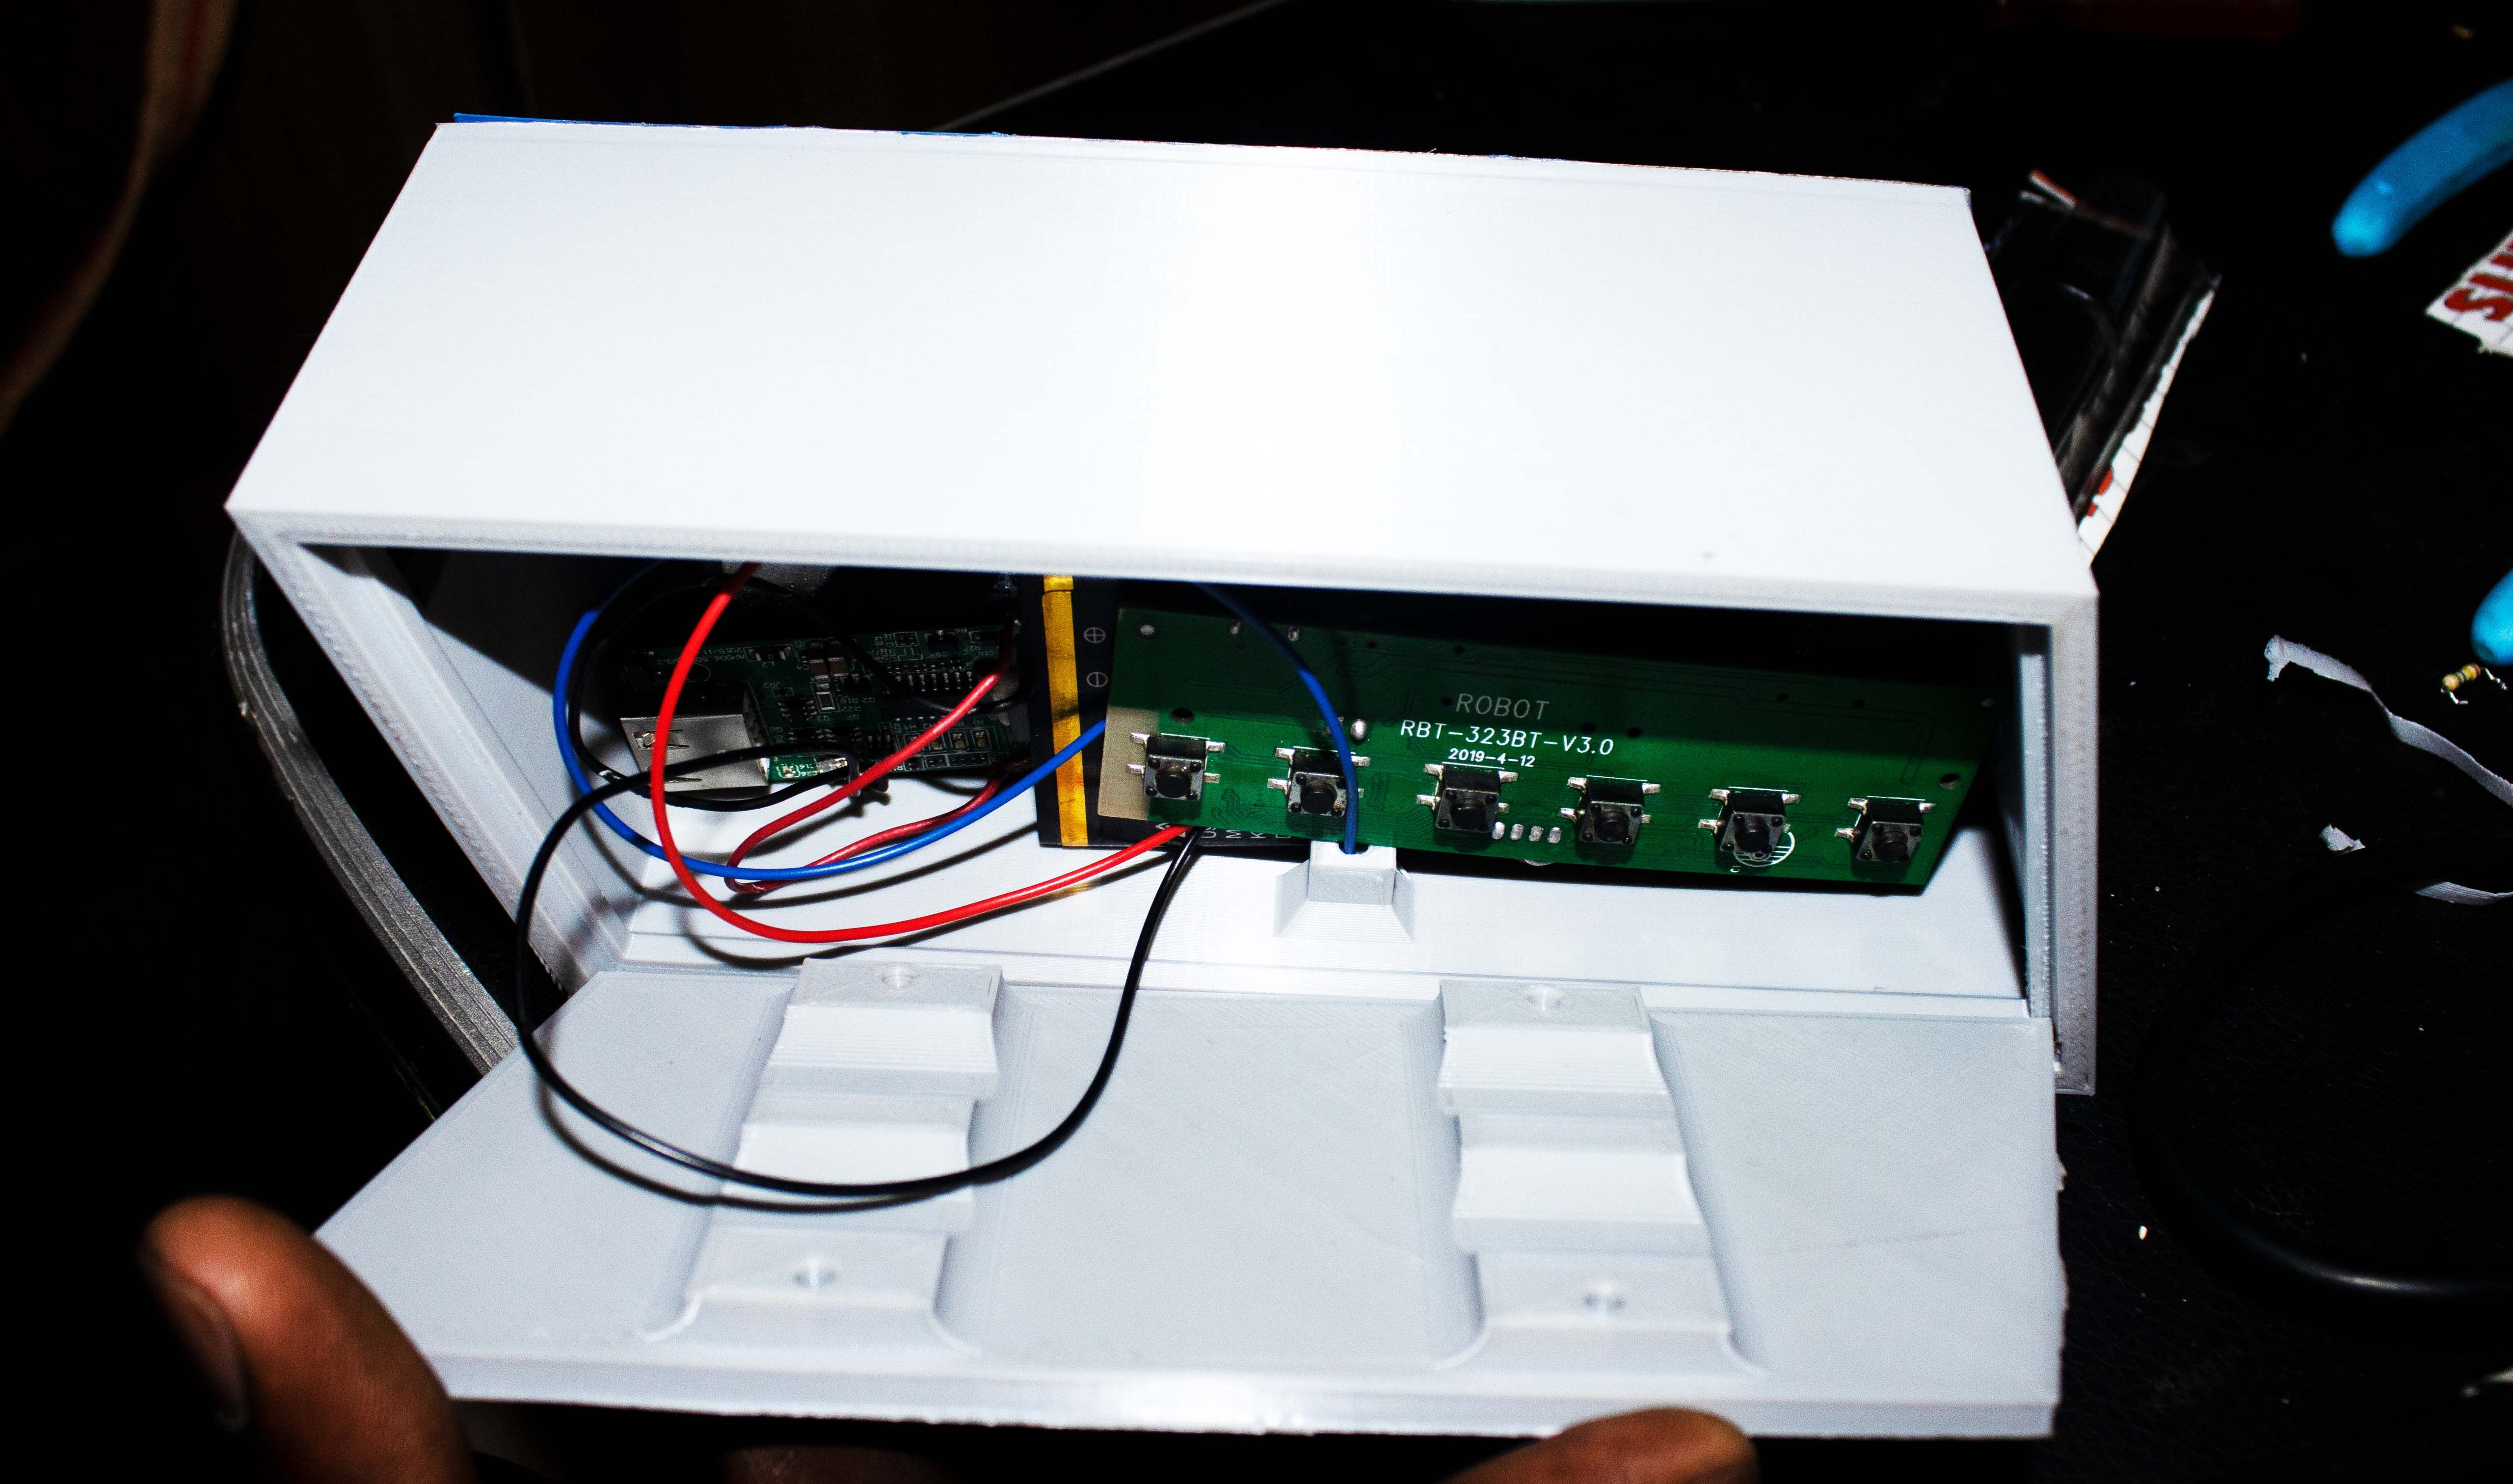
Insert the charging system, batteries, and amplifier into the speaker casing, as shown below.
As you do so, be careful not to disconnect any wires.
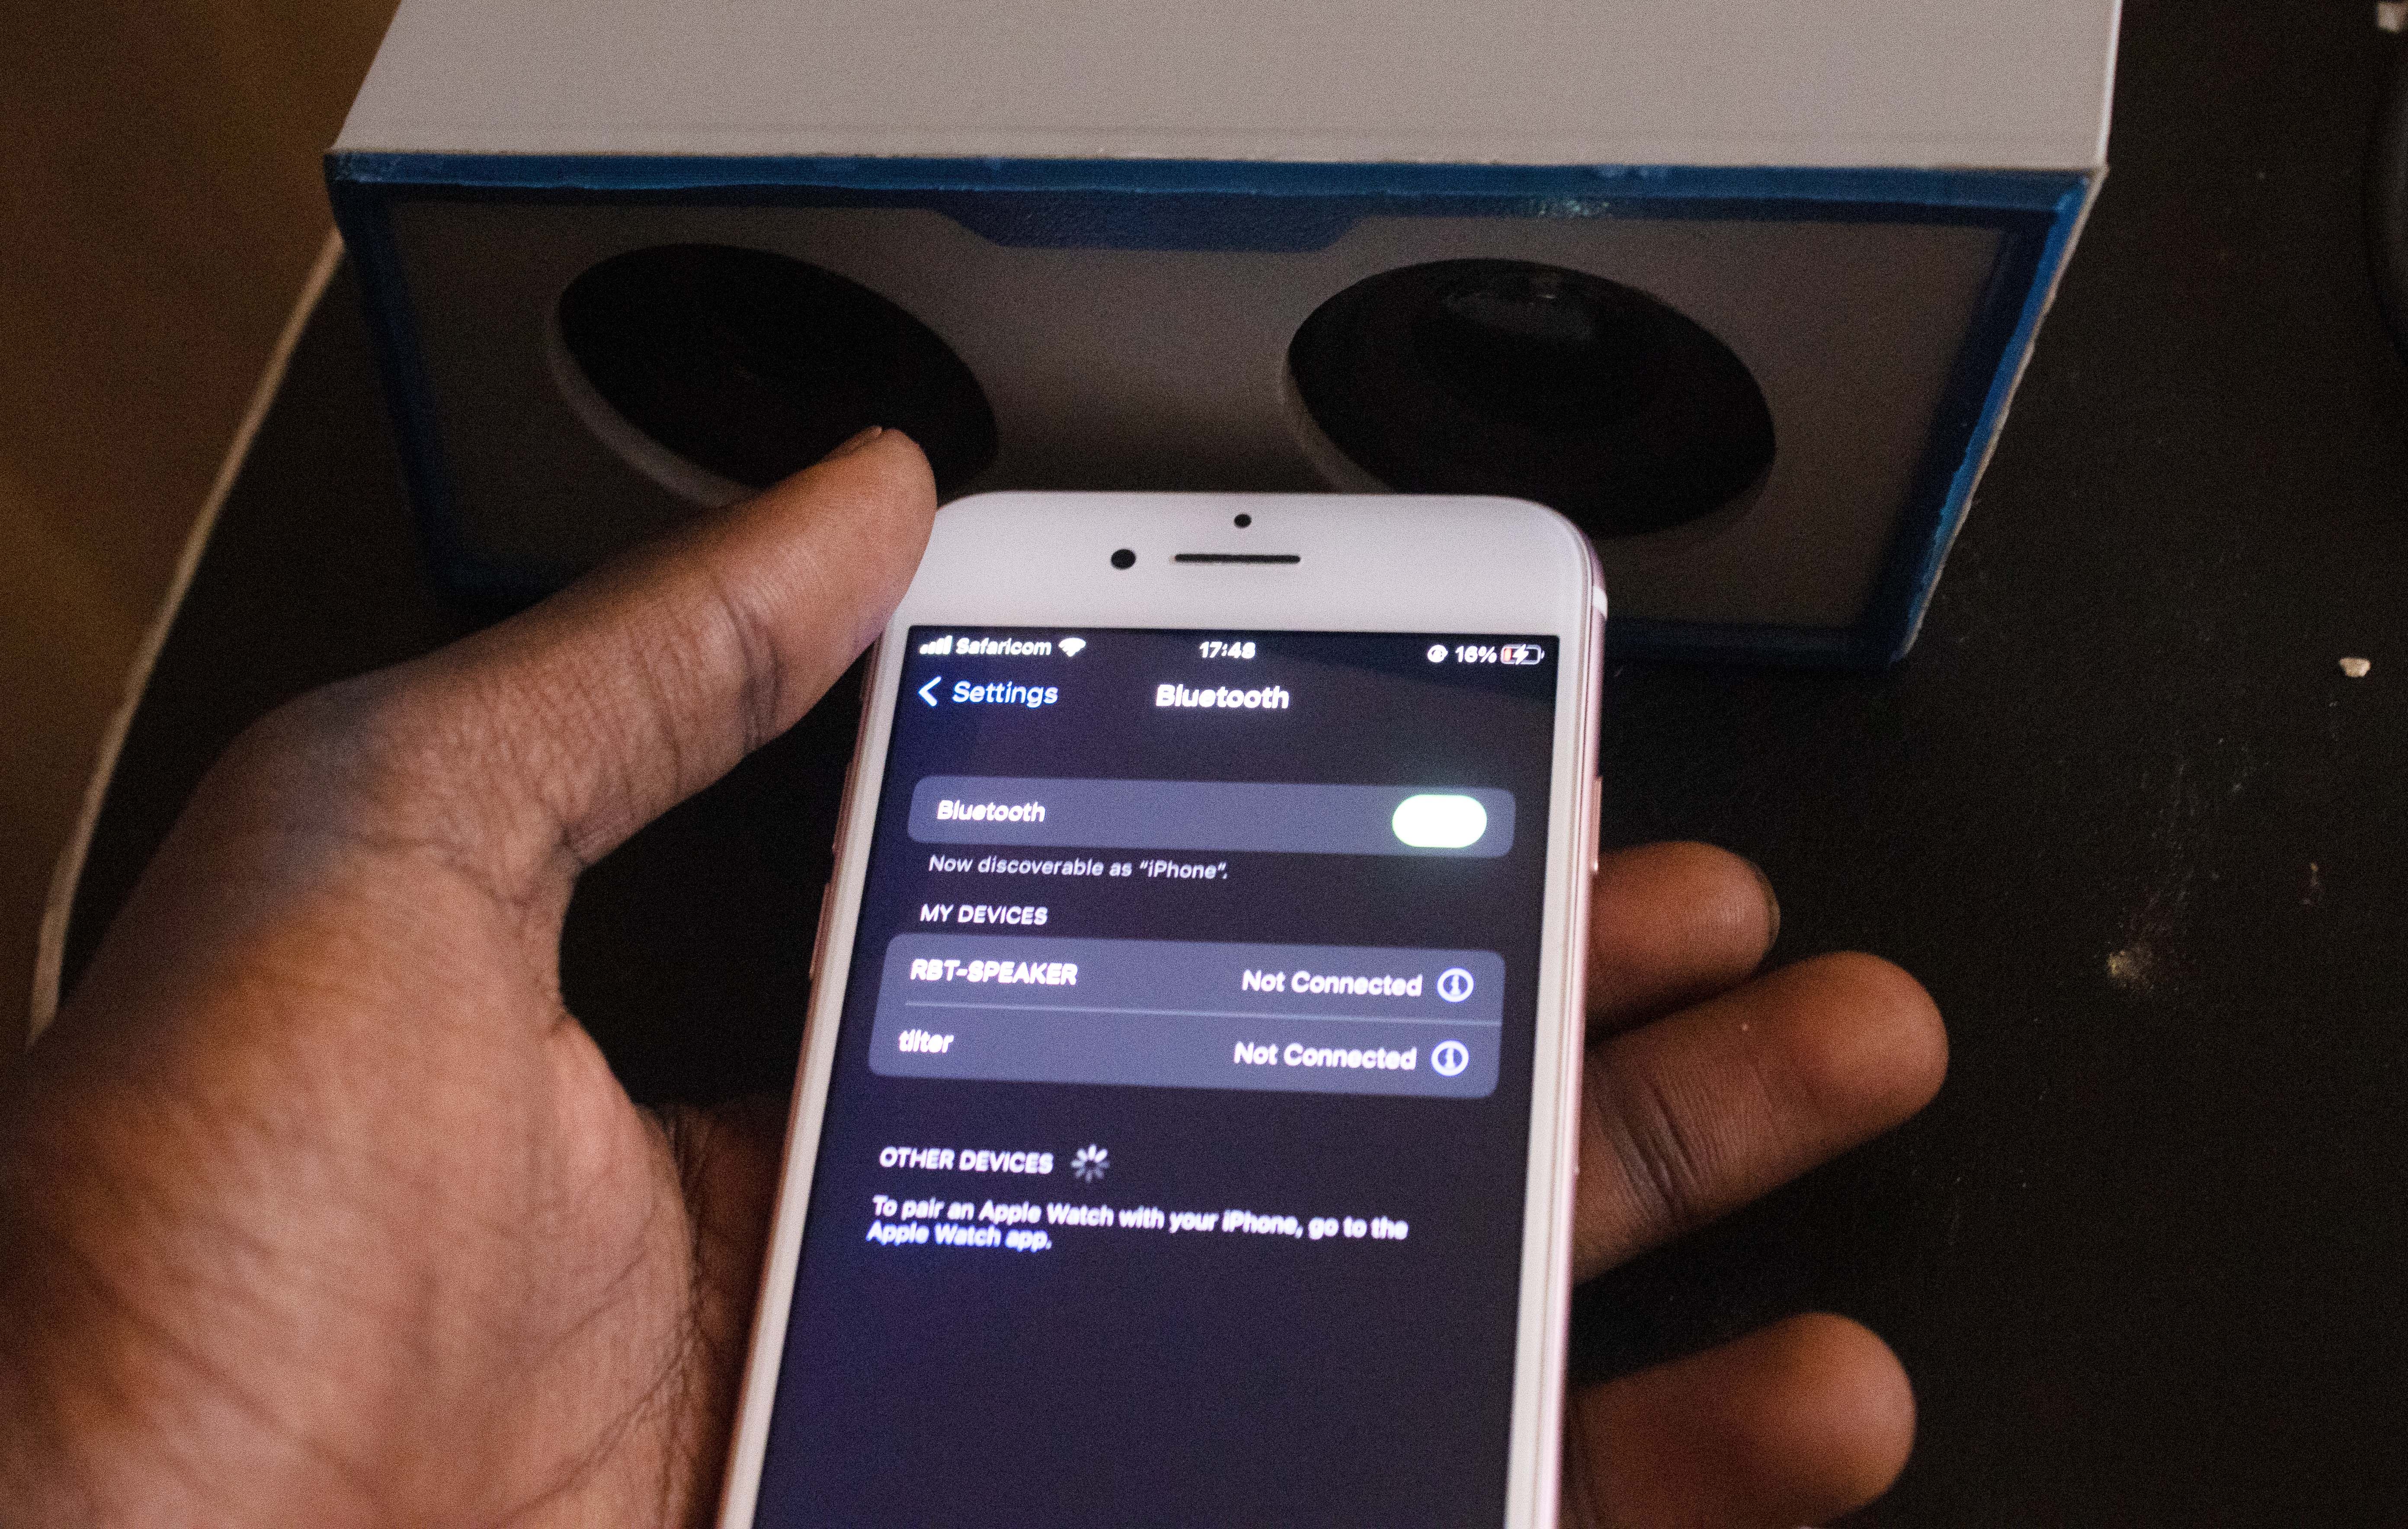
after you grab put everything in place, you should be ready to enjoy a functioning Bluetooth speaker.
you’re free to then use your phone or laptop to pair with it.
Once you’ve paired with it, try playing some music to check it’s all working correctly.
you’re able to also create something unique; the only limitation is your imagination.
Just check that that you take accurate measurements so that everything fits correctly.