Keep reading to discover some of the best ways to do this.
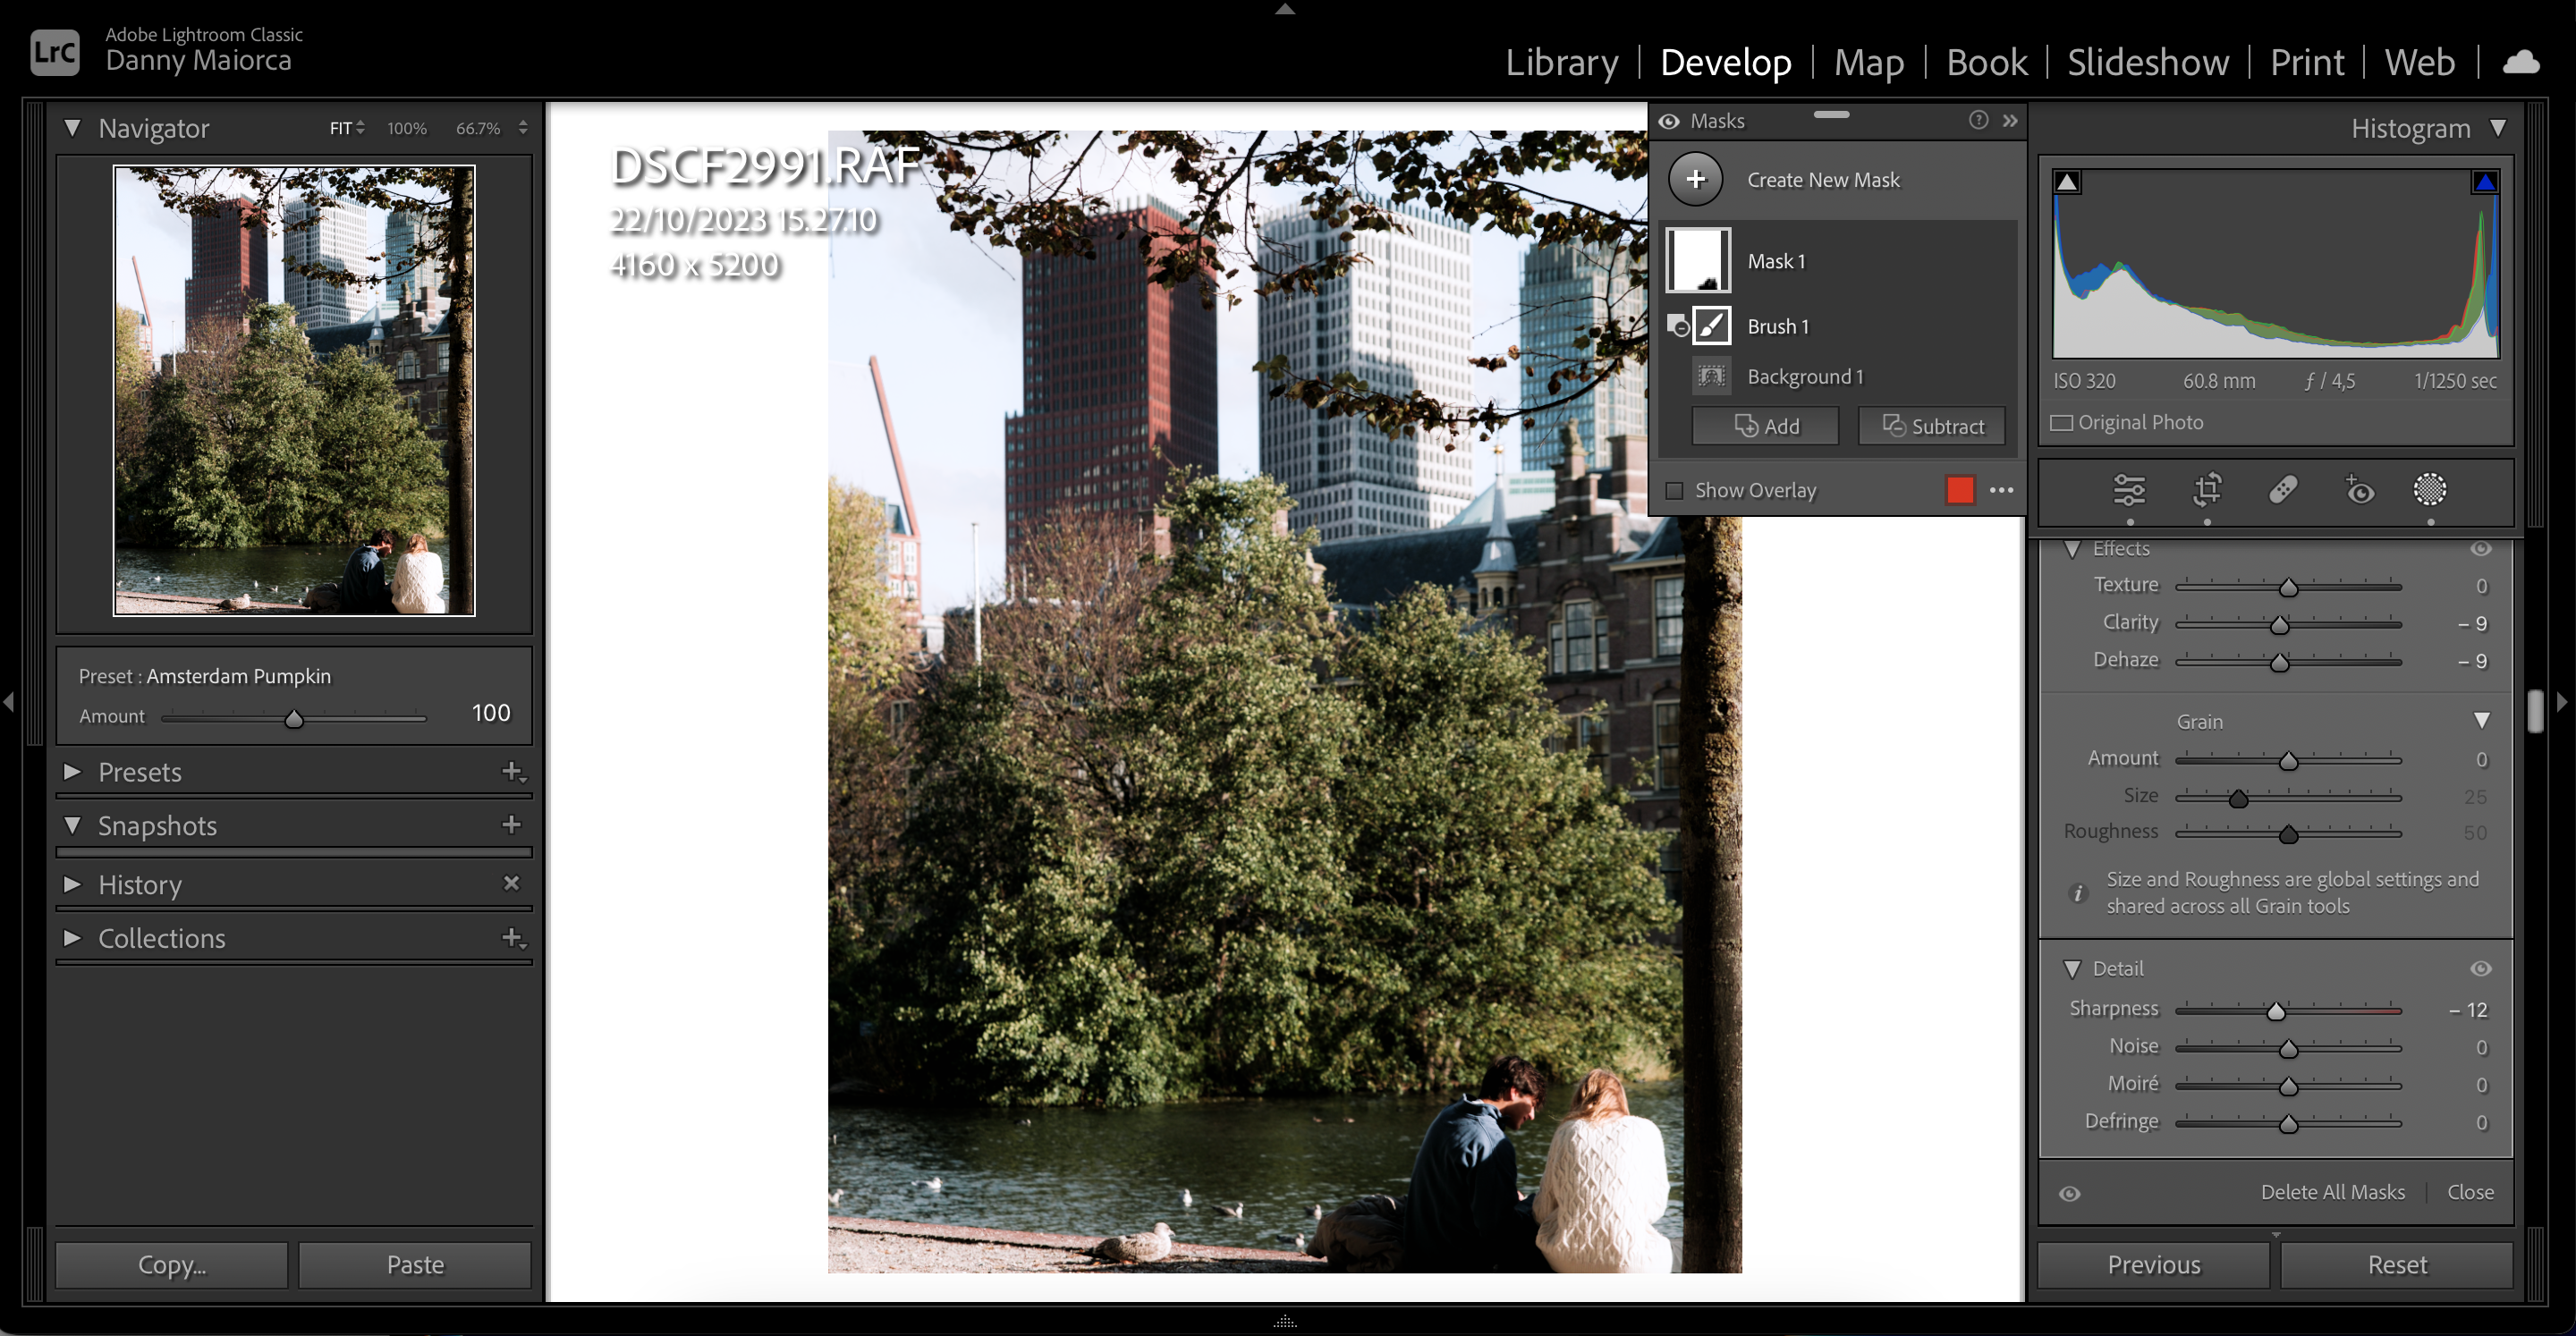
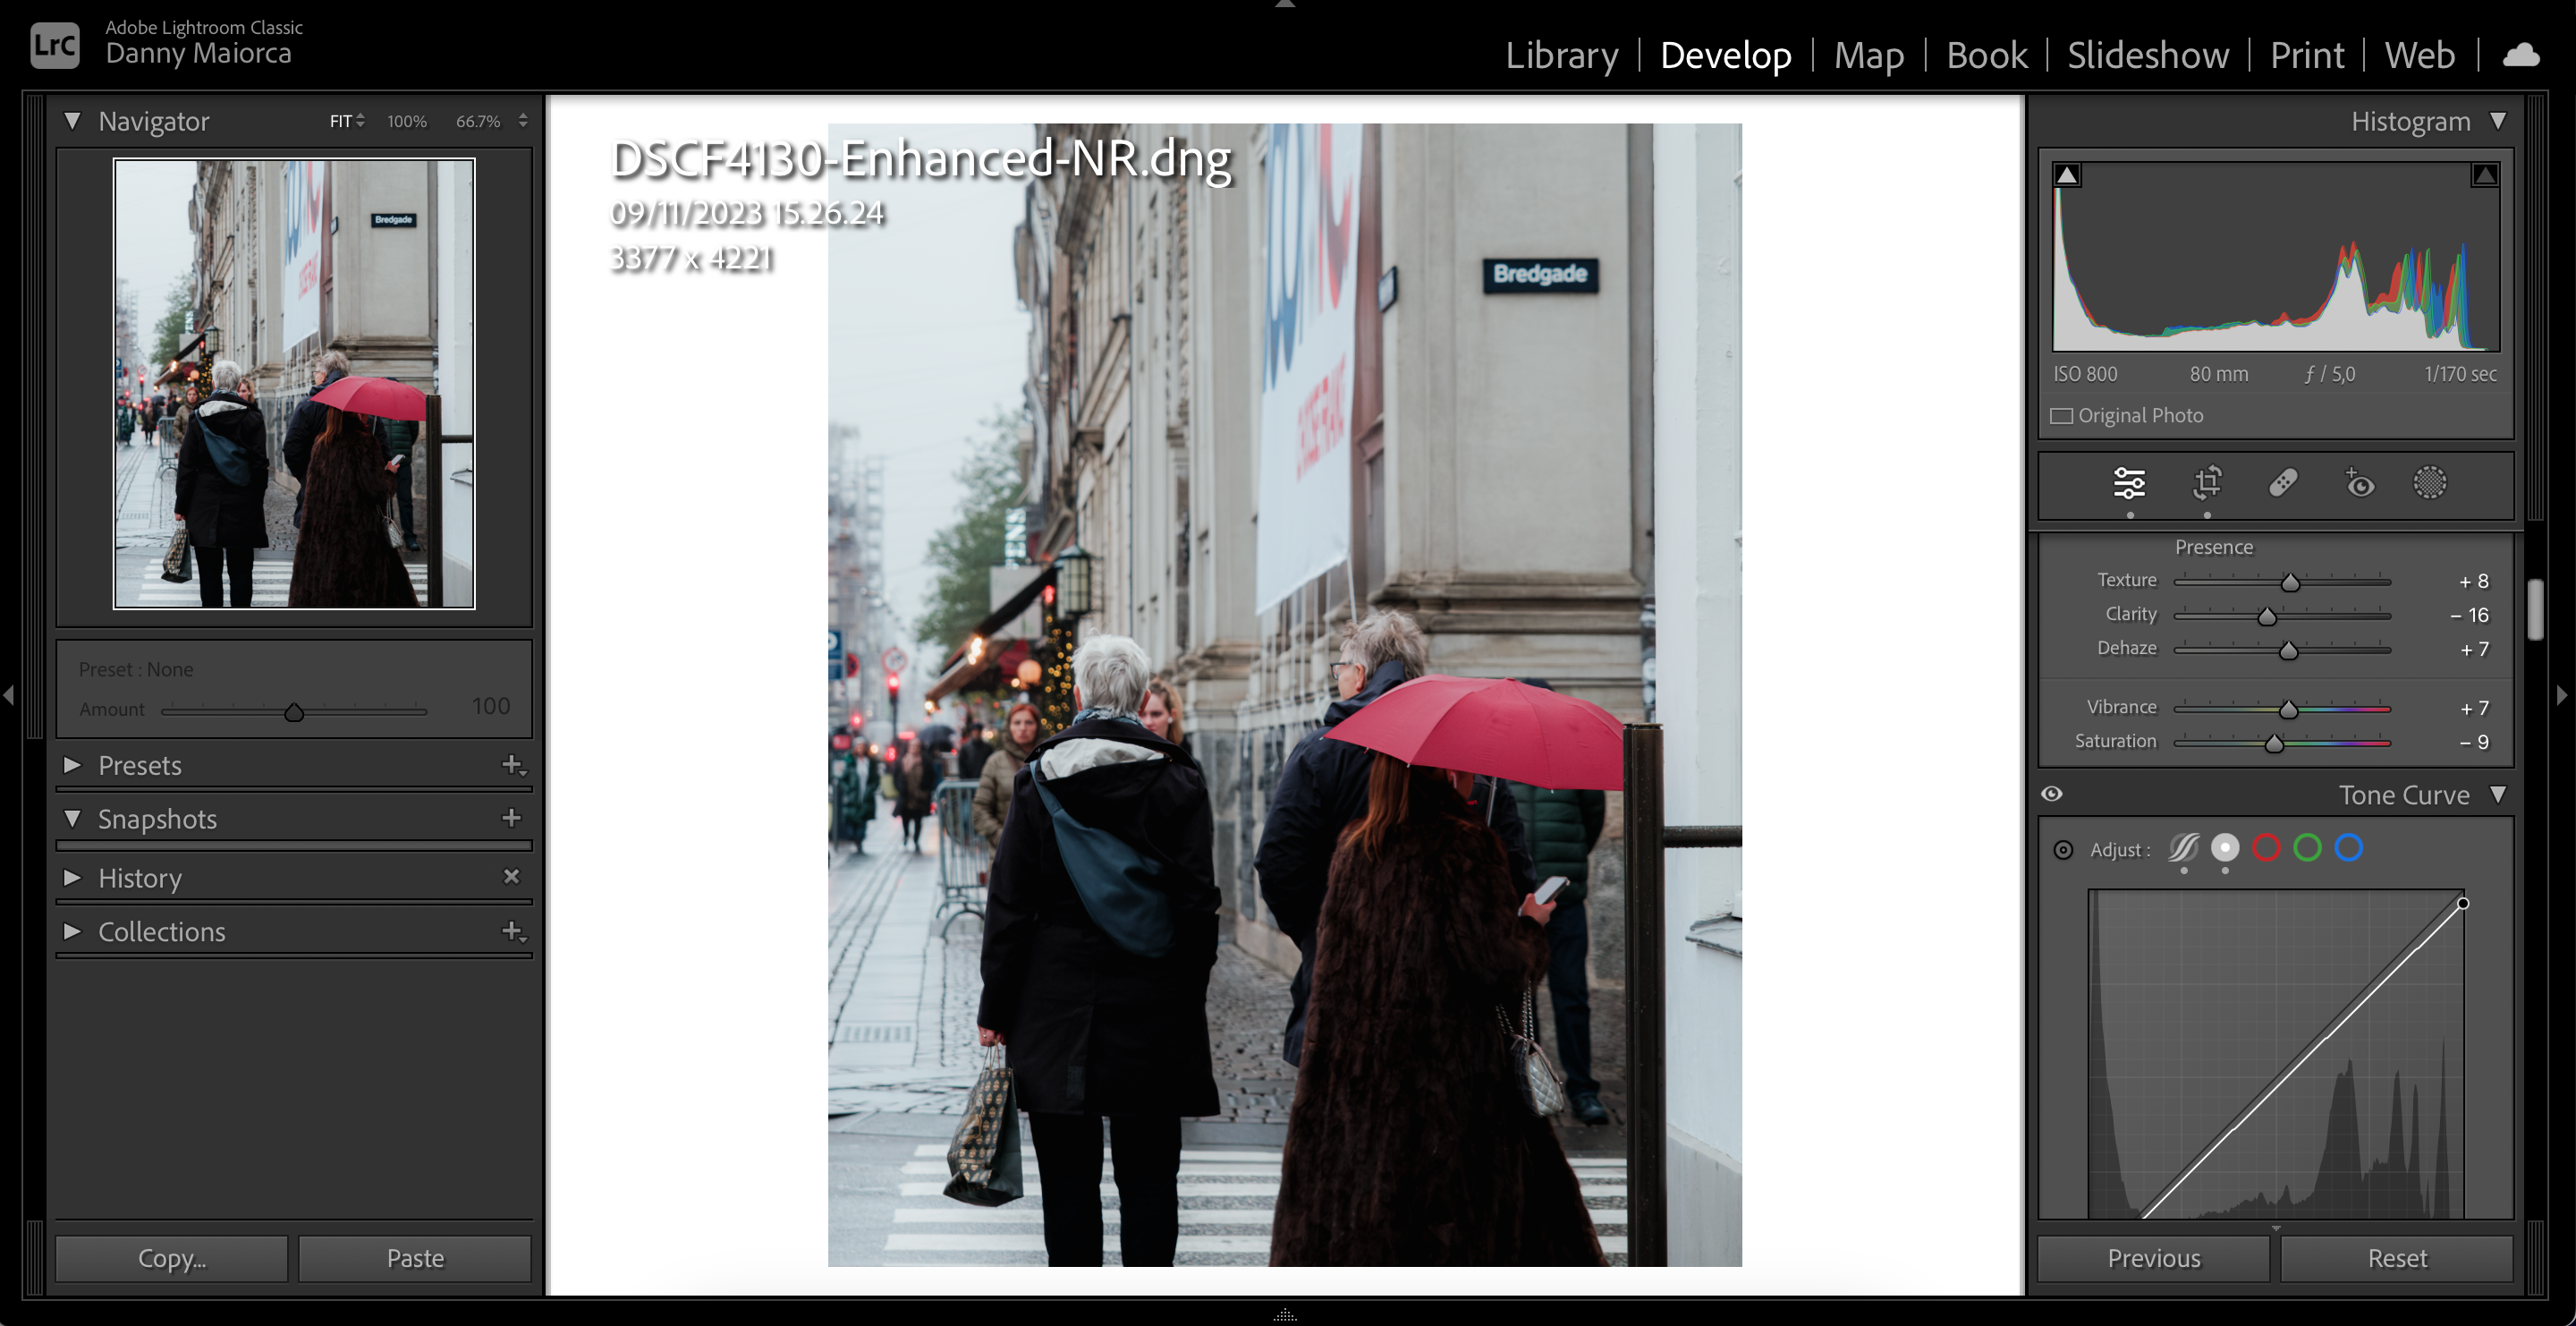
However, you should only use this if you want to minimize clarity in your main subject.
Otherwise, youll end up with an effect that doesnt look too great.

Lalmch/Pixabay
As a result, your final result will be more accurate.
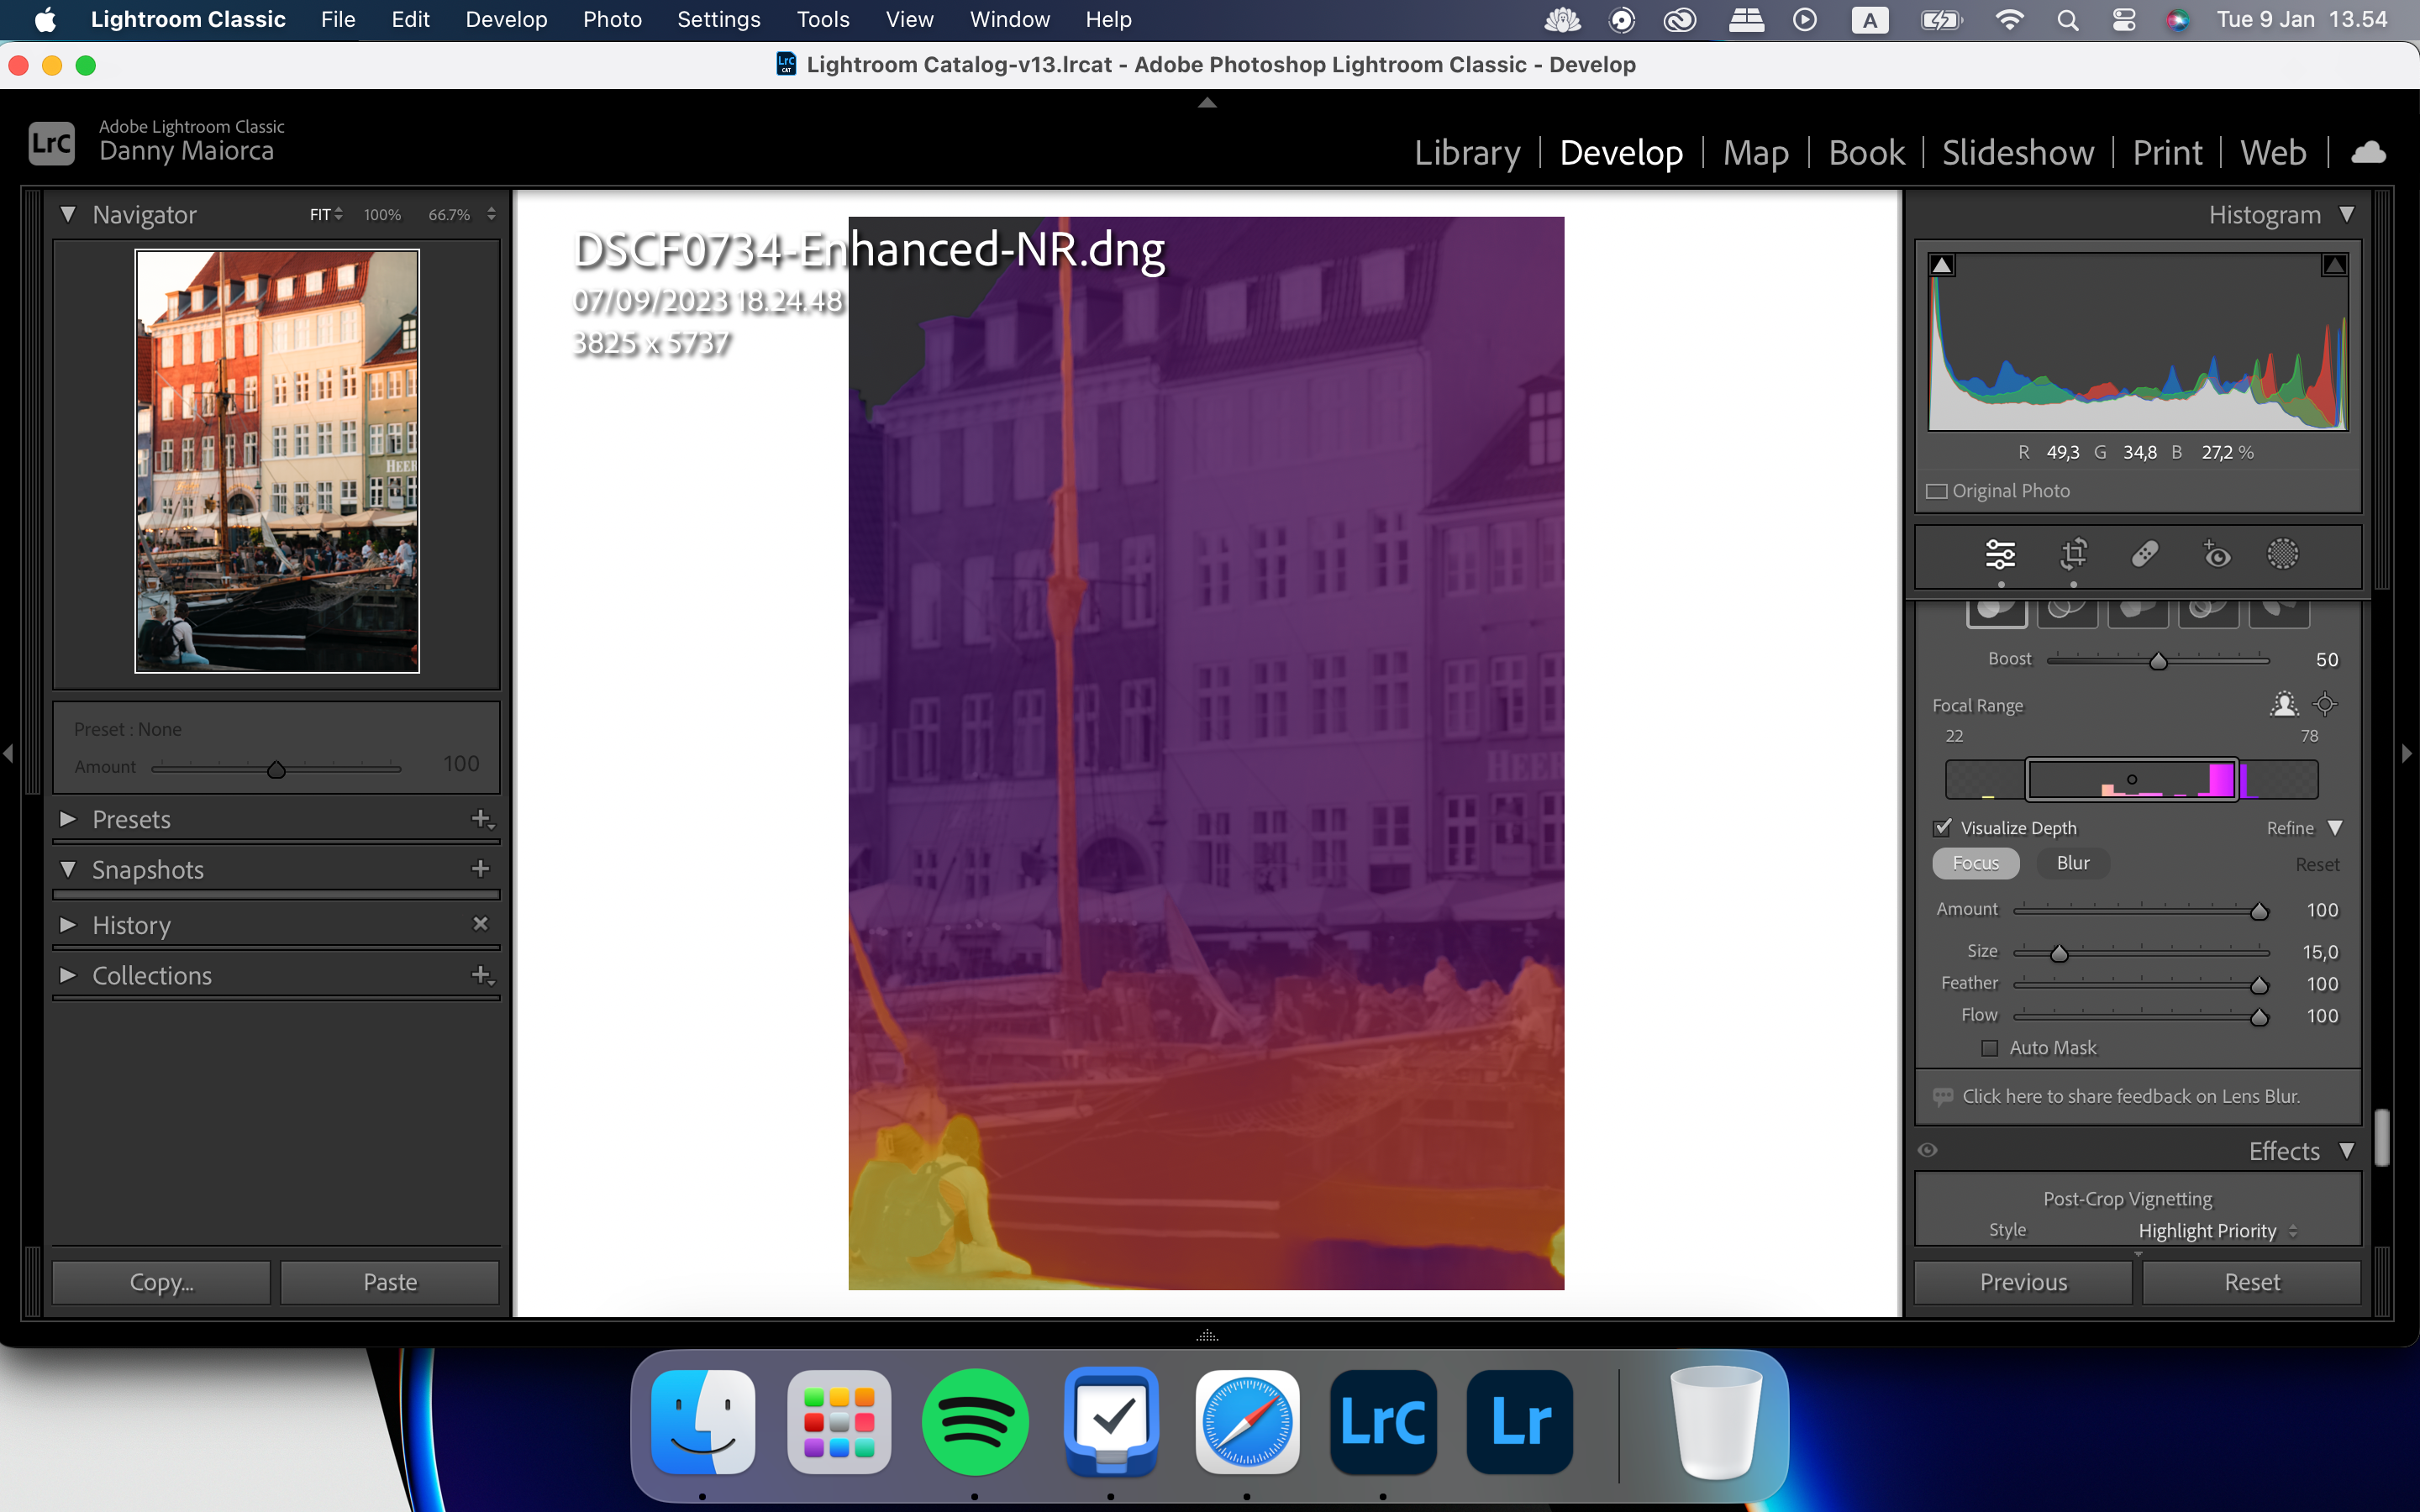
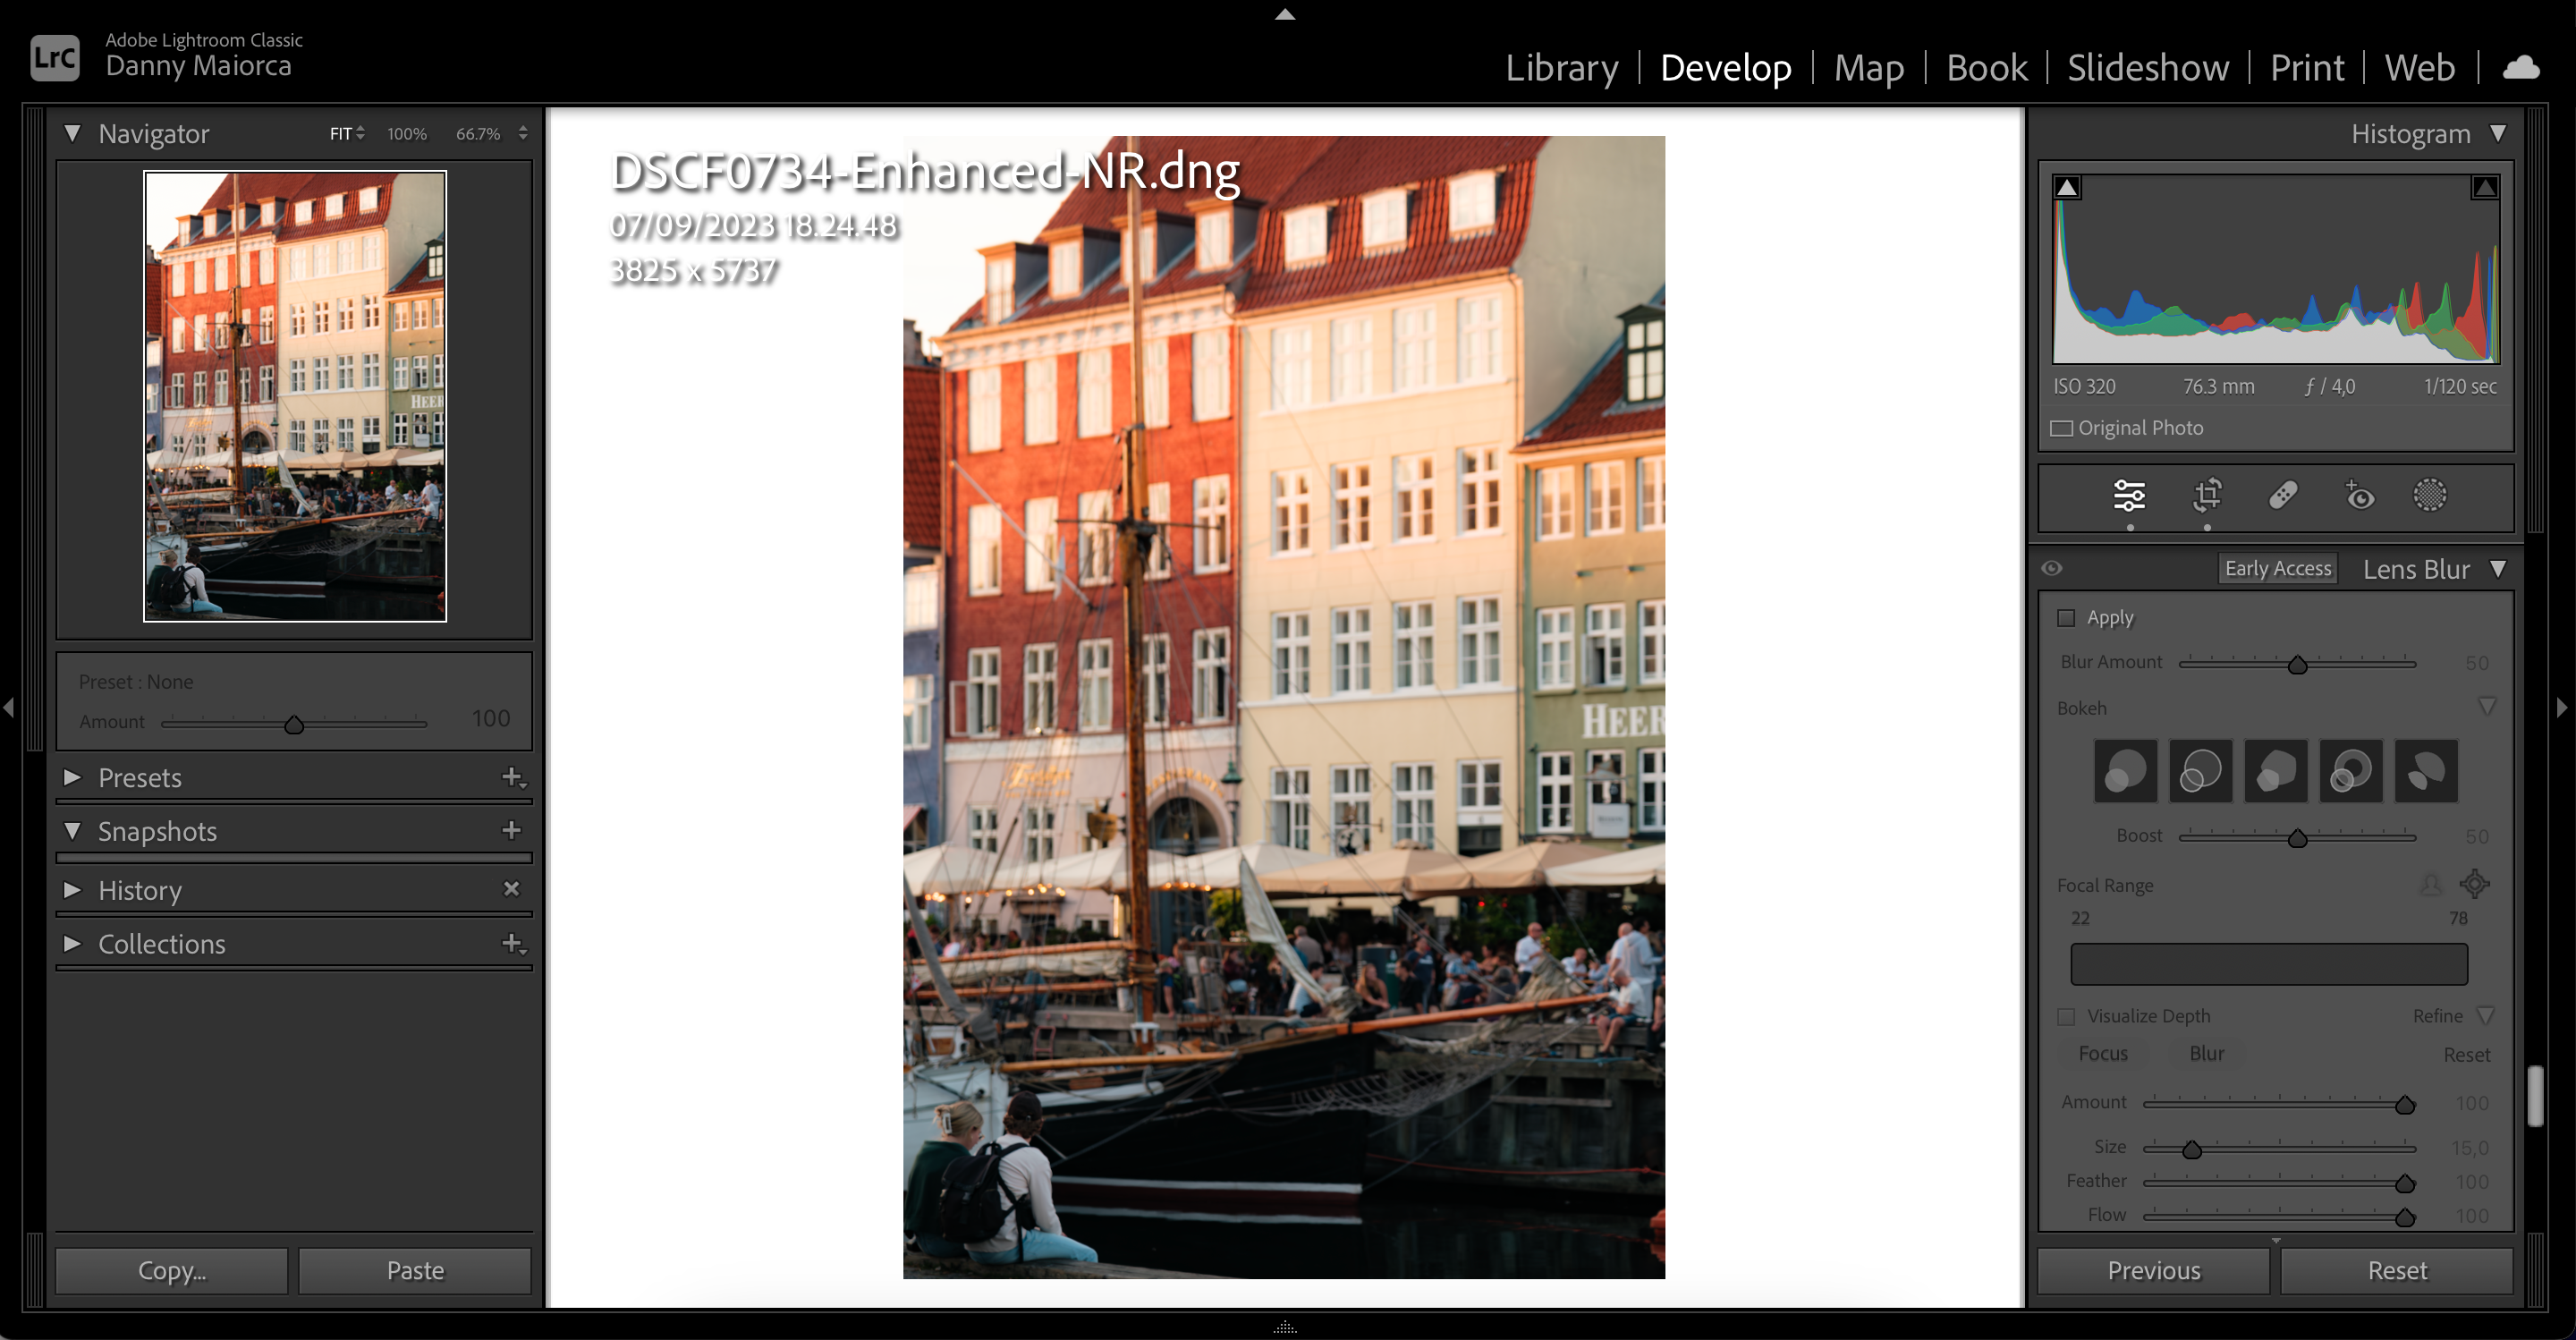
To use the Visualize Depth tool, simply scroll down to Lens Blur and tickVisualize Depth.
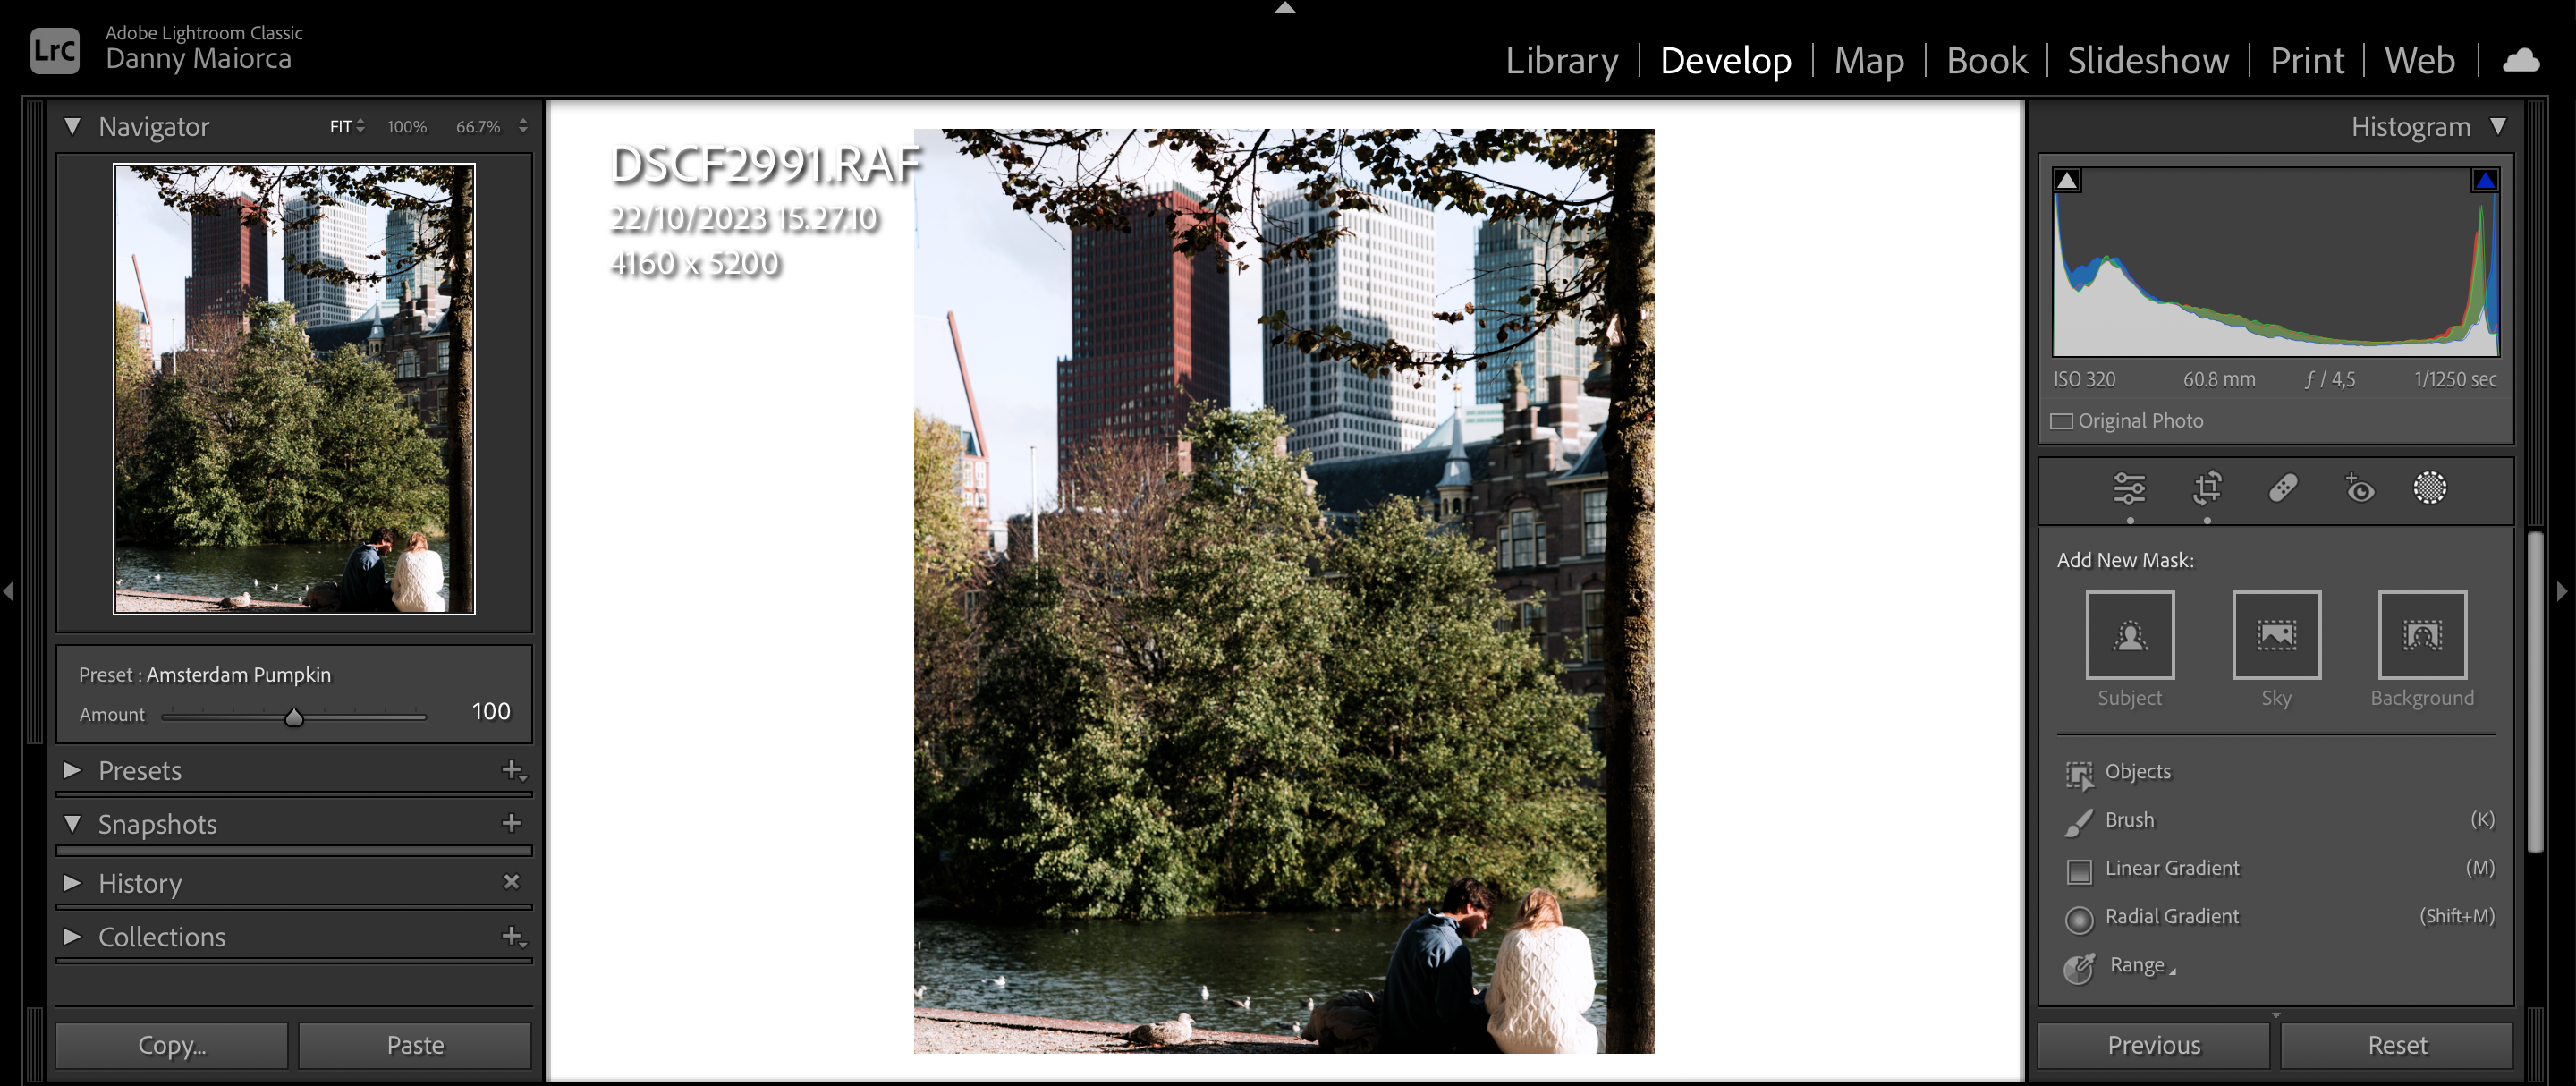
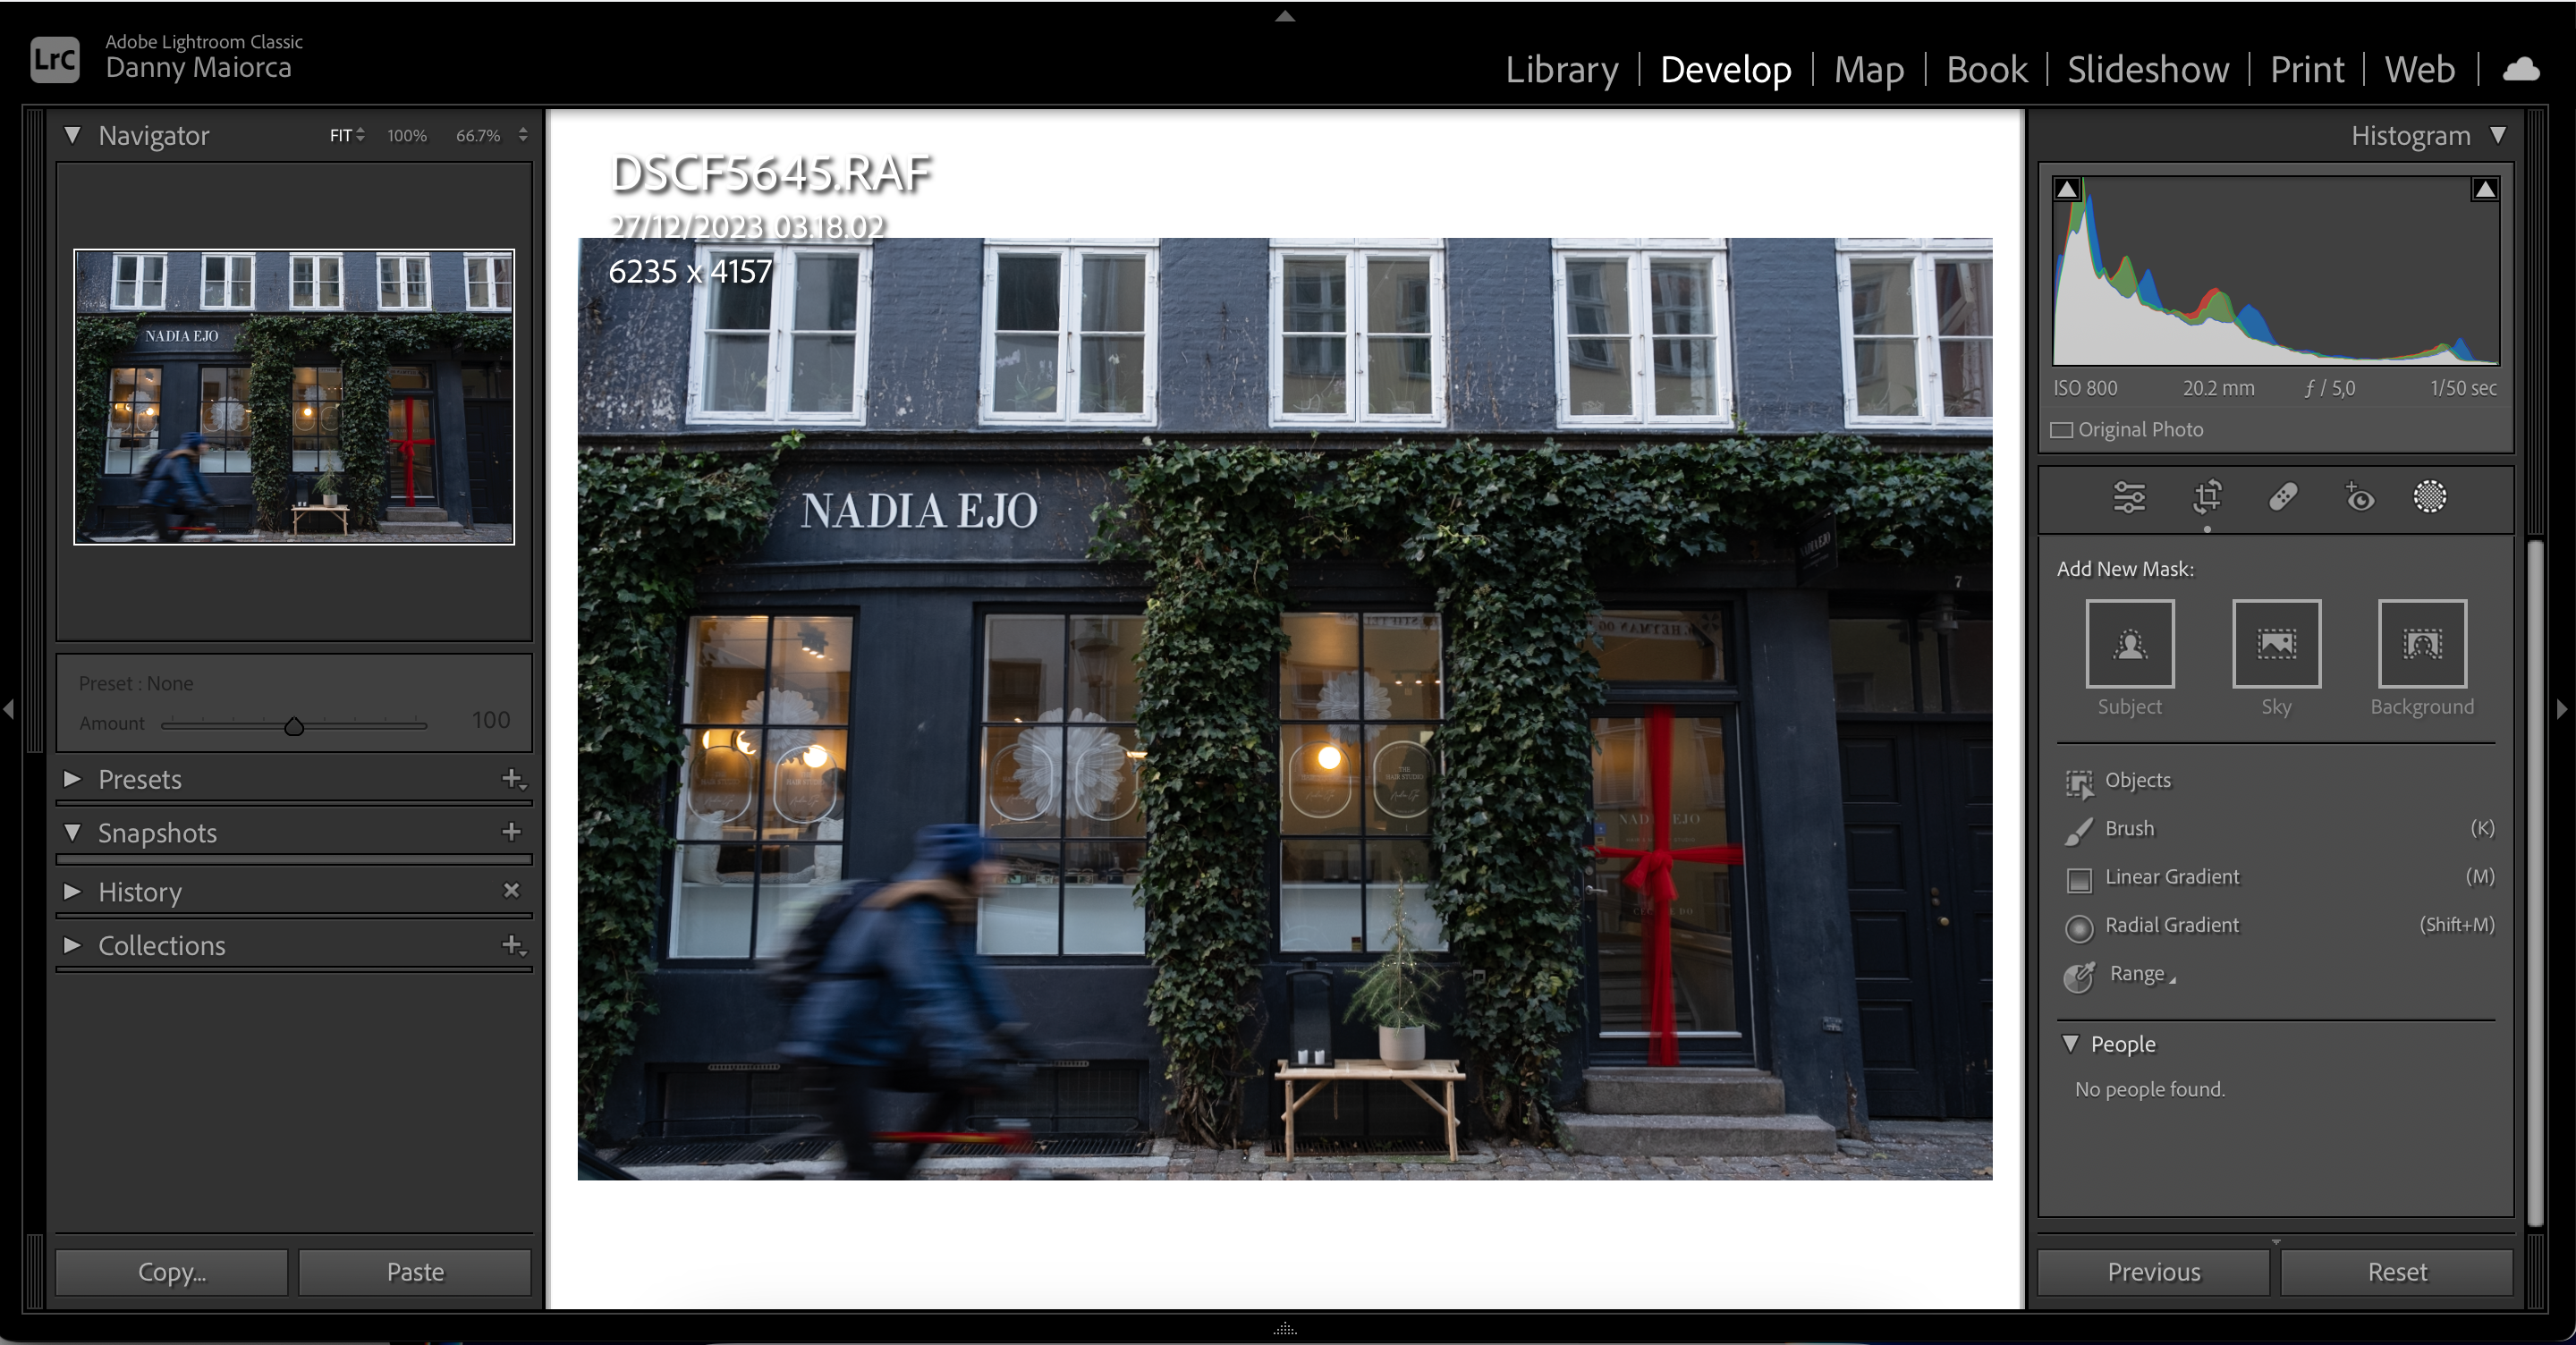
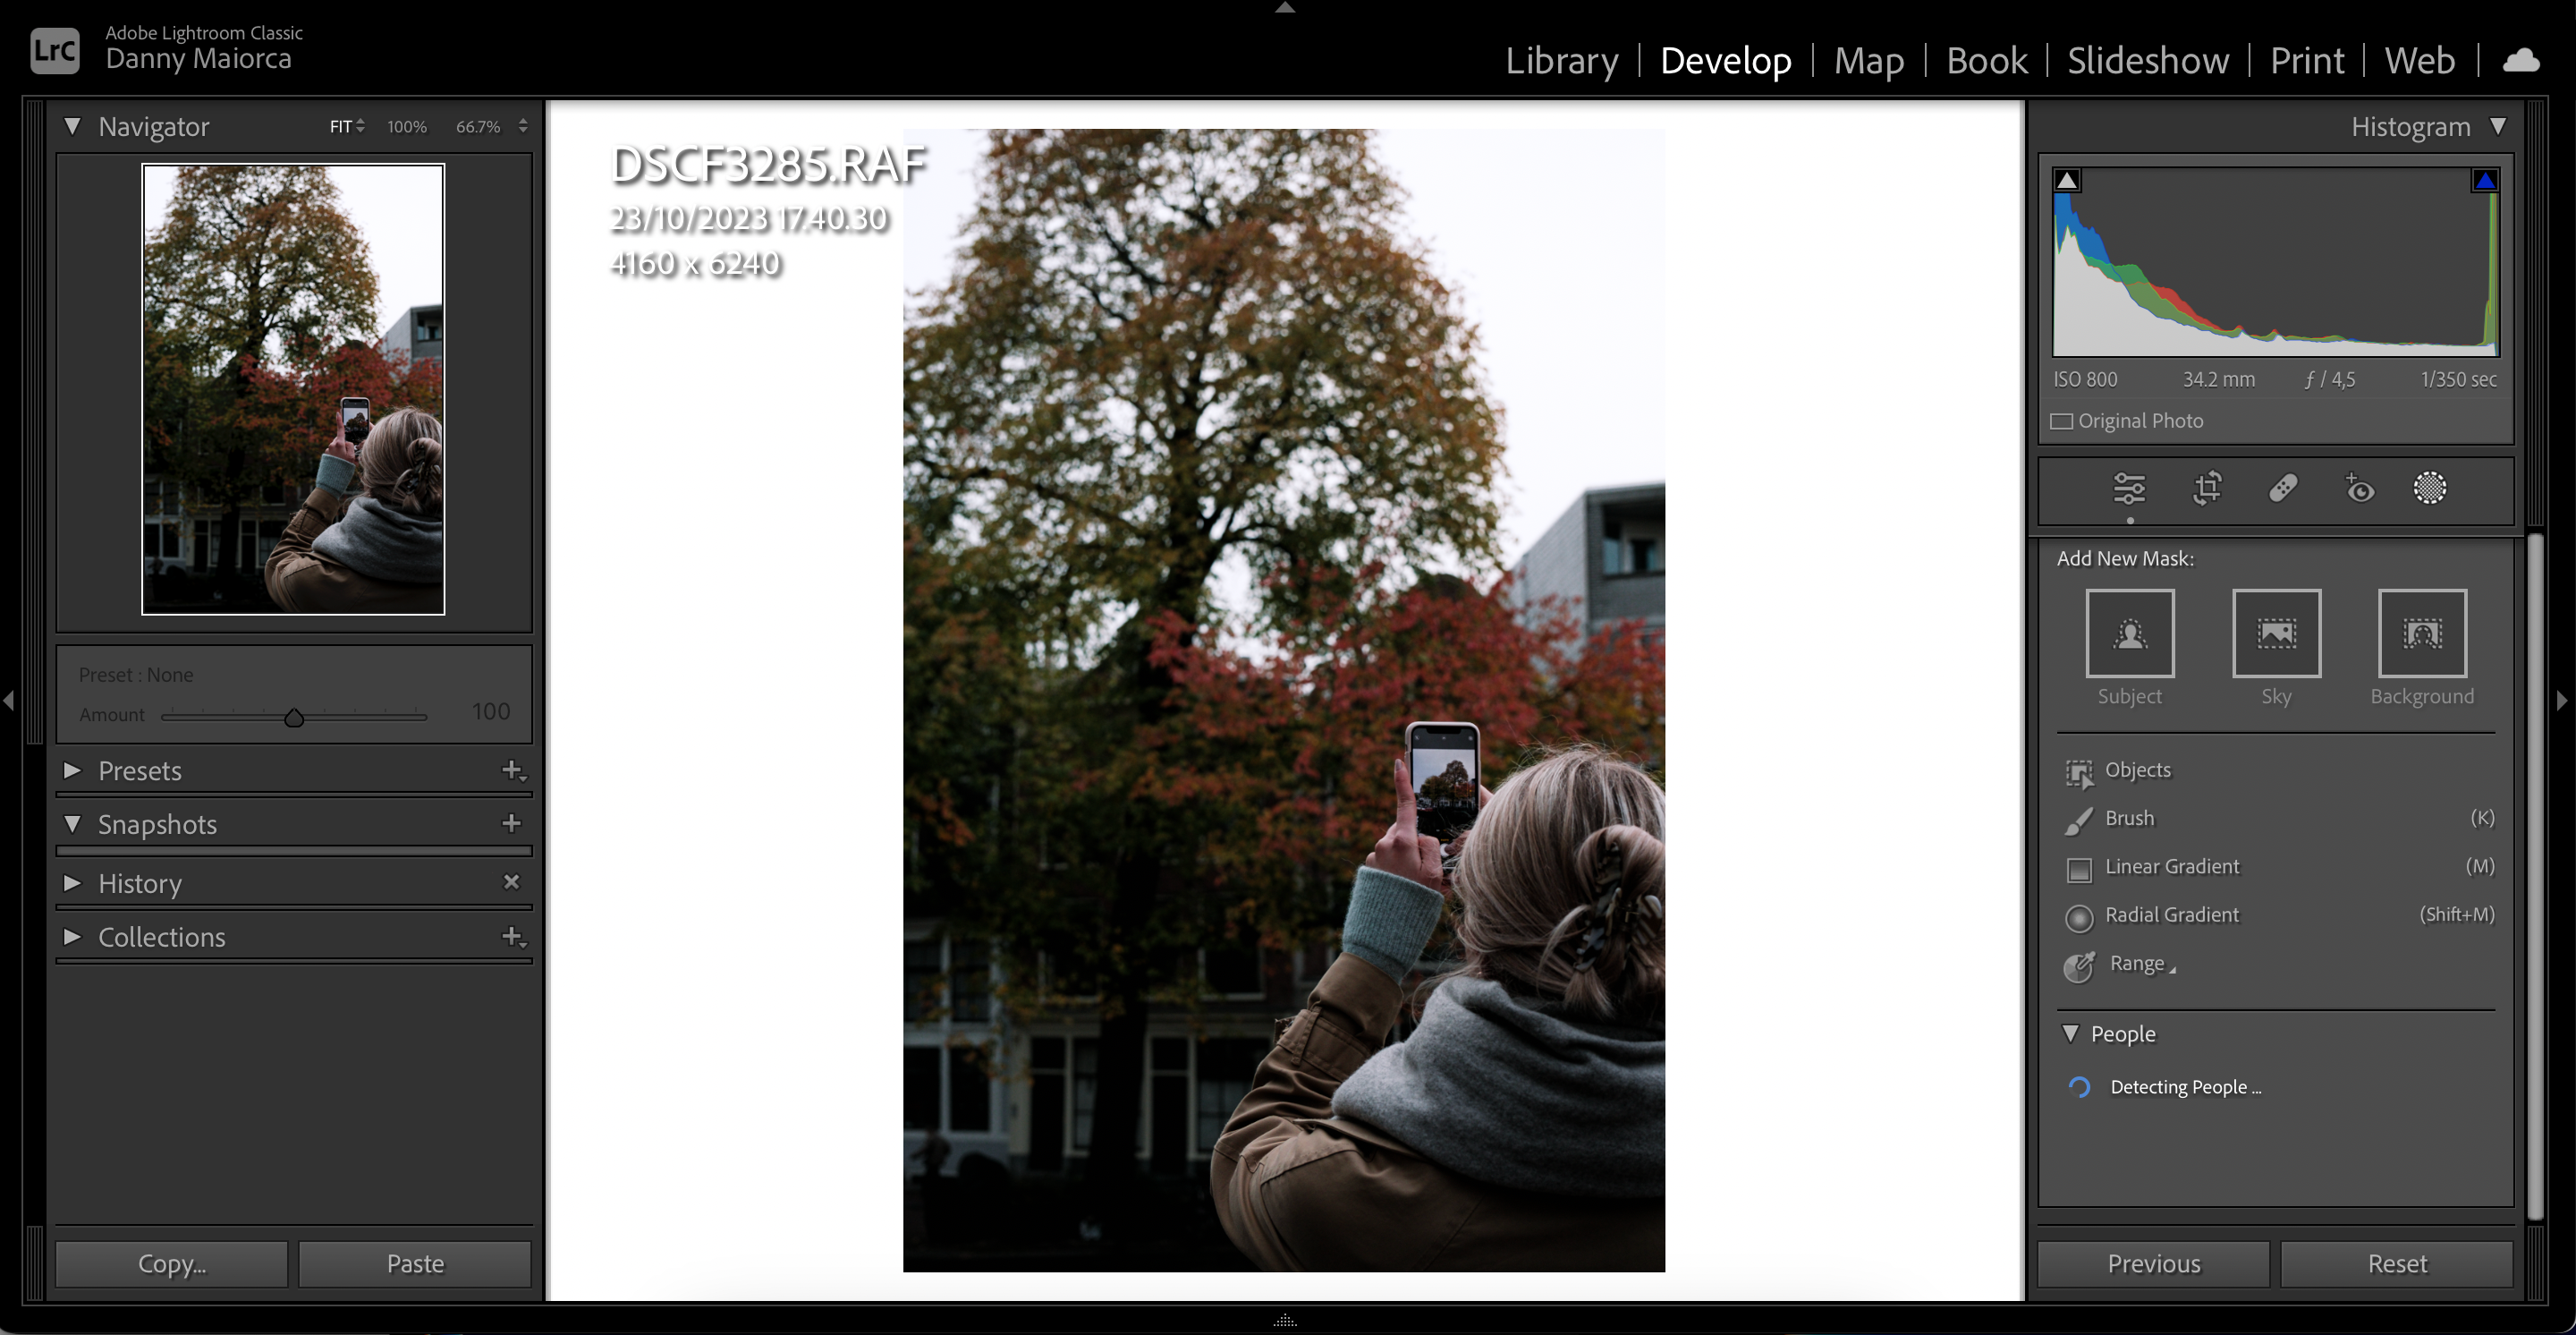
Use these steps to make the most of Lightrooms AI background masking feature.
Its also ideal if Lightroom doesnt detect a background in your photo.
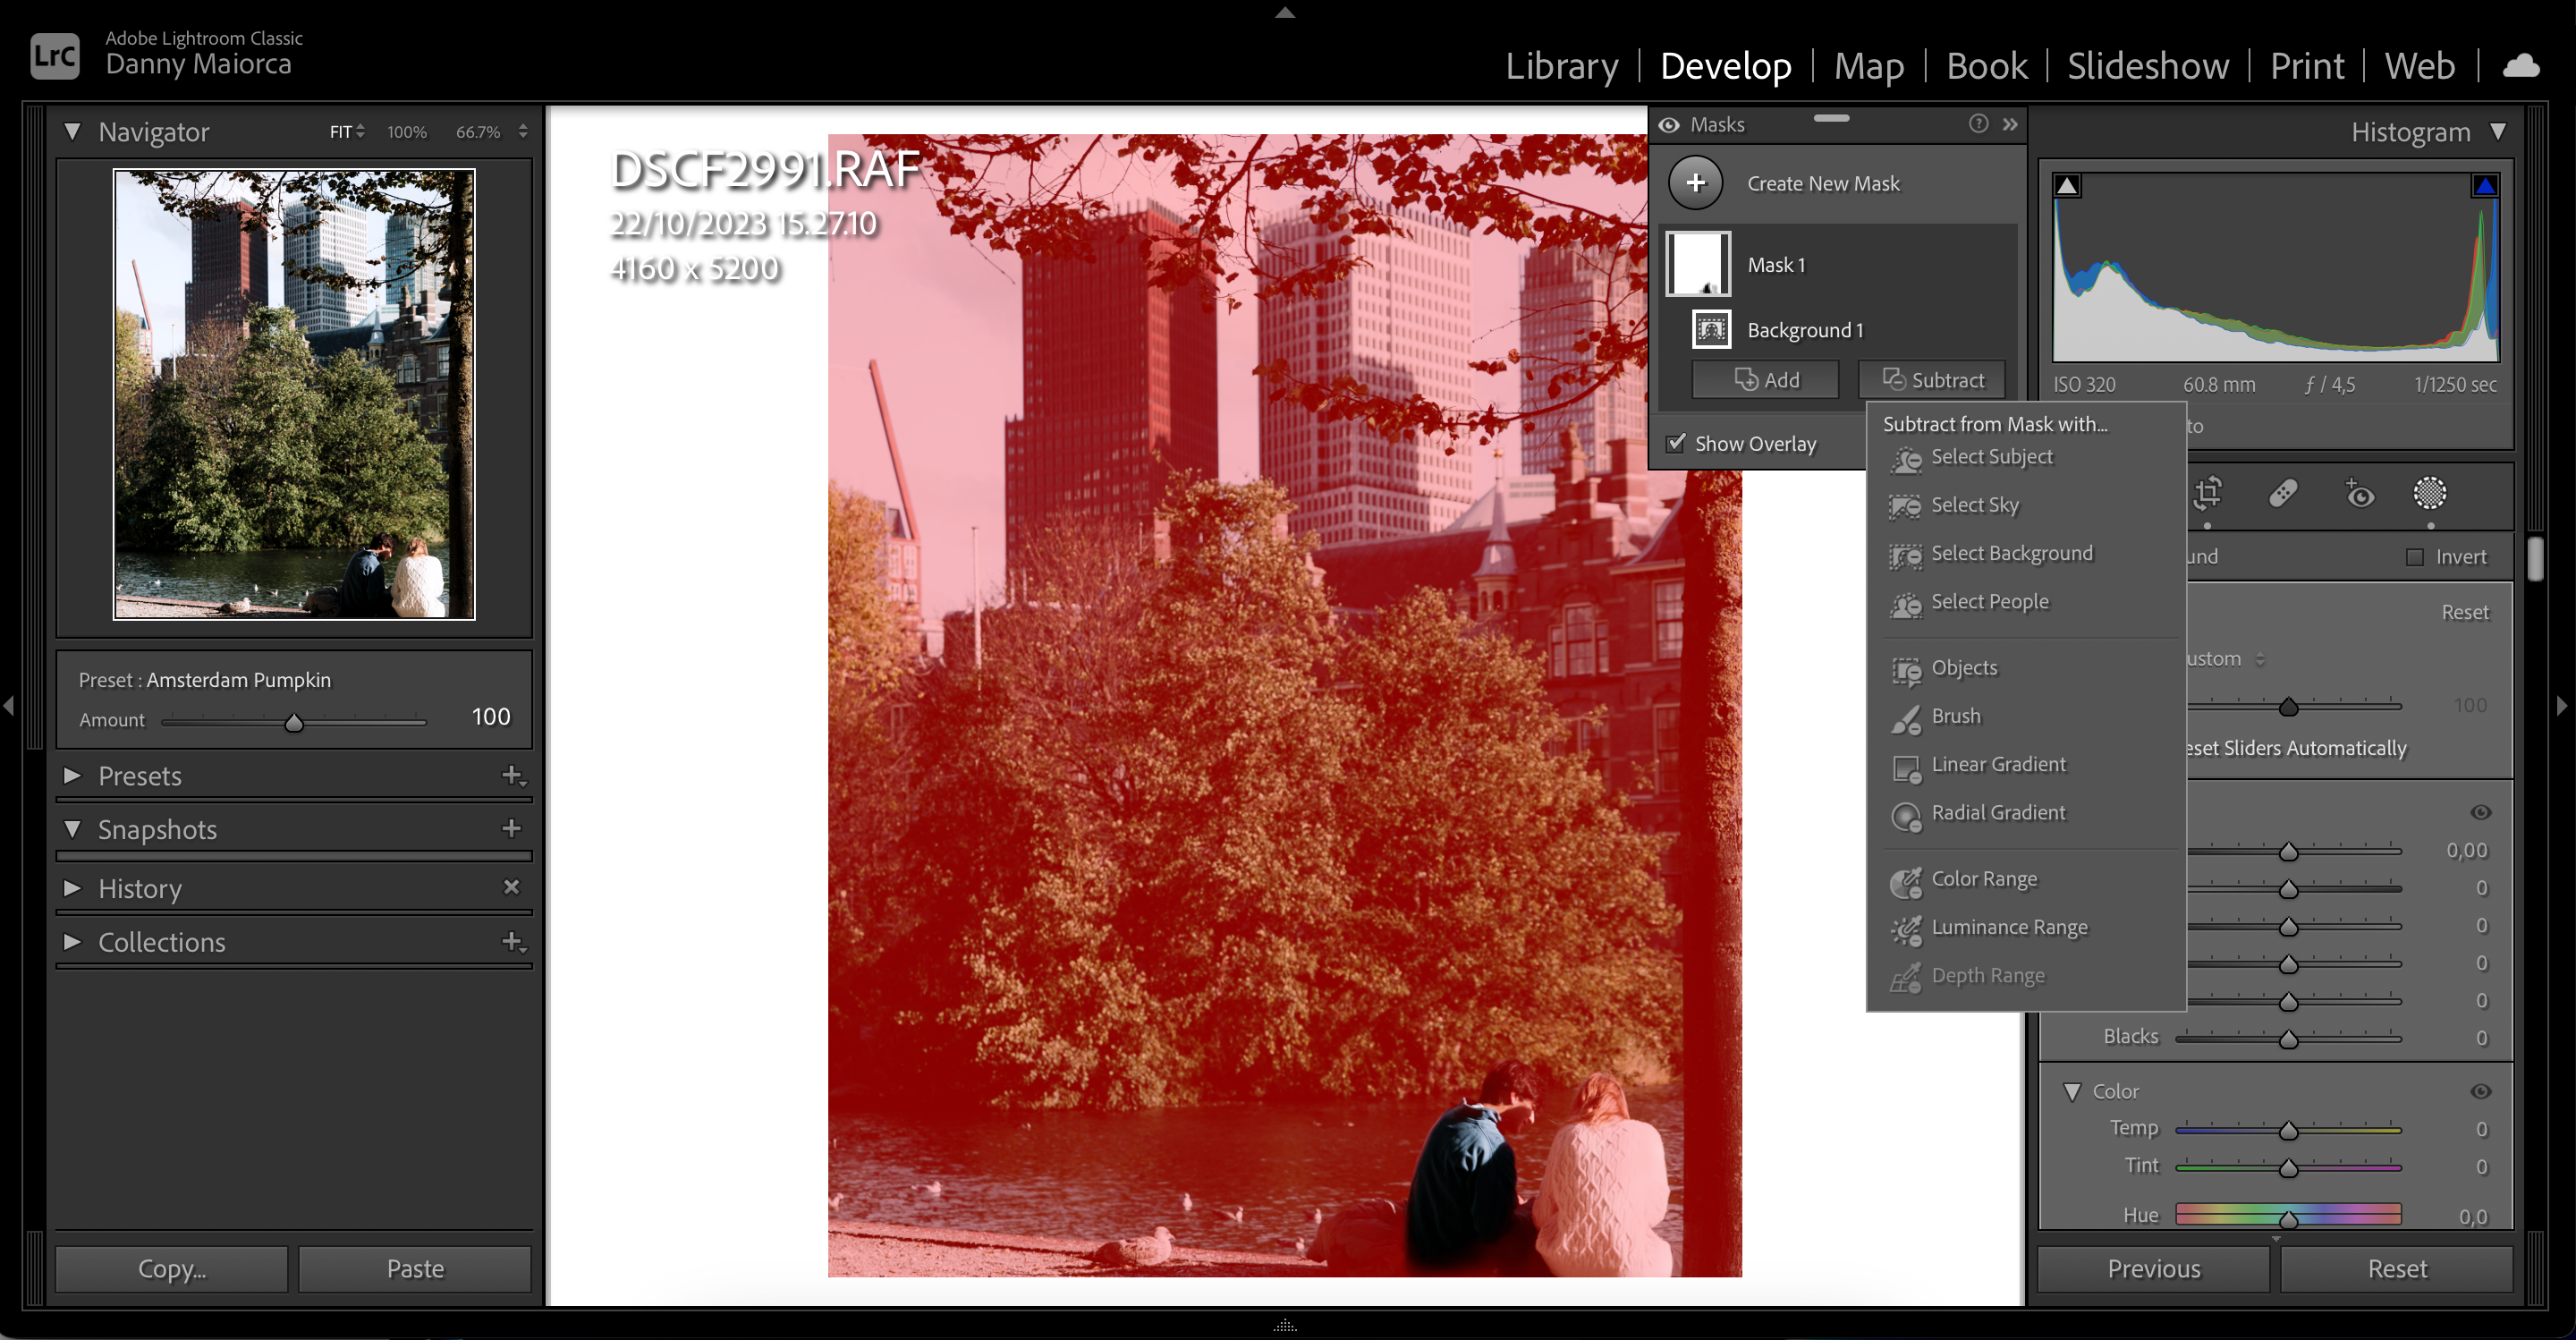
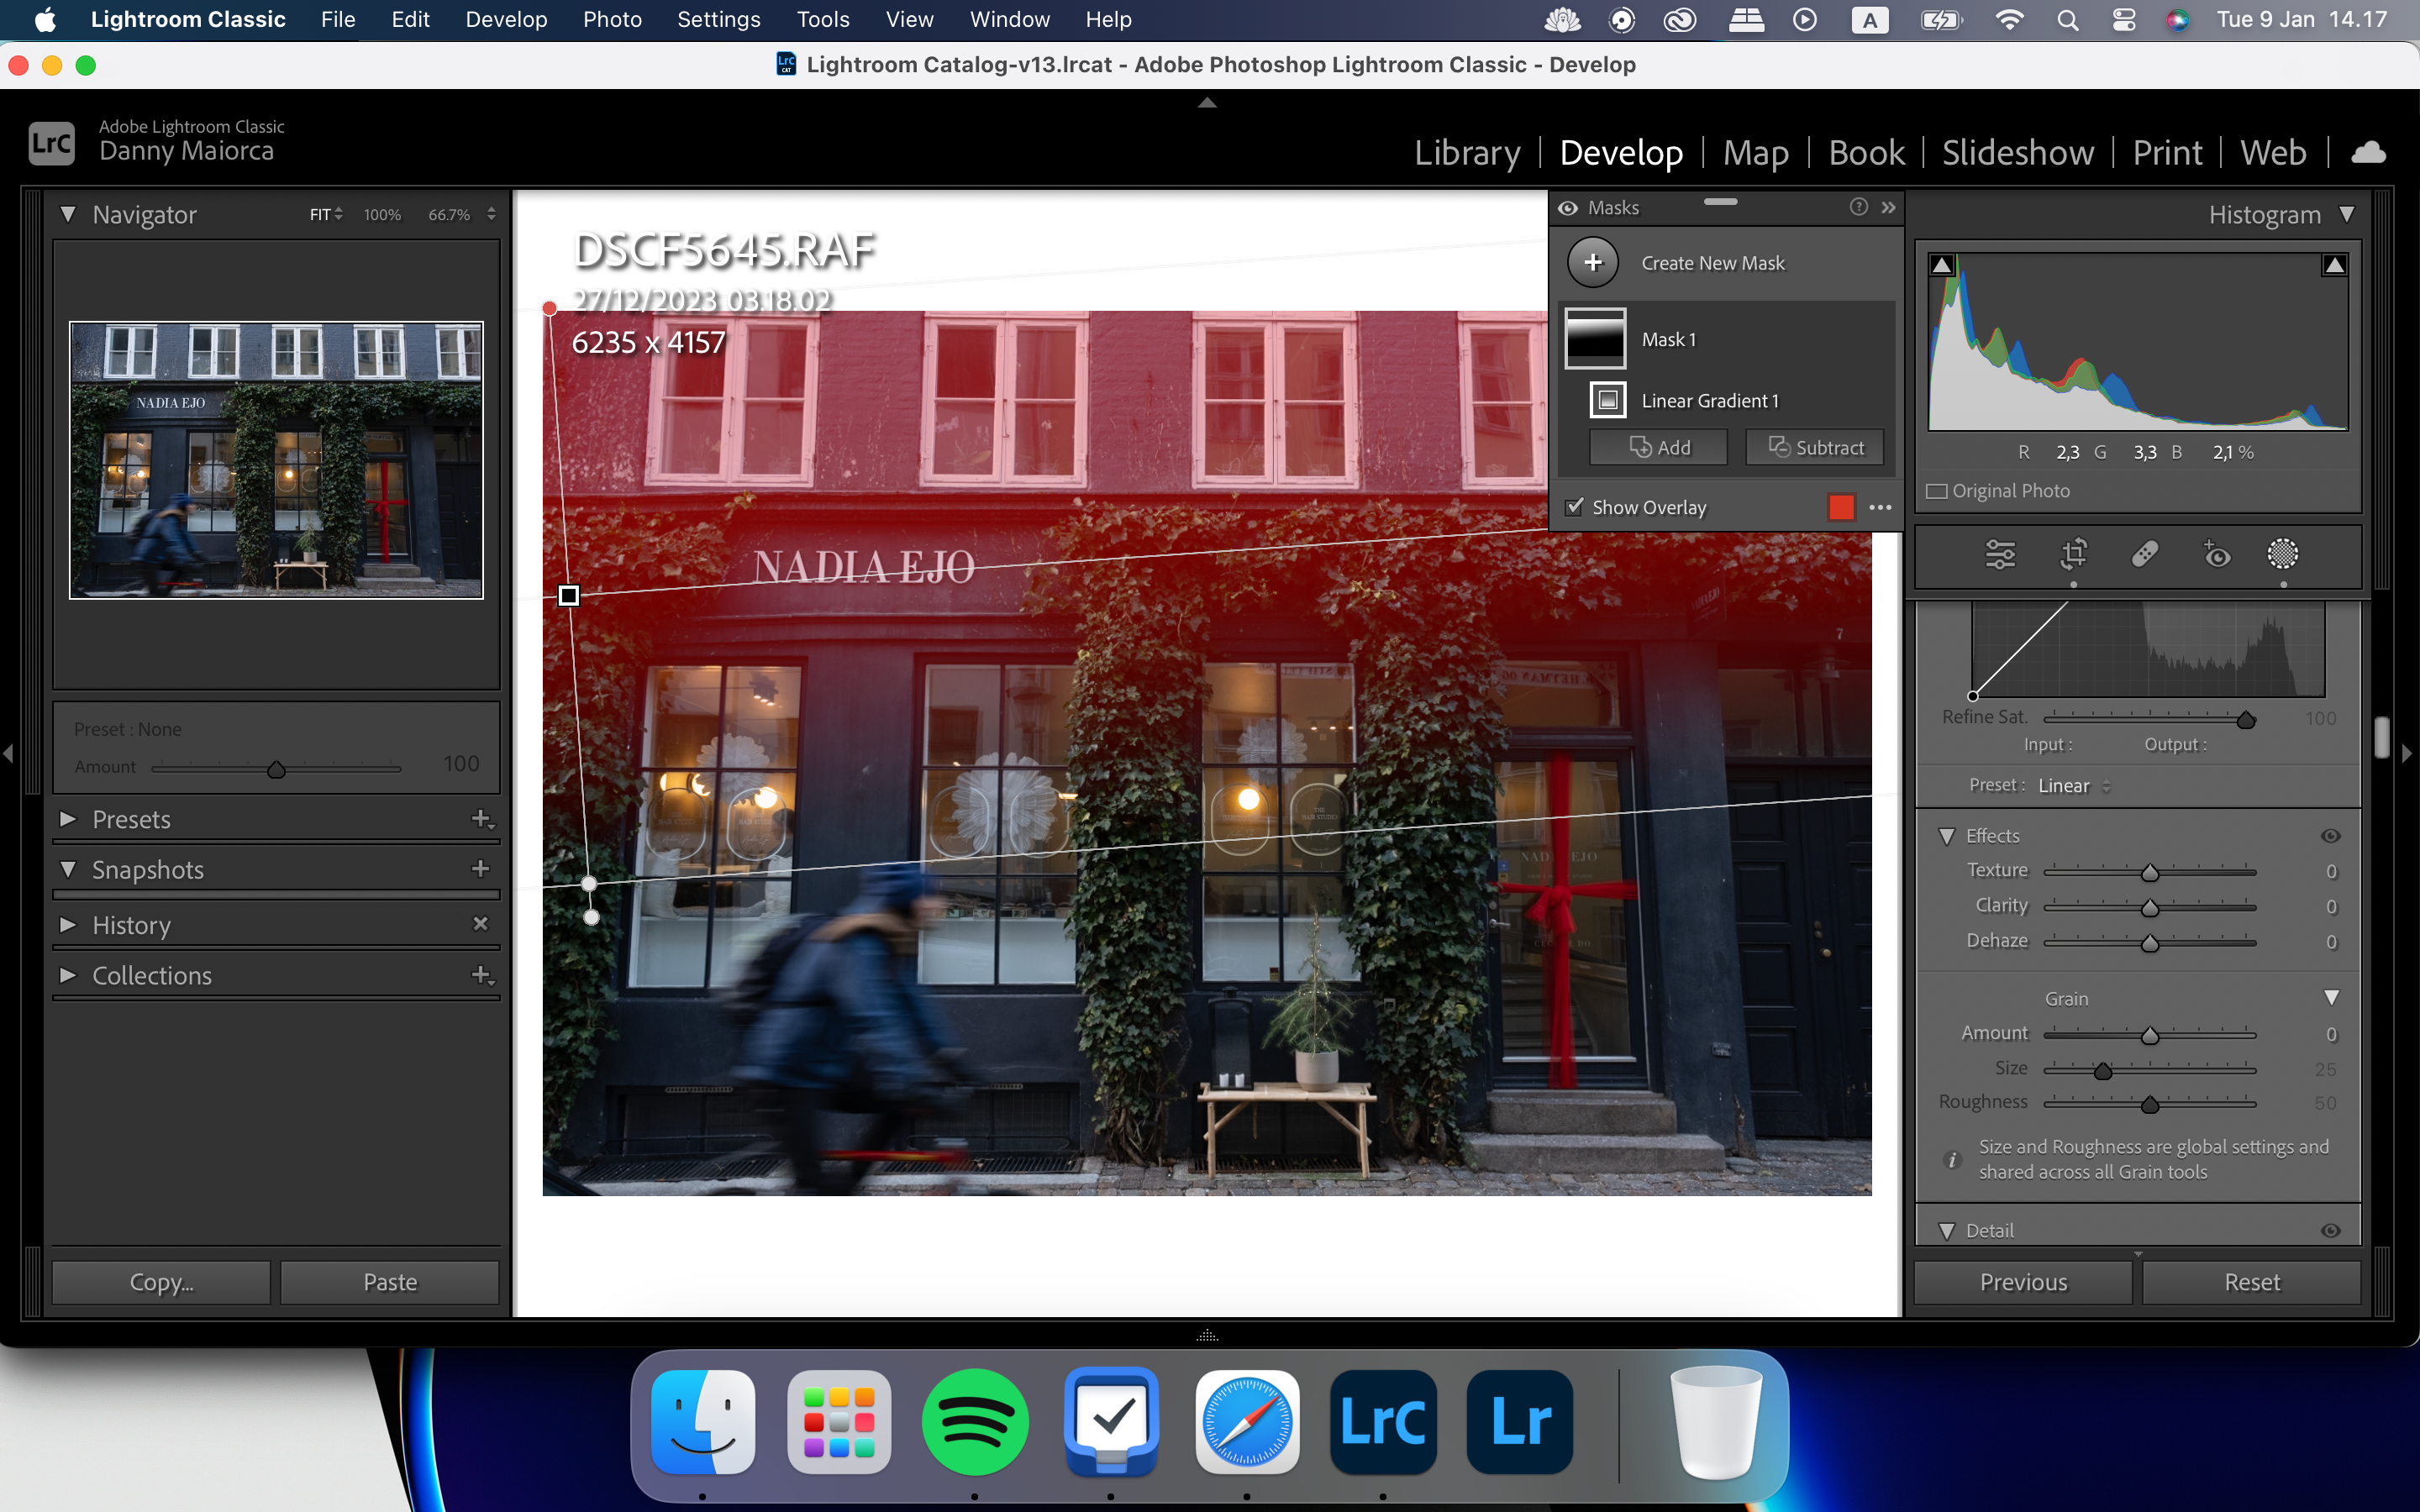
Linear Gradient lets you select a large area of your image and add new effects.
Weve got a full guide onhow to use Lightrooms Radial Gradient toolif you want to learn more about that.

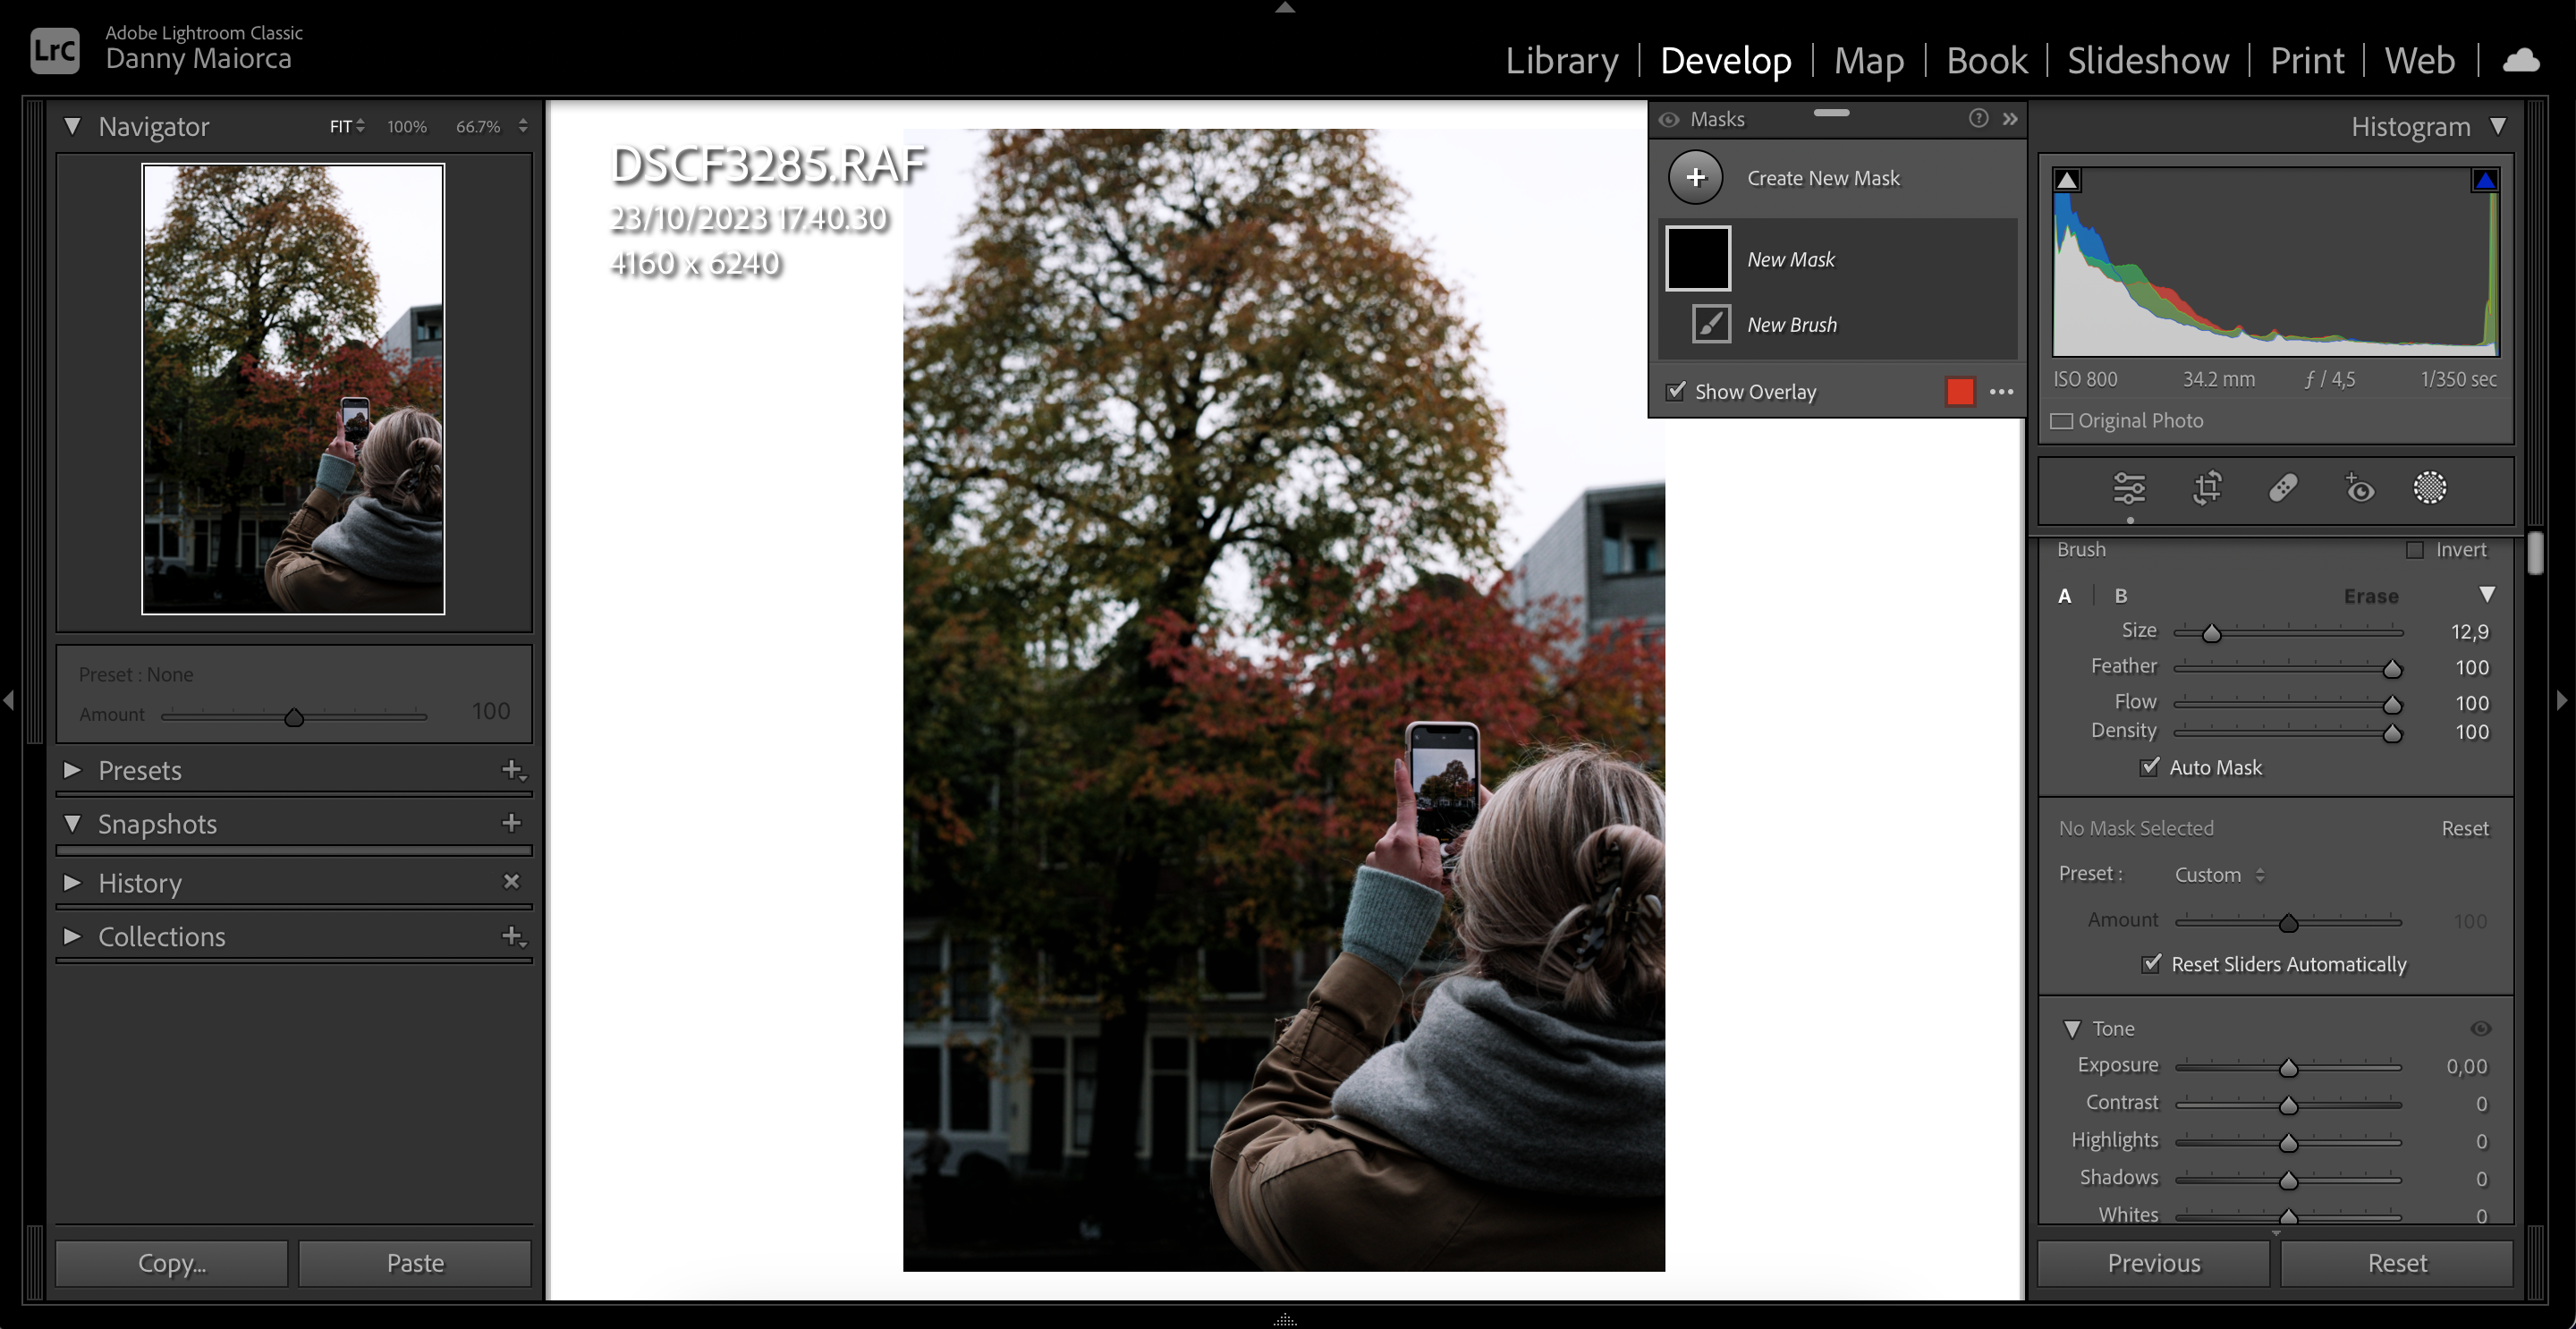
After selecting the Brush tool, use these steps to achieve this result:
6.
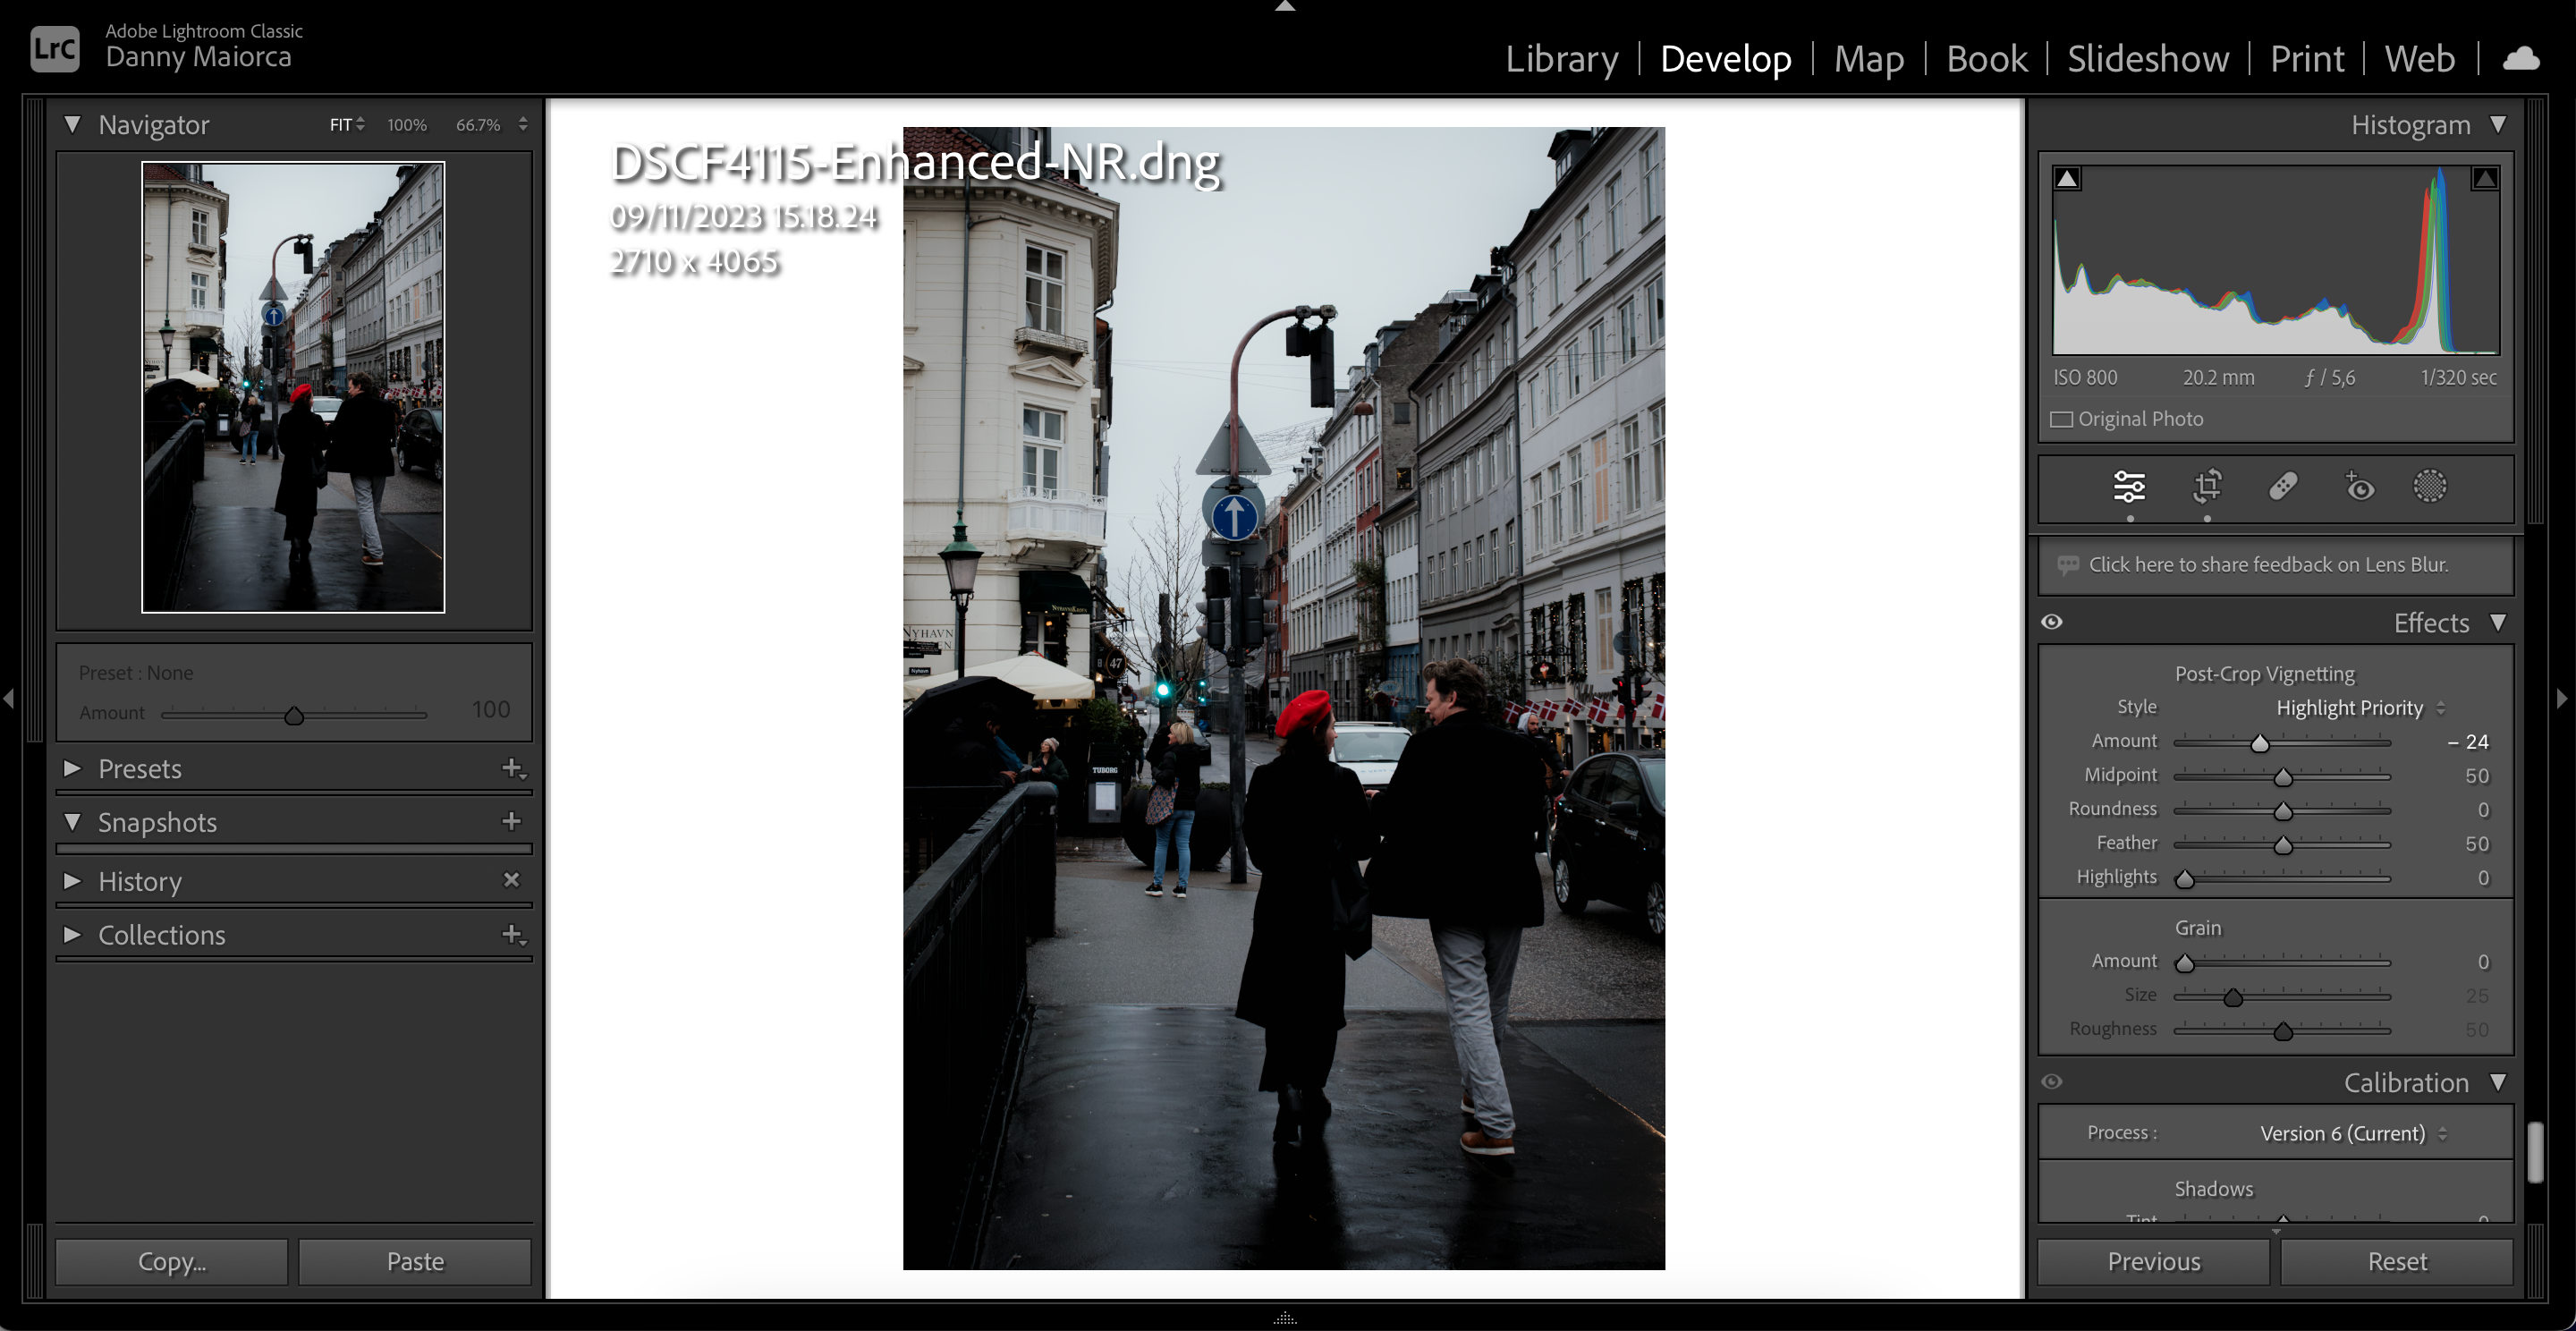
However, you should use this sparingly; too much can result in your photos looking unrealistic.
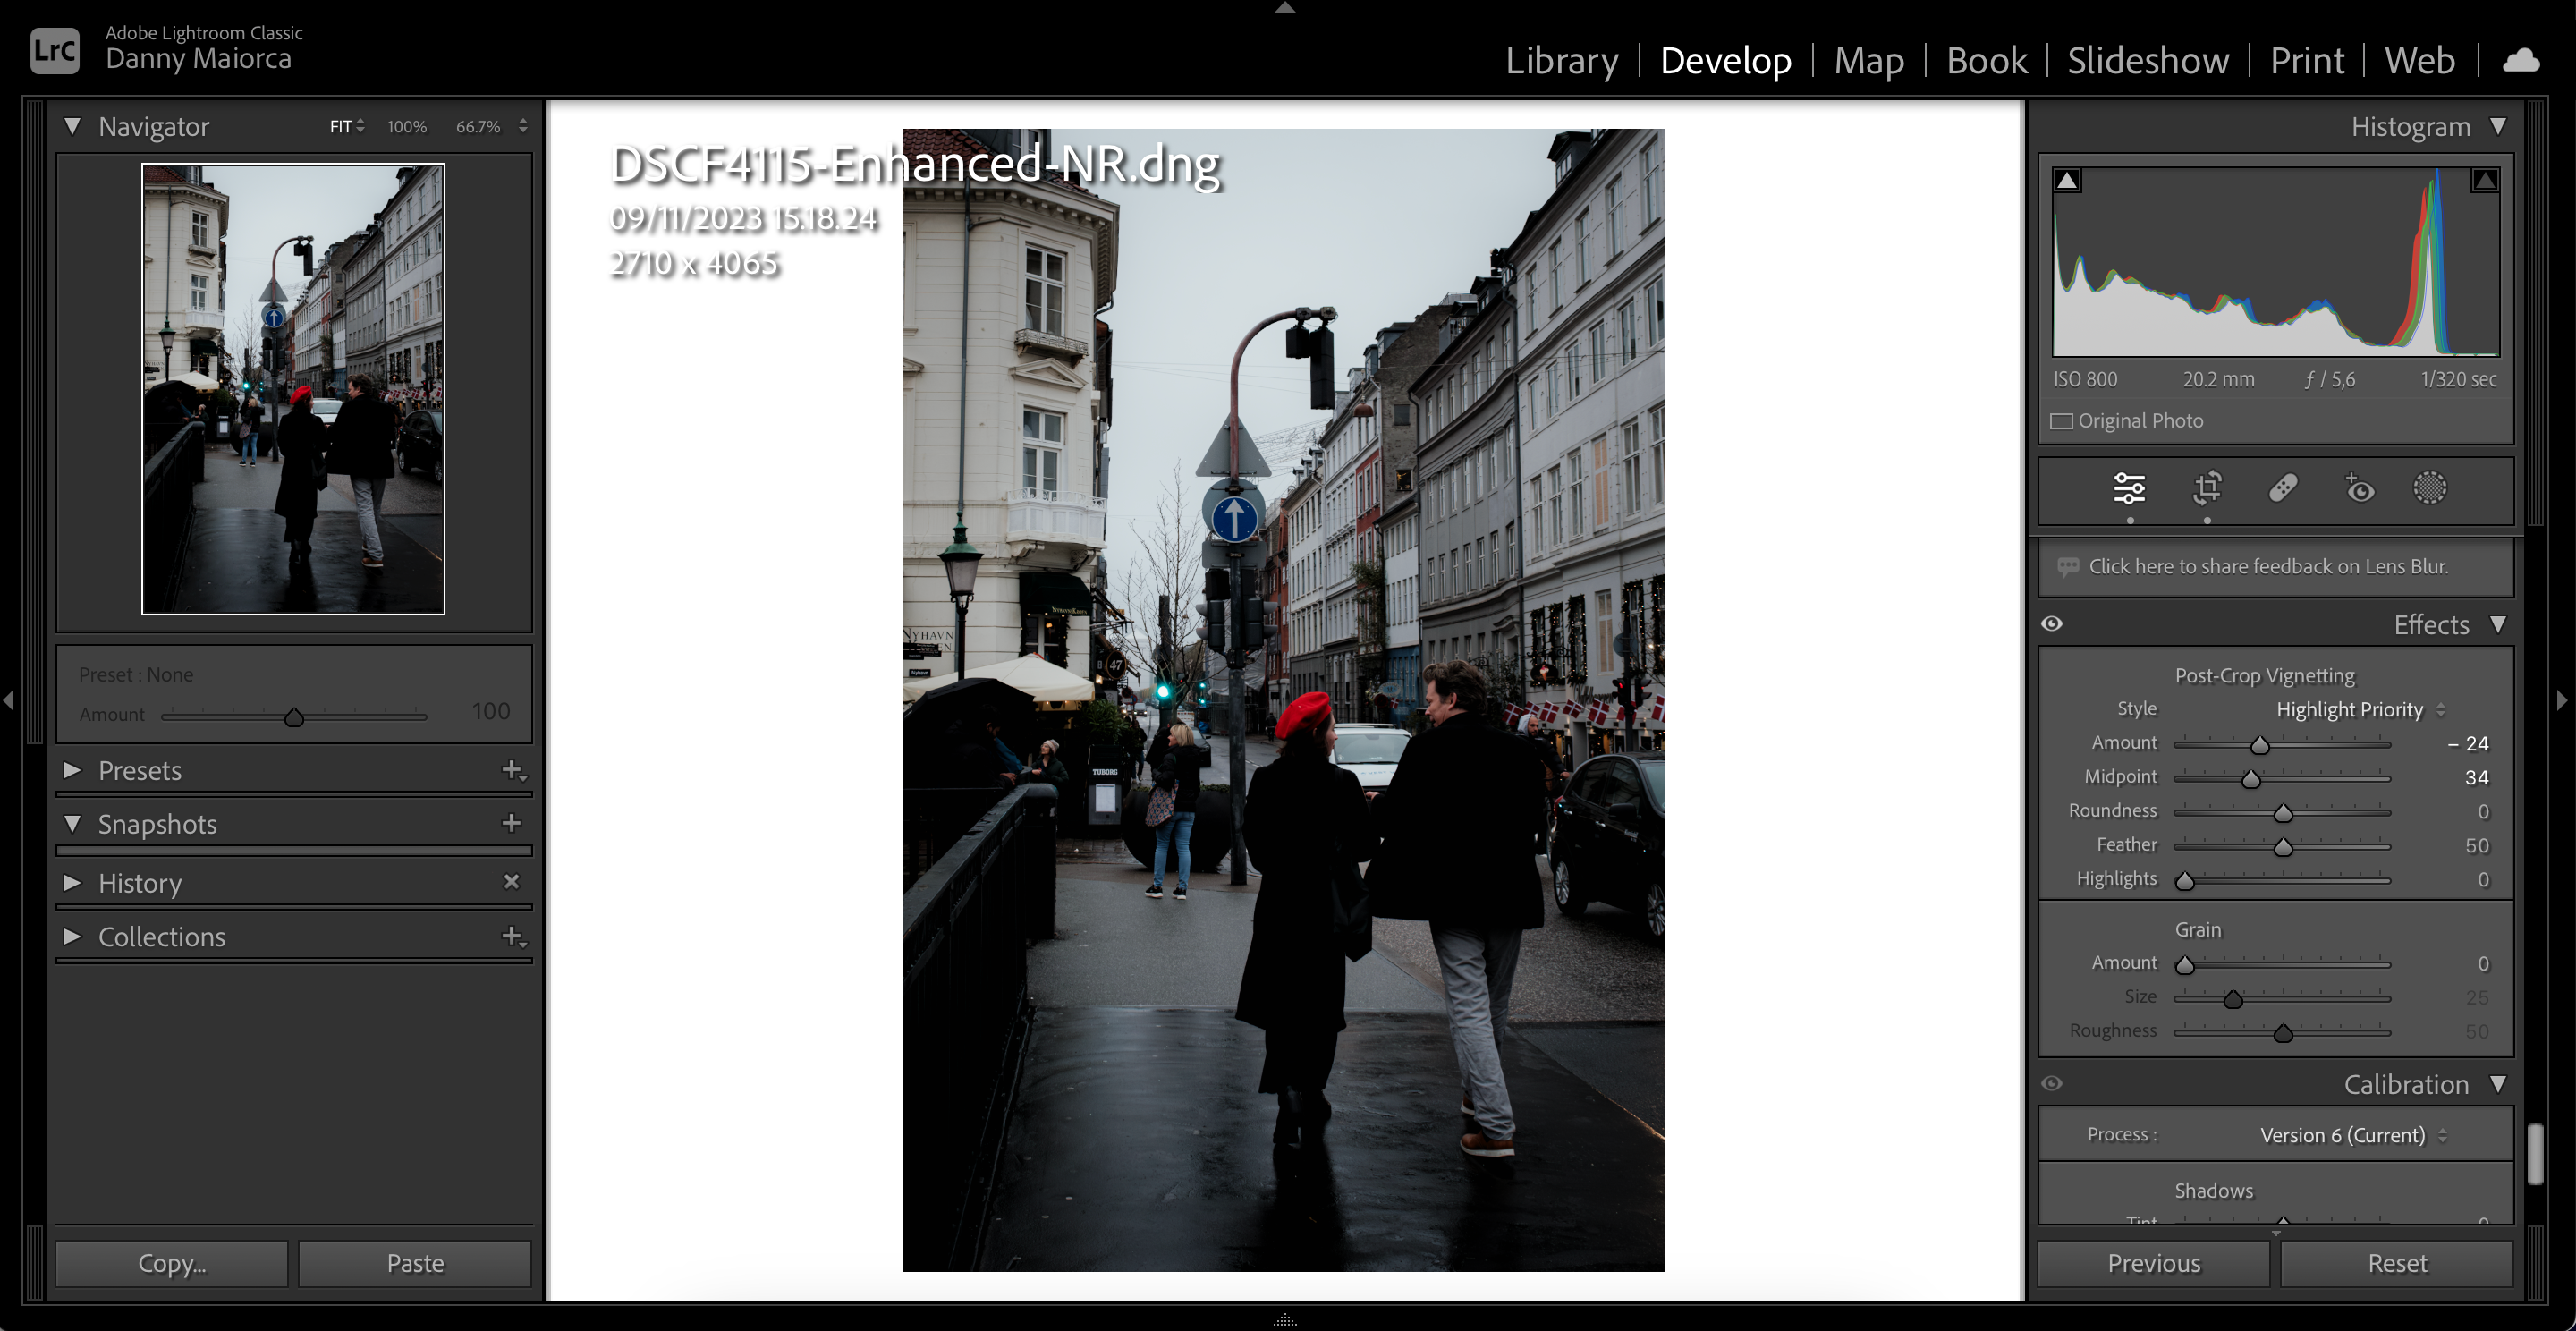
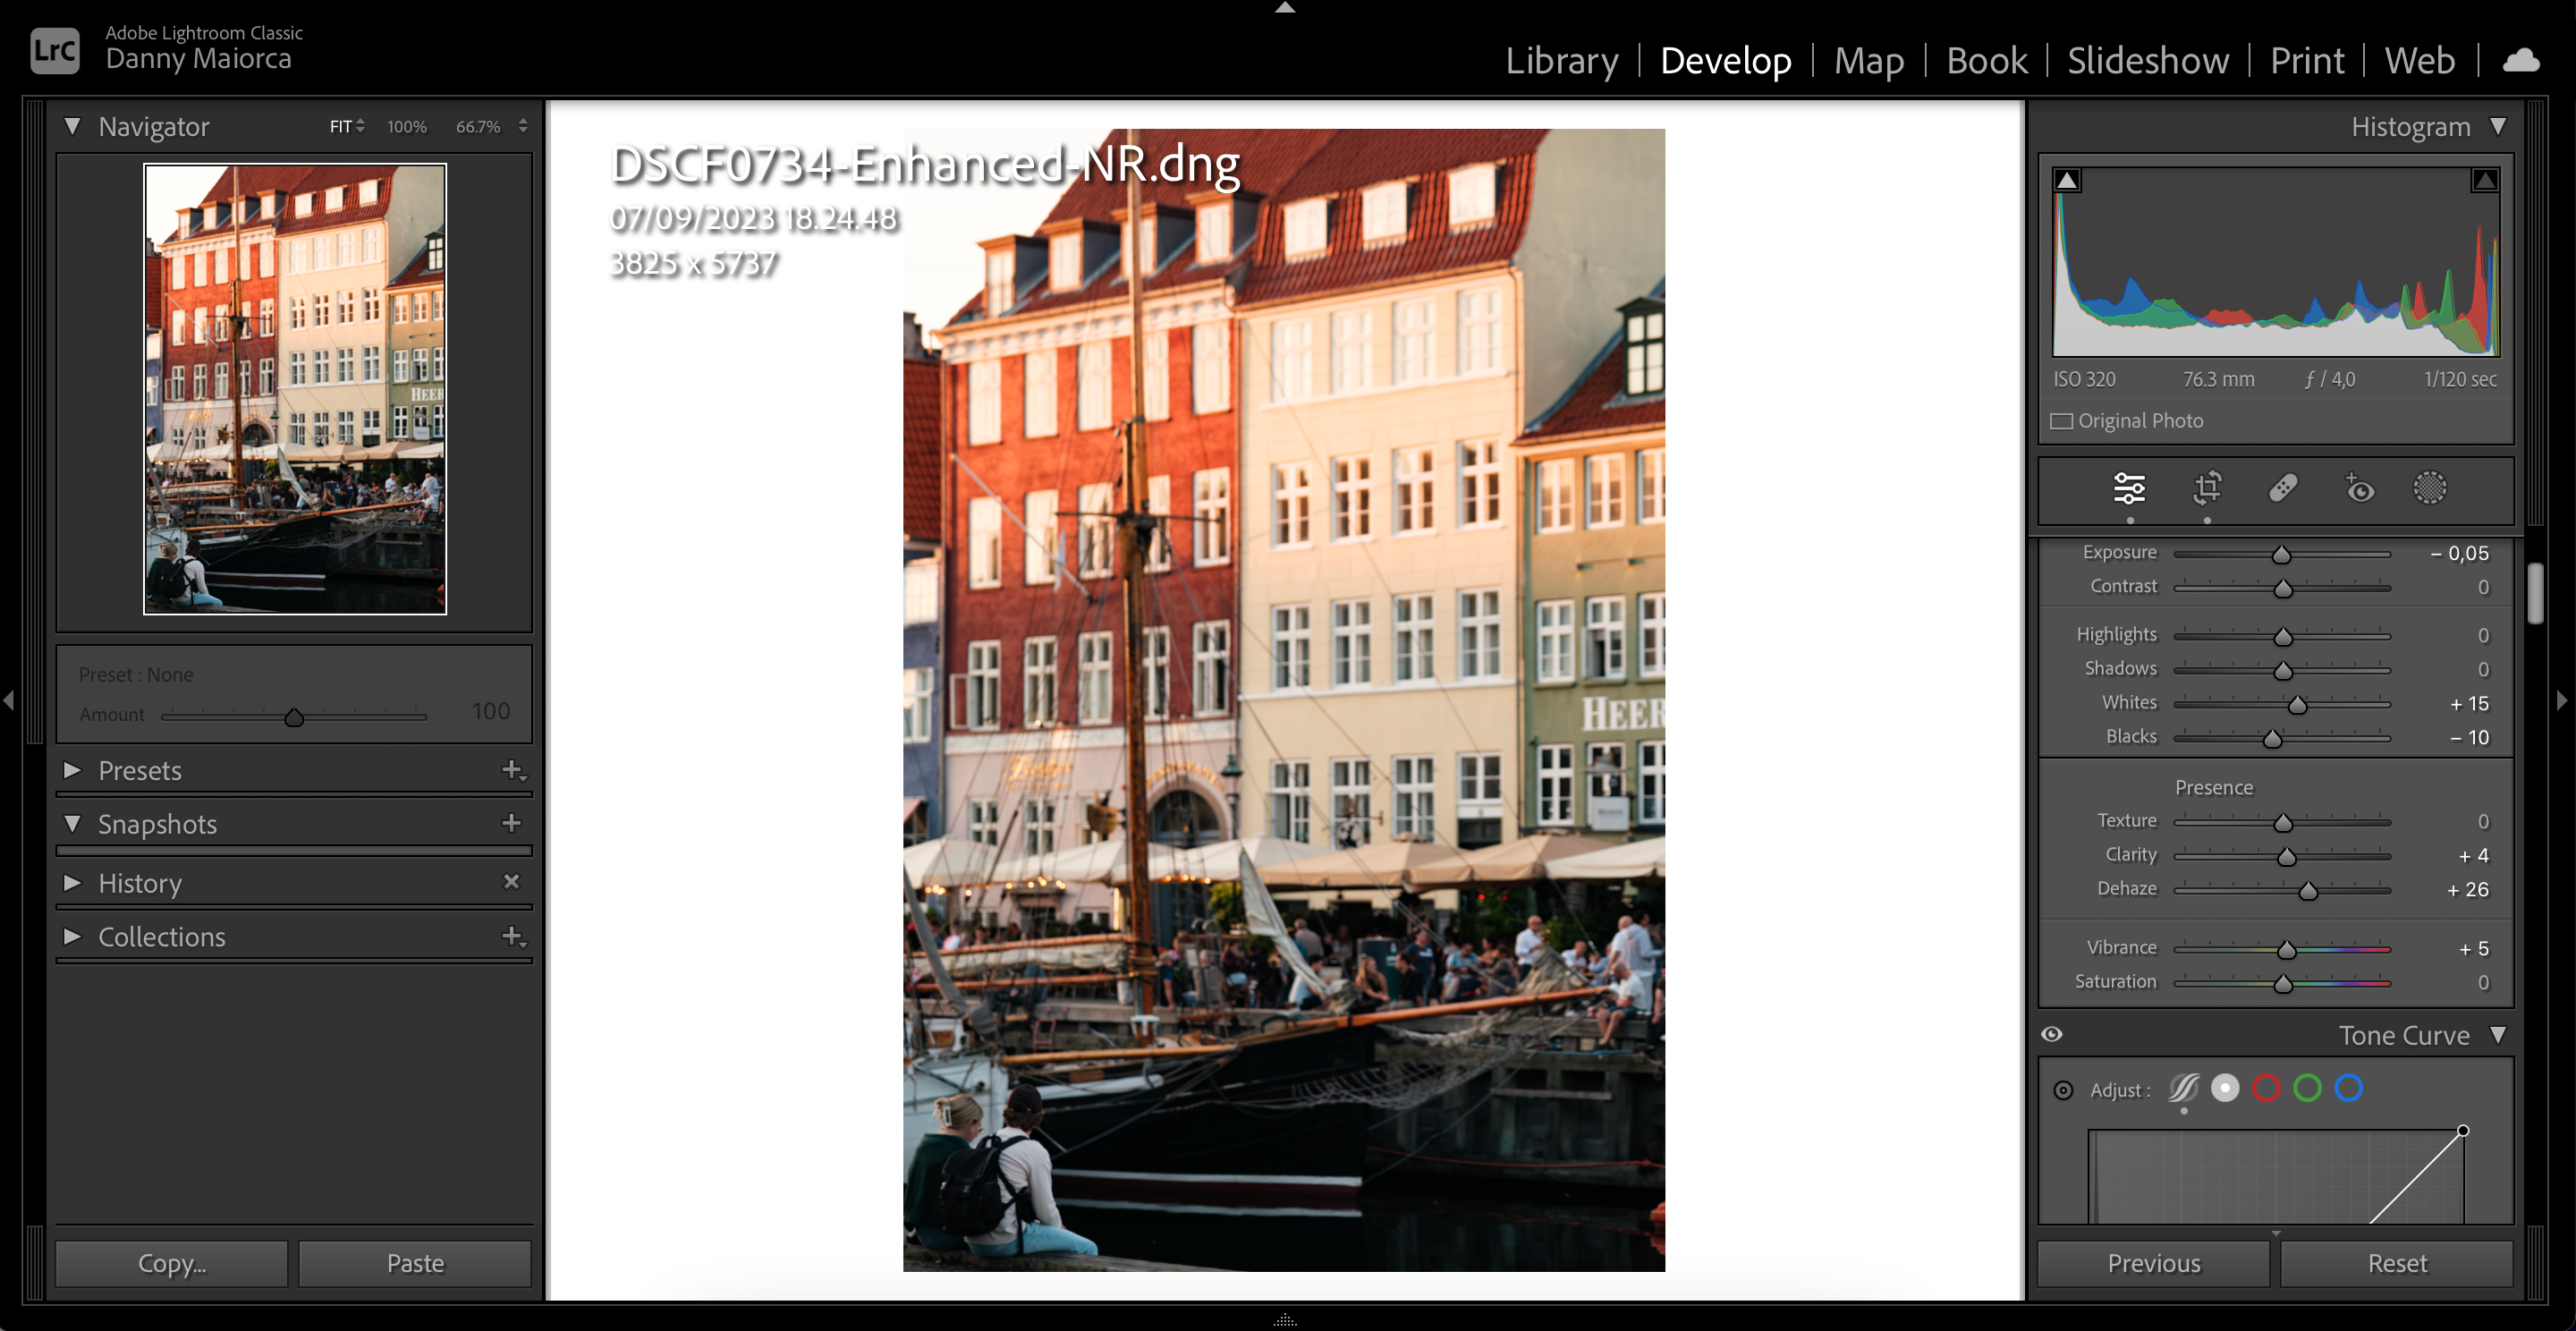
To use the Dehaze feature in Lightroom, follow these instructions.
However, its a good idea to use them alongside your camera.