Ender 3 V2 is an upgraded version of the popular Ender 3 Pro 3D printer.
Assembling the Ender 3 V2 is a simple process that requires minimal tools and no prior 3D printing experience.
To start the assembly process, you’ve got the option to follow these simple steps.
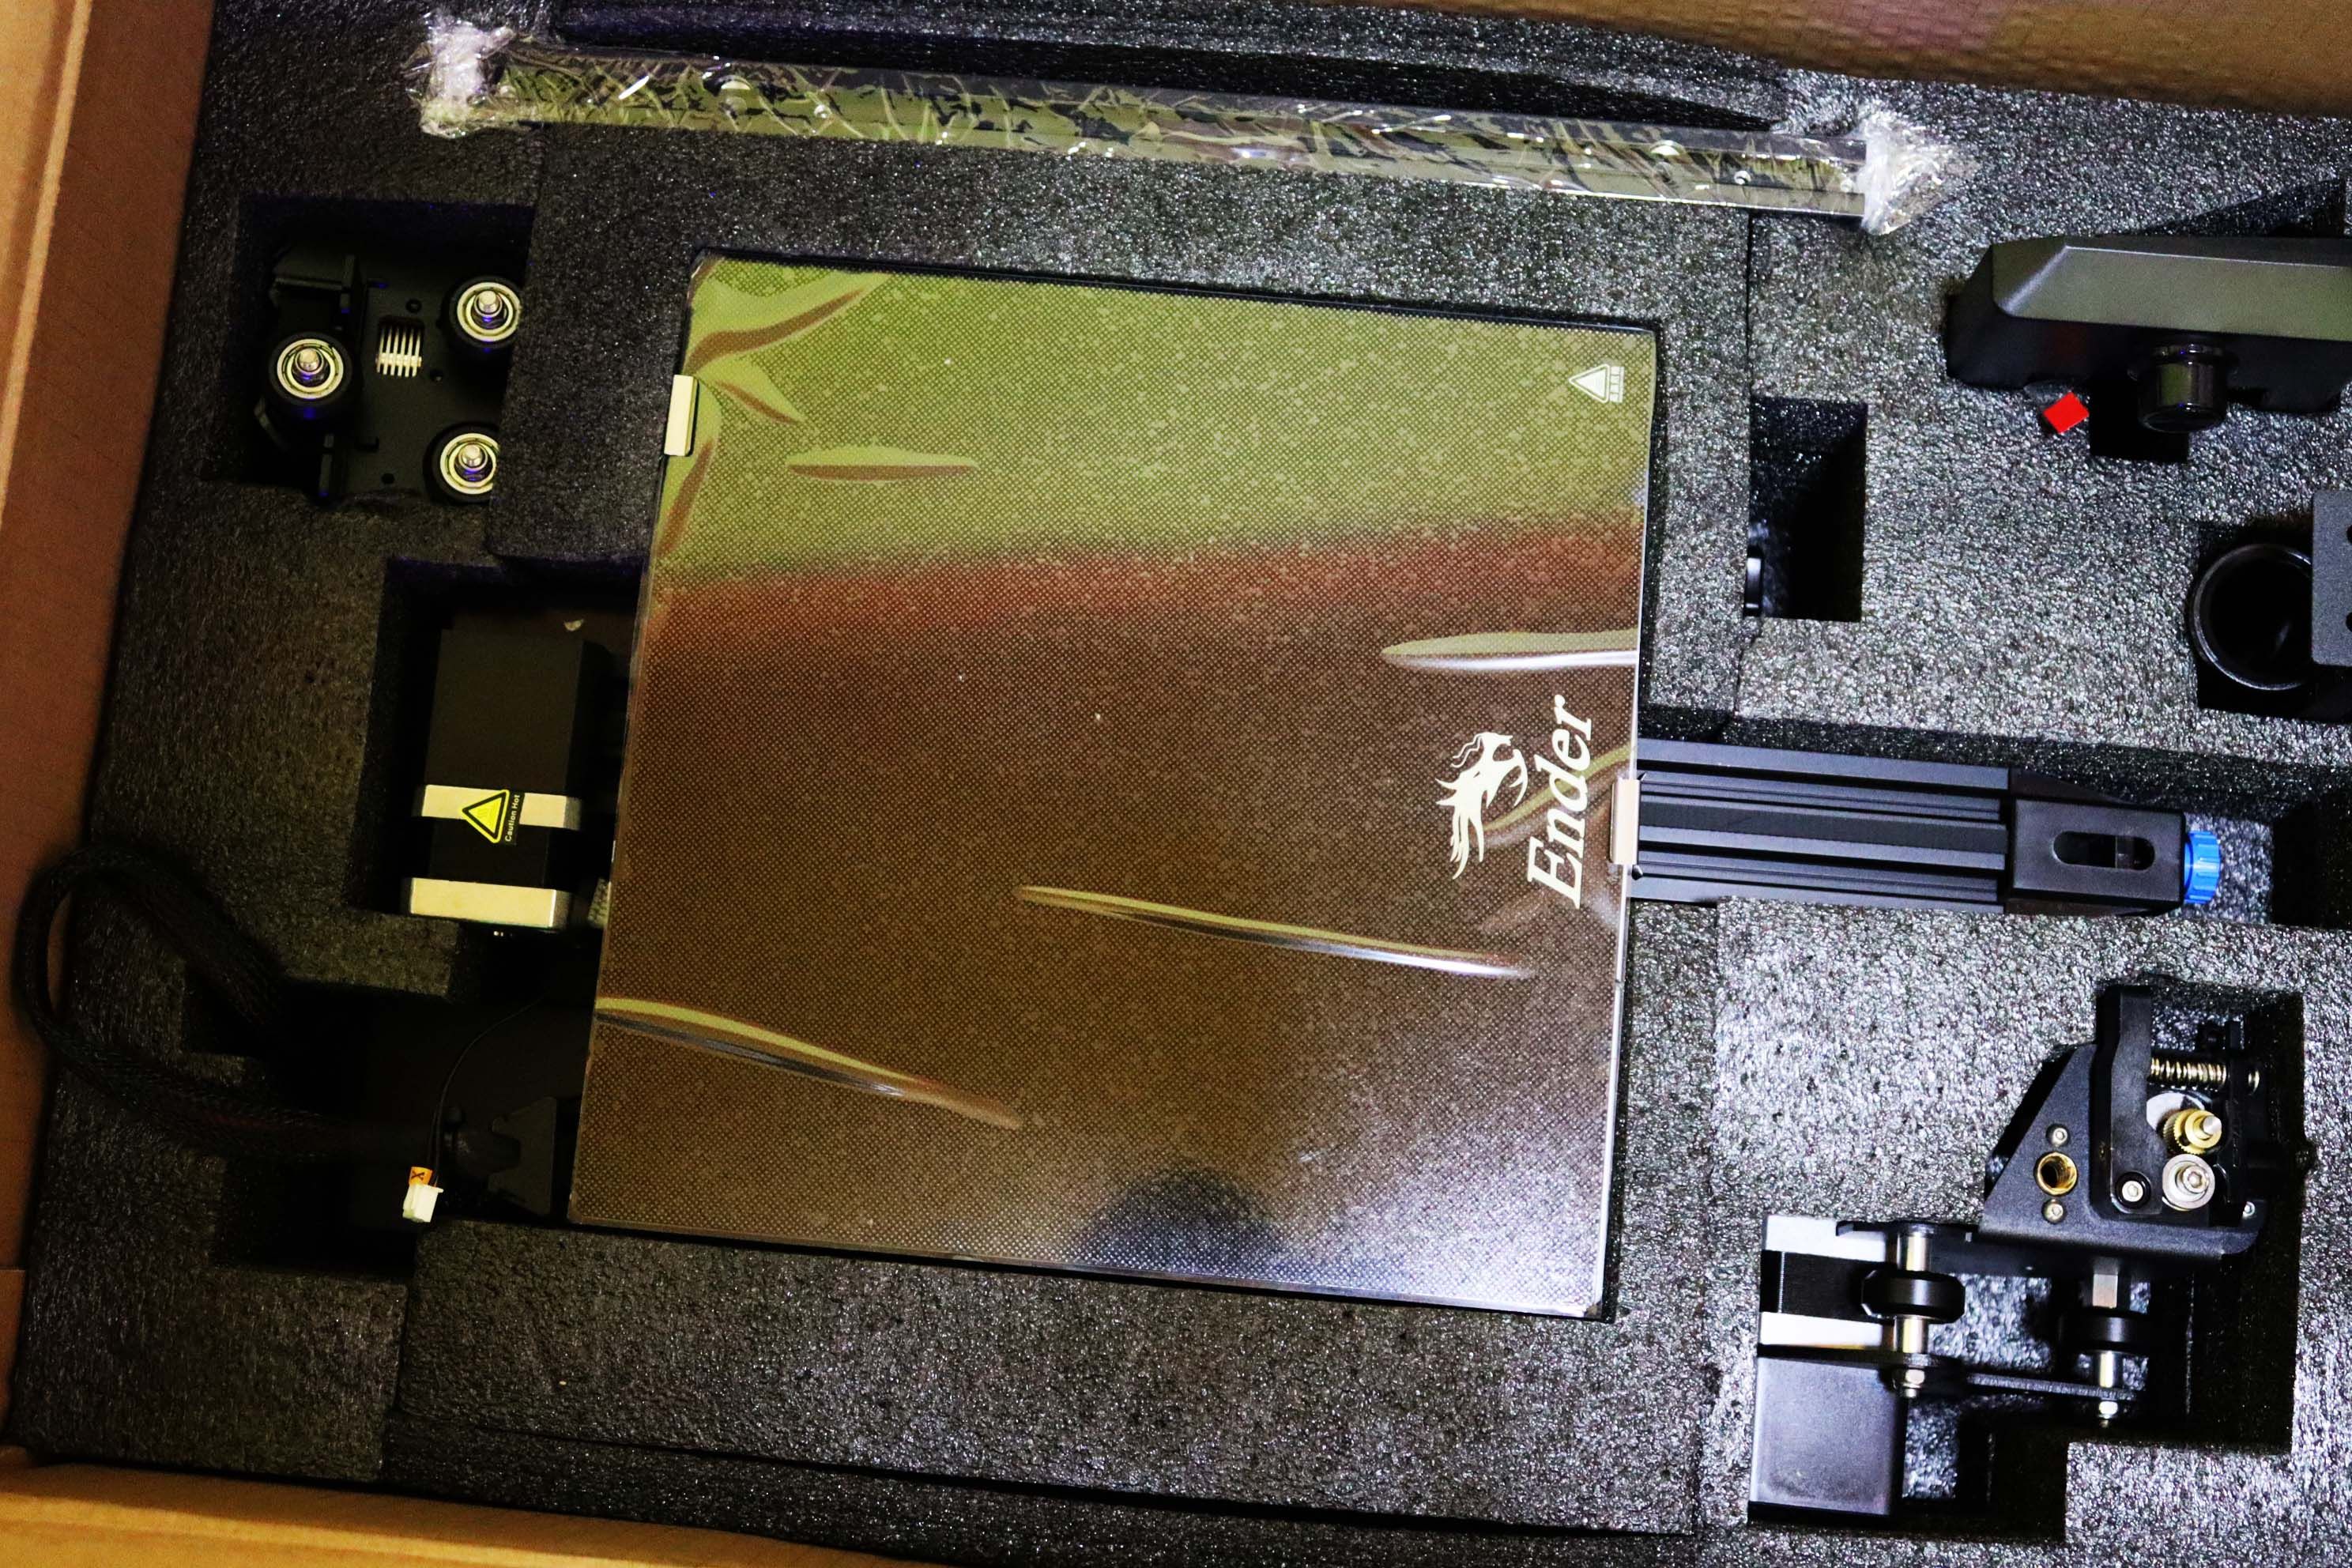
You should have:
All set?
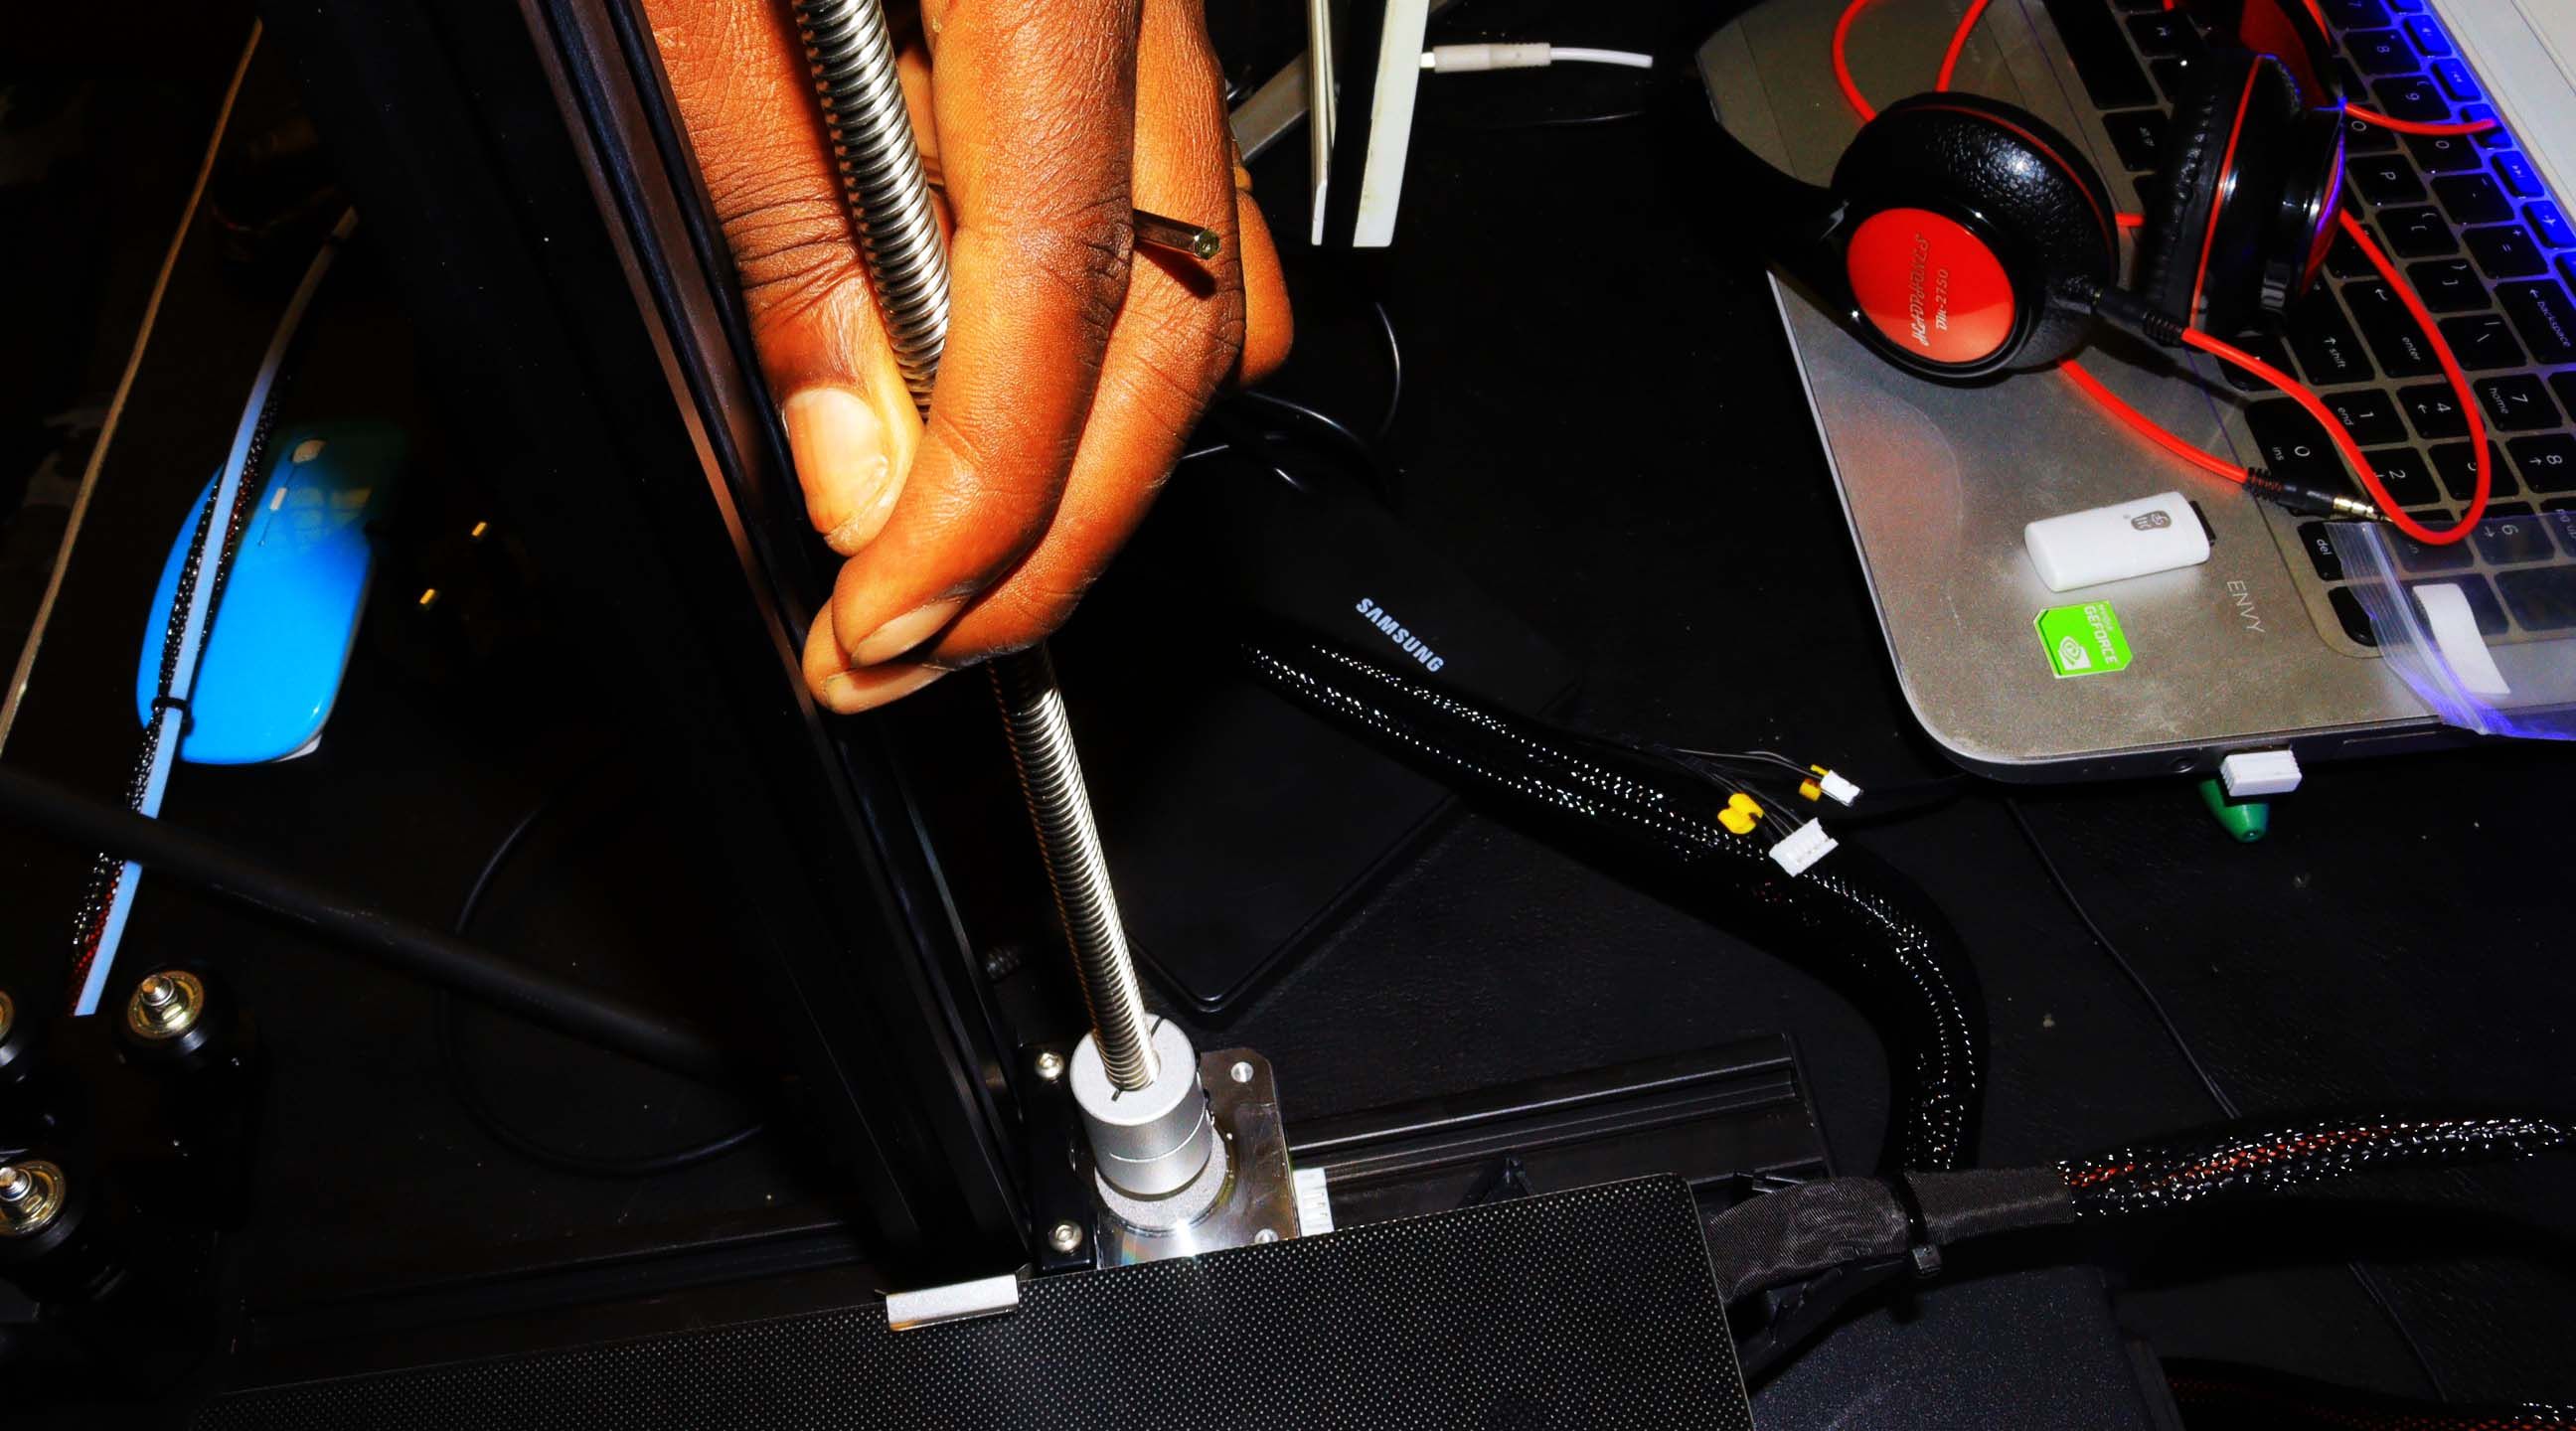
Take the z-axis profile and attach it to your 3D printer.
Ensure that the profile and the limit switch sensor are at the same height.
Then insert the metal rod and tighten it using the screws shown below.
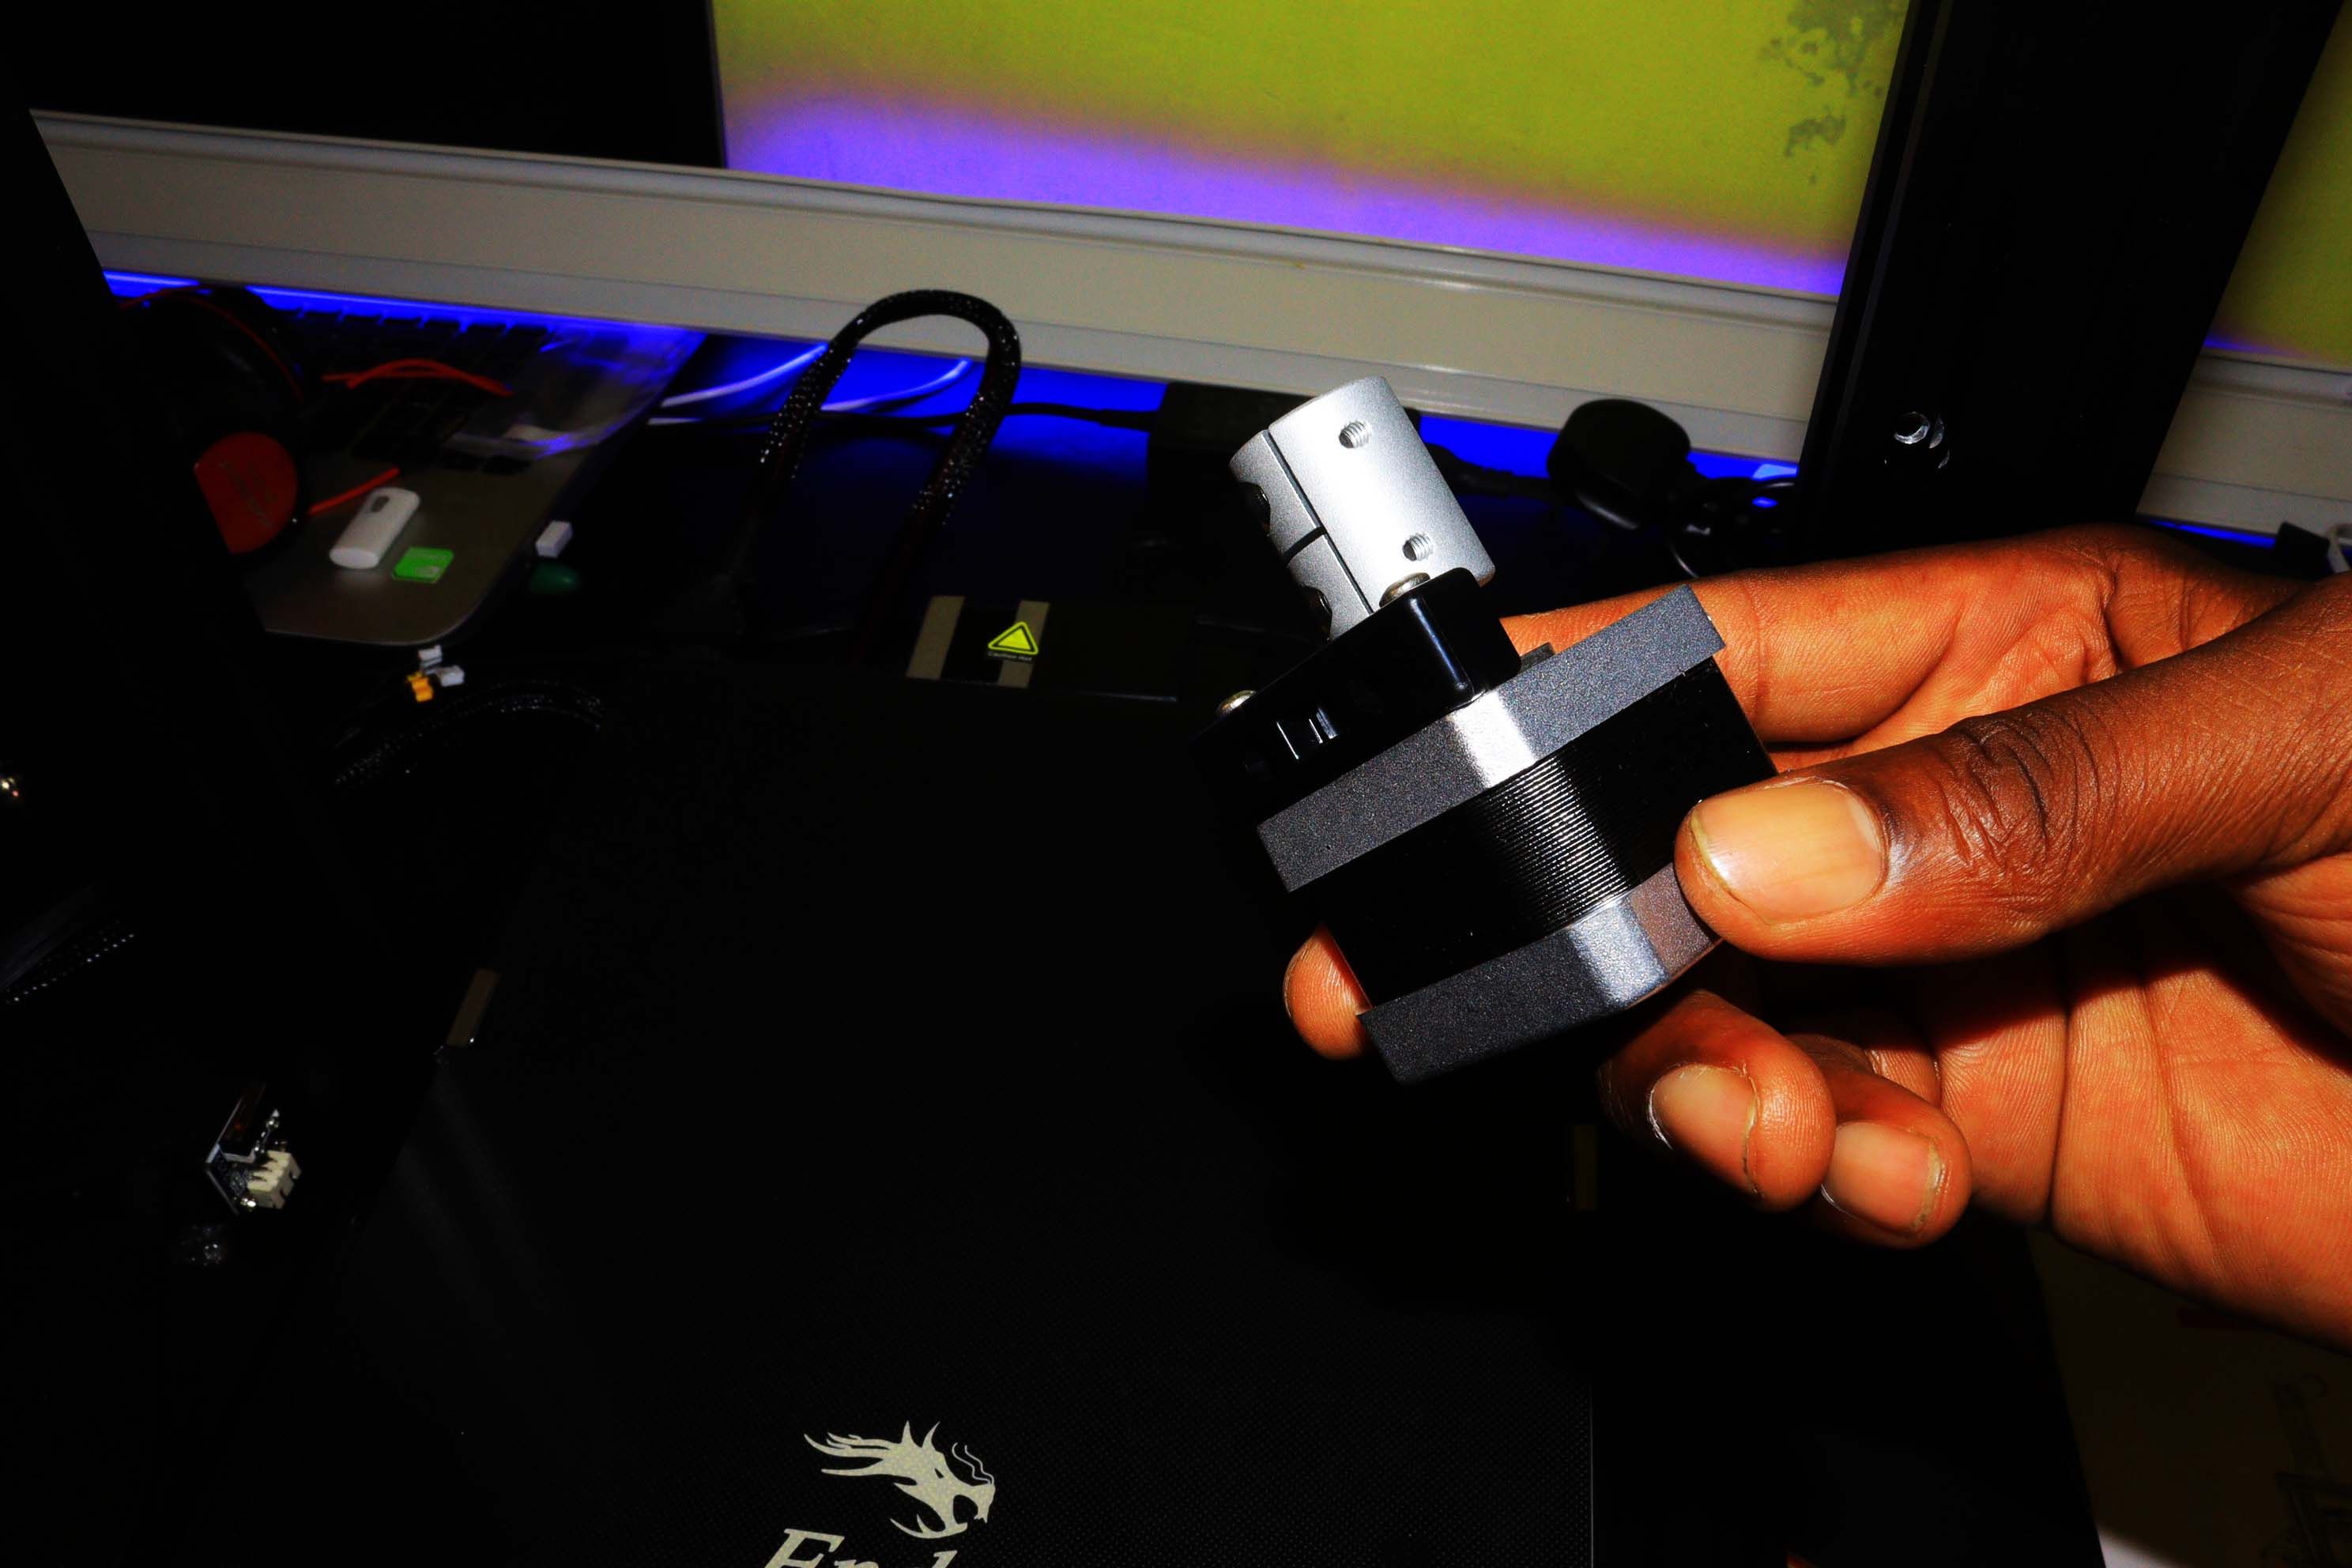
Ensure that you align the Z-axis motor kit with the Z-axis profile.
Next, insert the timing belt through the XE shaft.
Just ensure that you insert it using the right direction.
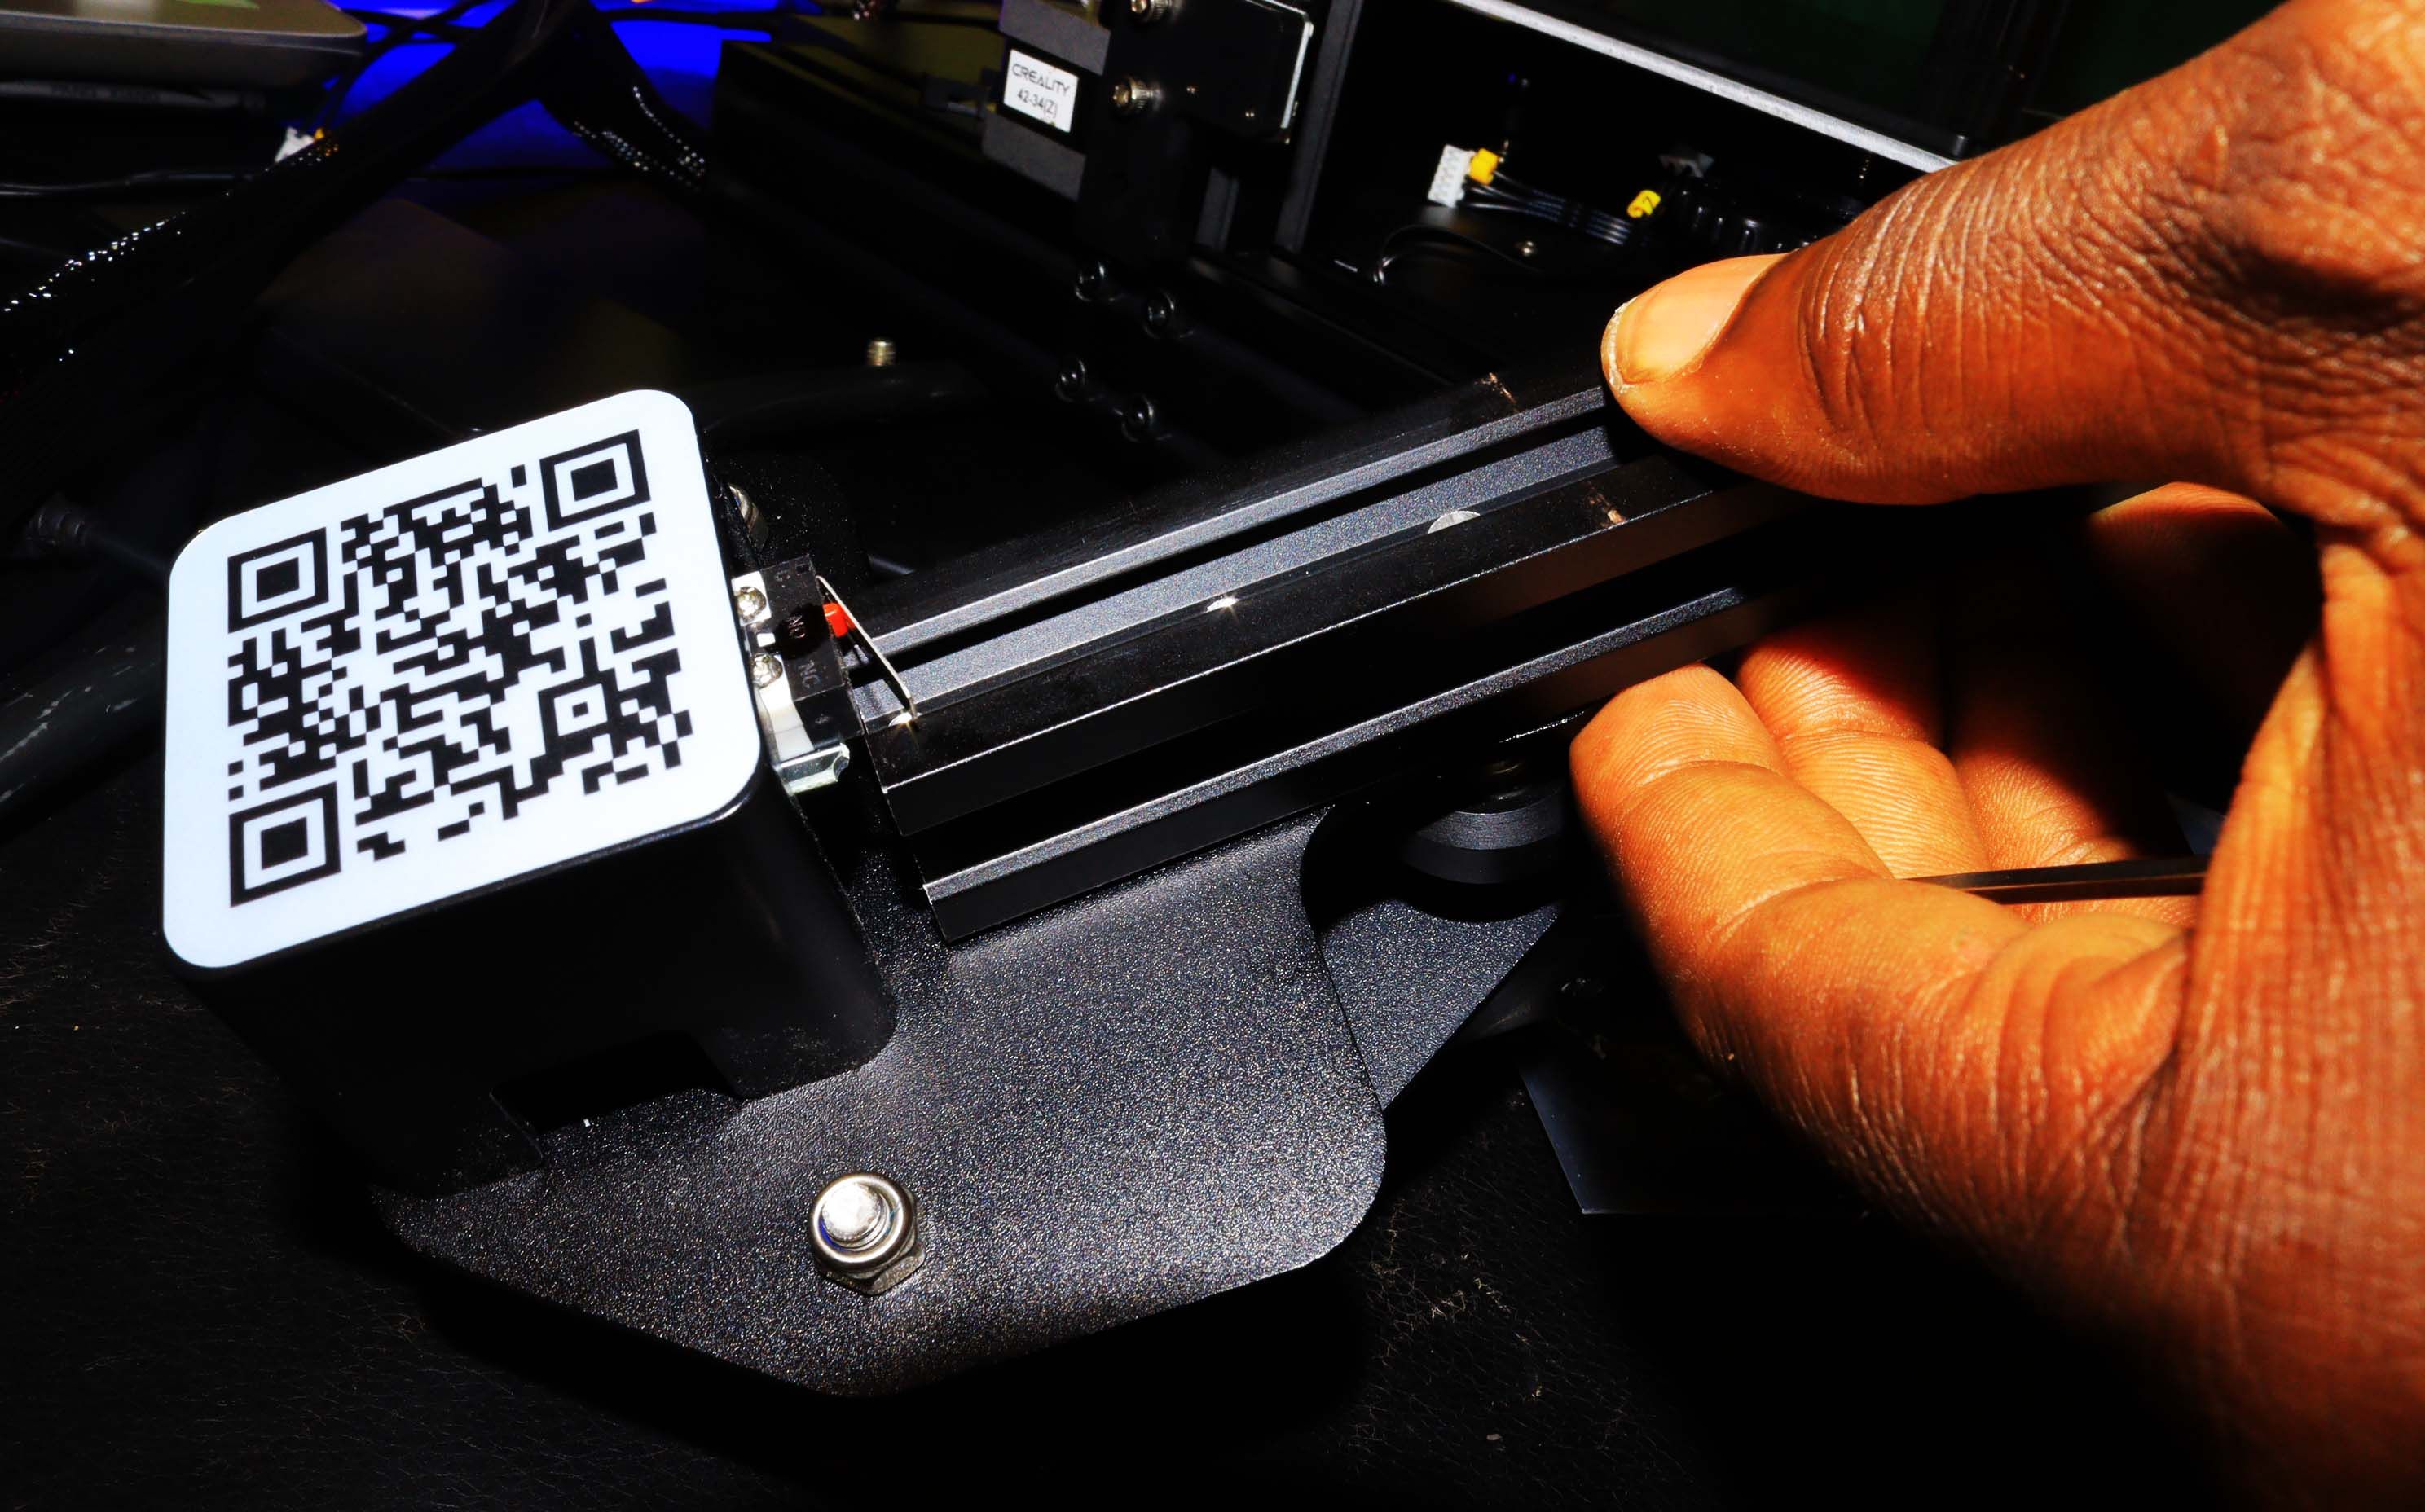
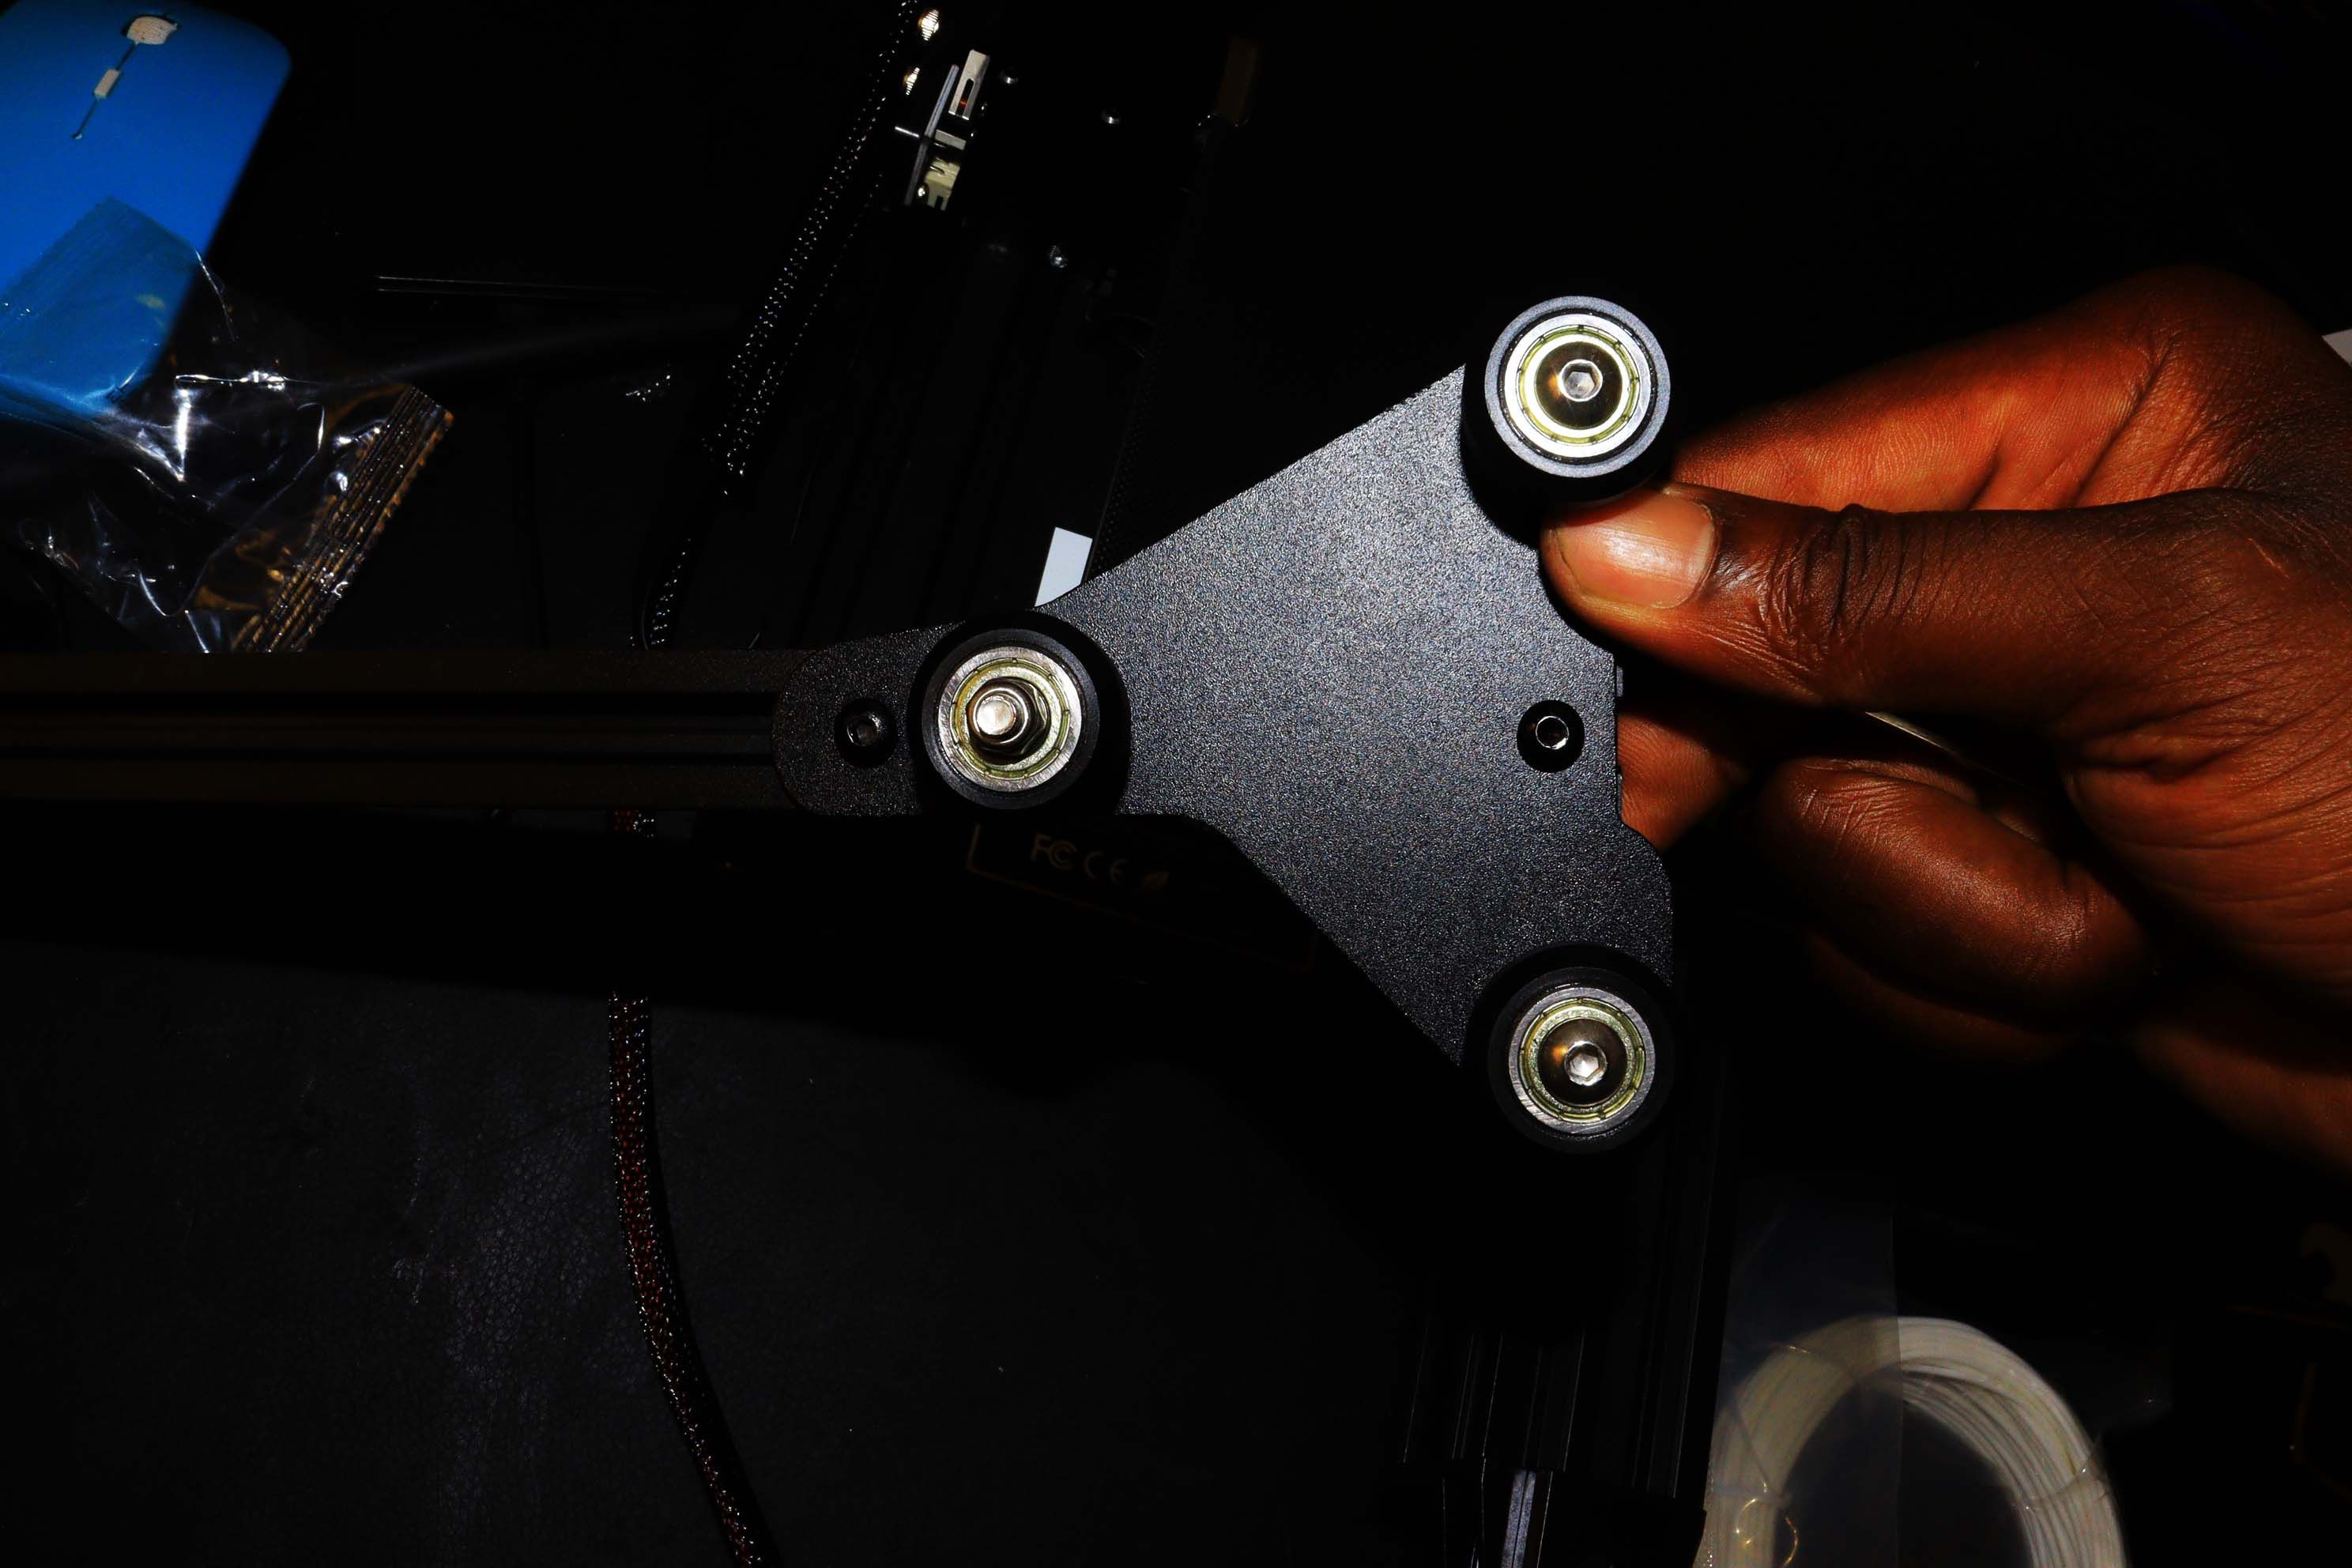
Next, take the Z-axis passive block and attach it to the X-axis profile.
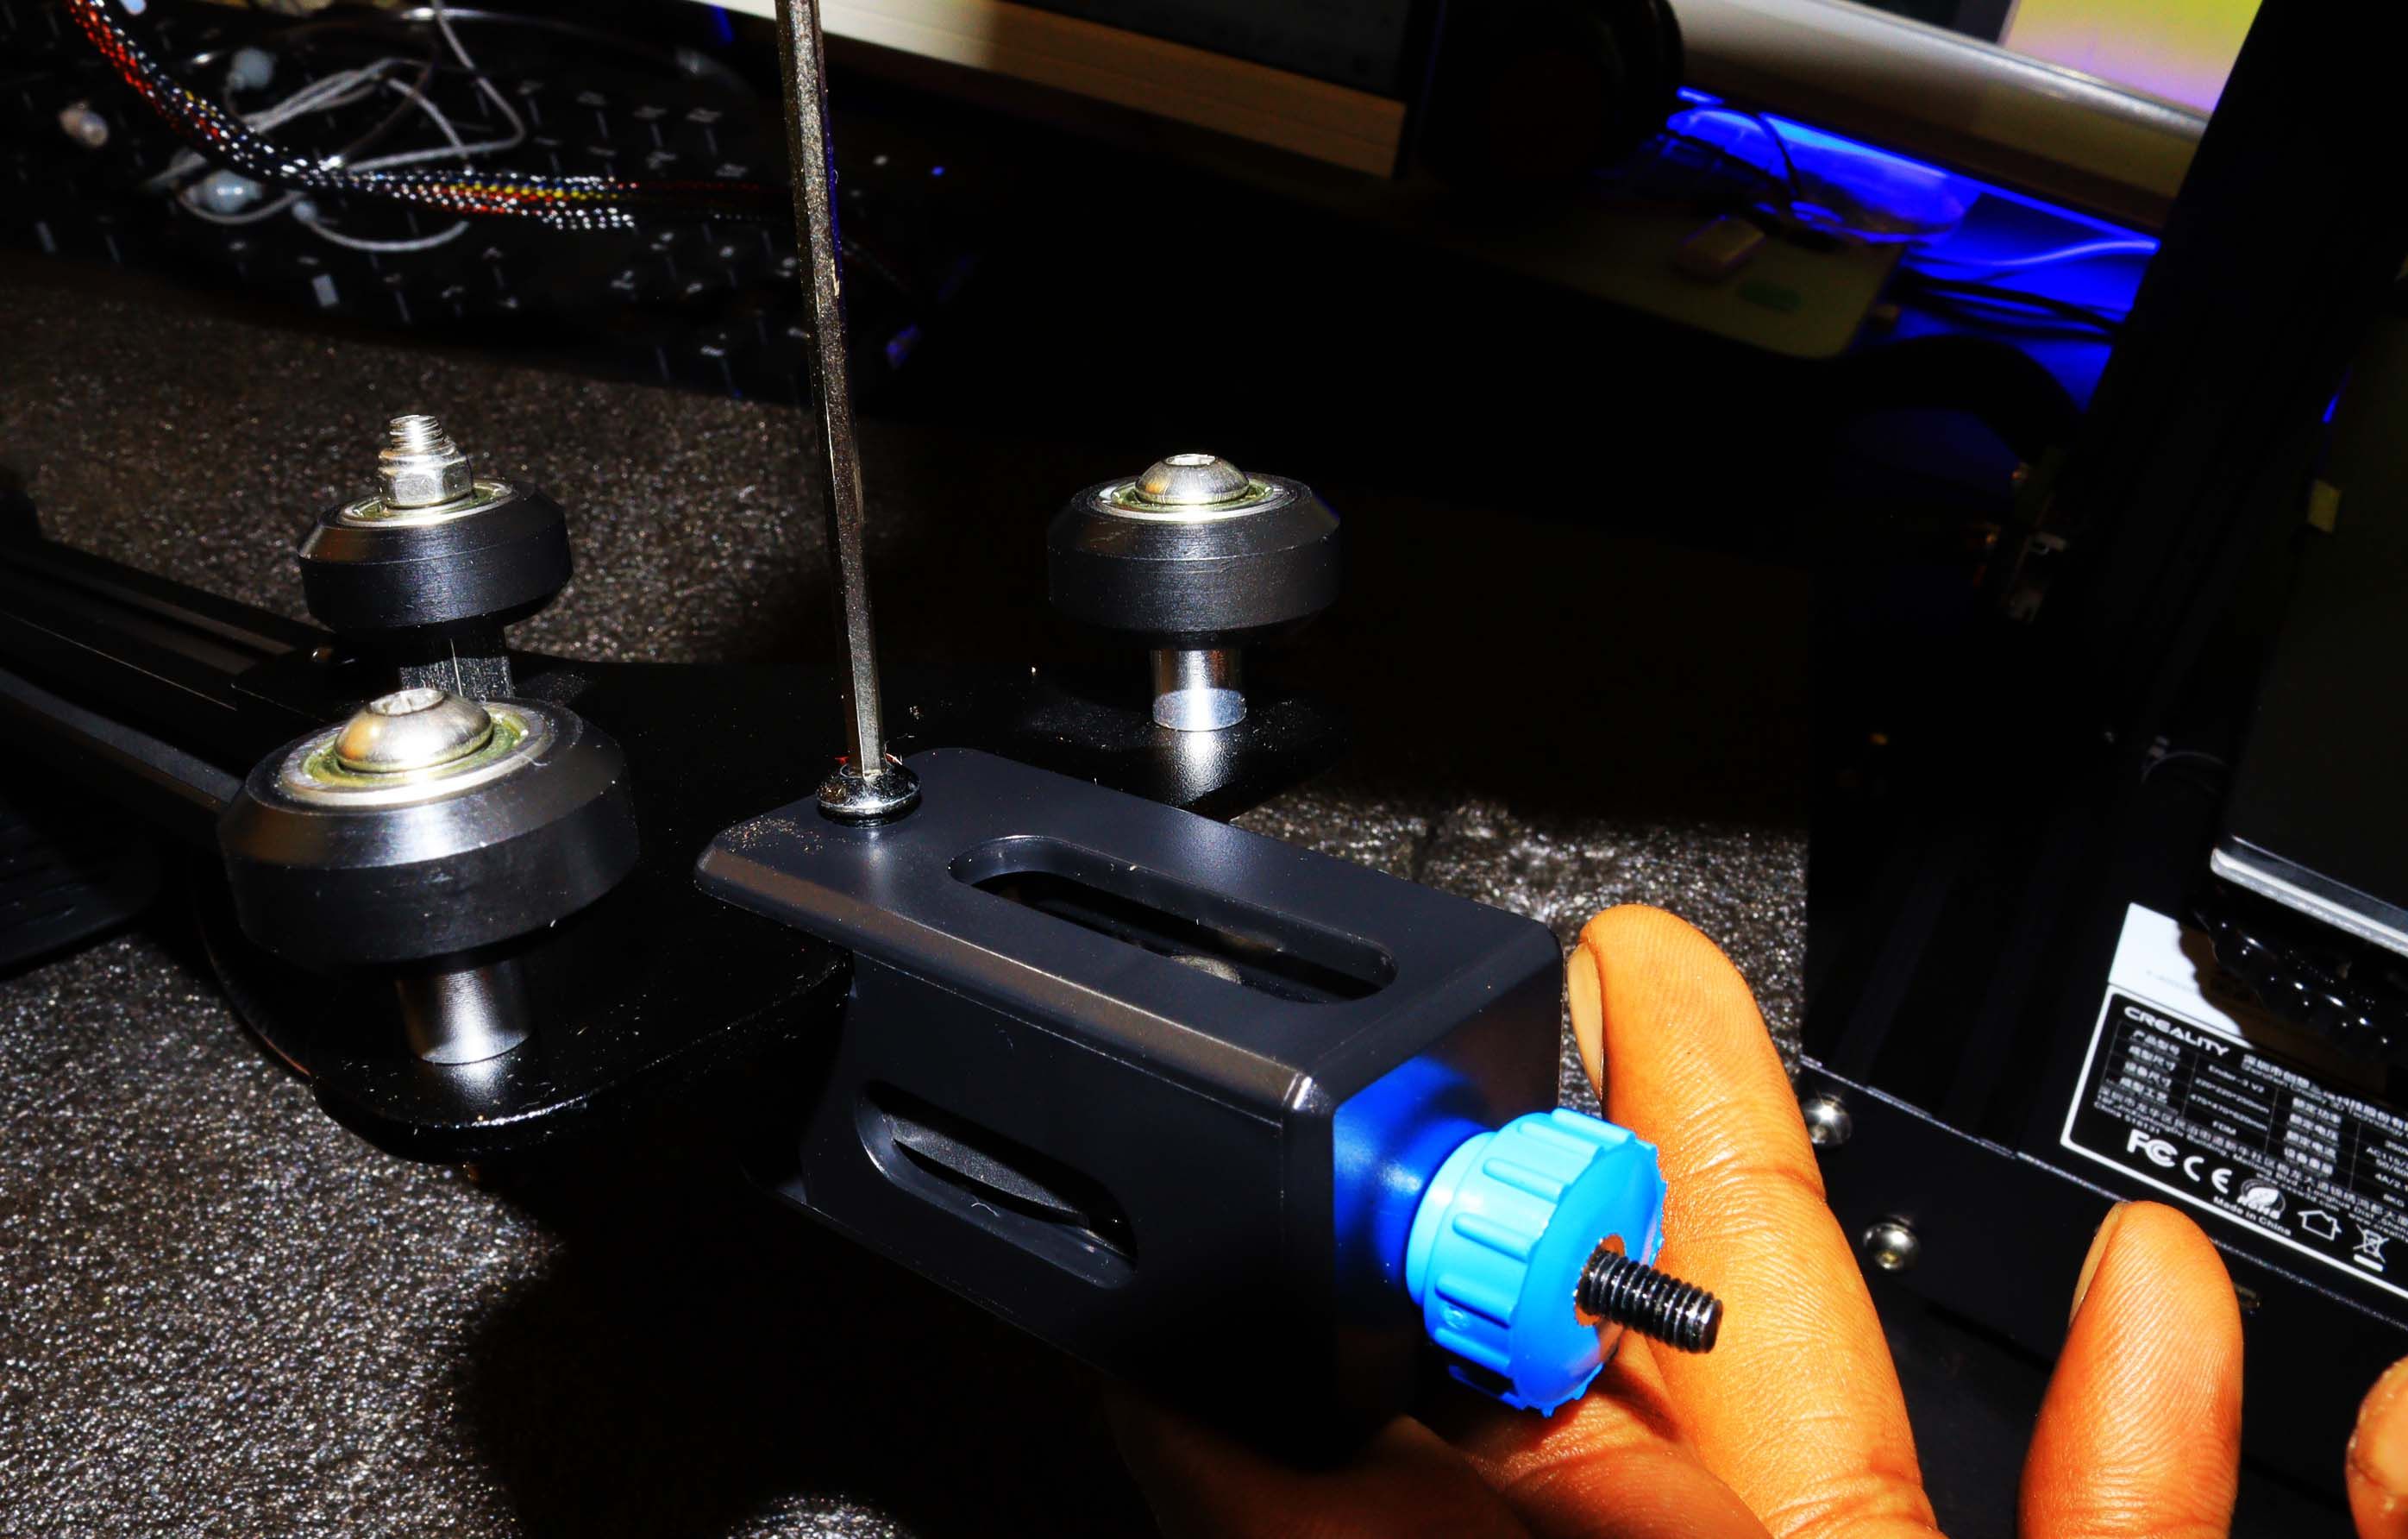
Use M4X16 screws with spring washers to lock and tighten the Z-axis passive block.
Tighten the plastic thumb nut and use the M4X16 screw to tighten them to the Z-axis passive block.
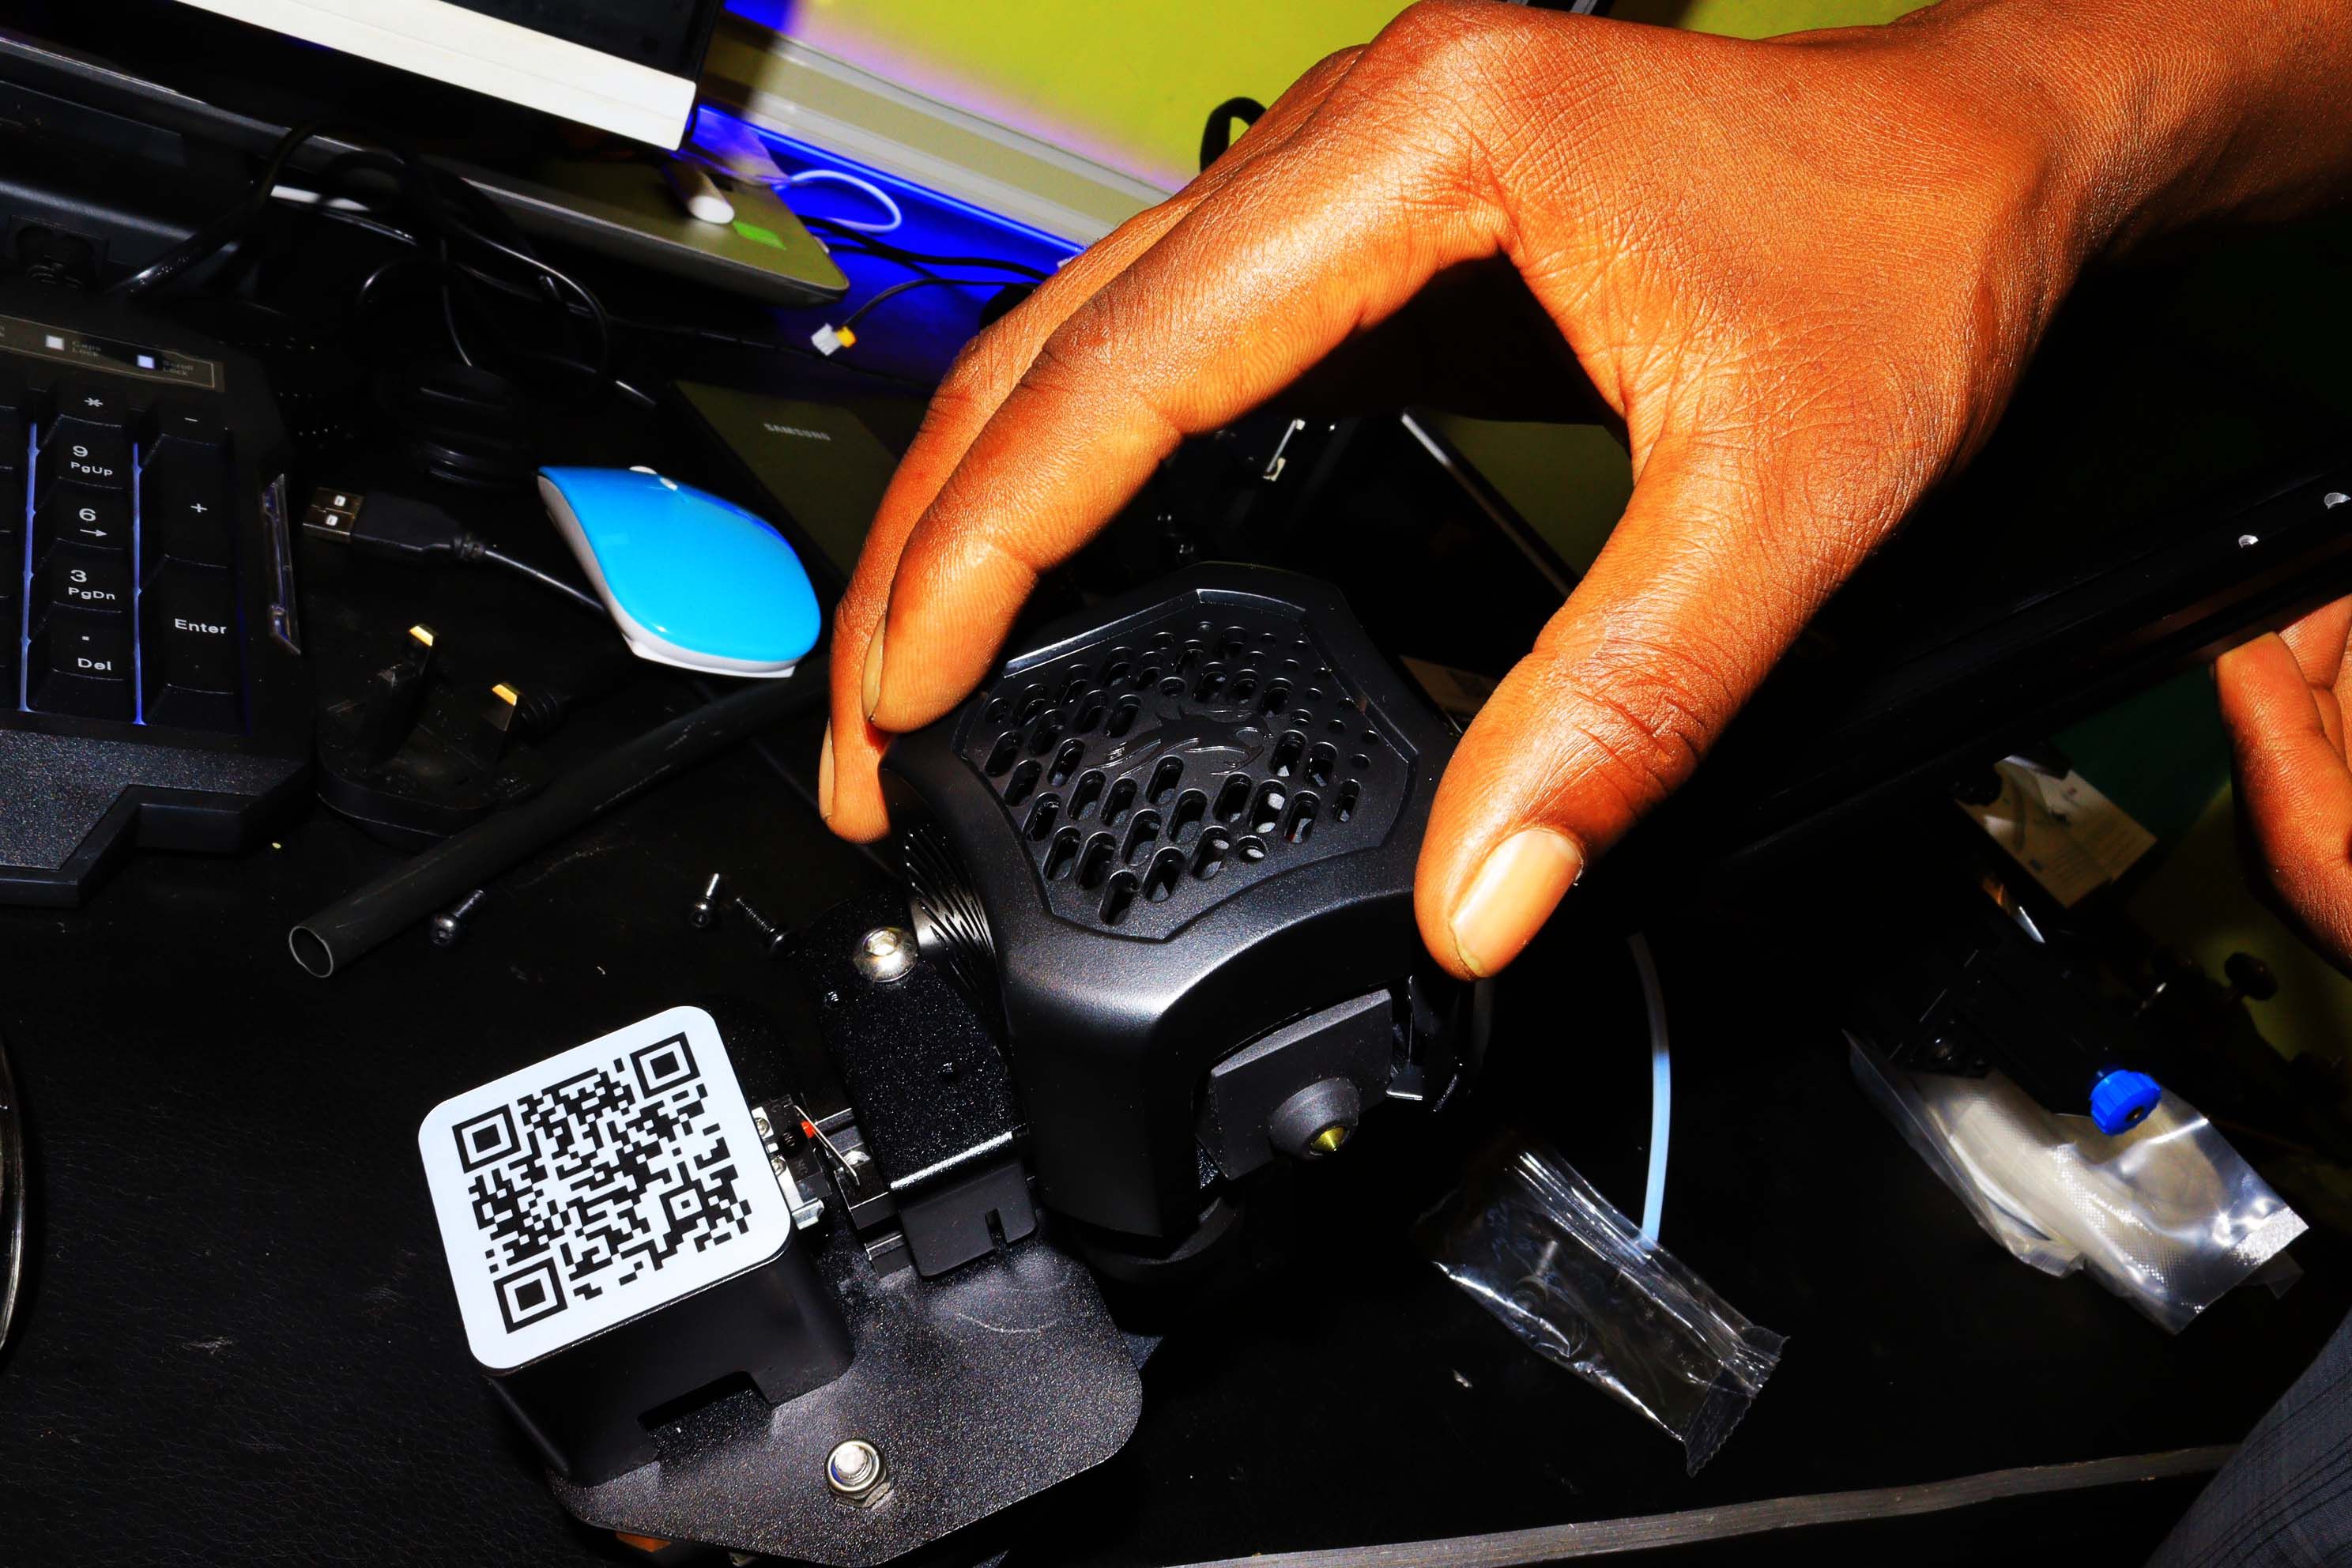
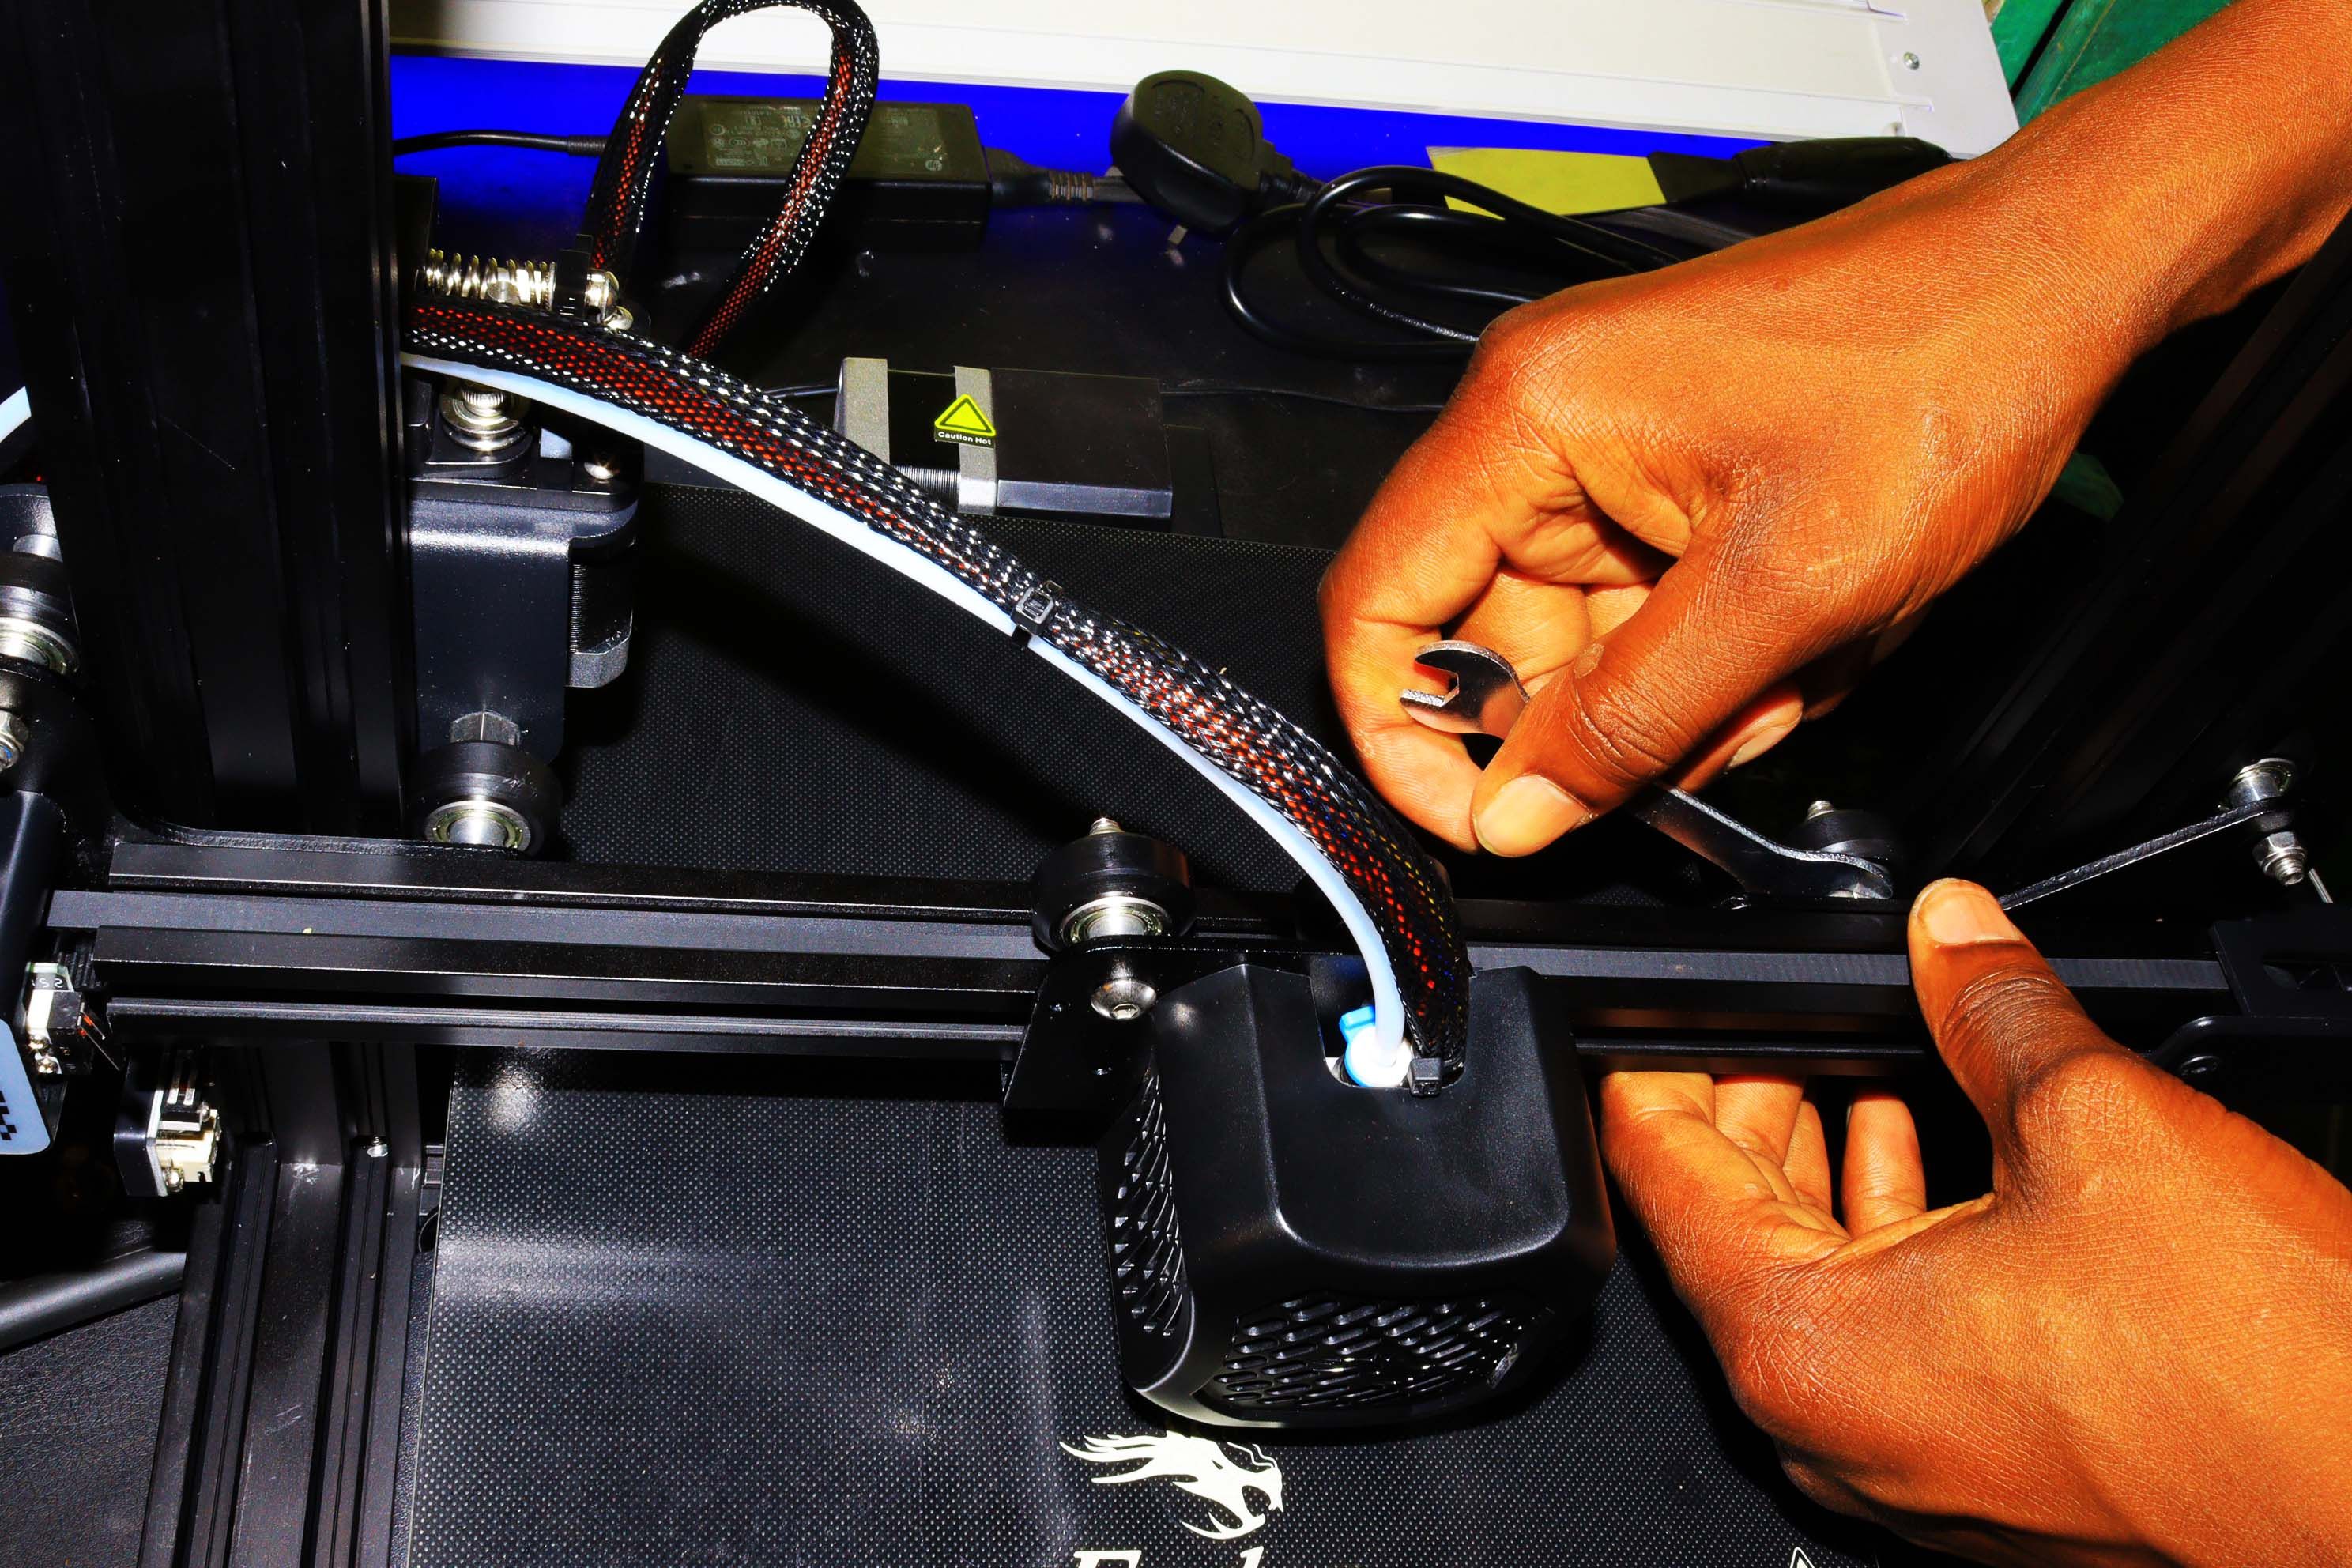
Once done, take the installed z-axis moving module to your printer.
Adjust the tightness of the X and Y axis to ensure that its moving smoothly.

Just ensure that it does not fall off on its own.
Next, take the screen and install it on your 3D printer.
Use a hexagon socket wrench to lock the screws to the display module.
Just check that that the screen is aligned correctly with the front profile.
The filament spool holder helps you be organized during 3D printing.
Next, take the rotary knob to the top of the extruder motor shaft.
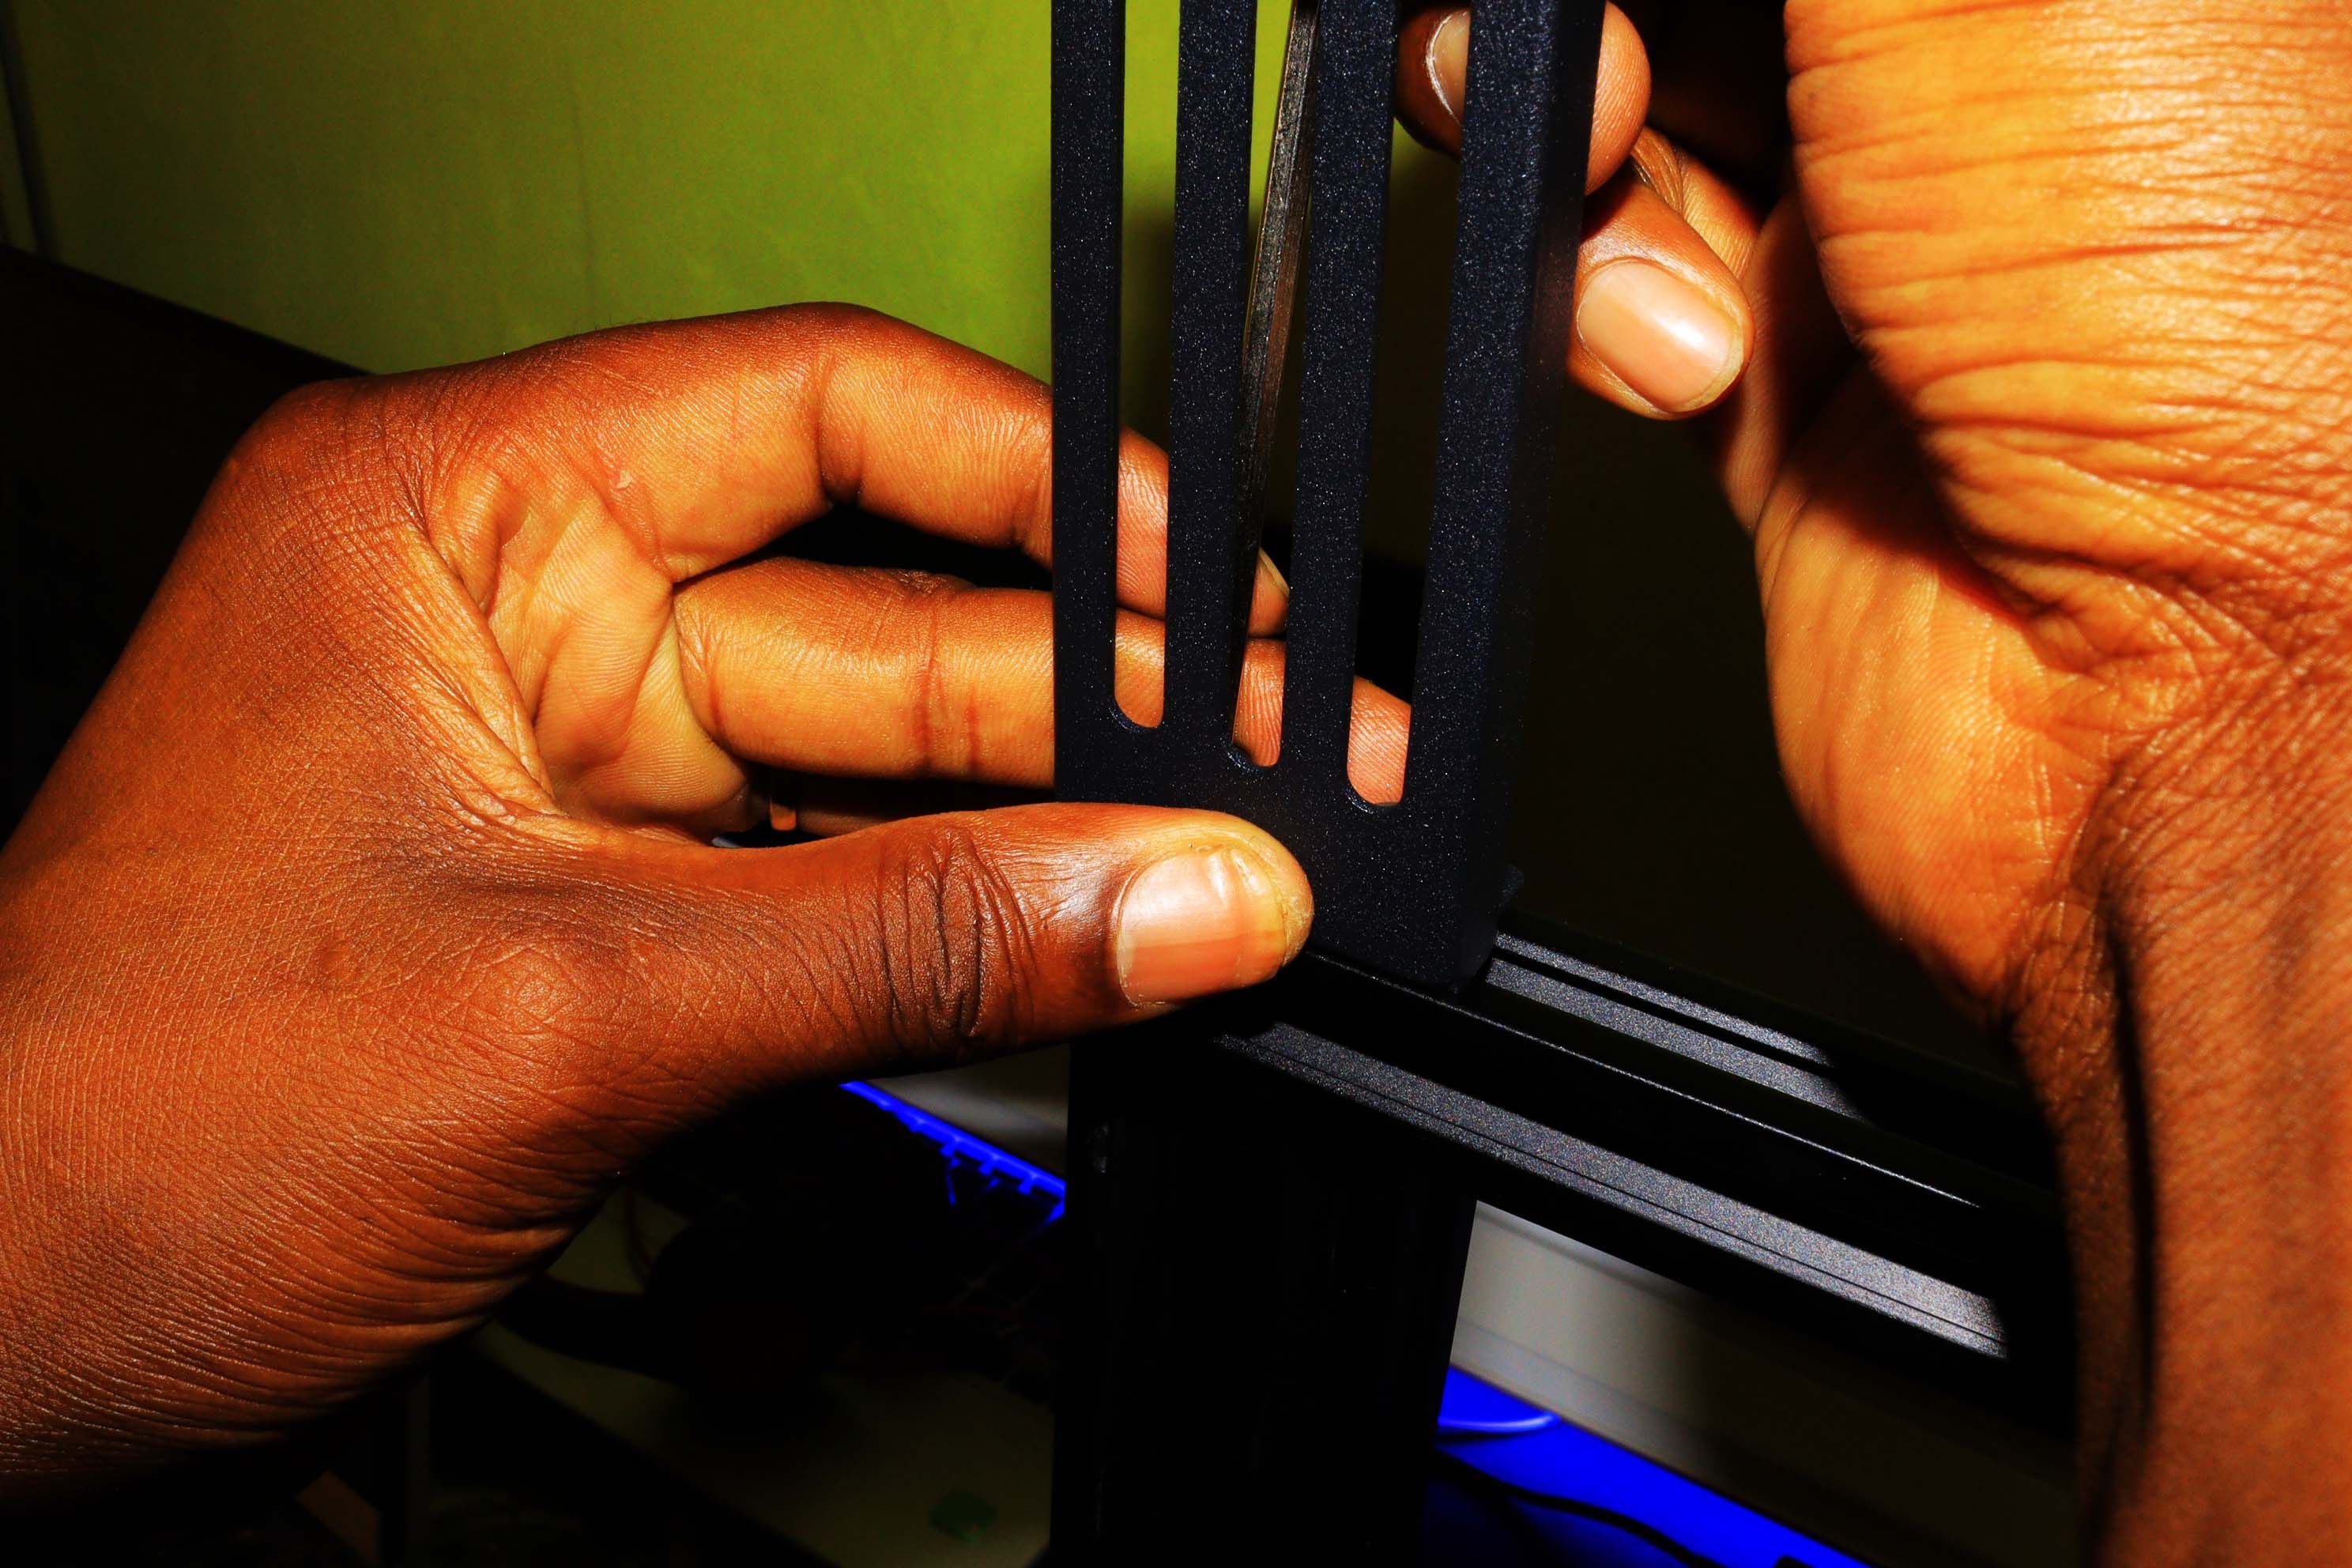
Push the covers of the profile on both sides to the top.
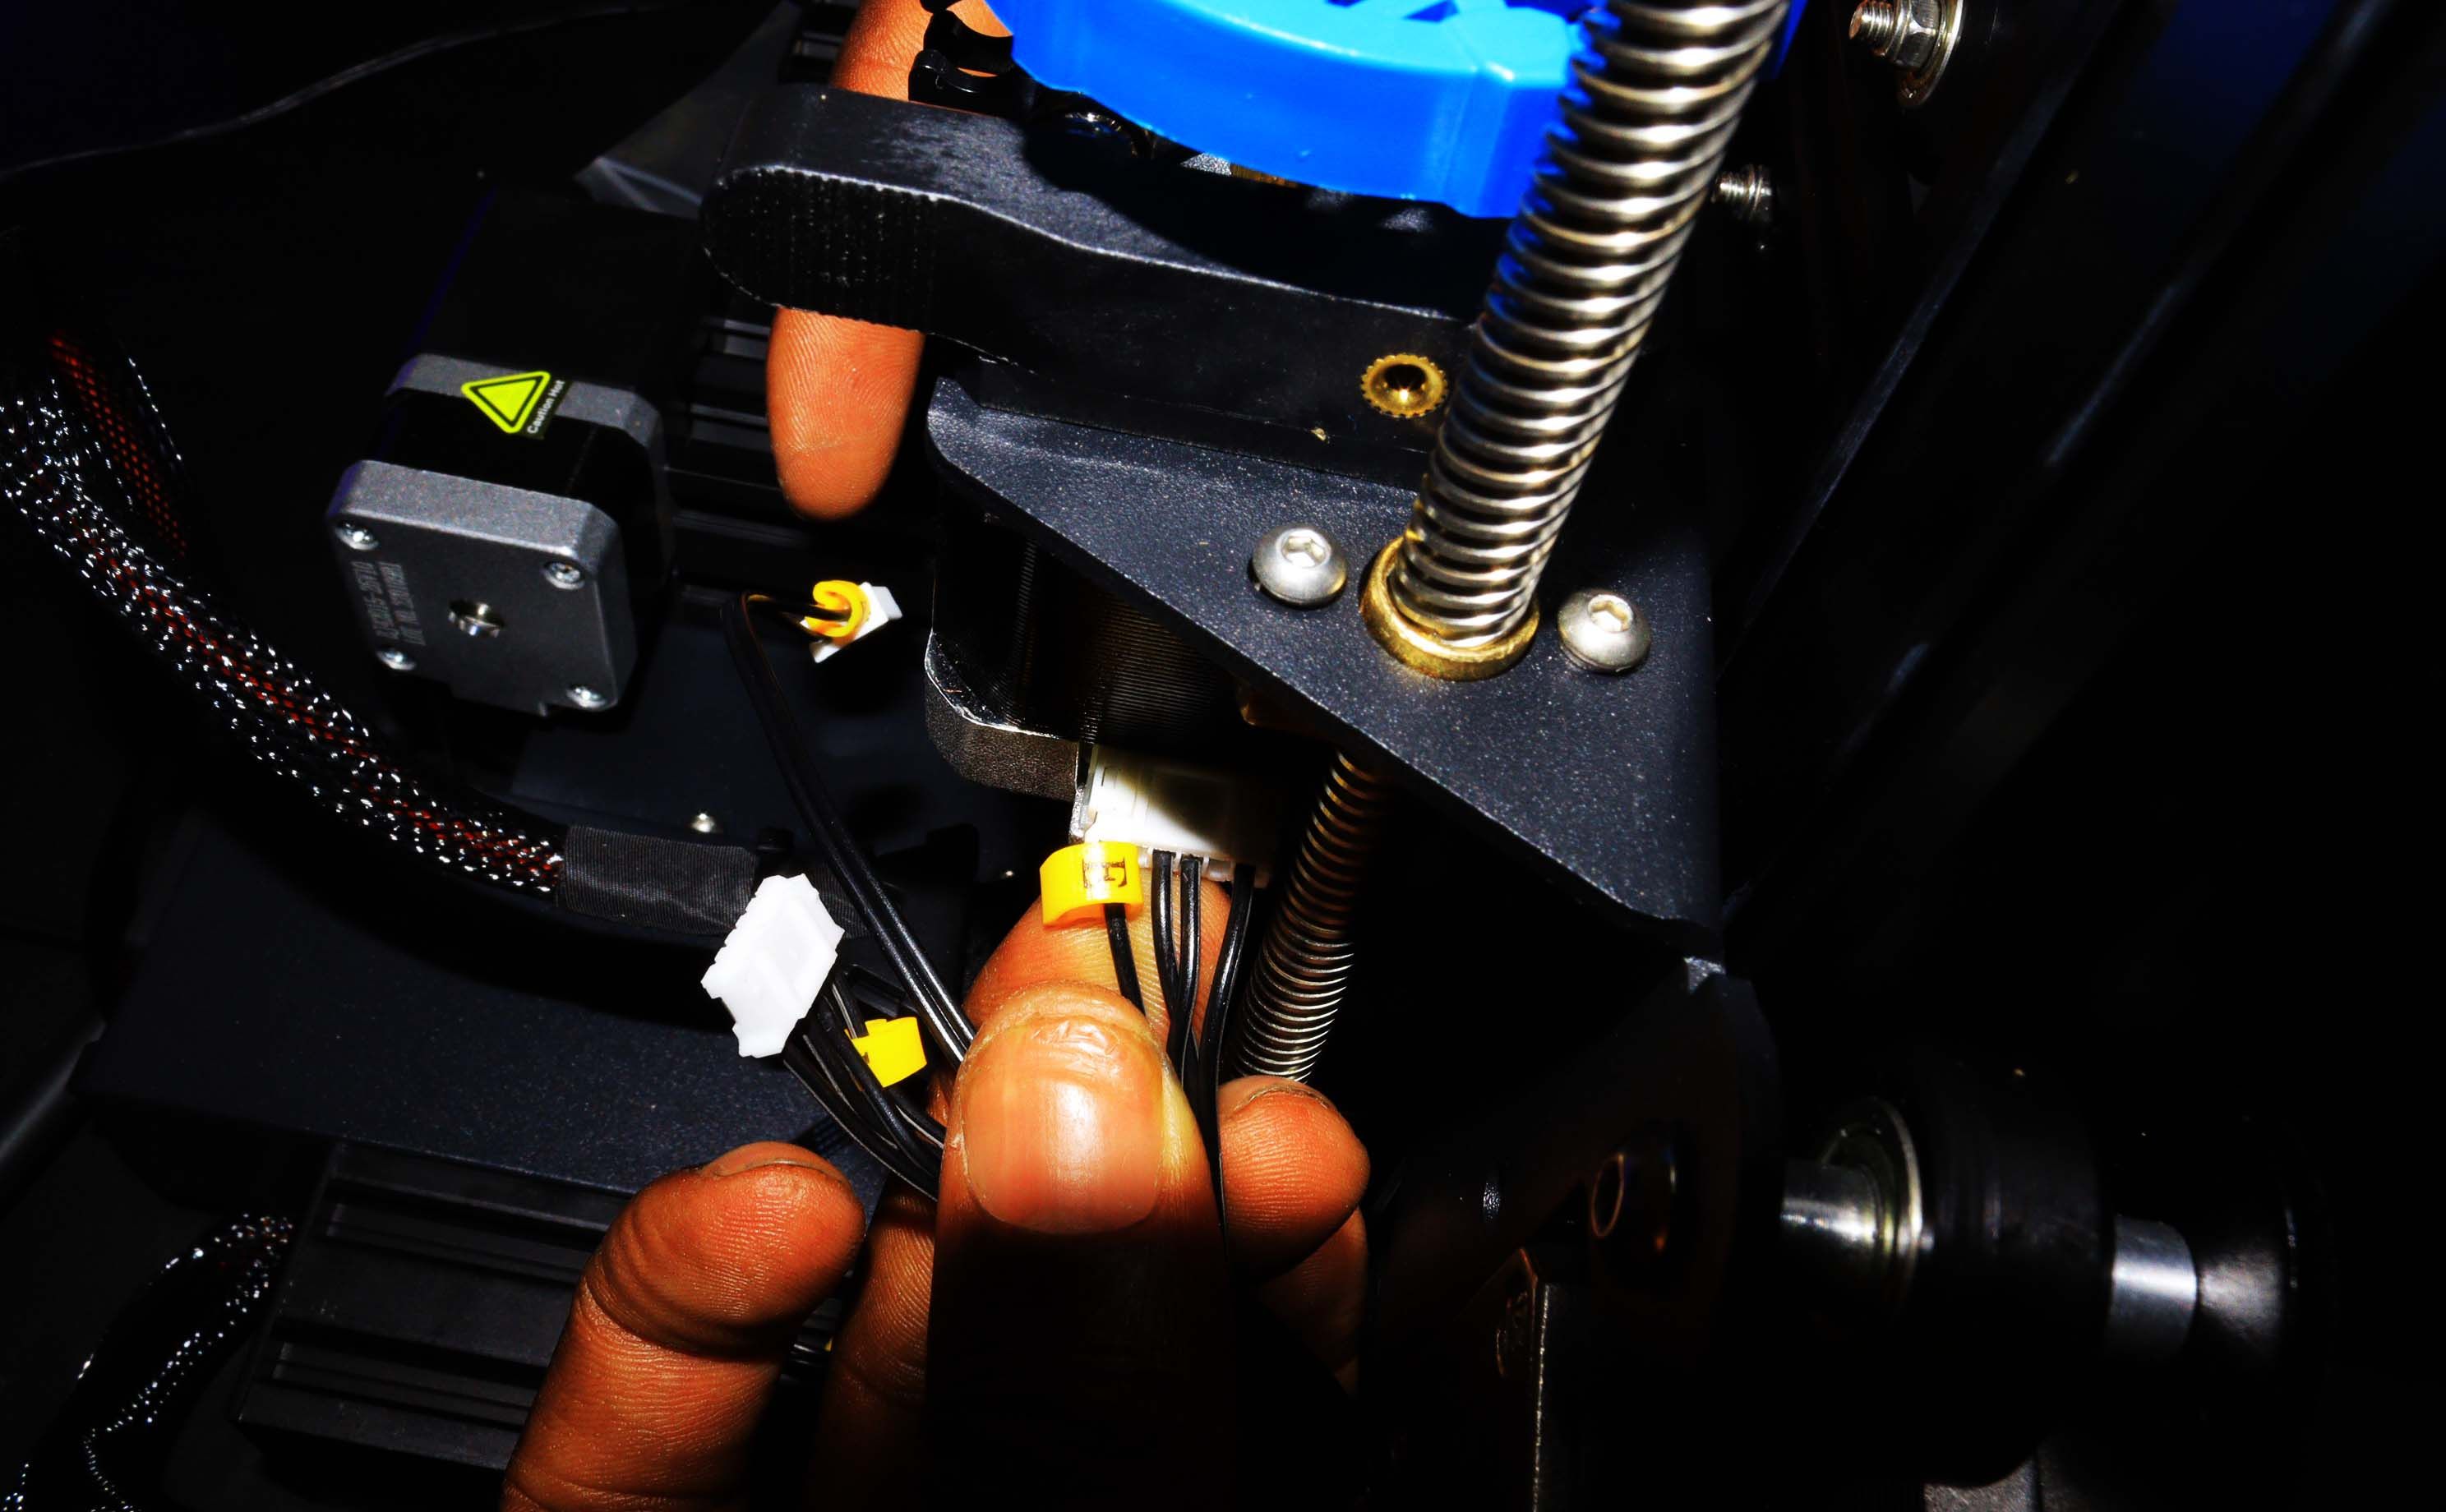
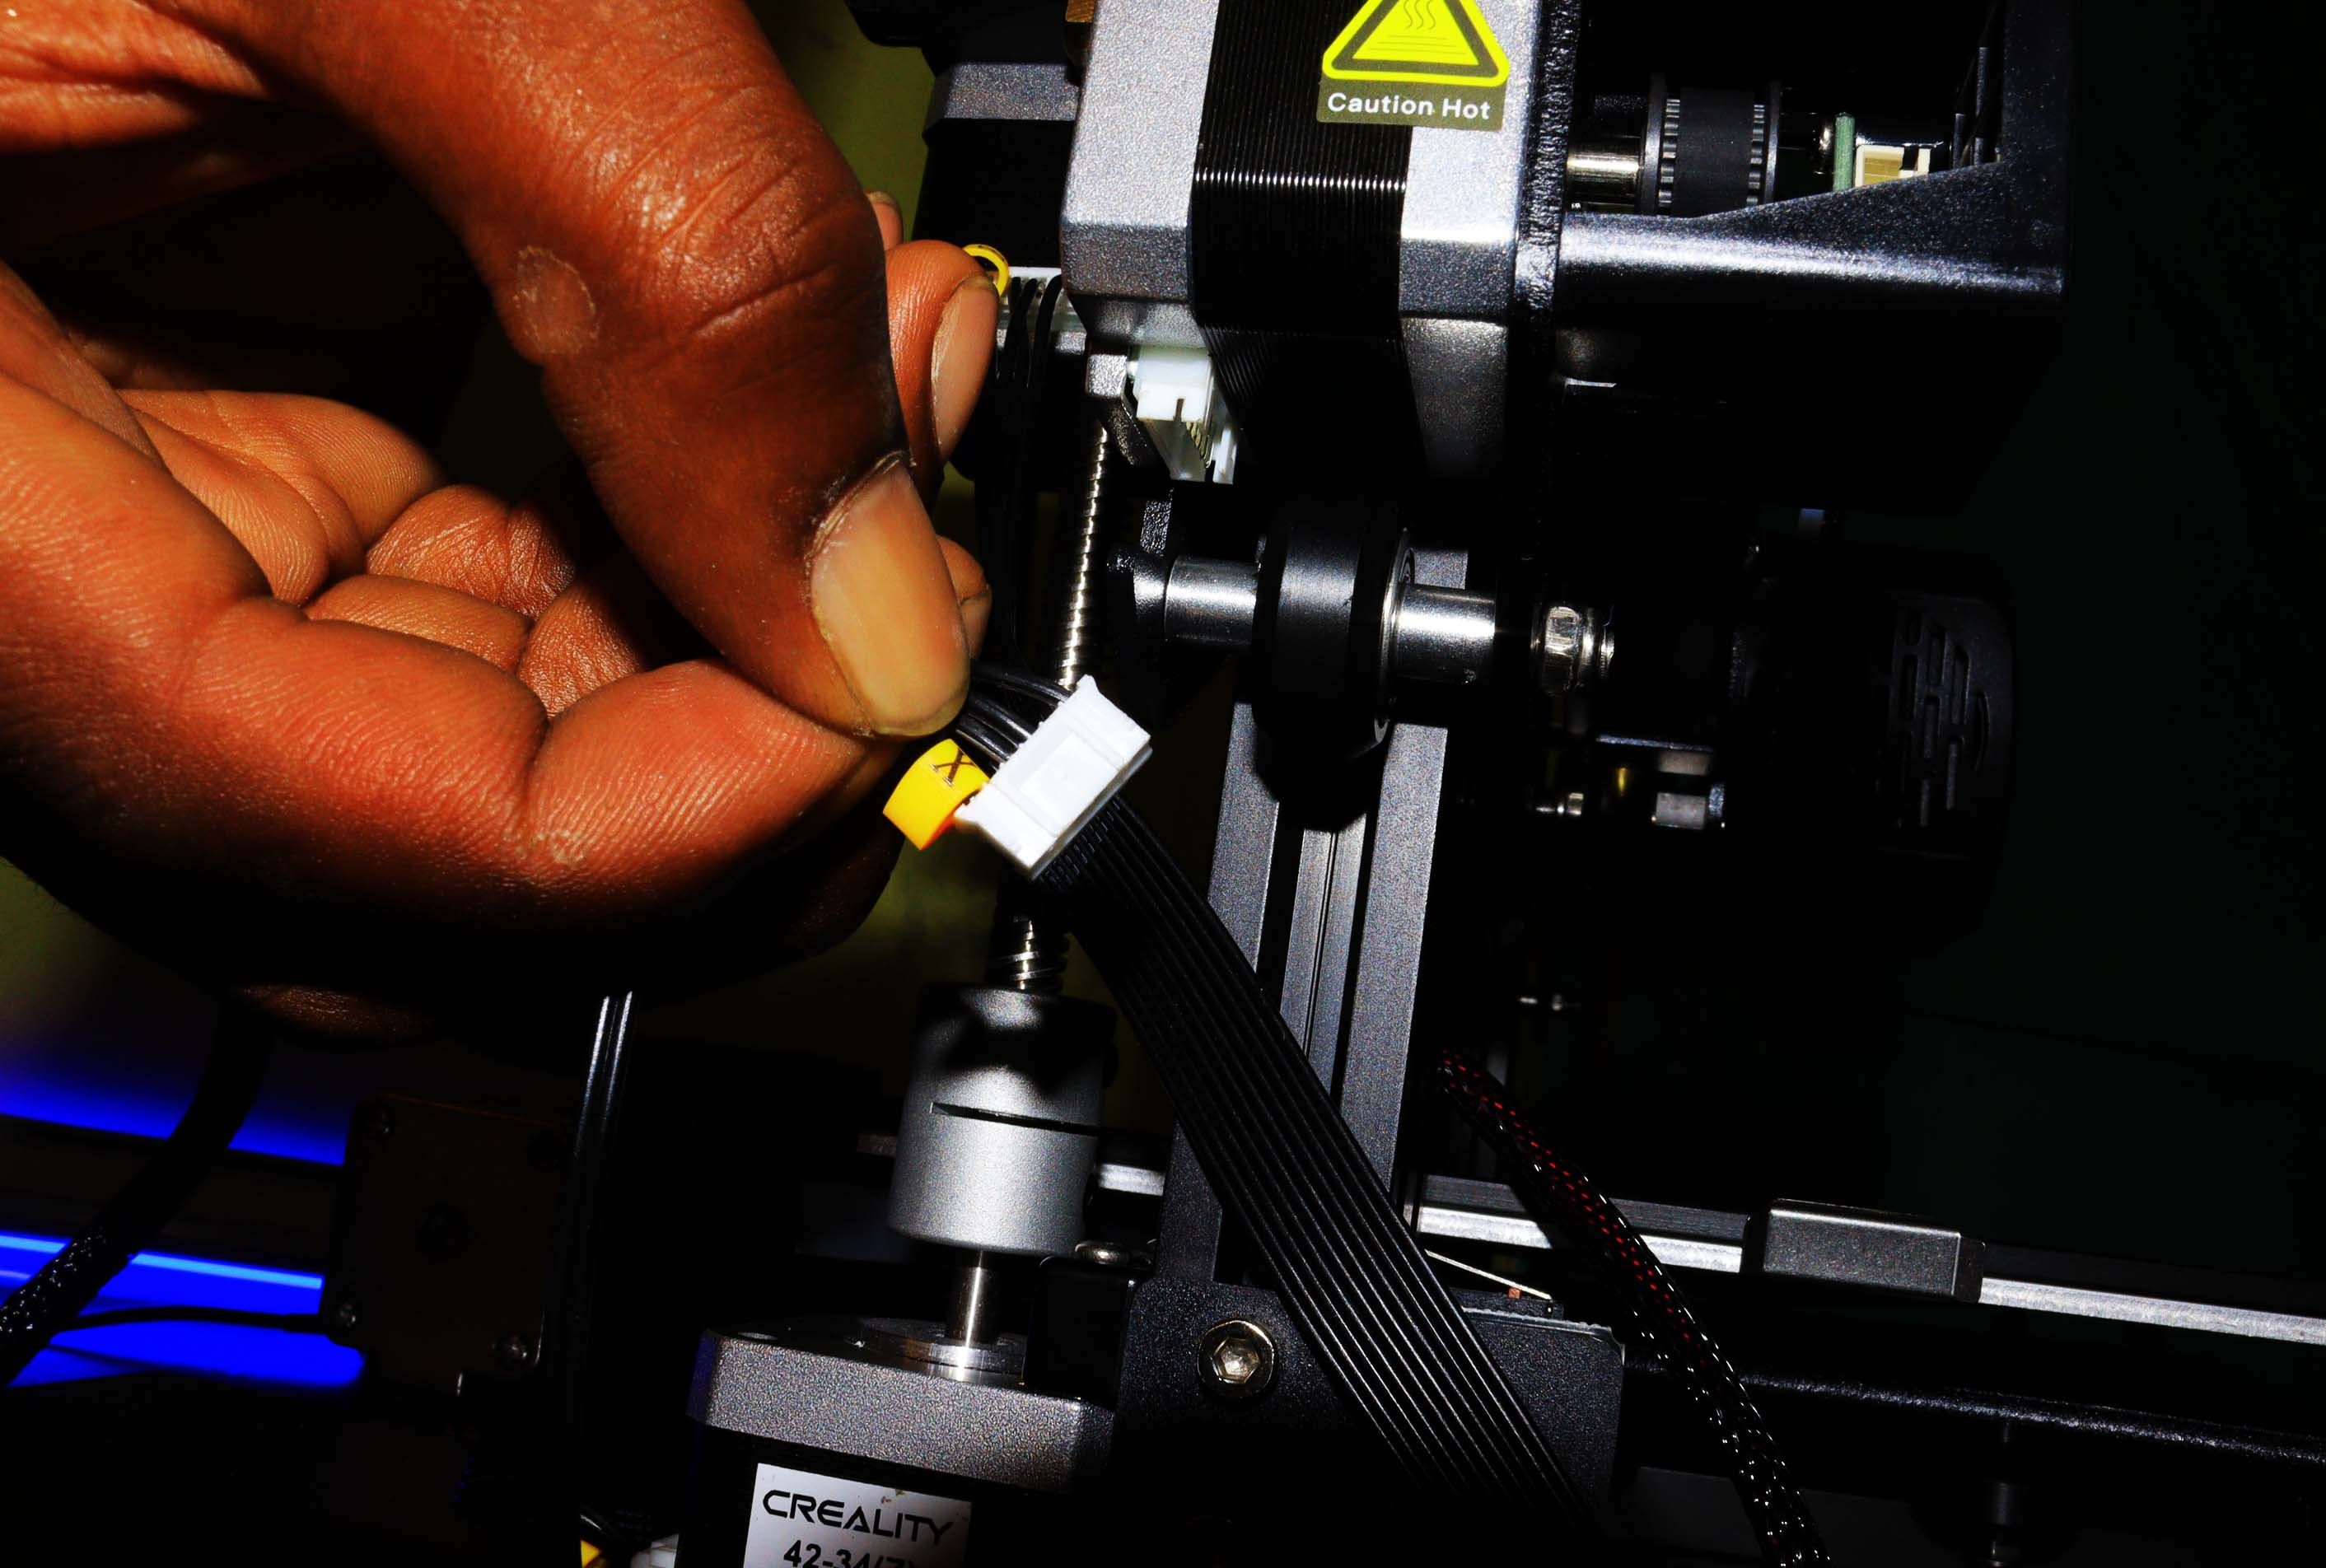
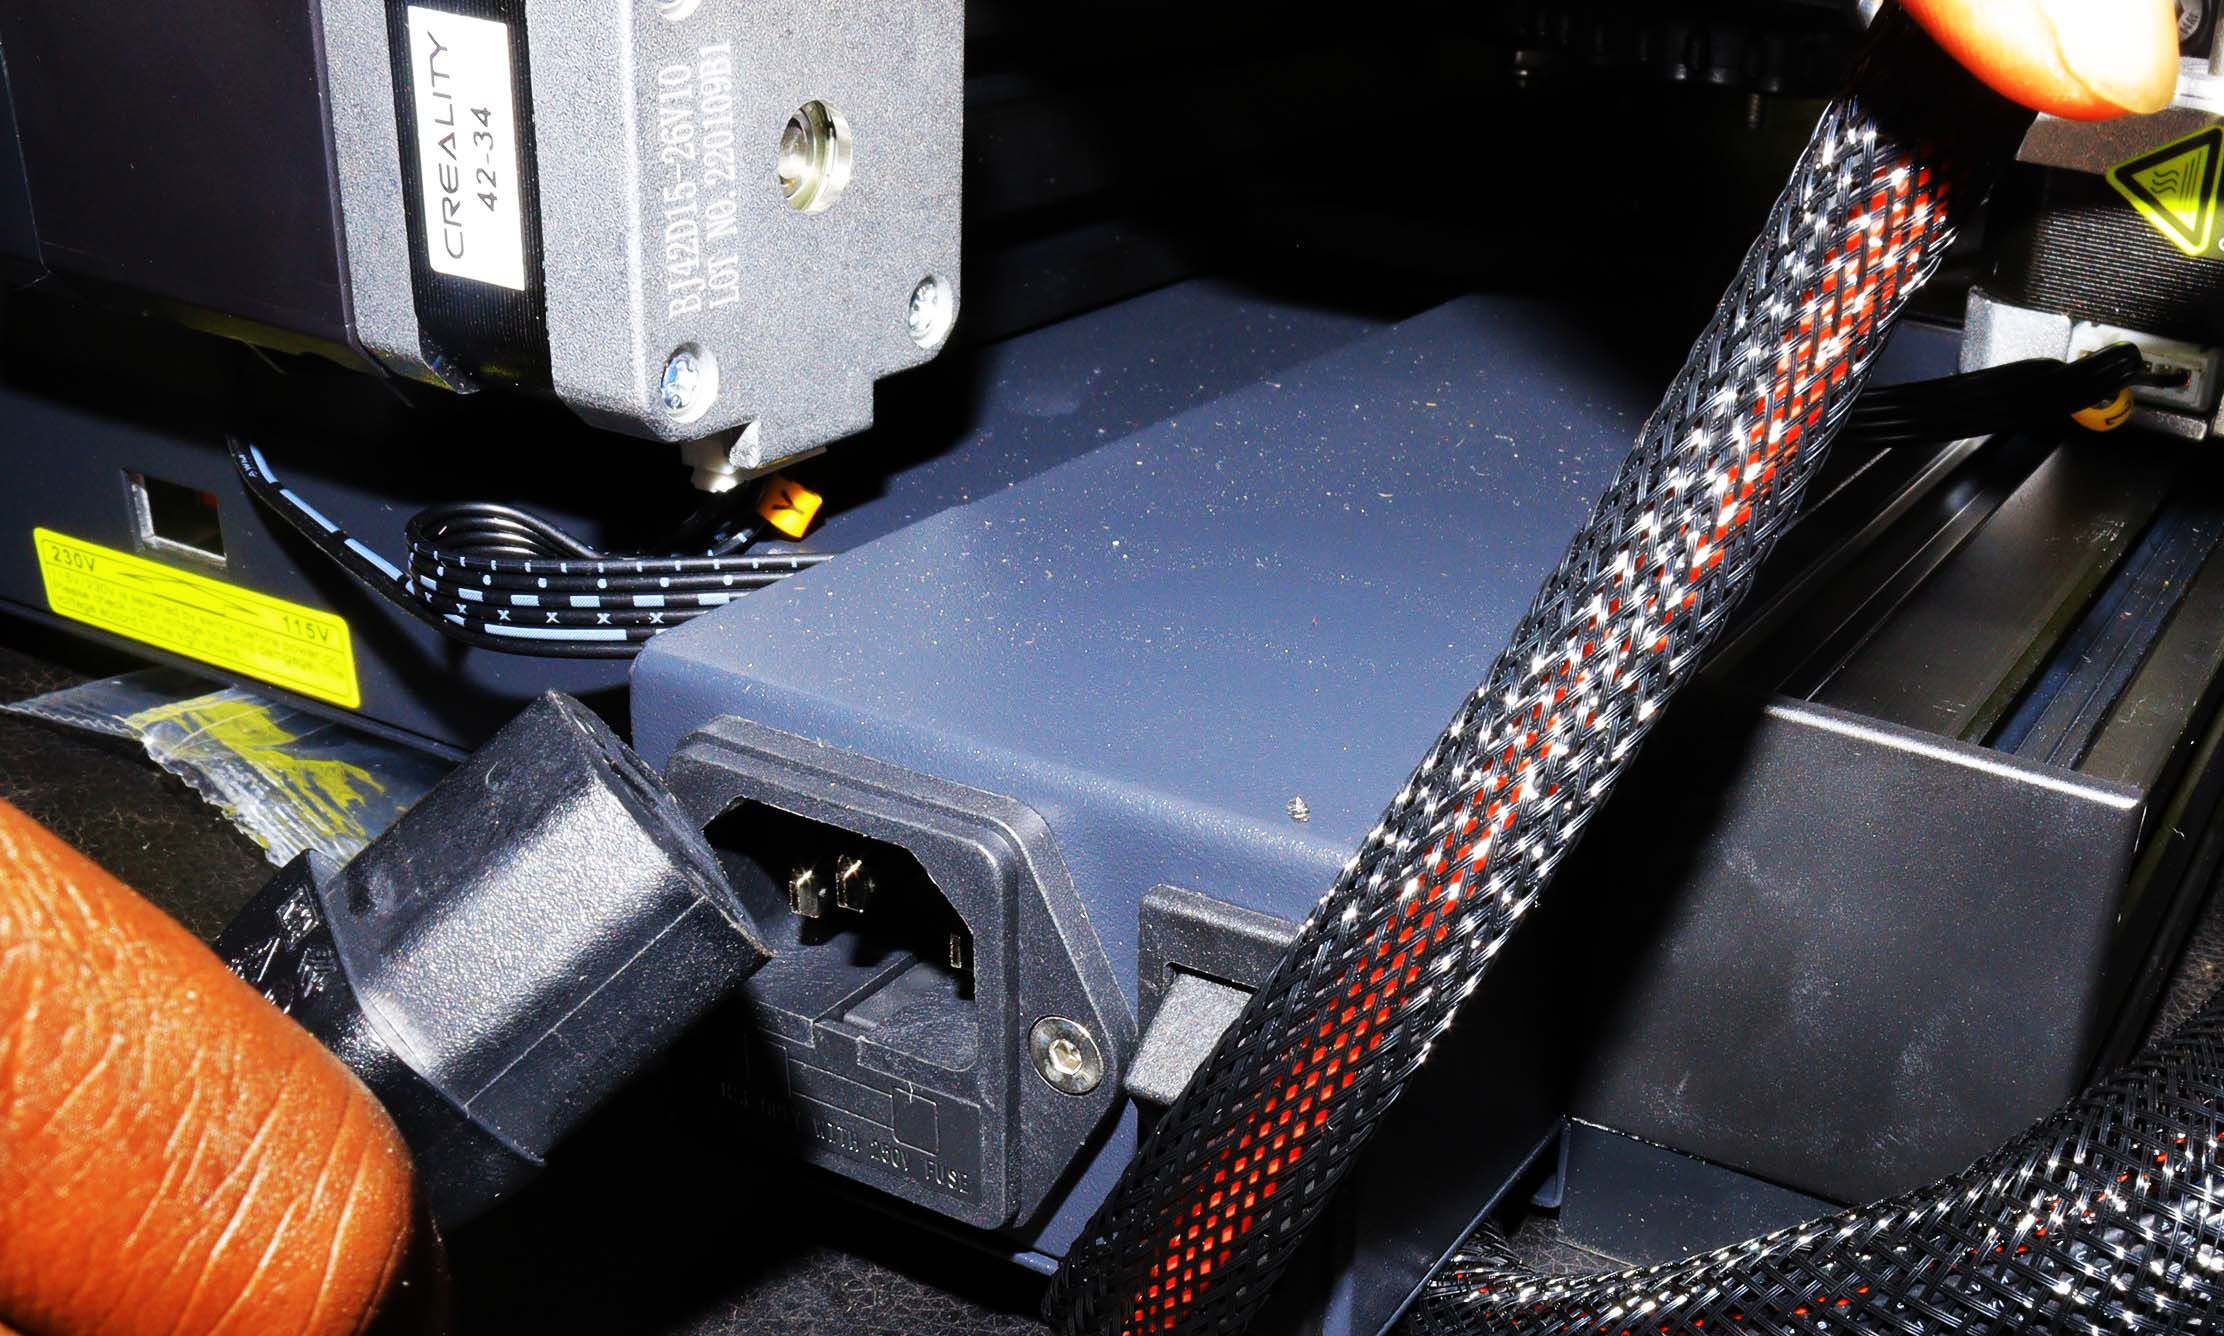
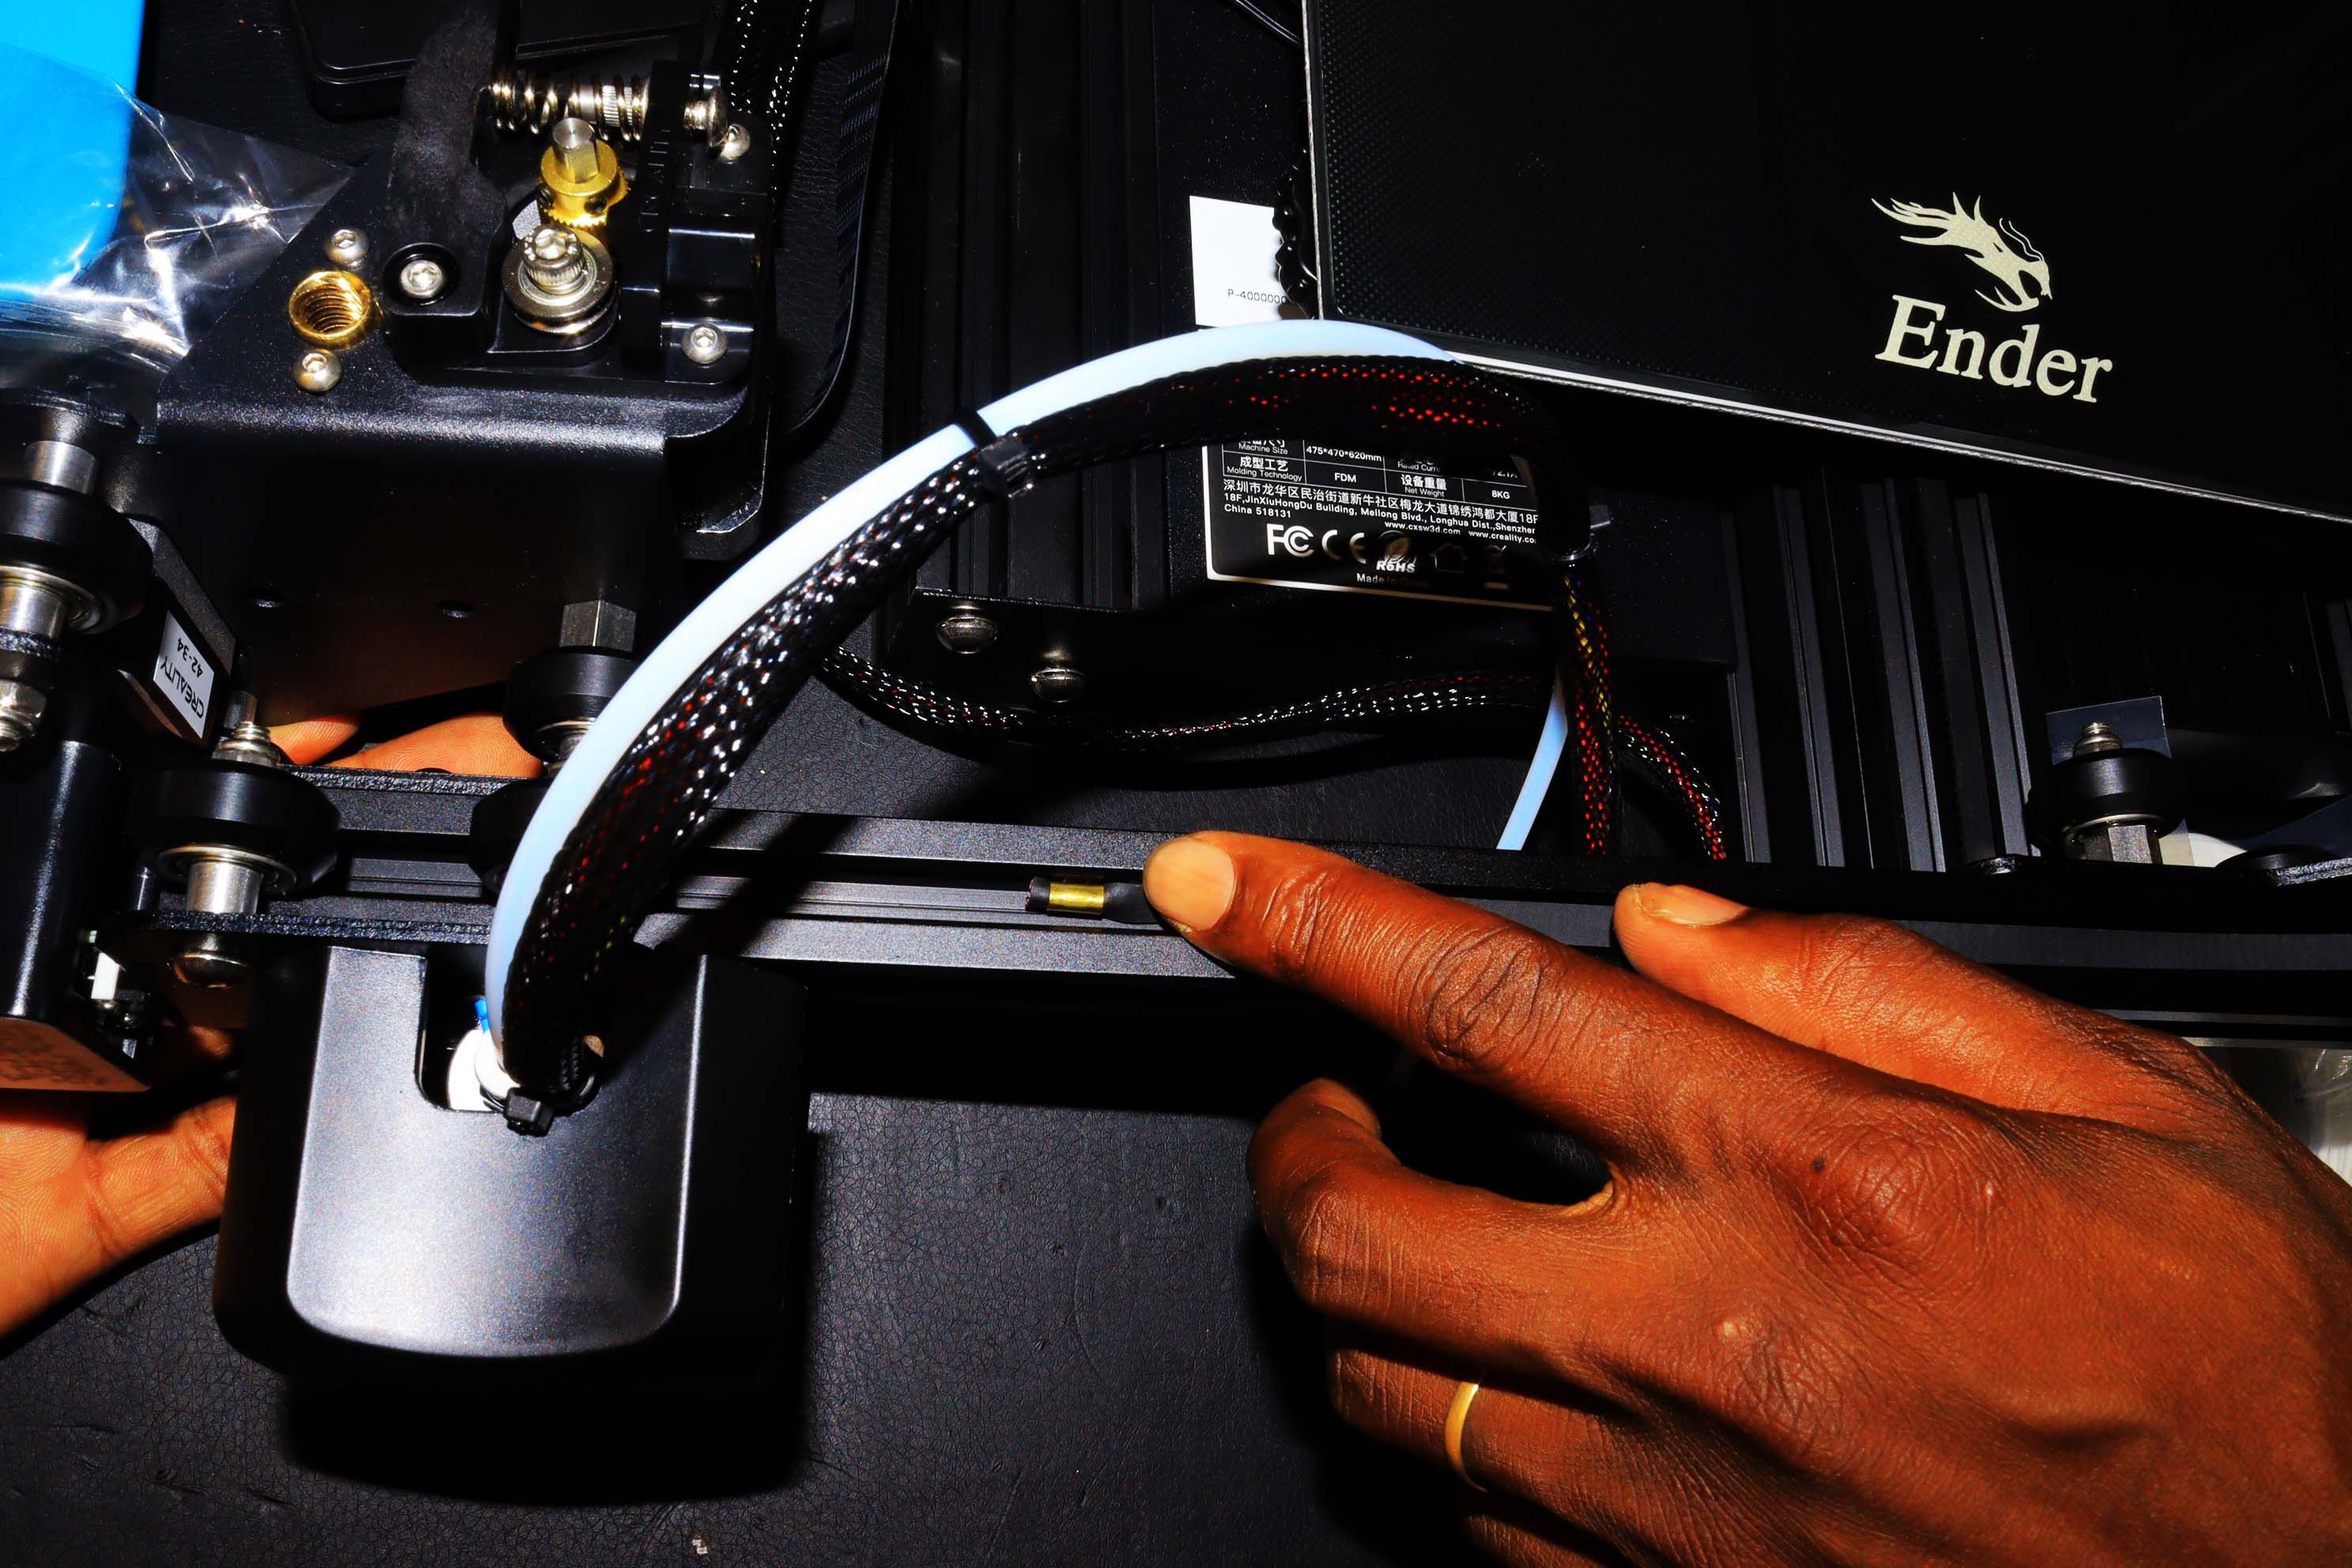
Next, connect the X and Z axis switches based on the yellow labels.
Ensure that the plugs and sockets are correctly aligned.
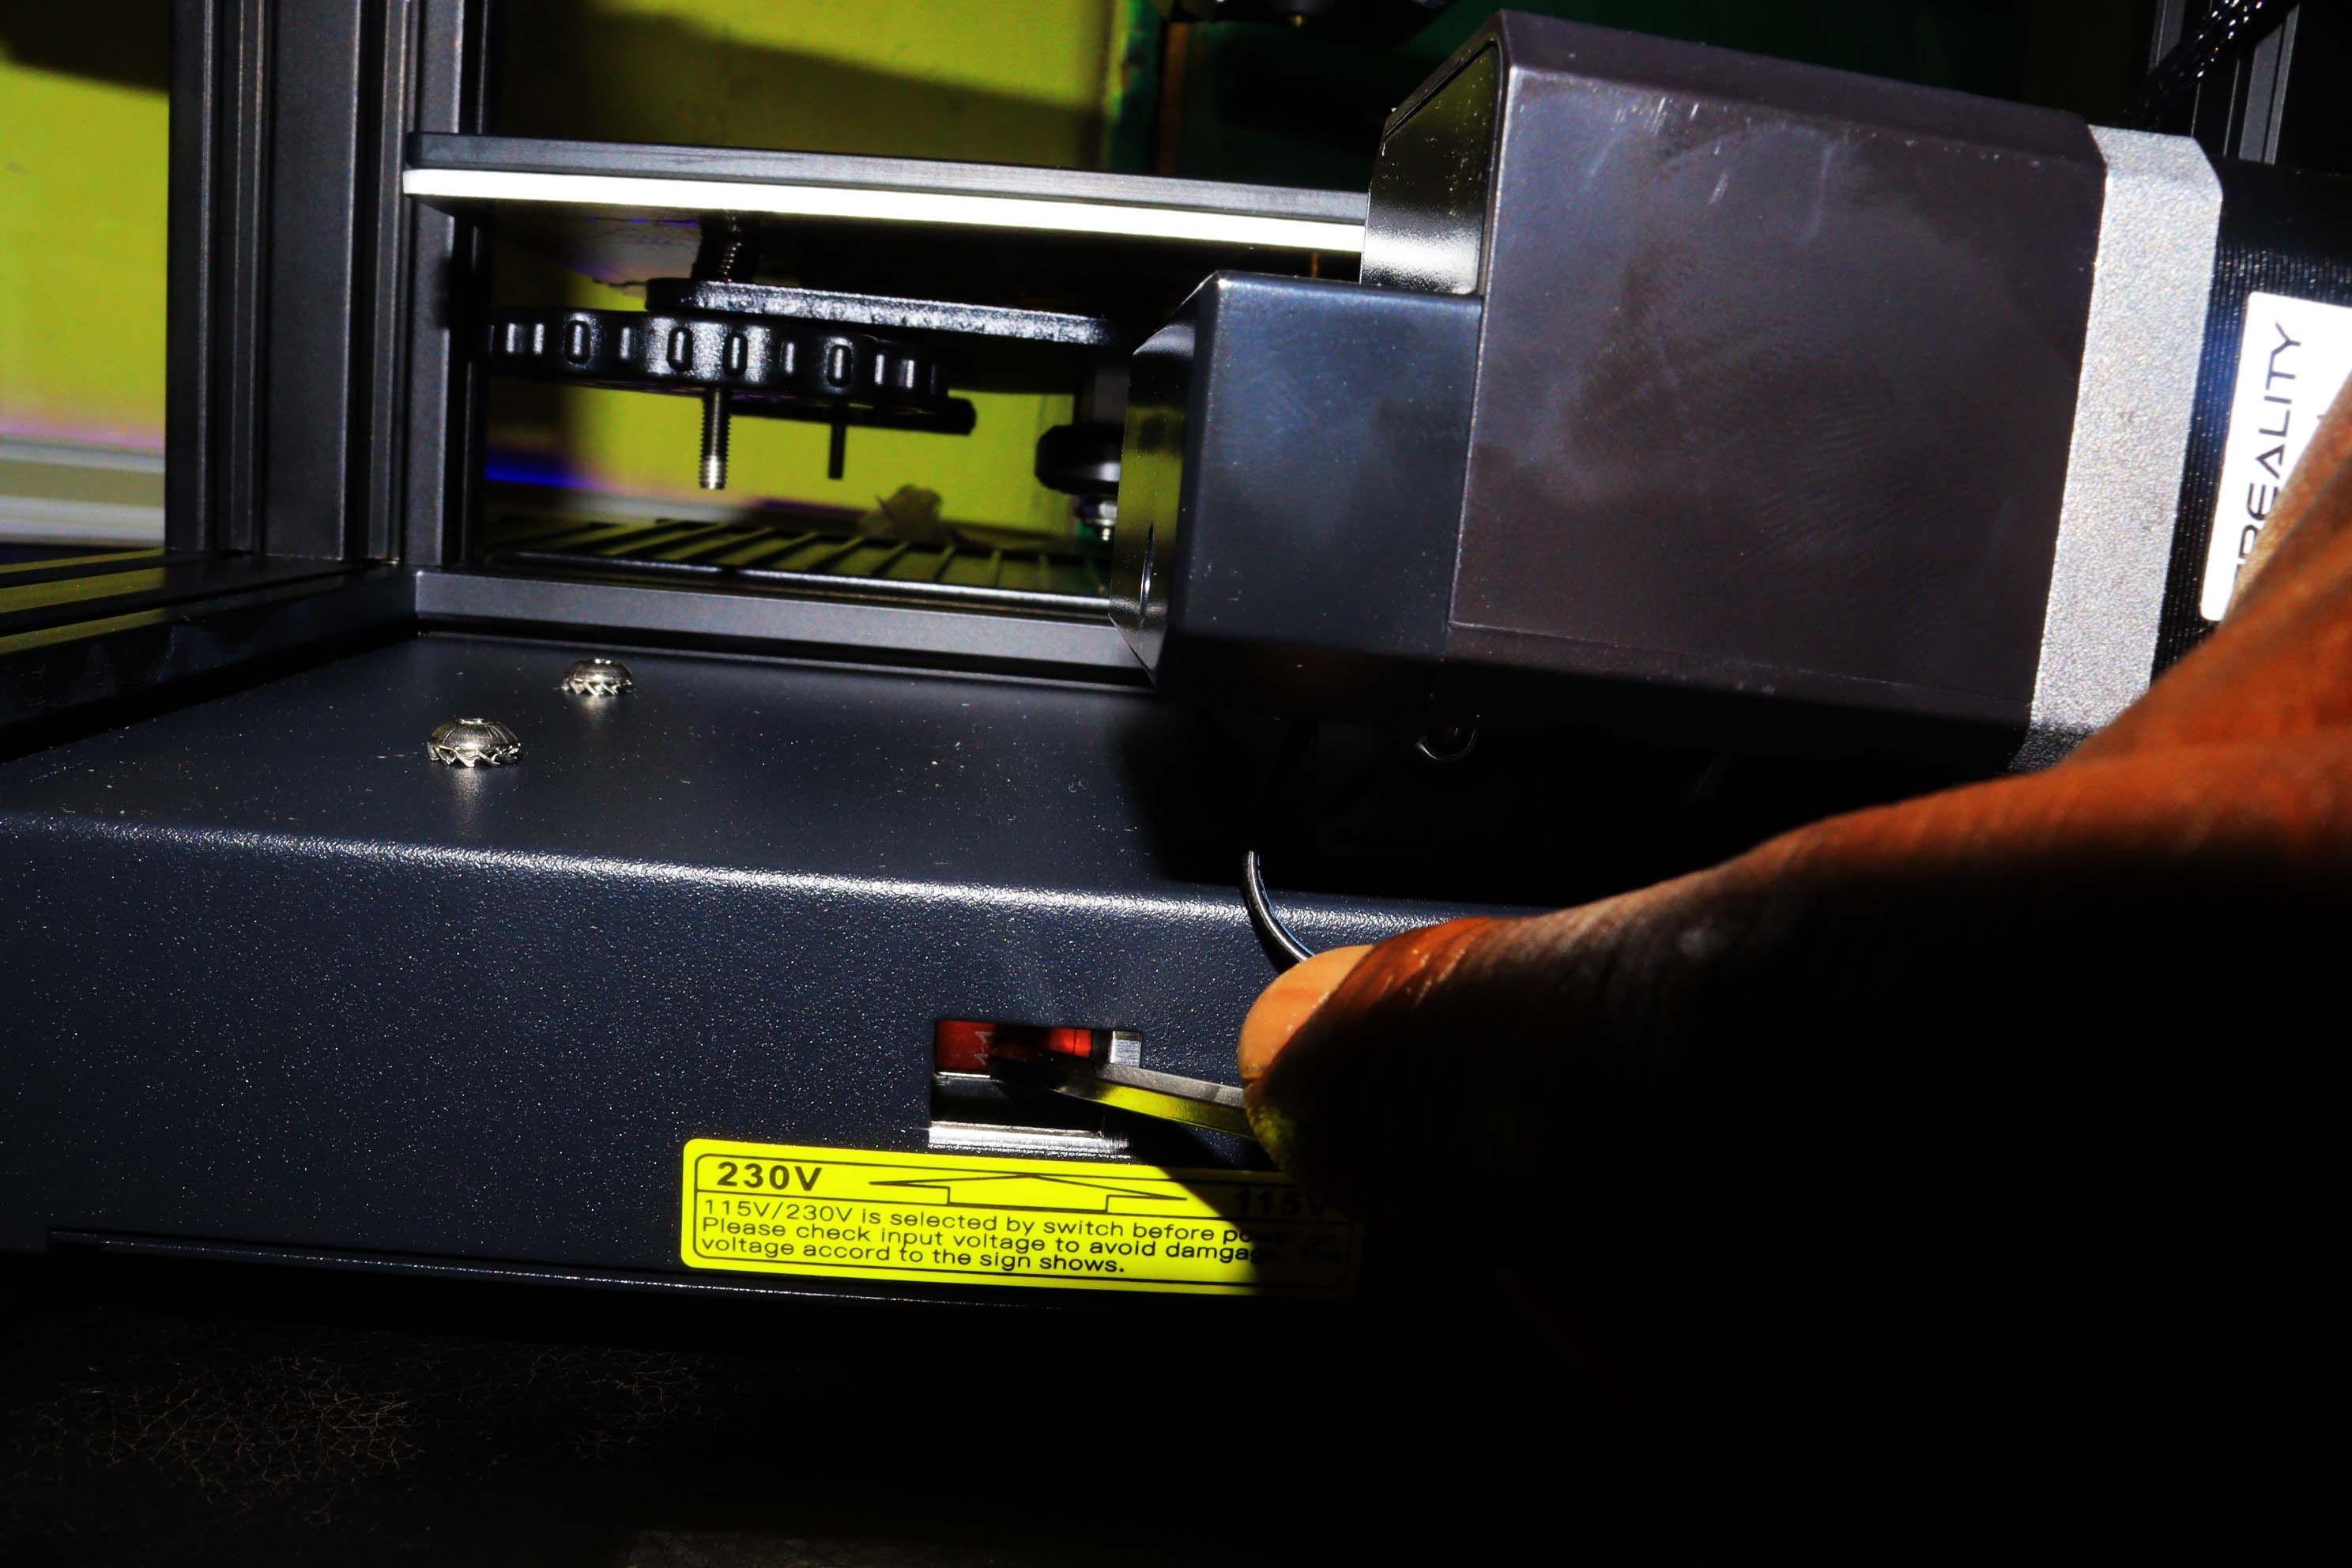
Once done, set the correct voltage.
Next, plug in the power source.
Turn on the switch, and you should see the screen turning on.
Once it stops moving, selectDisable Stepperon the screen.
Next, you will need to use a piece of paper tolevel the 3D printer bed.
you might insert the paper between the bed and the nozzle.
Adjust the nuts below the bed in each corner of your printer until the paper is scratched slightly.
Next, go toPrepare > Preheat PLAand wait until the temperature matches the one shown on the screen.
you’ve got the option to theninsert the card with your G-code.
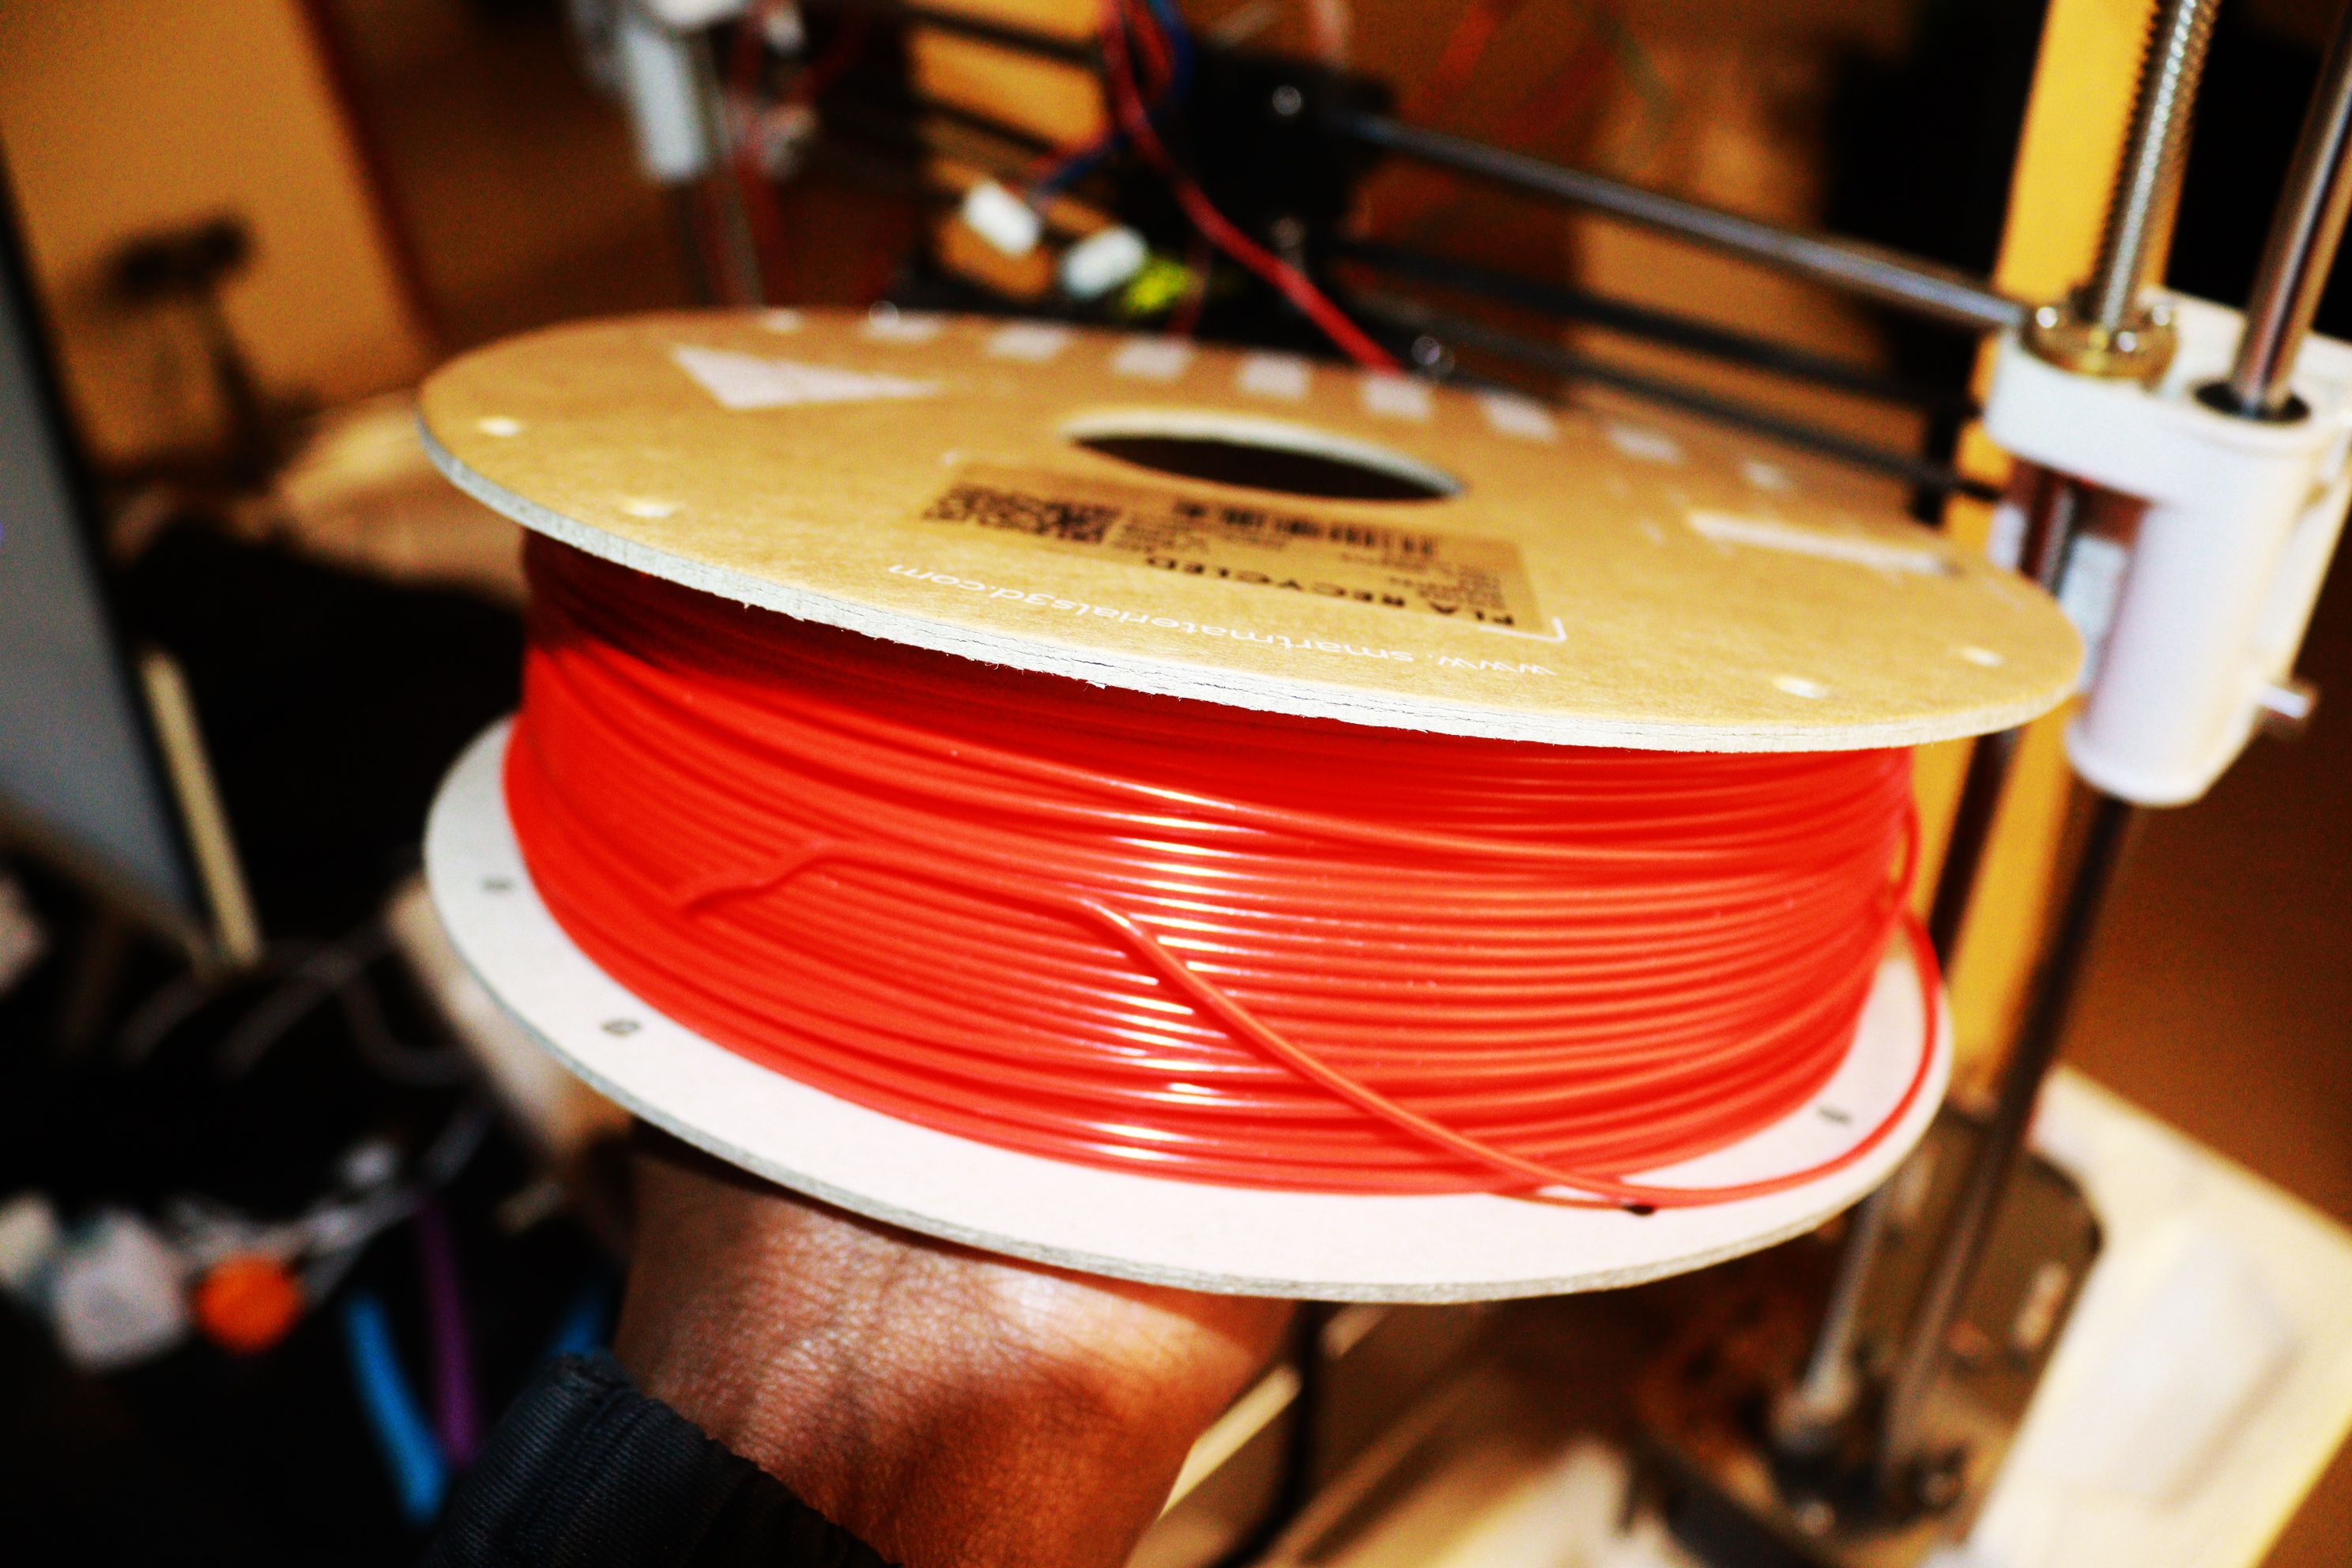
There aredifferent 3D printer filaments available, and you should buy the one specific to your nozzle.
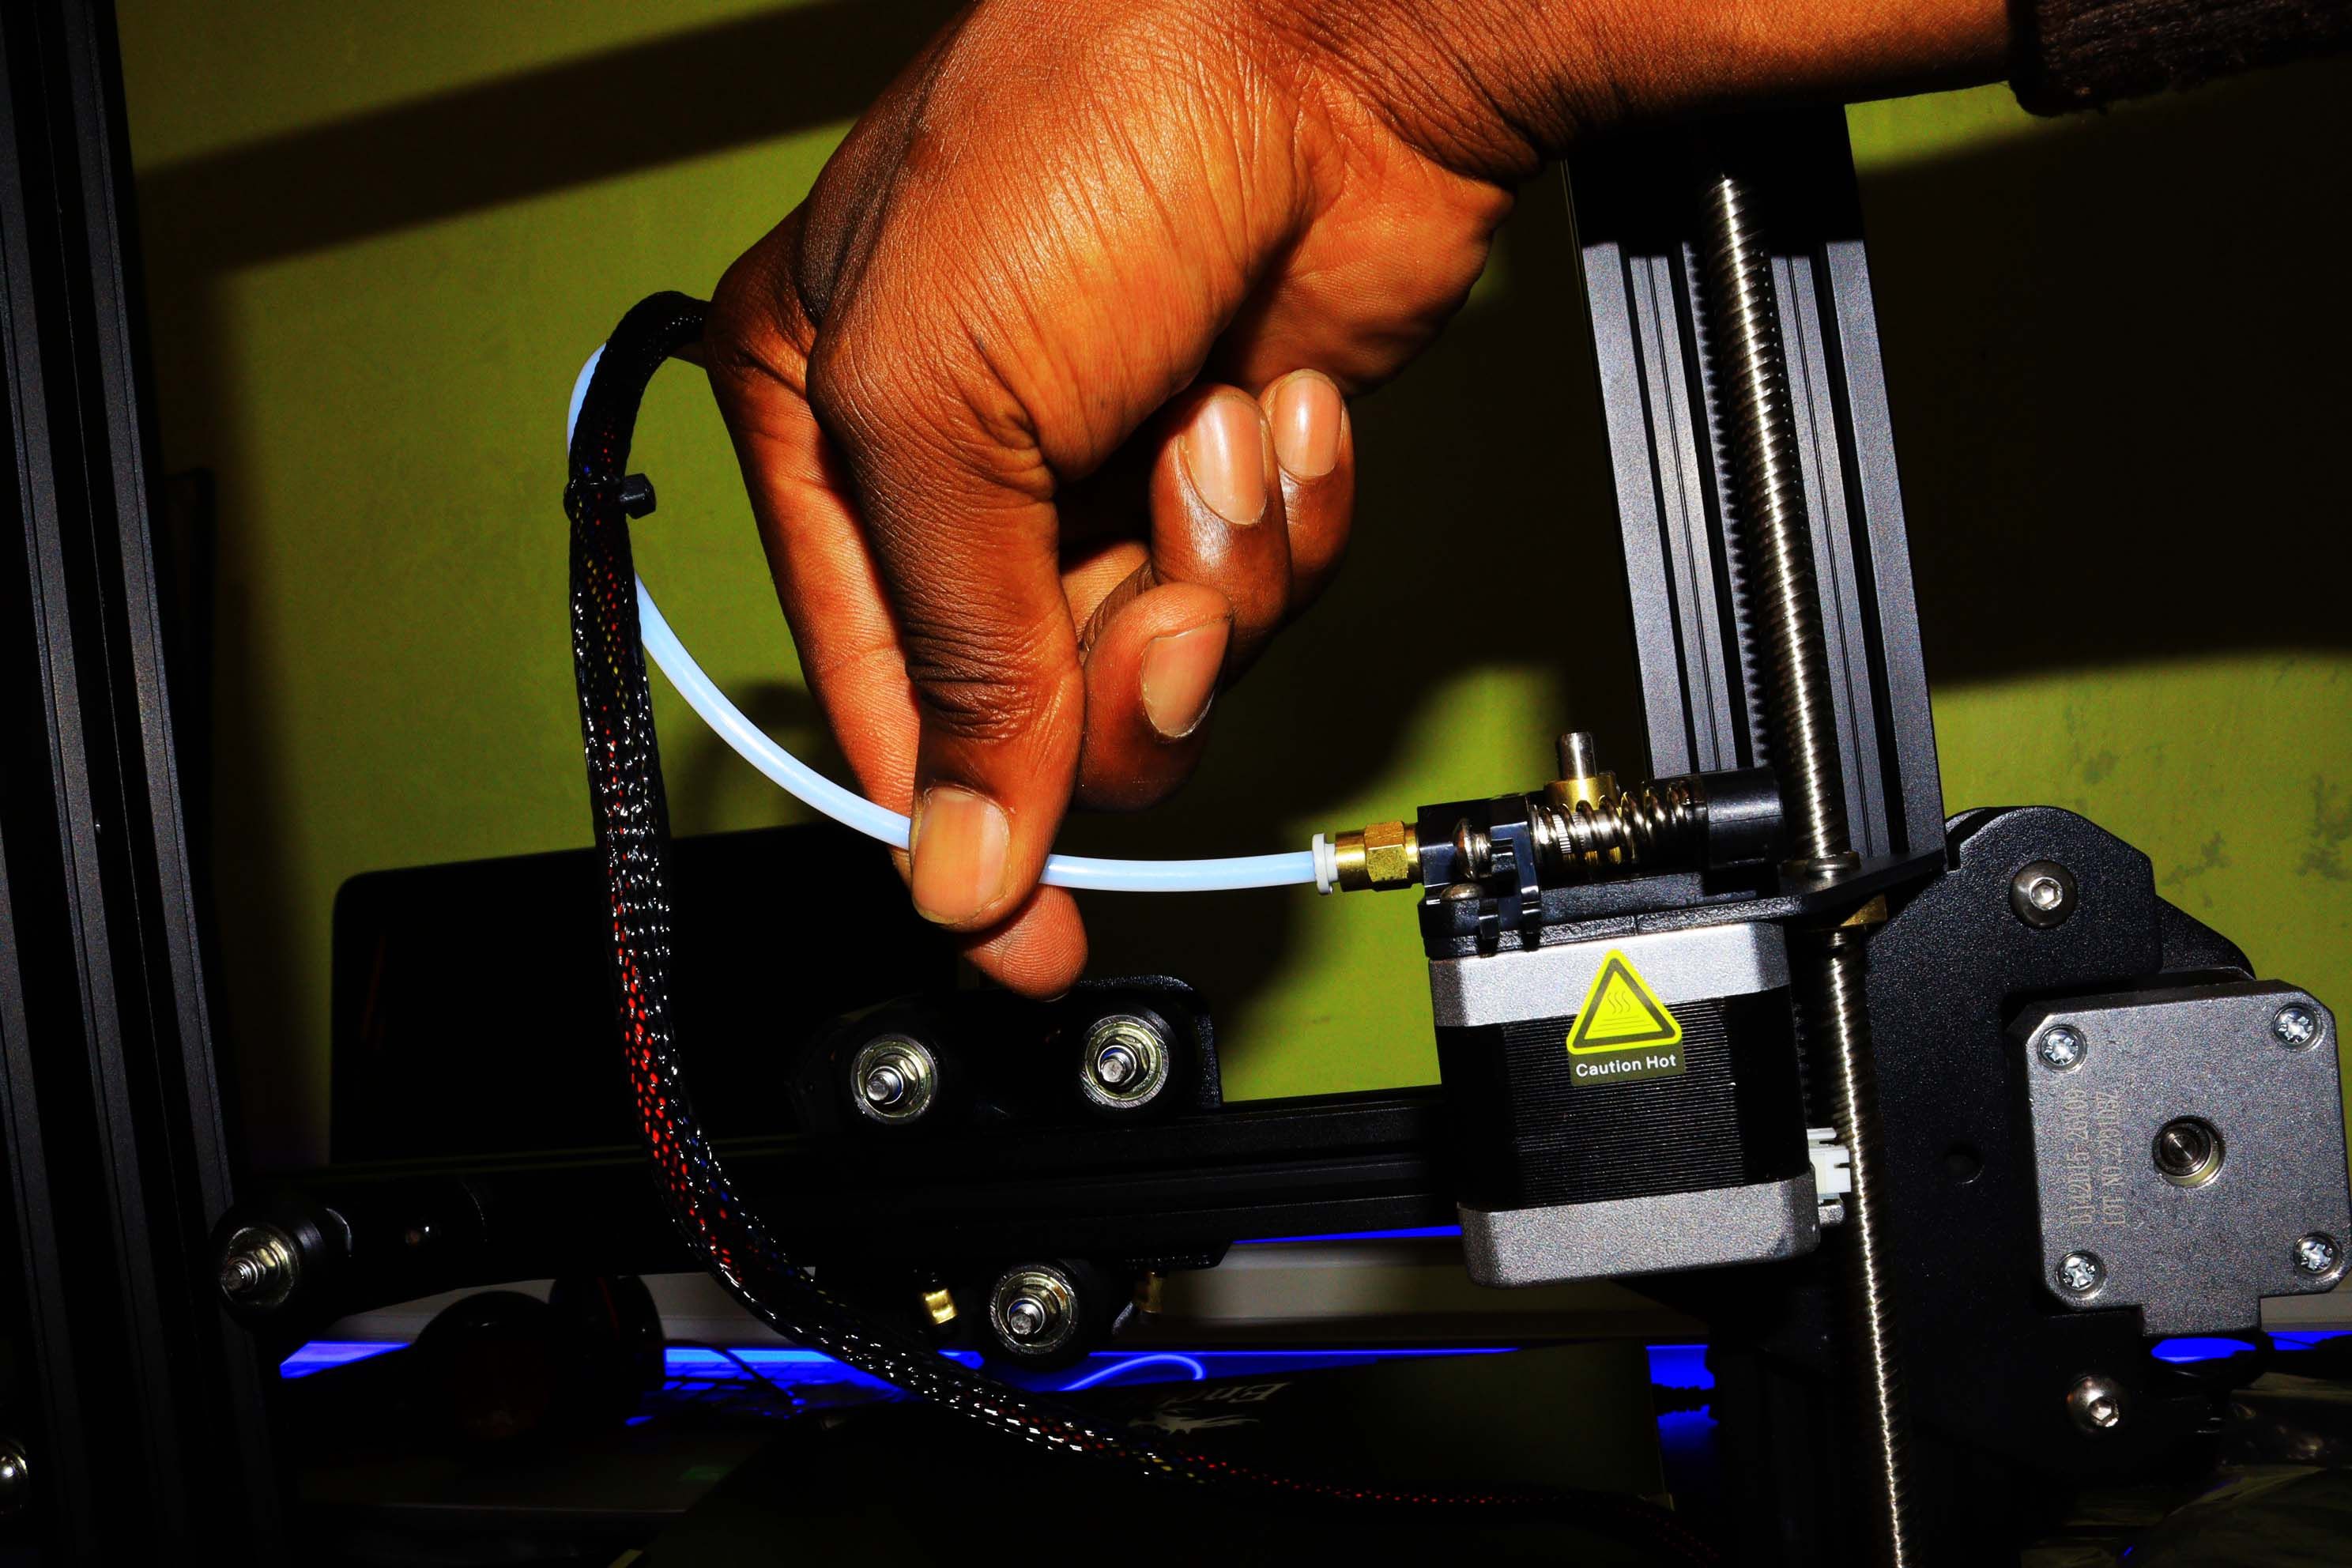
Before loading your filament, prepare it properly.
Take the end of the filament and cut it at a 45-degree angle.

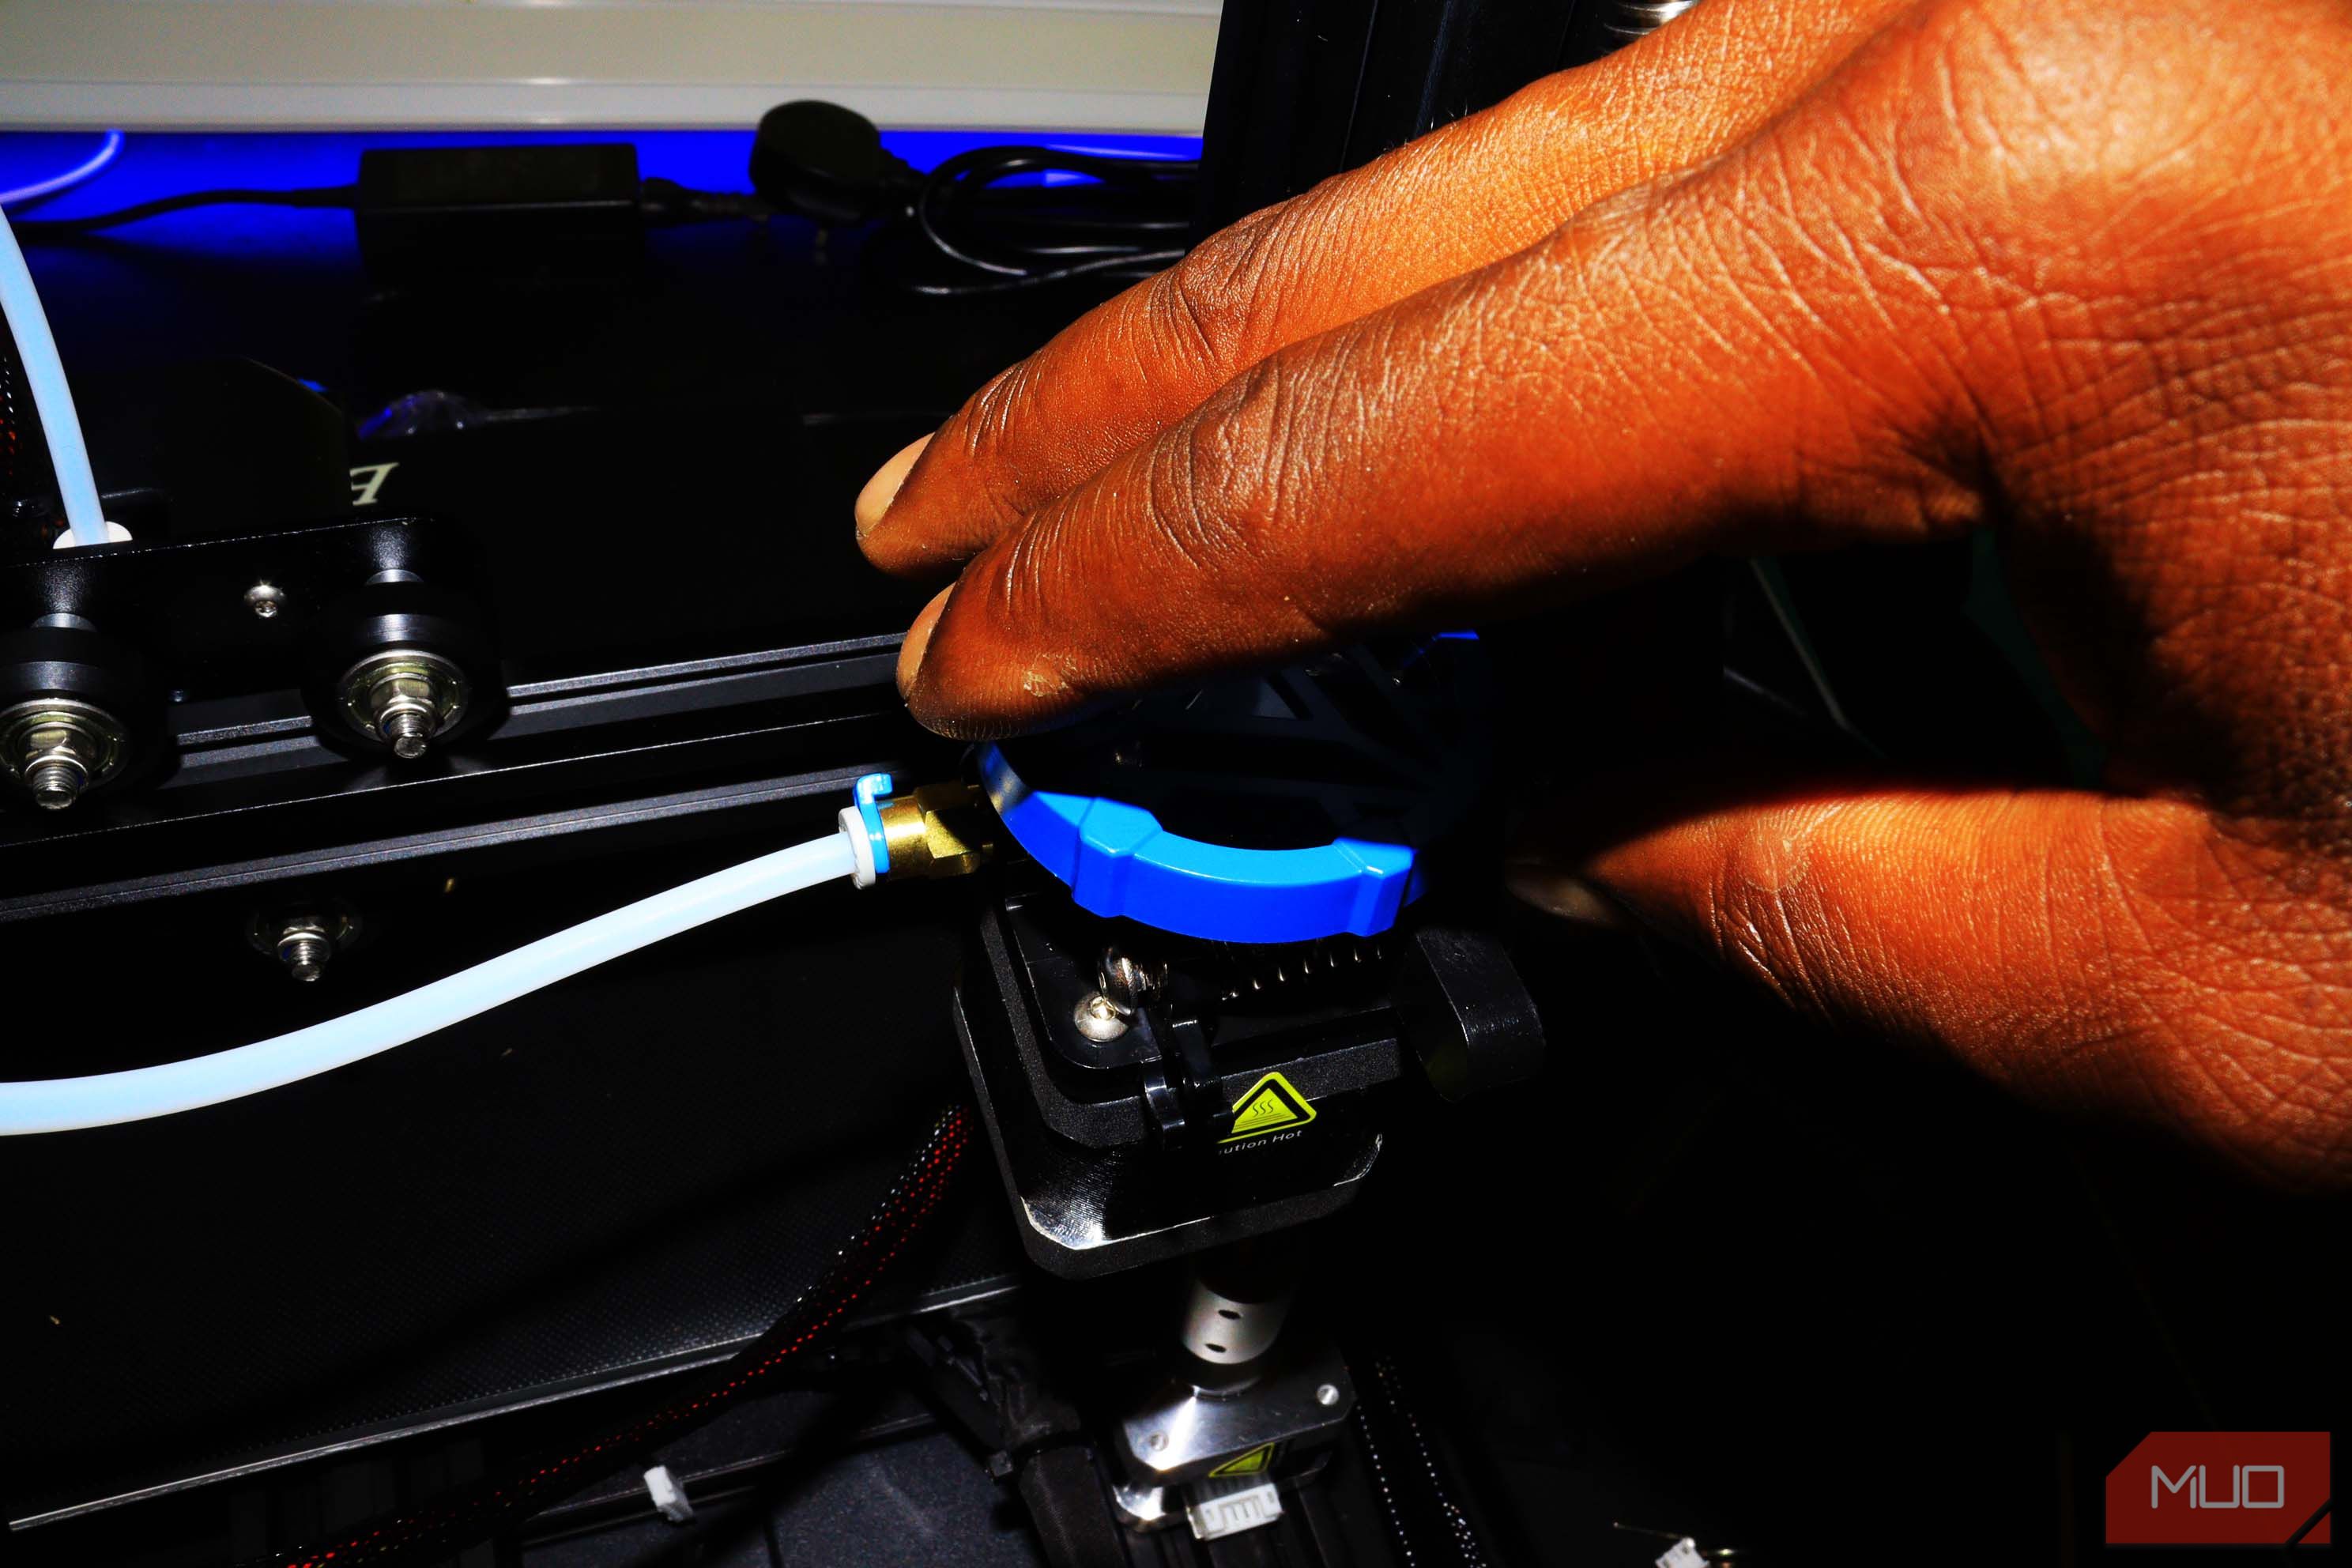
Next, insert the filament and ensure it goes into the right hole.
Push it in until it stops, and ensure that it is secure and not coming out.
Use the knob to move the filament until you no longer see it moving.
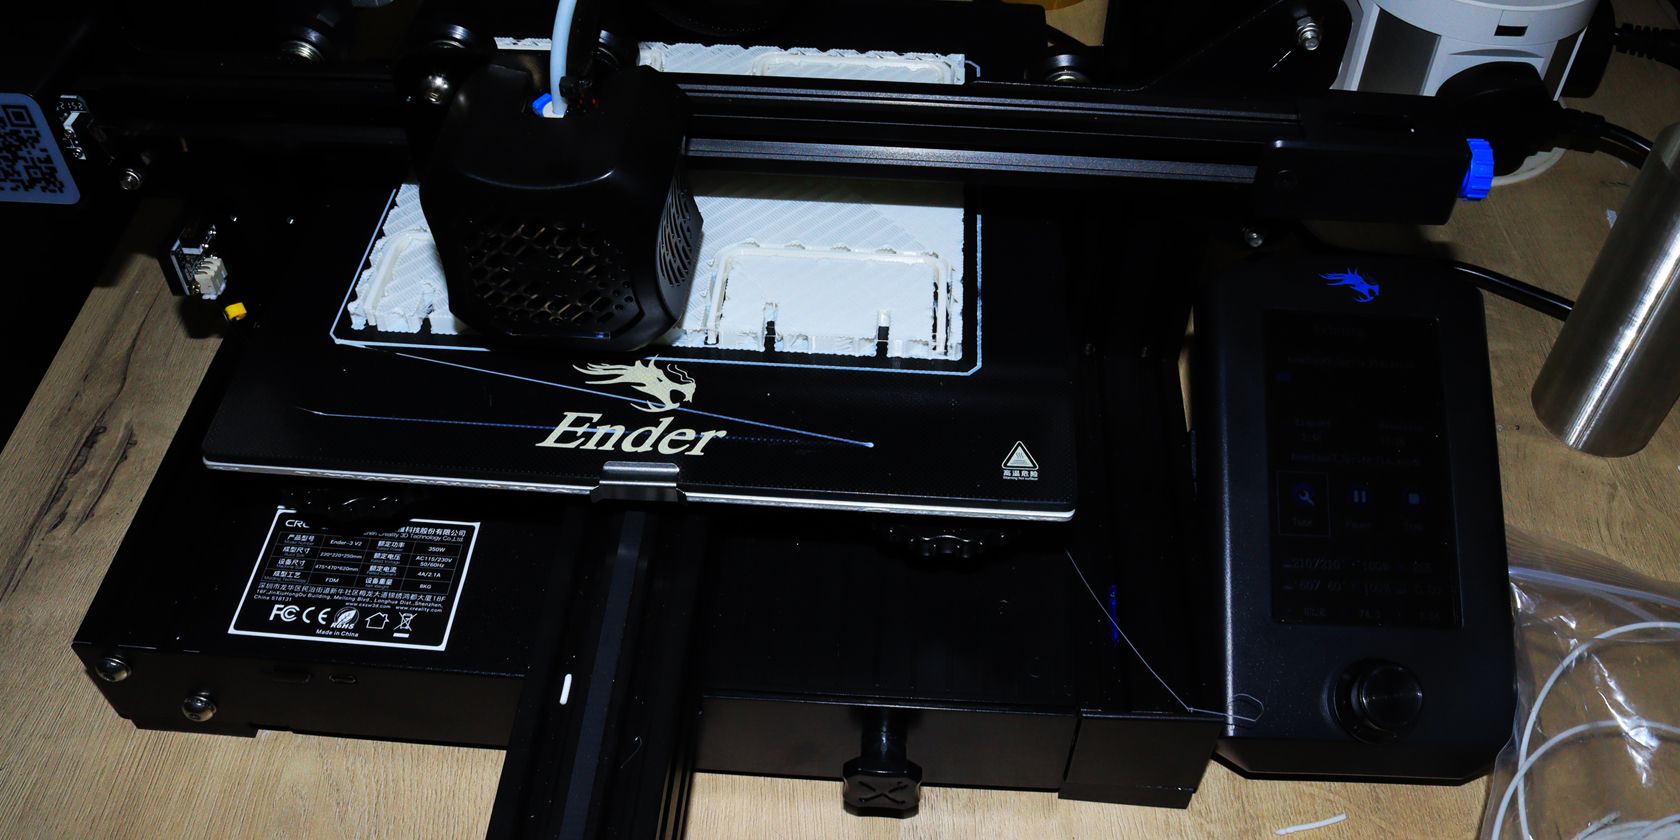
Now that you have fed the filament, its time to check the results.
Ensure that the filament comes out of the nozzle correctly and extrudes correctly.
If everything looks good, youre ready to start 3D printing!
Just take your time and follow the instructions carefully.
There are a lot of small parts, and it can be easy to miss a step or two.