If you’ve used a web or mobile app, you’ve probably seen a skeleton screen.
What Is a Skeleton Screen?
A skeleton screen is a UI element that indicates that something is loading.
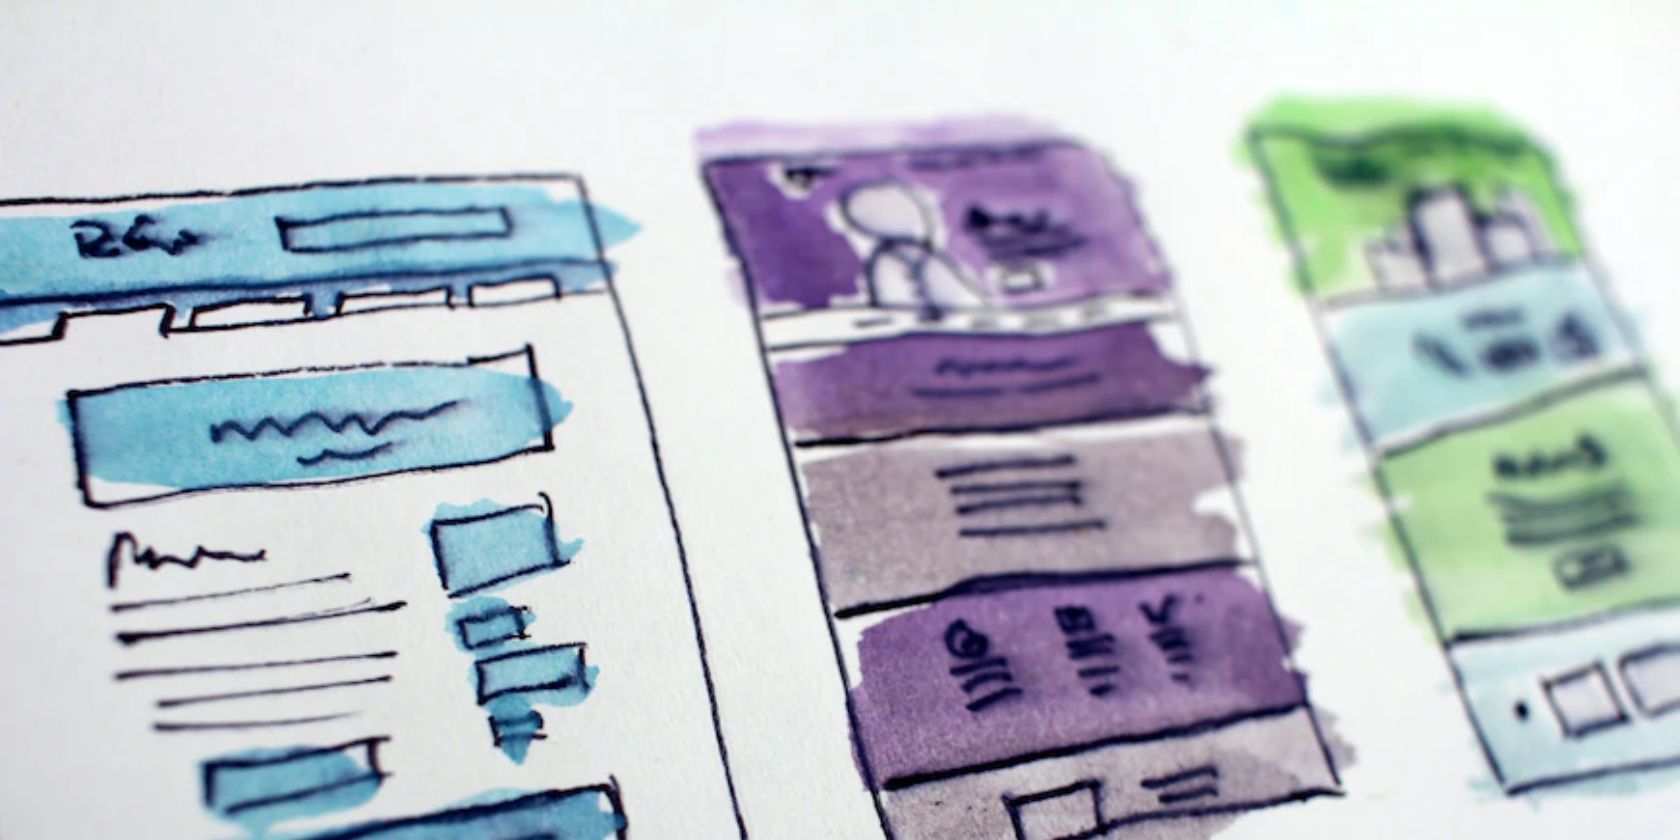
It is typically a blank or “empty” state of a UI component, without any data.
Many websites and apps use skeleton screens.
Some use them for a loading state, while others use them as a way to improve perceived performance.
Why Use a Skeleton Screen?
There are a few reasons why you might want to use a skeleton screen in your Next.js app.
First, it can improve the perceived performance of your app.
Second, skeleton screens can help reduce “jank” or choppiness in your UI.
If data is being loaded asynchronously, the UI can update incrementally as your app receives data.
This can make for a smoother user experience.
you’re free to use built-in features to manually recreate a simple skeleton screen.
Or you’re able to use a library likereact-loading-skeletonor Material UI to do the job for you.
you’re free to use the&&prop to conditionally render skeleton screens.
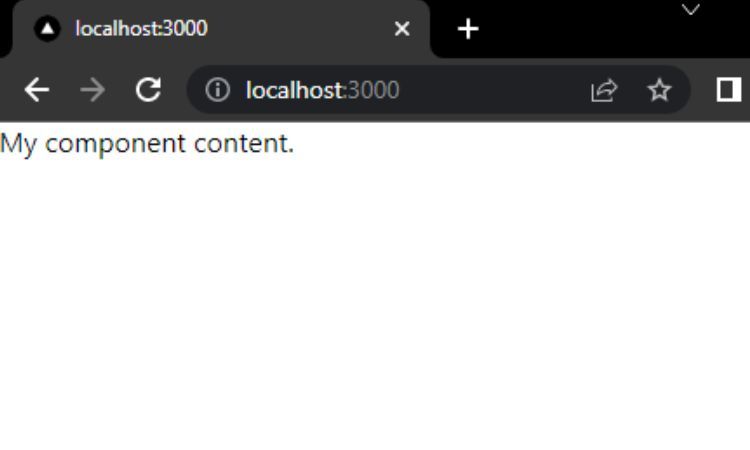
The above code uses theuseStatehook to track whether data is loading (isLoading).
It uses theuseEffecthook to simulate data loading asynchronously.
Finally, it uses the&&operator to conditionally render the skeleton screen or the component content.
This method is not ideal, because it requires manually setting theisLoadingstate and simulating data loading.
However, it is a simple way to implement a skeleton screen in Next.js.
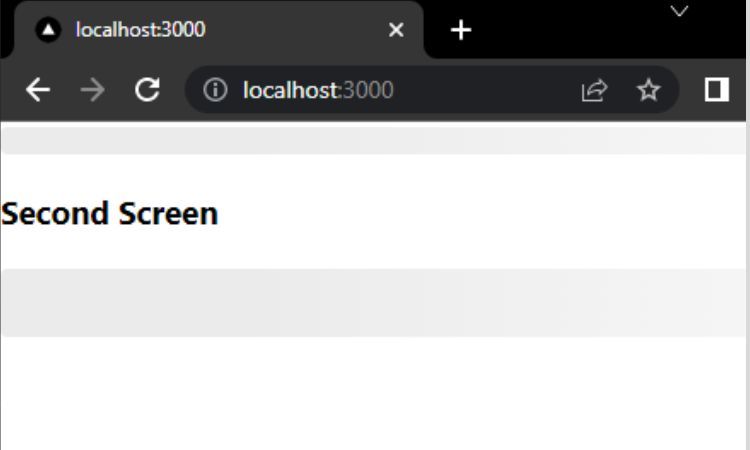
react-loading-skeleton is a React component that you’re able to use to create skeleton screens.
It has acomponent that you could wrap around any UI element.
To use react-loading-skeleton, you should probably install it usingnpm.
It then uses it to create two skeleton screens.
It uses theheightprop to set the height of the skeleton screen.
Now you canuse conditional renderingto render the component only when the data is present.
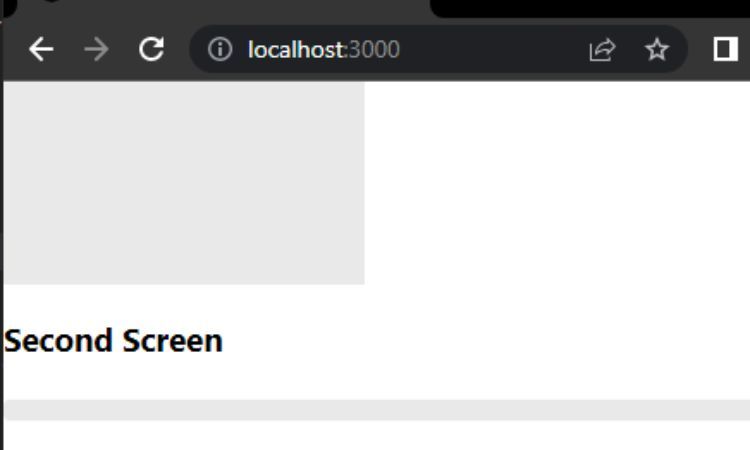
It then creates two skeleton screens.
Thevariantprop sets the pop in of skeleton screen.
Thewidthandheightprops define the dimensions of the skeleton screen.
you could also add different animations to your skeleton screens.
Material UI has a few built-in animations that you might use.
Thewavevalue adds a waving animation to the skeleton screen.
you might now use conditional rendering to show the content after the skeleton screen.
