Keep reading to learn how to use GenSwap for effortless creative control of your images.
What Is the GenSwap Tool in Luminar Neo?
On November 16th, 2023, Luminar NeoSkylums AI photo-editing softwarereleased its second generative AI tool,GenSwap.
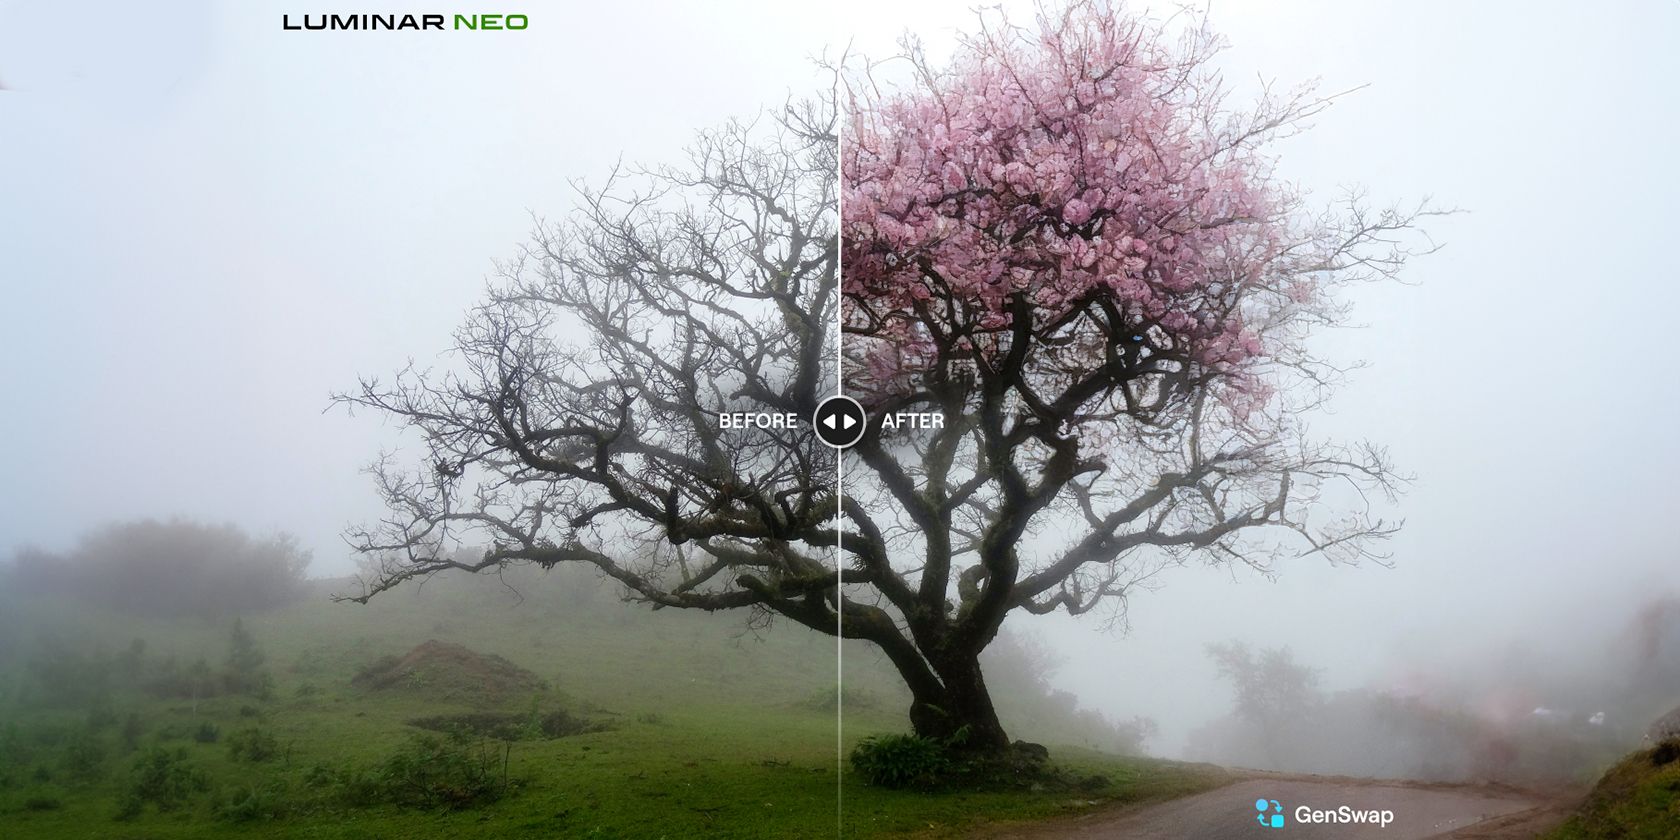
Image credit: Skylum/Luminar Neo
GenSwap is the second of three generative AI tools Luminar Neo is adding to its software in 2023.
Find out how to use GenSwap to add or replace elements in your photos below.
For new users, head toLuminar Neos subscription pageto find the tier level that suits you.

Prices start from $14.95 for one month.
To update, open Luminar Neo and navigate toLuminar Neo>Check for Updates.
implement the update from the popup window.

To upload new photos, selectCatalogat the top and thenAdd Photosin the left menu.
Find and choose your photos, then selectAddto import them to your Luminar Neo Catalog.
In the Catalog window, grab the photo you wish to edit.

you’ve got the option to only edit one photo at a time using the GenSwap feature.
After updating, GenSwap will appear underGenerative Toolson the right side of the Catalog page; select it.
Your image will open in the GenSwap page and under it is the GenSwap toolbar.

Include a buffer area around the edge of the existing element, too.
To add a new element, brush a generic shape or area where you want the object to appear.
If needed, refine your selection by selectingDeselectto essentially turn the brush into an eraser.

Then deselector eraseparts of the mask to refine its shape.
In this box, use adjectives and nouns for your descriptive prompt.
Theres no need for meta verbs like add, generate, replace, or create.

If you dont like the result, hitSwapagain to regenerate from the same prompt.
Alternatively, rewrite the prompt or refine your selection area for an alternative image.
When youre happy with your generative image creation, selectSavein the top right of the screen.

it’s possible for you to then continueto make the most of Luminar Neowith its other editing tools.

