Snapseed is a free photo editing app developed by Google for both iOS and Android.
Using these out-of-the-box features, it’s possible for you to create a neon glow effect in your photograph.
Let’s show you how.
It is worth noting that the process may vary each time depending on your sample image.
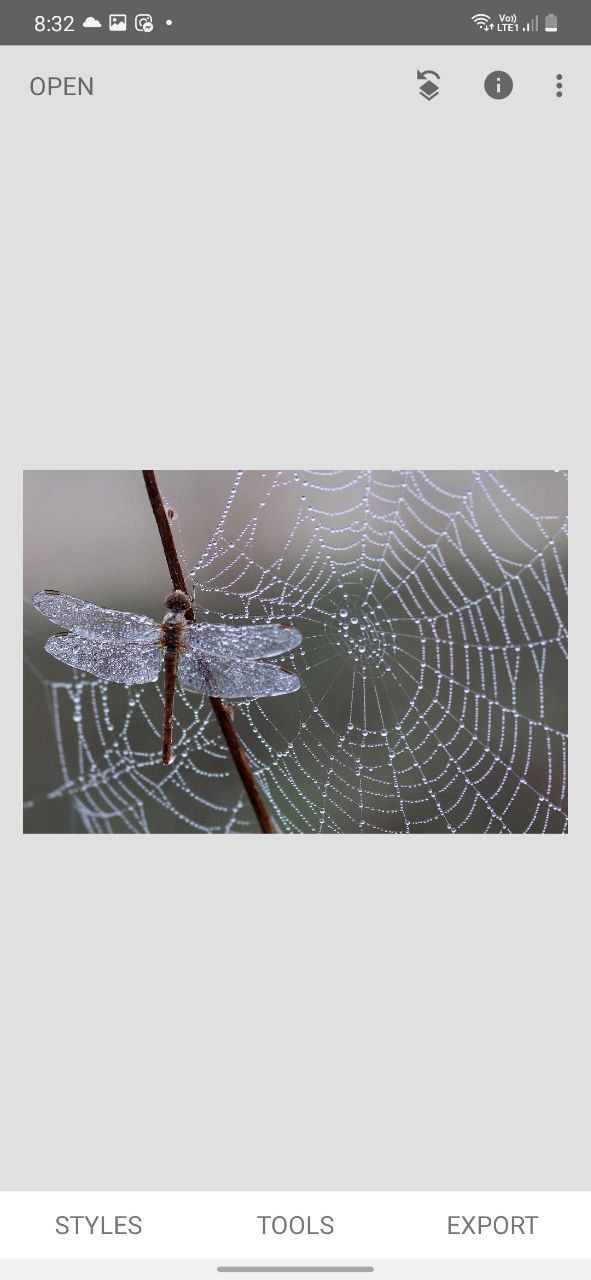
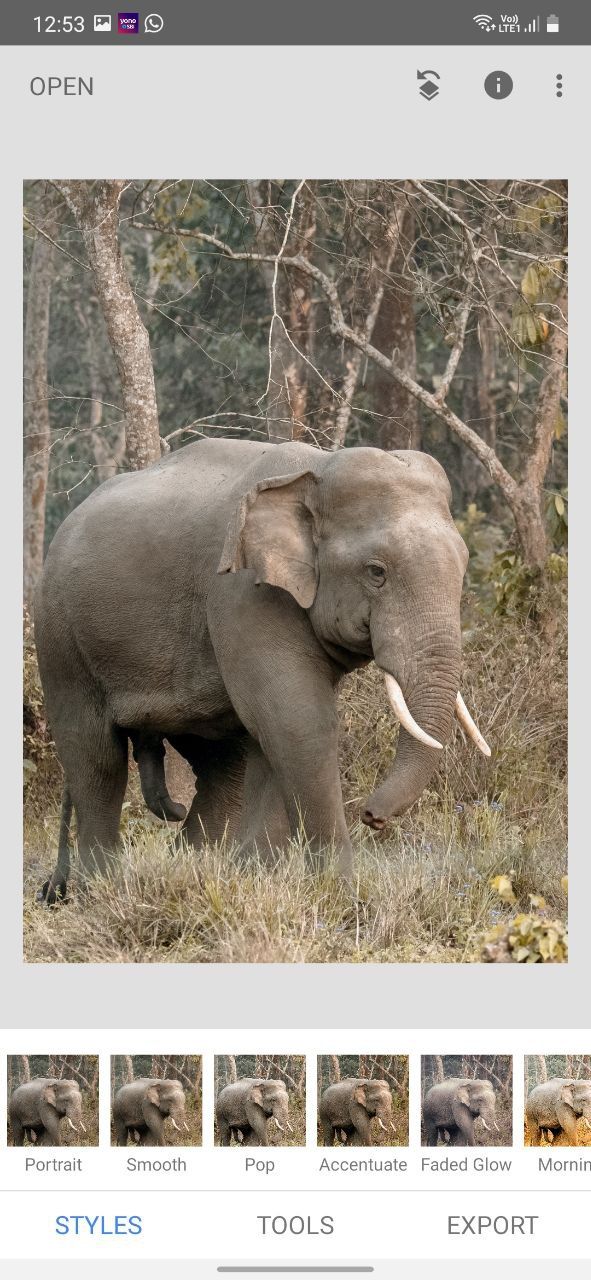
Open Snapseed and tap anywhere to add your image.
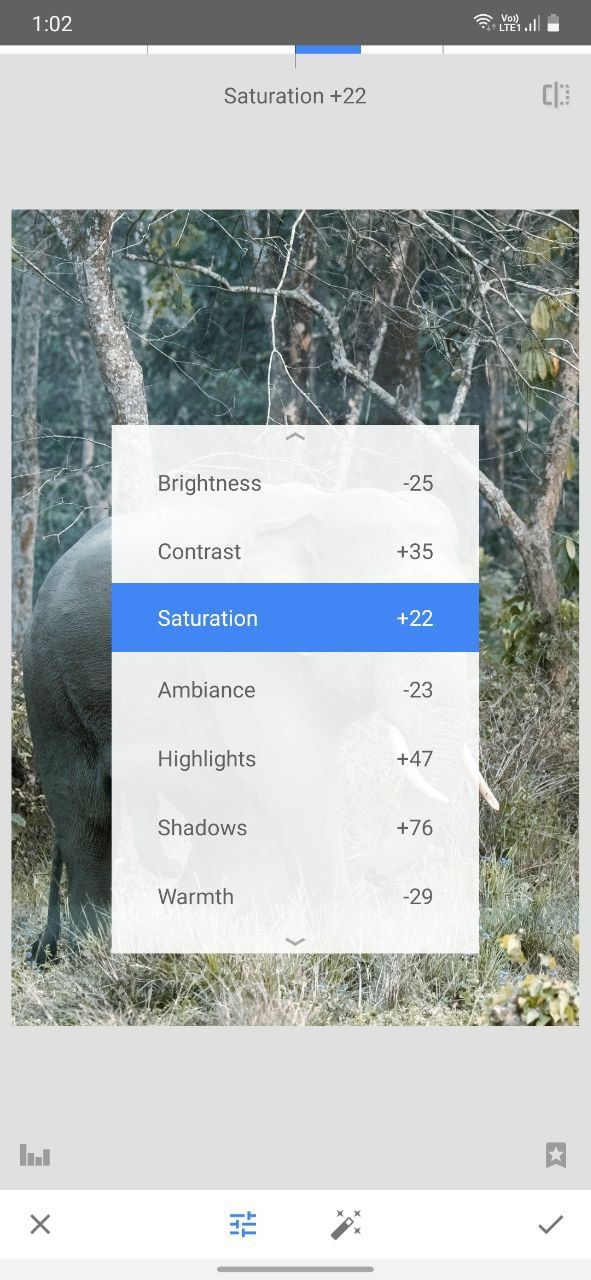
Perform minor tweaks like decreasing theExposure, increasing theContrast, adjustingHighlights, increasingShadows, and so on.
Tap on the tick mark once you are satisfied with the edit.
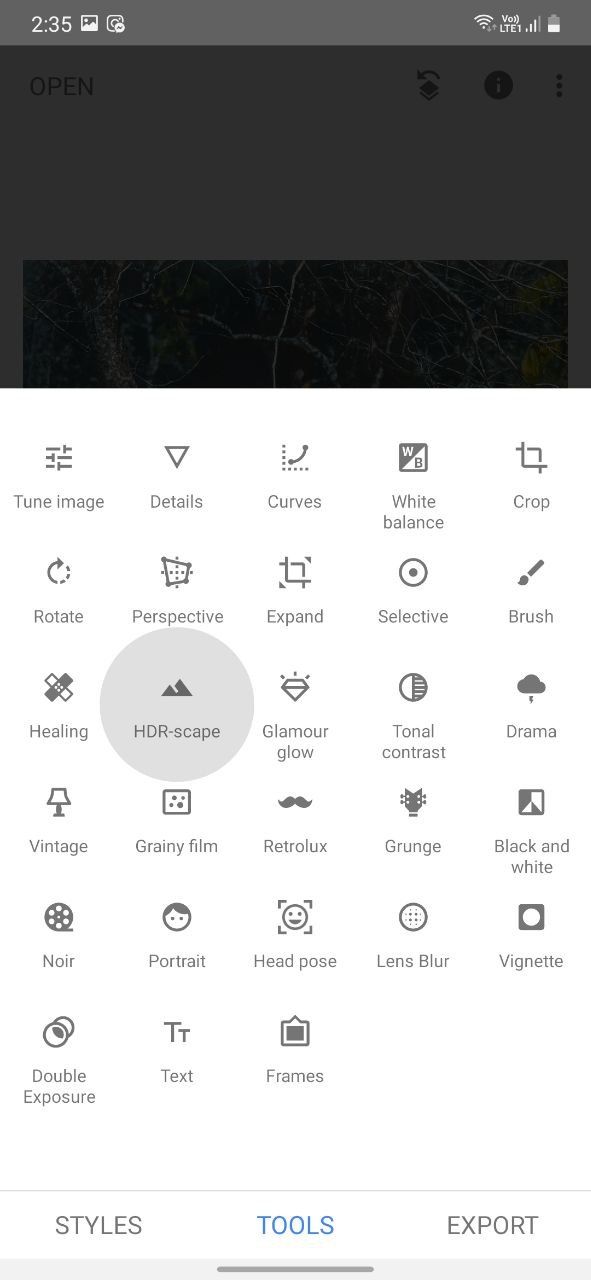
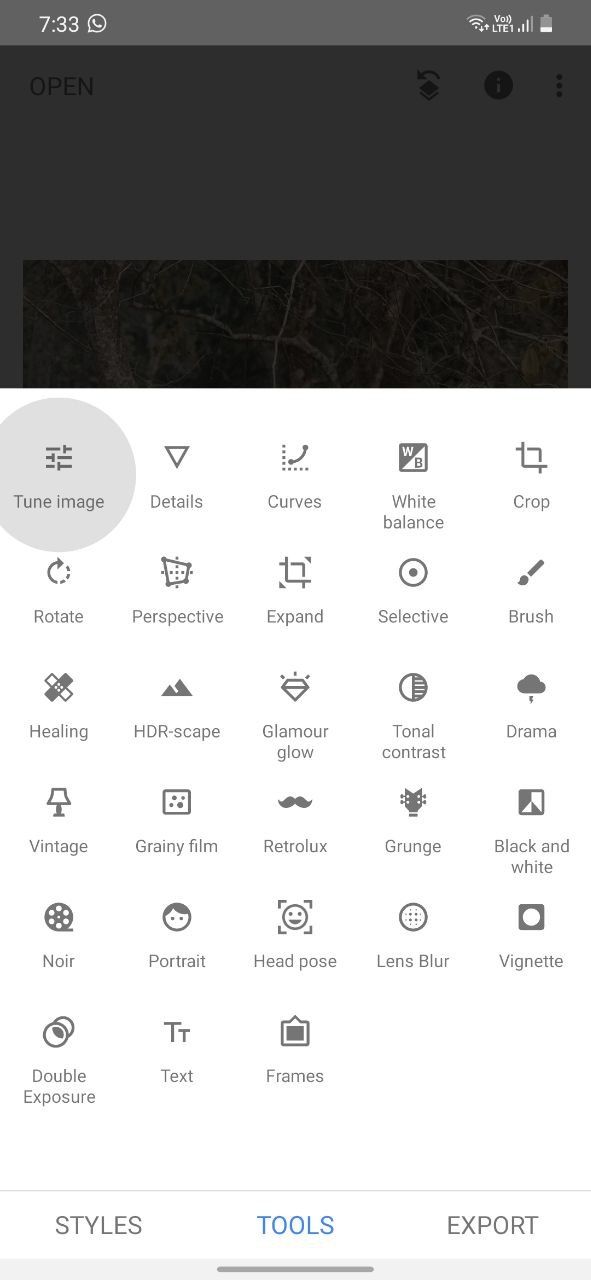
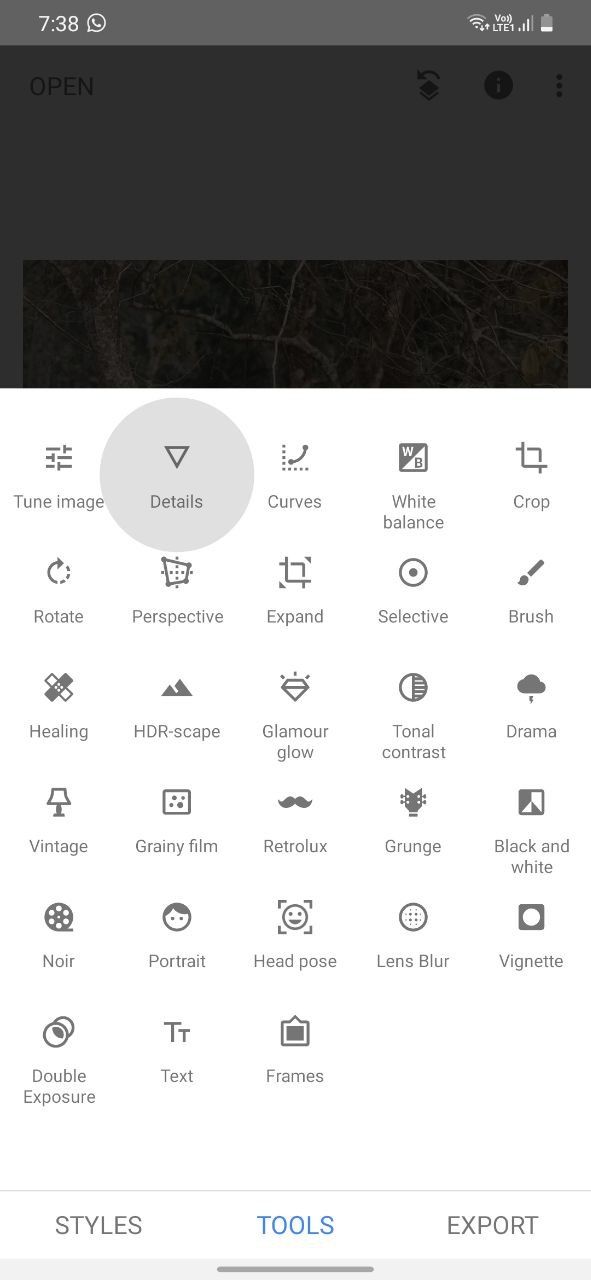
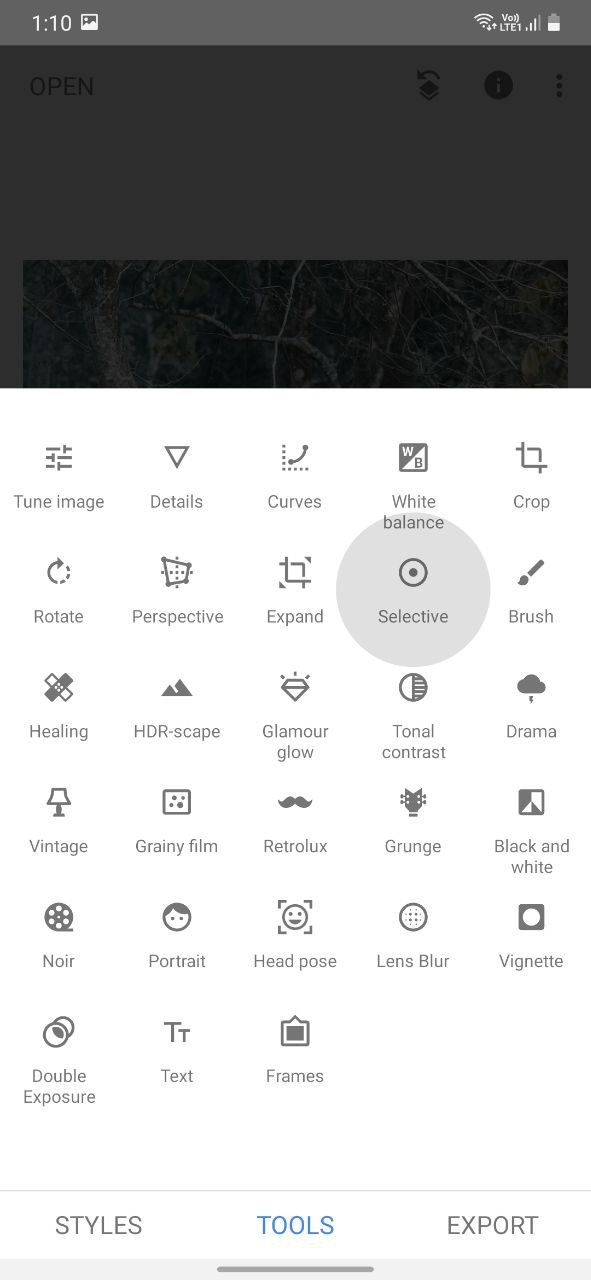
Go toTools>Details.
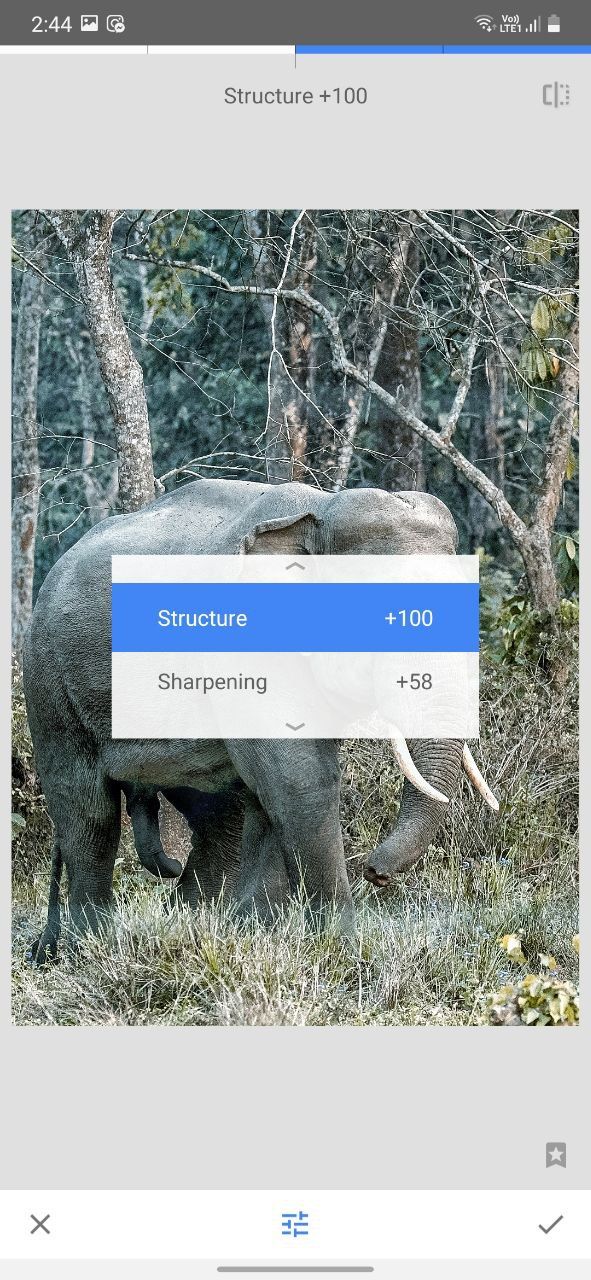
Increase theStructureandSharpeningto the maximum.
Tap on the tick mark to finalize your edit.
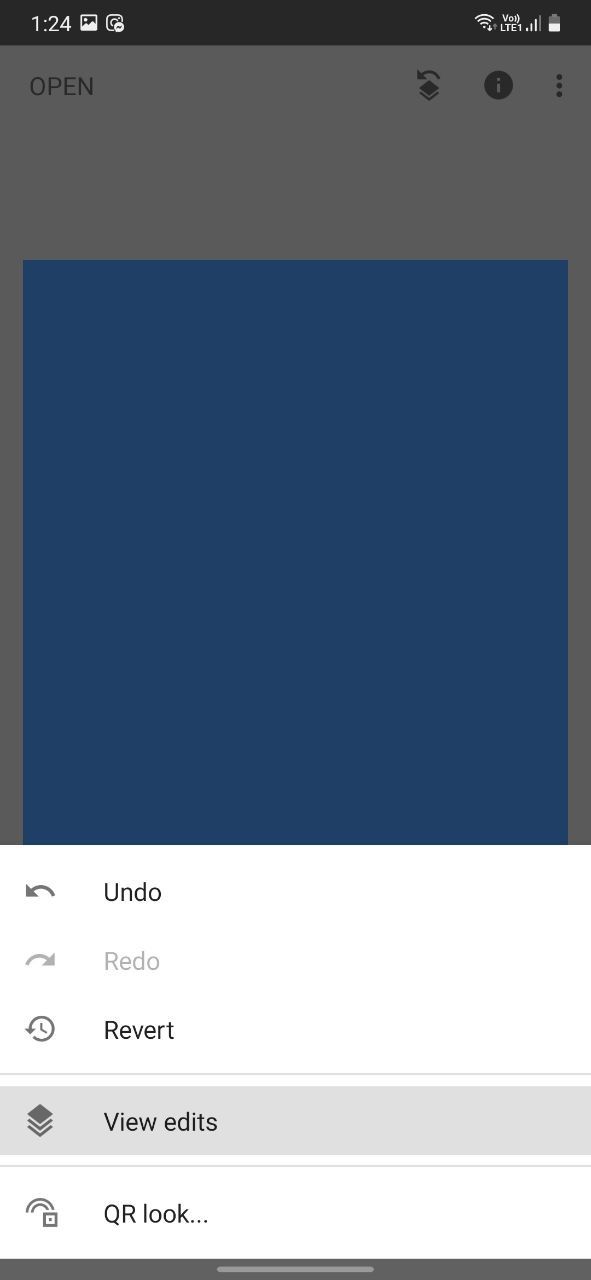
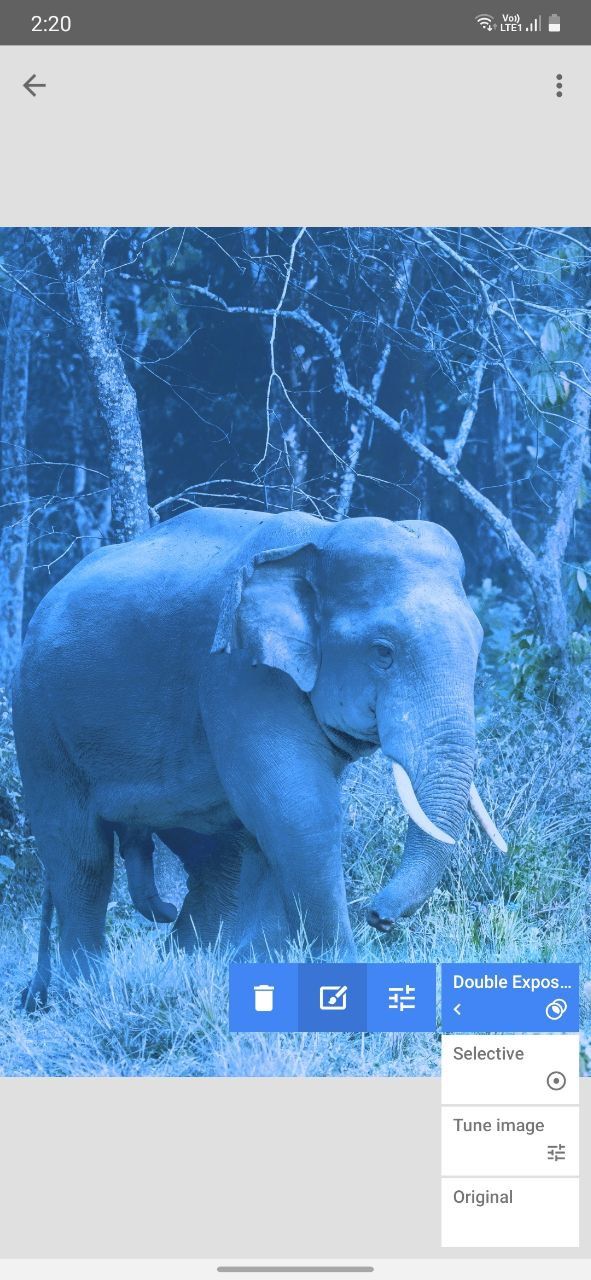
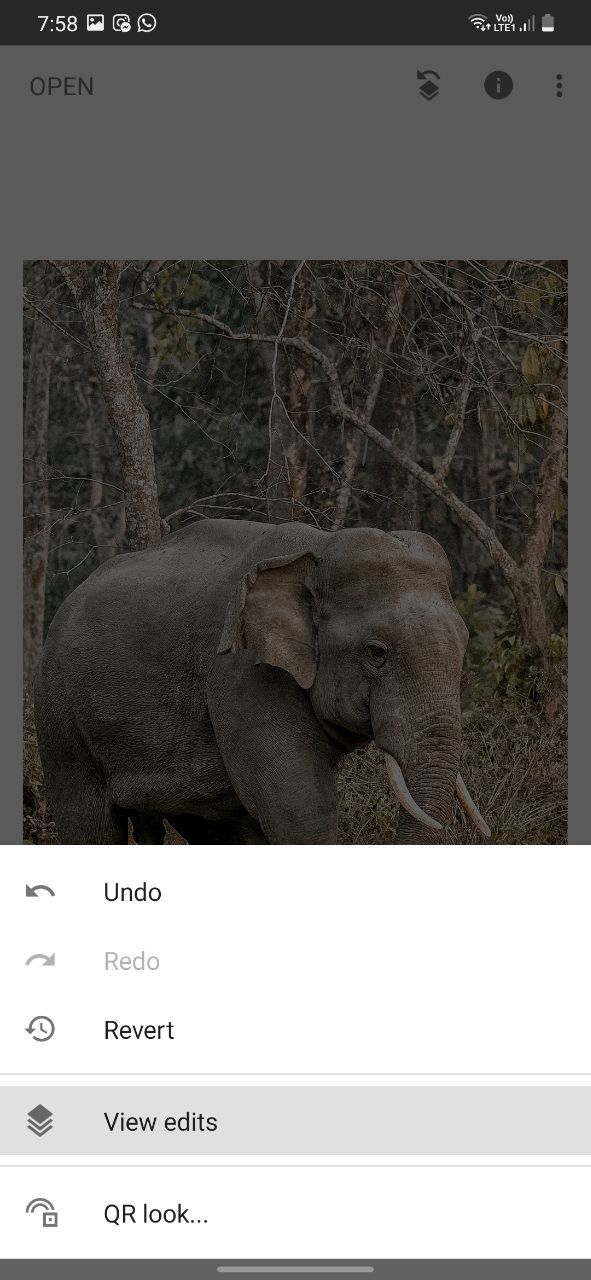
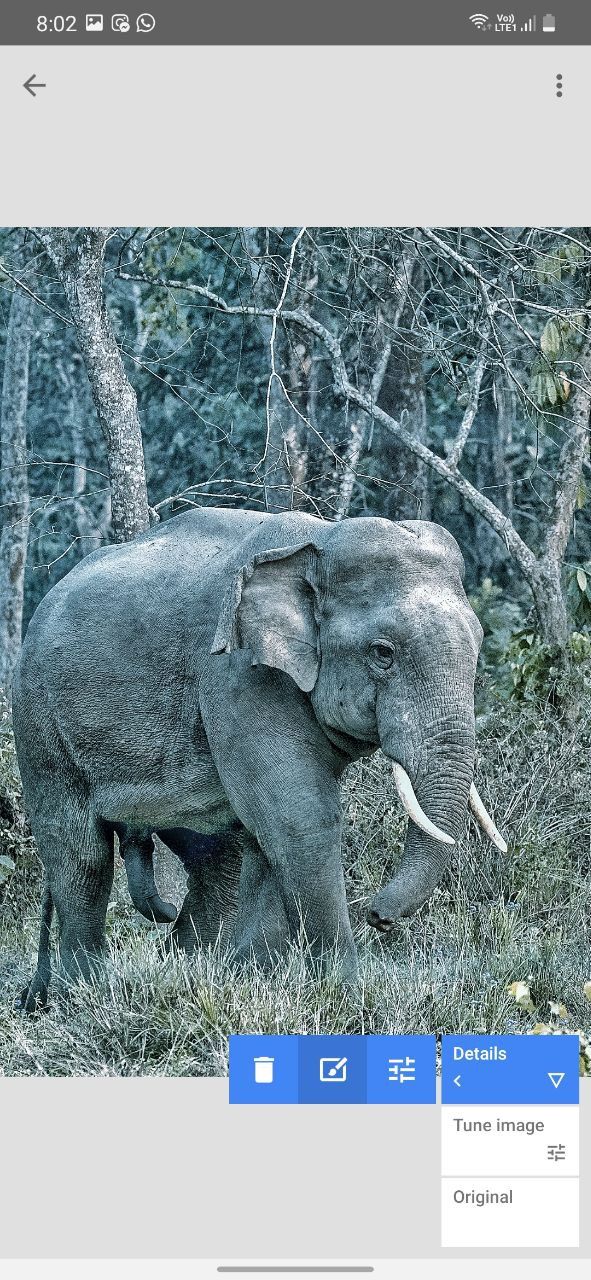
Go to theEdit stackoption and selectView edits.
Use theStack brushand selectively paint over the area you want to glow.
It will keep the details intact when you add the glow effect.
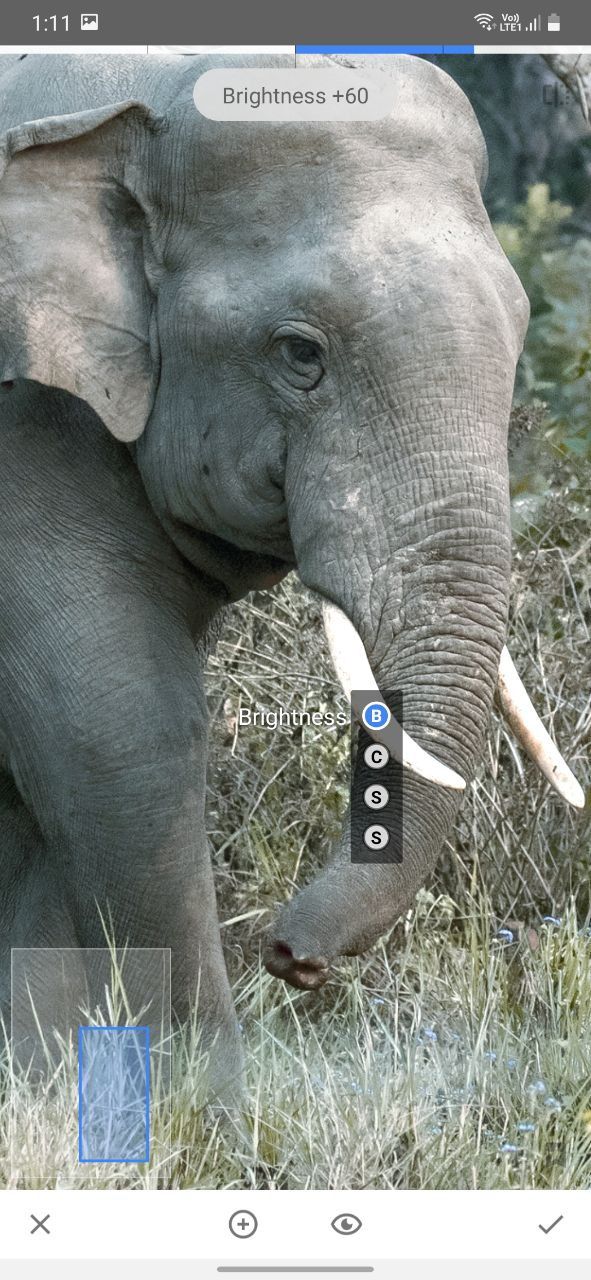
Go toTools>Selectiveand brighten up the parts you want to glow and darken the rest.
Tap on the part you want to glow, then adjust theCentre sizeby pinching in on your screen.
Increase theBrightness,Structure, andContrastof the region.
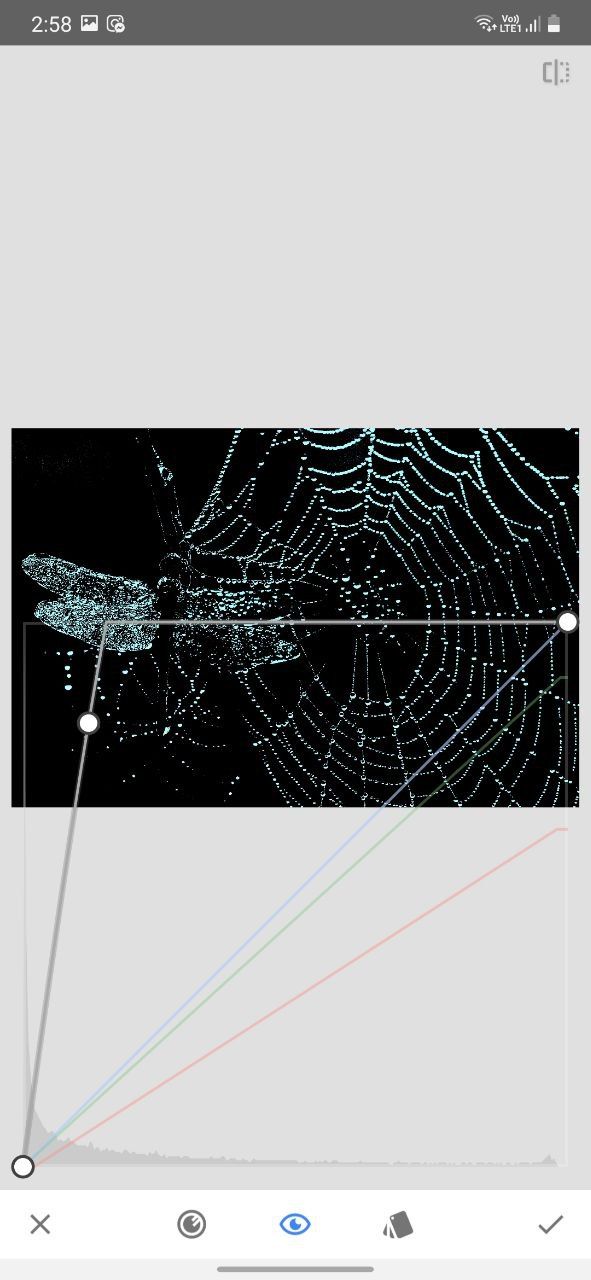
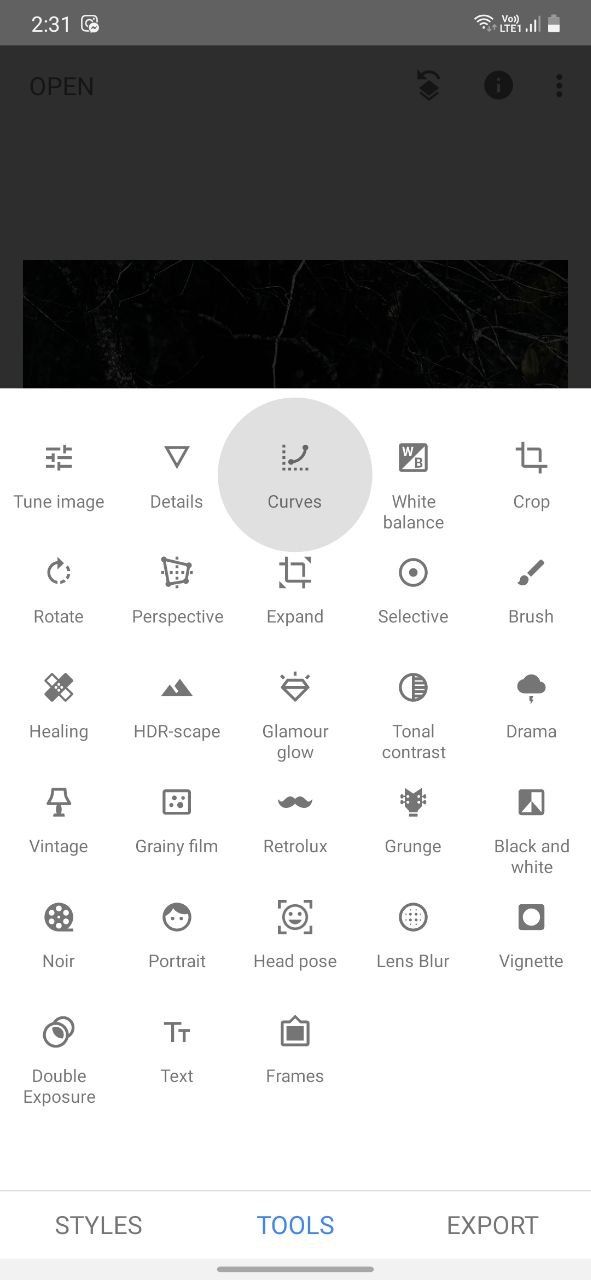
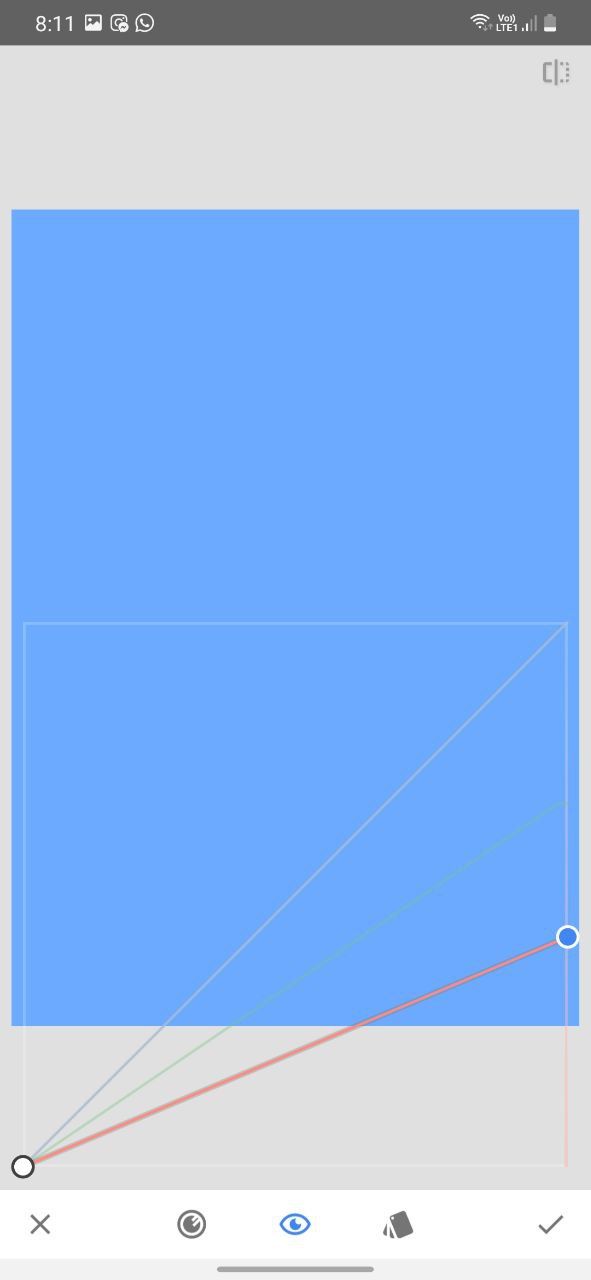
Go toTool>Curves.Here, while theRGBchannel is selected, bring the left pointer all the way up.
It will create a solid white color layer.
Tap on the tick mark to finalize the edit.
But you’re able to also make a different color.
Tap on the tick mark to finalize your edit.
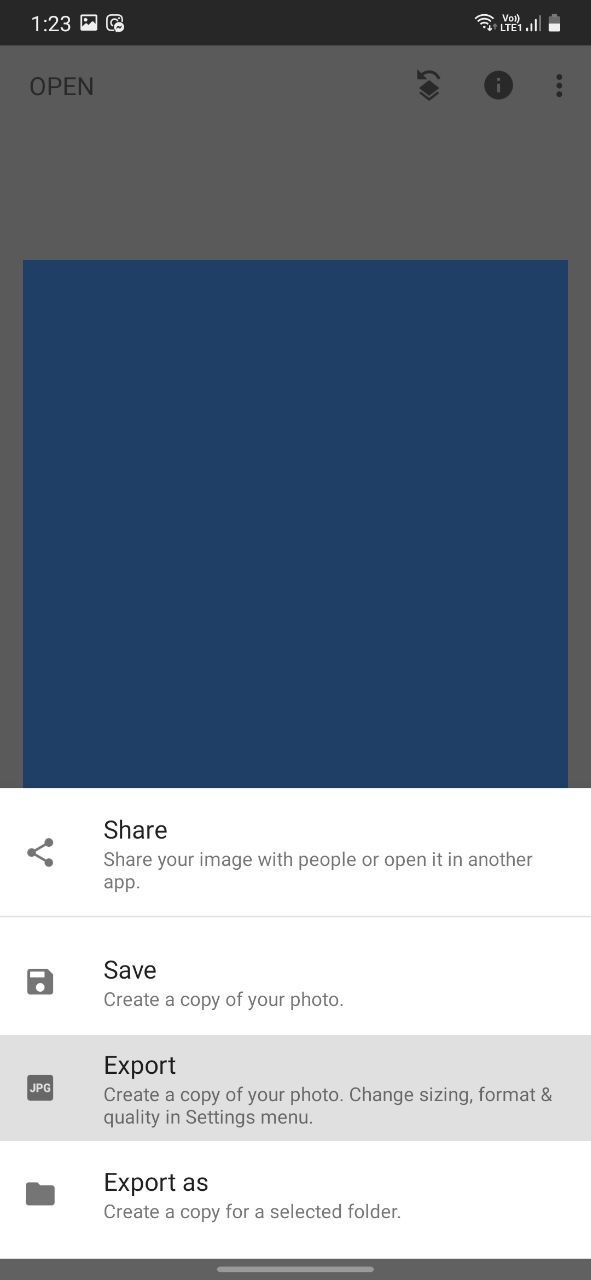
Tap onExportand againExportto save the solid color image.
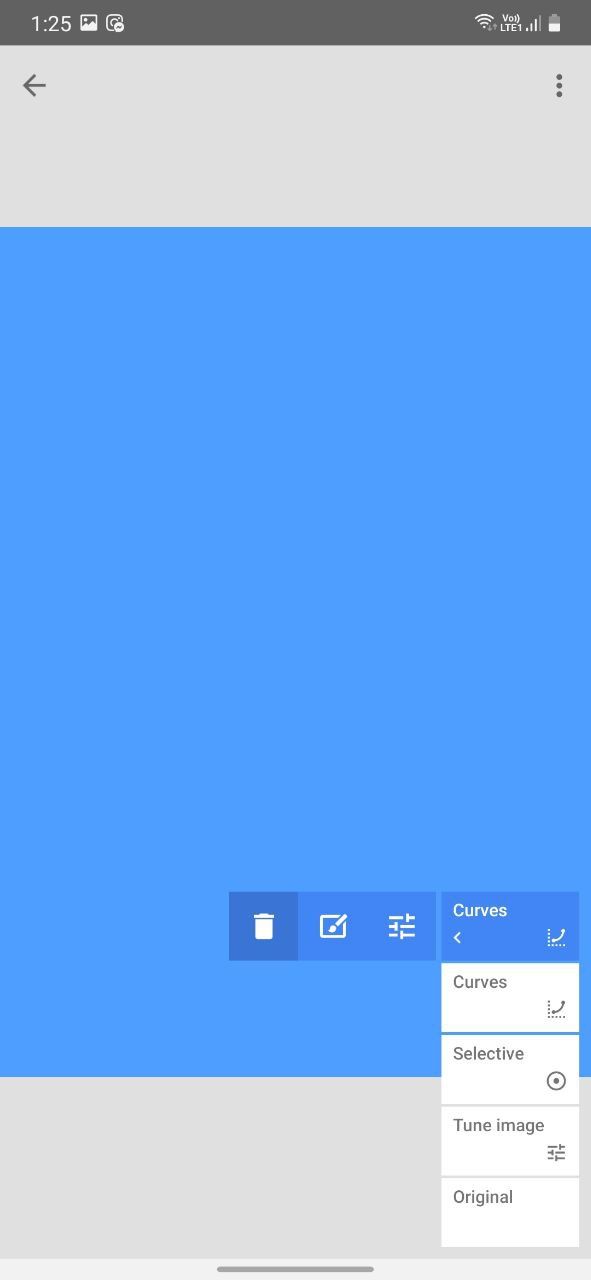
Go to theEdit stackoption and openView edits.
Delete the last two curve layers from here; you won’t need them anymore.

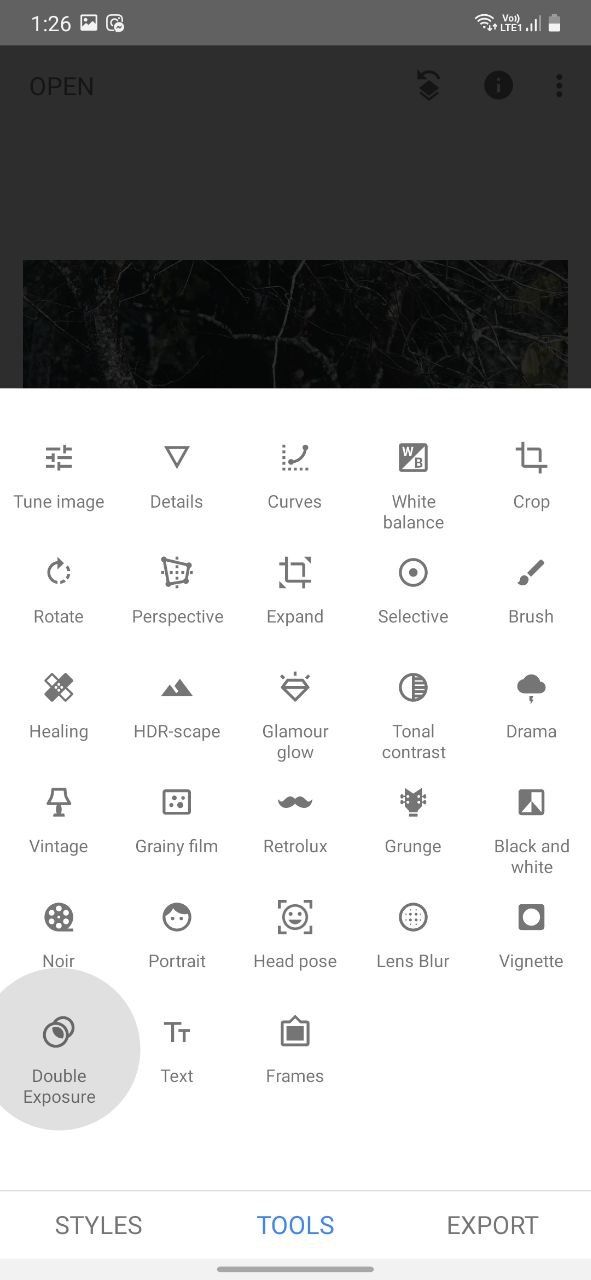
Go toTools>Double Exposure.
it’s possible for you to learn the Double Exposure tool in Snapseedin our detailed guide.
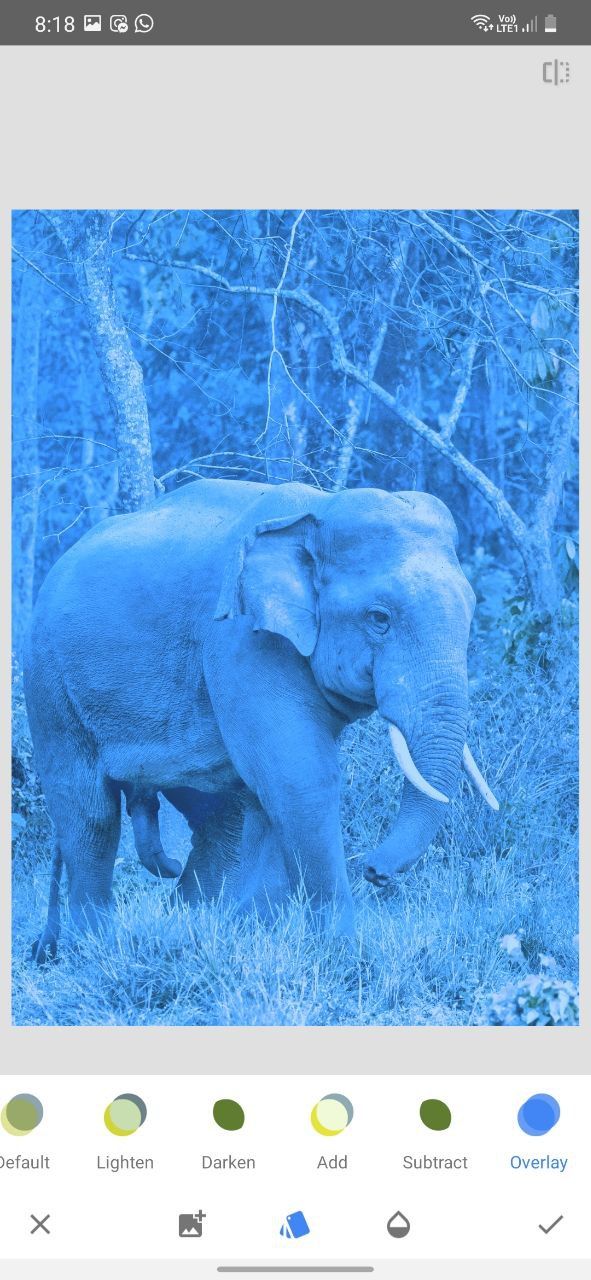
Tap on theOpen Imagebutton and add the blue solid color image you’ve just exported.
We’re increasing theOpacityuntil the tusks are blue.
Tap the tick mark.
Go to theEdit stackand openView edits.
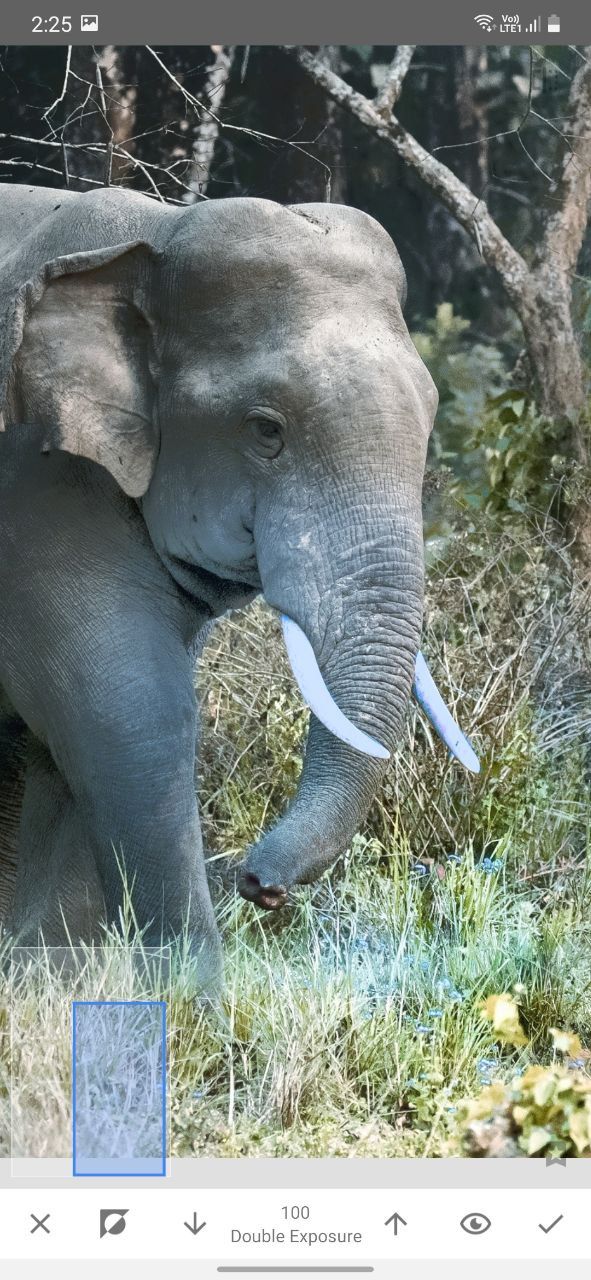
Tap on the lastDouble Exposureedit and open theStacks brush.
Now, neatly paint the area that you want to glow.
it’s possible for you to pinch out to zoom into the image for cleaner outlines.
Paint over the area that should be illuminated by the glow, and set theExposureto100%.
Repeat the last steps a few more times for a more vibrant color.
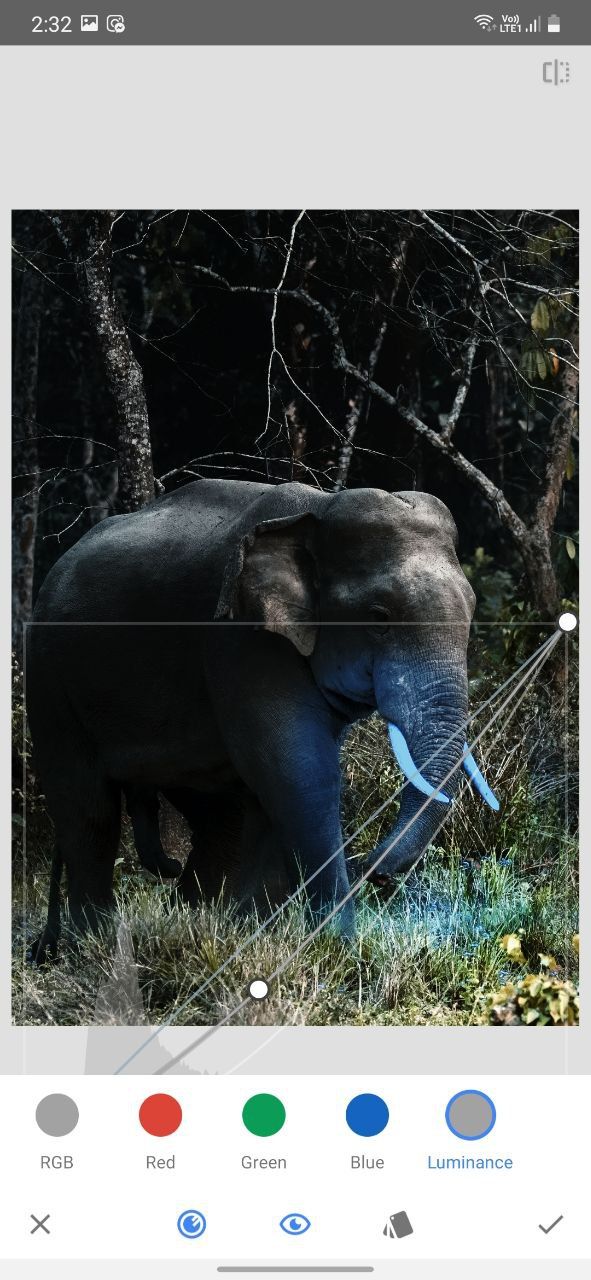
Go toTools>Curvesand bring down the curve for theRGBchannel and theLuminancelevel.

It will make the rest of the image darker.
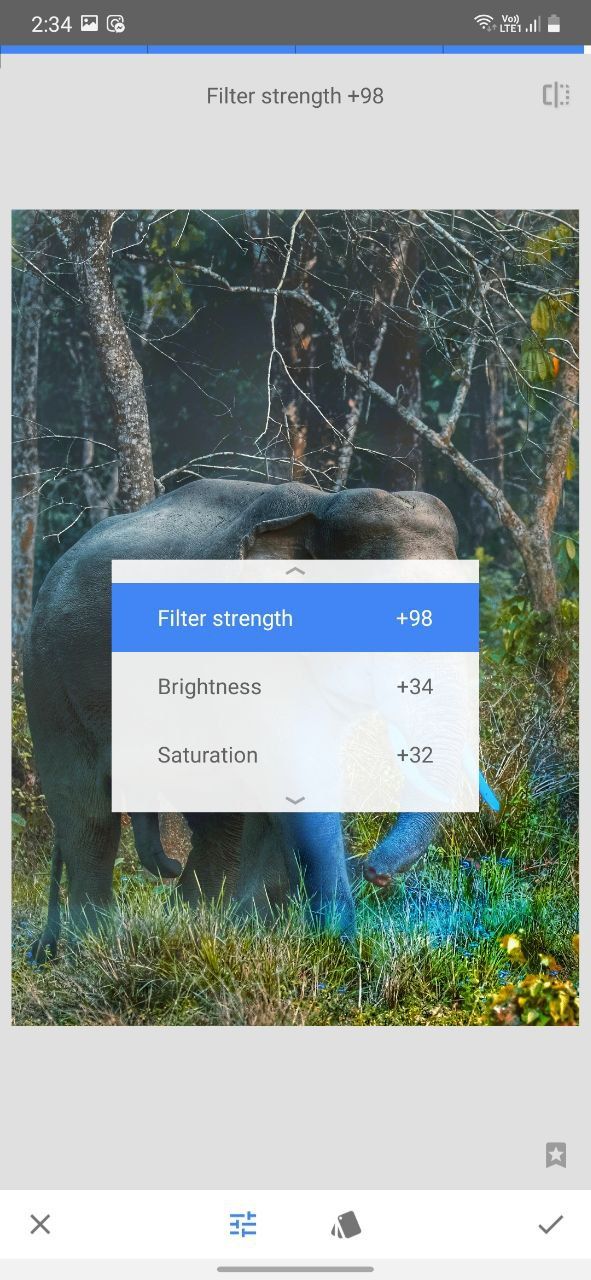
OpenTools, selectHDR-scape, and increase theFilter strength,Saturation, andBrightness.
Use theStack brushfromView editsagain to selectively paint over the area you want to be glowing.
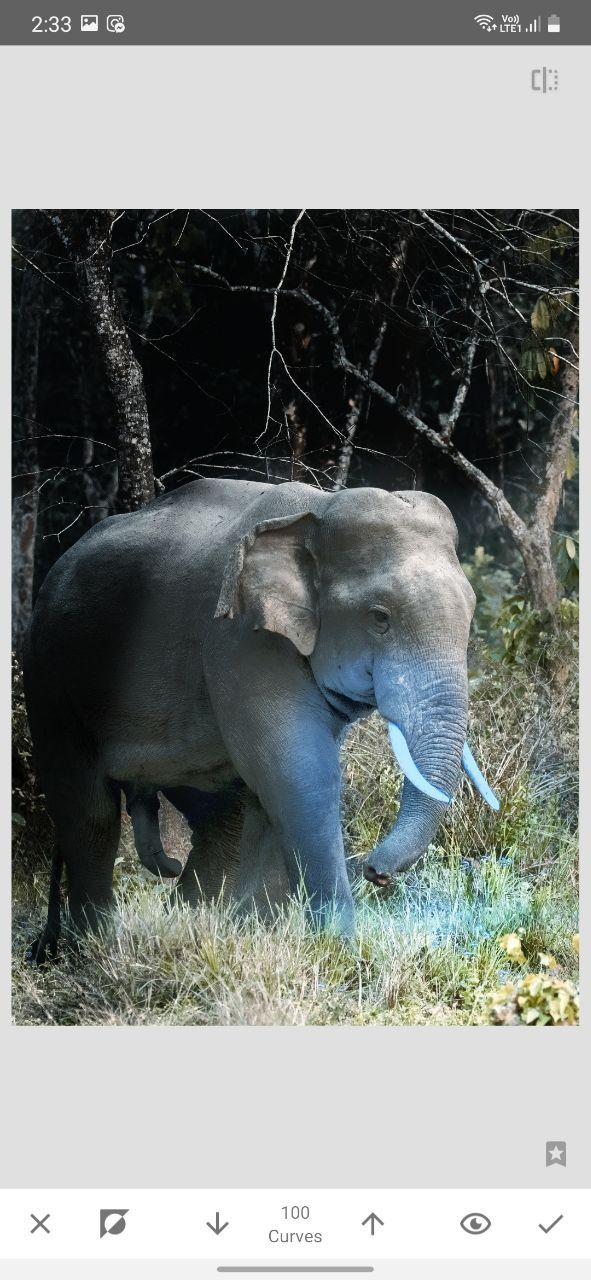
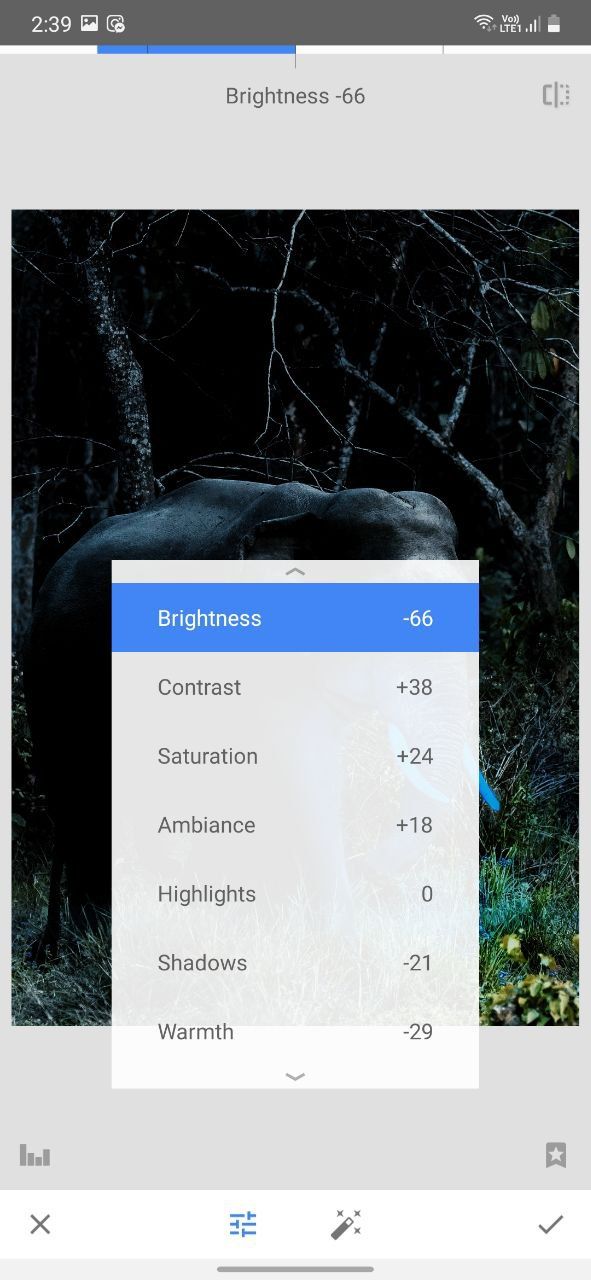
Lastly, fine-tune the image by going toTools>Tune Image.
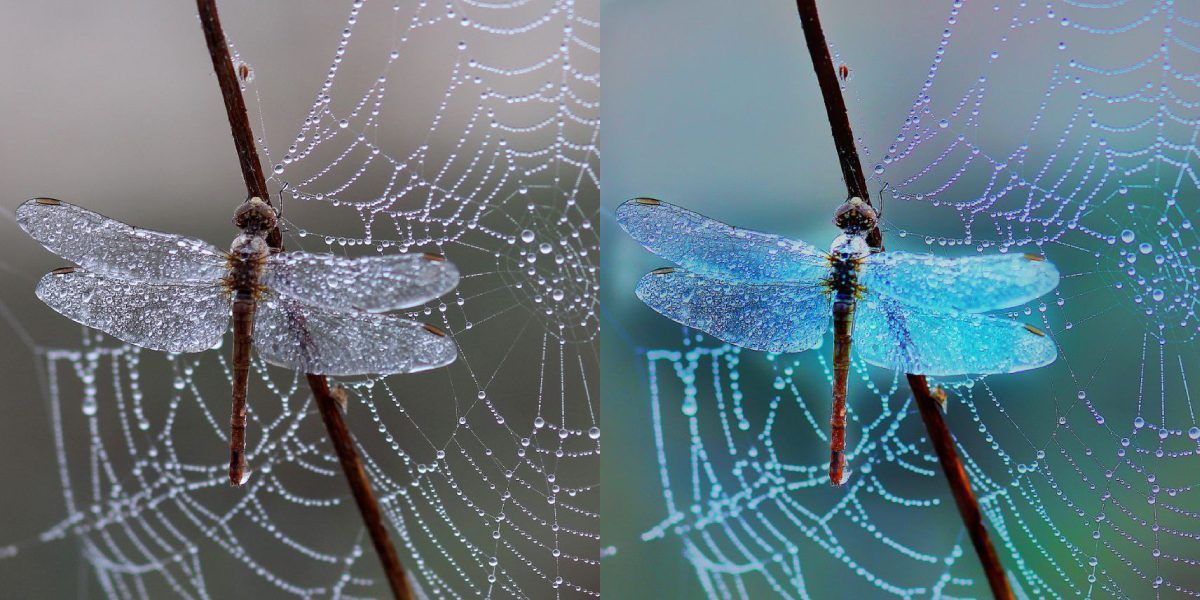
Make any final adjustments to make your image look as natural as possible.
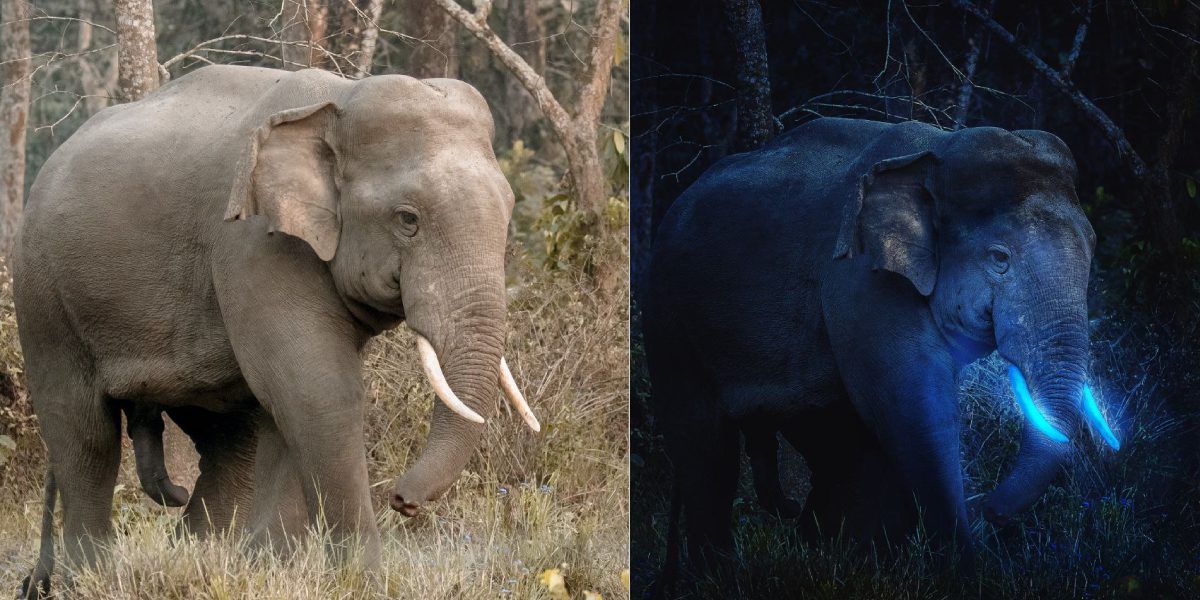
You have successfully added a neon glow effect to your image.
so you can use all the above tweaks effectively, see ourSnapseed photo editing tips guide.
However, every technique uses the same concepts mentioned in this article.
After adding your picture to the app, follow the below steps:
Go toCurvesand open theRGBchannel.
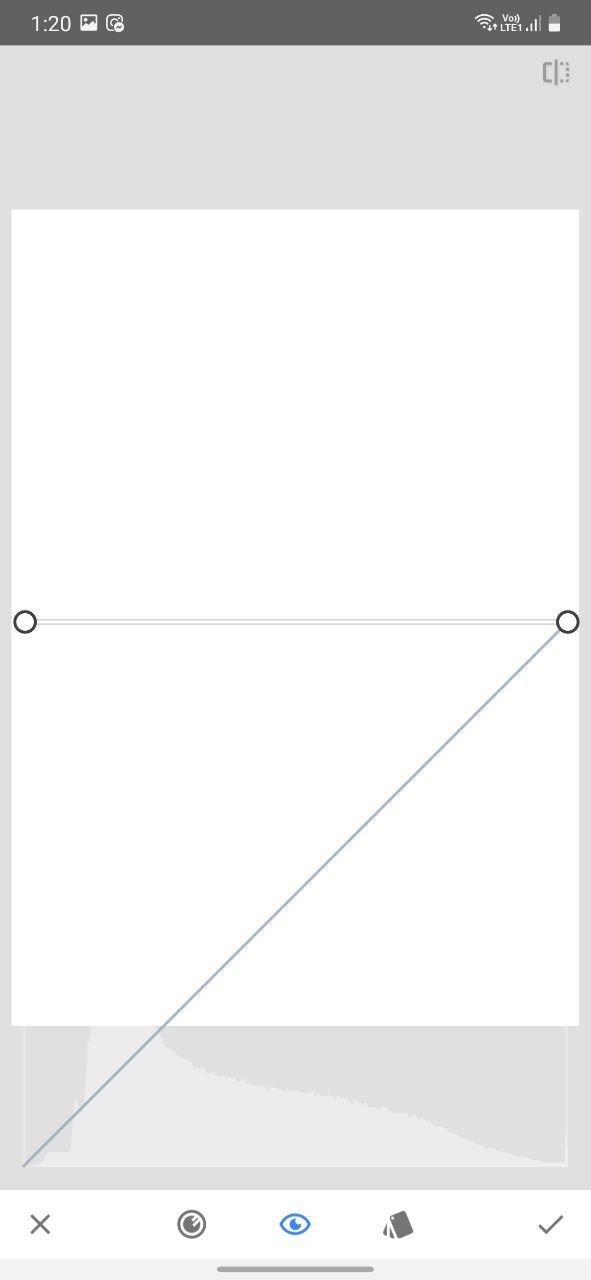
Bring the bottom-left pointer to the right without changing its vertical position.
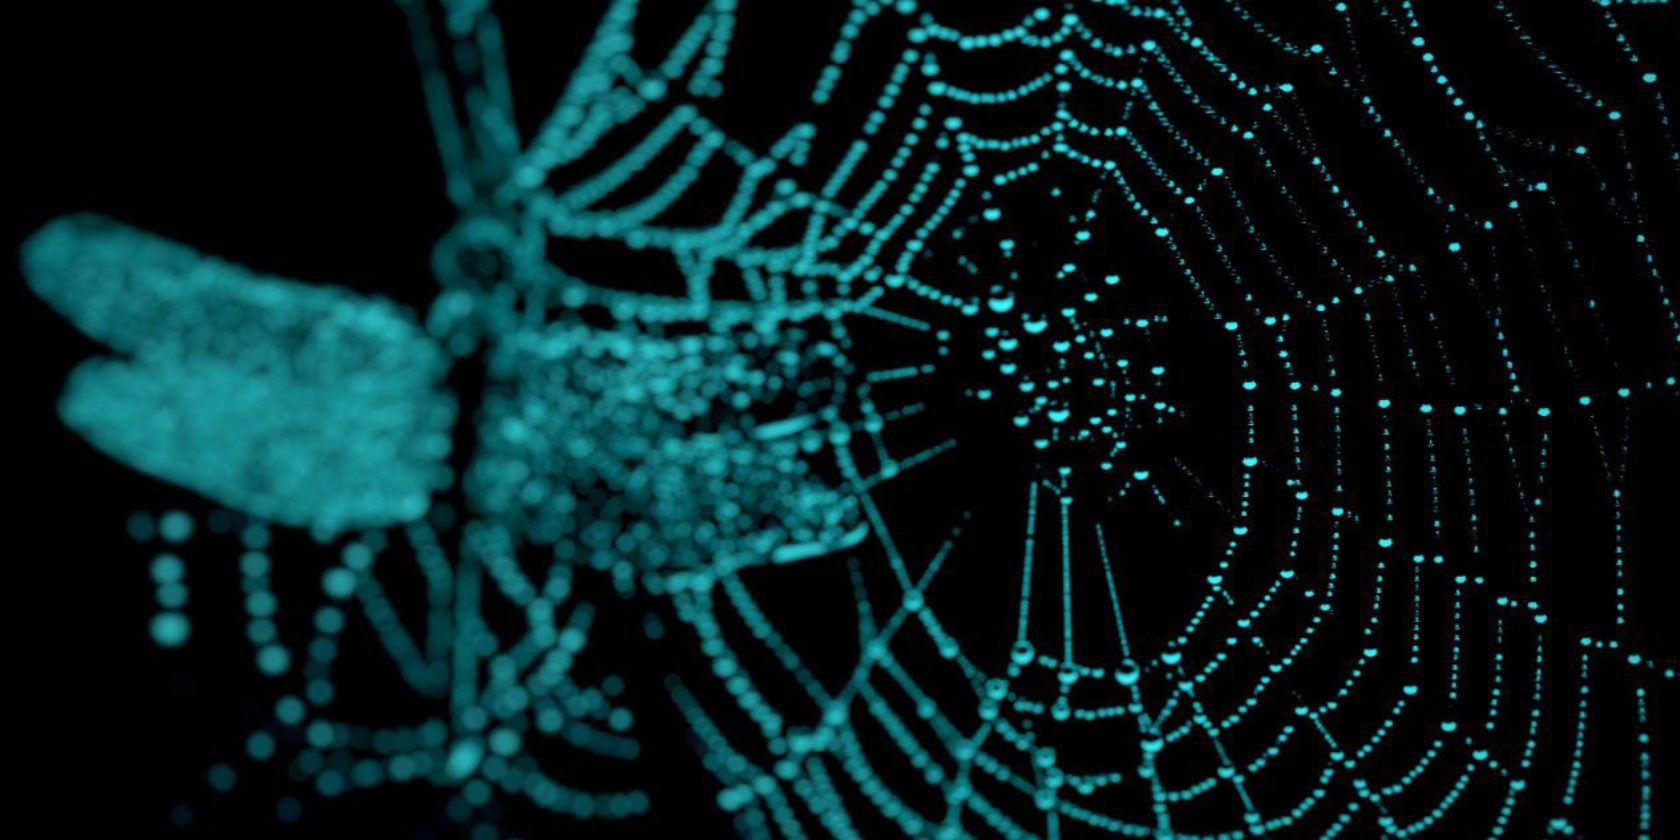
Similarly, bring the top-right pointer to the left to create a black-and-white silhouette image.
Go toCurvesand tweak theRed,Blue, andGreencolor channels to get the glow color you want.
The only downside to this technique is that you have to give up on some details.
In general, you want to brighten up the areas you want to be glowing and illuminated.
In contrast, darken the remaining parts for a natural look.
Treat your image’s glowing element as a light source and edit the nearby details accordingly.
The process is more time-consuming and less neat in comparison to doing the same thing in Photoshop.