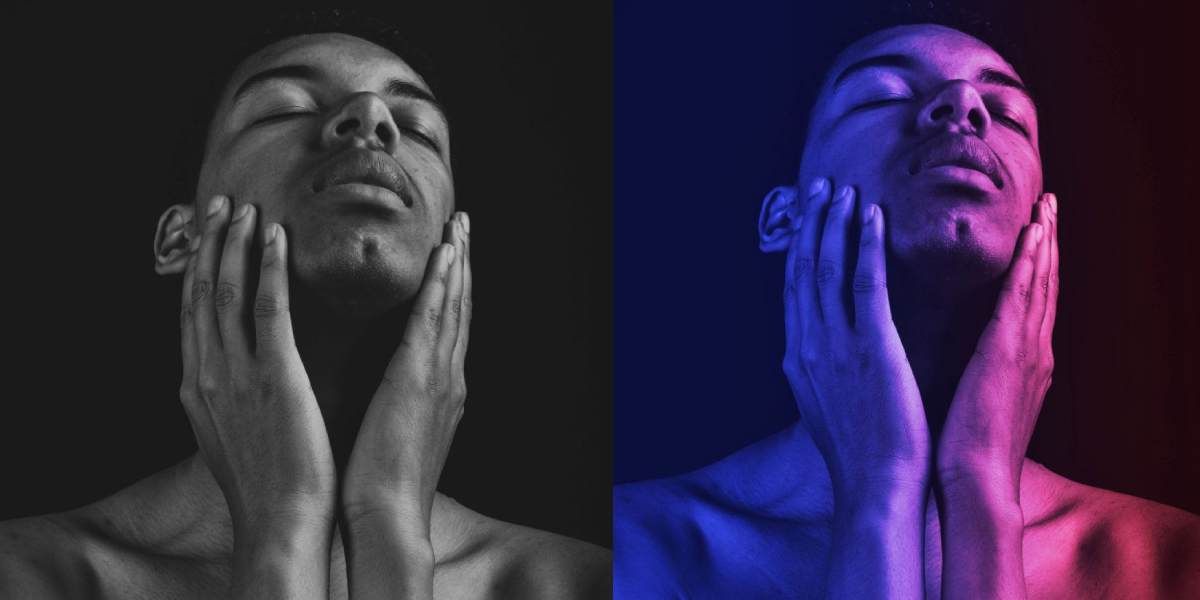
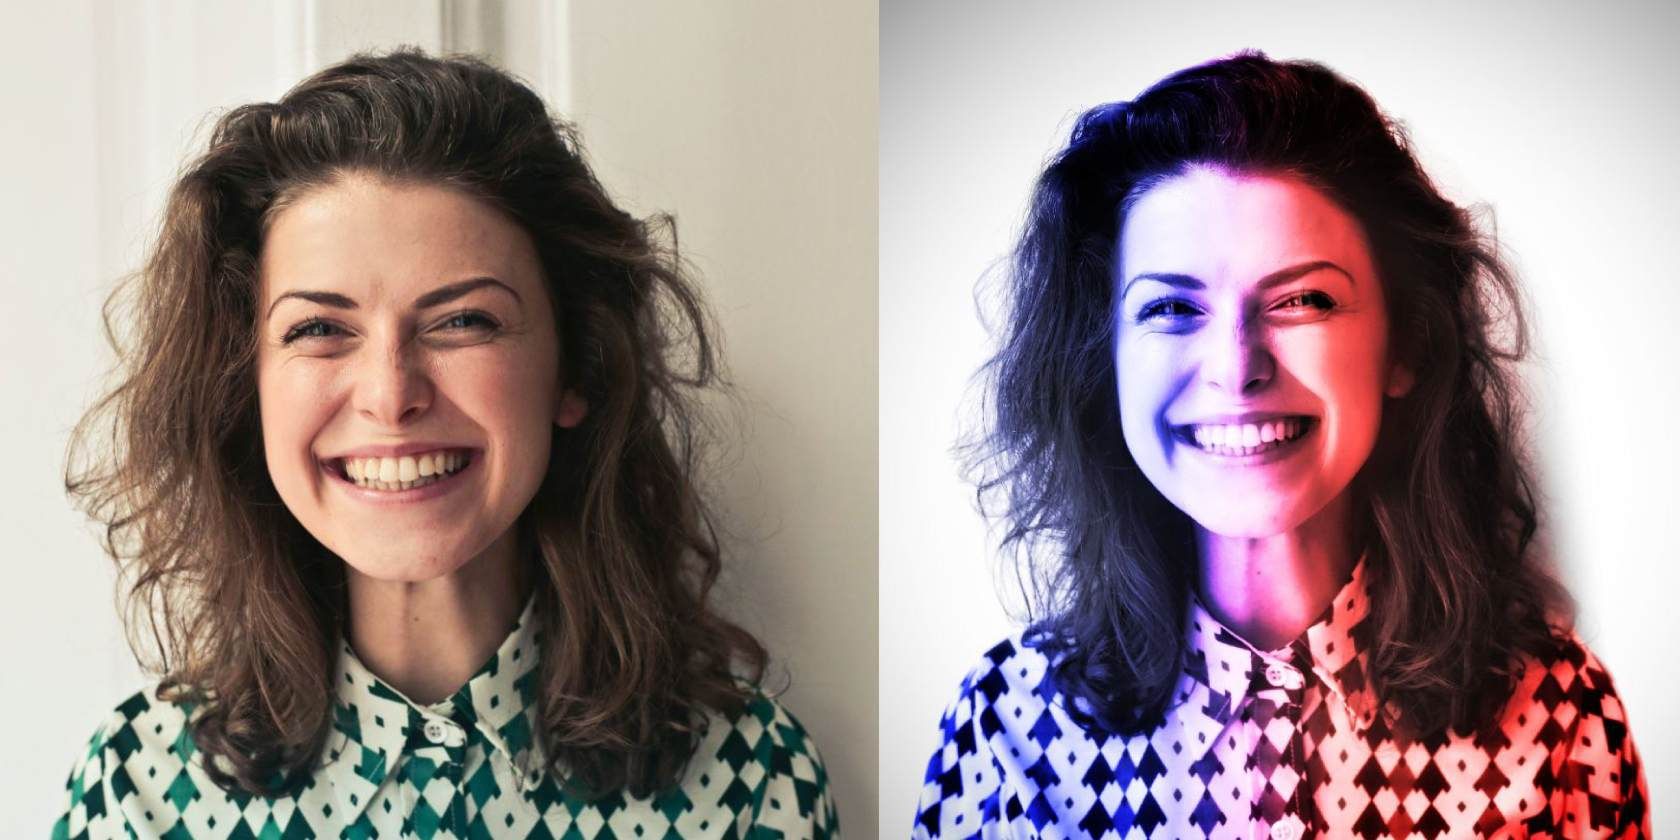
Let’s show you how to create a dual tone effect for your portraits using Snapseed.
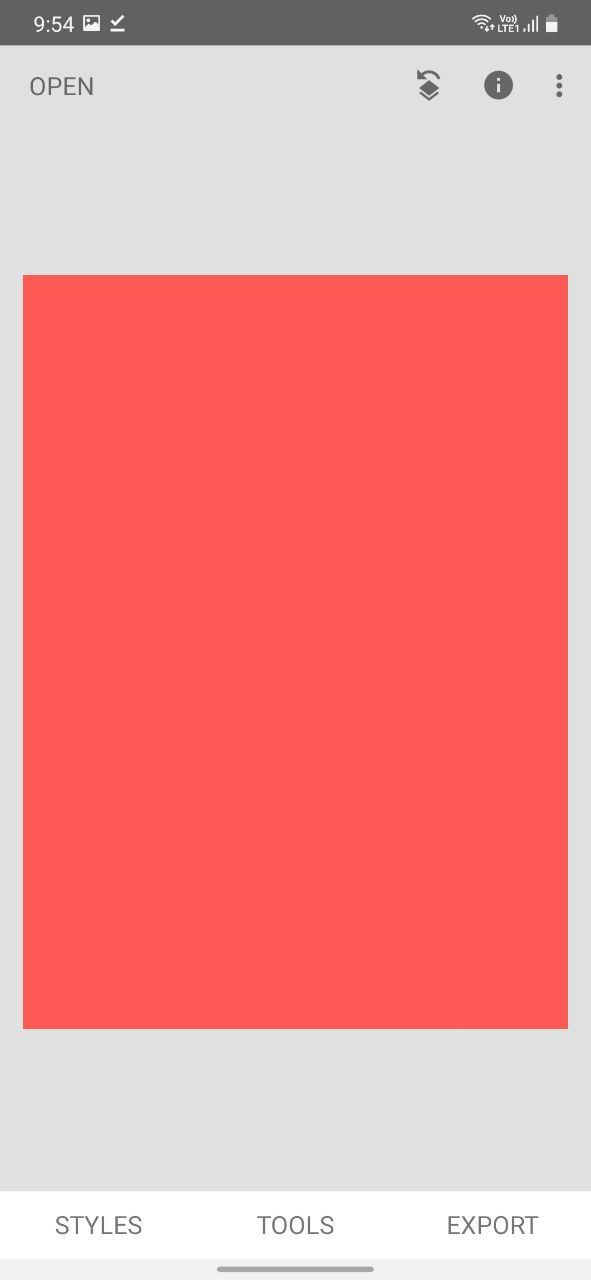
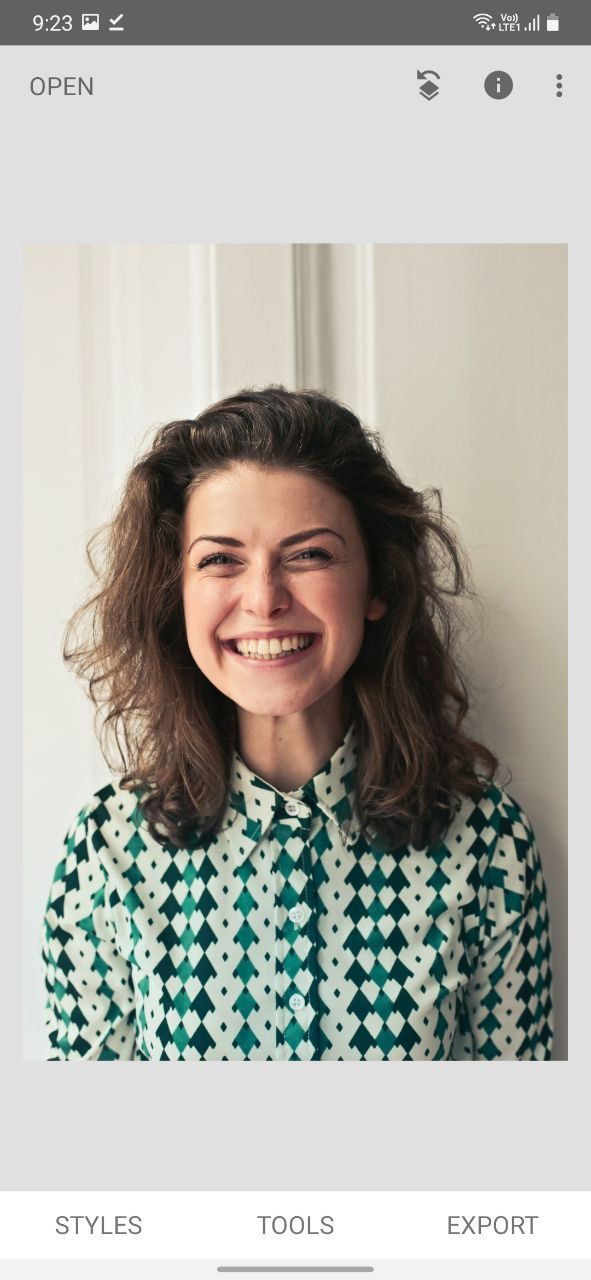
Open Snapseed and import your image by tapping anywhere on the screen.
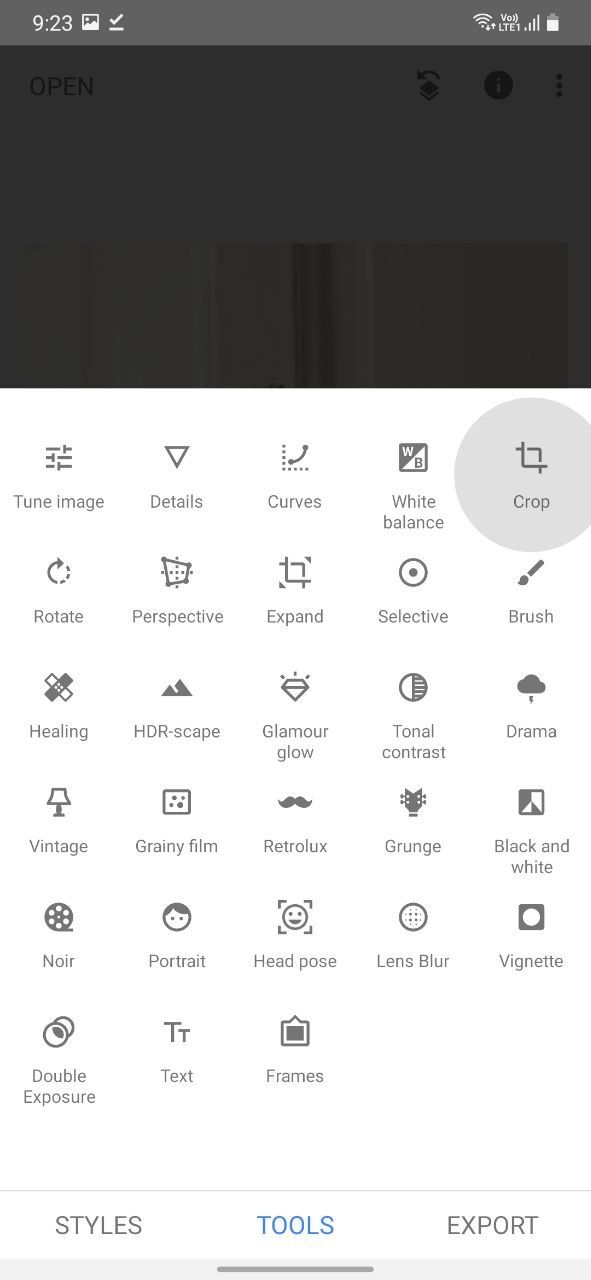
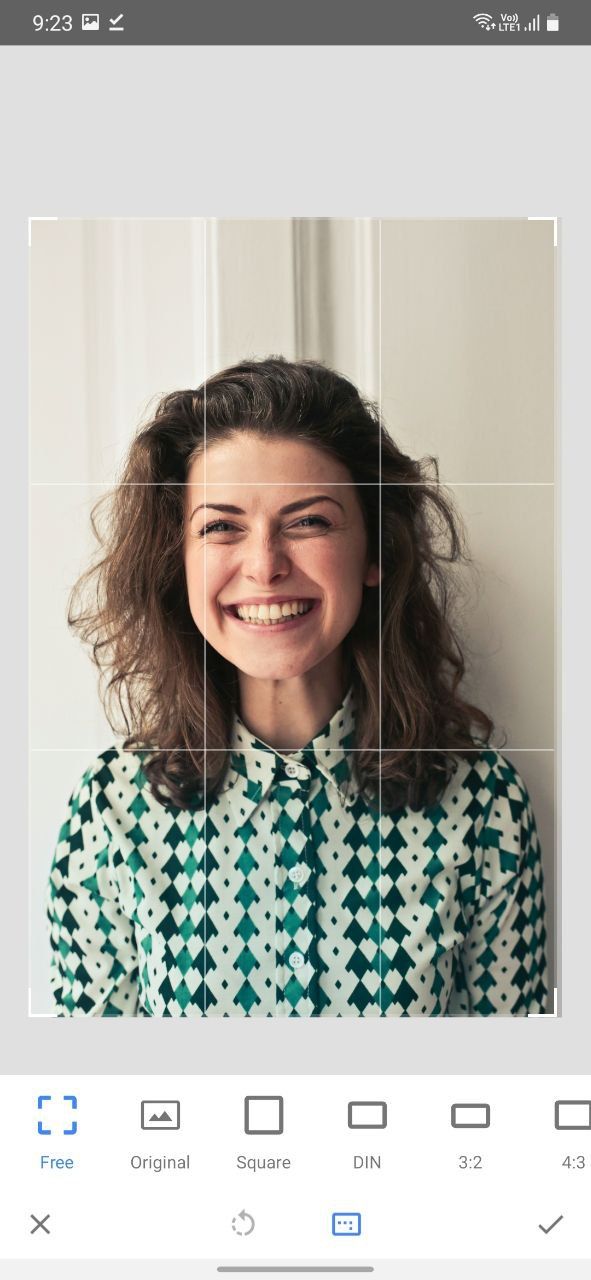
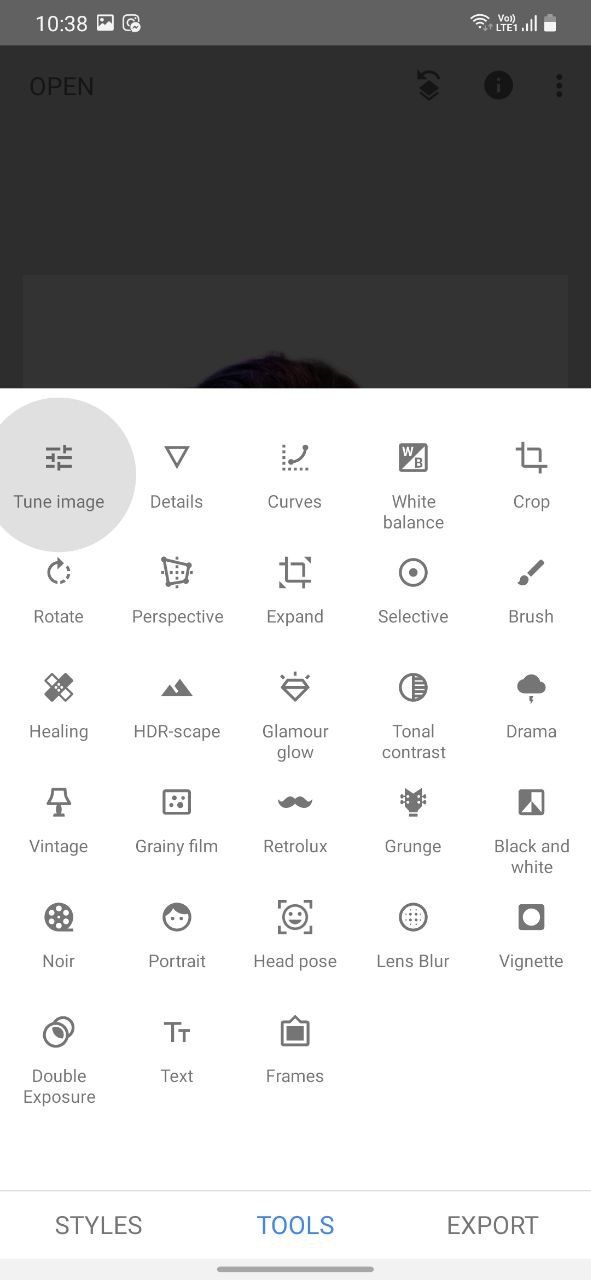
Go toTools>Crop.
Hit the tick mark once you are satisfied.
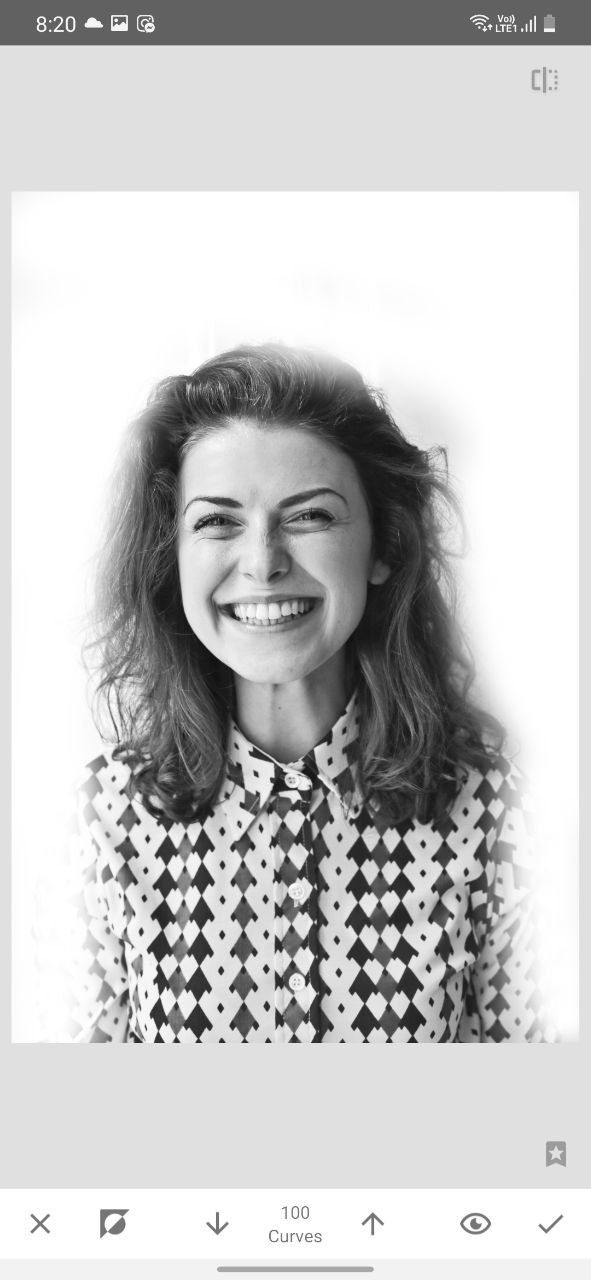
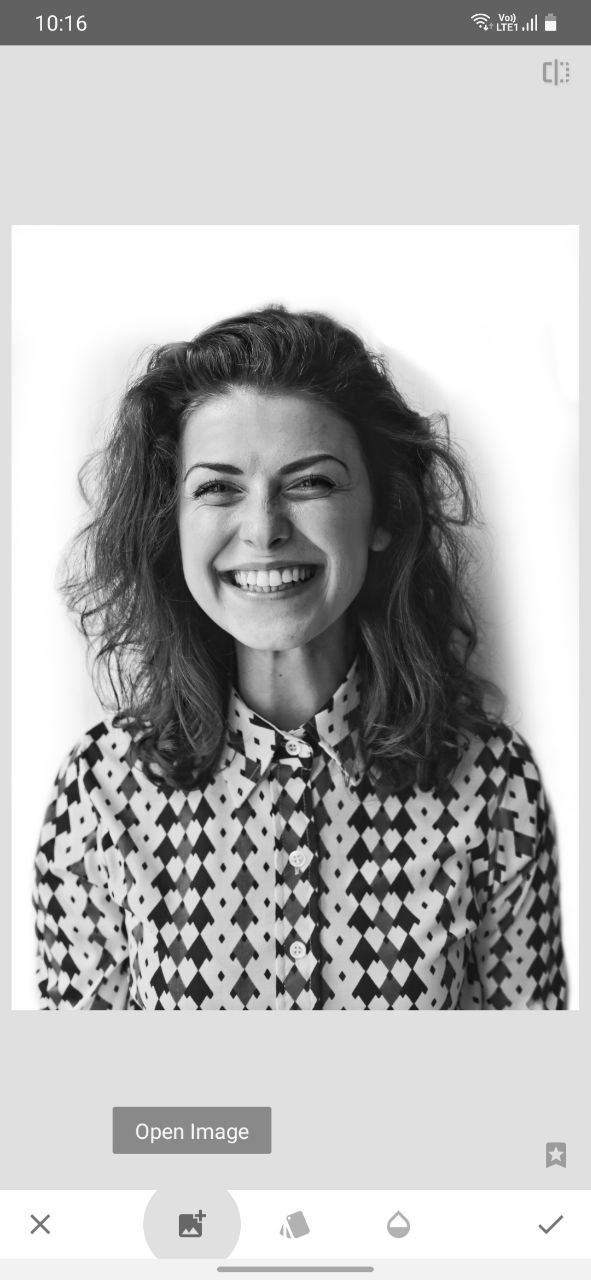
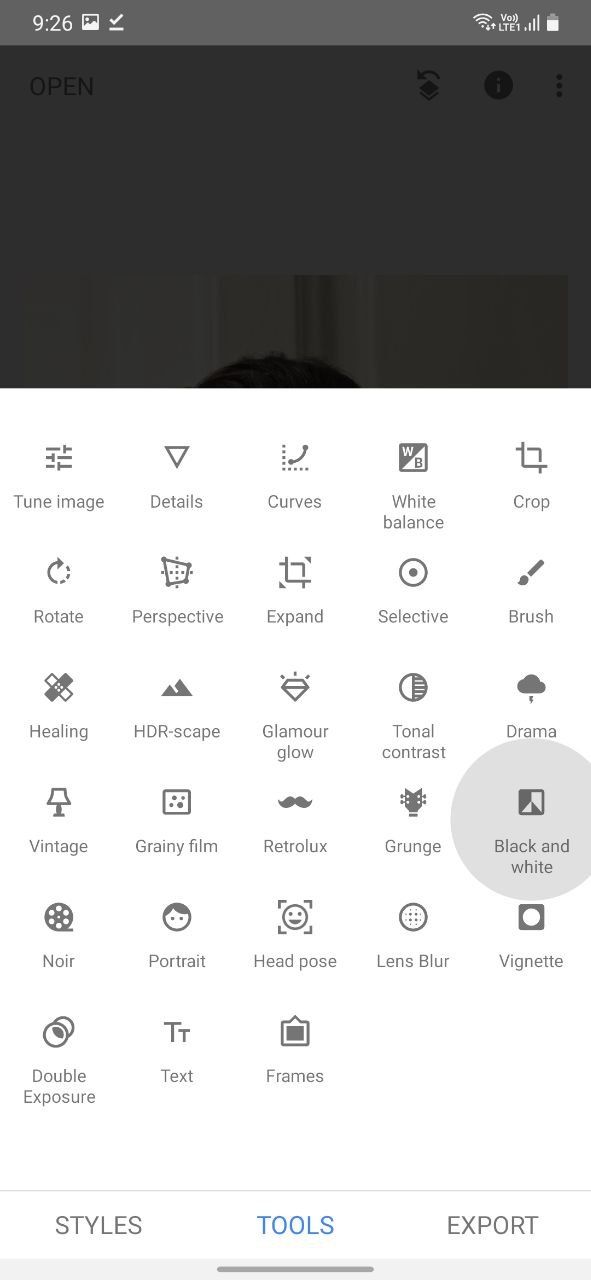
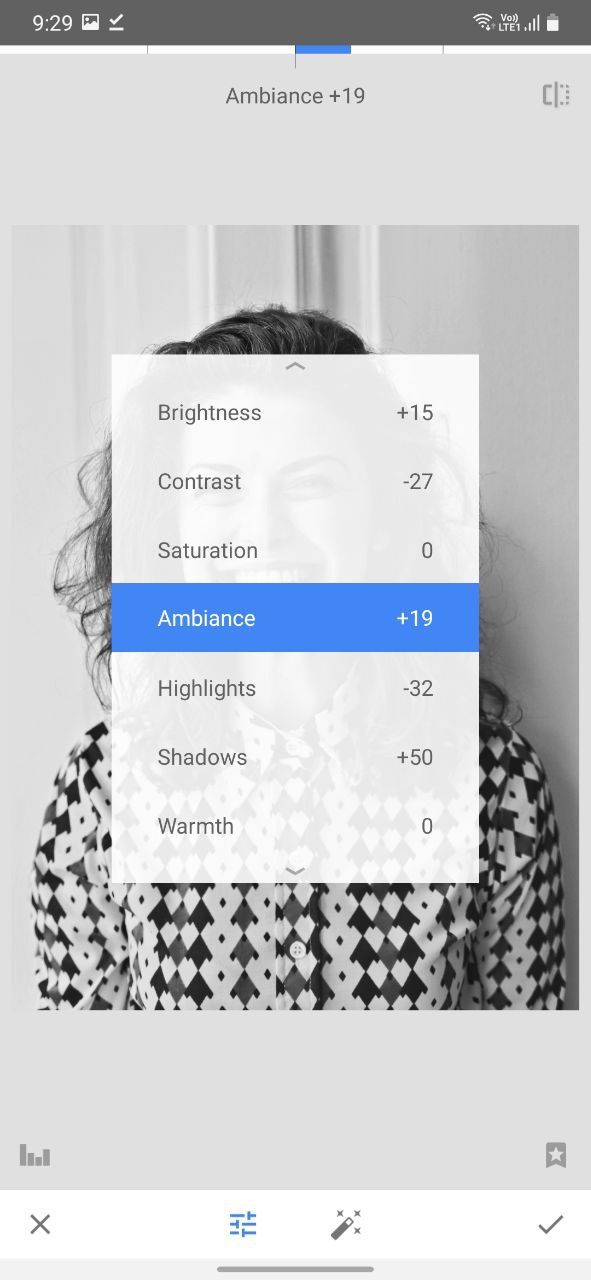
OpenTools>Black and white.
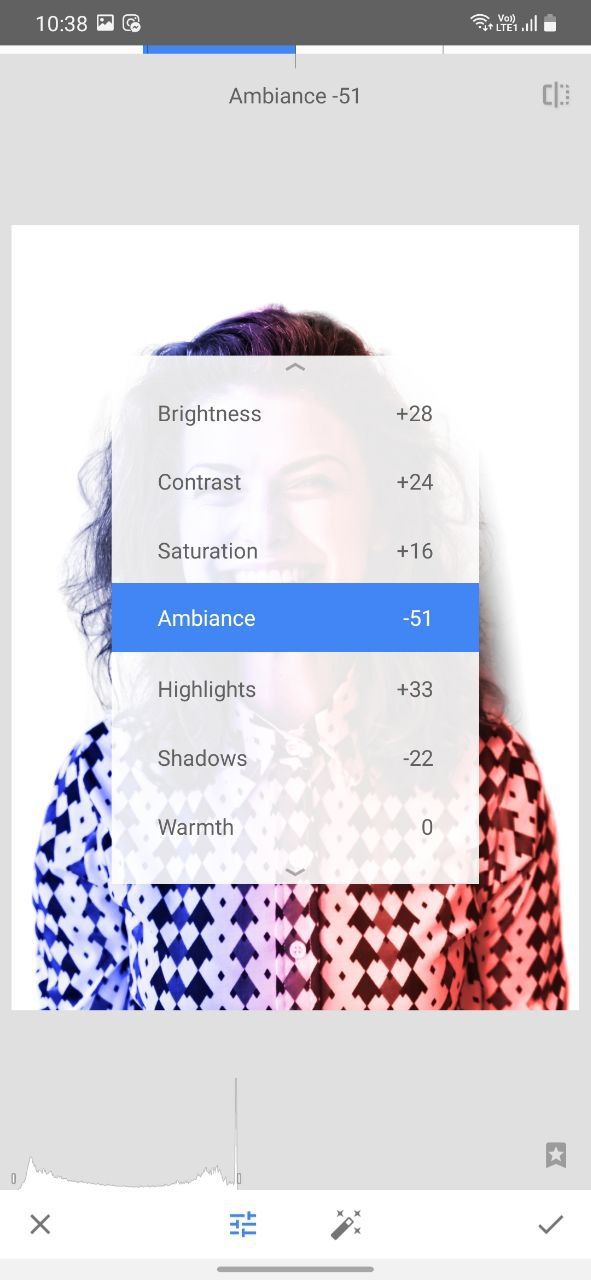
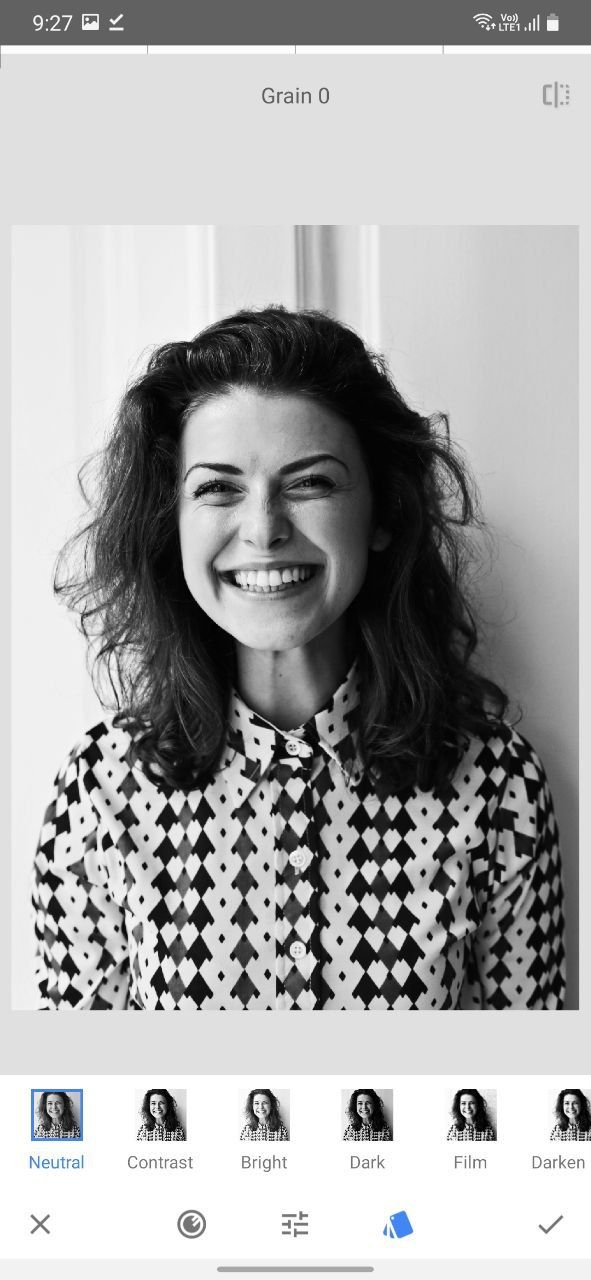
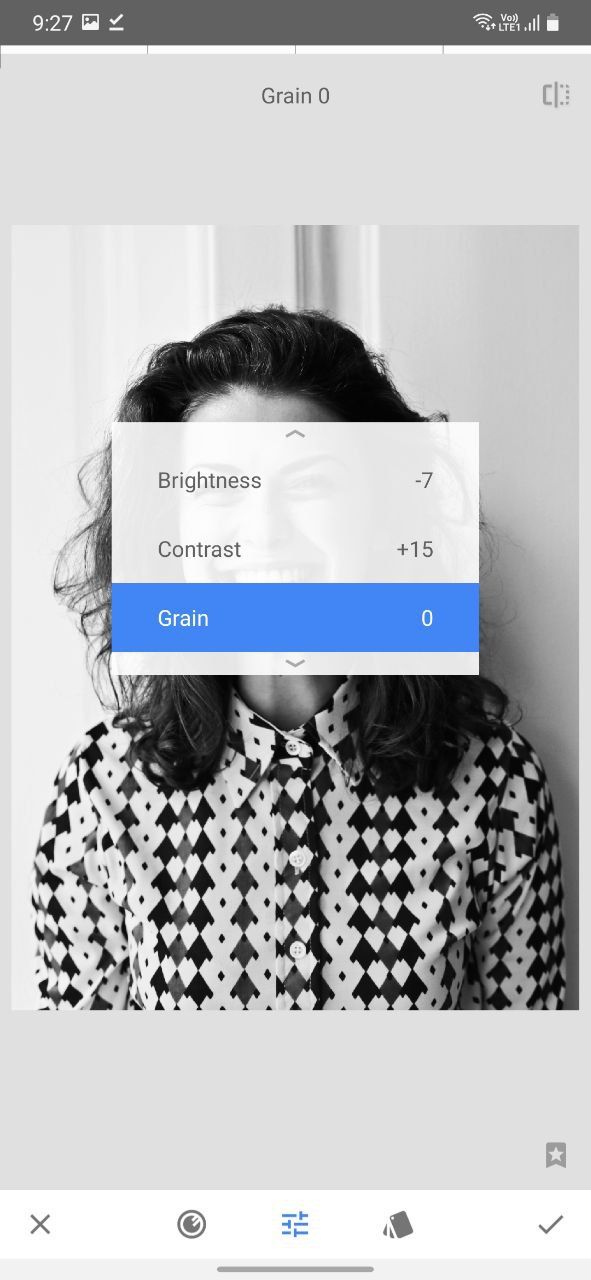
Select theNeutral Styleand adjust theBrightnessandContrastof your image to highlight the facial expressions.

Tap on the tick mark to confirm your edit.
For our example, it is better to make the background white.
Tap on the tick mark to save the edit.
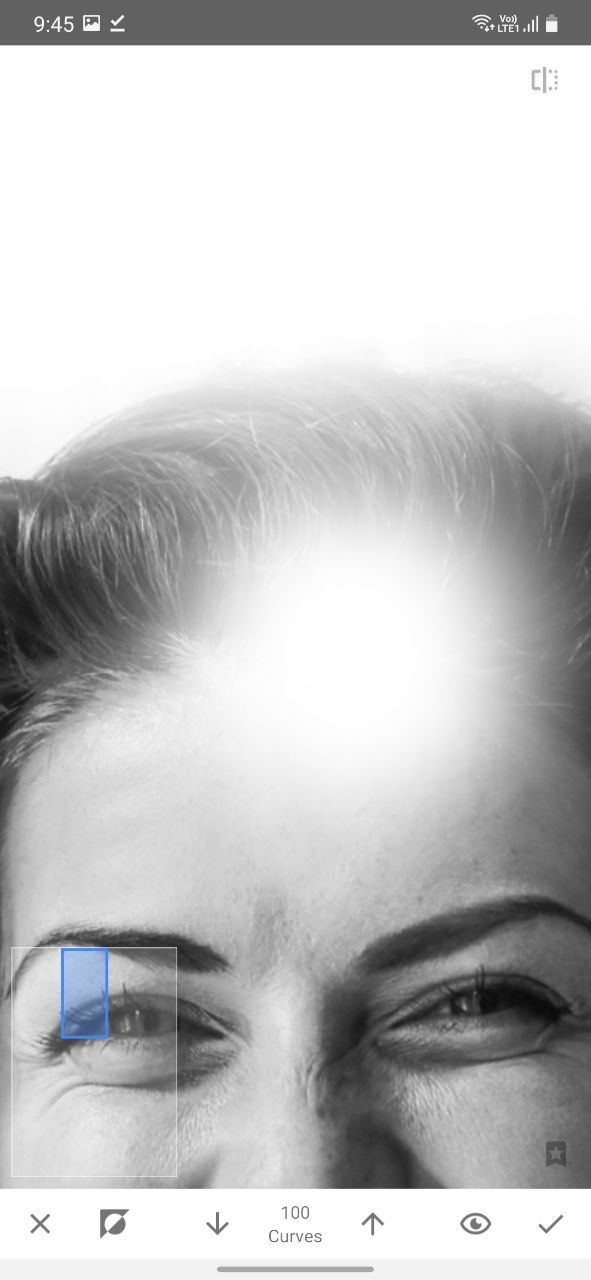
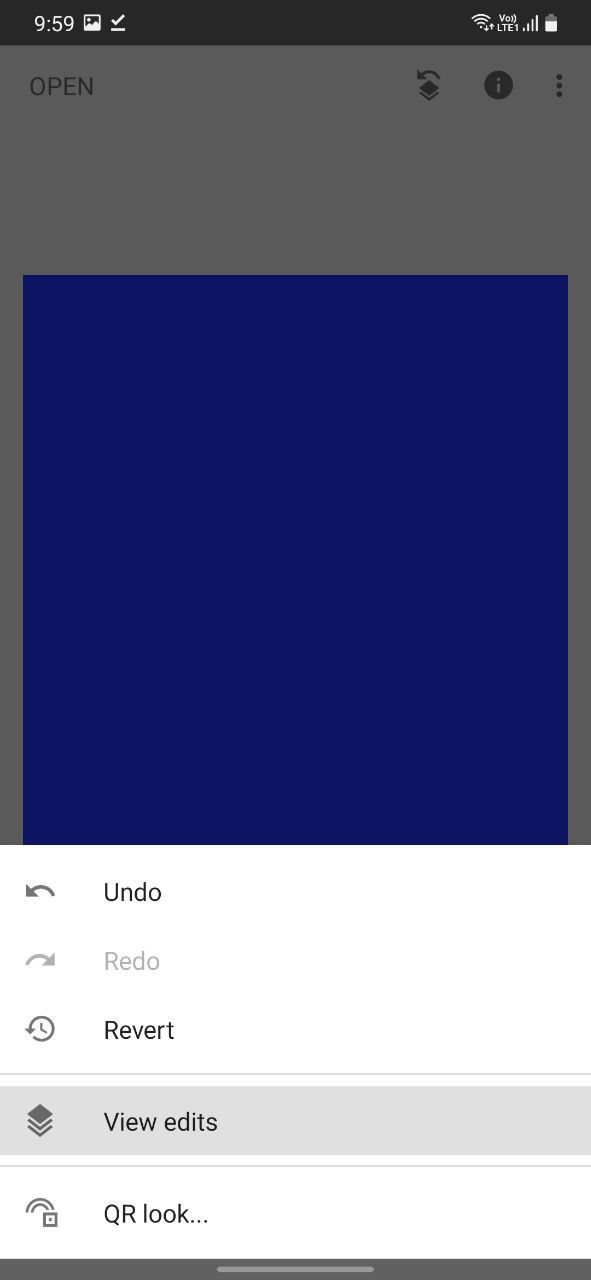
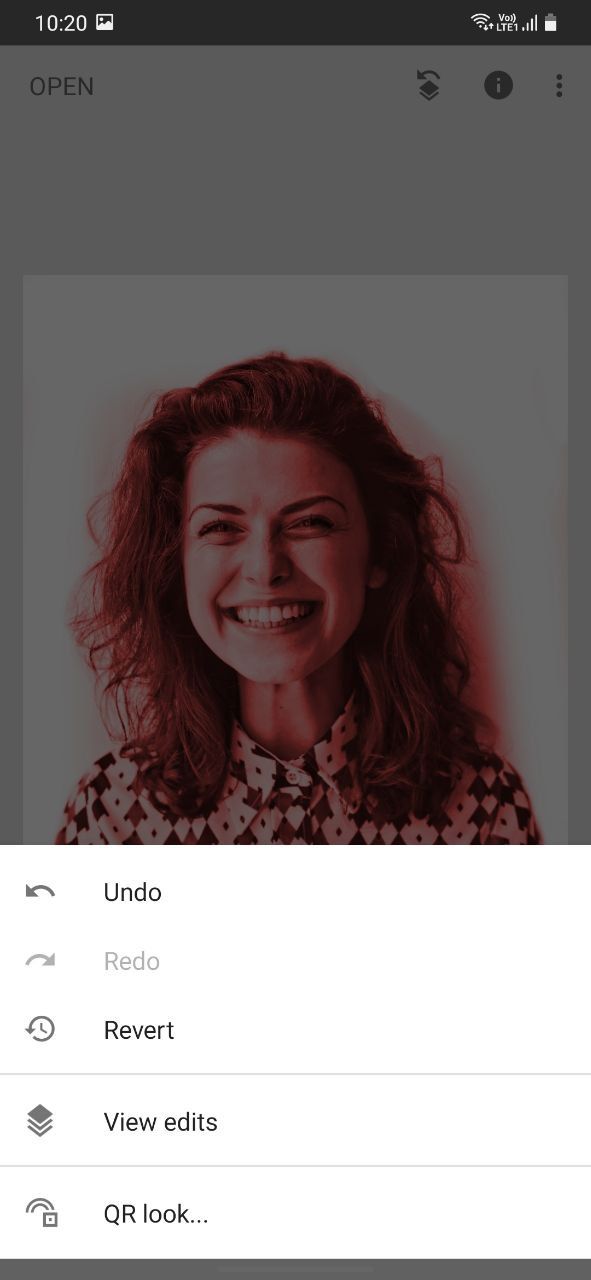
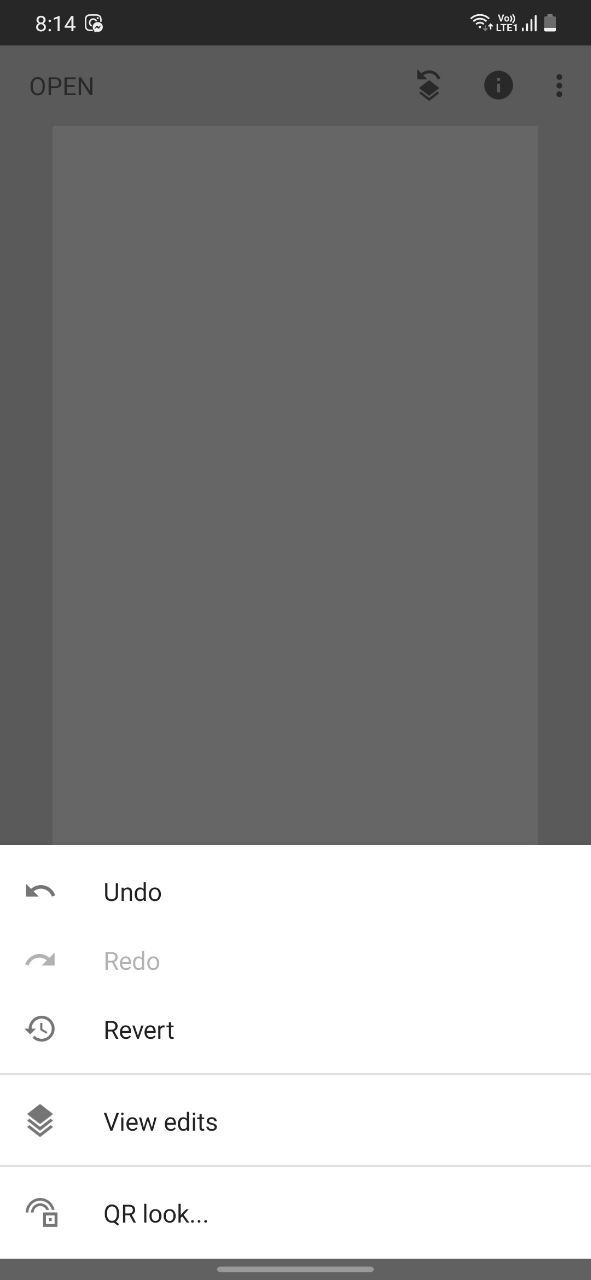
Go toEdit stack, openView edits, tap on the last layer, i.e.Curves, and select theStack brush.
Selectively paint over the background area you want to remove with the brush strength set to100.
For instance, retaining the hair details and shirt outline in our sample picture would be best.
The above steps would allow you to add the dual tone effect to your image effectively.
If you find removing the background challenging, try one of thesesmartphone apps that will remove the backgroundfor you.
Tap the tick mark to save the edit.
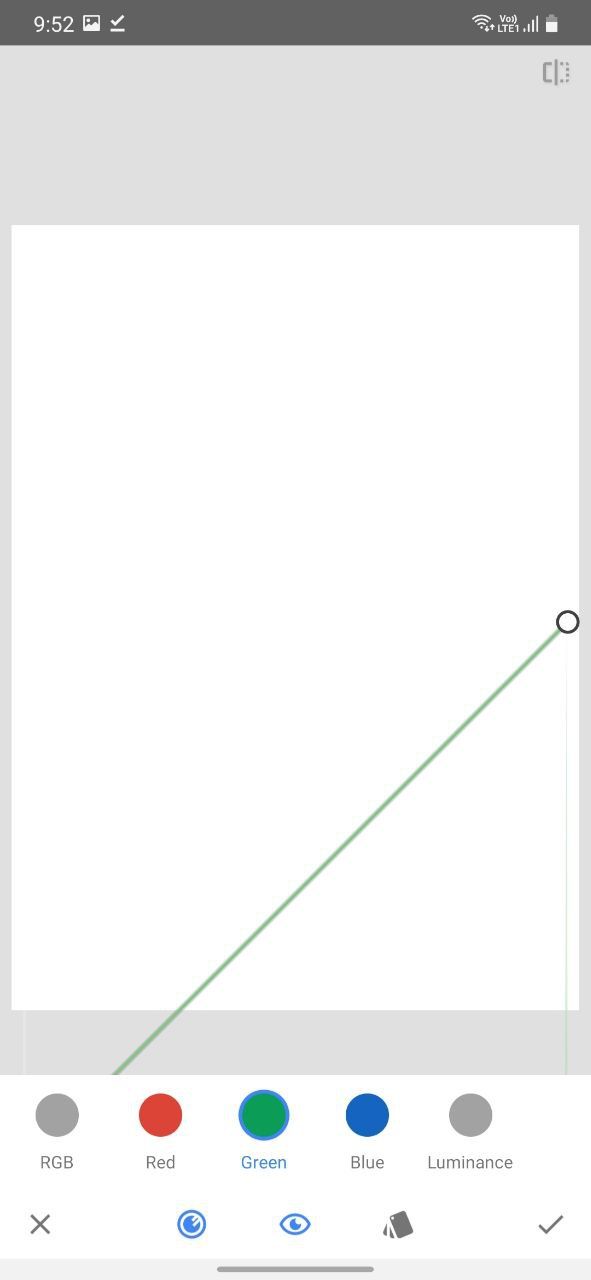
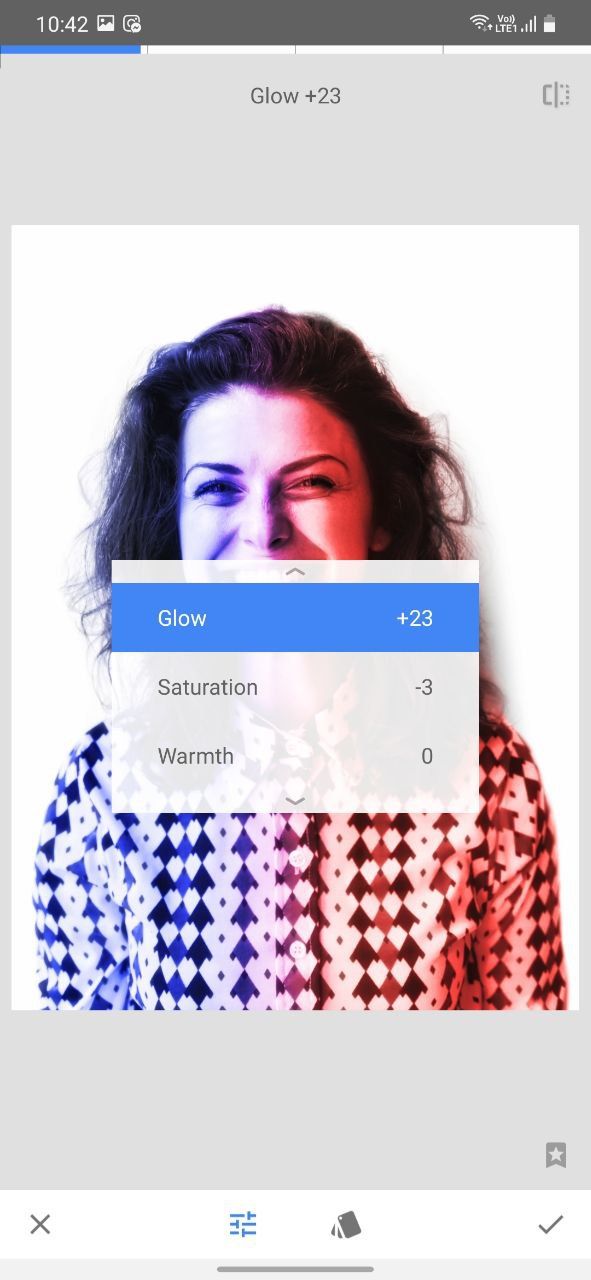
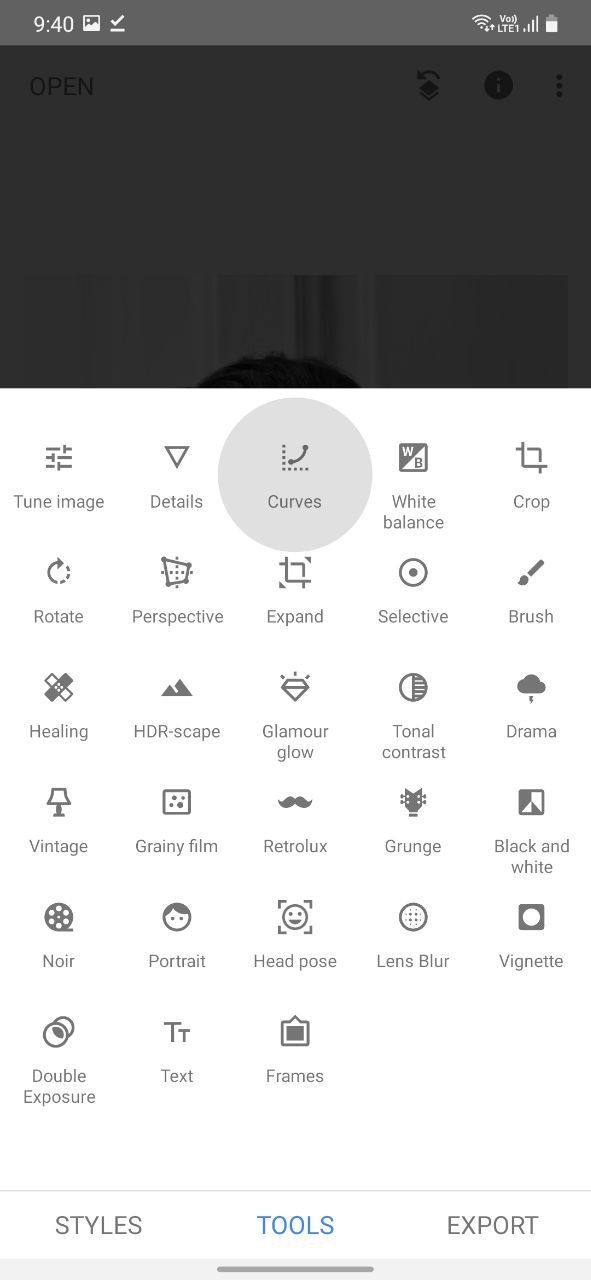
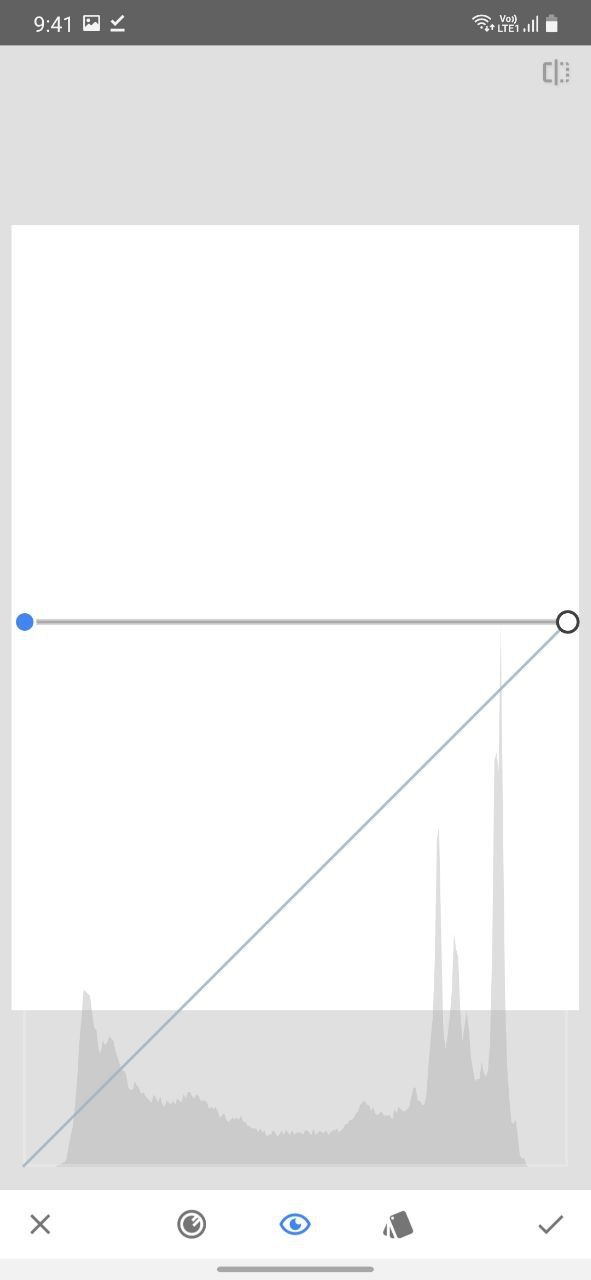
OpenCurvesagain and select a color channel.
Hit the tick mark to save.
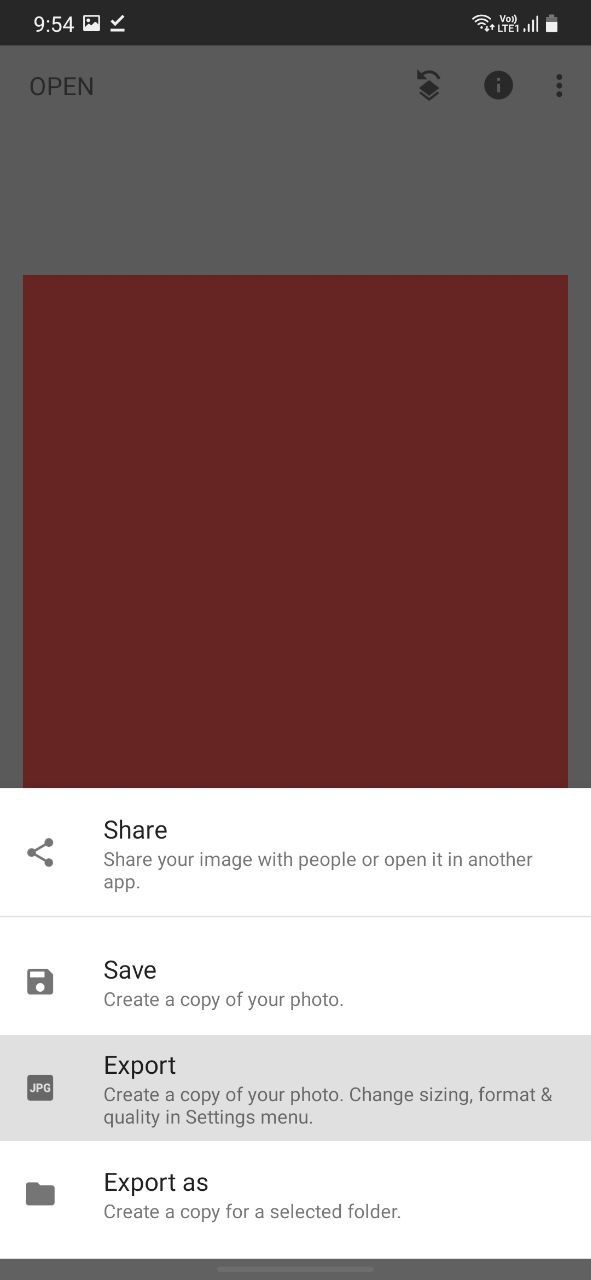
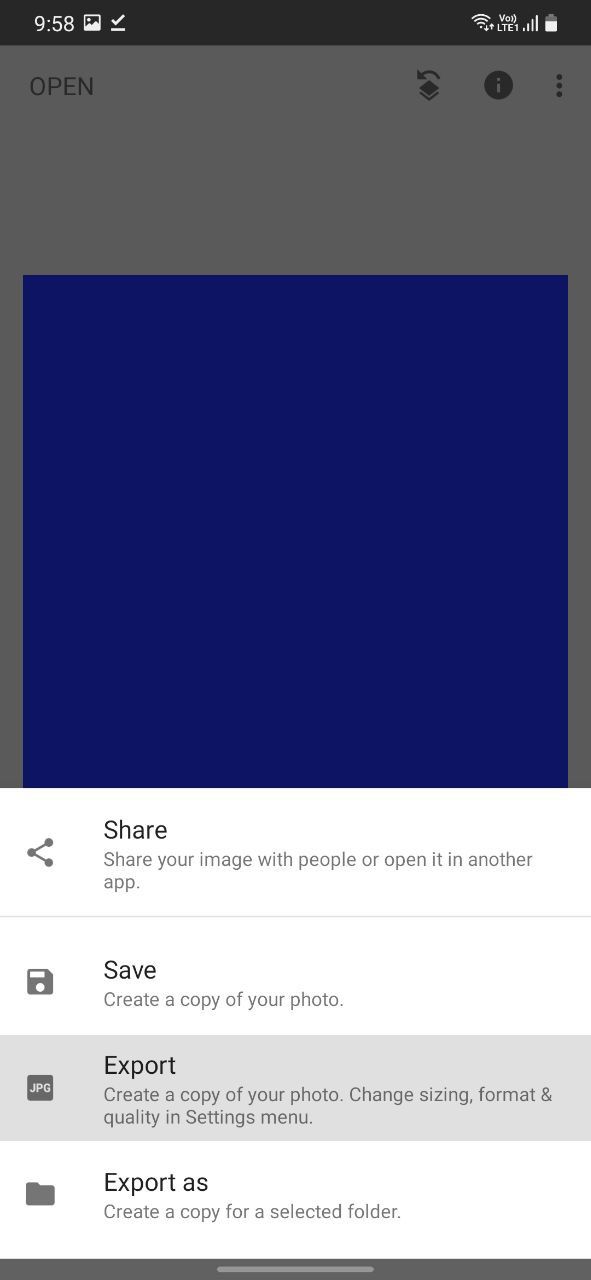
SelectExportand againExportto save the image.
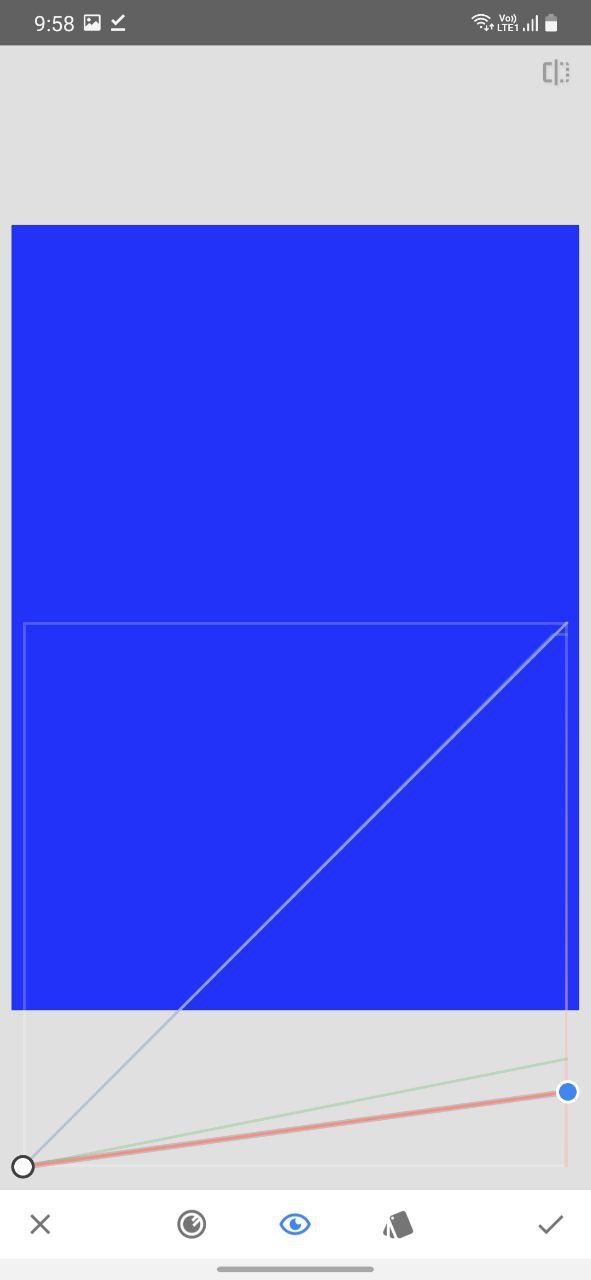
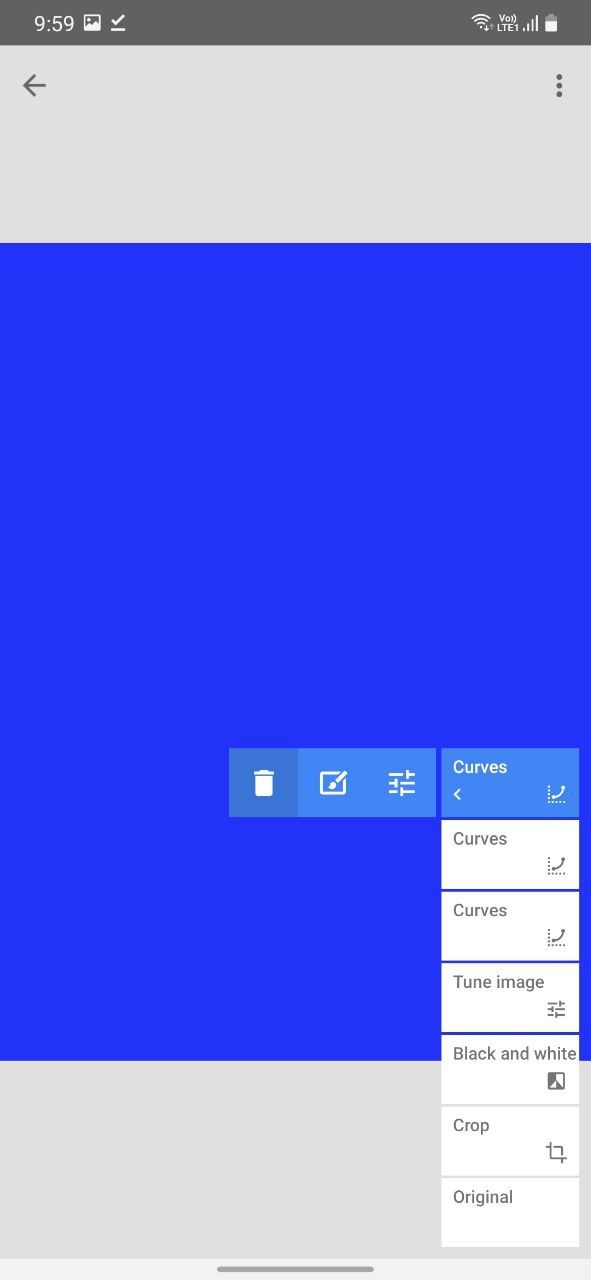
Go to theEdit Stack, openView edits, and tap on the last layer, i.e.Curves.
opt for third option to adjust the curves layer.
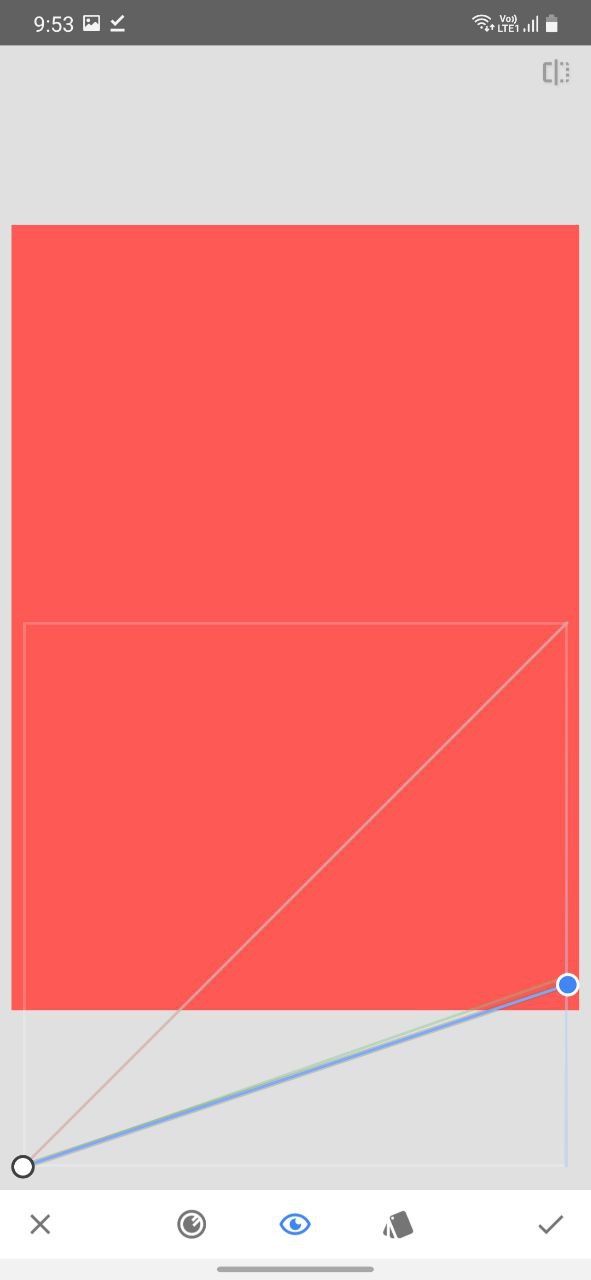
Tinker with the different curves to create the second color.
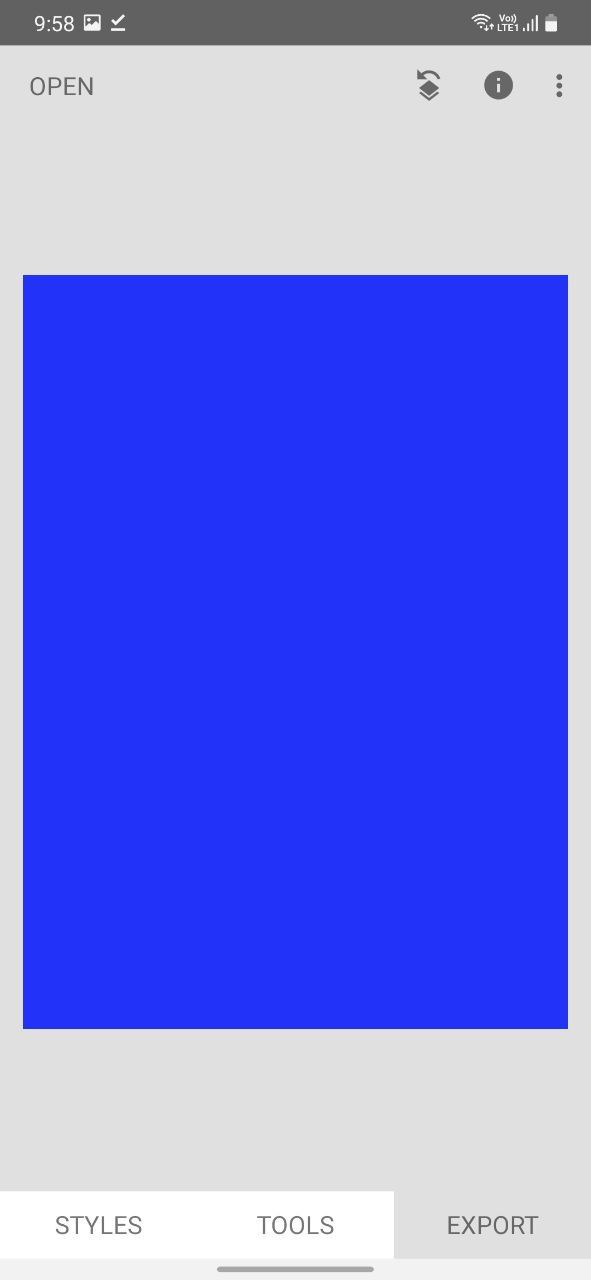
For instance, if you want a blue color, bring down theRedandGreencolor curves.
Save the image by tappingExport>Export.
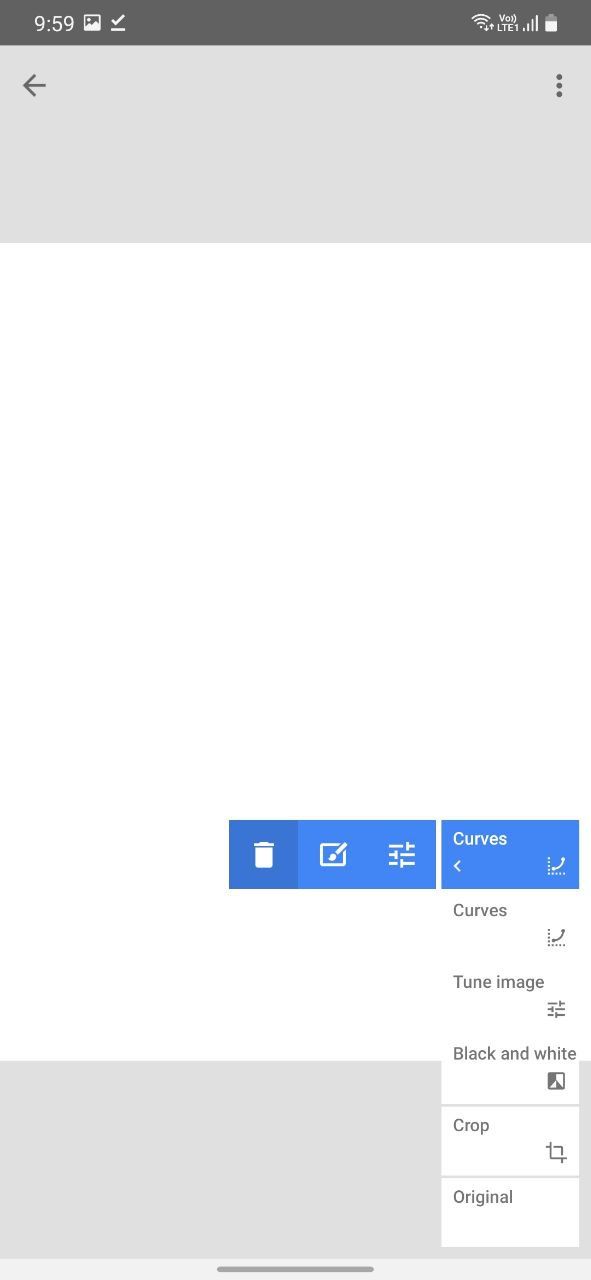
Now, go back toEdit stack>View edits, and delete the last two curve layers.
You wont need them anymore.
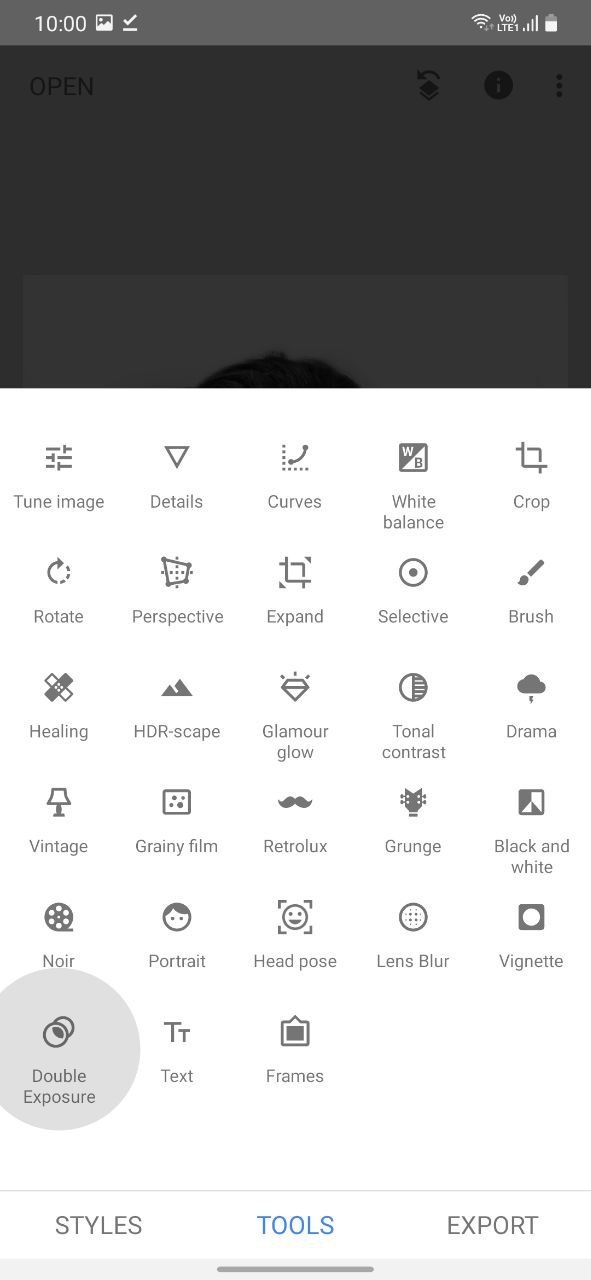
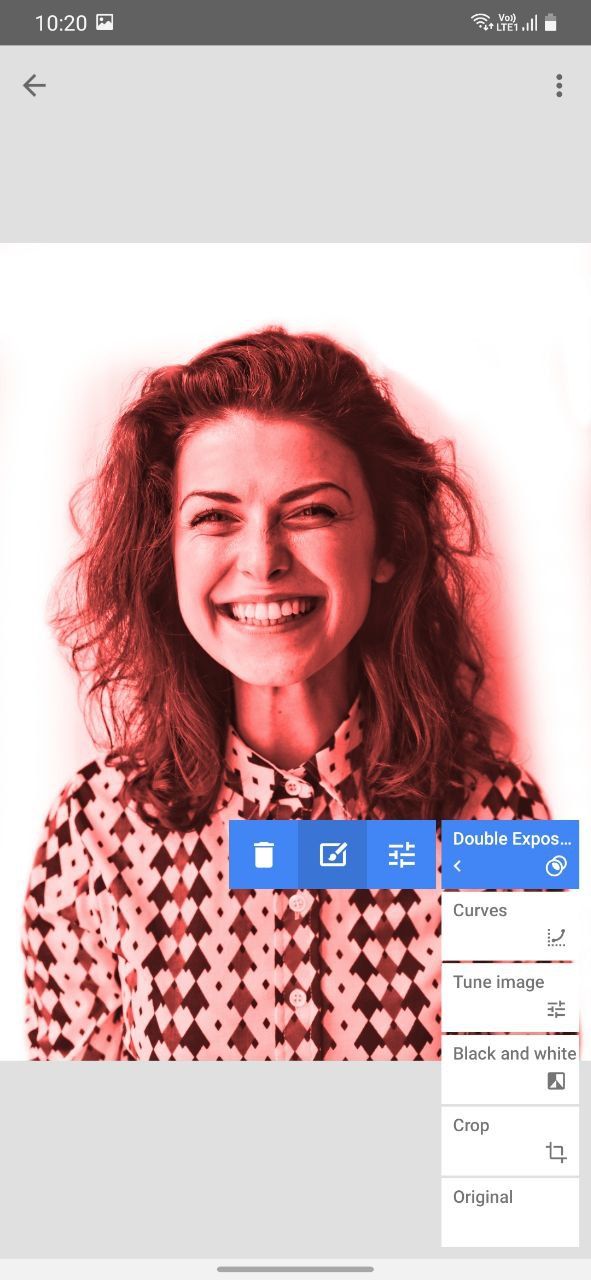
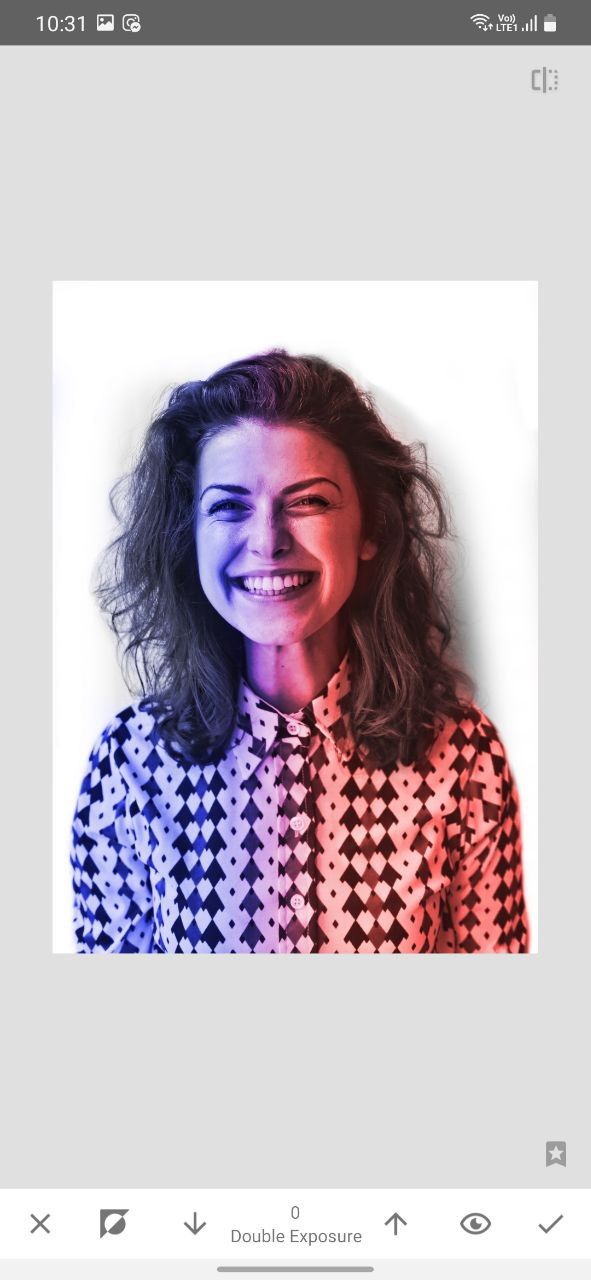
Go toTools>Double Exposureand tap onOpen Image.
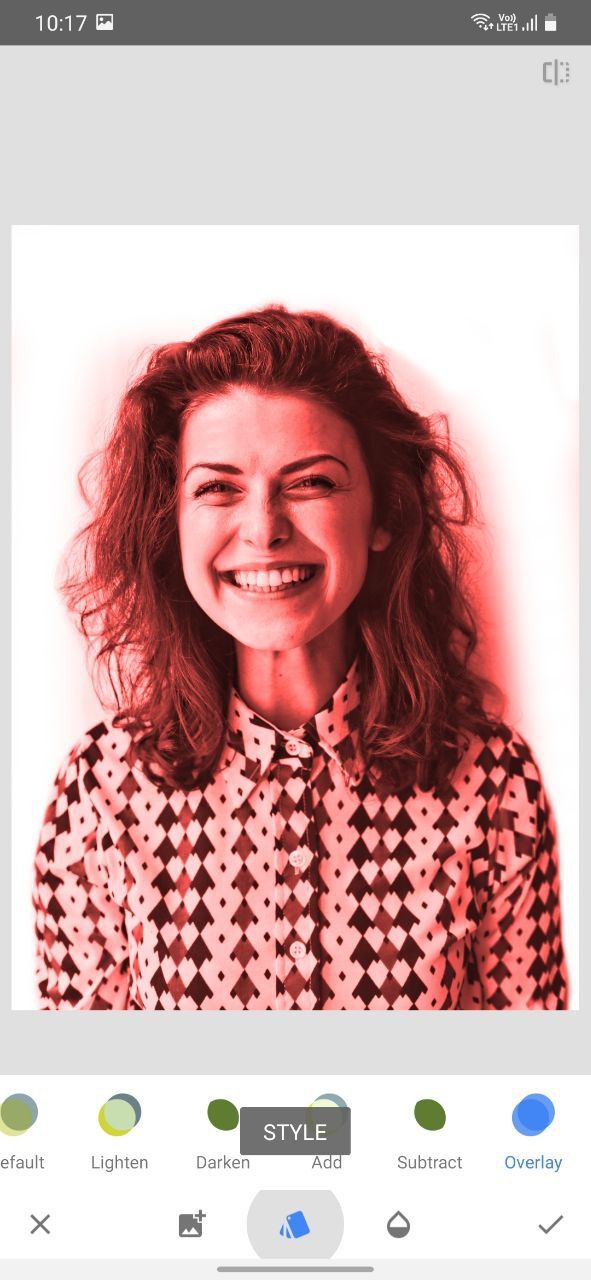
Select one of the color images you have created and set theStyletoOverlay.
Go toEdit stack>View edits>Double Exposureand open theStack brush.
Zoom out of the image by pinching in.
Set the brush strength to100units and start painting from the outside of the image.
Perform vertical strokes slowly for an even distribution of color.
Zoom in slightly and set the brush strength to0.
Gradually remove the extra color from the opposite side of the image by performing the same vertical strokes.
Stop when only half of the image has color.
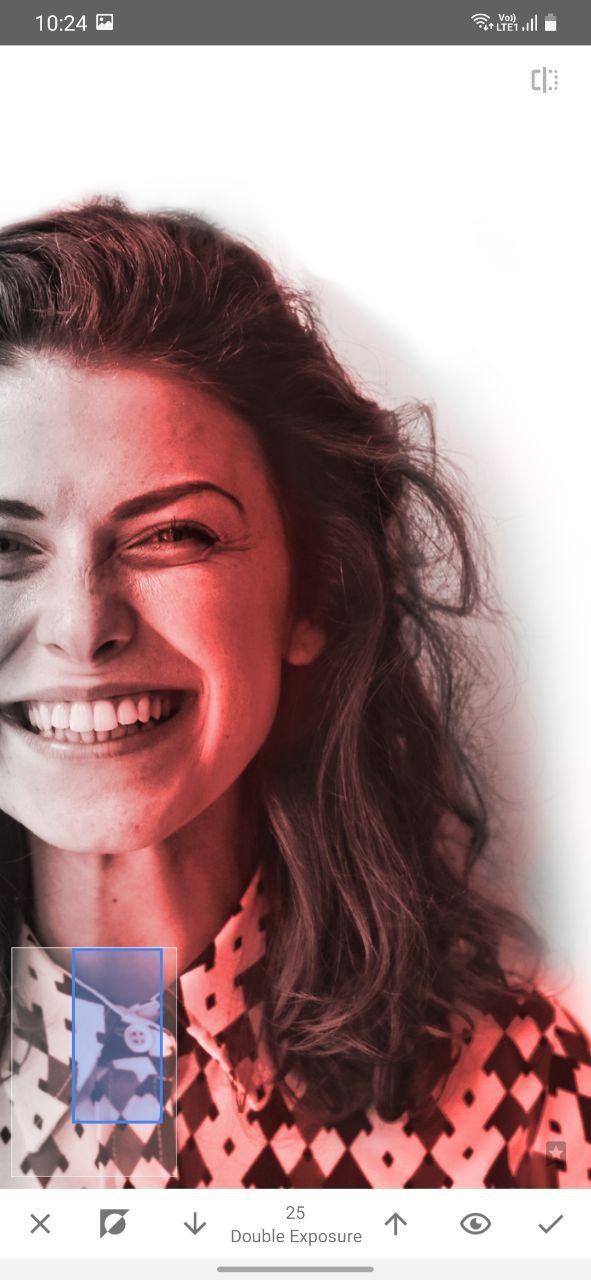
Set the brush to25units and gradually paint over hair or other parts that should not be illuminated brightly.
Tap on the tick mark when you are satisfied with the edit.
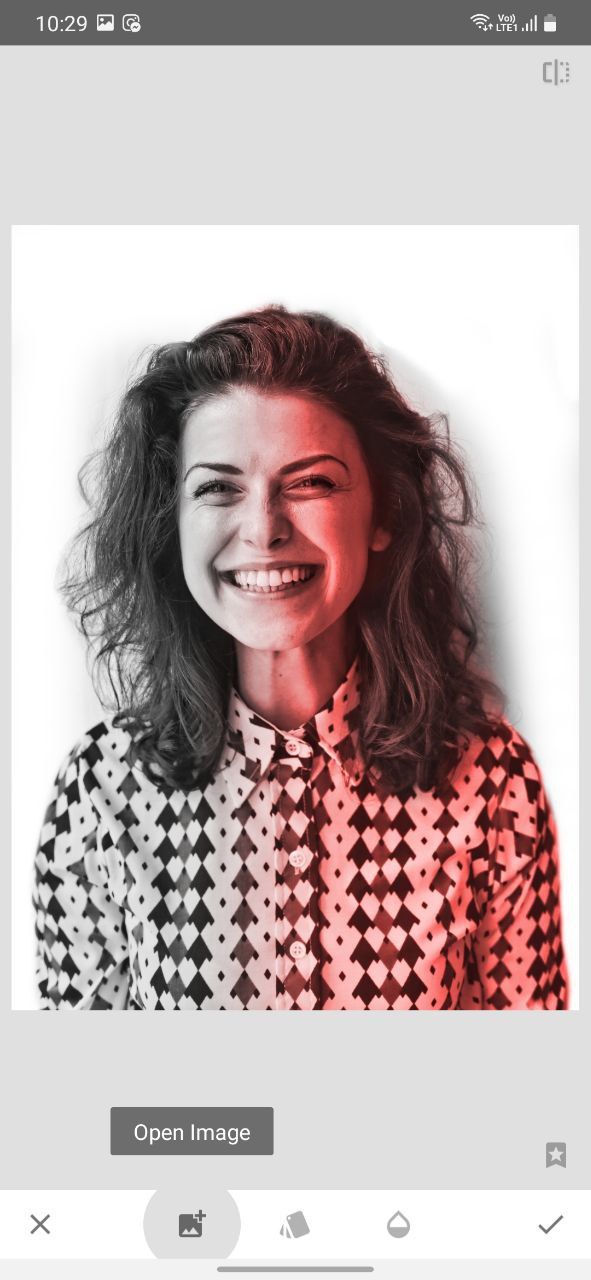
Go toTools>Double Exposureand tap onOpen Image.
opt for second color image you have created and set theStyletoOverlay.
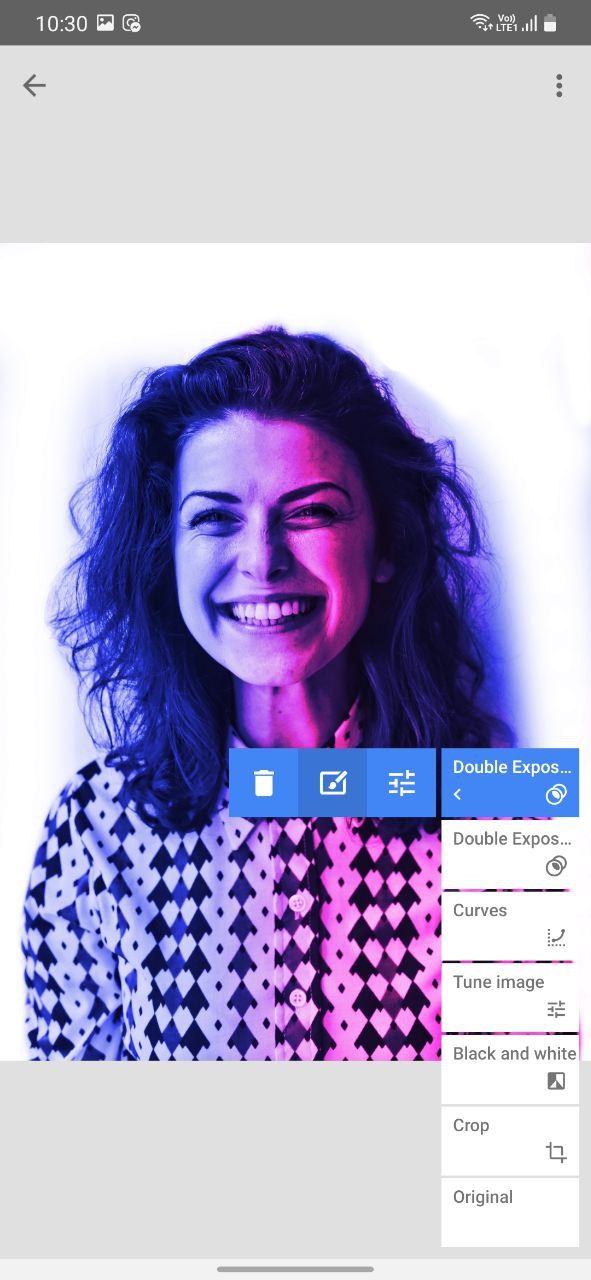
Now, zoom out and repeat the painting process from the opposite side.

Slowly and neatly clean any unwanted area and tap the tick mark when you are satisfied with your edit.
You have successfully created a dual tone effect for your portrait using Snapseed.
The most prominently used features in this method are Curves and Double Exposure.
you could learn more about these tools in ourSnapseed double exposure guide.
The only limitation with using Snapseed for creating a dual tone effect is less control over masking.
Using the Stack brush to mask your edits works fine.
However, it does not give you complete control over painting selectively according to the natural light source.
It seems like a lot of steps, but it’s quicker and easier than you think.