The Windows desktop includes a Recycle Bin repository for “deleted” files.
However, dragging and dropping files onto that bin icon doesnt truly erase them.
If so, you could add exactly that to the desktop with Free File Wiper and Multi Trash.

This is how you could add a desktop trash bin for permanent file erasure to Windows with those apps.
Standard Deletion vs.
Permanent Erasure: What’s Wrong With the Default Recycle Bin?
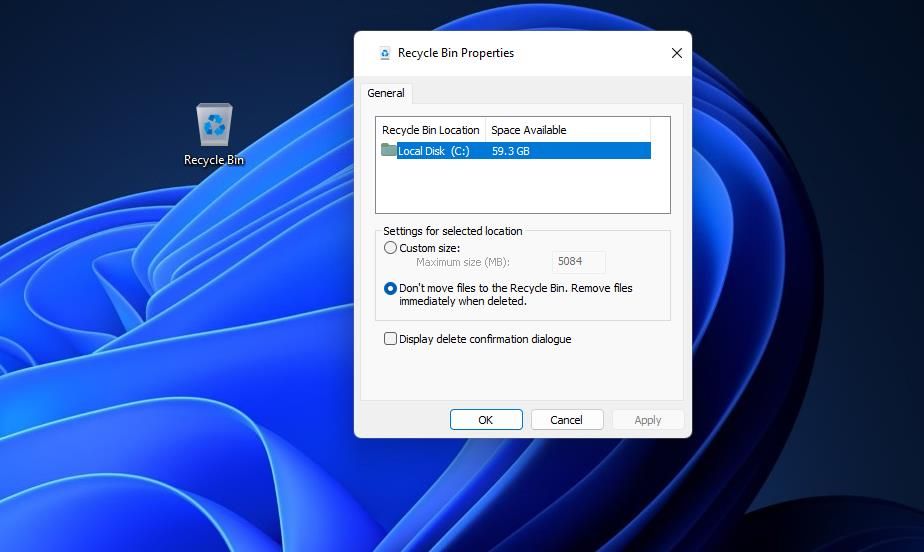
The Recycle Bin is based on the standard file deletion method.
It enables users to delete files either by emptying the bin or bypassing it by pressing theShift + Deletehotkey.
Users can also select aDont move files to the Recycle Binoption for standard file deletion.
Yet, the Recycle Bins standard deletion method merely removes a hard drive reference pointer for a file.
This means that non-overwritten files removed with standard deletion can still be recovered with data recovery software.
However, file shredder apps combat data recovery software by thoroughly eradicating files.

Those tools permanently erase files by overwriting their data on hard drives.
They do that with various data erasure overwrite standards, such as Gutmanns and Schneiers algorithms.
So, youll needthird-party file shredder softwareif you want to permanently erase files beyond potential recovery.
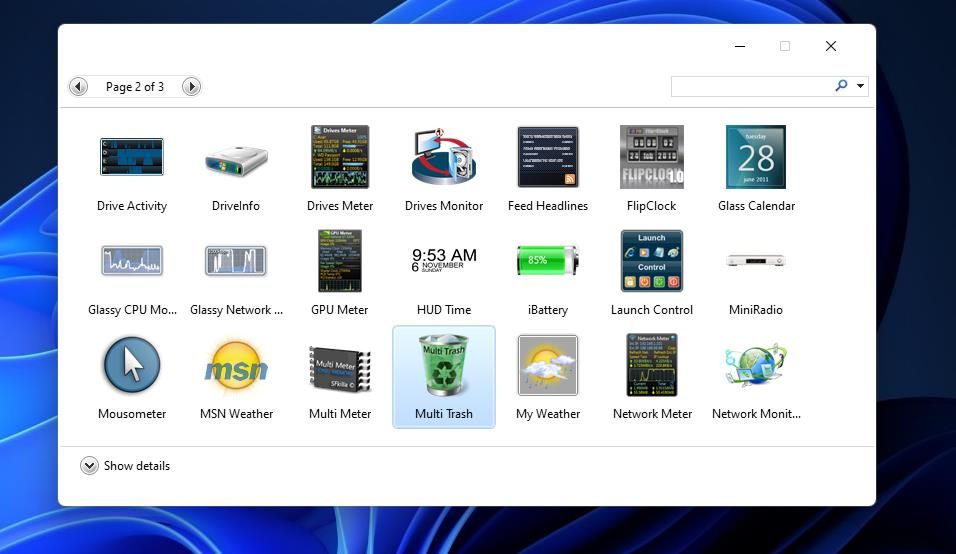
Free File Wiper and Multi Trash are apps that add file shredder bins to the Windows 11/10 desktop.
Those are bins you could drag and drop files to for permanent erasure.
Note that file shredders dont work on SSD (solid-state drives).
Such drives store data on flash memory, which is different from disk storage.
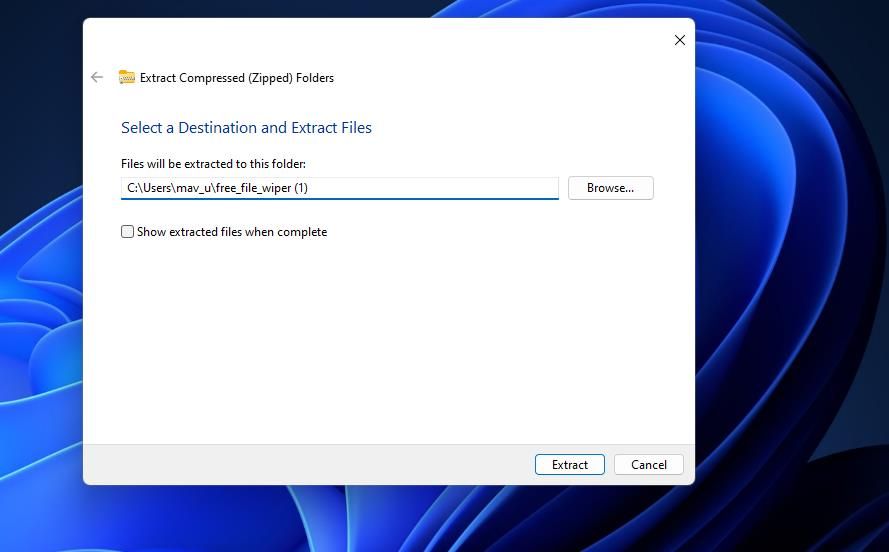
Thats also a portable app for which no installation is required.
This software has four options for wiping (overwriting) data thoroughly.
A warning prompt will appear that says you wont be able to recover the file after wiping it.
SelectYesif youre sure about permanently erasing the file.
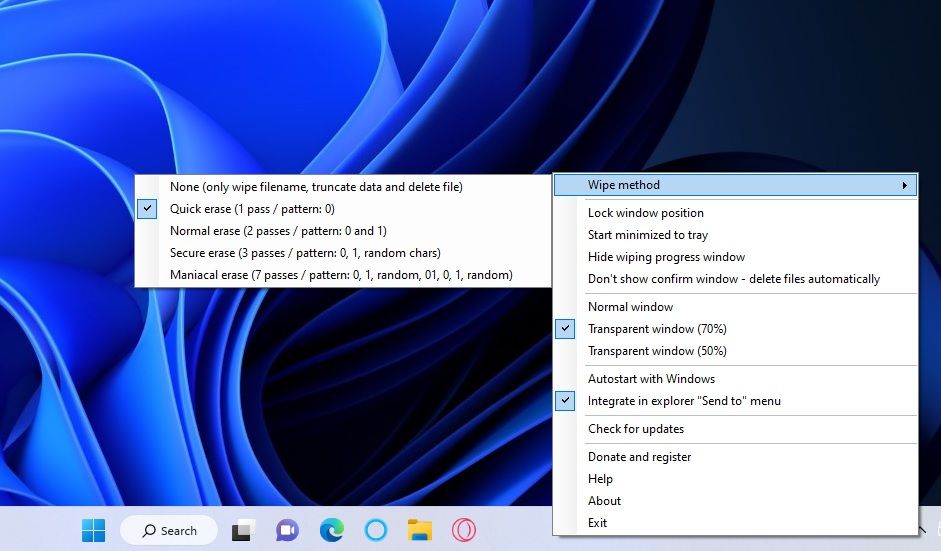
you’re able to change the wipe method for that bin via its context menu.

Right-click theFree File Wipersystem tray icon and select theWipe methodsubmenu.
Then choose one of the five options available there.Maniacal eraseis the most thorough shredding option with several passes.
Free File Wiper’s context menu also includes other options.

There you might select alternative transparency levels for the bin icon.
ClickAutostart with Windowsto add Free File Wiper to the startup items.
Youll also notice that the menu includes anIntegrate in explorer Send to menuselected by default.
That option adds Free File Wiper menu to theSend tosubmenu on the classic context menu when selected.
It enables you to right-click a file and selectShow more options>Send to>Free File Wiper.
This desktop gadget is a 3-in-1 bin for recycling, deleting, and shredding files.
When set to shred files, it will permanently erase them.
This is how you could add Multi Trash to the Windows desktop.
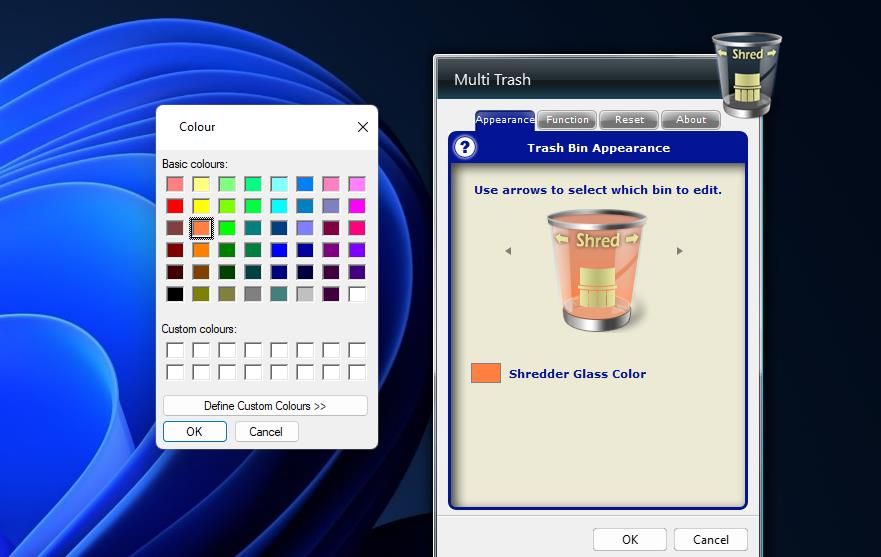
Multi Trash is set to its Recycle Bin by default.
However, you might change its function by clicking the arrows on that gadget.
Click that gadgetsleft arrowto turn it into a Shred bin.
The Shred bin will permanently erase files dragged onto it.
So, go ahead and drag some files from Explorers window onto the Shred bin.
A confirmation prompt will open that asks if youre sure about permanently deleting the file.
ClickYesto confirm as such.
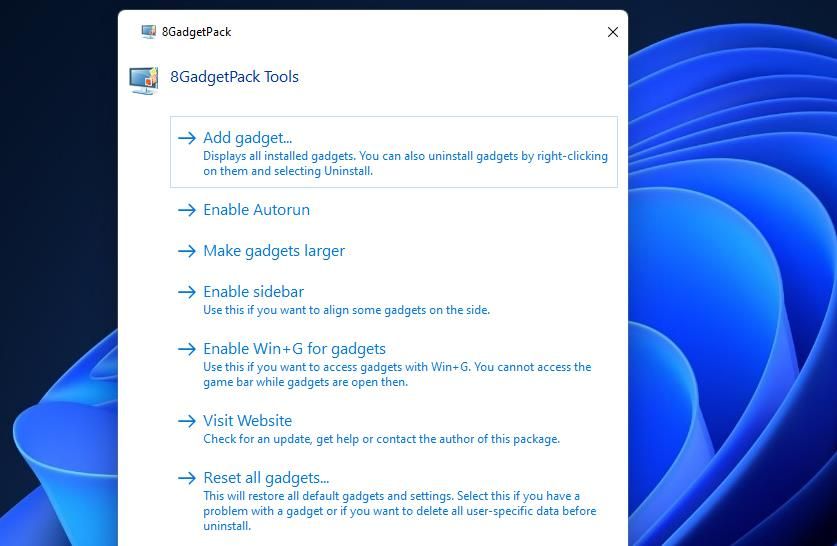
This gadget has a few customization controls.
Click itsOptionsbutton to view them on the Multi Trash window.
To change the bins size, select theLargeorSmalloptions on theSize of bindrop-down menus within theFunctiontab.
ClickOKto apply new gadget tweaks.
Of course, the biggest beauty of Multi Trash is that its a 3-in-1 file deletion tool.
However, only the Shred bin securely erases files beyond recovery.
So, use the Shred bin to erase files that include more confidential info.
Although there are many other file shredder utilities available, few of them have comparable drag-and-drop functionality.
So, Multi Trash and Free File Wiper are more unique tools for shredding files in that respect.
Or you might realize you should never have deleted a file later.
