How do you offer such a service for these Internet latecomers?
Here at MakeUseOf, we love chat services.
If you have a web hosting account, you’re good to go.
There is one drawback to the software for our particular use.
But first, you oughta set up LiveZilla on your blog or website.
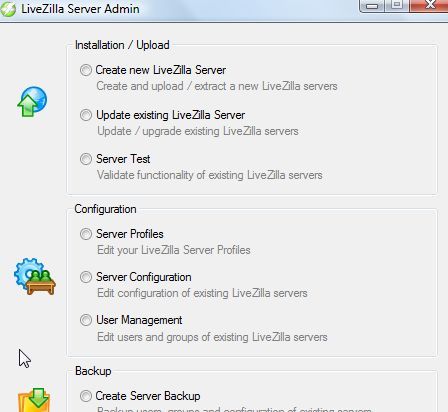
This is where you’re able to set up and configure the LiveZilla service.
The first step is to install LiveZilla Server on your web host.
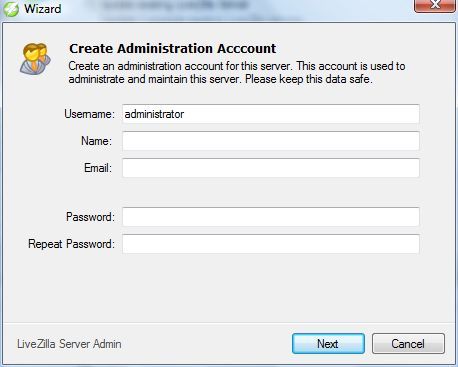
On the next screen, create your administrator ID and password.
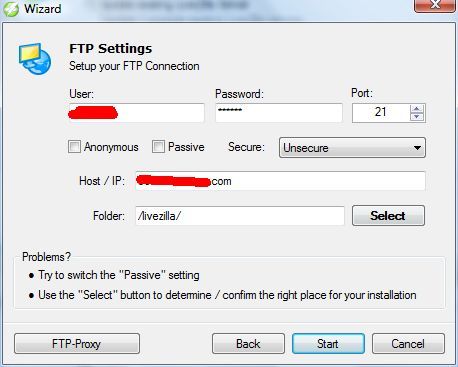
If you’re setting up LiveZilla on your local machine, go ahead and go for the local option.
Most users will want to punch FTP.
If you don’t know it, contact your web host service and find out.
The best setup for LiveZilla is to place the files in it’s own subdirectory on your hosting account.
Here, I’m setting the software to FTP the files to a folder named “livezilla”.
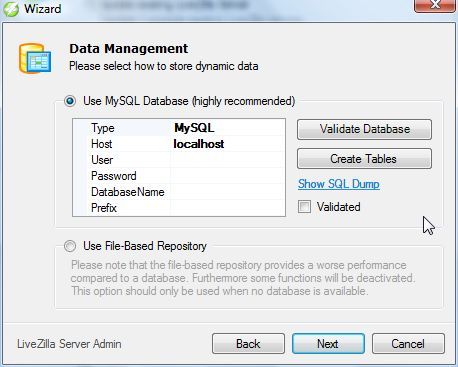
The software requires the use of a MySQL database.
Then click “Create Tables,” and this step is done!
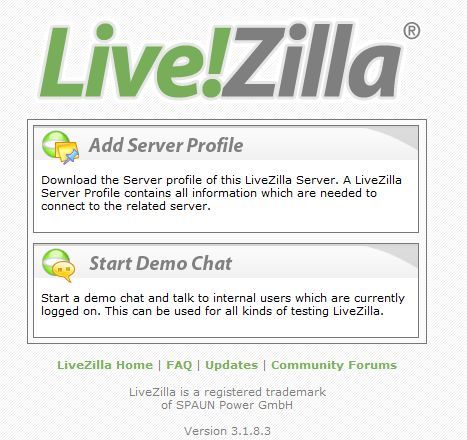
You’ll be directed to the online LiveZilla page on your web server.
Visit this page using every PC or laptop that you plan to use to interact with your website visitors.
From each PC, opt for “Add Server Profile” button.
When you hit it, you’ll see the following screen.
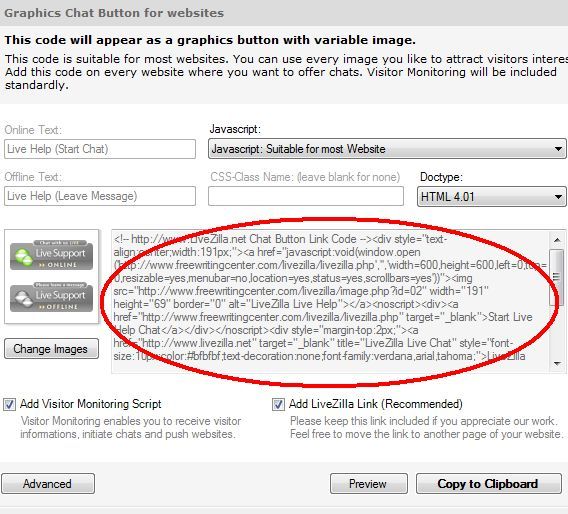
The “Live Support” button shows your online or offline status.
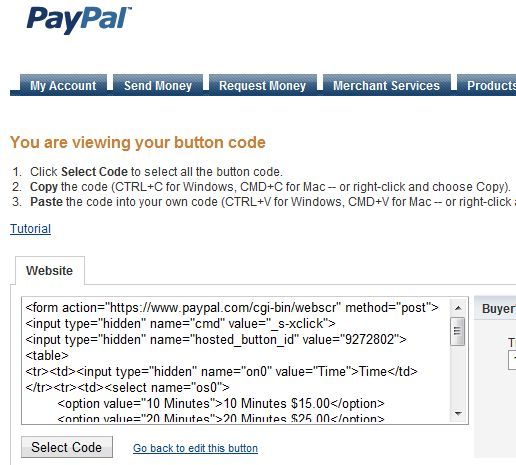
The last step of creating your button is where you’re provided the script for it.
Once they successfully submit payment, they are redirected to the chat link.
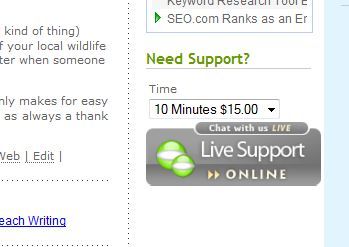
This will ensure that your new Paypal purchase button appears like the LiveZilla status button.
This is what it looked like once I installed the new Paypal script onmy blog.
It also provides you with a valuable way to offer a more interactive experience for your readers.
Also, it’s possible for you to use your new LiveZilla chat service for more than earning income.
Provide your link as a way for work colleagues to meet up with you and collaborate on projects together.
The uses for your own private chat system are limited only by your imagination.