Luminar Neo is Skylum’s second-generation app that sports a 100 percent AI-based photo editing suite.
It’s designed with professionals in mind who want a creative editing app to enhance their images.
In this article, we’ll walk you through the program’s menus to help get you started.
What Is Luminar Neo?
Where Can You Get Luminar Neo?
you’re able to buy Luminar Neo onSkylum’s websitefor $79.
If you already own other Skylum products, you’re eligible for a discount.
They offer a 30-day money-back guarantee if you’re not happy with the software.
Whos Luminar Neo Best-Suited For?
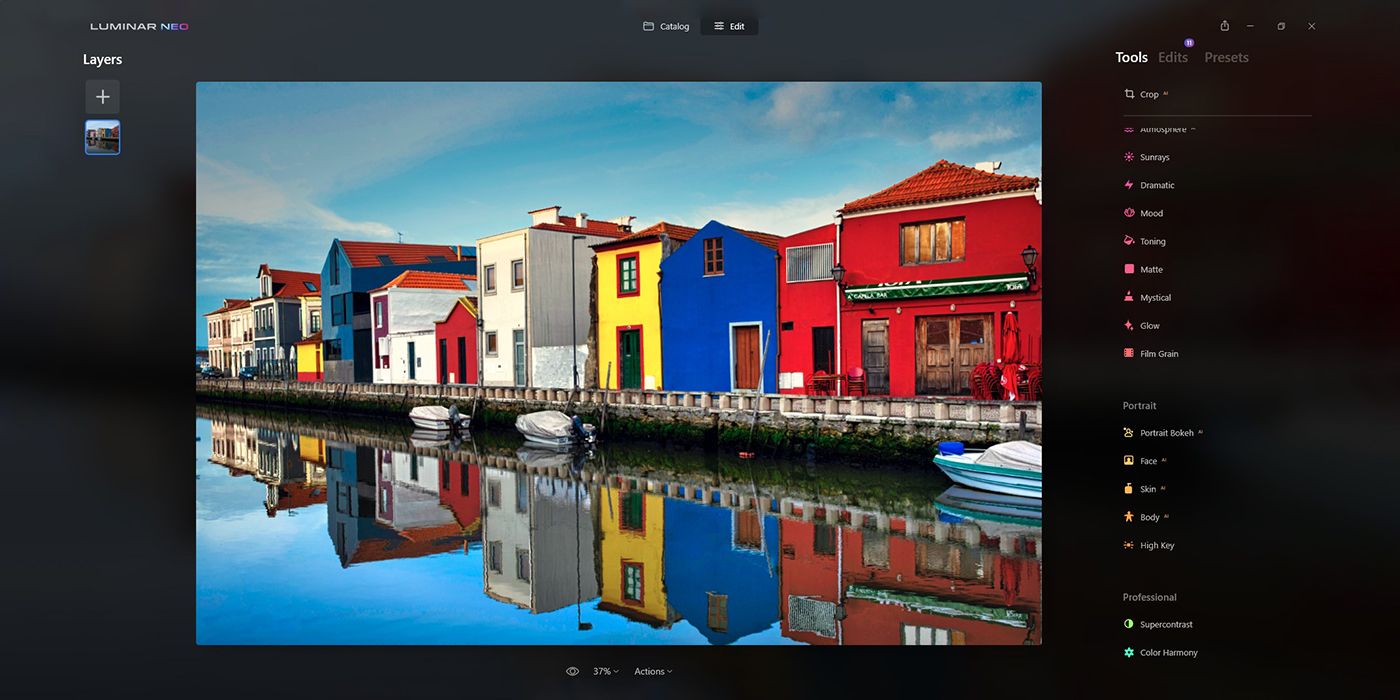
The Luminar Neo Layout
Luminar AI users will be familiar with the Luminar Neo layout.
There are three essential viewing modes accessible at the top of the screen.
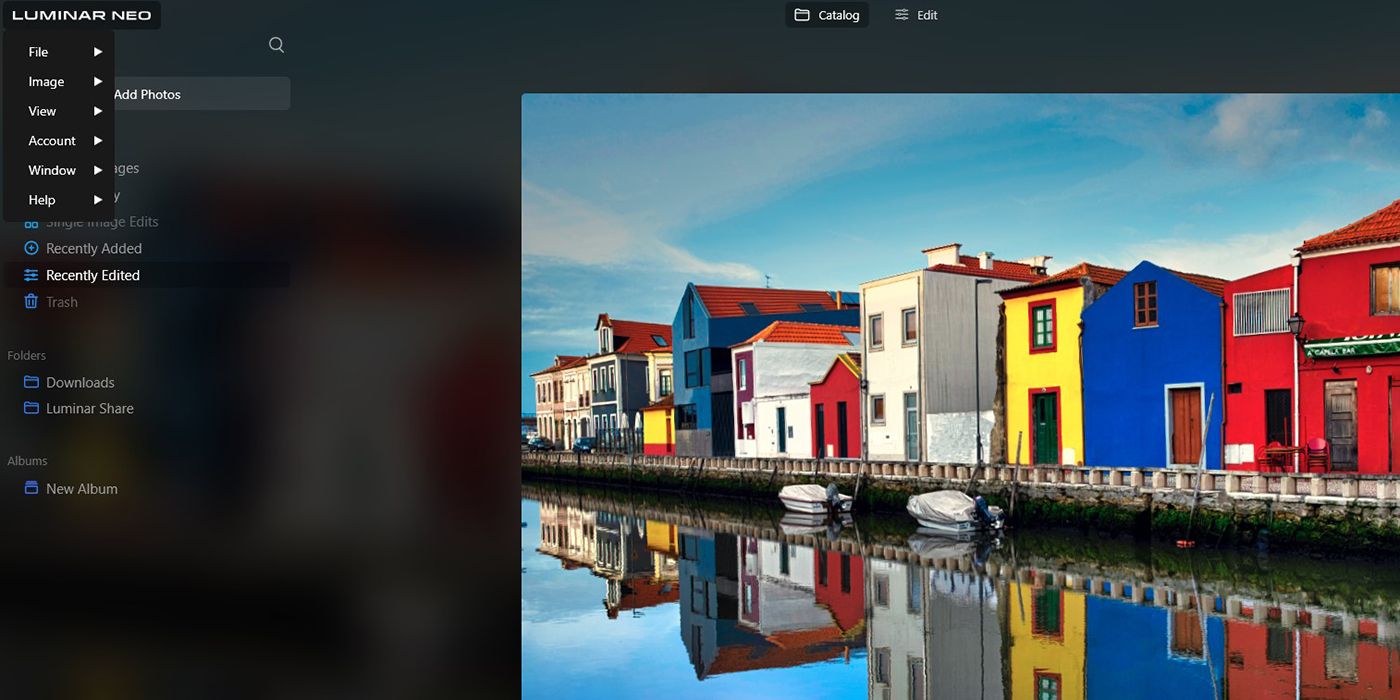
In the upper left, theLuminar Neologo serves as a dropdown menu for essential and administrative functions.
These are broken down into the usualFile,Image,View,Account,Window, andHelpsub-menus.
Catalogis the next main viewing mode, located at the very top of the screen.
From here, users will be able to access all the folders and images on their computers.
We’ll discuss each of these below.
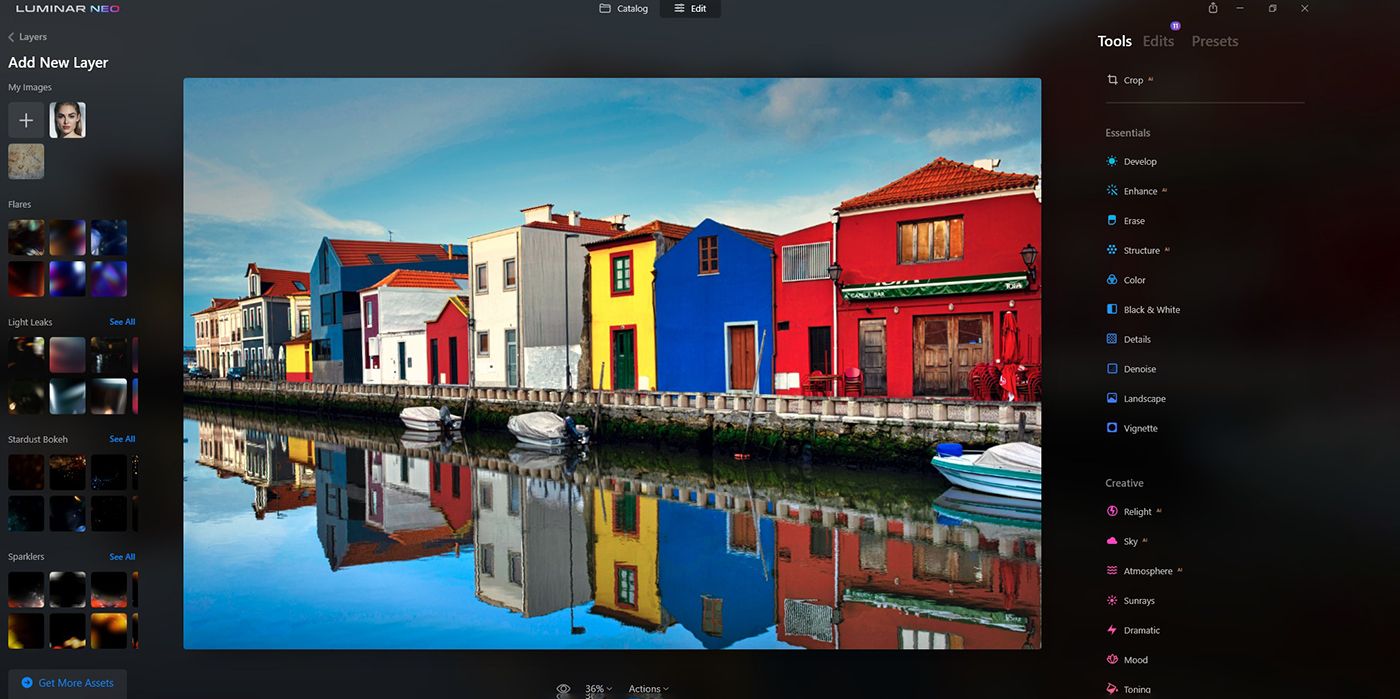
Adding New Layer and Overlay Features
TheLayerspanel is somewhat like Photoshop’s layer system.
Multiple layers can be applied on top of a base layer to build up effects.
By default, the current layer is shown in the square underneath the+icon.
To add a new layer, tap on the + icon.
There are also a number of lighting presets available, includingFlares,Light Streaks,Stardust Bokeh, andSparklers.

If you’d rather stick with Photoshop, you canfix bad lighting on that platformwithout much difficulty.
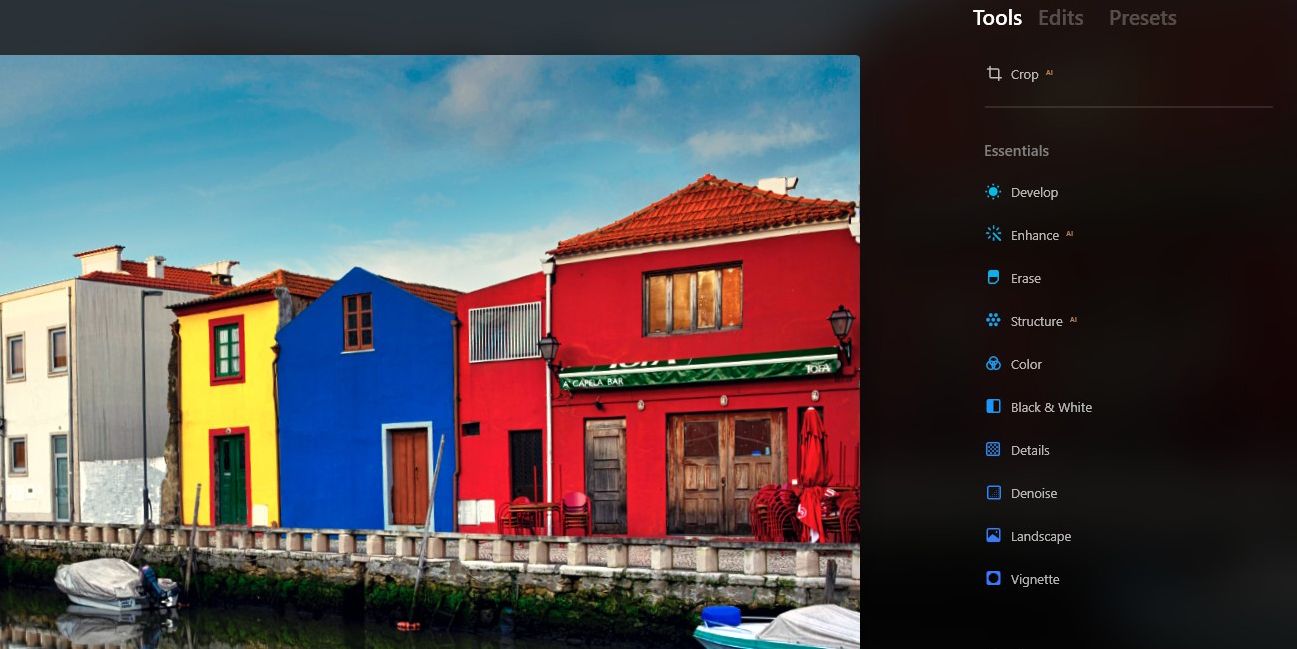
Many of these tools will be familiar to users of editing software.
Additionally, there are automated buttons to remove power lines and dust spots.
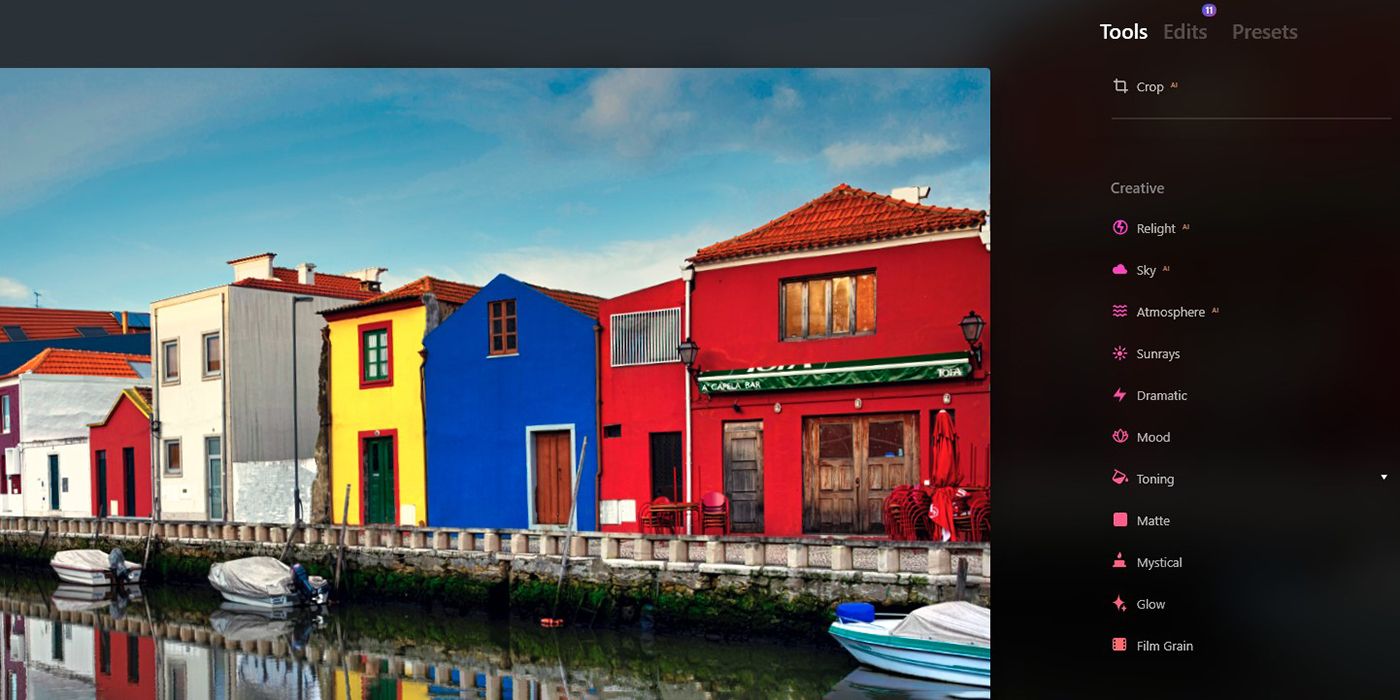
The top three are arguably the most useful,Relight AI,Sky AI, andAtmosphere AI.
Additionally, it’s possible for you to add the sun and sunshine to an image usingSunrays.
TheDramaticslider adds a punch whileMoodprovides a long list of LUTs to color-map your images.
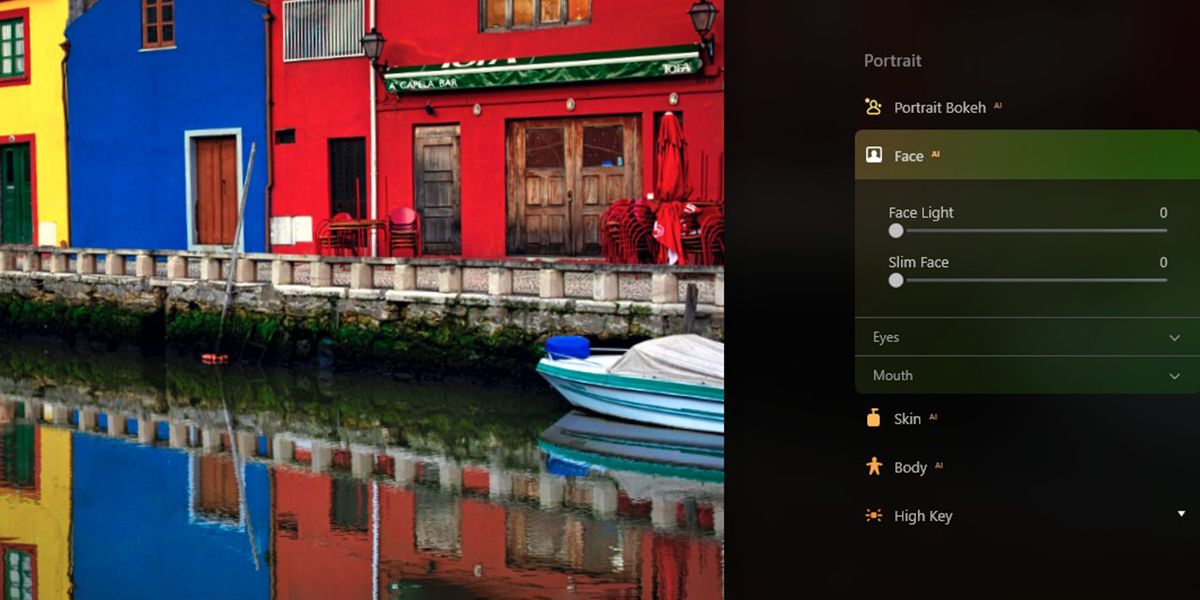
The Portrait Menu
ThePortraitmenu can be extremely useful for batch editing and group photos.
This set of tools usually requires a face in the photo to apply the effects sliders.
The Professional Menu
TheProfessionalmenu in Luminar Pro only offers two tools at the moment:SupercontrastandColor Harmony.
With Supercontrast, theHighlights,Midtones, andShadowsare controlled by sliders to increase or decrease the amounts.
Each also comes with a balance slider to fine-tune the effect.
The latter resembles the color balance tool found in Photoshop.
Each of these tools has two or more sliders to dial in the right configs.
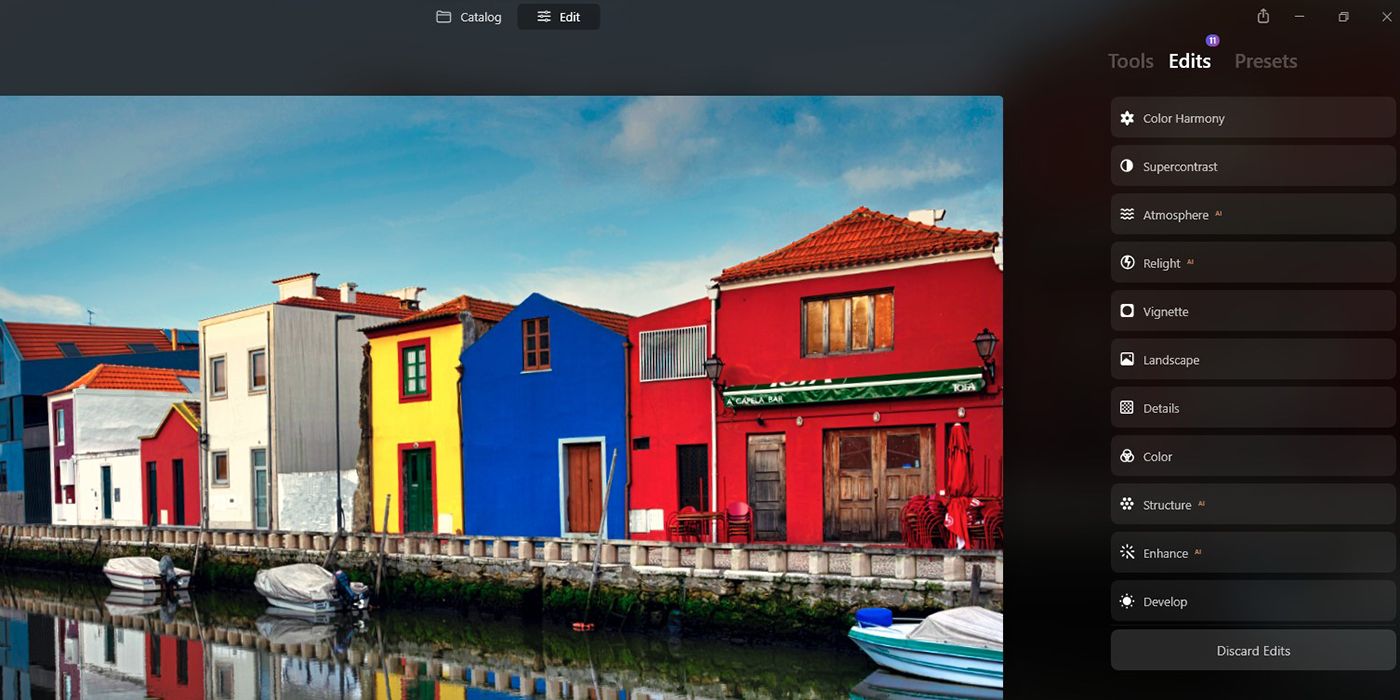
How the Edits Tab Works
The Edits tab could just have easily been named the history tab.
Here, you will find all the edits that have been used for each image.
Because these edits function like layers in Photoshop, they can be adjusted or deleted at any time.
The great thing about Edits is that users can duplicate the same effect multiple times.
This is for images that require the sliders to go beyond their set limits.
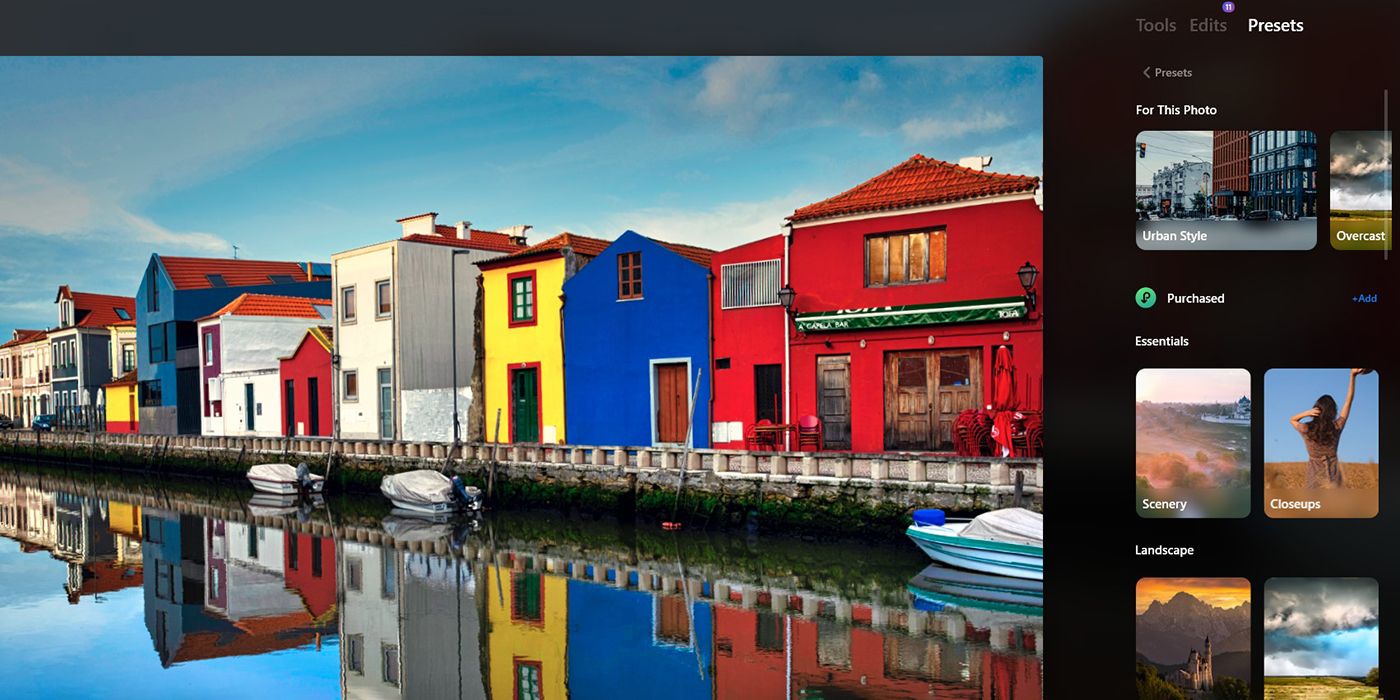
it’s possible for you to try them out and select one of them or choose your own.
In Purchased, you’ll find any presets that you’ve purchased from the Skylum store.
Just tap on the+if you want to browse for new presets.
Below Purchased are the included presets, which are broken down into categories.
The categories areEssentials,Landscape,Mother Nature,Portrait,Macro,Cinematic,Lifestyle, andAerial.
select any of these to see a list of presets.
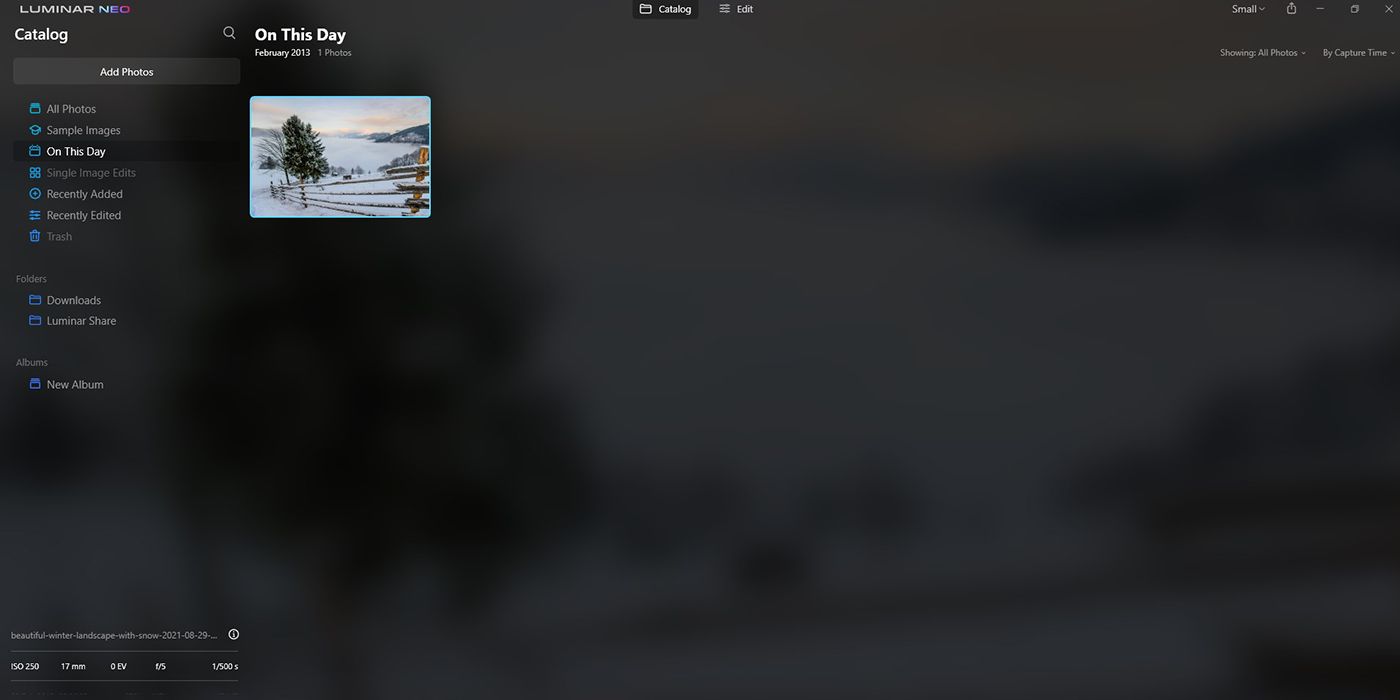
Catalog
TheCatalogmenu displays any of the image files that have been edited in Luminar Neo.
you’re free to alsoAdd Photosvia the button.
From here, you could choose options underFile,Image,View,Account,Window, andHelp.
Skylum’s Luminar Neo is the company’s next all-AI-based photo editor.
If you’re interested in trying AI photo editing, Luminar Neo is an excellent starting point.
Give it a try and see what it’s possible for you to create!
