you’re able to easily configure and create new virtual machines in Hyper-V on compatible systems.
Here we show a few troubleshooting tips to quickly fix the Hyper-V black screen problem on Windows.
To do this, connect and start the virtual machine and wait for the black screen to appear.
Next, use thePrint Screen feature to capture a screenshotof the VM’s black screen.
Paste the screenshot in a new Paint file to see if the VM’s boot screen is visible.
Install all the available updates to see if that helps.
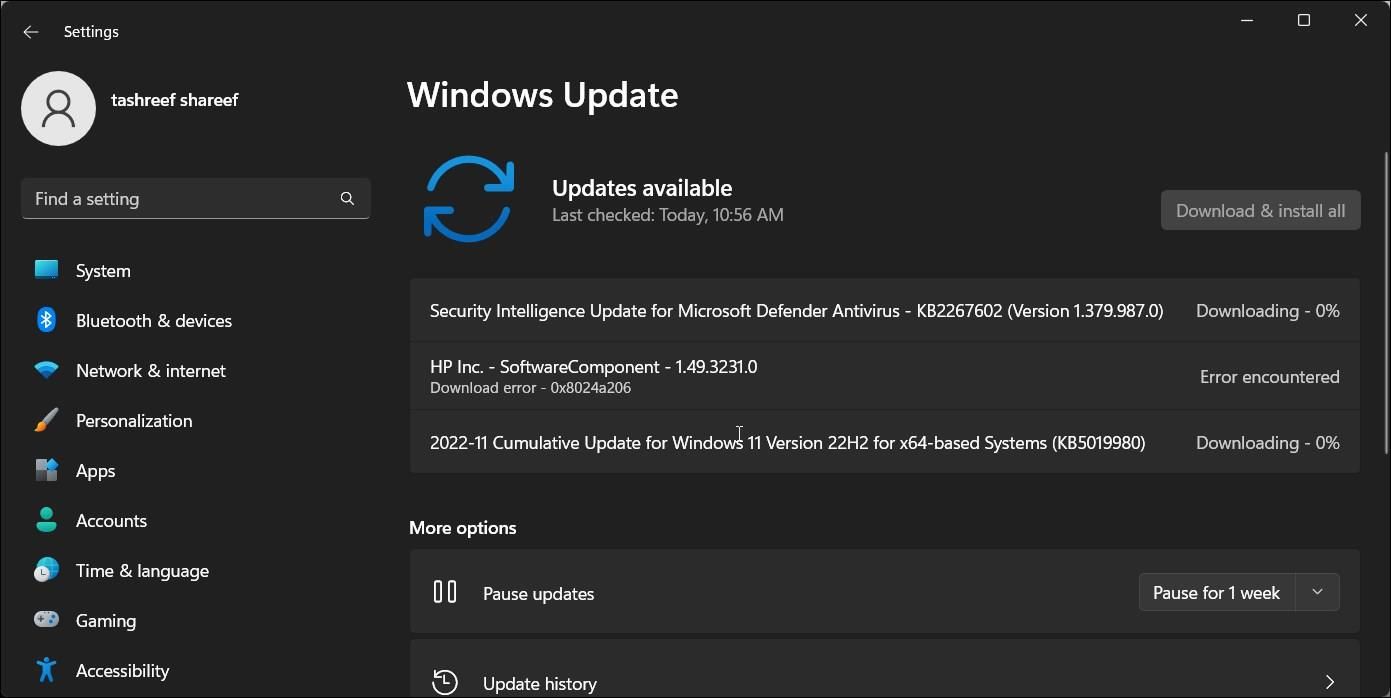
Check for Any Windows Updates
Windows updates bring performance improvements and bug fixes.
That said, starting the virtual machine only with the integrated GPU enabled can help you fix this issue.
So, disabling the graphics unit will also disable external display support for your PC.

To fix the problem, modernize your GPU driver to the latest version.
Change the Virtual Machine Generation From Gen2 to Gen1
Hyper-V supports both Gen1 and Gen2 virtual machine generations.
The Gen2 virtual machine supports newer virtualization features and uses secure boot and UEFI-based firmware by default.
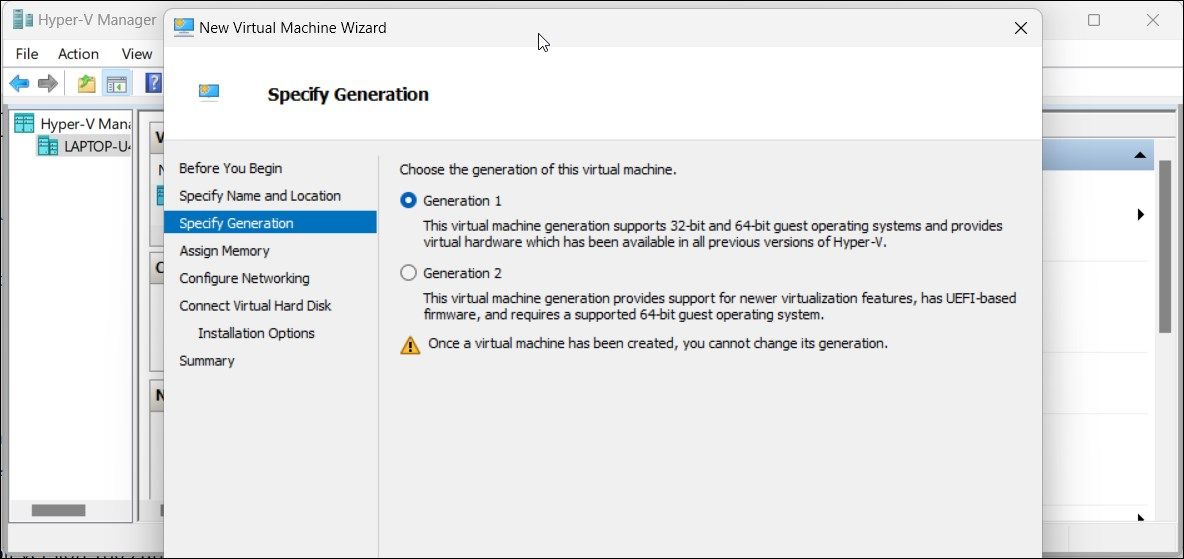
This may result in compatibility issues with some Linux distros.
Hyper-V selects Gen1 as the default virtual machine generation.
Look for new Windows and graphics driver updates and install them to see if that helps.
Disabling your dedicated graphics gear is another workaround that you might attempt to fix the issue.
