The secret lies in the “Send To” command found in your right-click contextual menu.
At this point you’re probably either thinking, “what command where?”
or “that has a function?”
Hopefully we’ll answer both of those in that order for you.
First, right-select any file or folder.
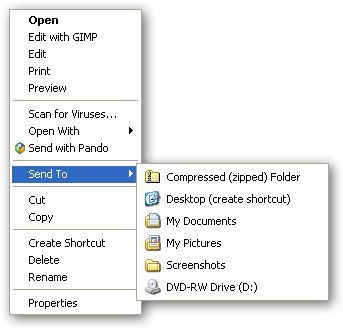
The one we’re interested in is “Send To.”
Most of the locations on the list, by default, are fairly useless.
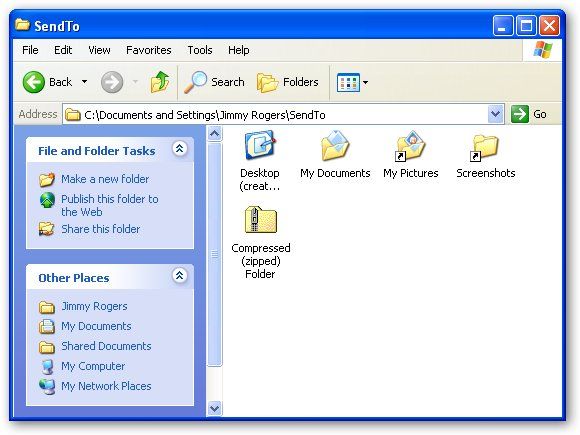
What you see above is my newly cleaned-up and customized ‘Send To’ menu.
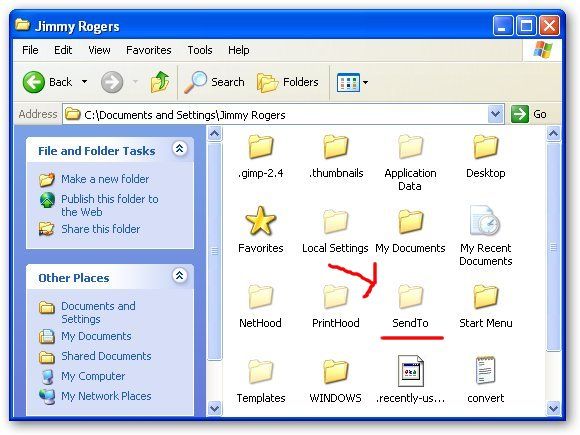
This is done by going to a specific folder and changing its contents.
That folder is found in “Documents and parameters/yourusername.
“Note:replace “yourusername” with whatever your user account name is on your machine.
Here’s what mine looks like.

Notice that the Send To folder is somewhat transparent, indicating it is a hidden folder.
after you snag done this you are ready to go into your Send To folder.
In the folder, you will see all of the items that show up in the drop down.
This createda shortcutof the selected folder instead of moving it.
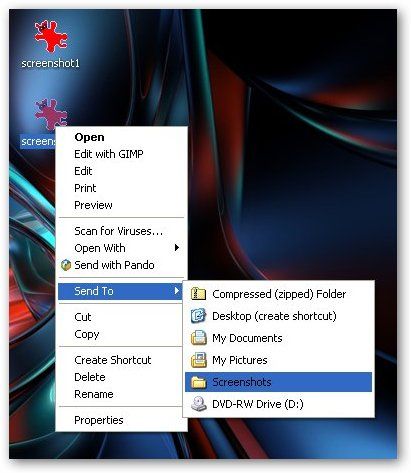
After tinkering with my ‘Send To’ list, it’s much more useful.
Let’s send some pictures that I used for this article into the Screenshots folder:
Voila!
‘Send To’ now allows me to send all my screenshots in a batch into the Screenshots folder.
This is also handy if you have any folders that take specific actions when items are added to them.
[I found out about the Send To “hack” from Tekzilla Daily.]