Thanks to the Raspberry Pi’s small size, this single-board computer is highly portable.
Our step-by-step instructions will guide you through the process.
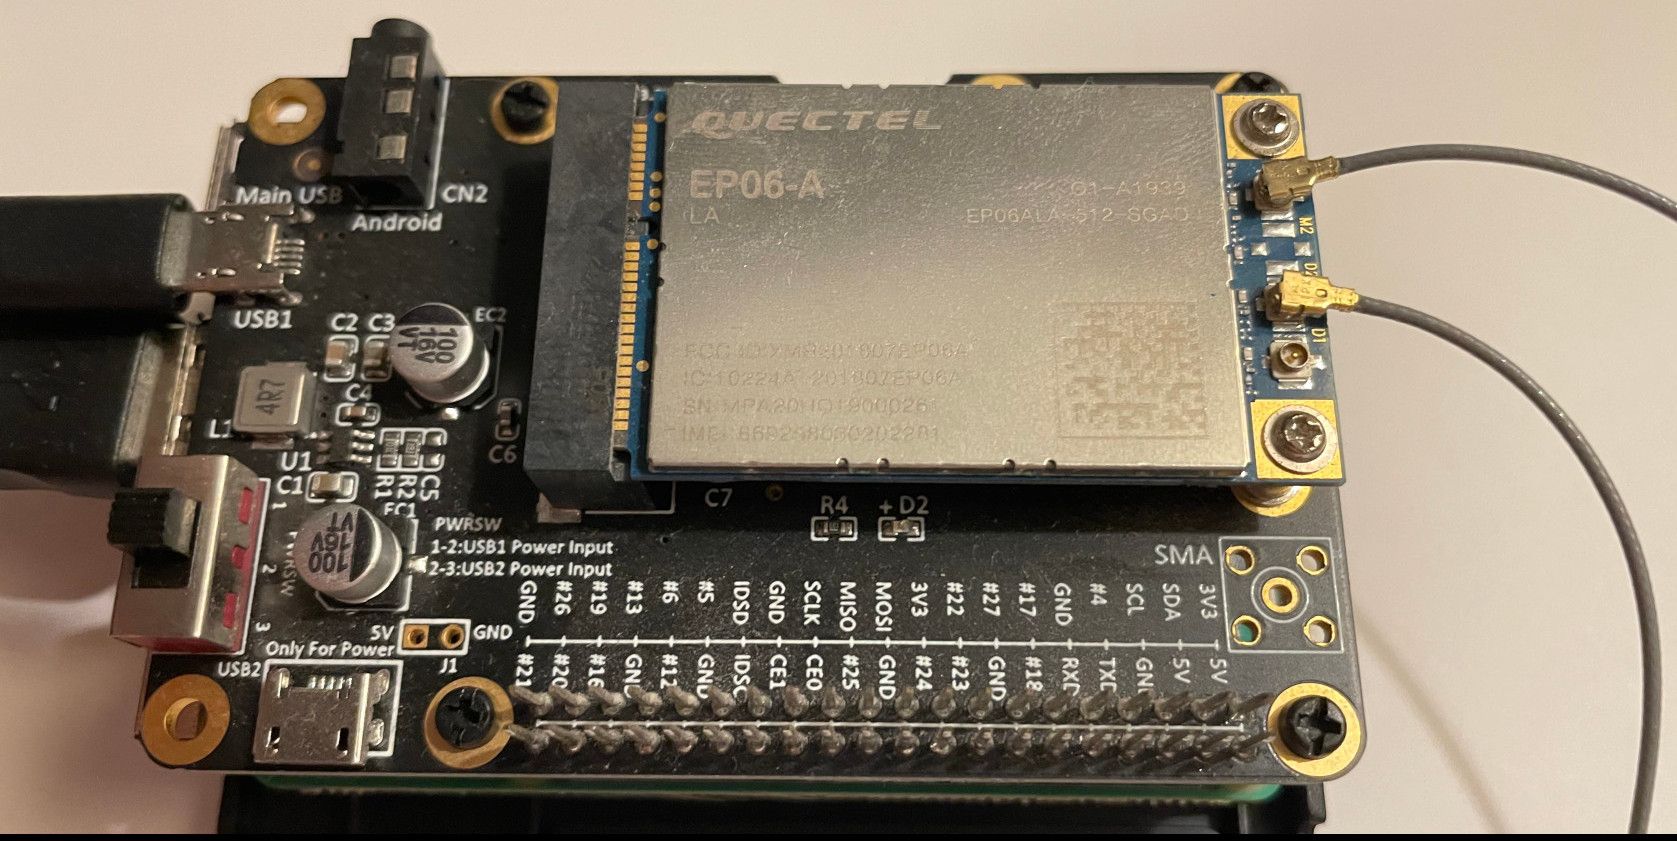
You will then want to ensure a snug fit by screwing it down onto the stand-offs.
There are two screws at the other end of the modem that will need to be secured as well.
The u.FL cables will need to be attached for connect antennas later.
The M1 and D1 are antenna ports and the D2/G port is usually for GPS (if required).
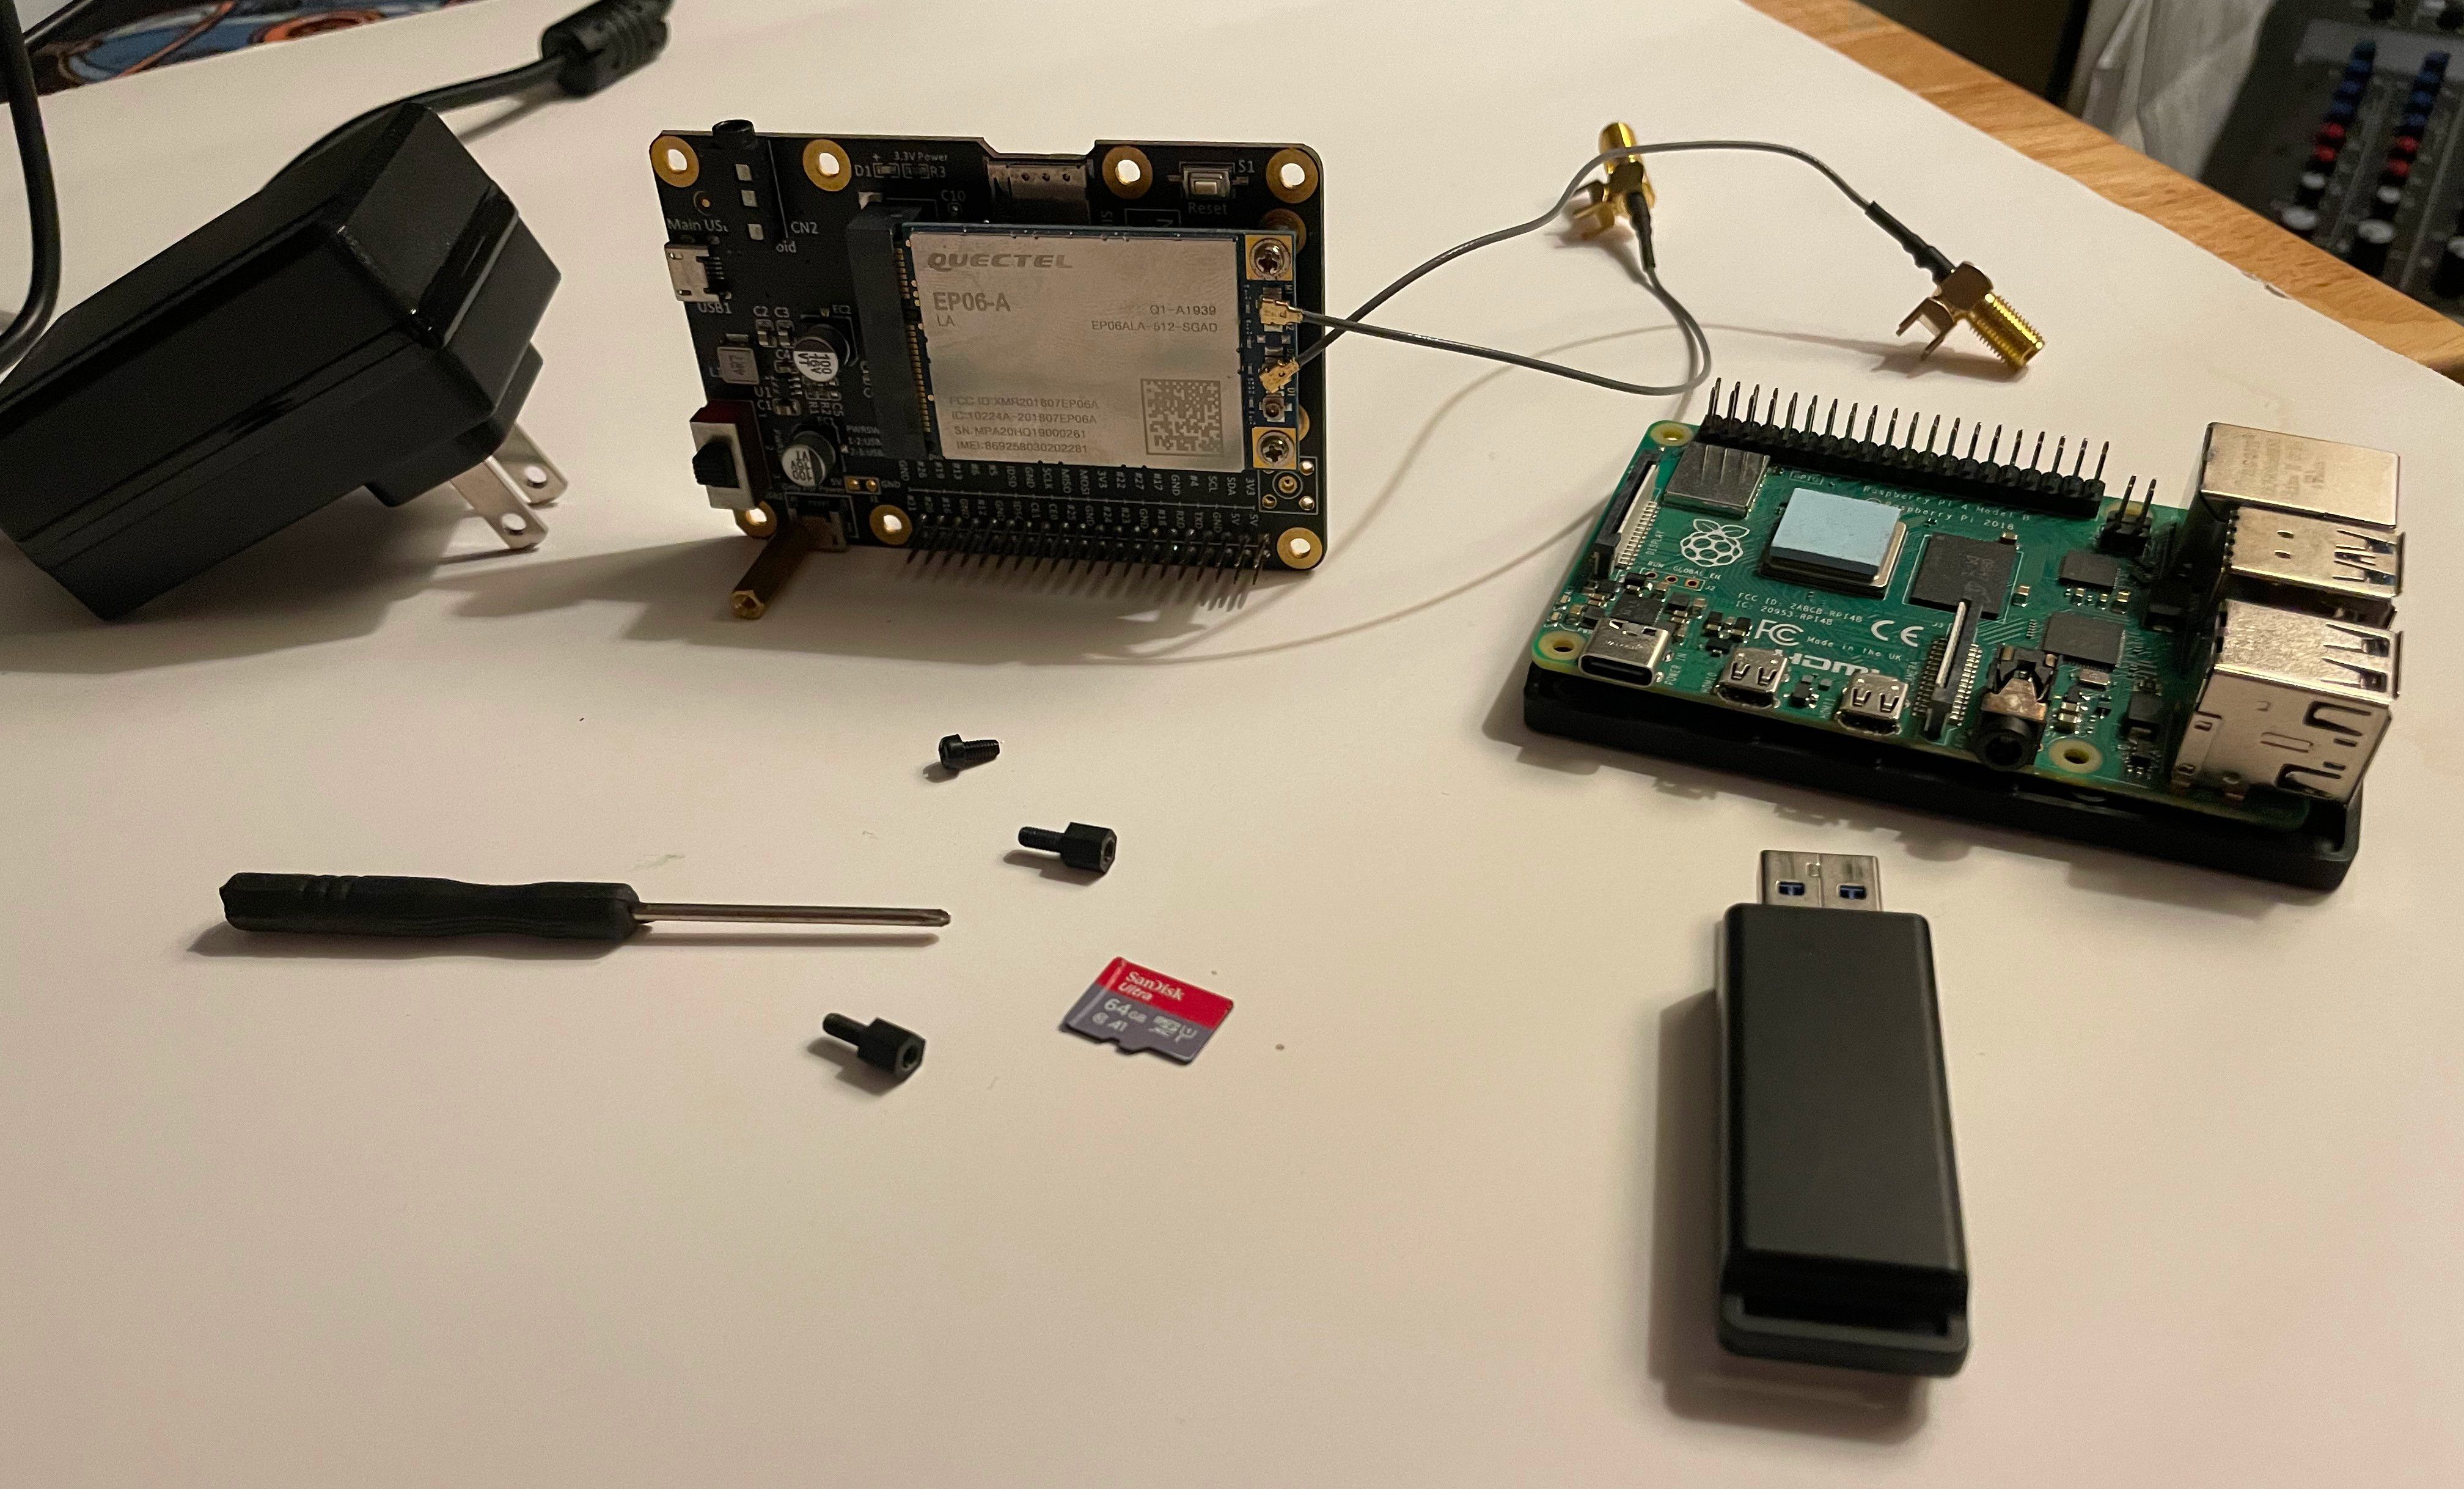
This is a good time to insert the SIM card from your carrier.
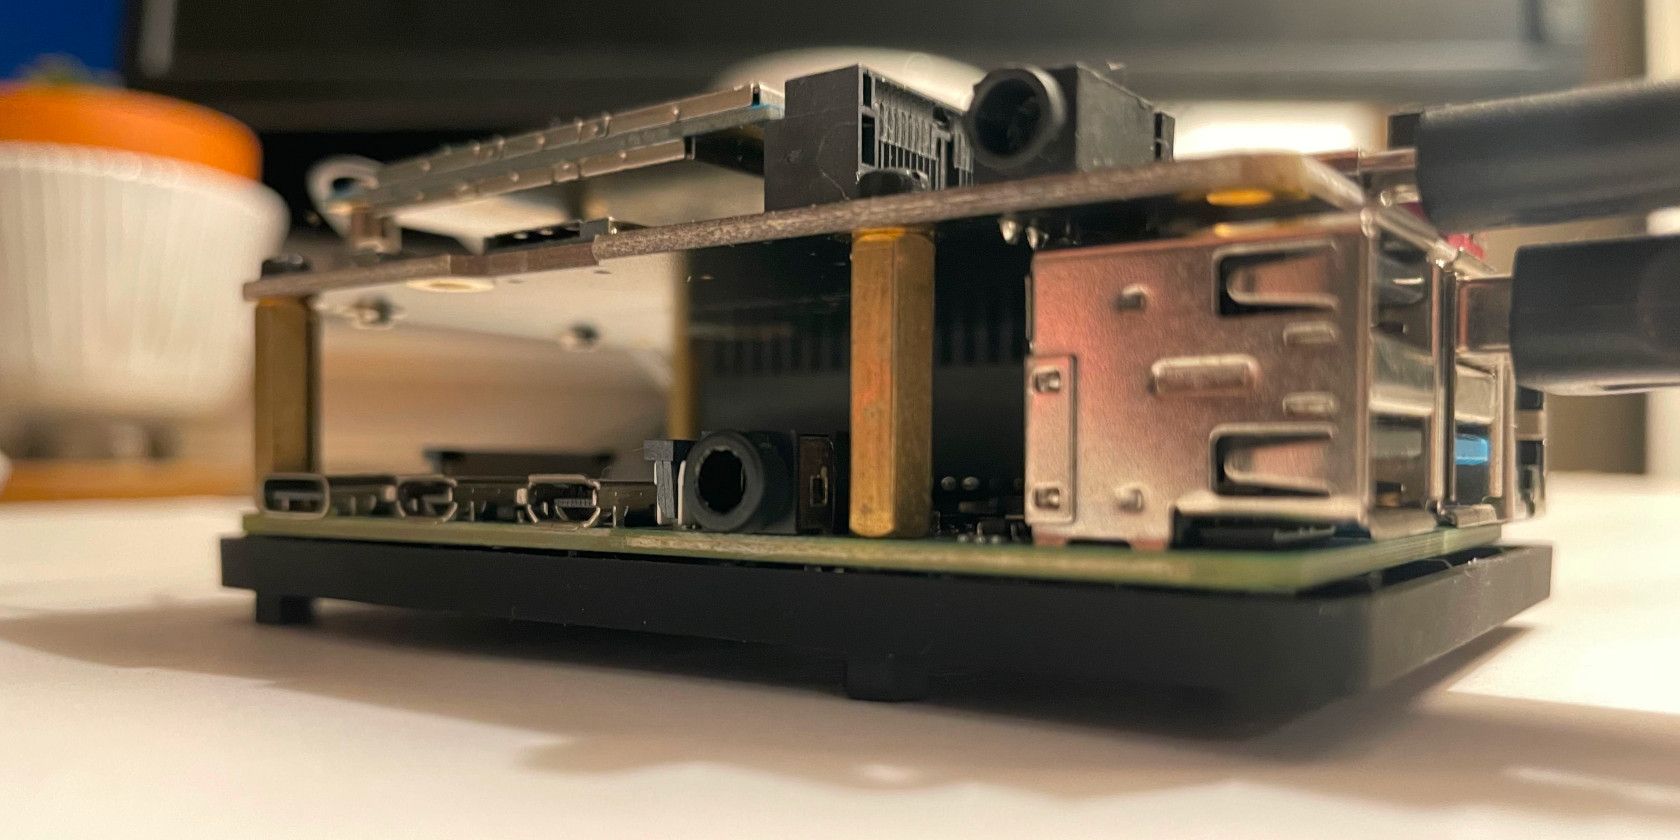
Depending on your HAT, expect to see a bright light shining once powered on.
Next, you should probably validate that your USB-connected modem registers an IP address.
To do so, bang out:
You’ll notice that4: usb0has an IP address.
As you might see, there is aneth0connection registered.
This output refers to an Ethernet connection that is up and running.

If the Wi-Fi connection was enabled, you’d also see an IP address displayed nearwlan0.
You will need an software, called minicom, to set up the modem.
This is also referred to as ECM mode.

If that’s the case for you, key in:
The modem should reboot automatically at this point.
To confirm this action, look for “Cannot open /dev/ttyUSB2!”
appearing on-screen within five seconds.

If not, throw in this:
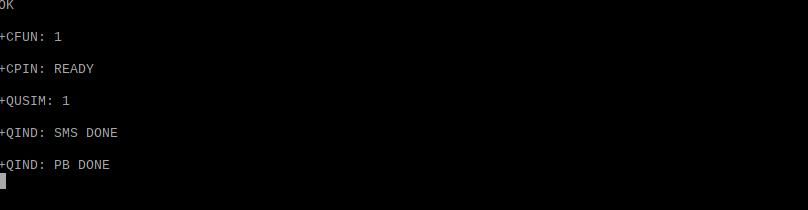
TypeATonce again, and you should receive “OK” in response.
Exit minicom by pressingCtrl + AthenX.
Ensure you’ve selected “Yes” and pressEnter.
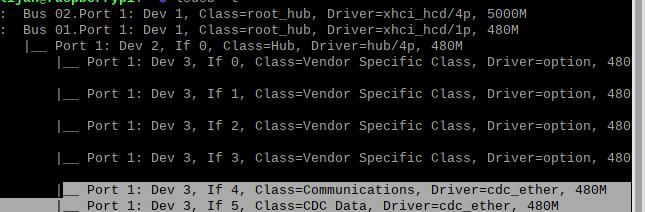
bang out:
You’ll be looking for mention of thecdc_etherdriver.
This confirms that your modem is working as expected.
Should you require further troubleshooting, Sixfab has a terrific guide explaining theECM modem setupfor a Quectel modem.
Where Will You Take Your Raspberry Pi?
Consider taking this project one step further by sharing the Raspberry Pi’s usb0 connection through its Ethernet port.
