Related
It’s the day after D-Day.
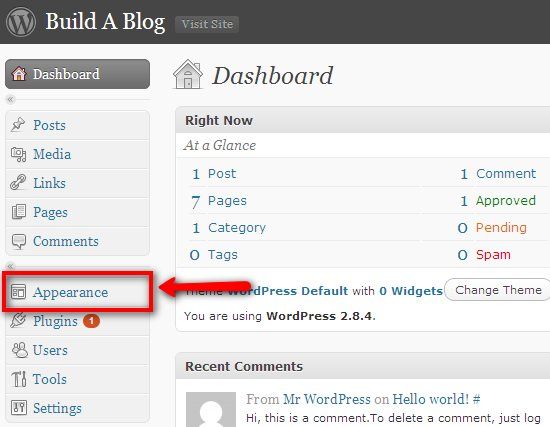
You - the house photographer - sits alone in front of your system.
All the images that you shot at the event have been edited and saved inside the hard disk.

All you have to do now is share copies with your relatives.
Your body trembles at the thought of failing to fulfil their request.
You don’t have the time, the energy or the funds.

Burning the images onto CDs will still cost you your spare time, the blank disks and the postage.
You think about uploading the images to the web and then start looking for an online photo sharing service.
But then it struck you.

You remember thatyou have an idle Wordpress blog.
Instead of leaving it untouched, why not build a photo gallery web site?
The whole process will not cost you a thing.

In the past, you needed both the correct theme and plugins to build a photo gallery site.
It’s a little bit different today.
So our first objective is to find the theme.

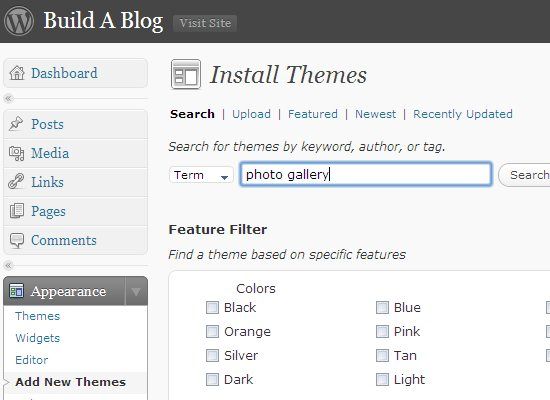
Stop by theWordpresssite and press the “Extend” tab to find the Plugins and Themes directory.
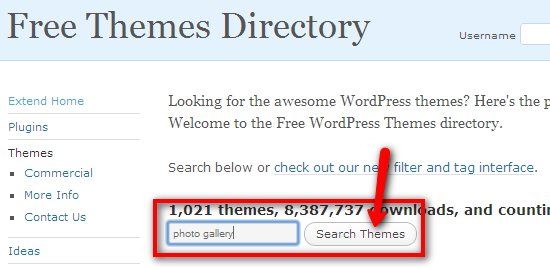
Go to the Themes directory to find one that’s fit to be used in a photo gallery site.
Use the search feature to help you.
But don’t limit yourself to my examples.
Go out there into the wild wild web and search for more photo gallery Wordpress themes.
You could install and experiment with all of them.
you’re able to do the same with plugins.
Tick the ones according to your preferences.
Don’t forget to include the “photoblogging” option under the “Subject” filter.
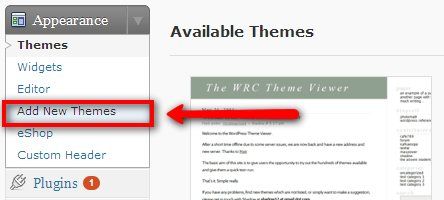
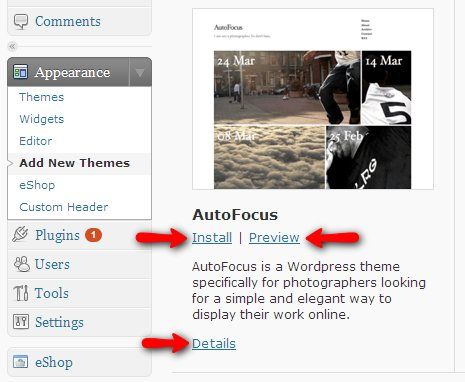
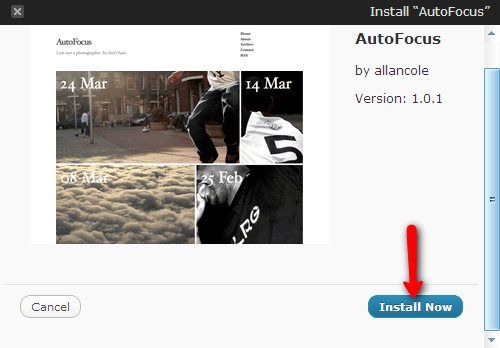
If you like the theme, click “Install” and then “Install Now”
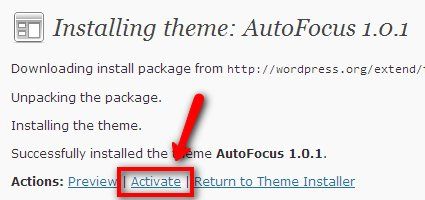
Then activate it.
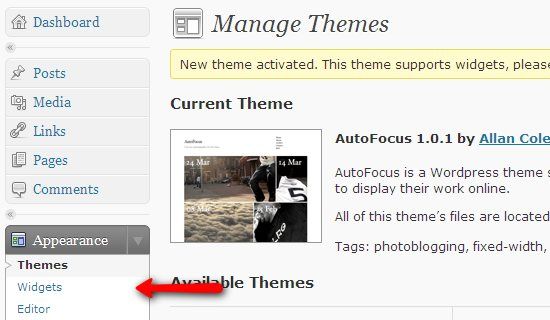
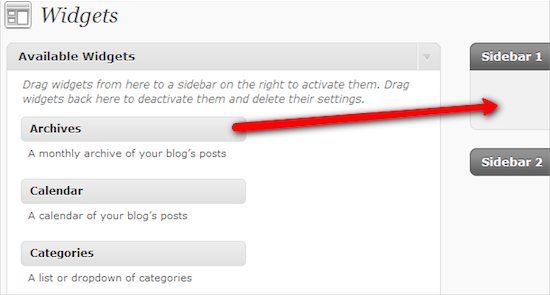
If your theme supports widgets, you are advised to visit the Widget Setting page to activate them.
Just drag and drop the ones that you like to the sidebar.
If you’d like to see the results of this little experiment, you could visitBuild A Blog.
I finally decided to use only the AutoFocus theme without any additional plugins.