Upon completing this, youll be greeted by the Resolve system itself.
The first tab from the left is theMediatab.
The icon appears as a photo stack with a green mountain range and yellow sun in the front.
Image Credit: Dave Dugdale/Flickr
In the default layout, the file system remains on the left-hand side.
Just right-press the image in the pool or in the file list on the top left to do this.
Then choose the drop-down menu option to build the timeline using the selected clips.
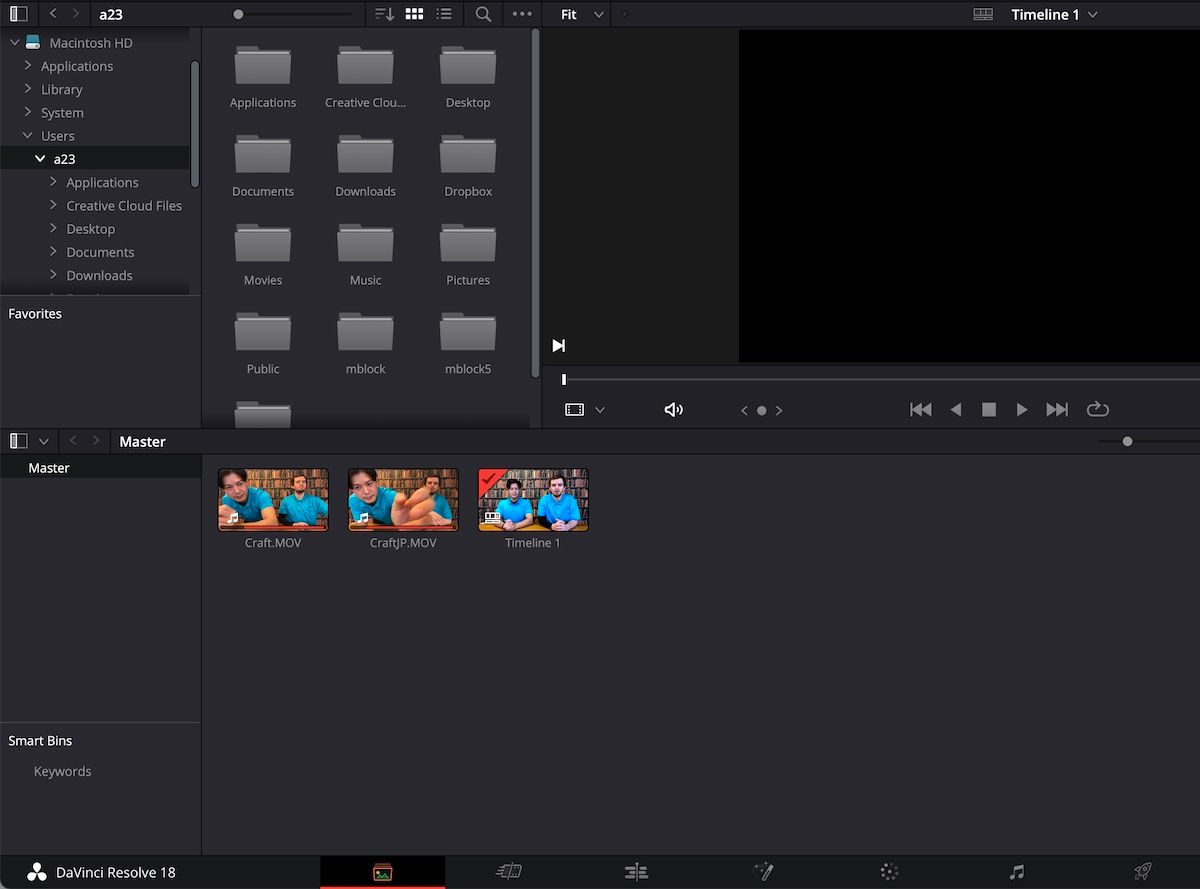
There are a number of useful tools here too.
Edit
The next tab is where the bulk of the editing will probably take place.
The icon looks like a portion of a layered timeline, with the playhead in the center.
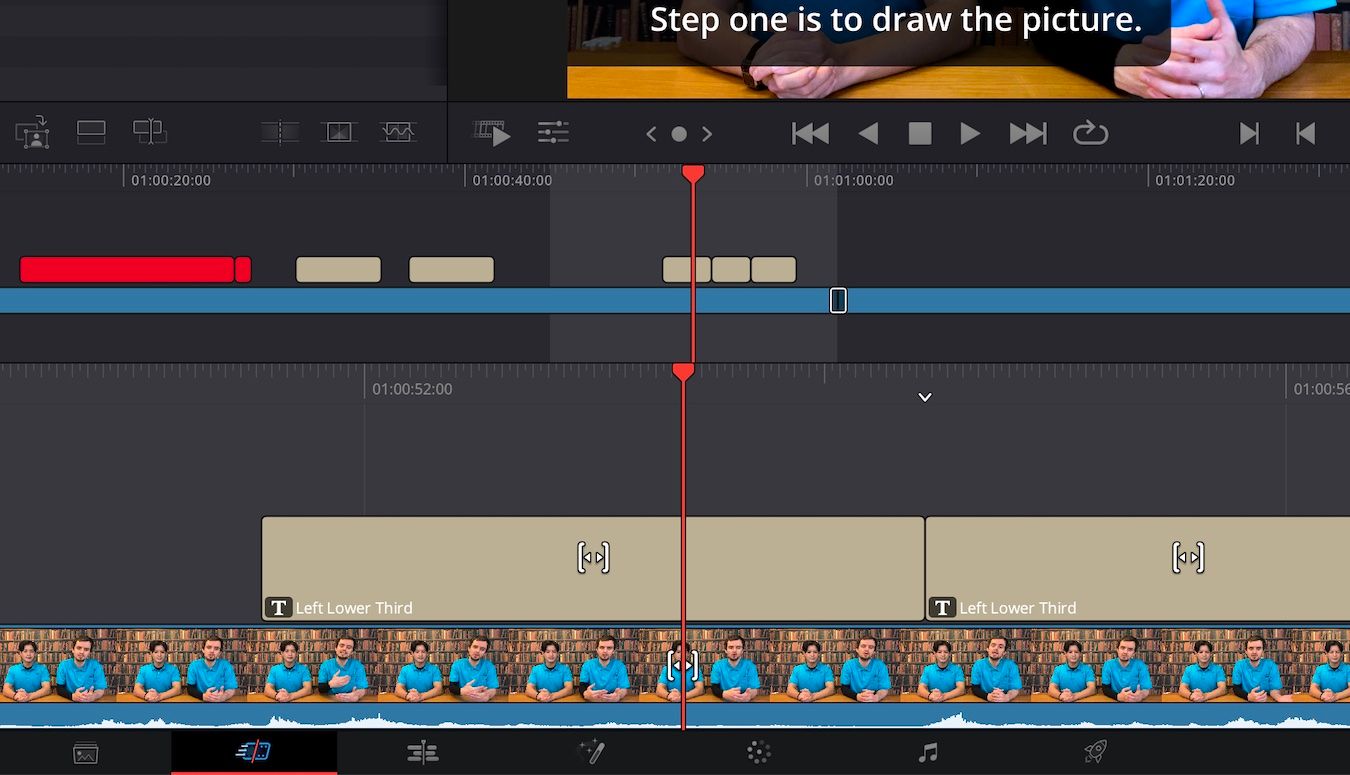
The editing tools can be found in the center of the window.
Here you’re able to change the height of the video and audio tracks.
Fusion
The magic wand icon in the middle of the selection marks theFusiontab.
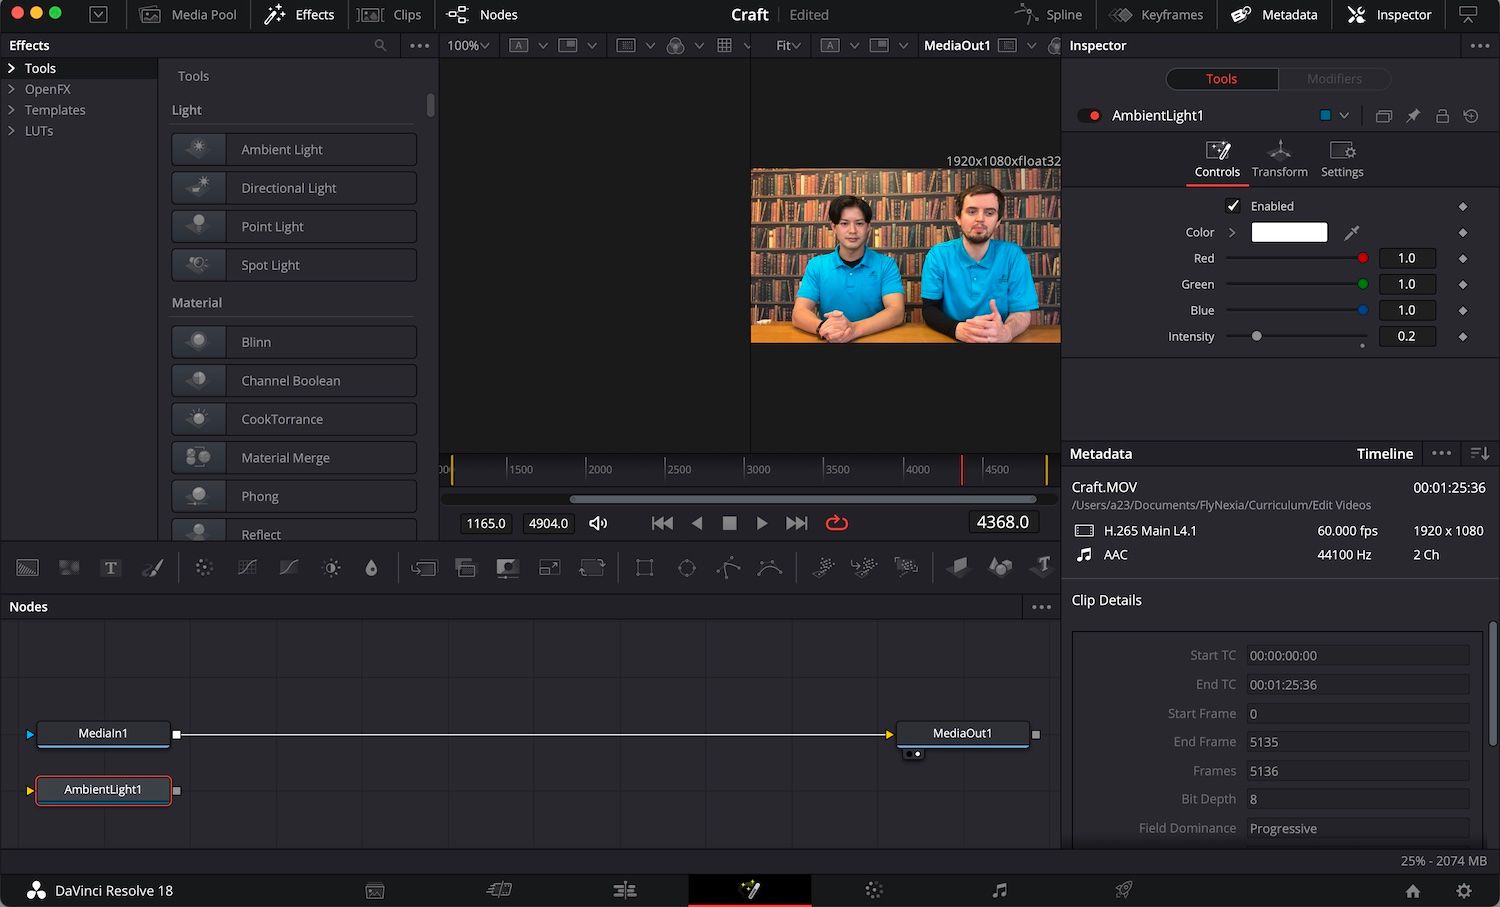
This is where special effects and transitions can be added.
See our beginners tutorial onhow to use nodes in DaVinci Resolveto help you get started.
At the top left again we find the options to toggle viewing the media or effects list.
There is also the option to reveal the timeline clips at the bottom.
The nodes themselves can even be hidden and revealed from here.
There is an option to reset the composition under the Fusion drop-down menu at the top of the screen.

This removes any applied effects and sends you back to the start and a fresh clip.
Color
The friendly little rainbow wheel marks theColortab.
This is what Resolve was famous for, to begin with.
The amount of color grading options for a free system is fantastic.
Theres a playback window in the top left and the list of effects is now on the right.
The range of color-correcting tools can be found in the middle.
You will also find many color-correcting tutorials available on YouTube.
Noteworthy Feature:DaVinci Resolve LUTs.
Heres how toimport and export LUTs in DaVinci Resolve.
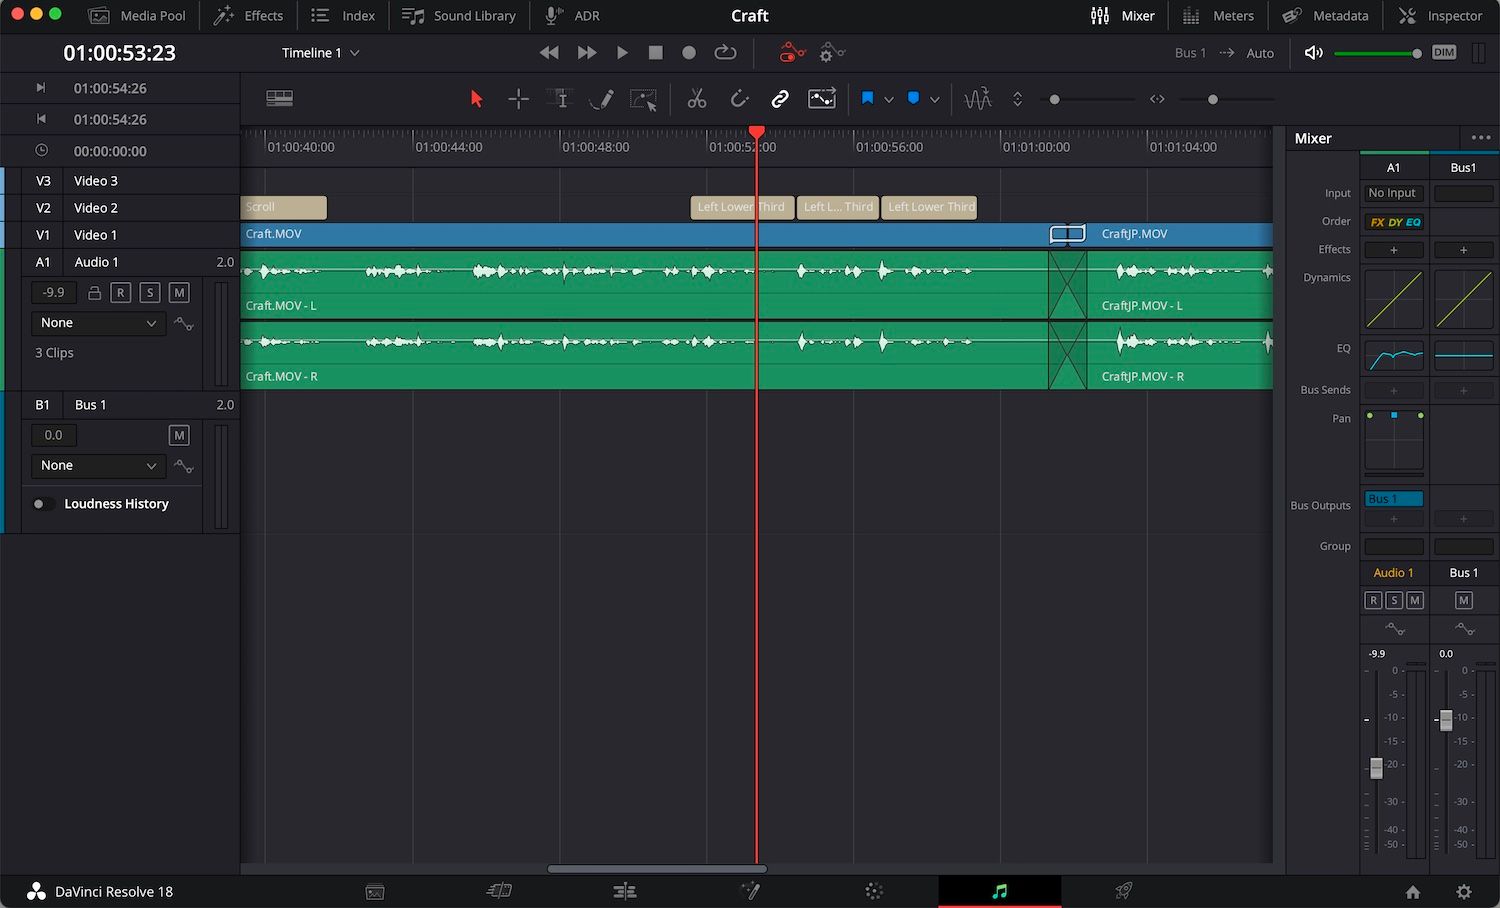
Fairlight
The icon appearing as two joined, musical quavers is theFairlighttab.
This is Resolves audio editing arena.
Deliver
The rocket ship is a great way to represent the final tab;Deliver.
It is here that you will render and export your finished project.
This is your final chance to review the video and conduct your quality control check.
If you notice anything wrong, simply click back to the relevant tab to perform a fix.
All being well, the export option can then be decided.
See our guide onhow to upload videos to YouTube from DaVinci Resolvefor a walkthrough.
