Using typography in design is important; everyone does it.
But you dont want your text to look like every other designers, right?
Here, we share our top tips and tools to help improve your custom typography in Adobe Illustrator.
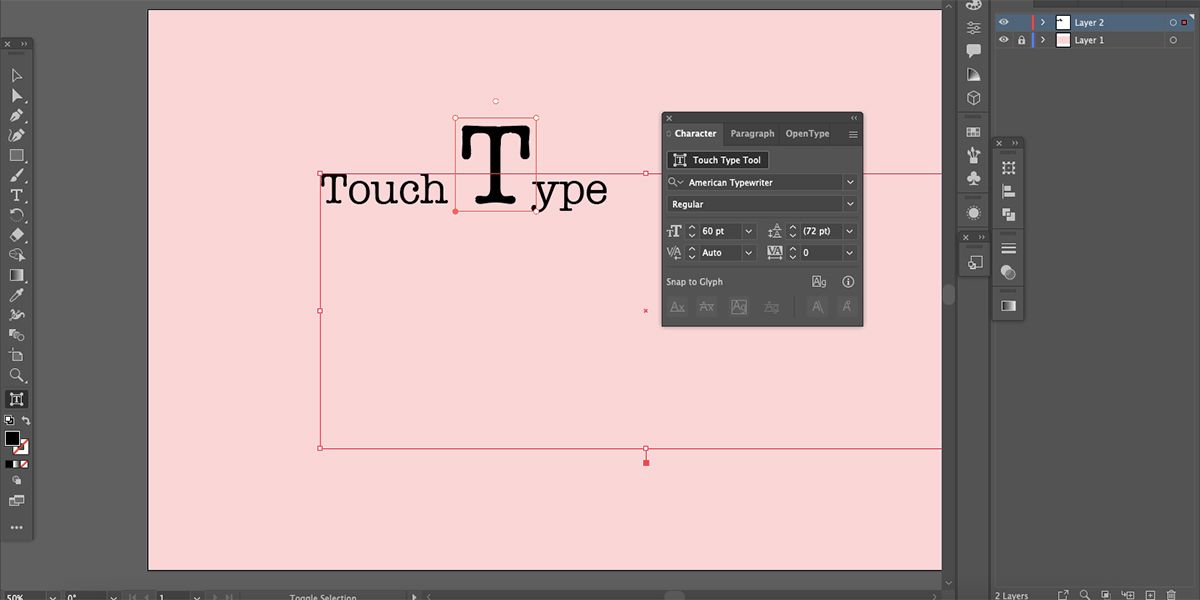
After typing your text, initiate the Character panel by going toWindow>punch in>Character.
At the top of the popup, selectTouch throw in Tool.
Then you’ve got the option to select any individual letter to edit.
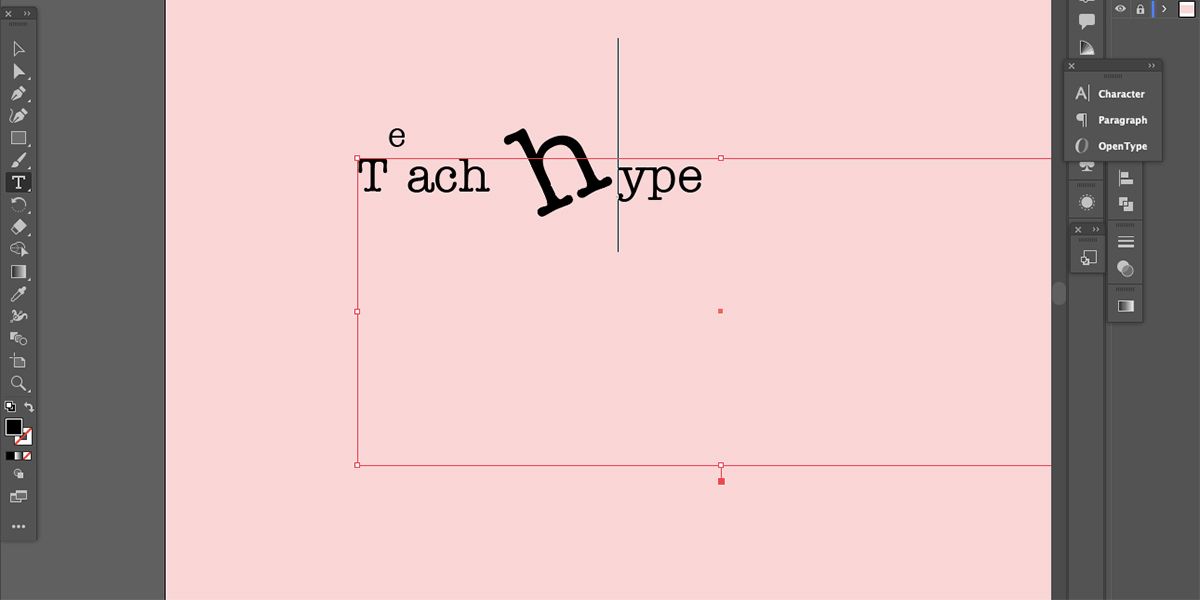
it’s possible for you to also click and move with your mouse.
But if you highlight the entire word to rewrite it then the effects will be lost.
Adding Glyphs
While this isnt an option for all fonts, is it a hidden option for many.
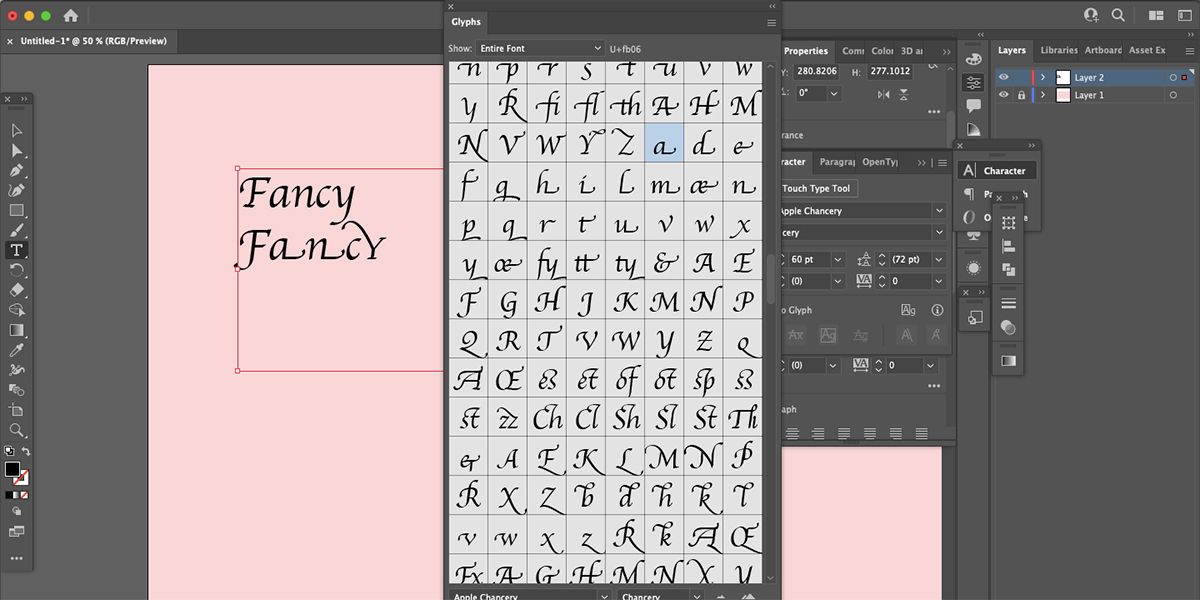
Find out if your chosen font comes with added glyphs by going toWindow>key in>Glyphs.
Not all typefaces come with the added extras, but if it does, youll find them here.
It is more likely that cursive fonts will offer decorative glyphs.
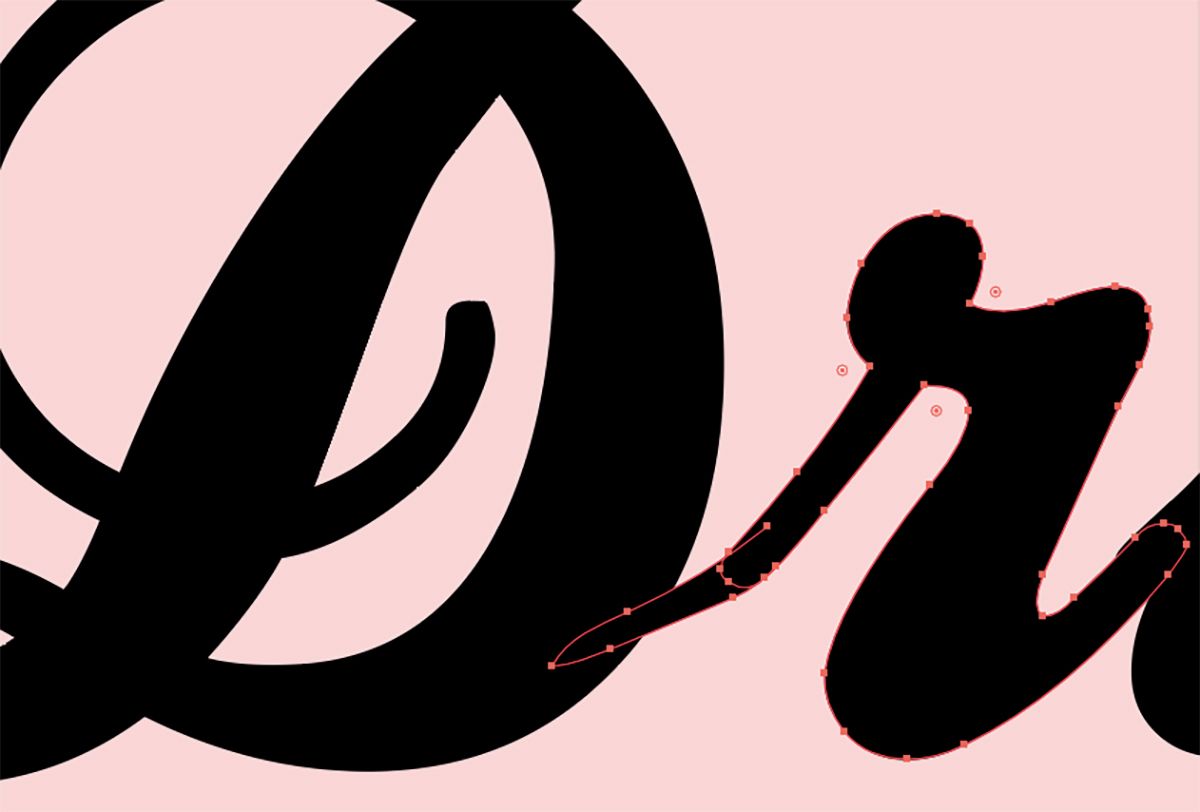
Create Outlines
Creating outlines of your text in Illustrator can be helpful for many reasons.
To create outlines, first, key in out your text.
Set any configs you want from the Character and Paragraph panels.
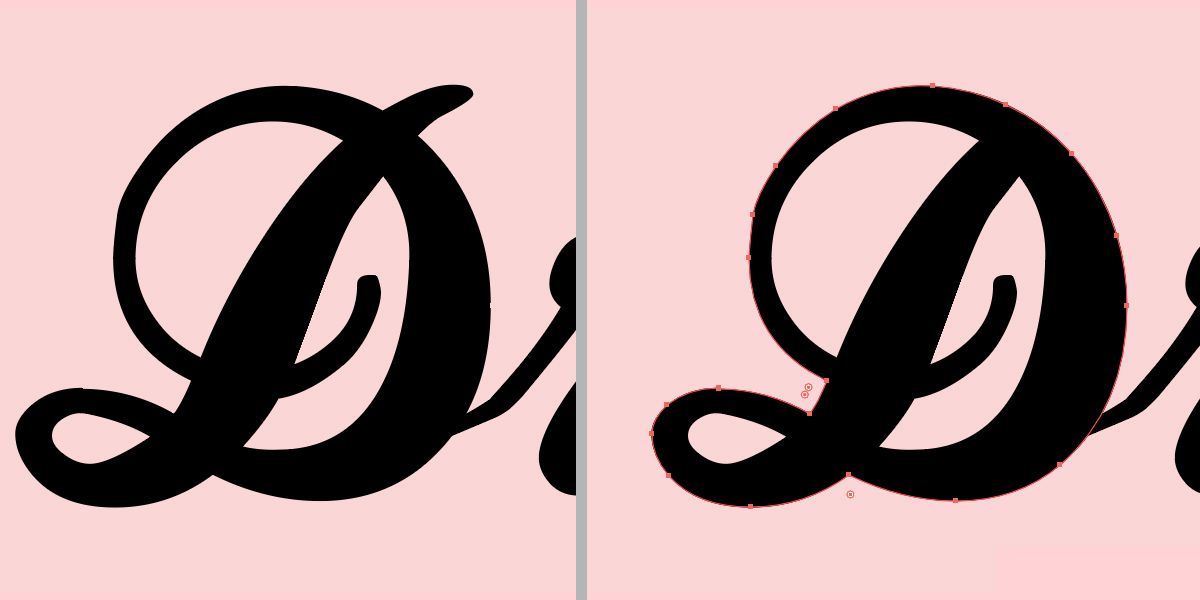
Once youre happy with what you have, right-hit the text and chooseCreate Outlines.
Now your text is a path and can be edited as such.
Offsetting your text is a great way to add a border around it.
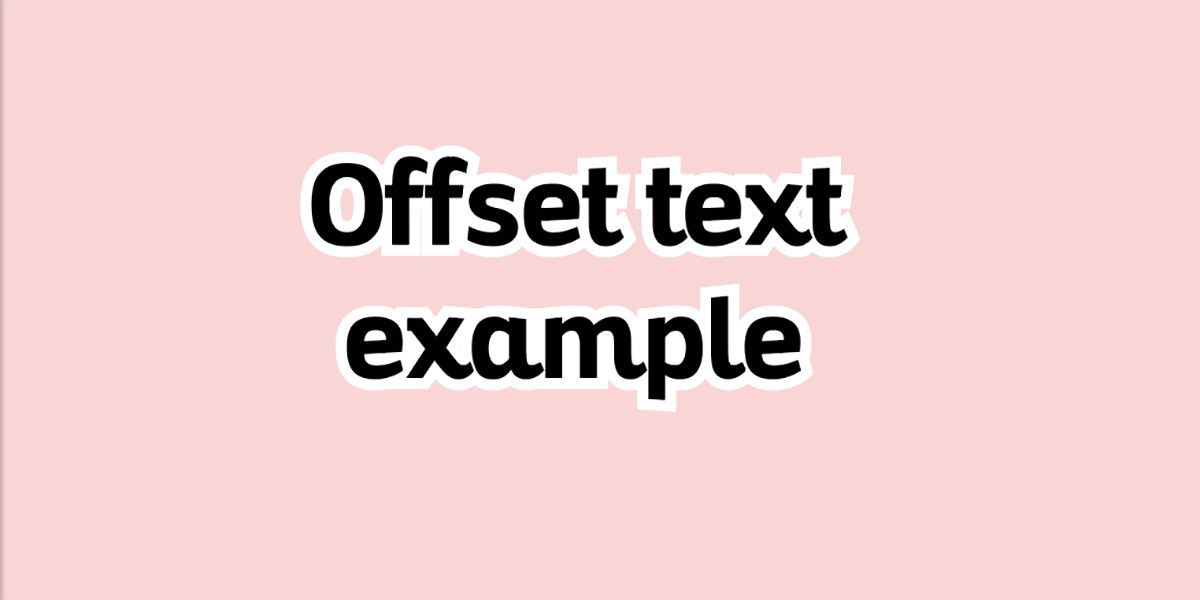
An offset border can also be used when printing stickers or making logos or GIFs.
To offset text with created outlines, go for the path and go toObject>Path>Offset Path.
Choose a size for the border and clickOK.
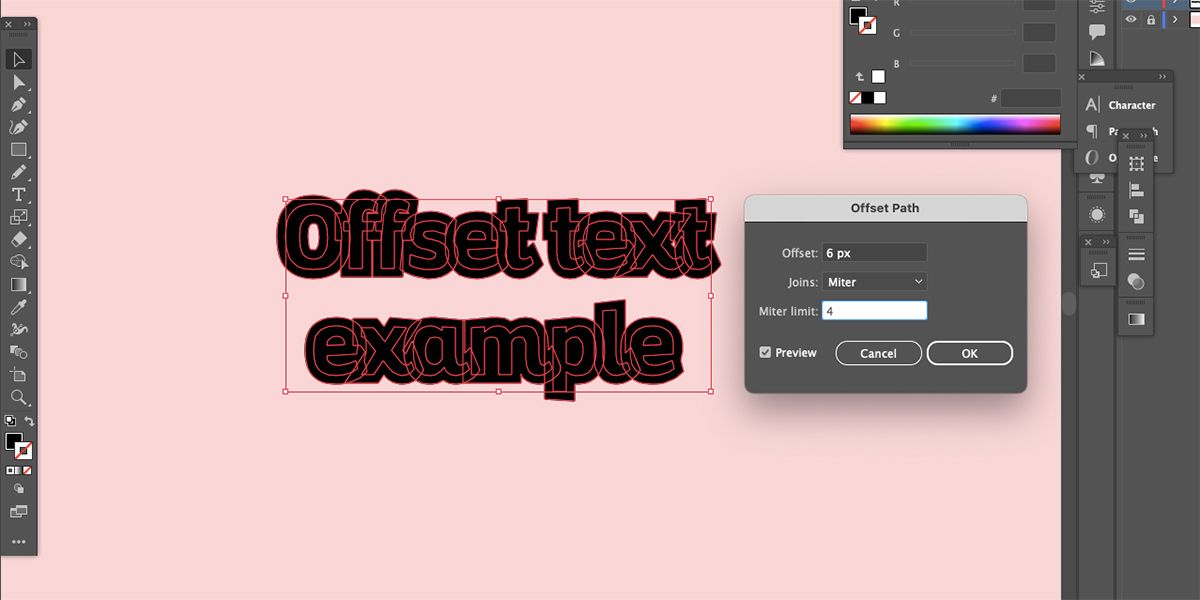
Then on thePropertiespanel, clickMerge.
Right-smack the outline and go toArrange>Send to Back.
Then change the color of the outline to see your original text on top.
you could easilyoutline text or add borders to text using Photoshop, too.
This can produce a similar result as offset text.
Setting these will take any text from an out-of-the-box font to professional typography in seconds.
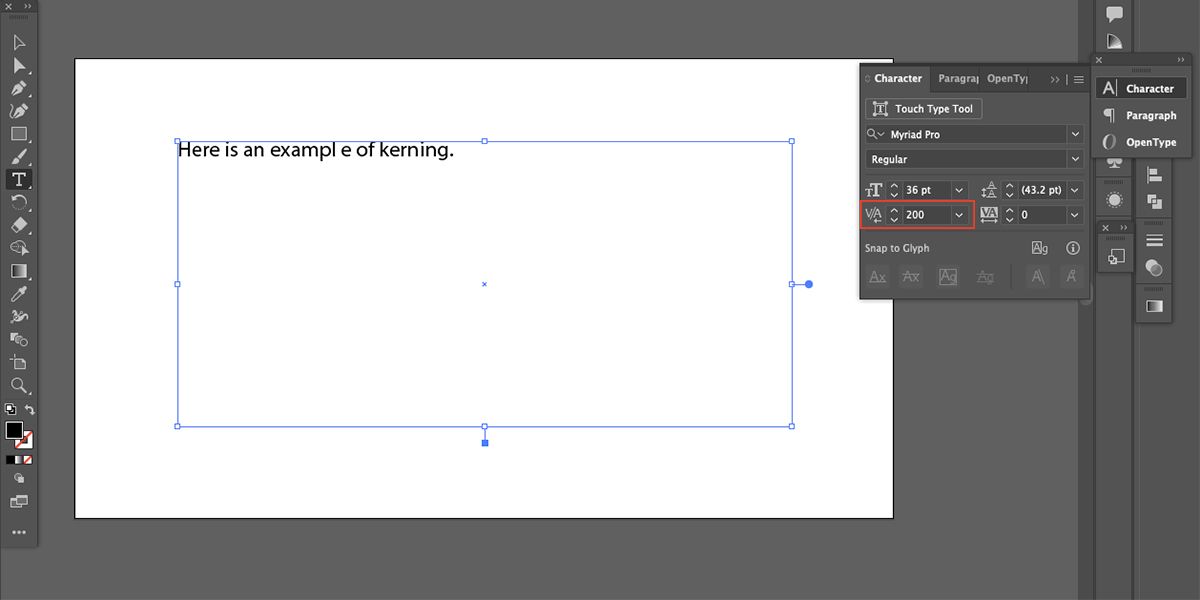
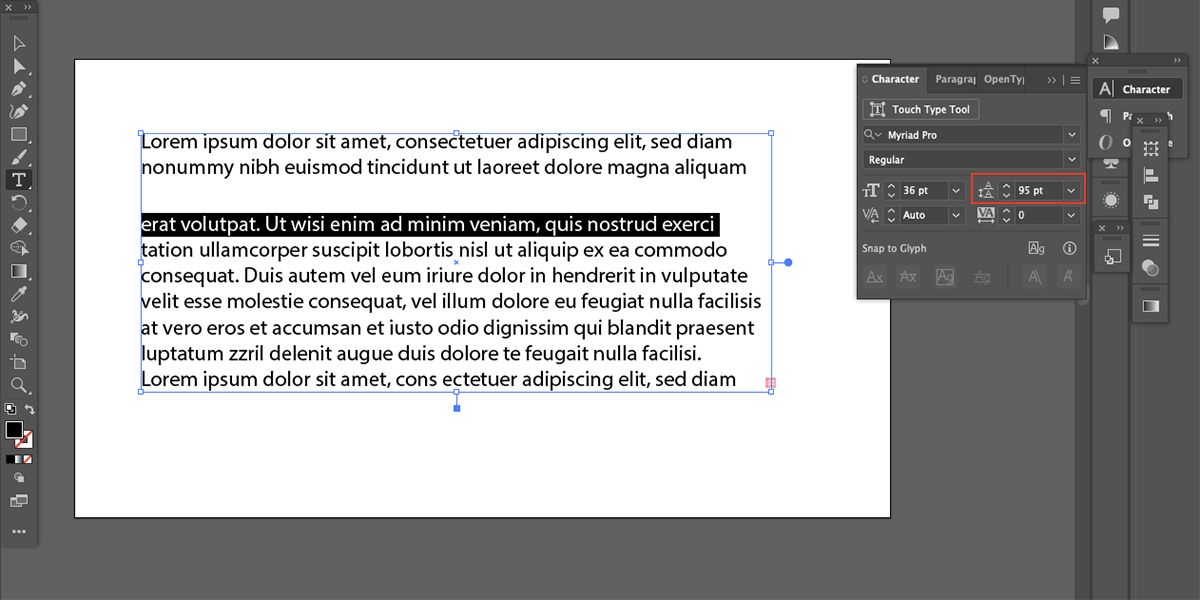
Youll find the leading, kerning, and tracking configs in theCharacterpanel after typing your text.
Leading sets the space above a line of text.
Kerning is for setting the spaces between individual characters.
![]()
Finally, tracking is used to set spaces across multiple characters or words.
Just highlight the letters or words and toggle theTrackingup or down to increase or decrease spacing.
Download External Fonts
Using unique fonts will always give your typography a custom feel.
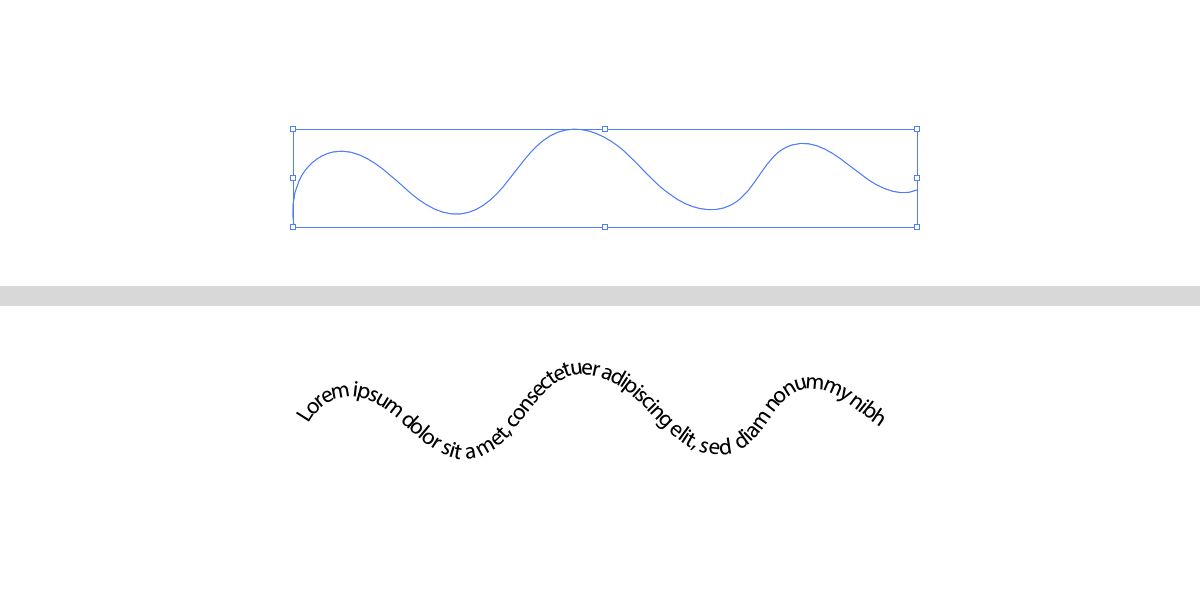
A great way to customize your text is by typing on a path.
Create a path using any path-based toolPen Tool, any shape tools, Pencil Tool.
Then select and hold theType Tooland chooseType on a Path Tool.
Click and drag the nodes to move your text around the path for best placement.
Here arethe best ways to add text to a photowith different software.
Incorporate a few of these tips into your workflow and see how your text results change for the better.
