Creating digital art using the Procreate app makes drawing and coloring super convenient.
If you gotta color your Procreate artwork, there are many ways to do it.
Level up your Procreate illustrations with color in seven different ways.

Color Between the Lines
This first technique is the most basic one: treat Procreate like a coloring book.
Once youve drawn your outline, color it in like you would as a child.
you might be as messy or as clean as you like.
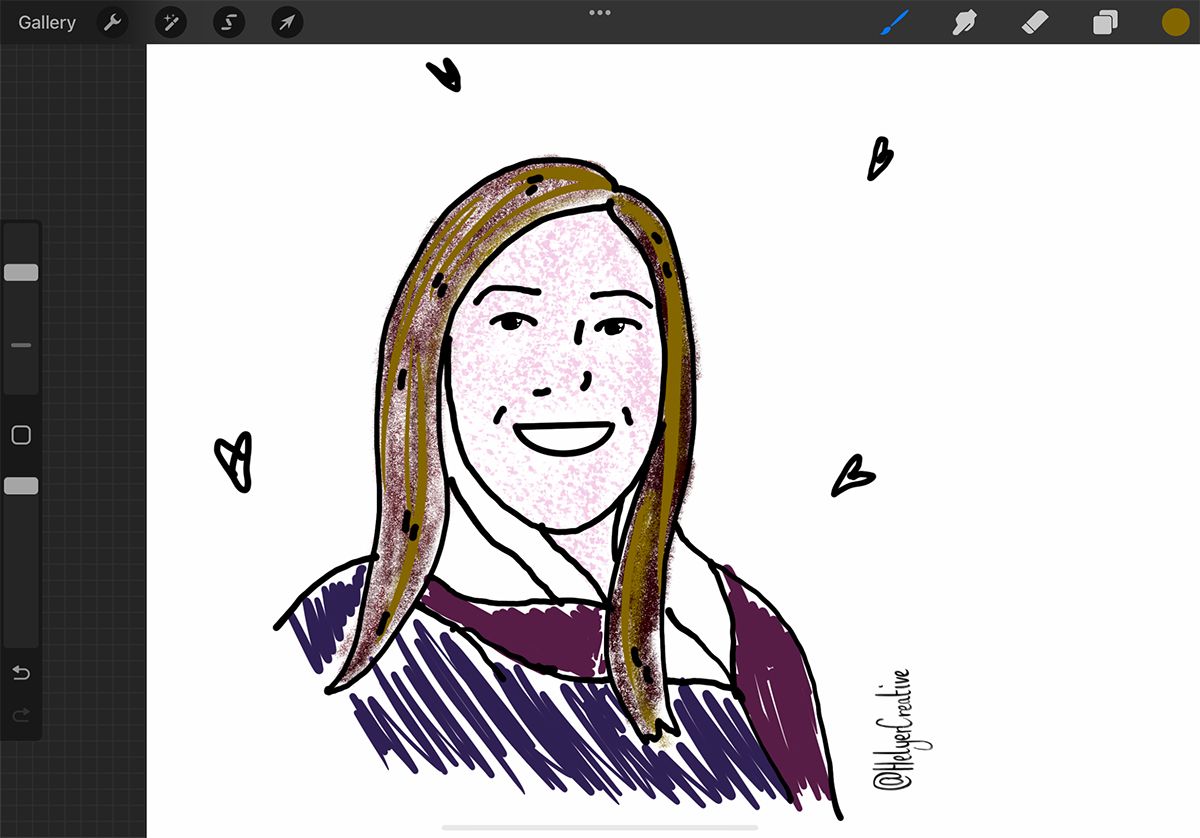
you might use this technique on the outline layer or on a new layer.
This technique is great when using brushes that replicate crayons, markers, or felt-tip pens.
These aresome of the best Procreate brushesyou should try.
If your outlines are clean, this will fill the entire space with one color.
The brush texture may also prevent a closed loop, so it can’t be filled.
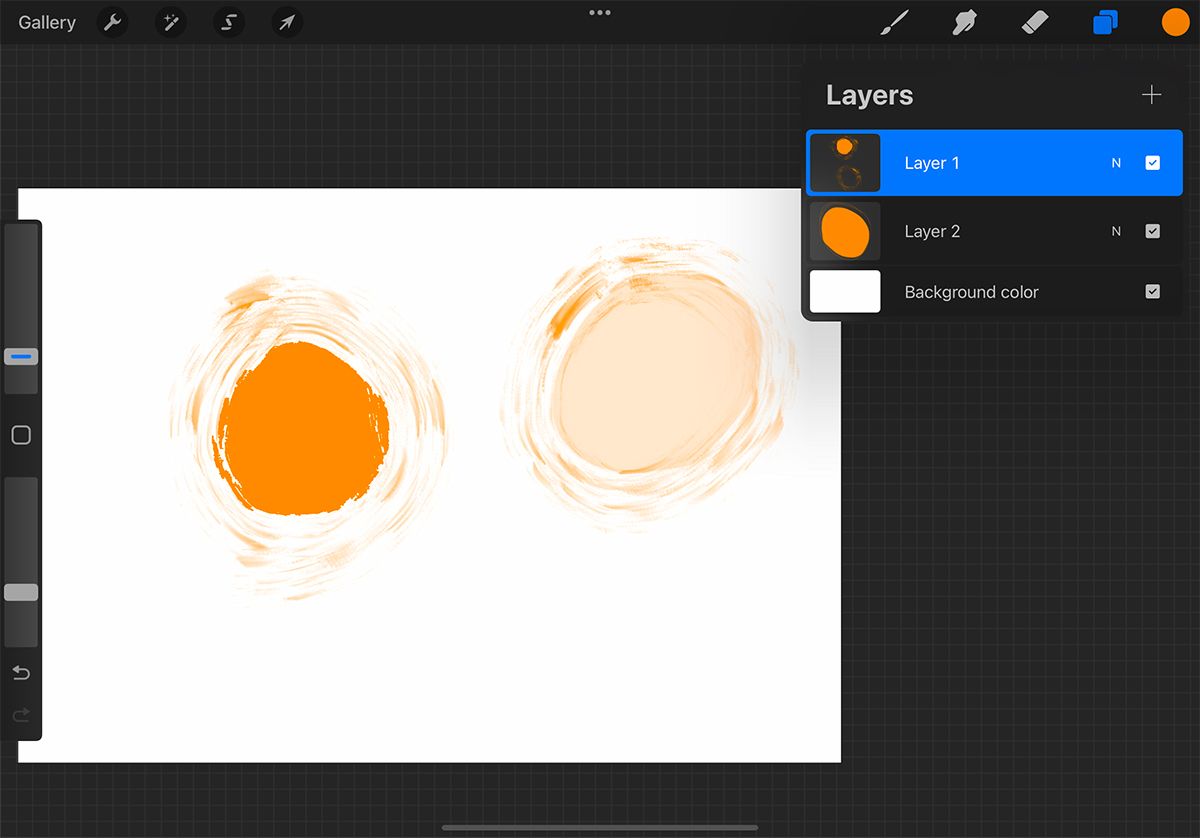
you’re free to lower your brush’s opacity to keep the top layer’s effect visible.
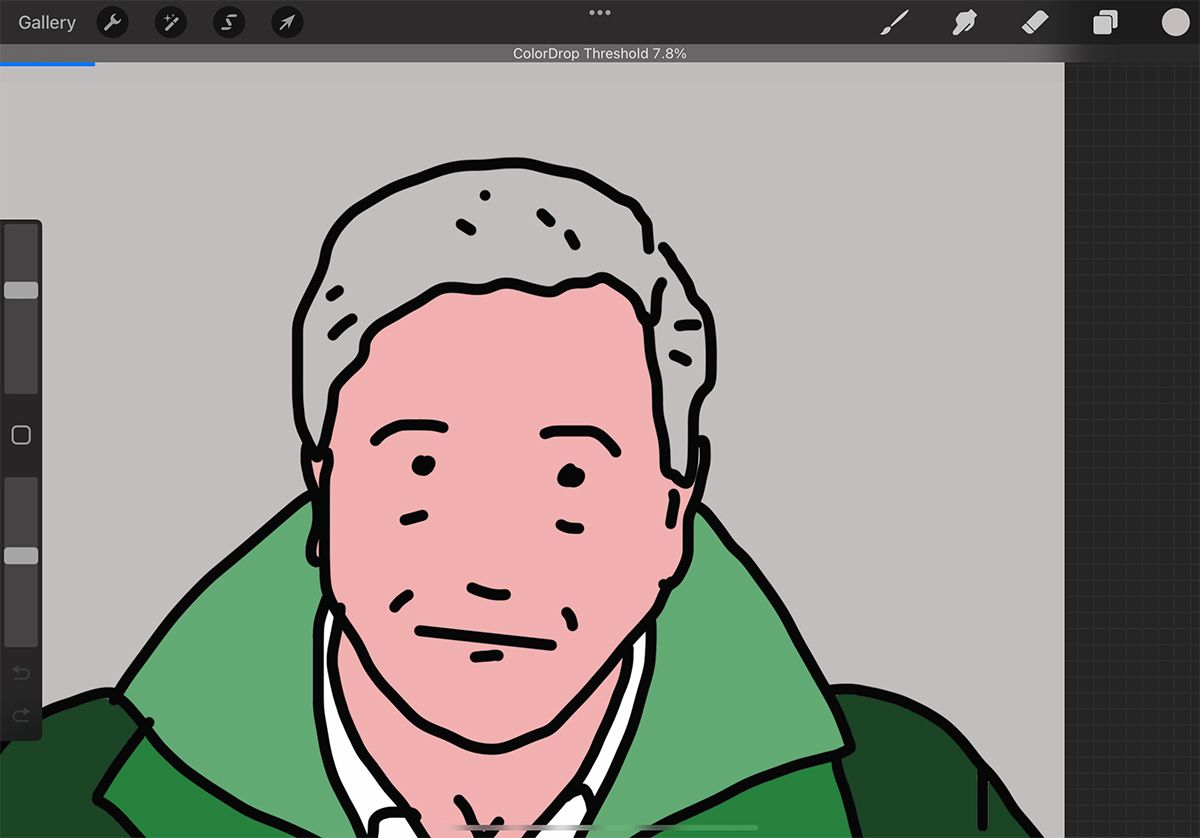
Then all you have to do is drag from theColor Pickerto fill your colored outlines on the below layer.
It will fill without any white borders.
you might keep the layers separate or merge them together.
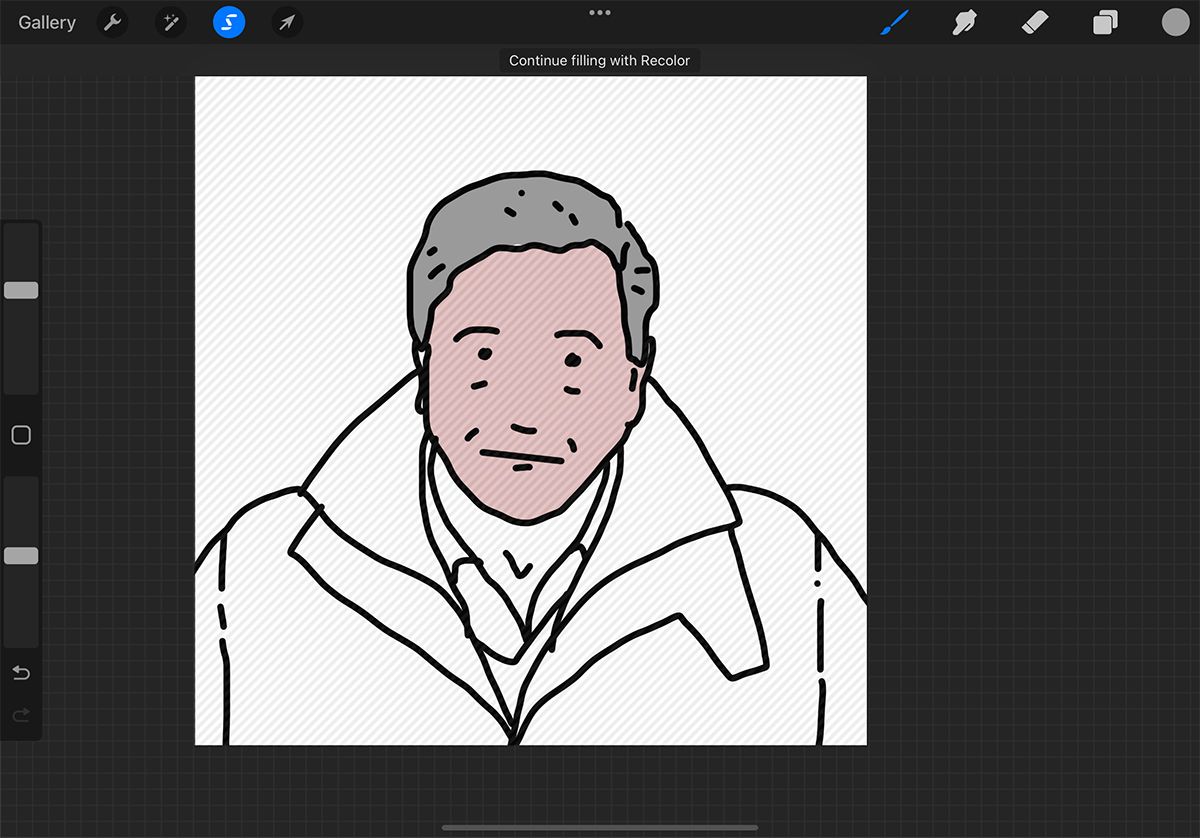
The easy solution to recoloring your line work in Procreate is to useAlpha Lock.
This works similarly to a clipping mask but without using an extra layer.
On your outline layer, swipe the layer right using two fingers to turn Alpha Lock on.
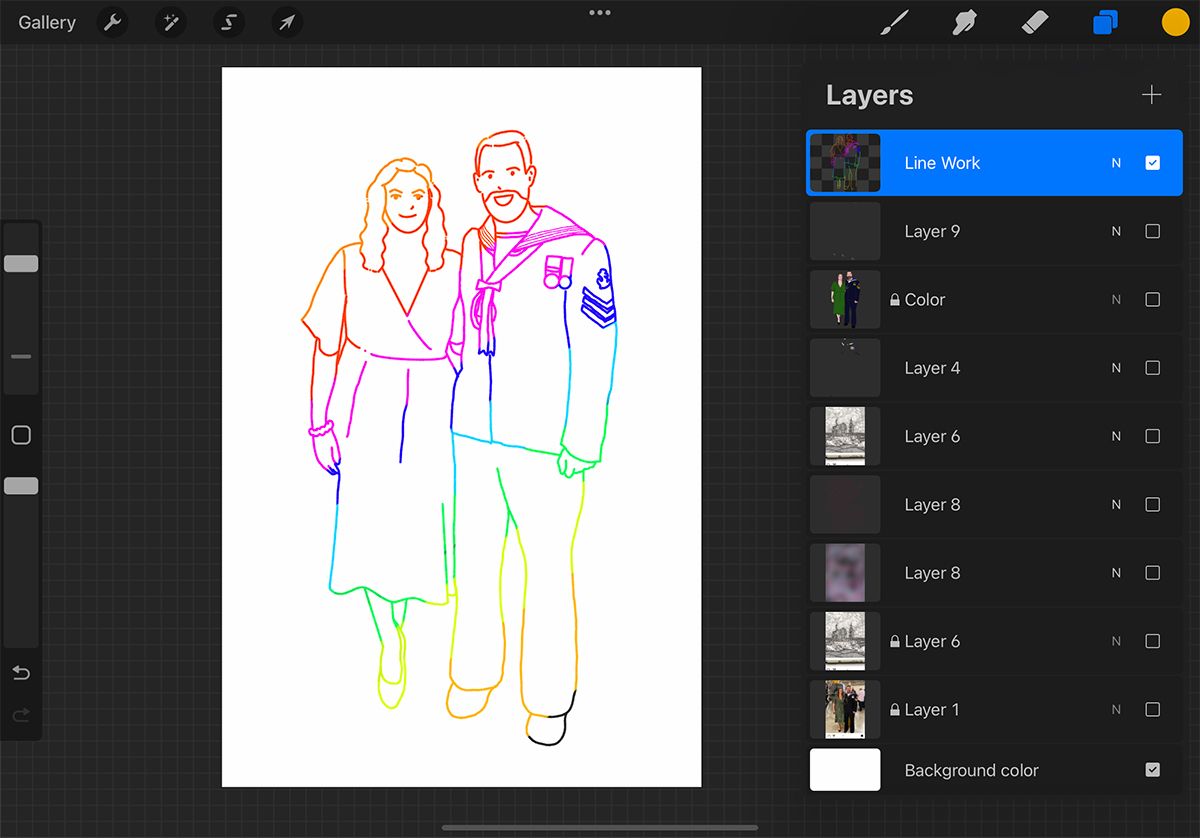
Change your color using theColor Picker, and using any brush, simply color over your outlines.
Once youre done, swipe the layer right with two fingers again to remove Alpha Lock.
Tap your outline layer and chooseReference.
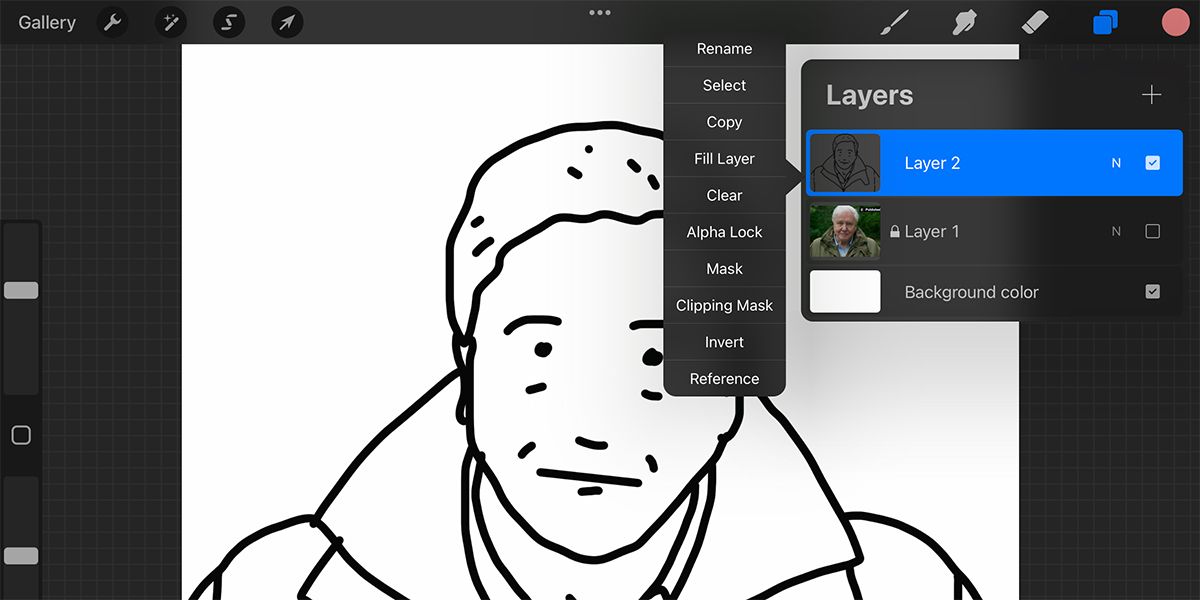
Reference will appear under the layers title until you switch it off.
Then open a new layer by tapping+in theLayerspanel.
Drag the new layer below the outline layer, keeping the new layer selected.
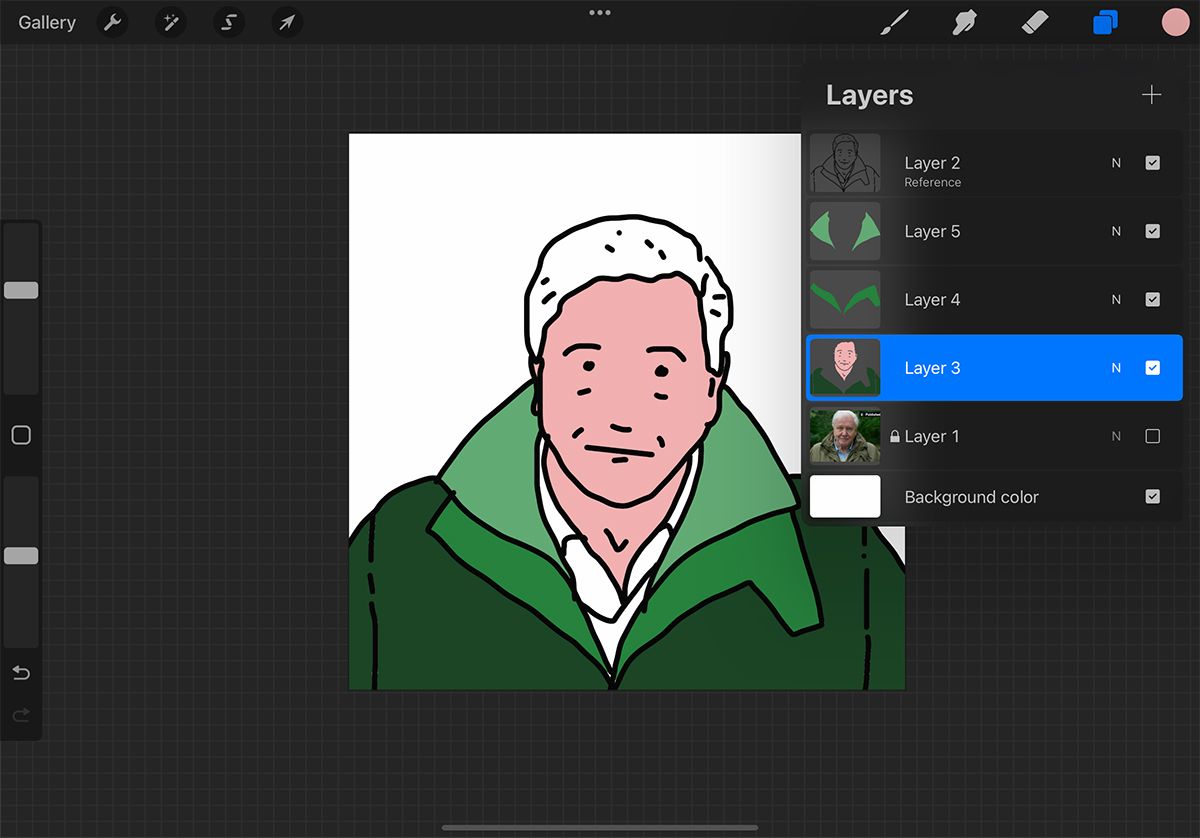
Then drag your chosen color from theColor Pickerinto the space you want to color.
you’re free to add multiple colors to the same layer or add a new layer per color.
Any layers below the Reference layerwhile it’s switched onwill work this way.
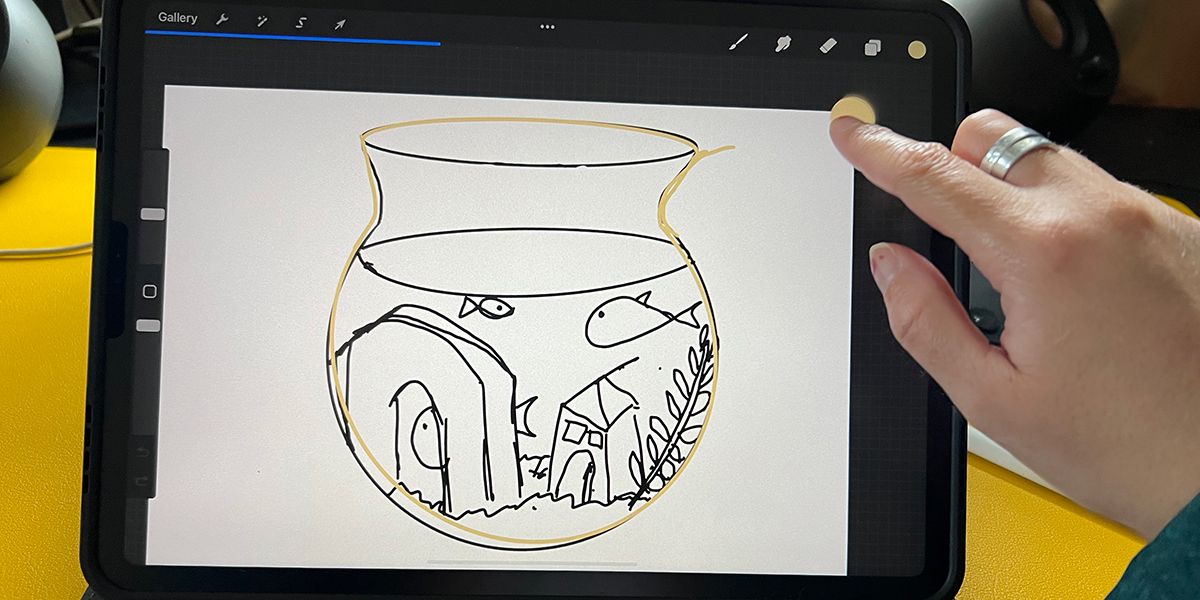
Use Automatic Selections
you’re free to use theSelectiontool to dictate an area to color fill.
Start by selecting the outline layer, then tapSelections(the S-shaped icon) >Automatic.
Ensure thatAddis highlighted rather than Remove.
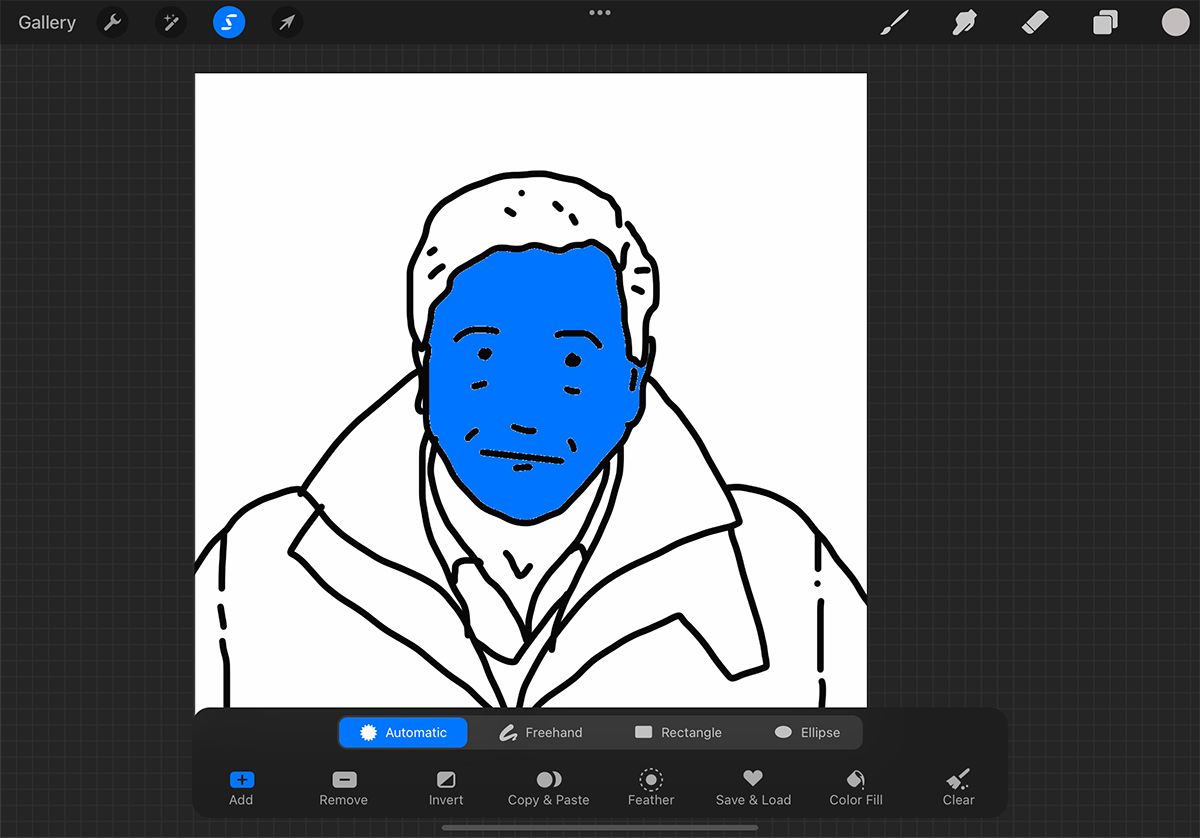
Then tap the empty space you wish to color; it will turn bright blue.
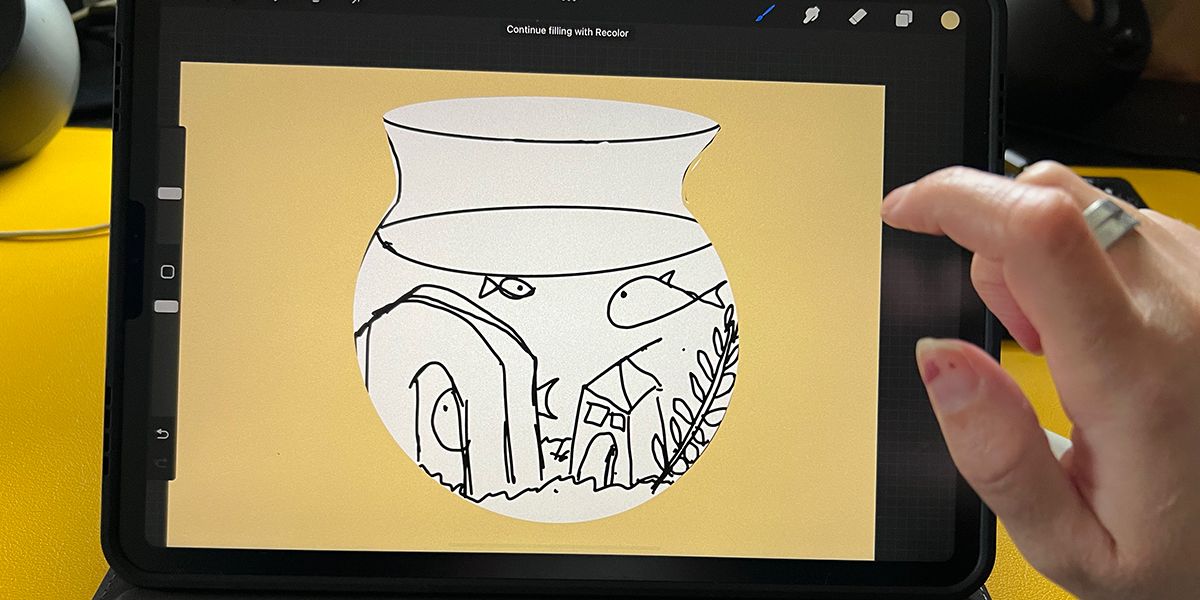
If you want to add a new layer, do so now and select it.
Select theColor Pickerand choose your intended color.
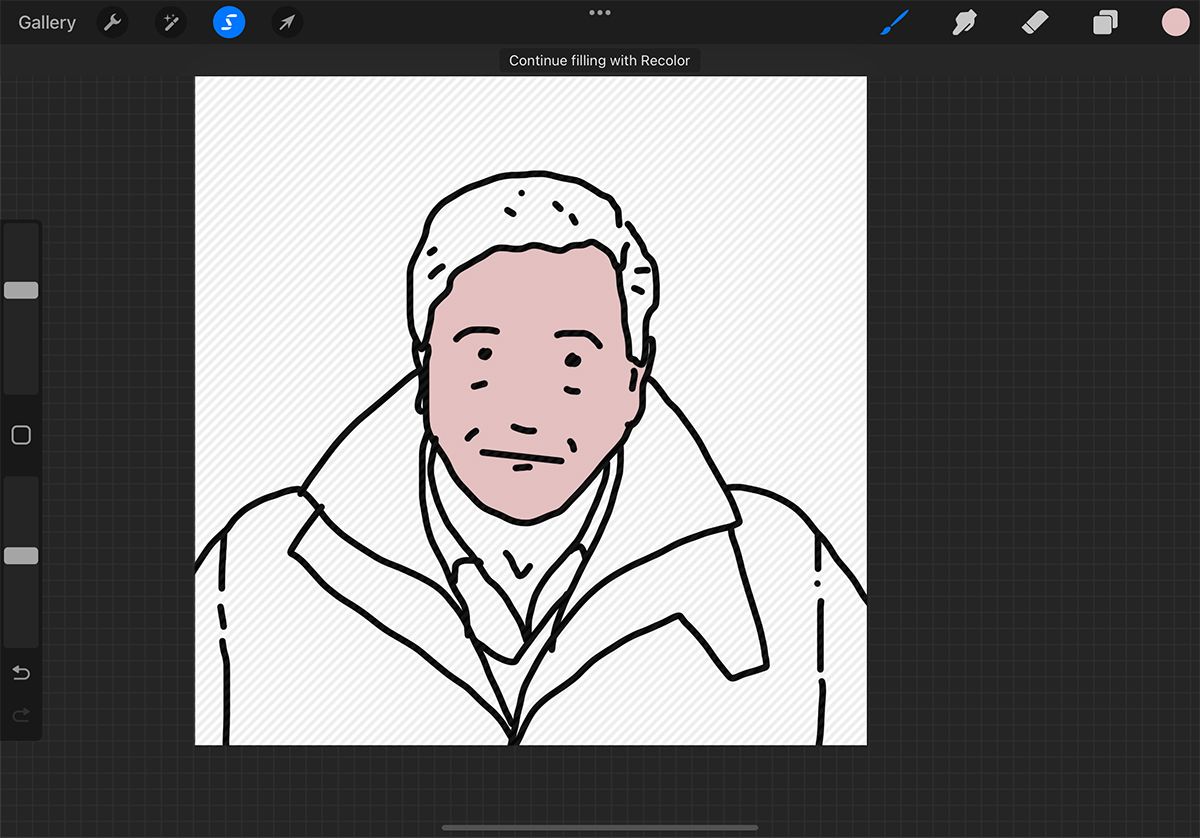
TapSelectionsto switch off the selected area, leaving your new color neatly behind.
Like the Automatic selection tool, there is also aFreehandselection tool.
The outline will stay visible even if your selection goes over it.
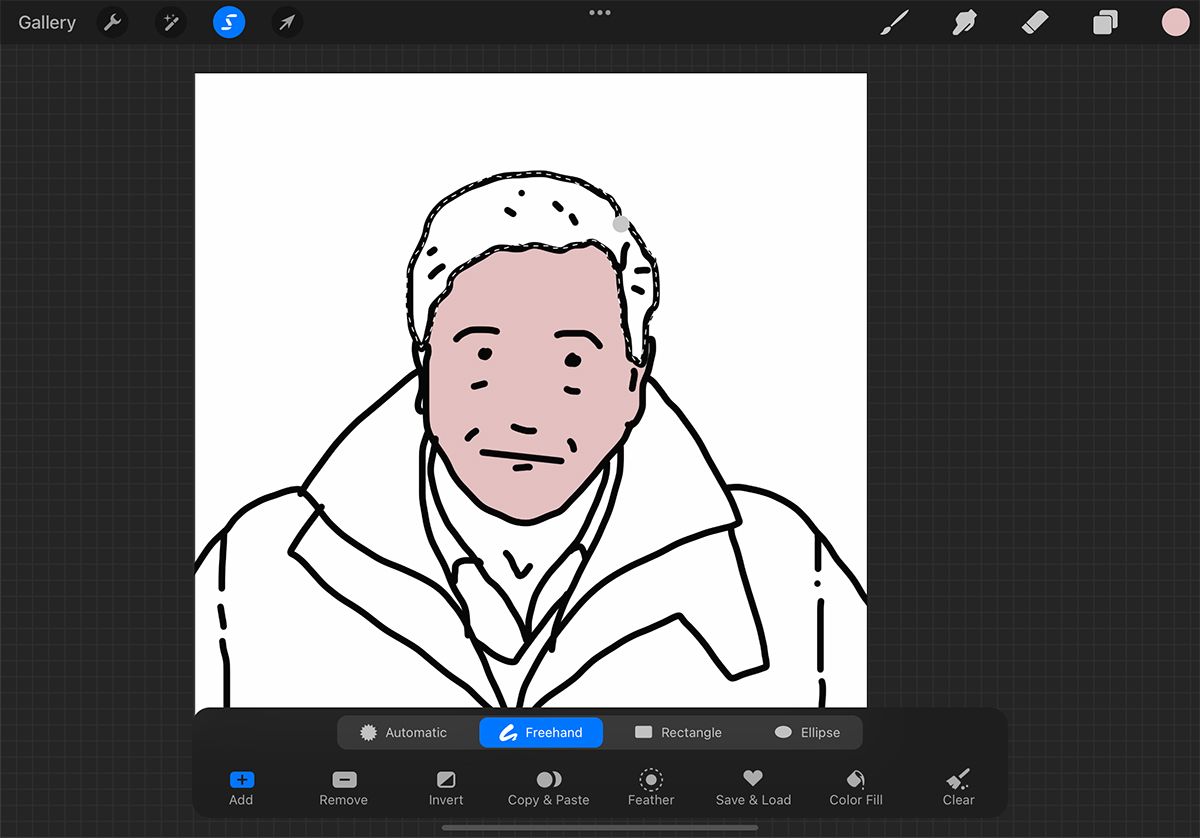
Once youve drawn your closed loop selection, drag the color from theColor Pickerto fill the area with color.
Tap theSelectionstool to deselect.
you might color between the lines like a digital coloring book or add shadows for realistic illustrations.