Windows Update Error 0x800f080a is an annoying problem that you may encounter when trying to tune up your system.
Fortunately, there are several possible fixes for this error.
You don’t need technical knowledge to apply them.

So, if youre stuck in this problem and need some help, read on!
What Causes Windows Update Error 0x800f080a?
The most common cause of Windows Update Error 0x800f080a is an issue with the system file.
Another possible cause could be an issue with the Windows Update components themselves.
In some cases, the error might also be triggered if there is a conflict between different third-party applications.
Having read the above causes, perhaps you have a better understanding of what it is all about.
Now let’s figure out how to fix this issue.
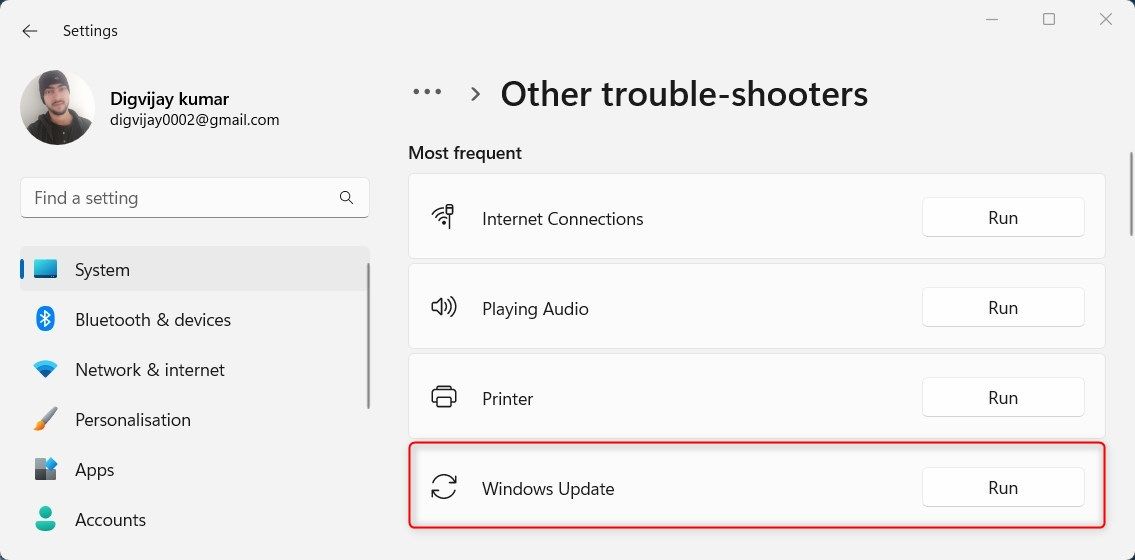
If restarting doesn’t help, try using this tool.
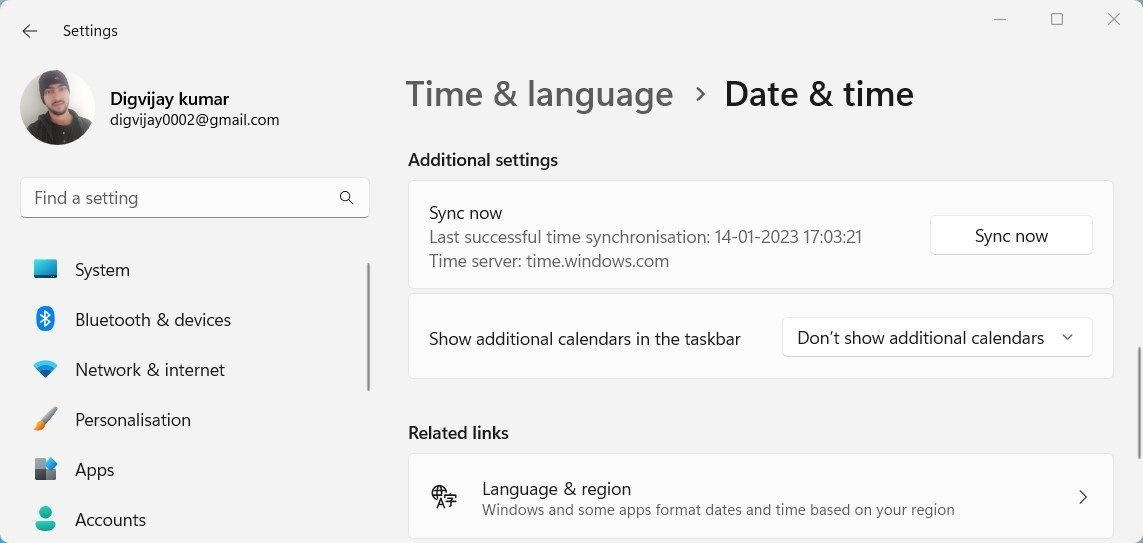
If so, ensure your clock is set correctly to ensure Windows downloads and installs updates properly.
Heres how to sync your PC’s date and time configs.
Also, confirm your time zone is correct, otherwise Windows may ignore new updates.
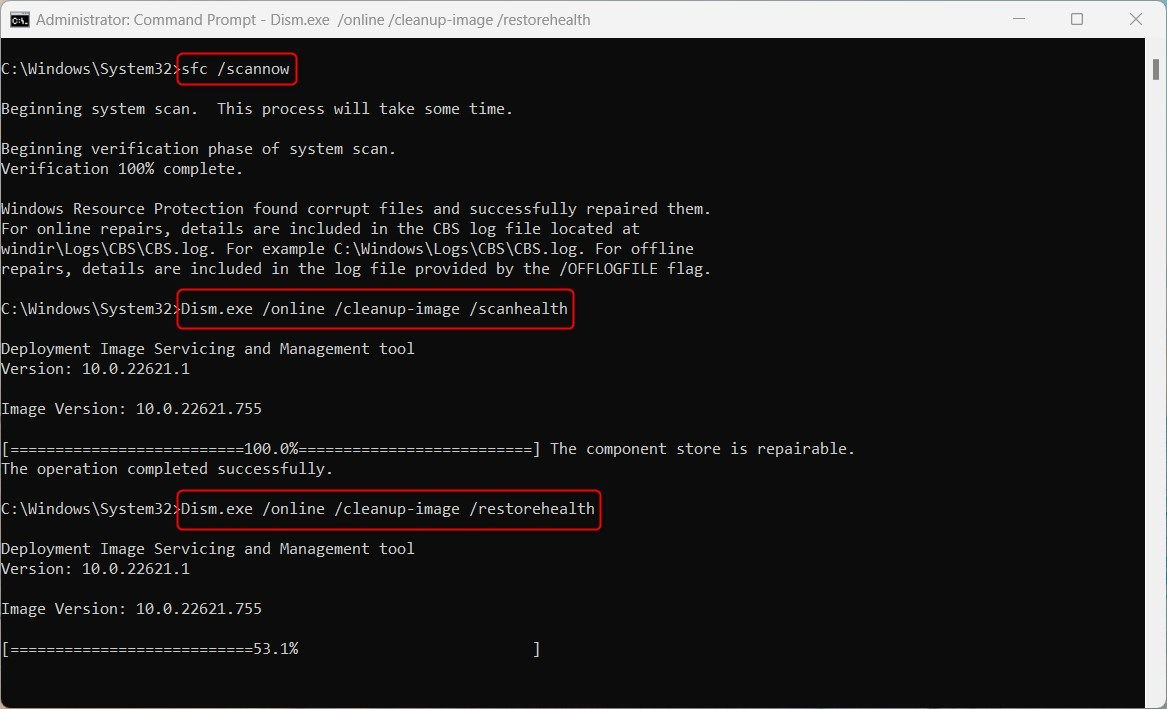
Run SFC and DISM Command
If the error still persists, there might be a corrupt system file.
As such, try running SFC and DISM to see if that helps.
After the update is complete, kickstart your gear and try updating Windows again.
If the update still fails, spin up the DISM command to repair corrupted images and restore system files.
Here’s how to do it
It may take a while for the process to complete.
Once the DISM command has been run, restart the computer to see if the error has been fixed.
Reset Windows Update Components
Is the error still occurring?
There may be corrupted update components causing the installation to fail and causing further issues.
To clear out previously downloaded updates, you’ve got the option to reset the Windows Update Components.
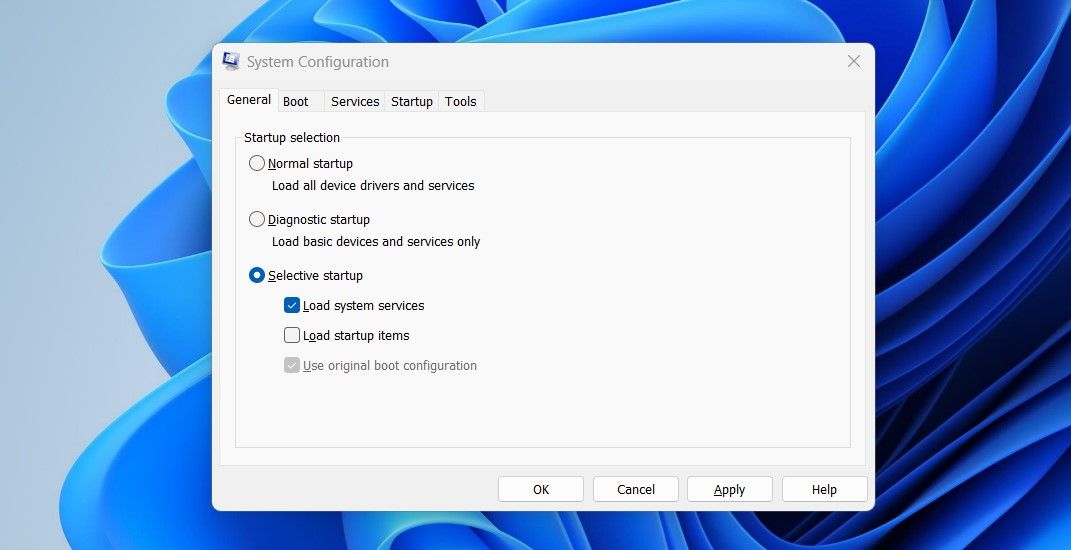
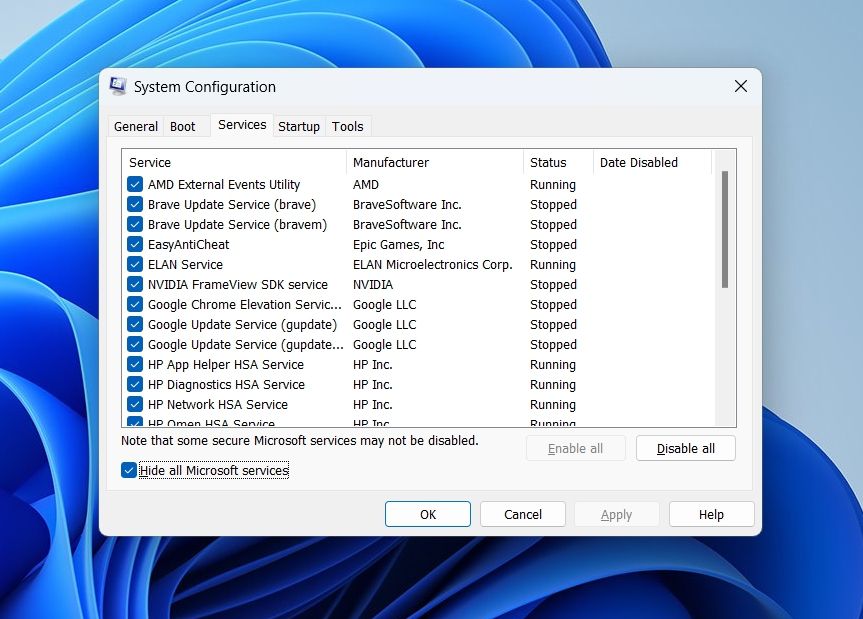
Perform a Clean Boot
In case the problem persists, perform a clean boot procedure on your rig.
However, following the steps outlined in this article should help you troubleshoot and fix this problem.
