Let’s get started!
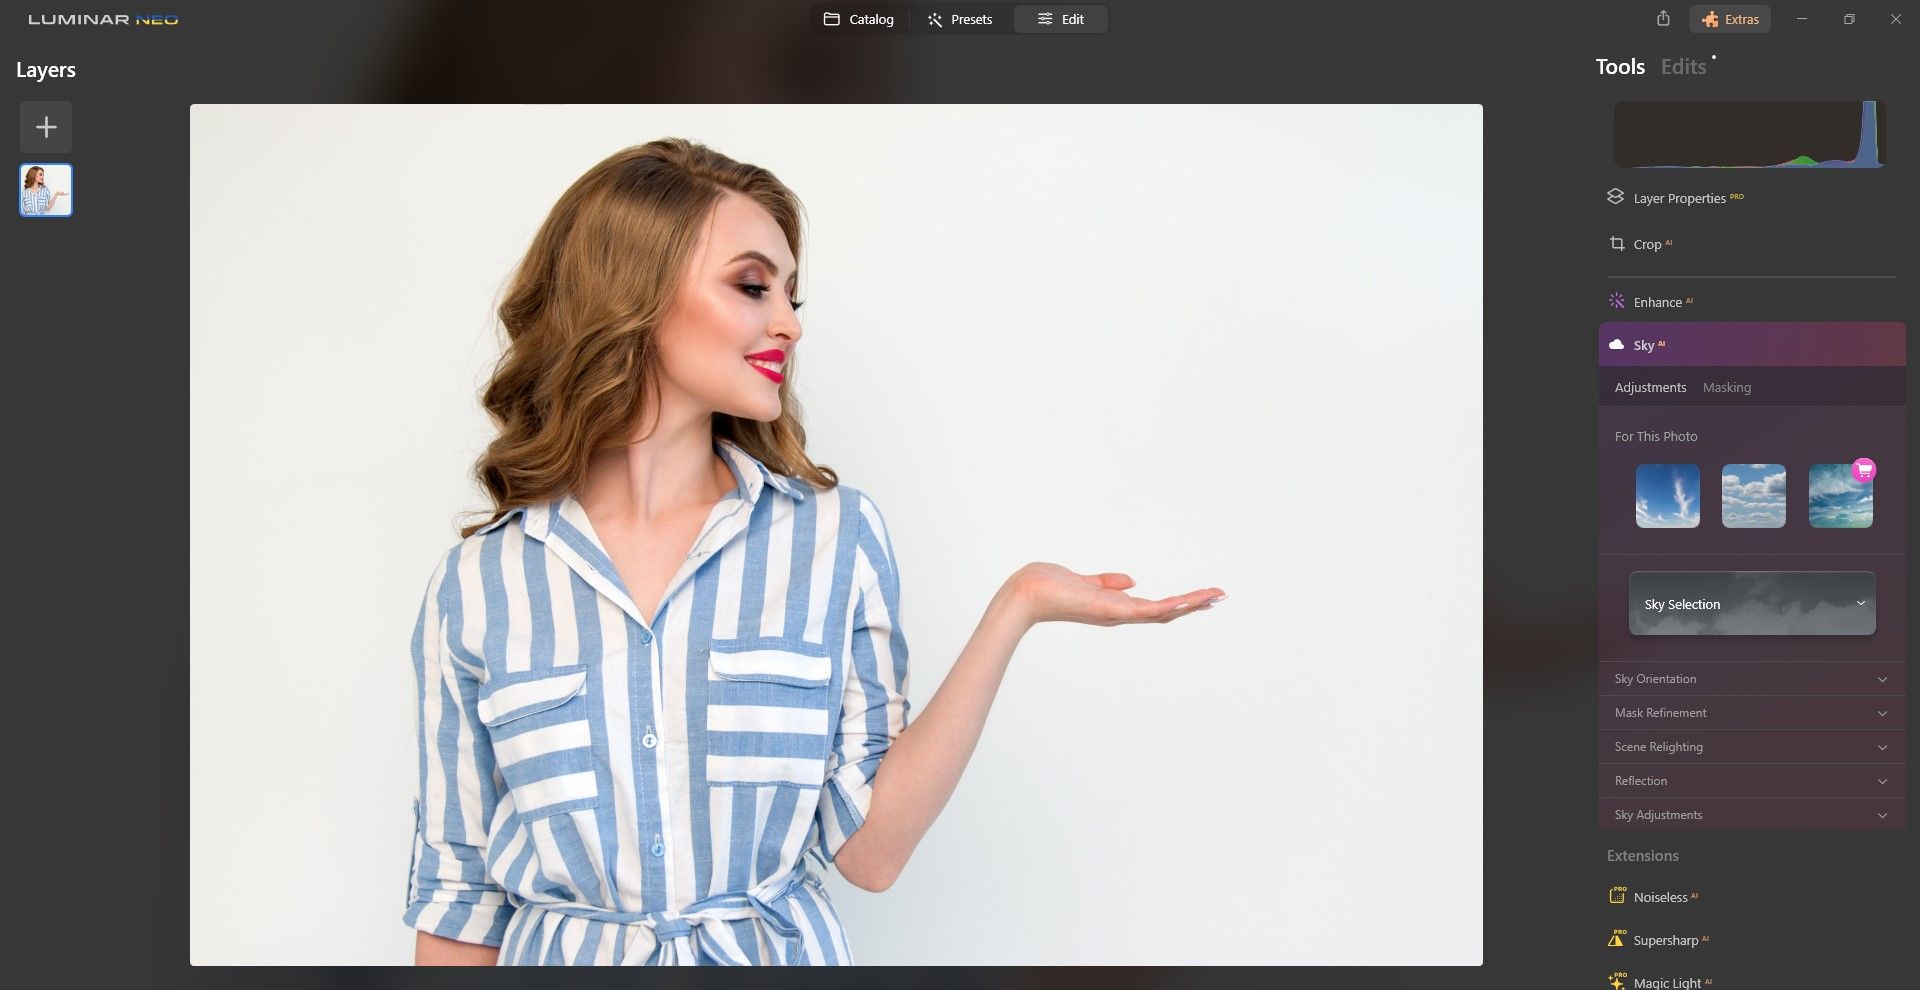
Simply go to Sky AI in theEdittab and see if the option to use skies is made available.
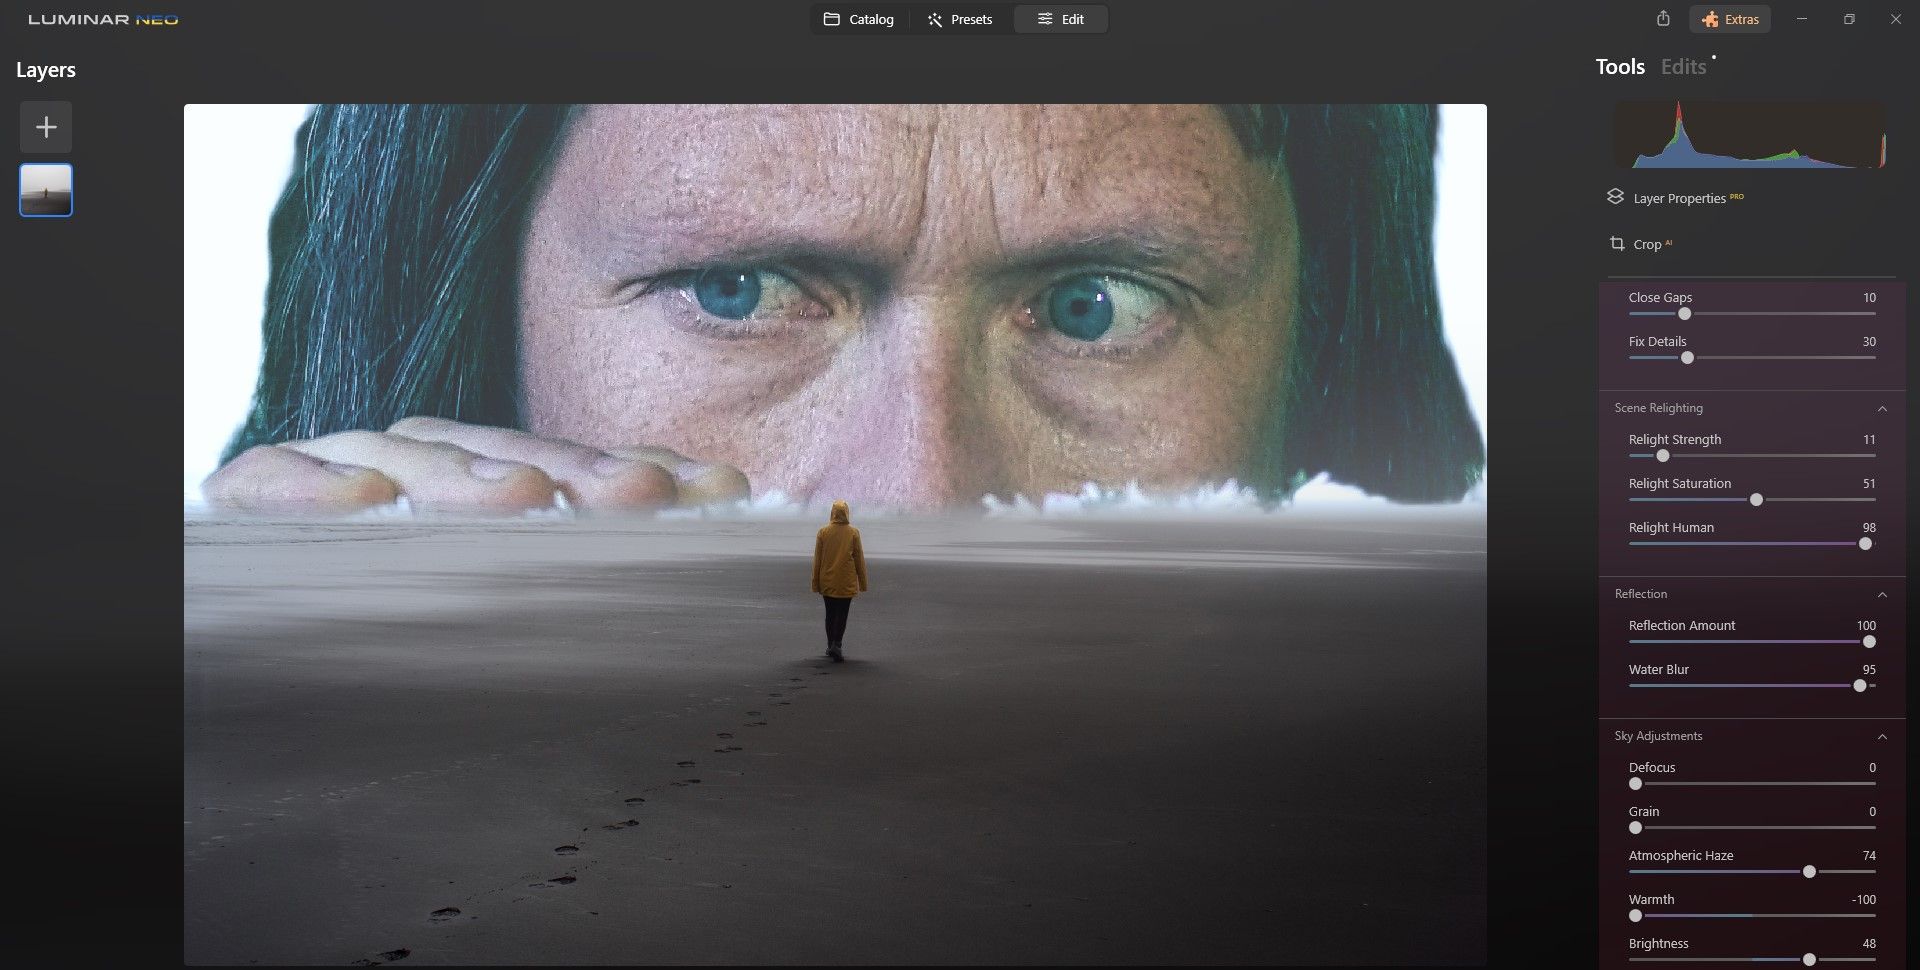
In this example, we were able to trick Luminar Neo into thinking that asky could be replaced.

We’ll use the below image as a prime example.
When you’re in the Sky AI tab, just choose the+to add your own sky.
And select any image that you want to be the new “sky”.
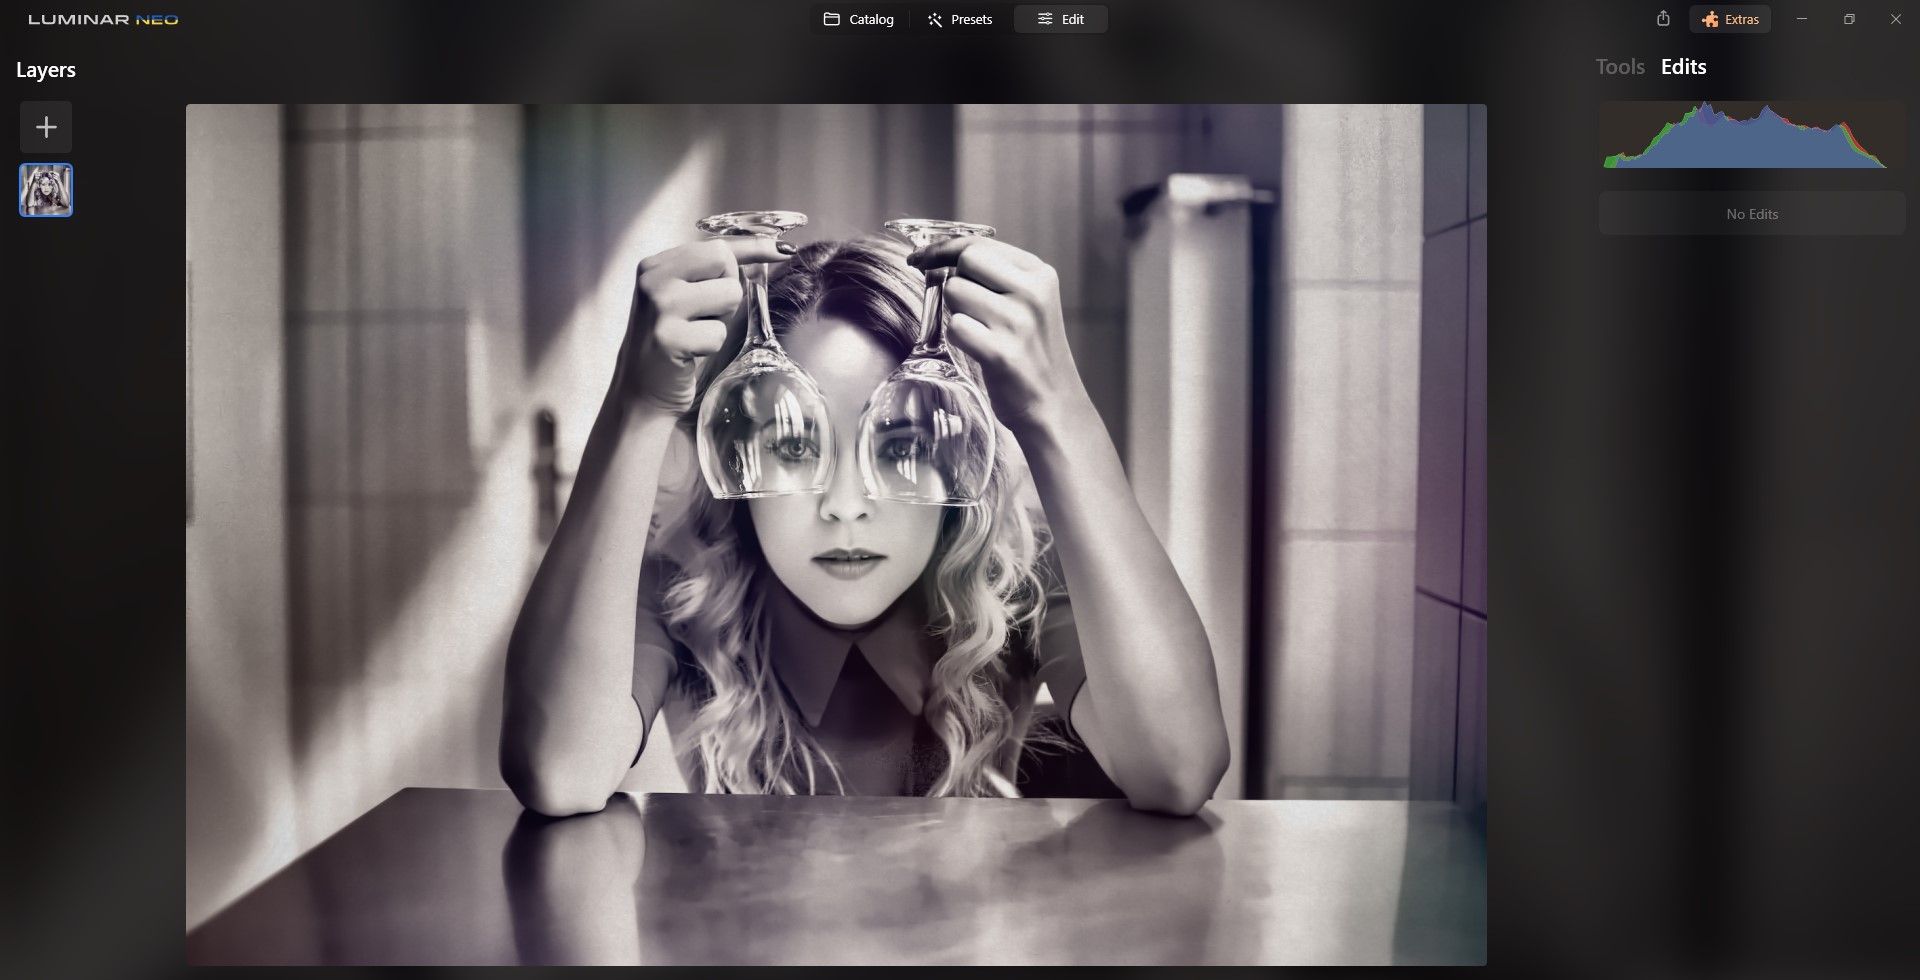
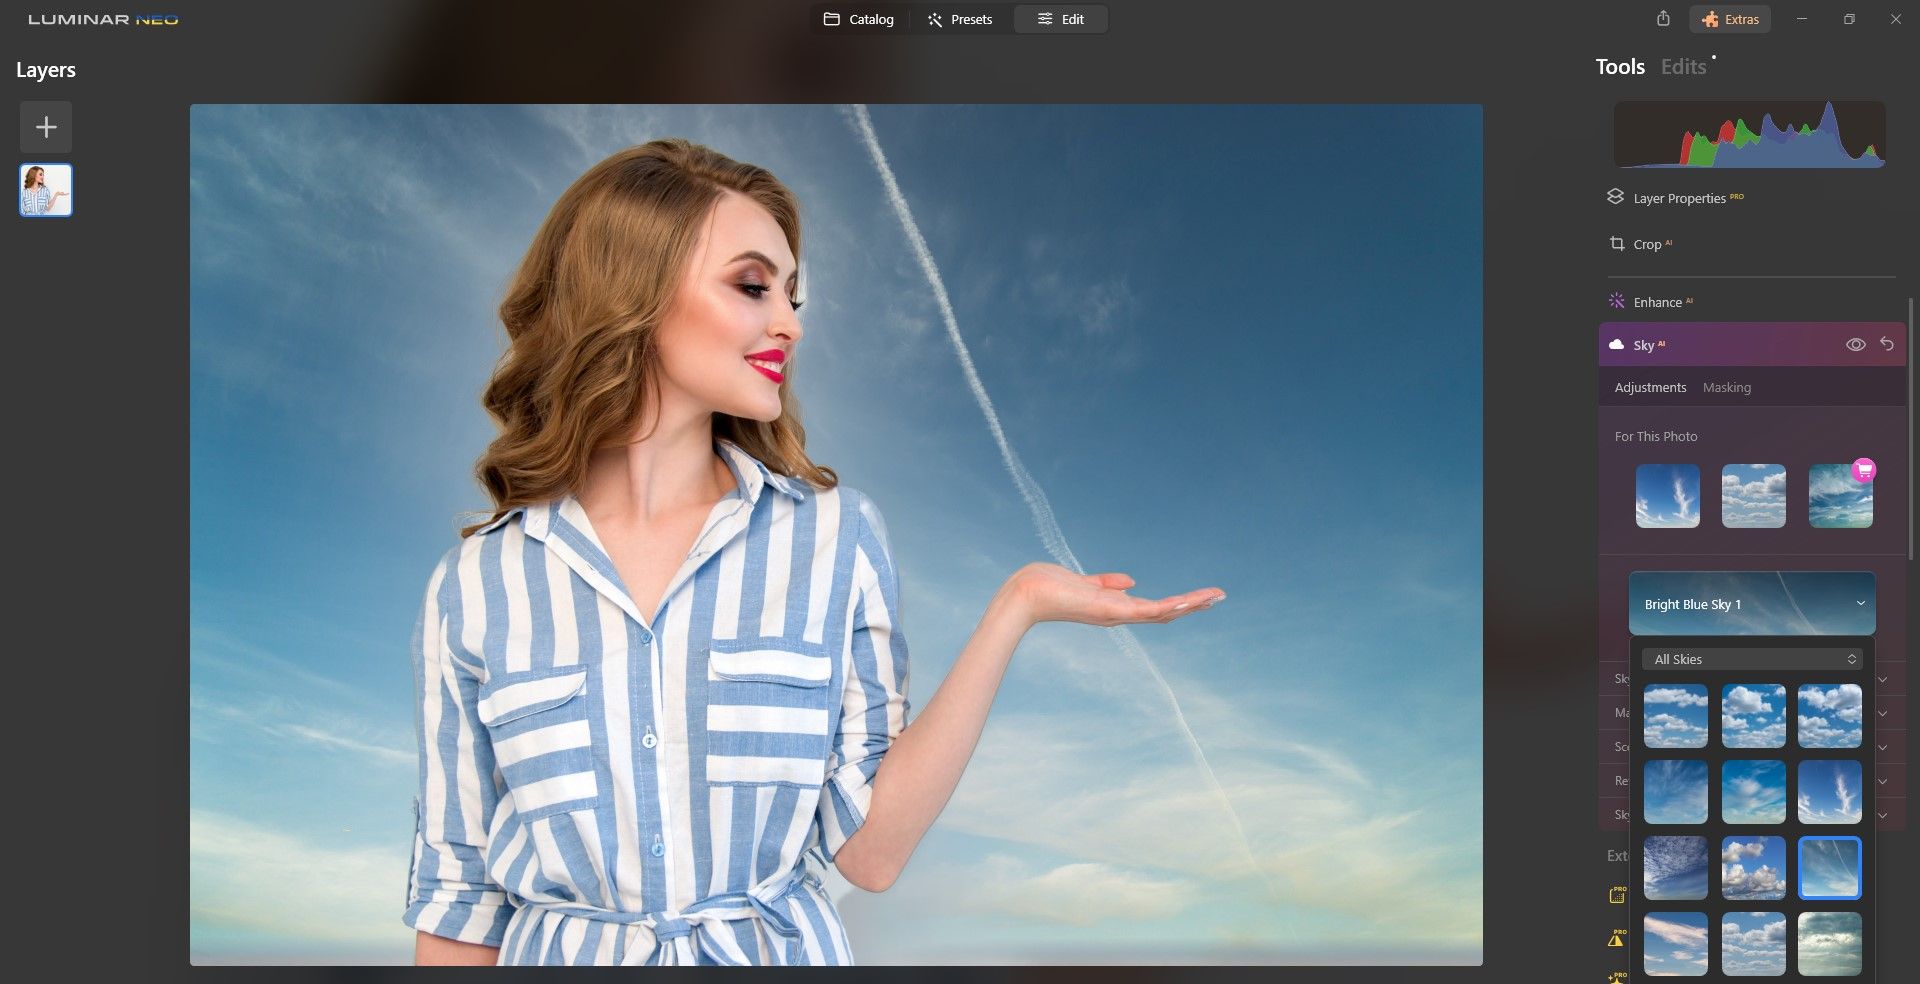
We added this woman’s face to replace the old sky.
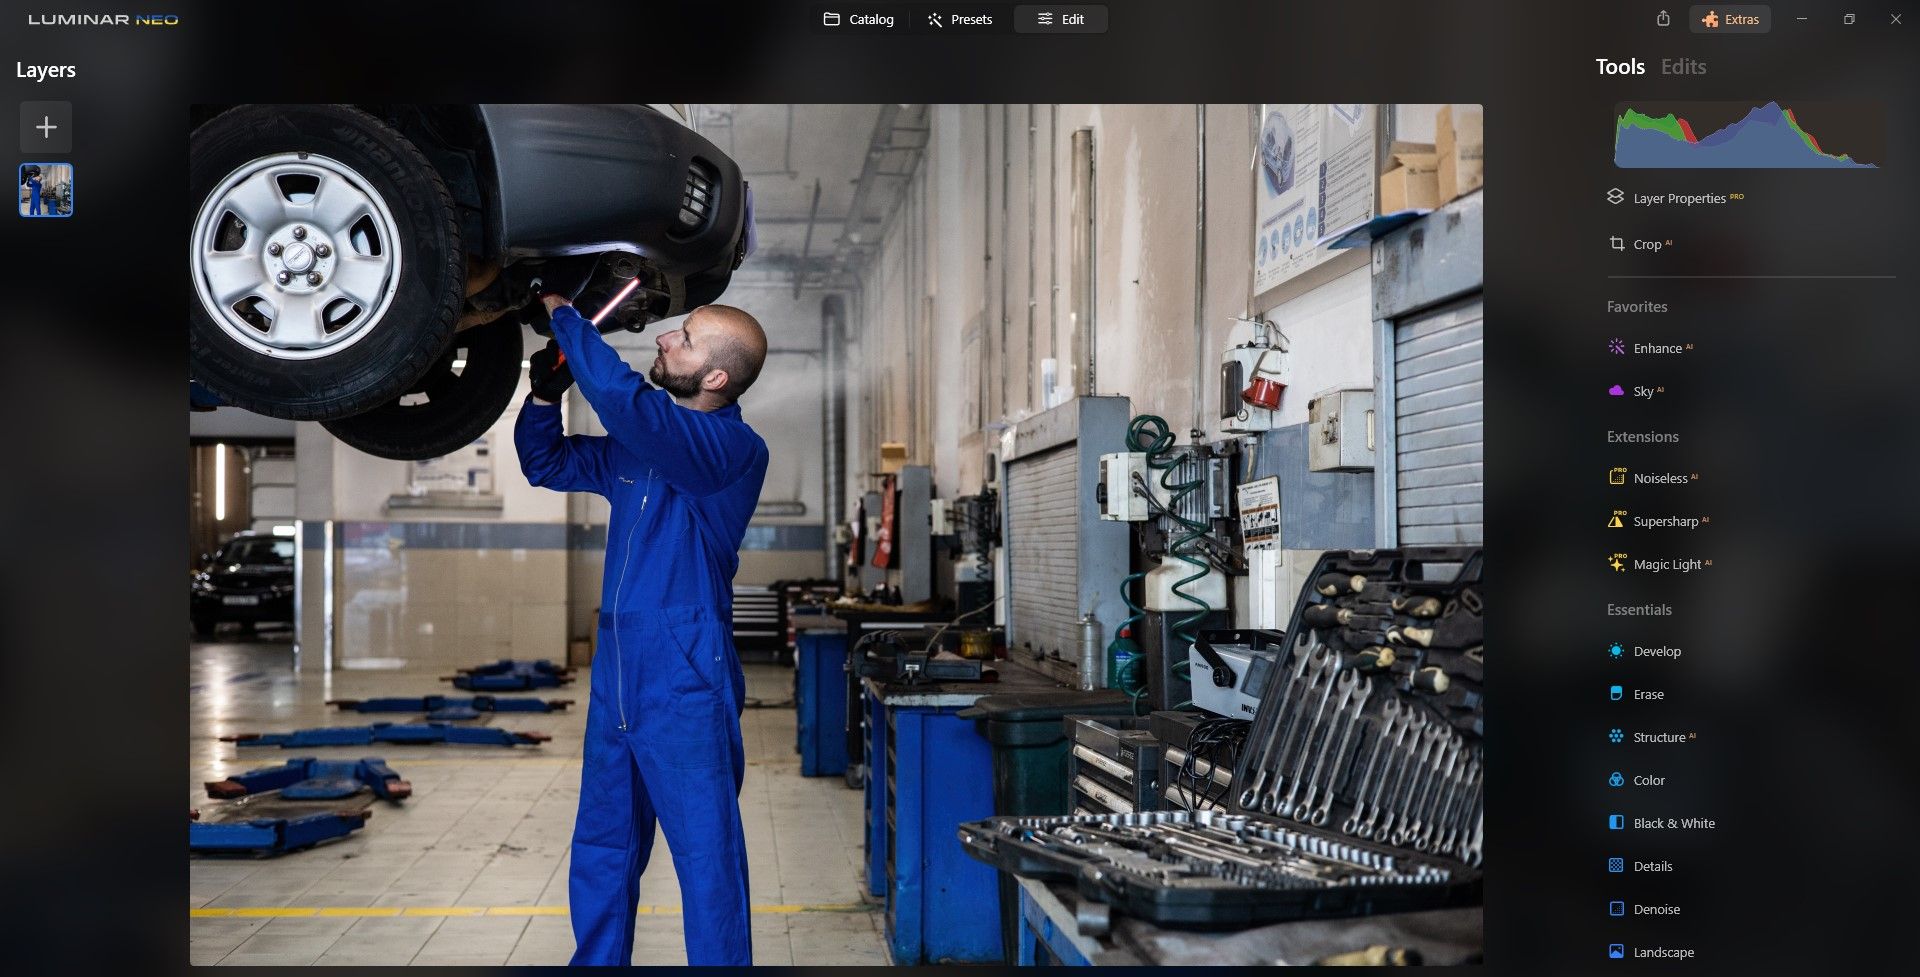
Similar techniques can be used if you have toreplace a background in a portrait.
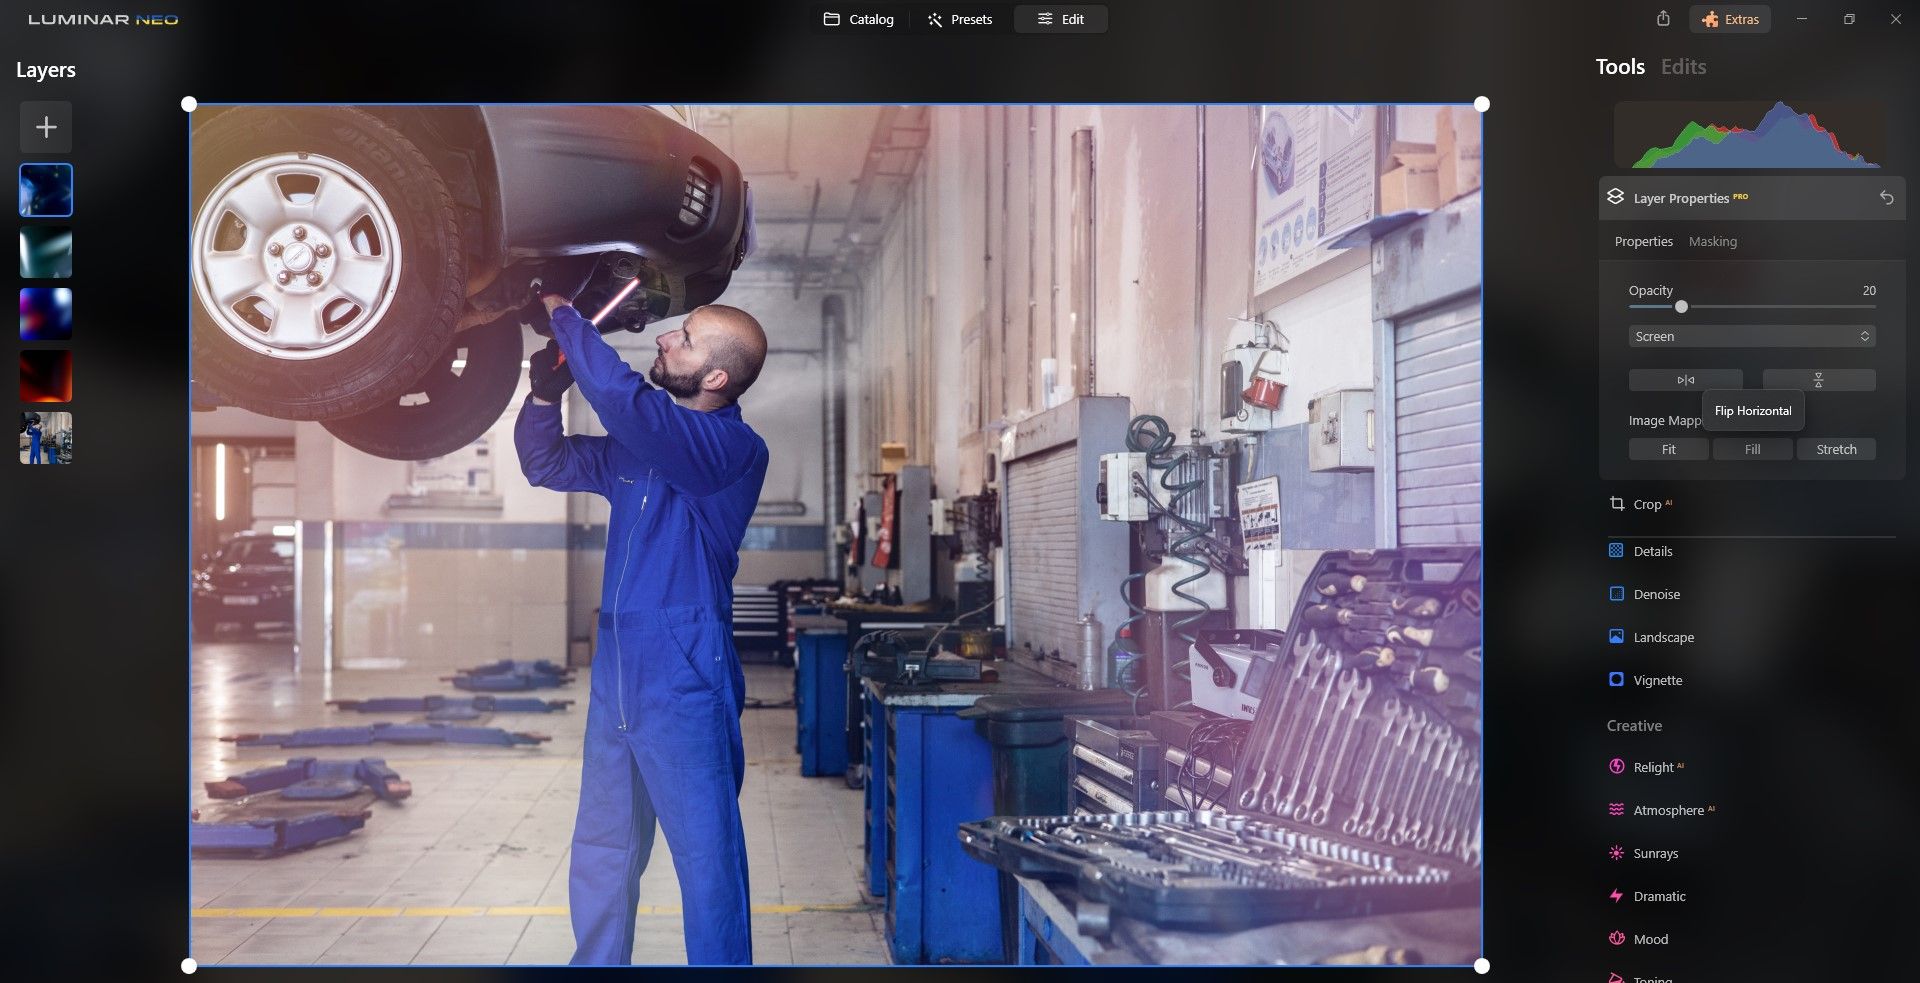
There’s an easy trick to accomplish this usingLayersin Luminar Neo.
We cover how to add Light Streaks in ourphoto compositing tutorialif you want to learn more.
You are not constrained by a tool’s maximum capacity or pre-determined parameters.
By simply closing and reopening a tool’s window, you could start anew and achieve your desired outcome.
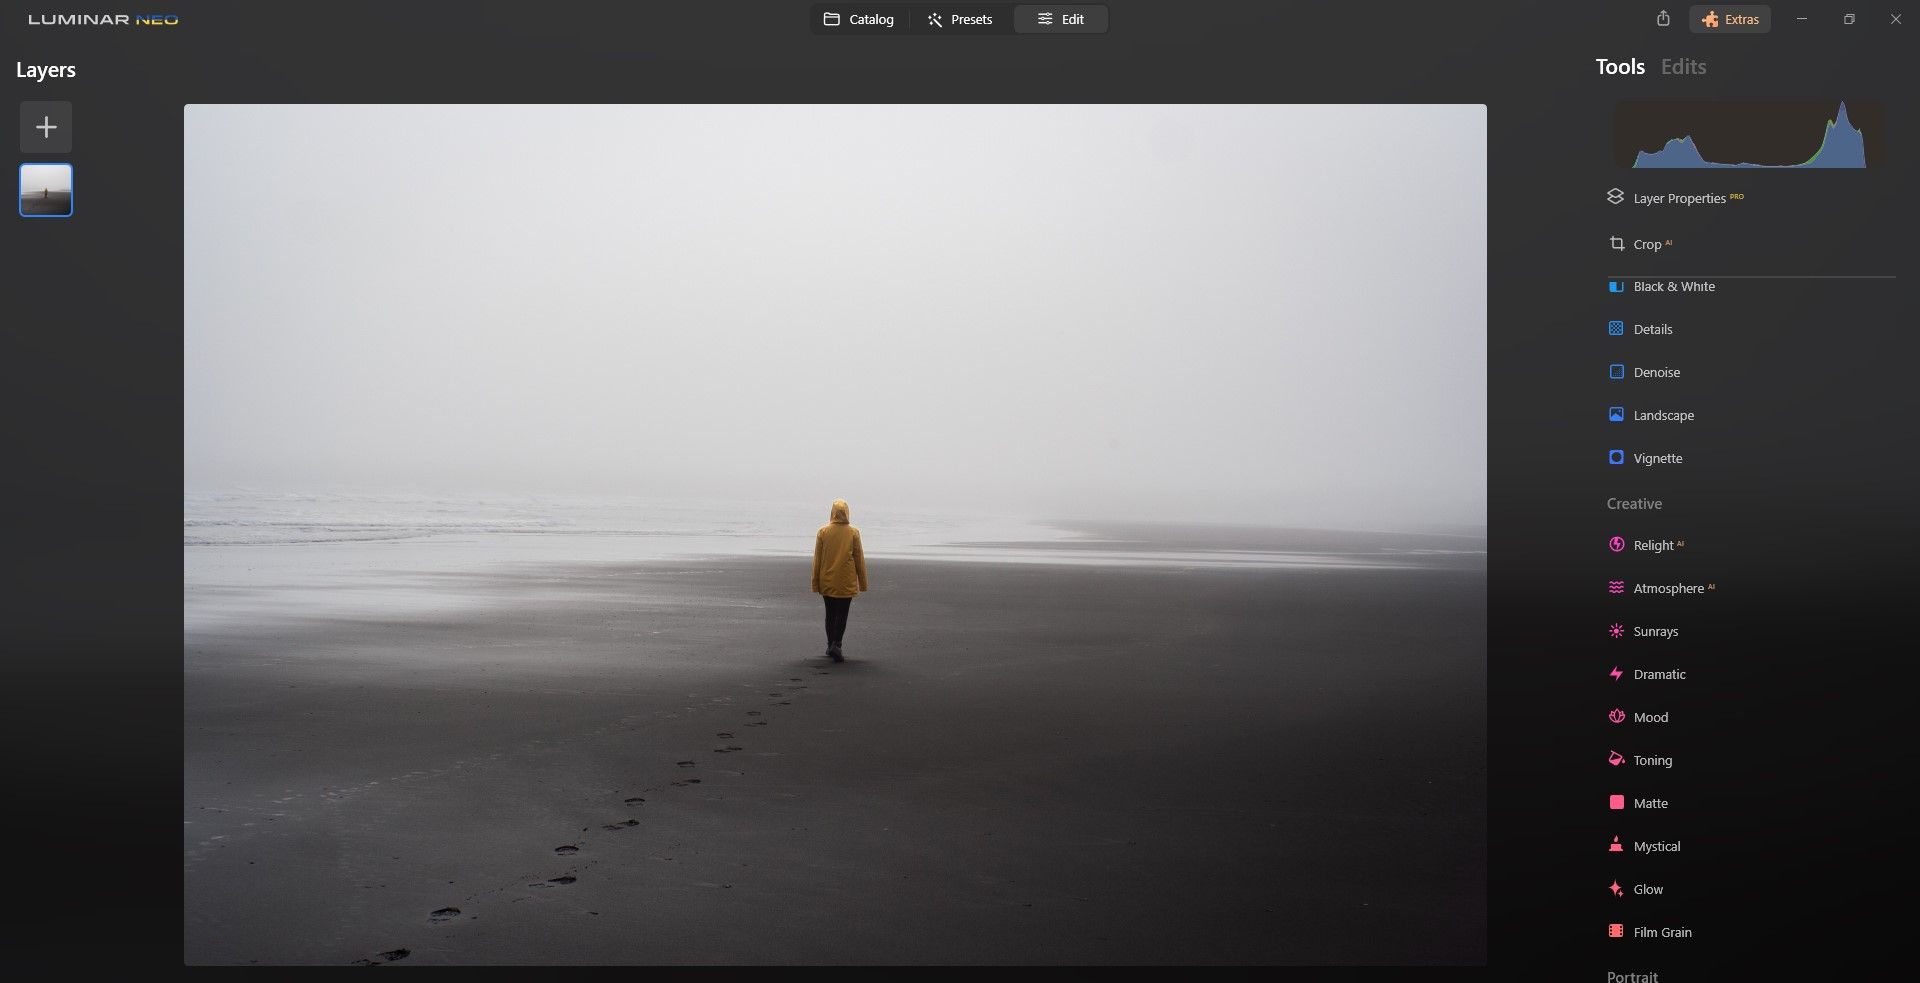
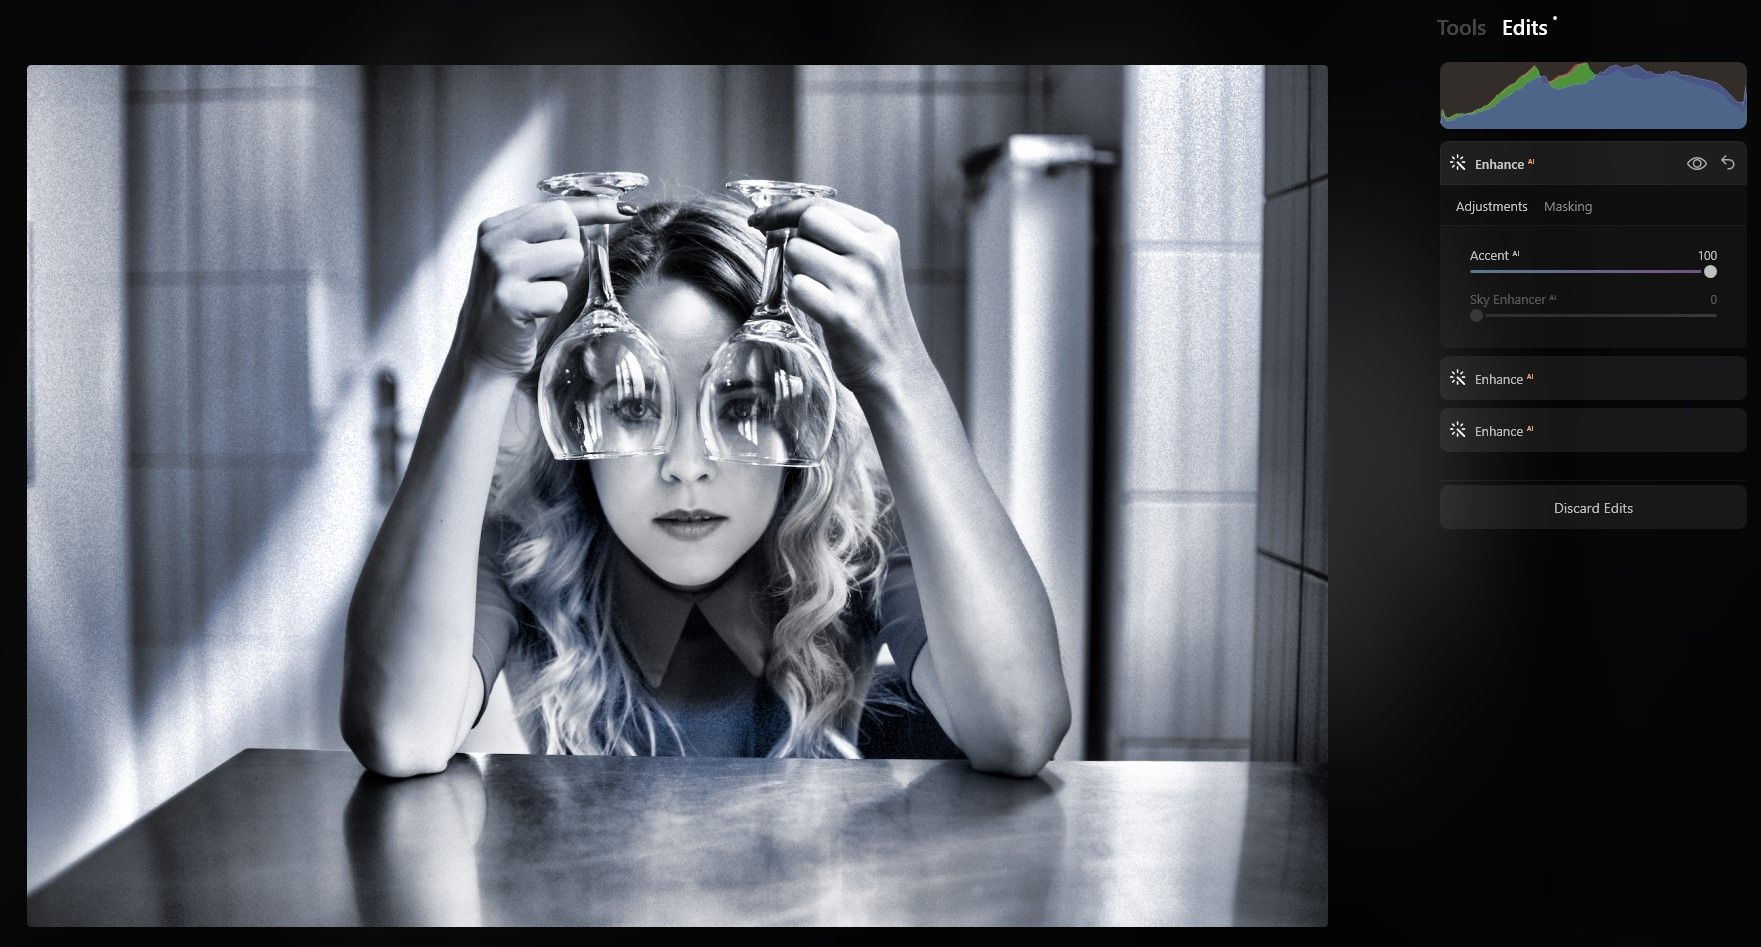
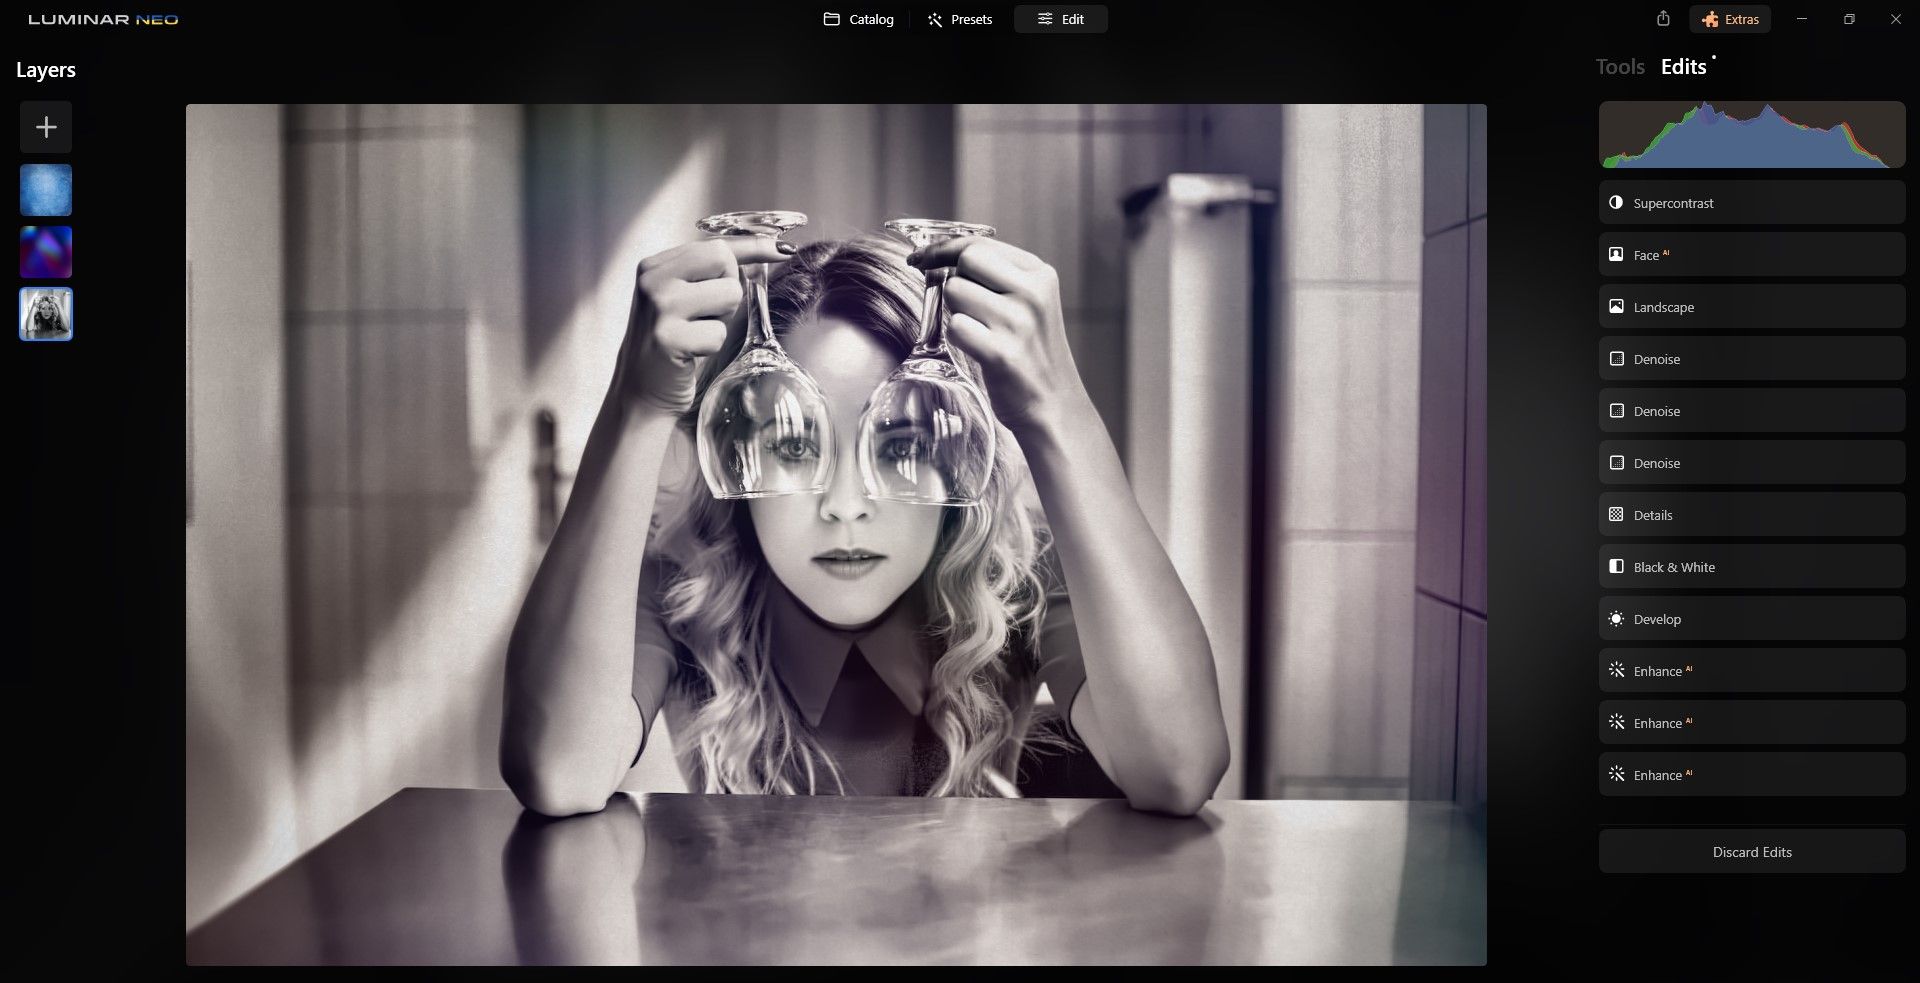
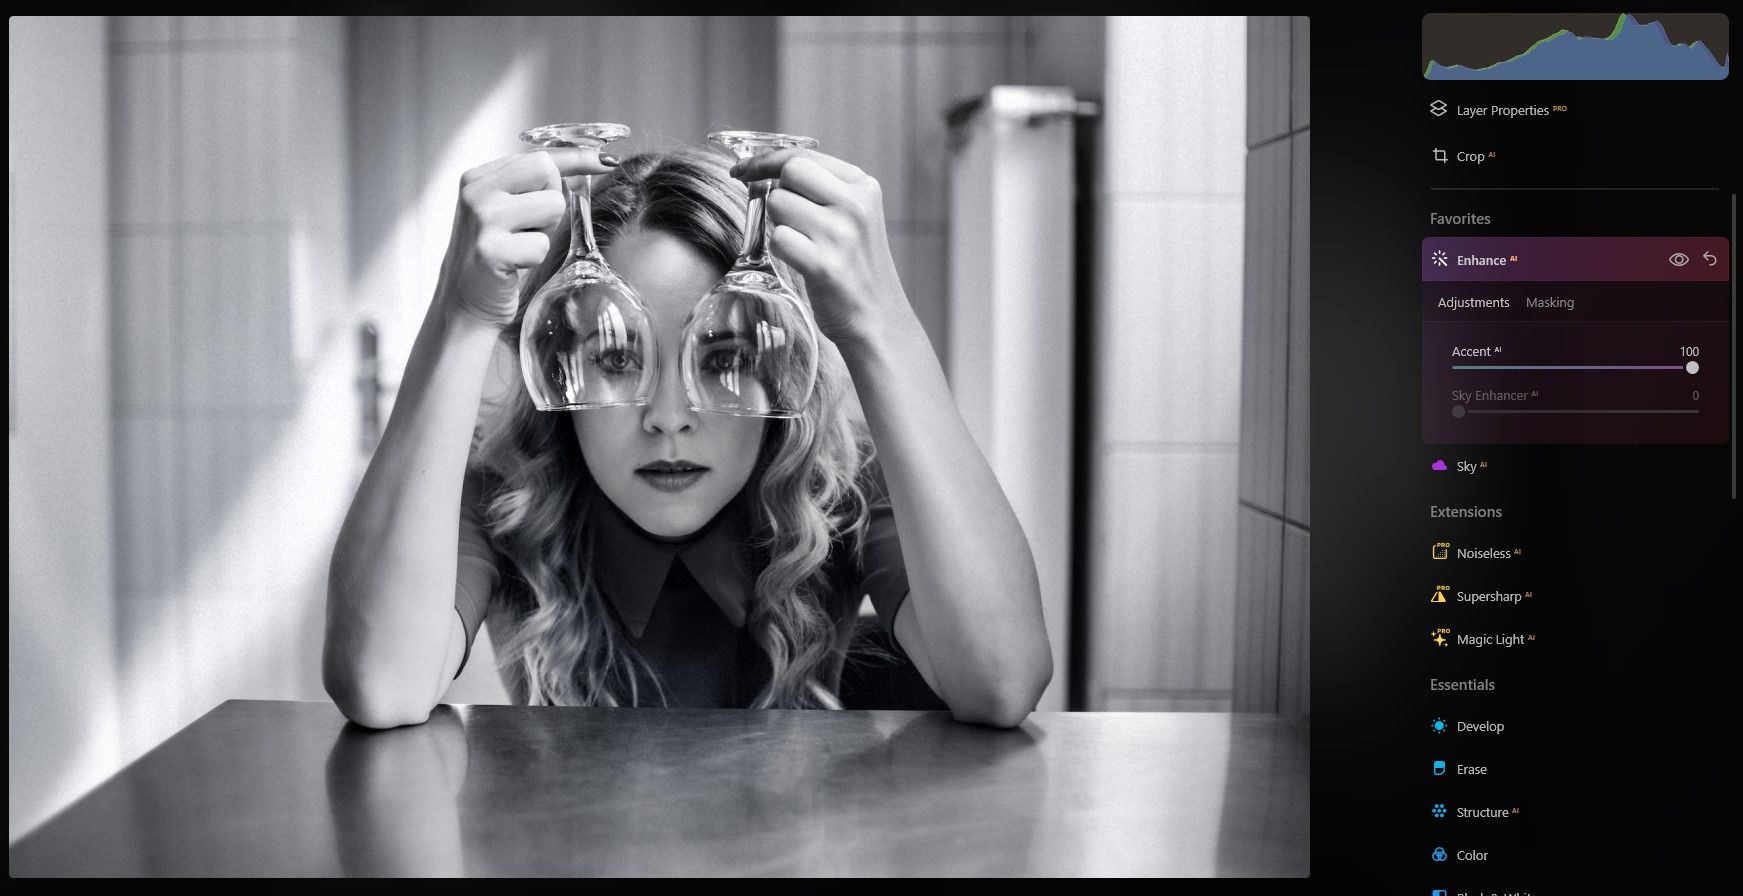
For example, here’s an image where we applied Enhance AI at maximum.
This is the equivalent of flattening all the layers in Photoshop.
you’re able to see there are a few layers and one dozen edits made on this image.
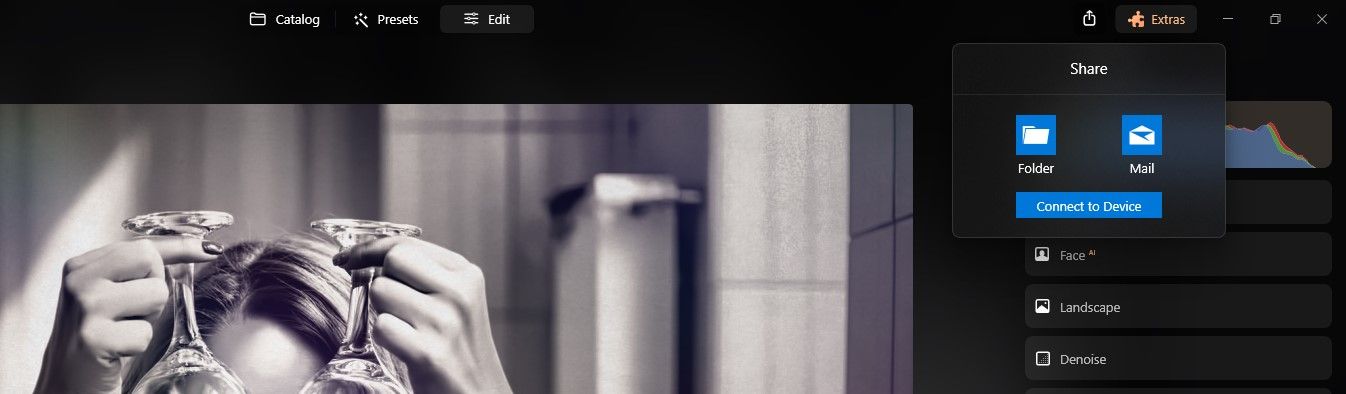
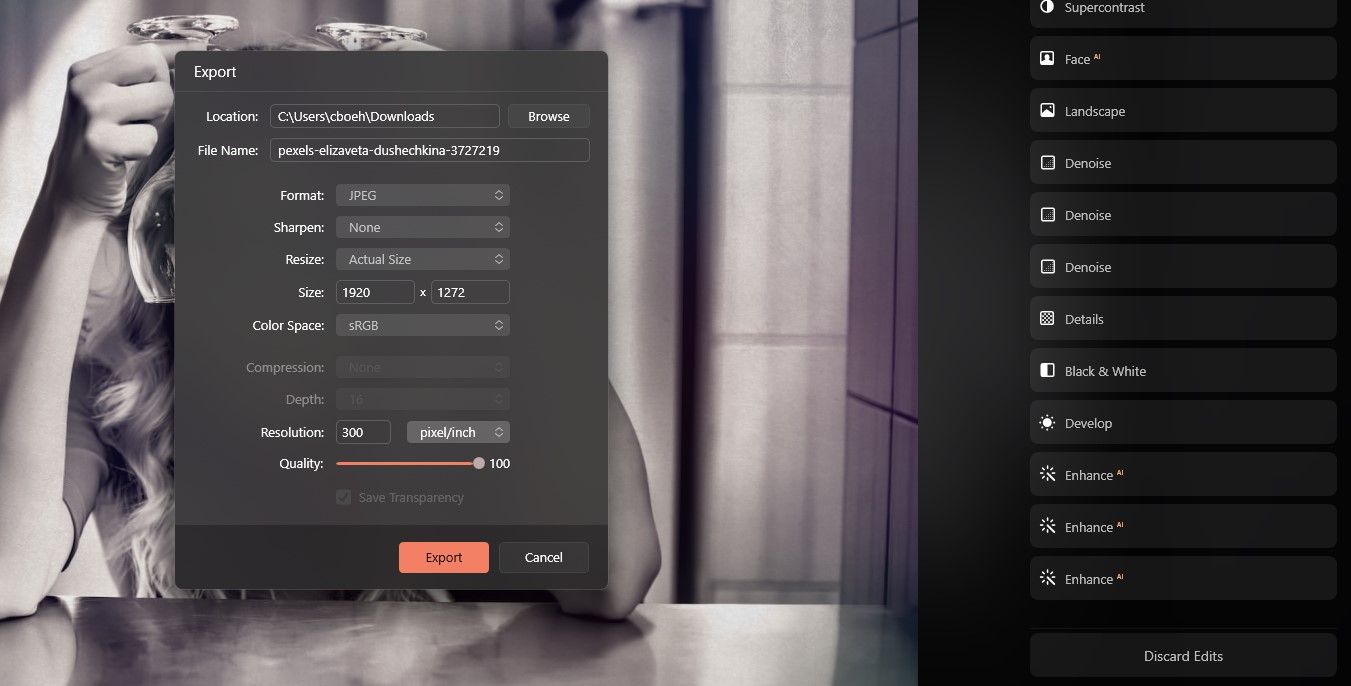
SelectShare to Folderand choose where you’dlike to save the file and then clickExport.
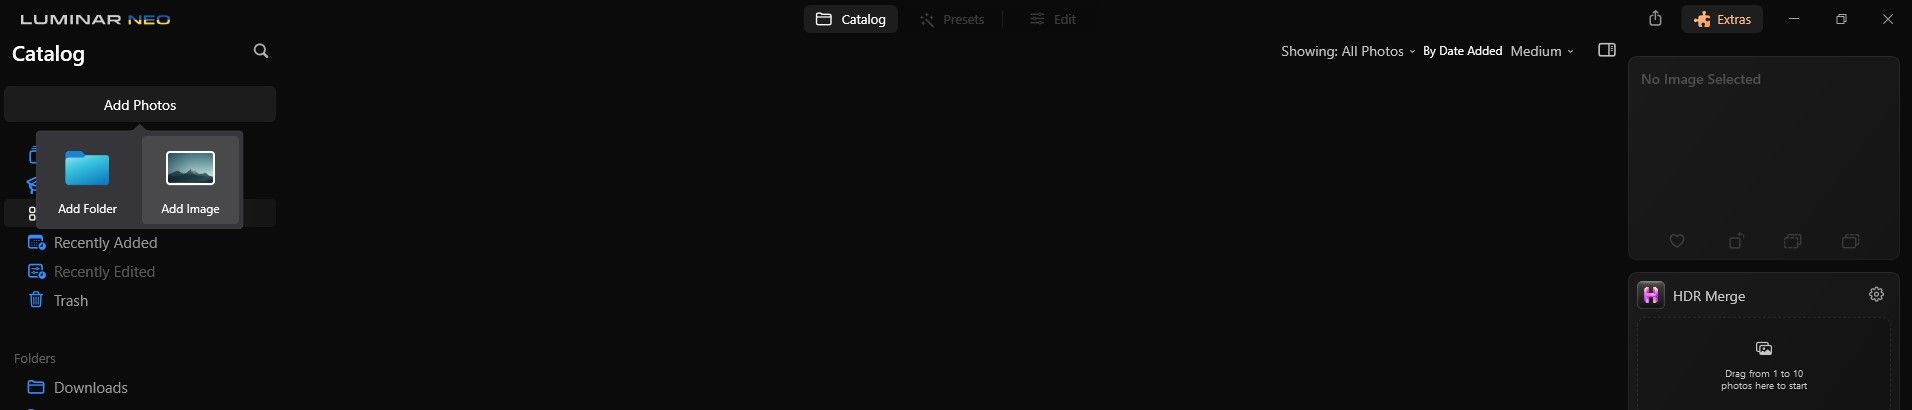
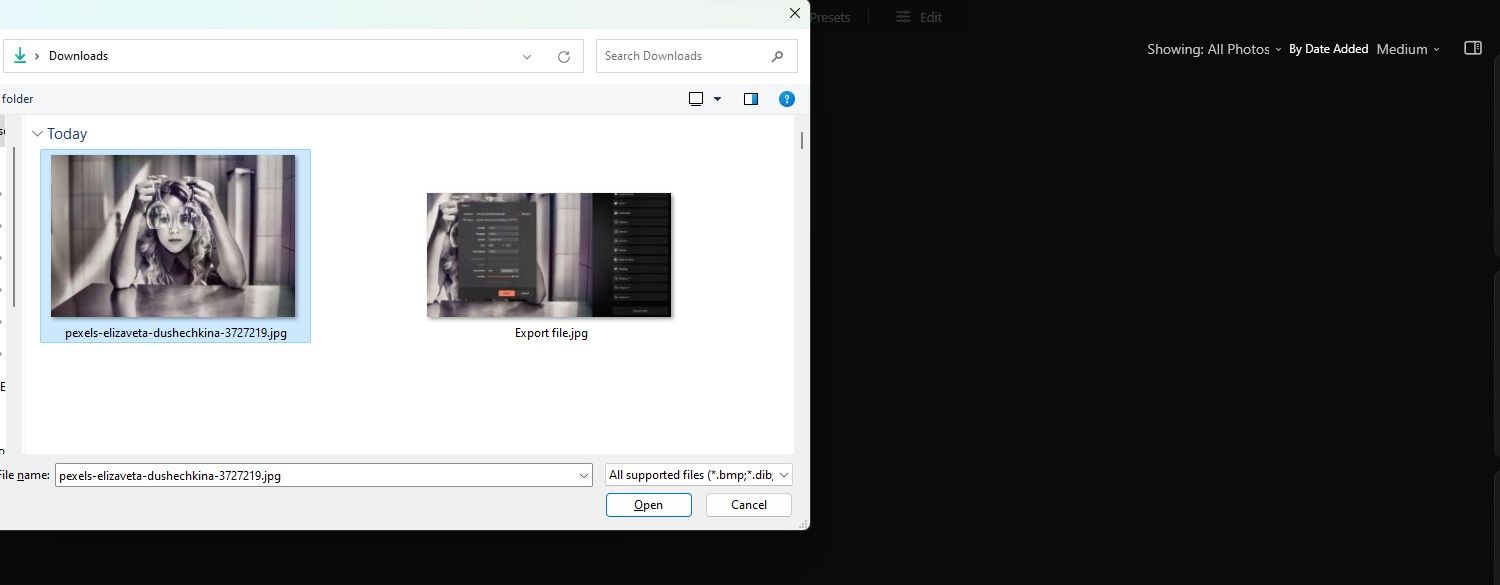
Then simply pop fire up file back up in Luminar Neo by going toAdd Photosin theCatalogtab.
Locate the image and punch it.
With the image imported back into Luminar Neo, click theEditTab andEdits.
you’re able to carry on with editing with a primed Luminar Neo.
The same applies to editing with Luminar Neo.
There are actually two ways to go about this.
You could follow the steps mentioned previously and save the file.
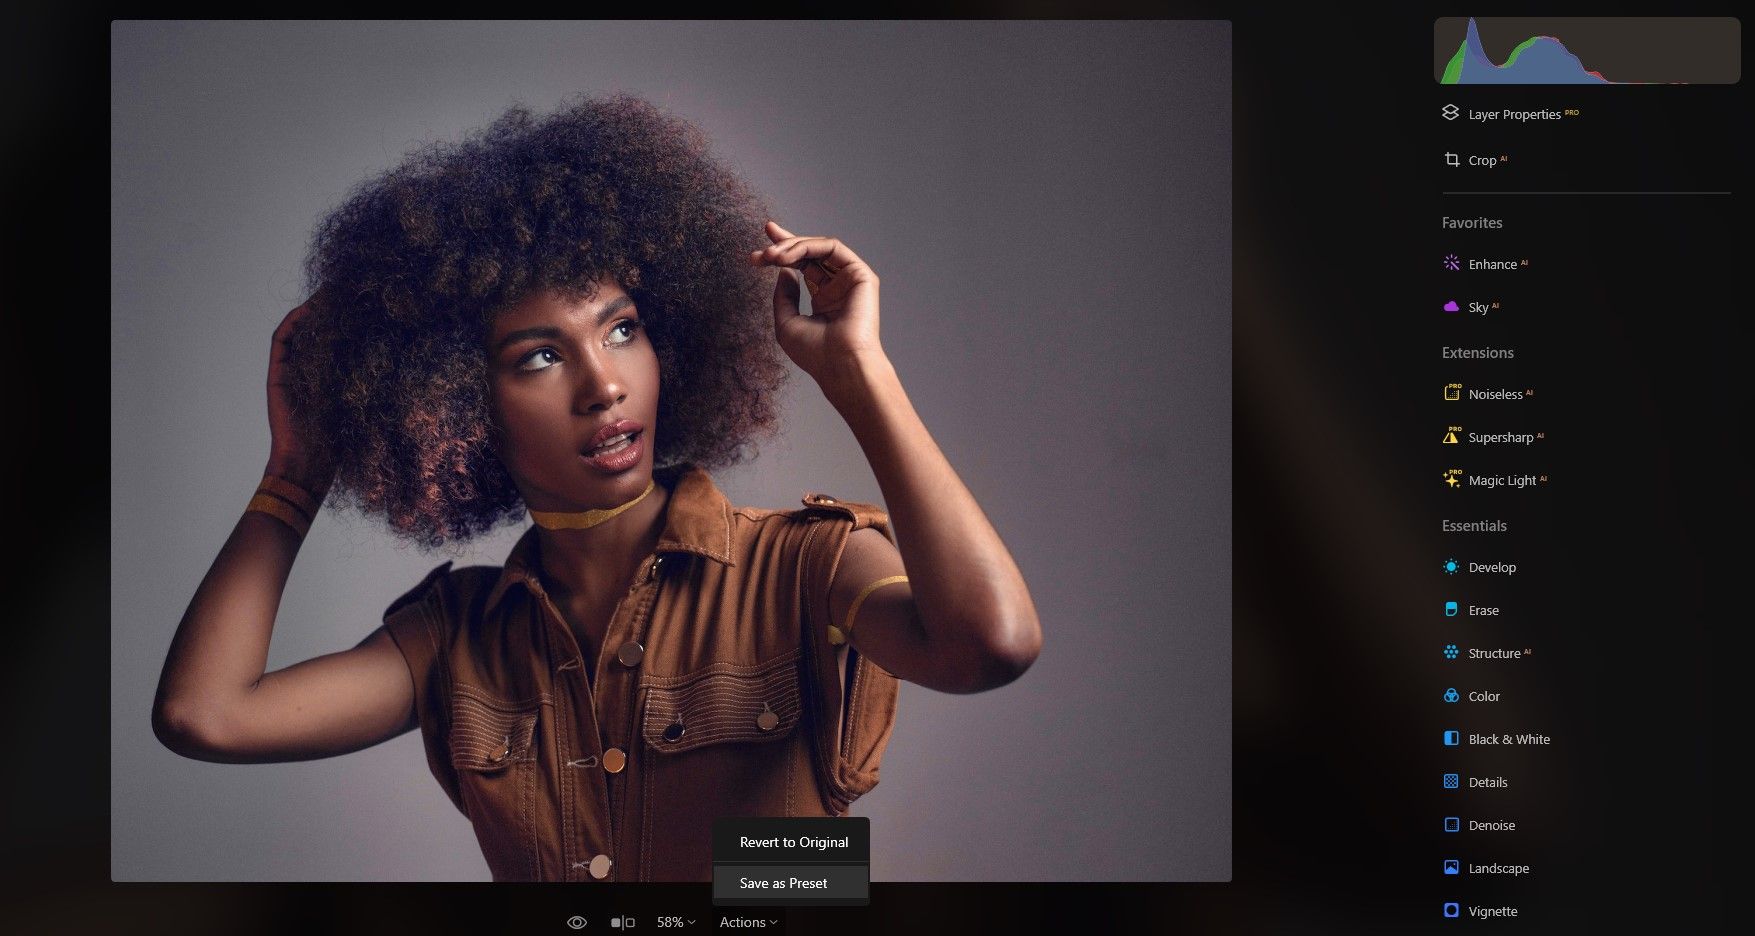
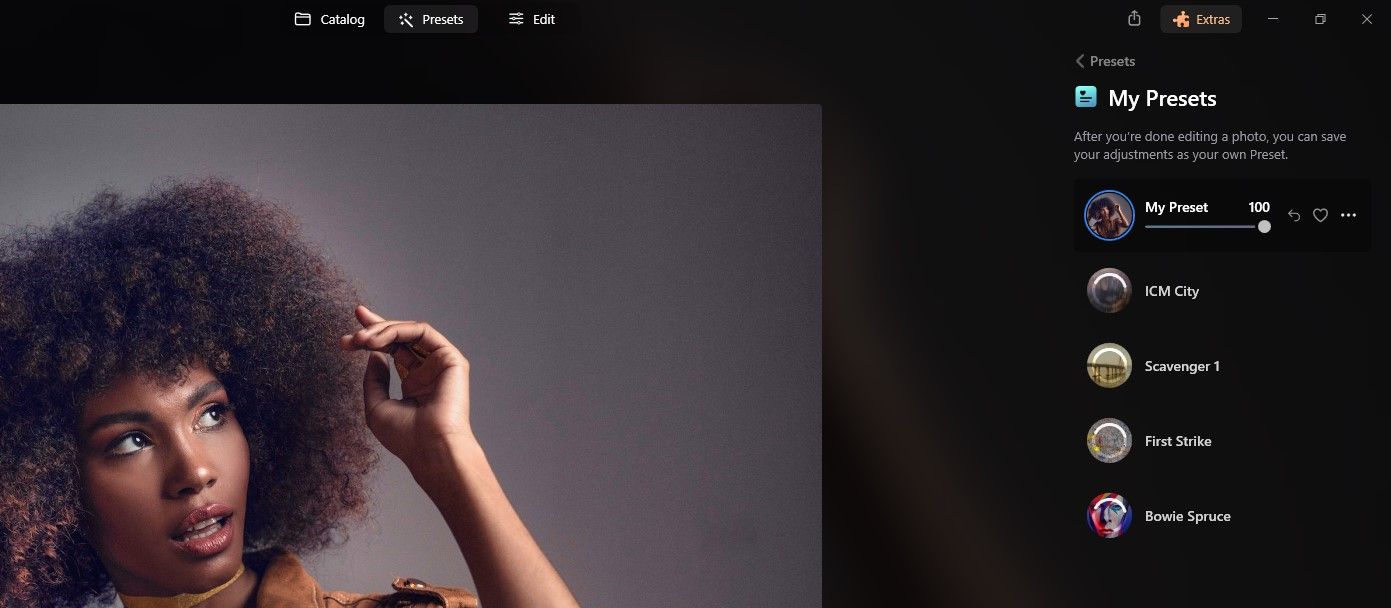
Or, simply go toActionsat the bottom of the screen and chooseSave as Preset.
Then, all you have to do is name the preset and pressEnter.
Then you’ll find your preset underMy Presetsin case you have to use it.
Try them out on your own photos and see if they can become a part of your workflow.