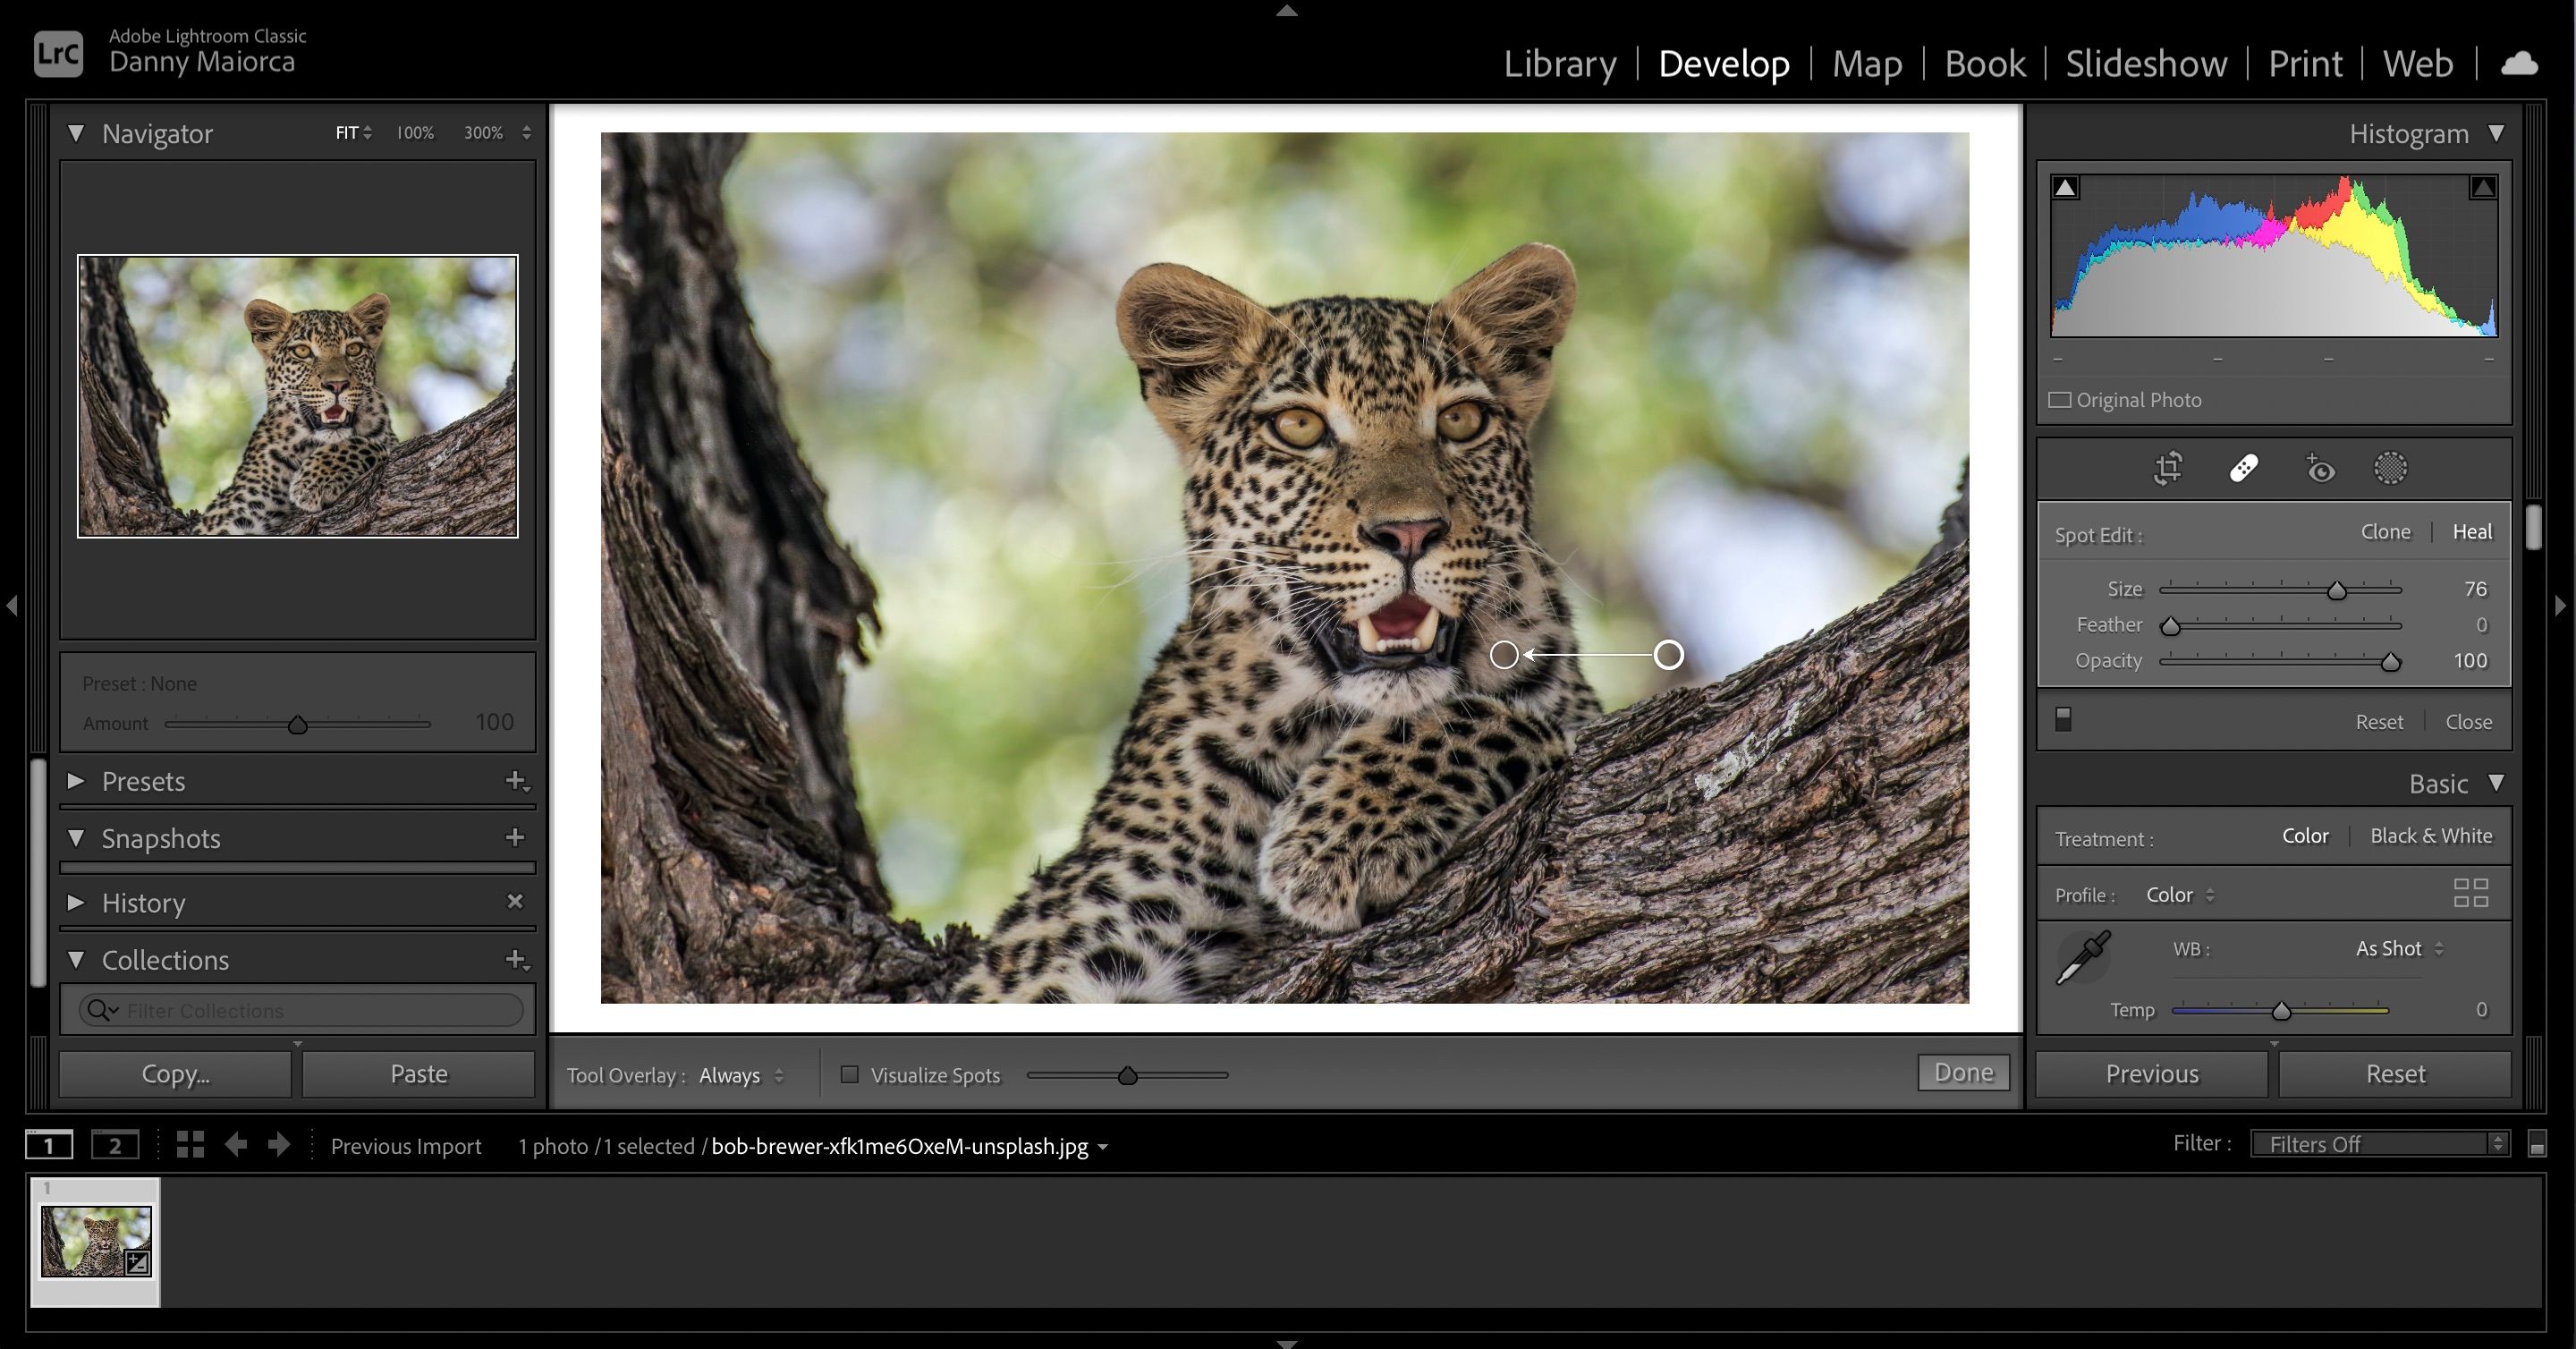
Adobe Lightroom is one of the best tools for removing unwanted blemishes.
Your camera can produce irritating additions, such as spots.
Similarly, its not uncommon for red eyes to feature when taking photos of others.

Luckily, removing blemishes in Lightroom is simple.
Before we start, its worth noting that the steps we show you will apply to Lightroom Classic.
Nonetheless, you will still run into this issue occasionallyand it can ruin how your image looks.
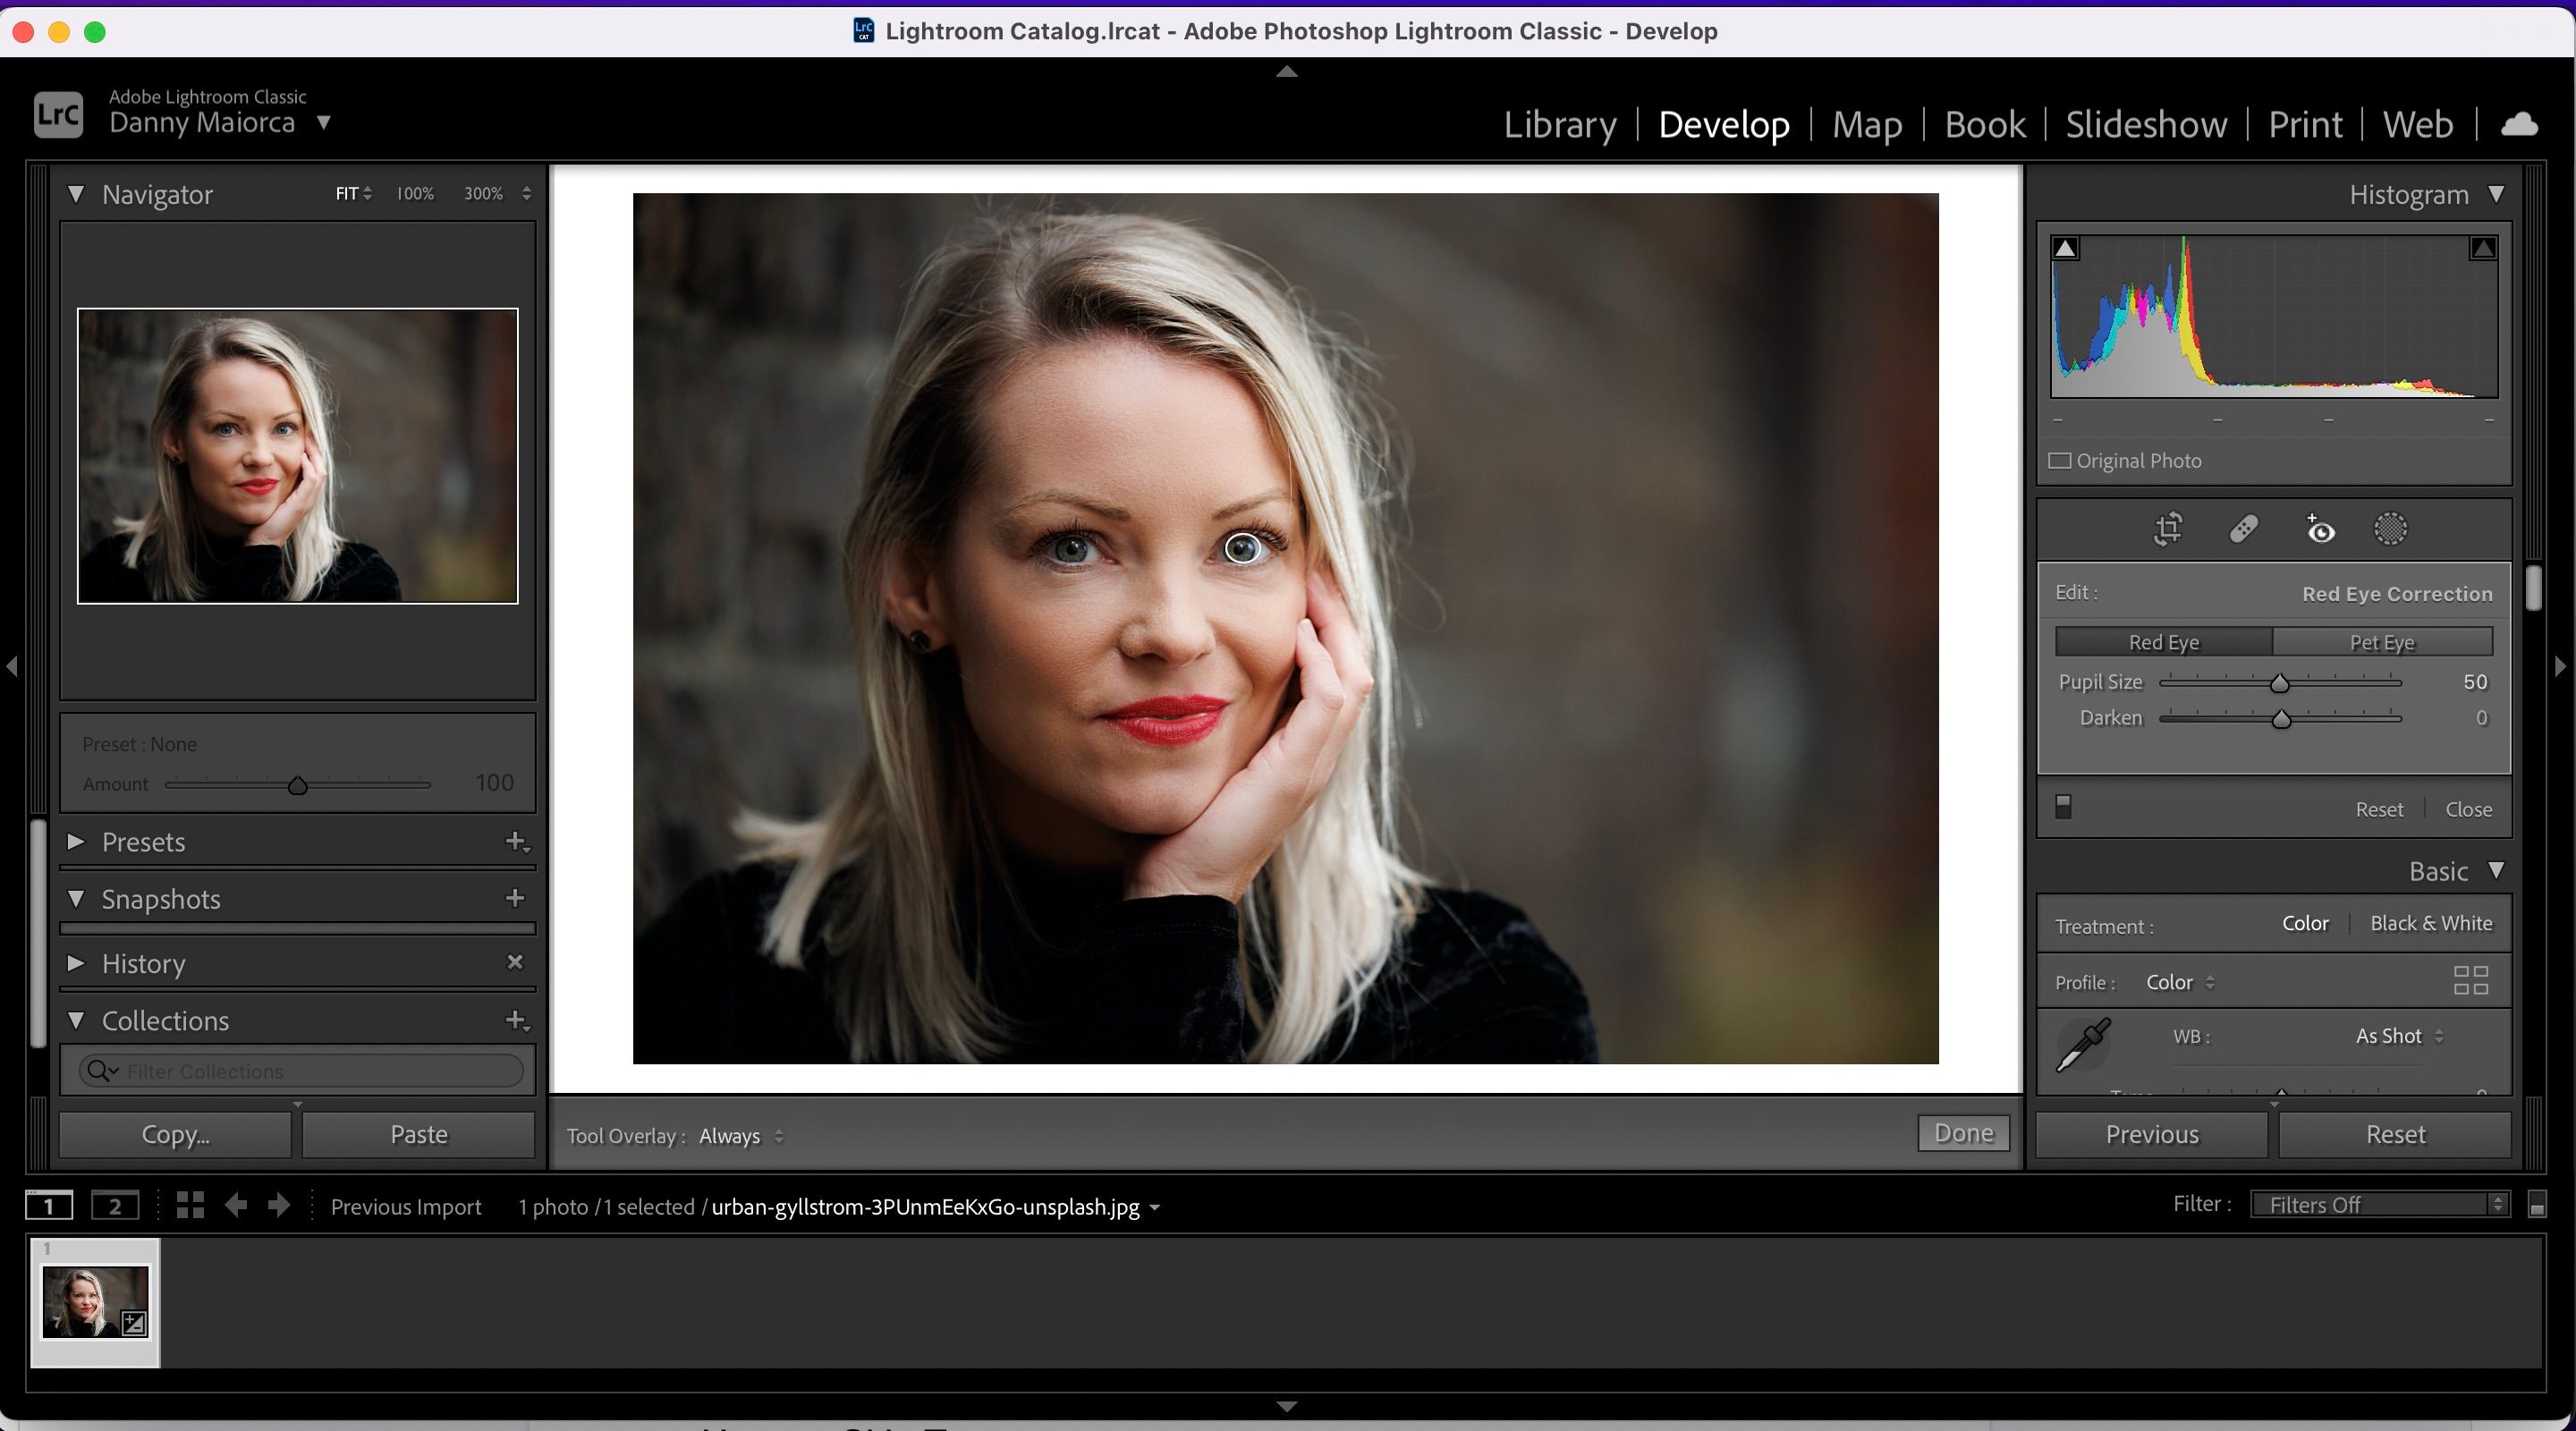
Fortunately, Lightroom has made removing red eyes from people and pets much easier.
After opening the Lightroom app, go to theRed Eye Correctionicon on the right-hand side of your screen.
There, youll see two options:Red EyeandPet Eye.
Select whichever one is applicable.
You will then need to create a circle around the area you want to edit.
You will, after doing that, have the option to increase or decrease pupil size.
Similarly, you’ve got the option to adjust the brightness in your selected area.
Seehow to convert your RAW files to JPEG in Lightroom.
Adjust the brush size to whatever you feel is necessary.
Then, choose the area youd like to make the selected section look like.
After completing these steps, all you have to do is hitEnteron your keyboard.
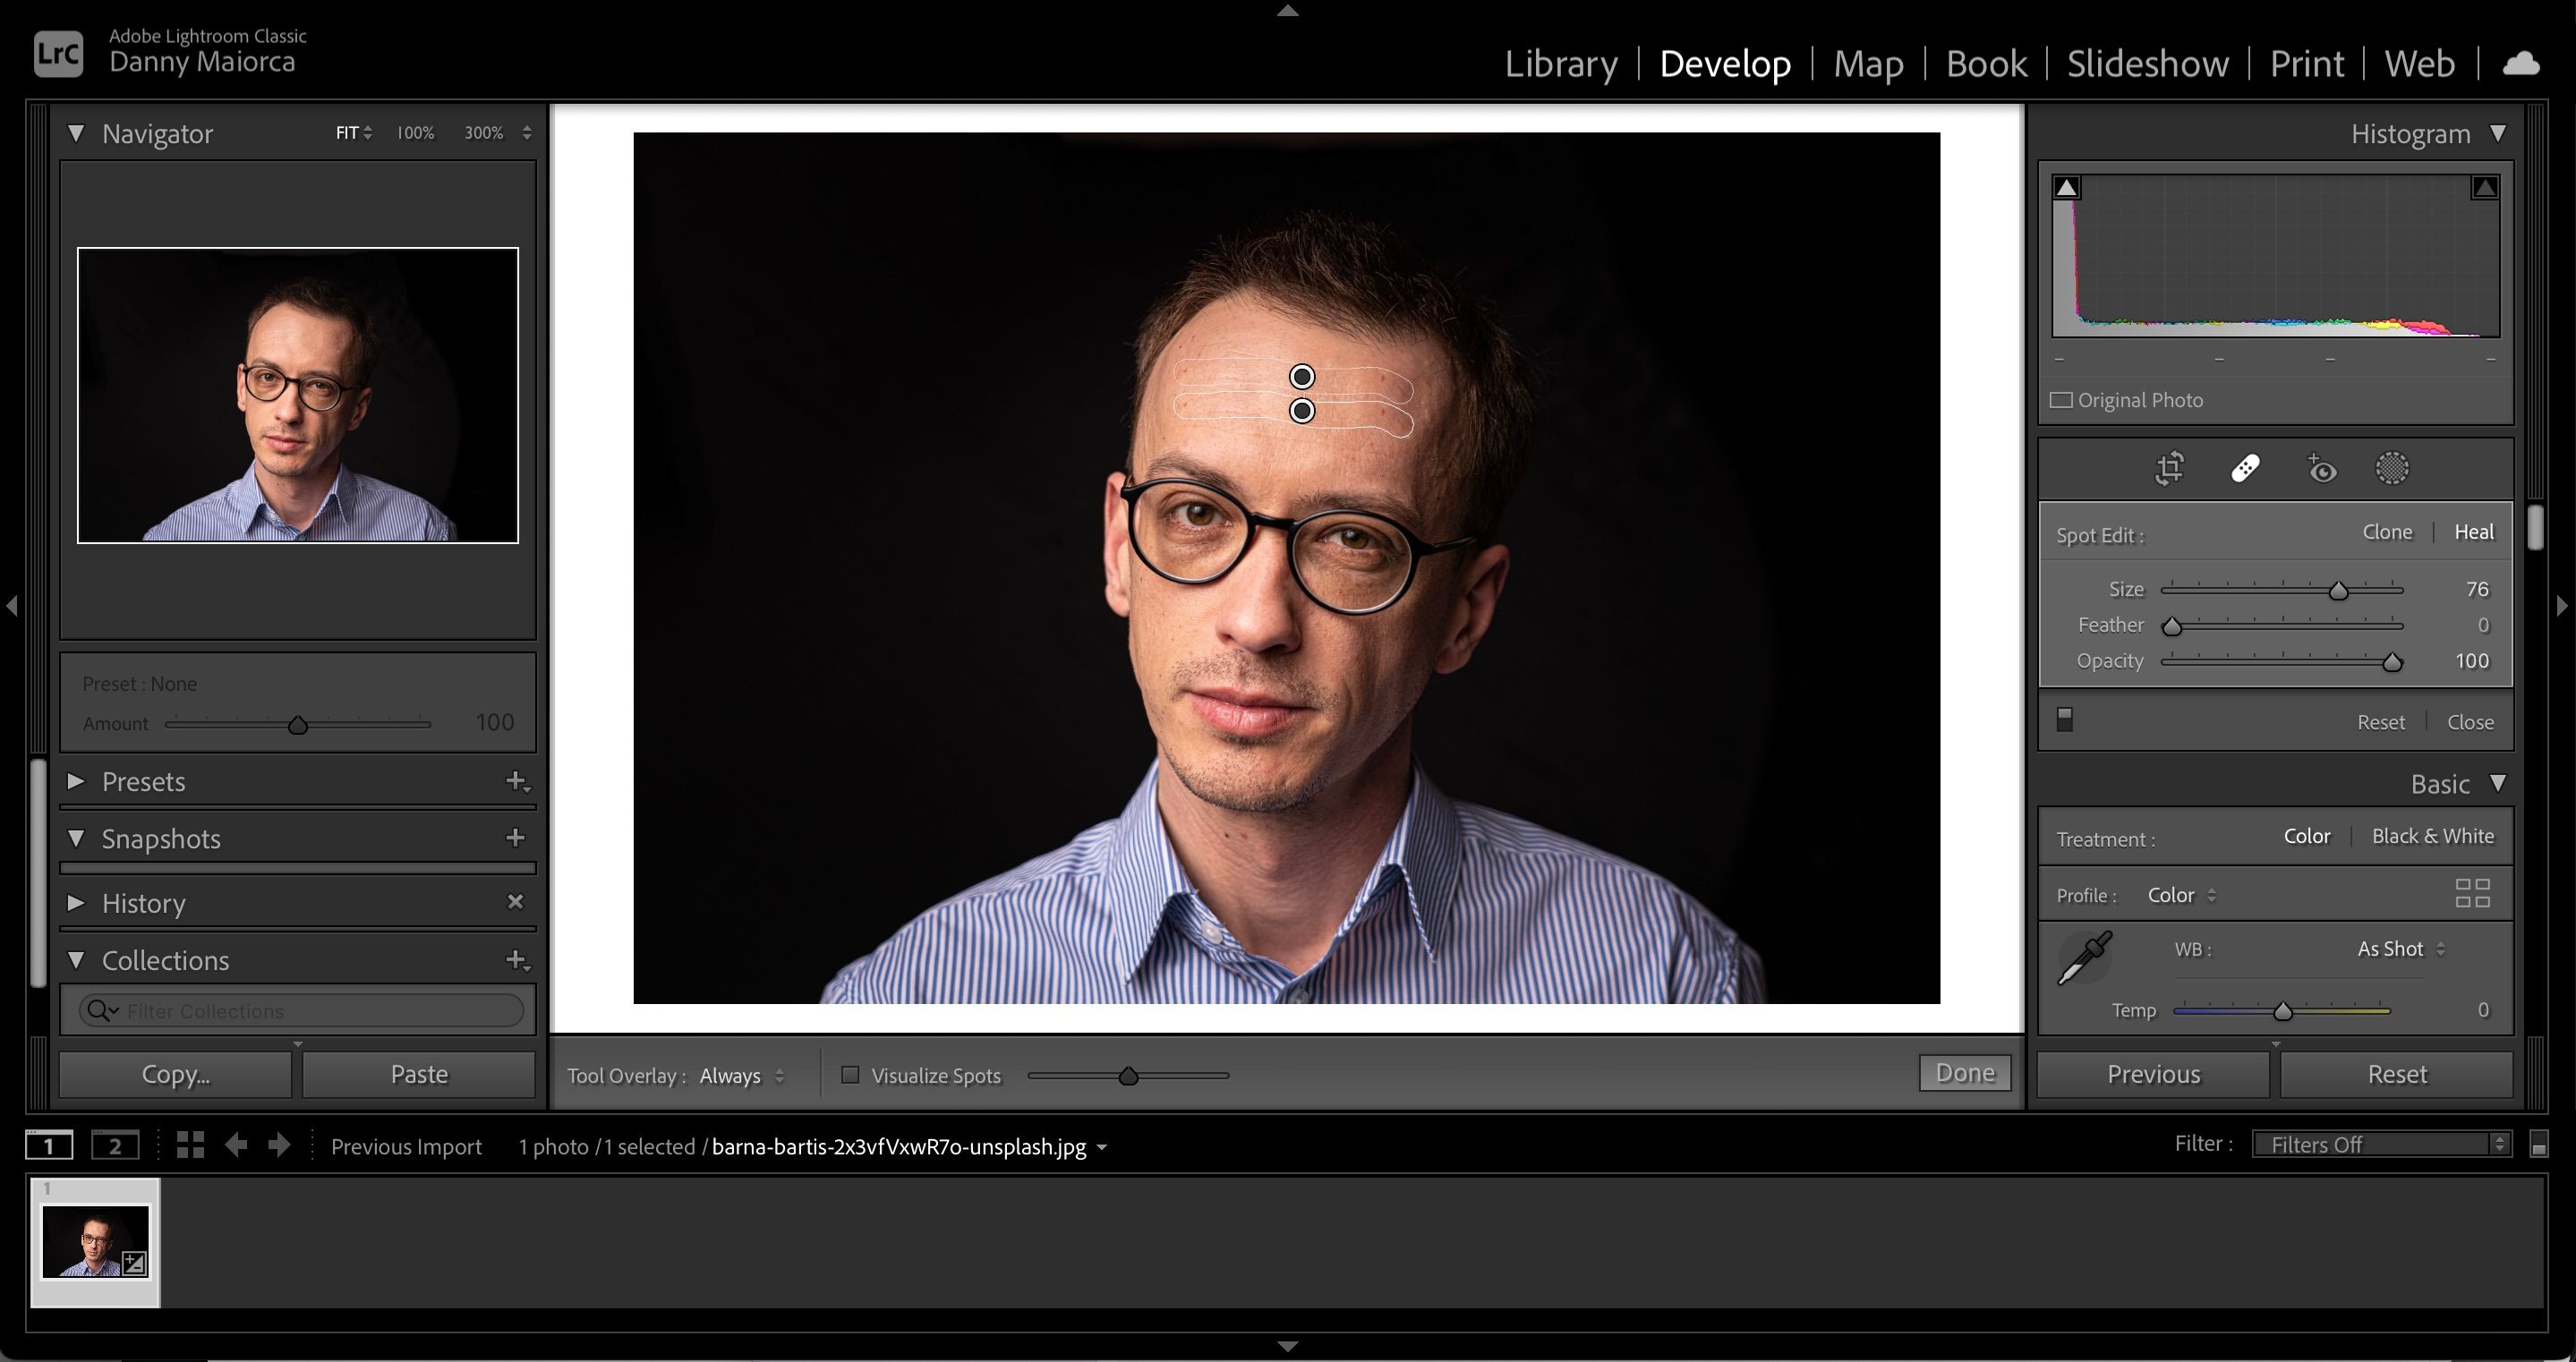
Lines
Removing unwanted lines is also simple in Lightroom, and the process is similar to spot removal.
Cover the entire area youd like to remove the lines on.
Then, choose the area youd like it to look more similar to.
Once youve completed those steps, hit theEnterkey.
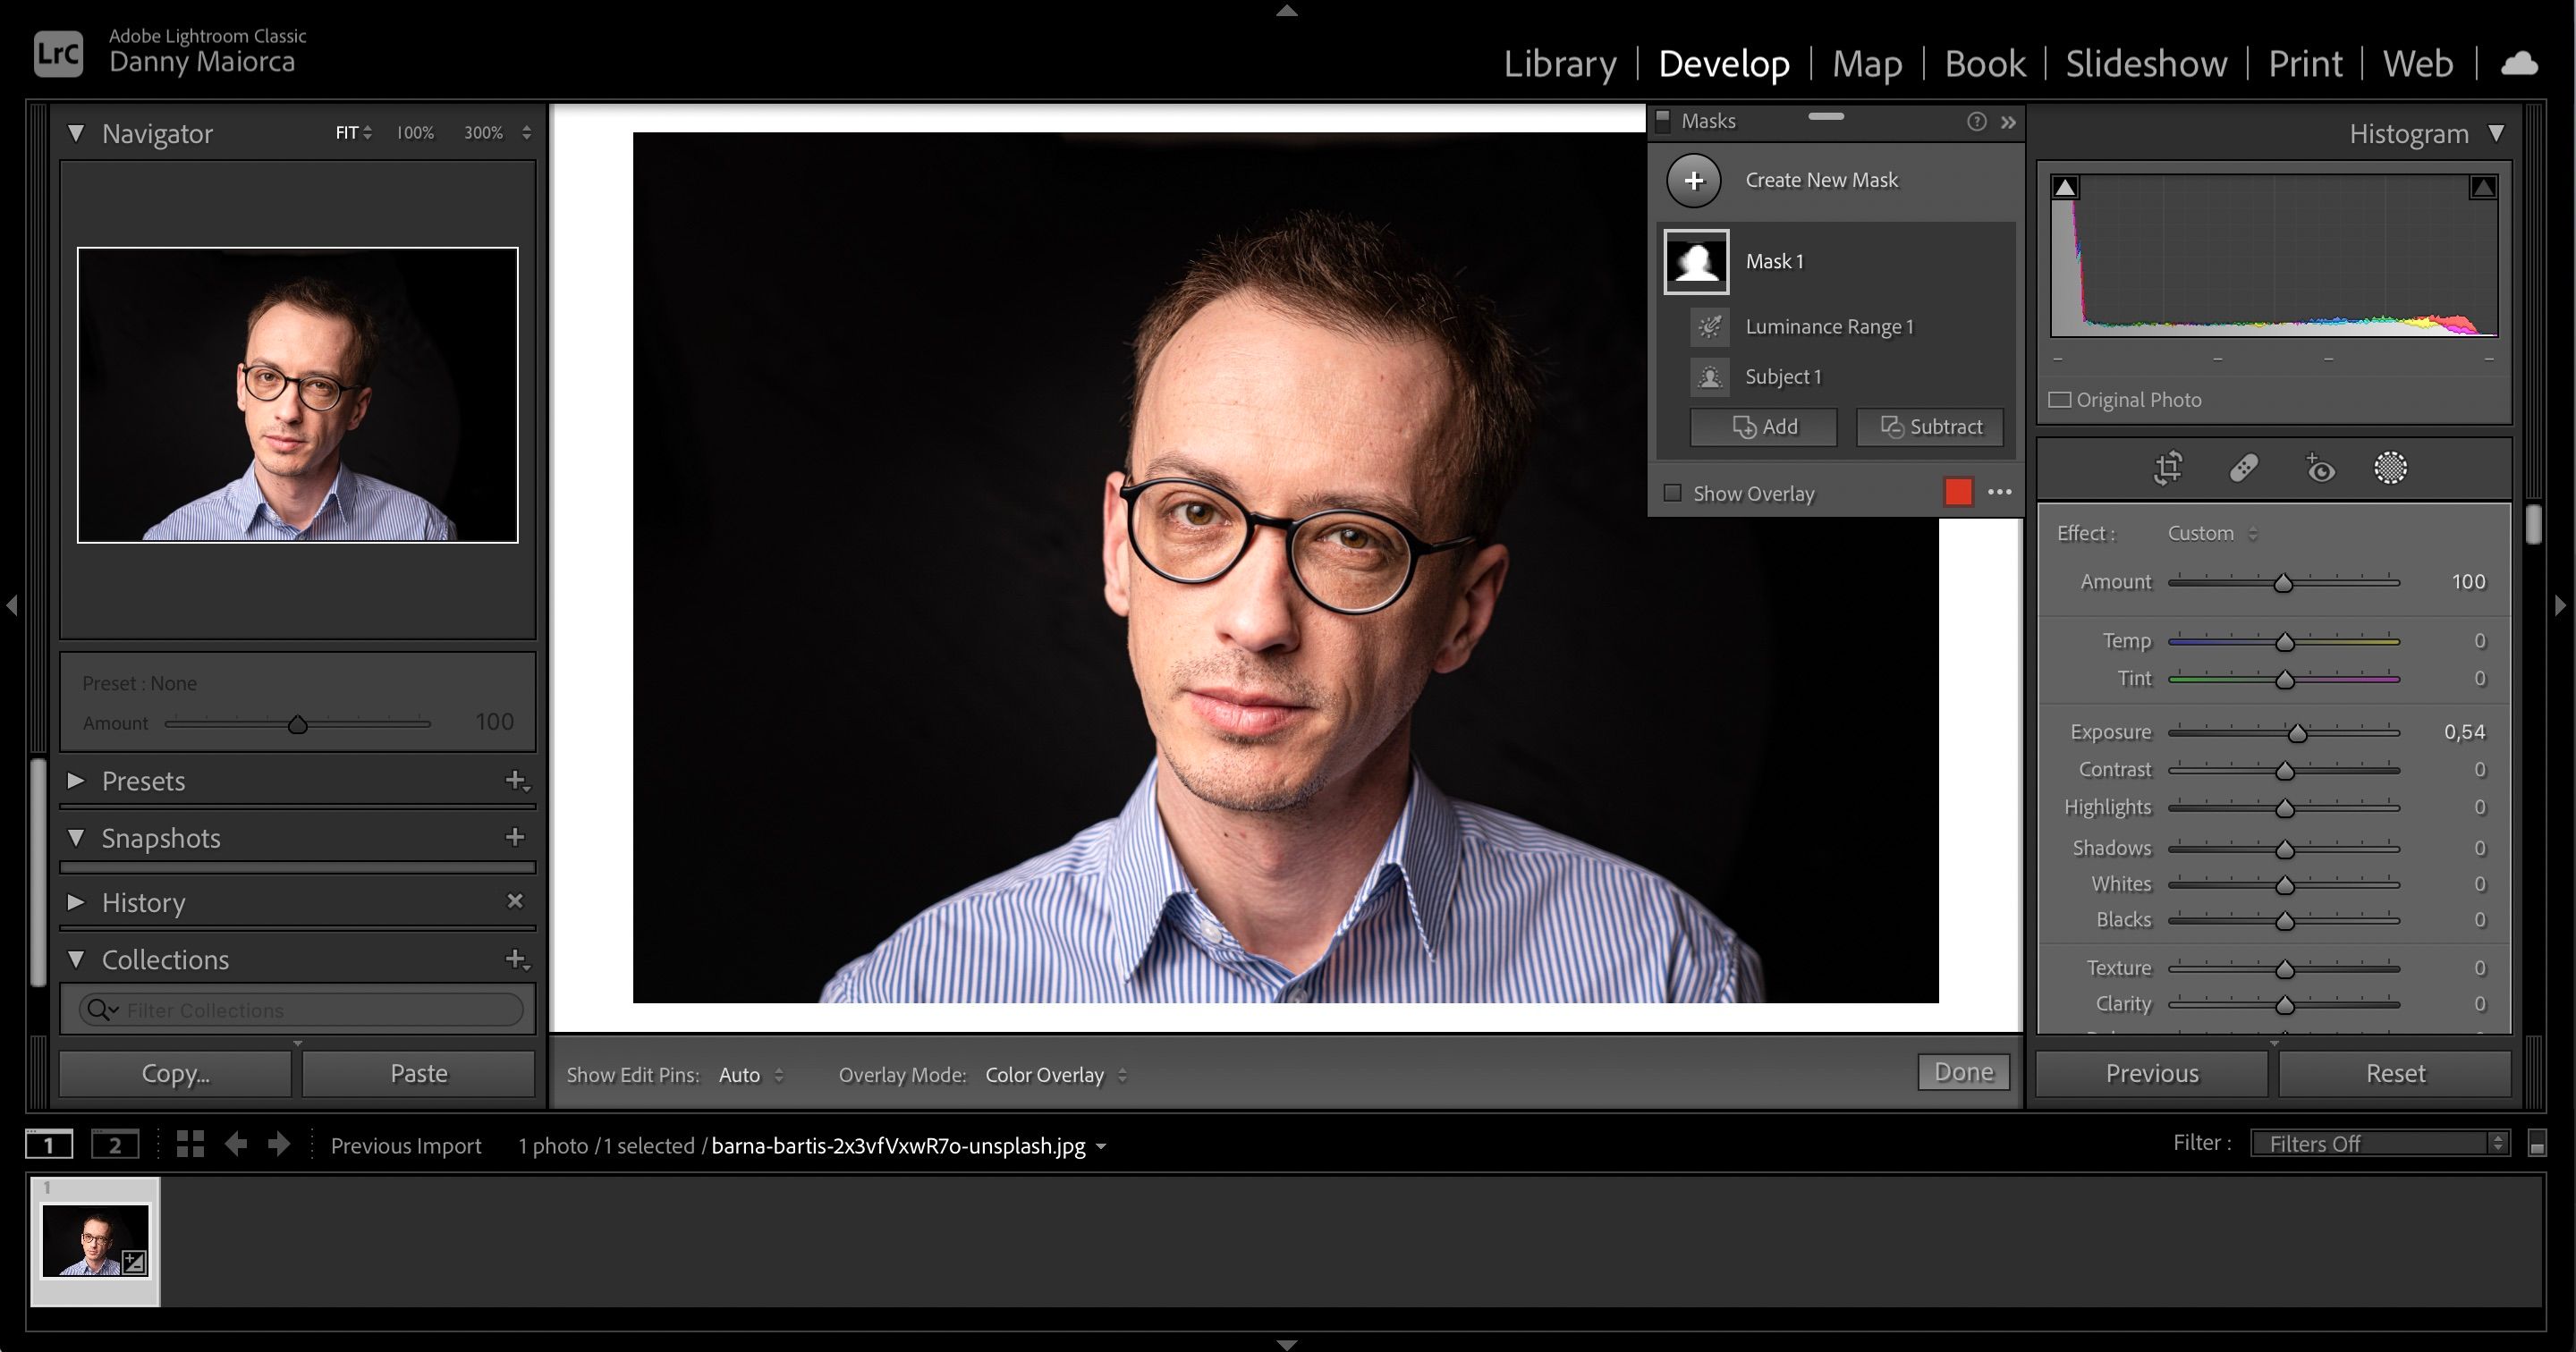
Uneven Skin Tones
Another problem you might face is uneven skin tones that dont look natural.
This could be because of various issues, such as uneven lighting when you took the photo.
After that, you’ve got the option to grab the area youd like to adjust.
Once youve masked an area, you might alter the exposure, contrast, and much more.
Move the sliders until youre happy with the result, and hit theEnterkey when youre done.
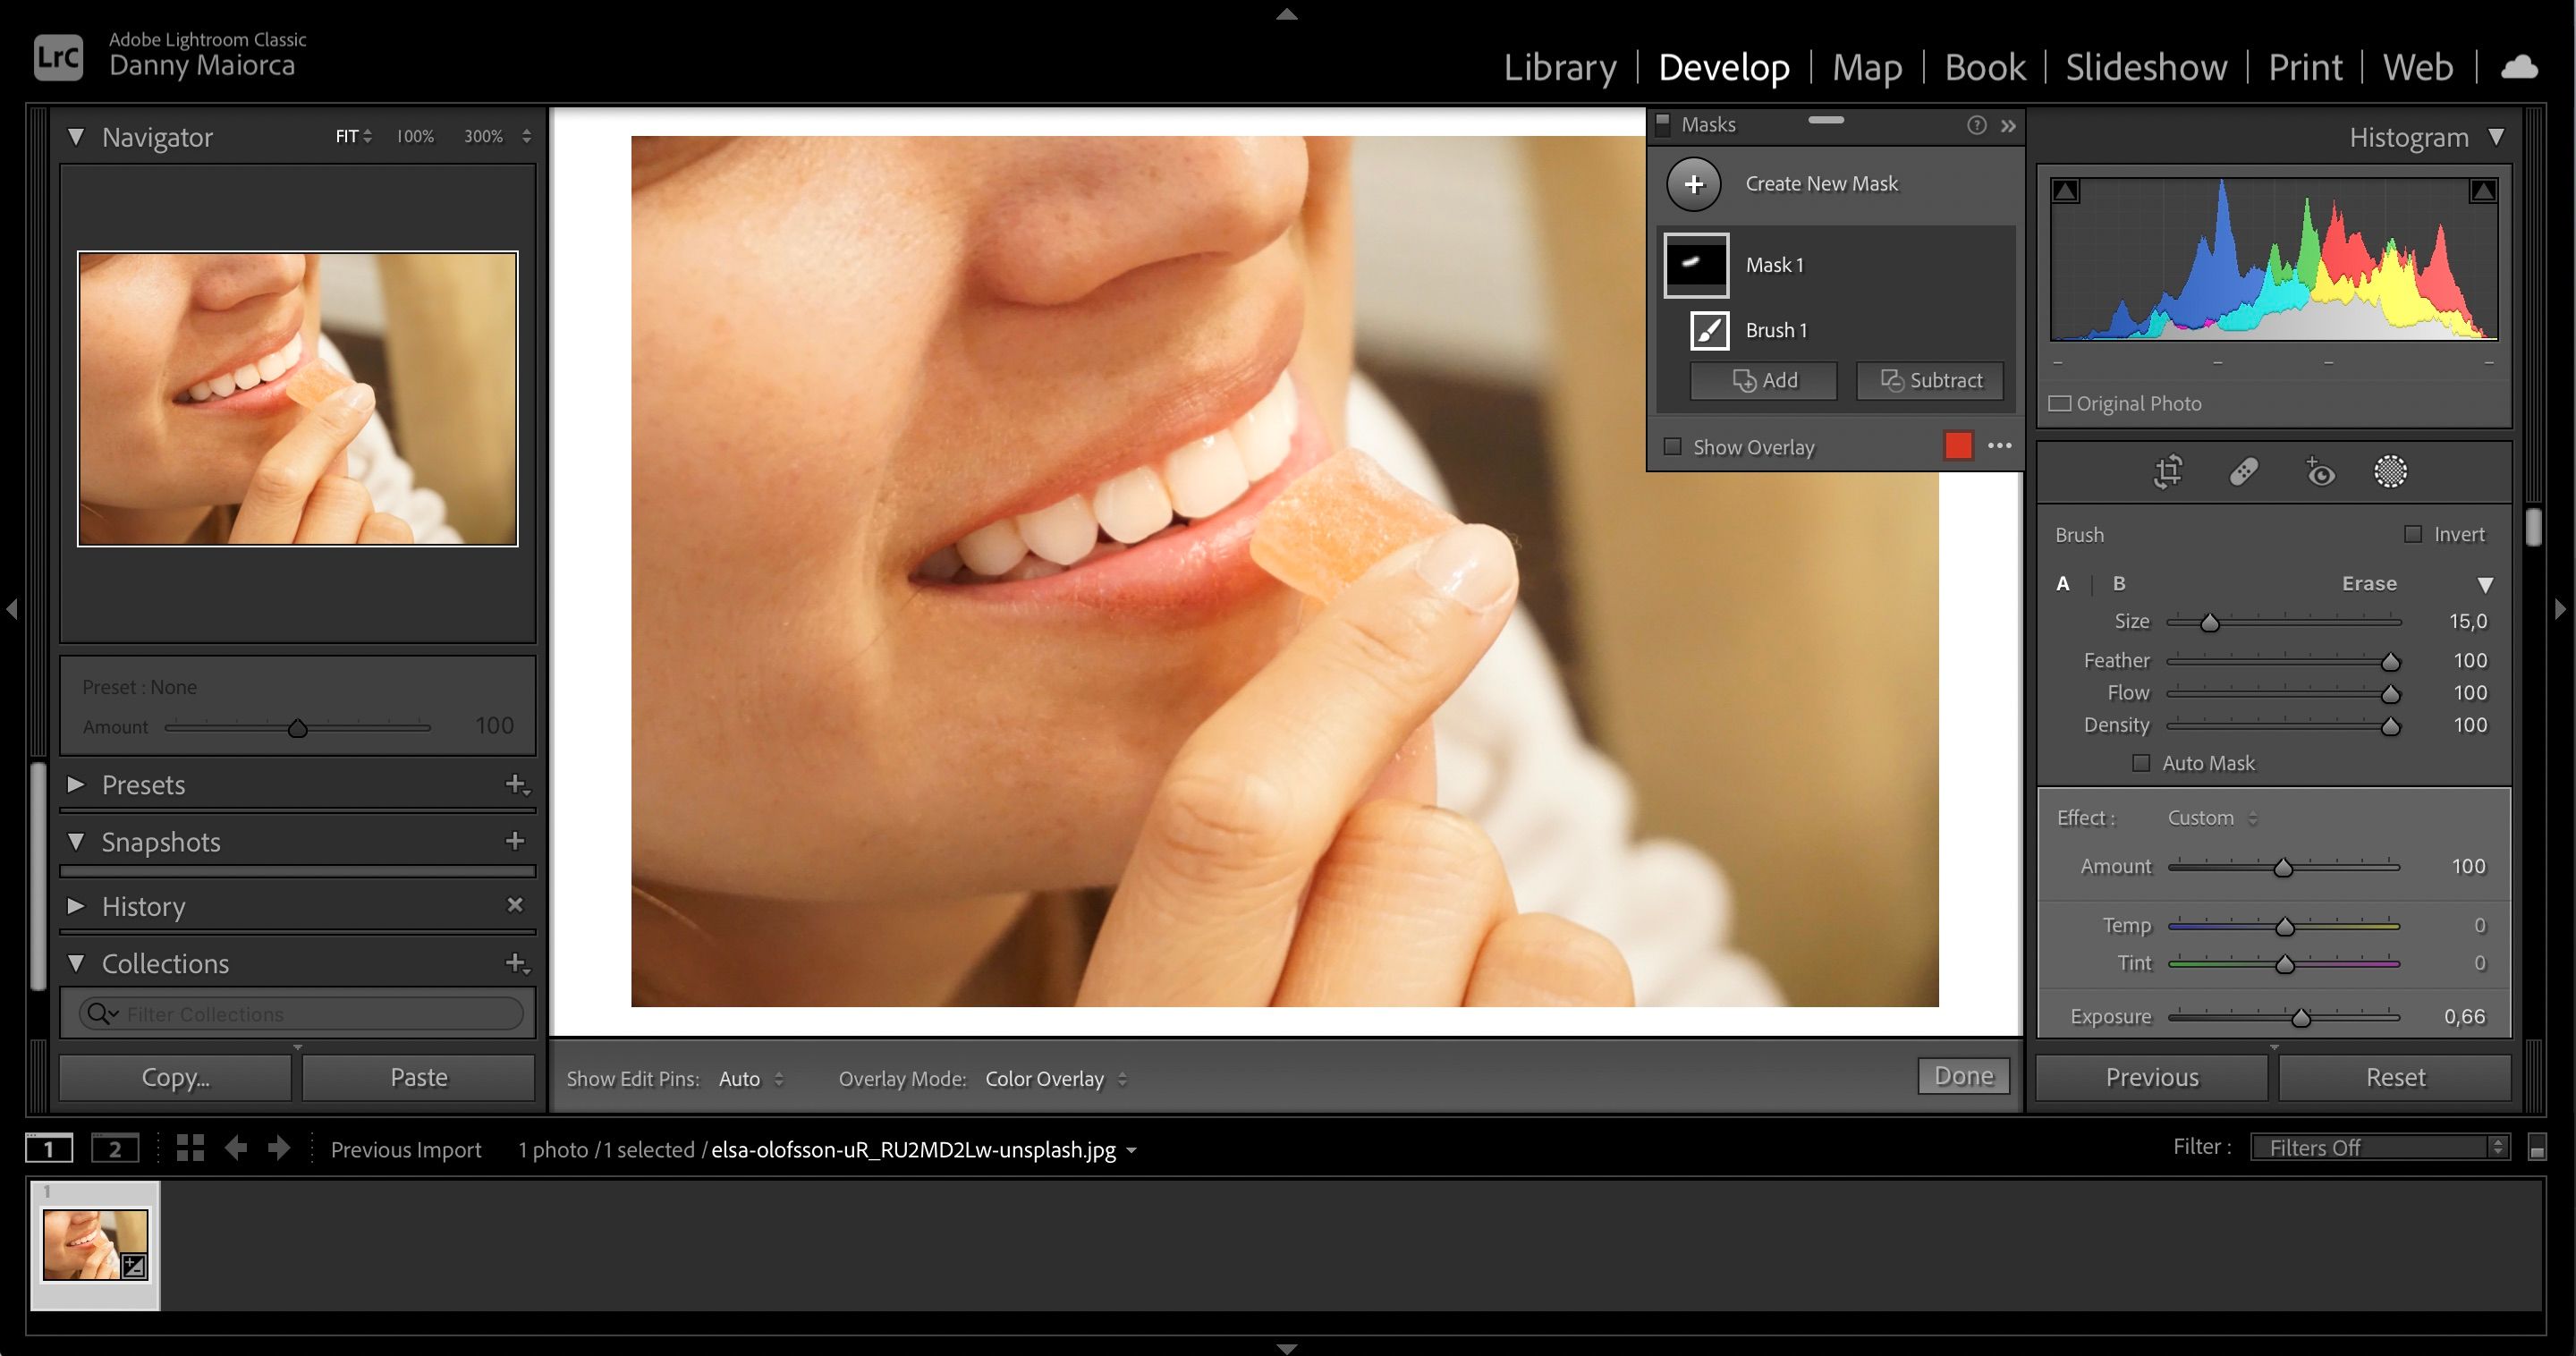
choose the area youd like to whiten and increase the exposure as you feel is necessary.
you could also, when whitening teeth in Lightroom, tweak theWhitesslider after selecting the masked area.
Adjusting theContrastmight also work for you.
See our tips forimproving your Lightroom editing skills.
Spots, lines, and uneven skin tones are also simple to adjust in Lightroom.
Just experiment a little to get realistic results.
