The best answer is a simple one: Migration Assistant.
Apple’s built-in data transfer tool is intuitive, versatile, and provides a range of migration options.
Let’s take an in-depth look at how to use Migration Assistant and the various migration options offered.

Migrate Mac Data Using Wi-Fi
Wi-Fi is one of the most convenient ways to transfer data.
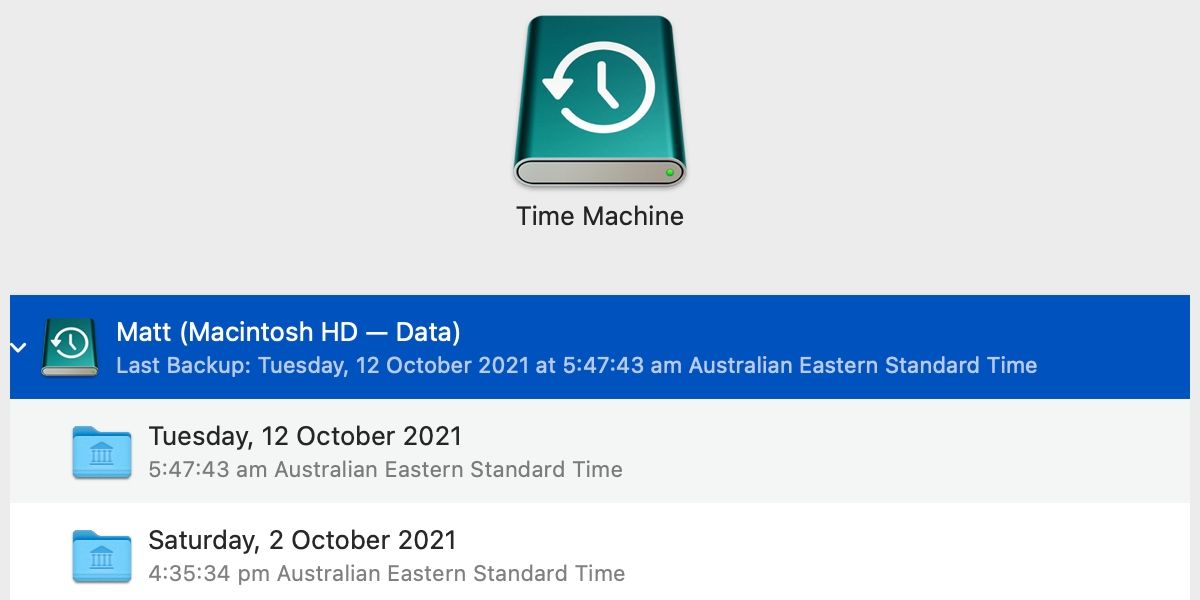
Before you attempt a migration, you should:
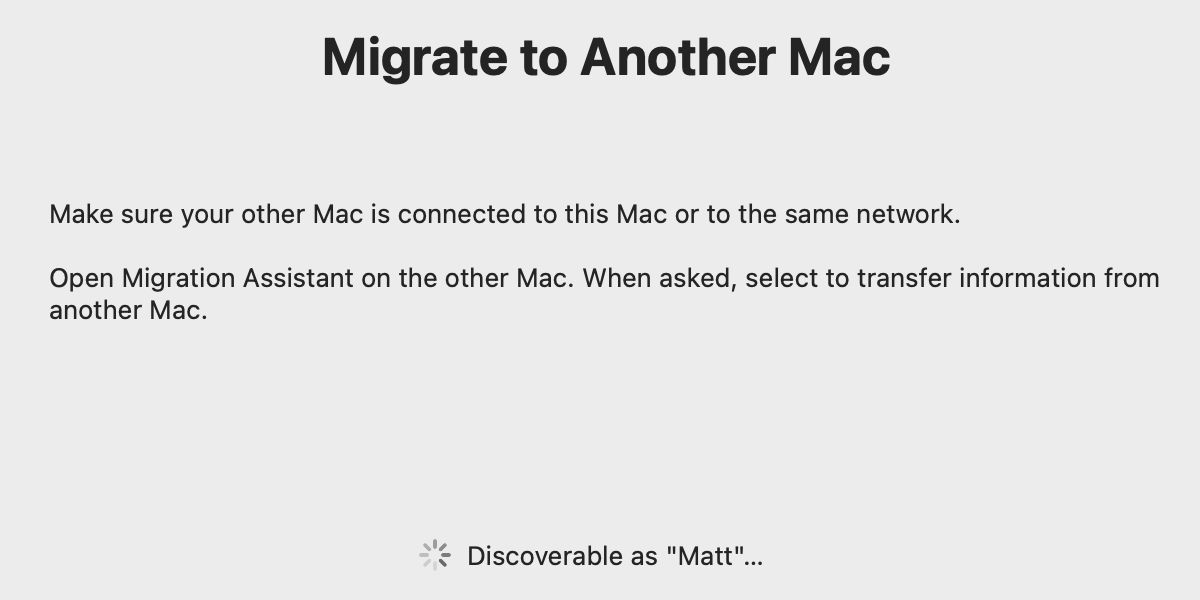
Now you’re ready to begin the migration process.
Your machine should begin searching for a connection.
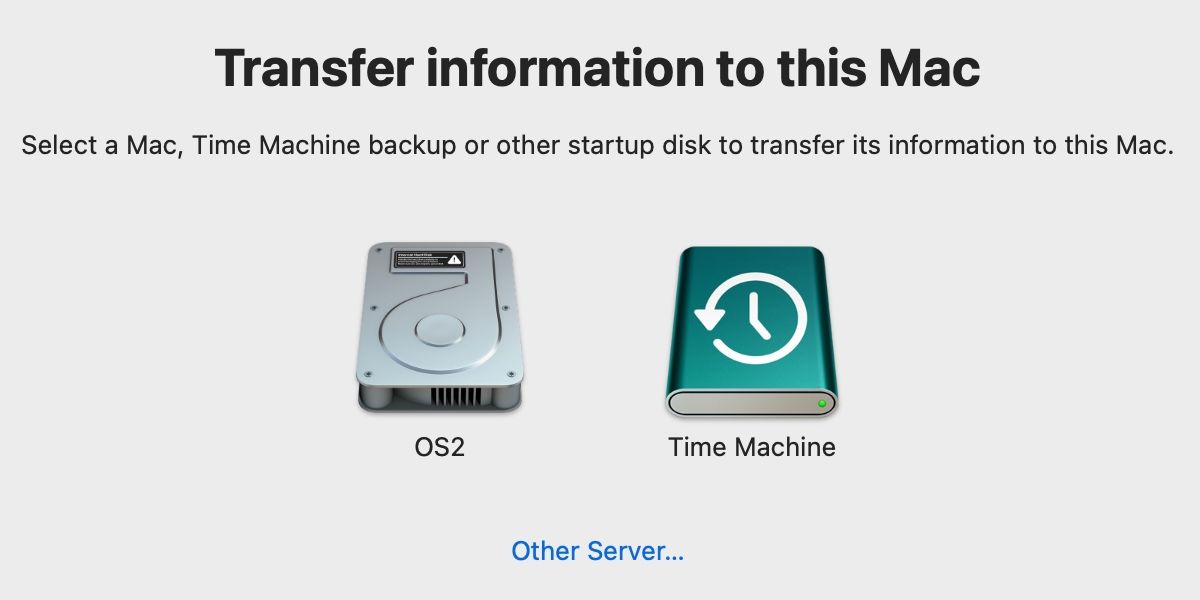
On your new Mac, the process is the same as with a wireless transfer.
You should connect your devices using the appropriate cableThunderbolt, USB-C, or FireWirebefore continuing.
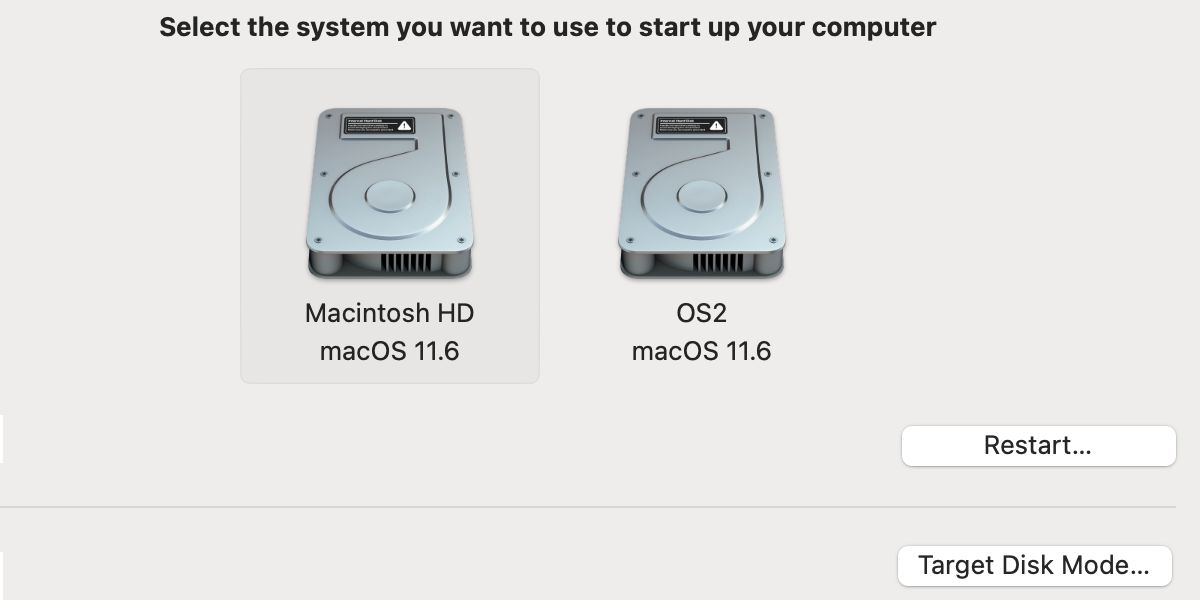
The option you choose will depend on whether your Mac is off or on.
If your Mac is off, you might hold theT keyduring startup until Target Disk Mode begins.
Simply follow the prompts to begin the transfer.
Manufacturers have streamlined the setup processes for new devices, and tools like Migration Assistant help make transitions easy.