However, knowing what they do is crucial for reducing the learning curve as much as possible.
This article will identify the terms you should familiarize yourself with when using Lightroom for the first time.
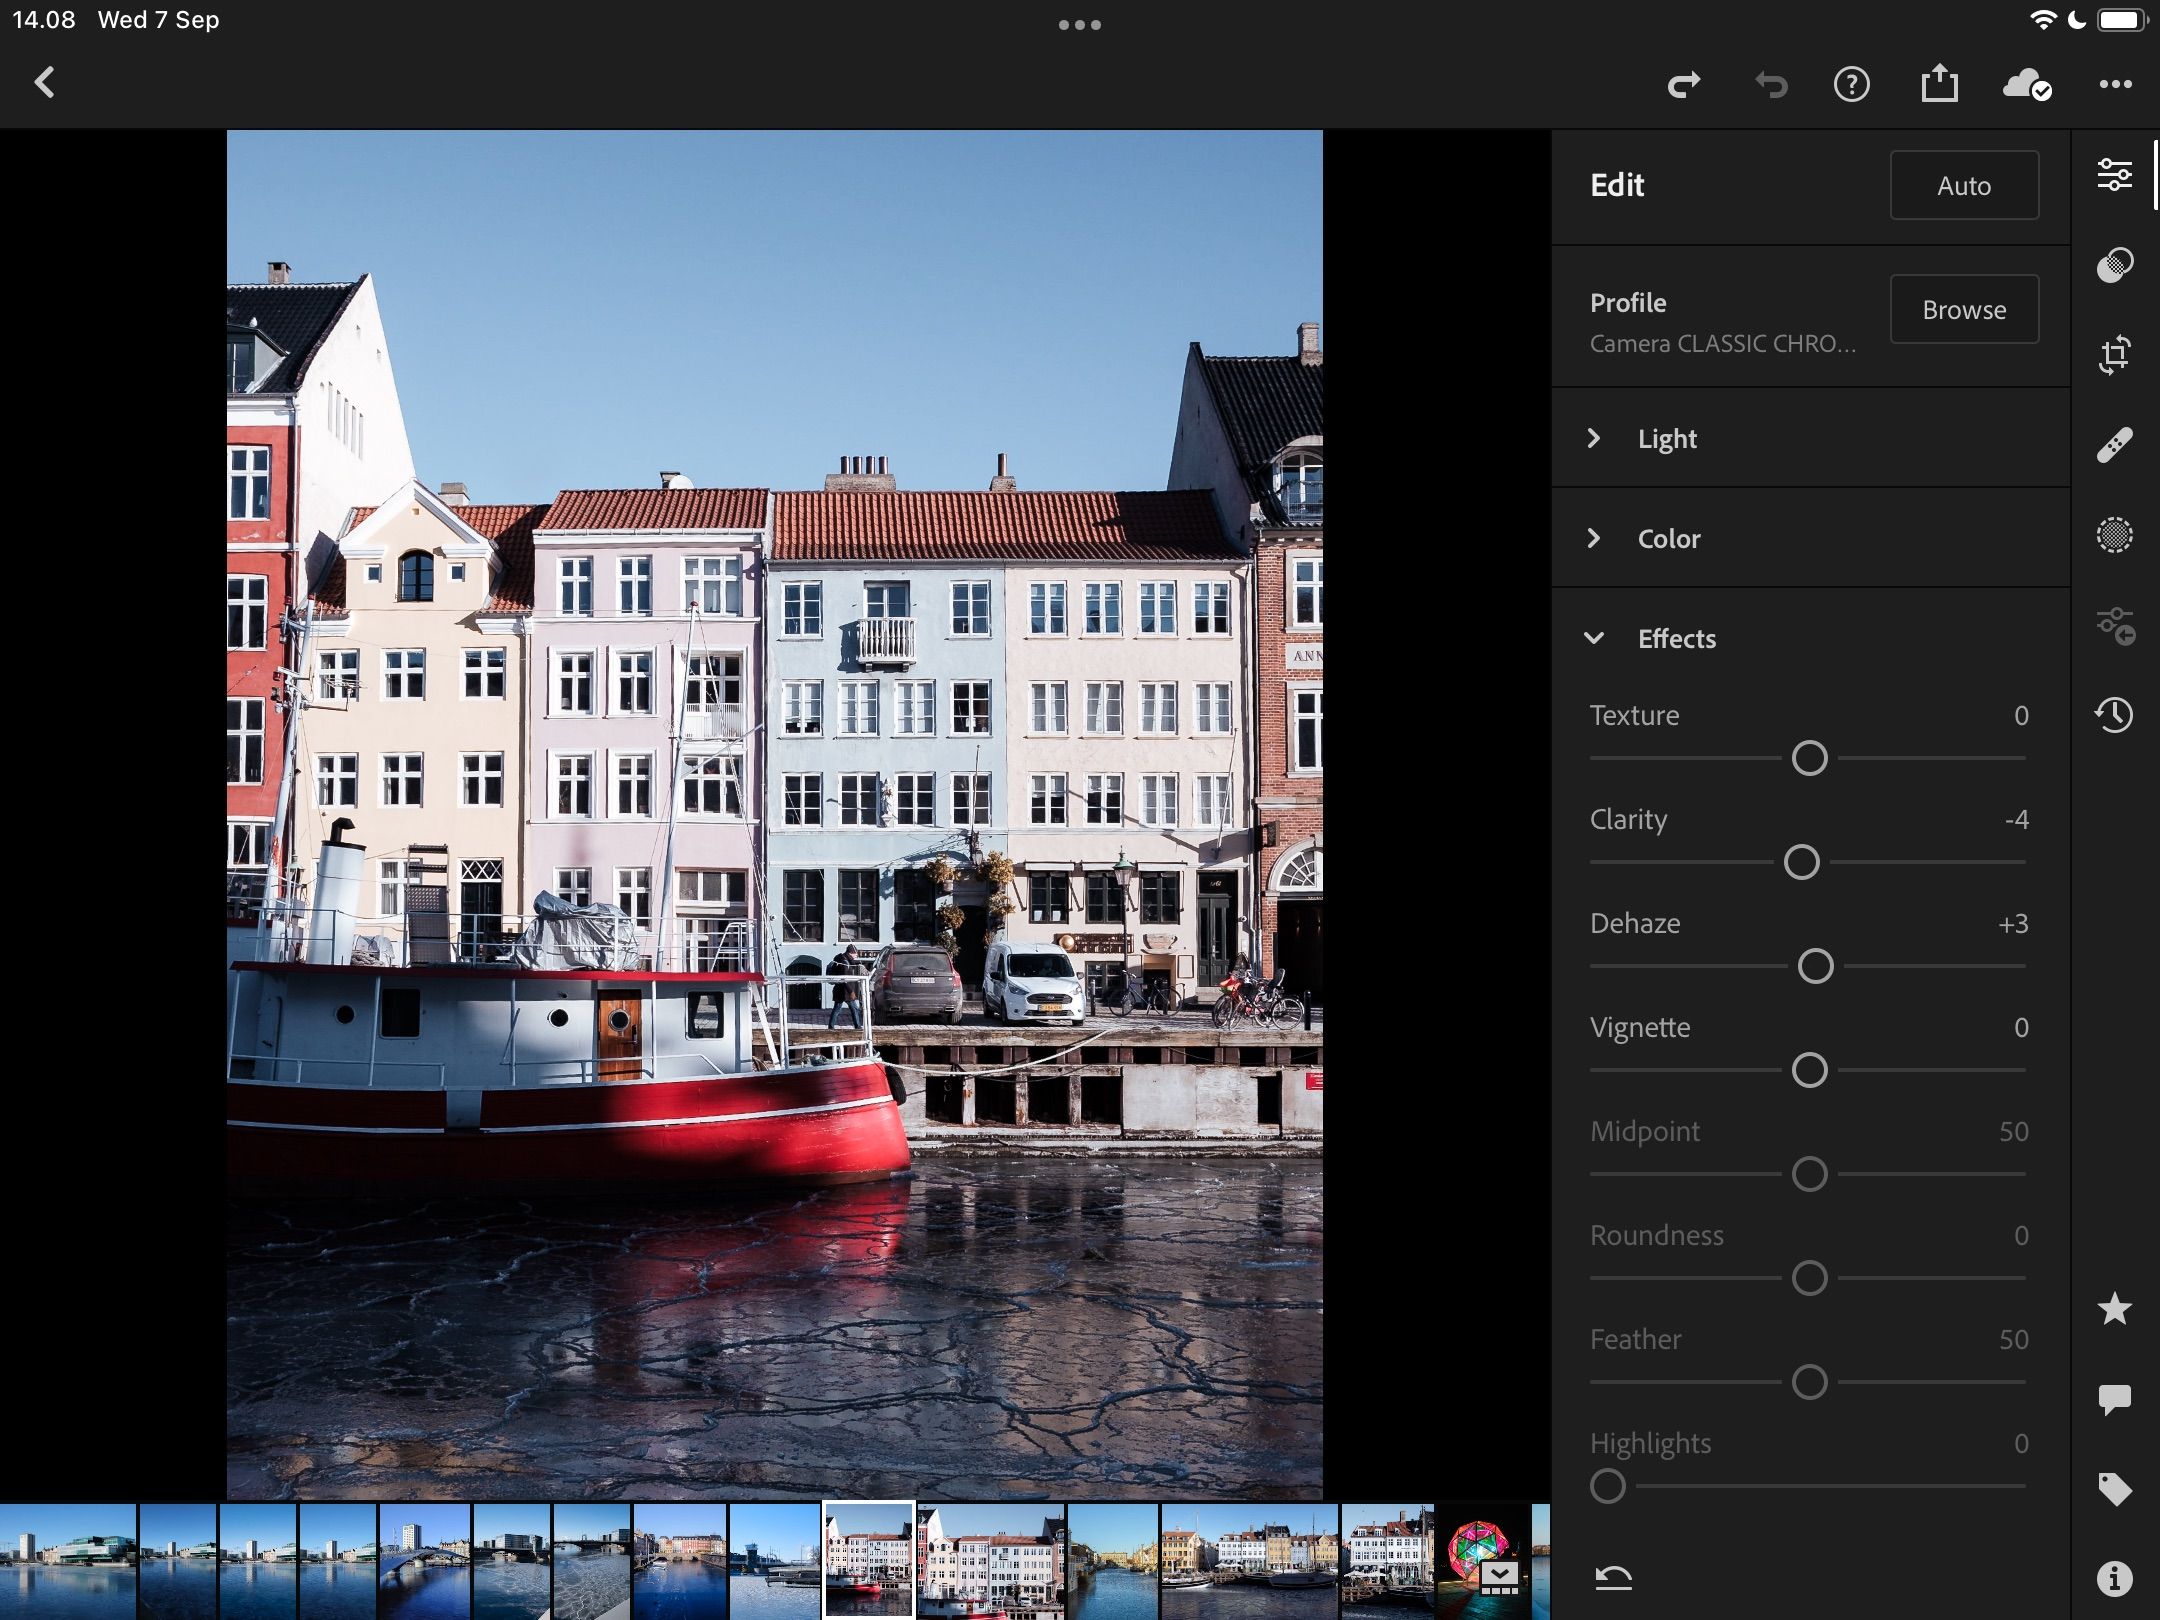
The tool primarily affects the mid-tones, making an image look clearer.

On the flip side, pushing it further to the left will flatten the mid-tones' textures.
Similarly, you might want to use it to make wood and fur look clearer.
You must be careful when using the Texture slider, howevertoo much will make your image look unrealistic.
give a shot to increase or decrease in increments of 5-10 until you find your desired result.
Moving the Lightroom Exposure slider to the right will add more light to your image.
And when sliding to the left, you’ll do the opposite.
Overexposure isn’t always bad though; there are actuallysome creative ways to use overexposure.
Dehaze
Dehaze is an incredibly useful tool for making your photos clearer.
Shifting the slider to the right will remove unwanted mist, smoke, and haze.
As a result, you’ll bring out the other parts of your image.
you’re able to also move the Dehaze slider to the left to add haze to your picture.
Doing so is particularly useful when capturing foggy landscapes and misty mornings to create moody results.
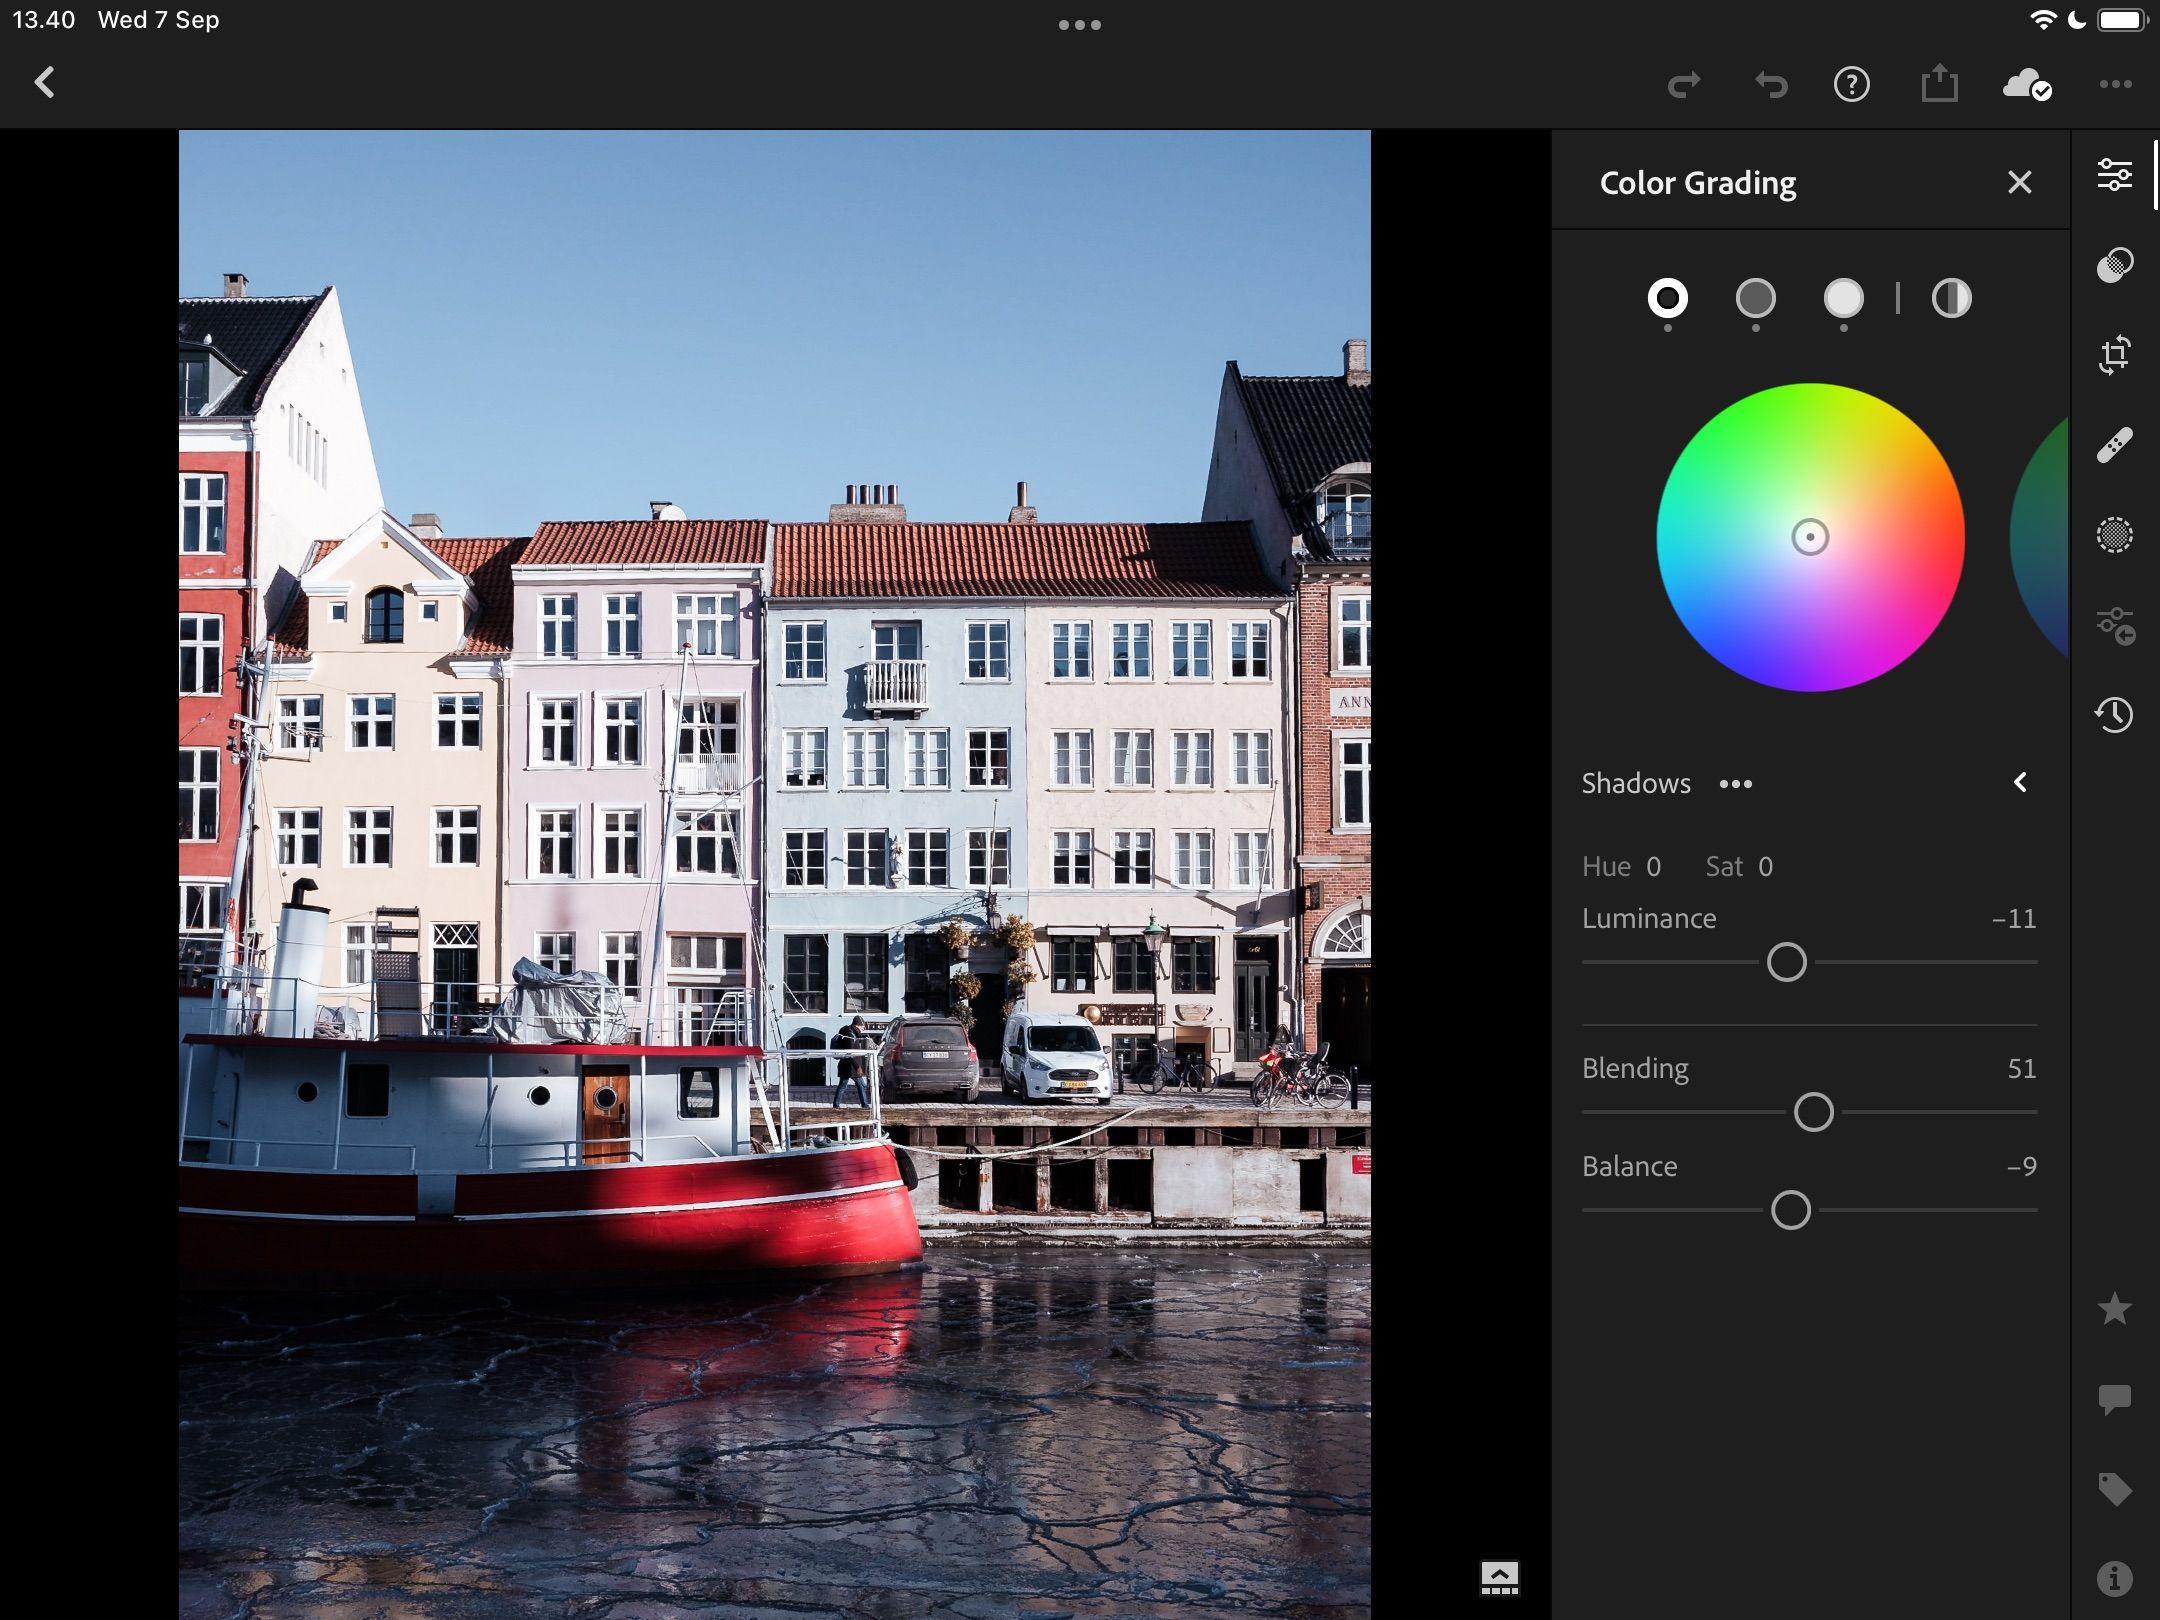
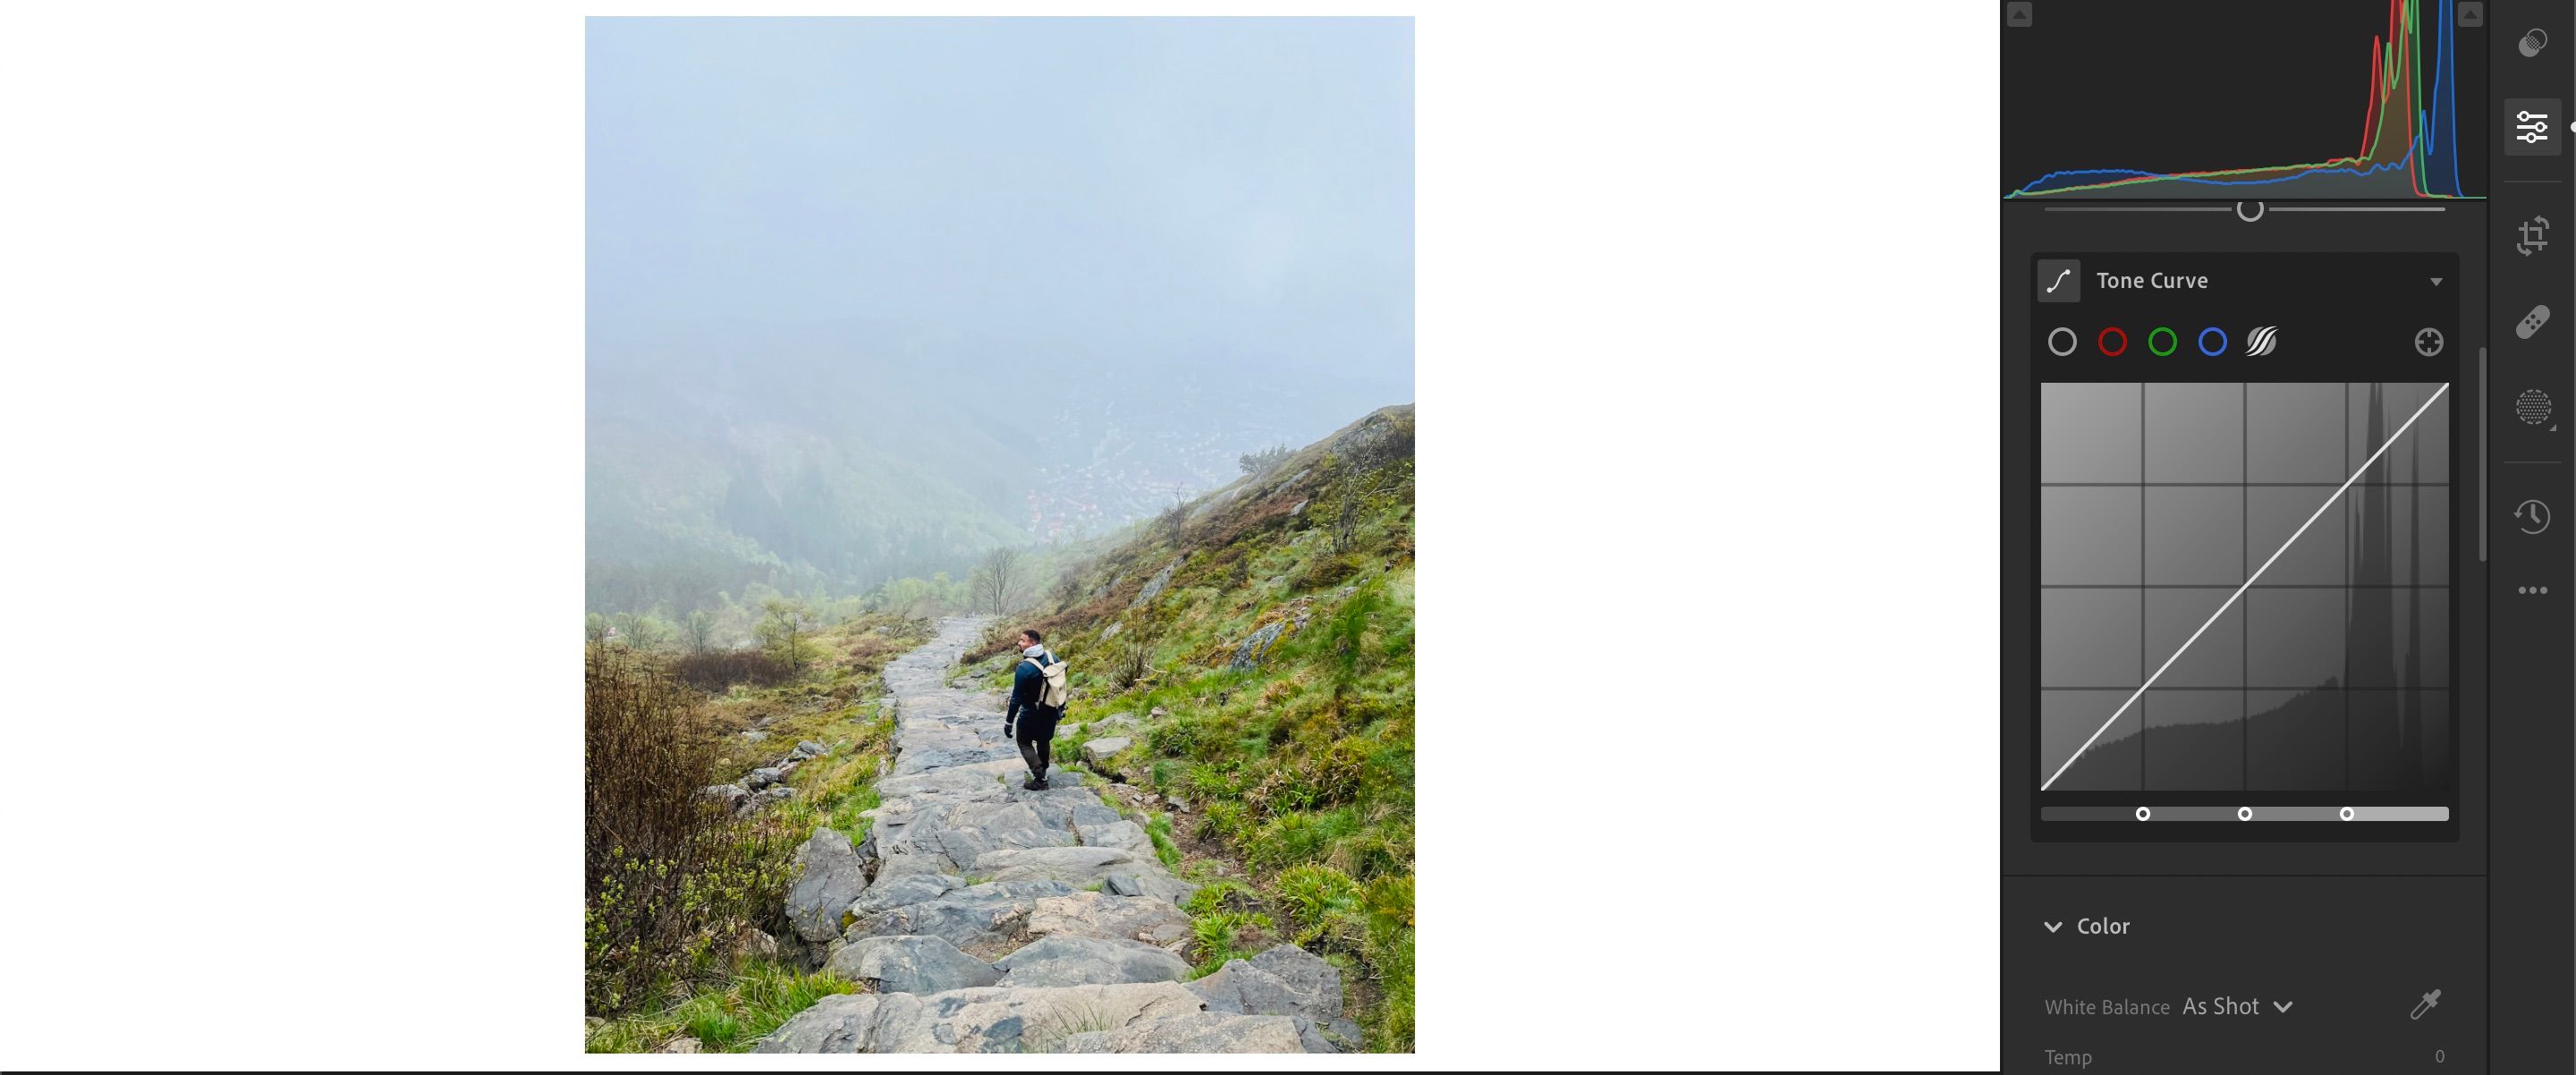
Lightroom’s three main color wheels cover the mid-tones, shadows, and highlights.
You also have a universal color wheel, which affects the entire picture.
Besides adjusting hue and saturation, you could also add or remove luminance.
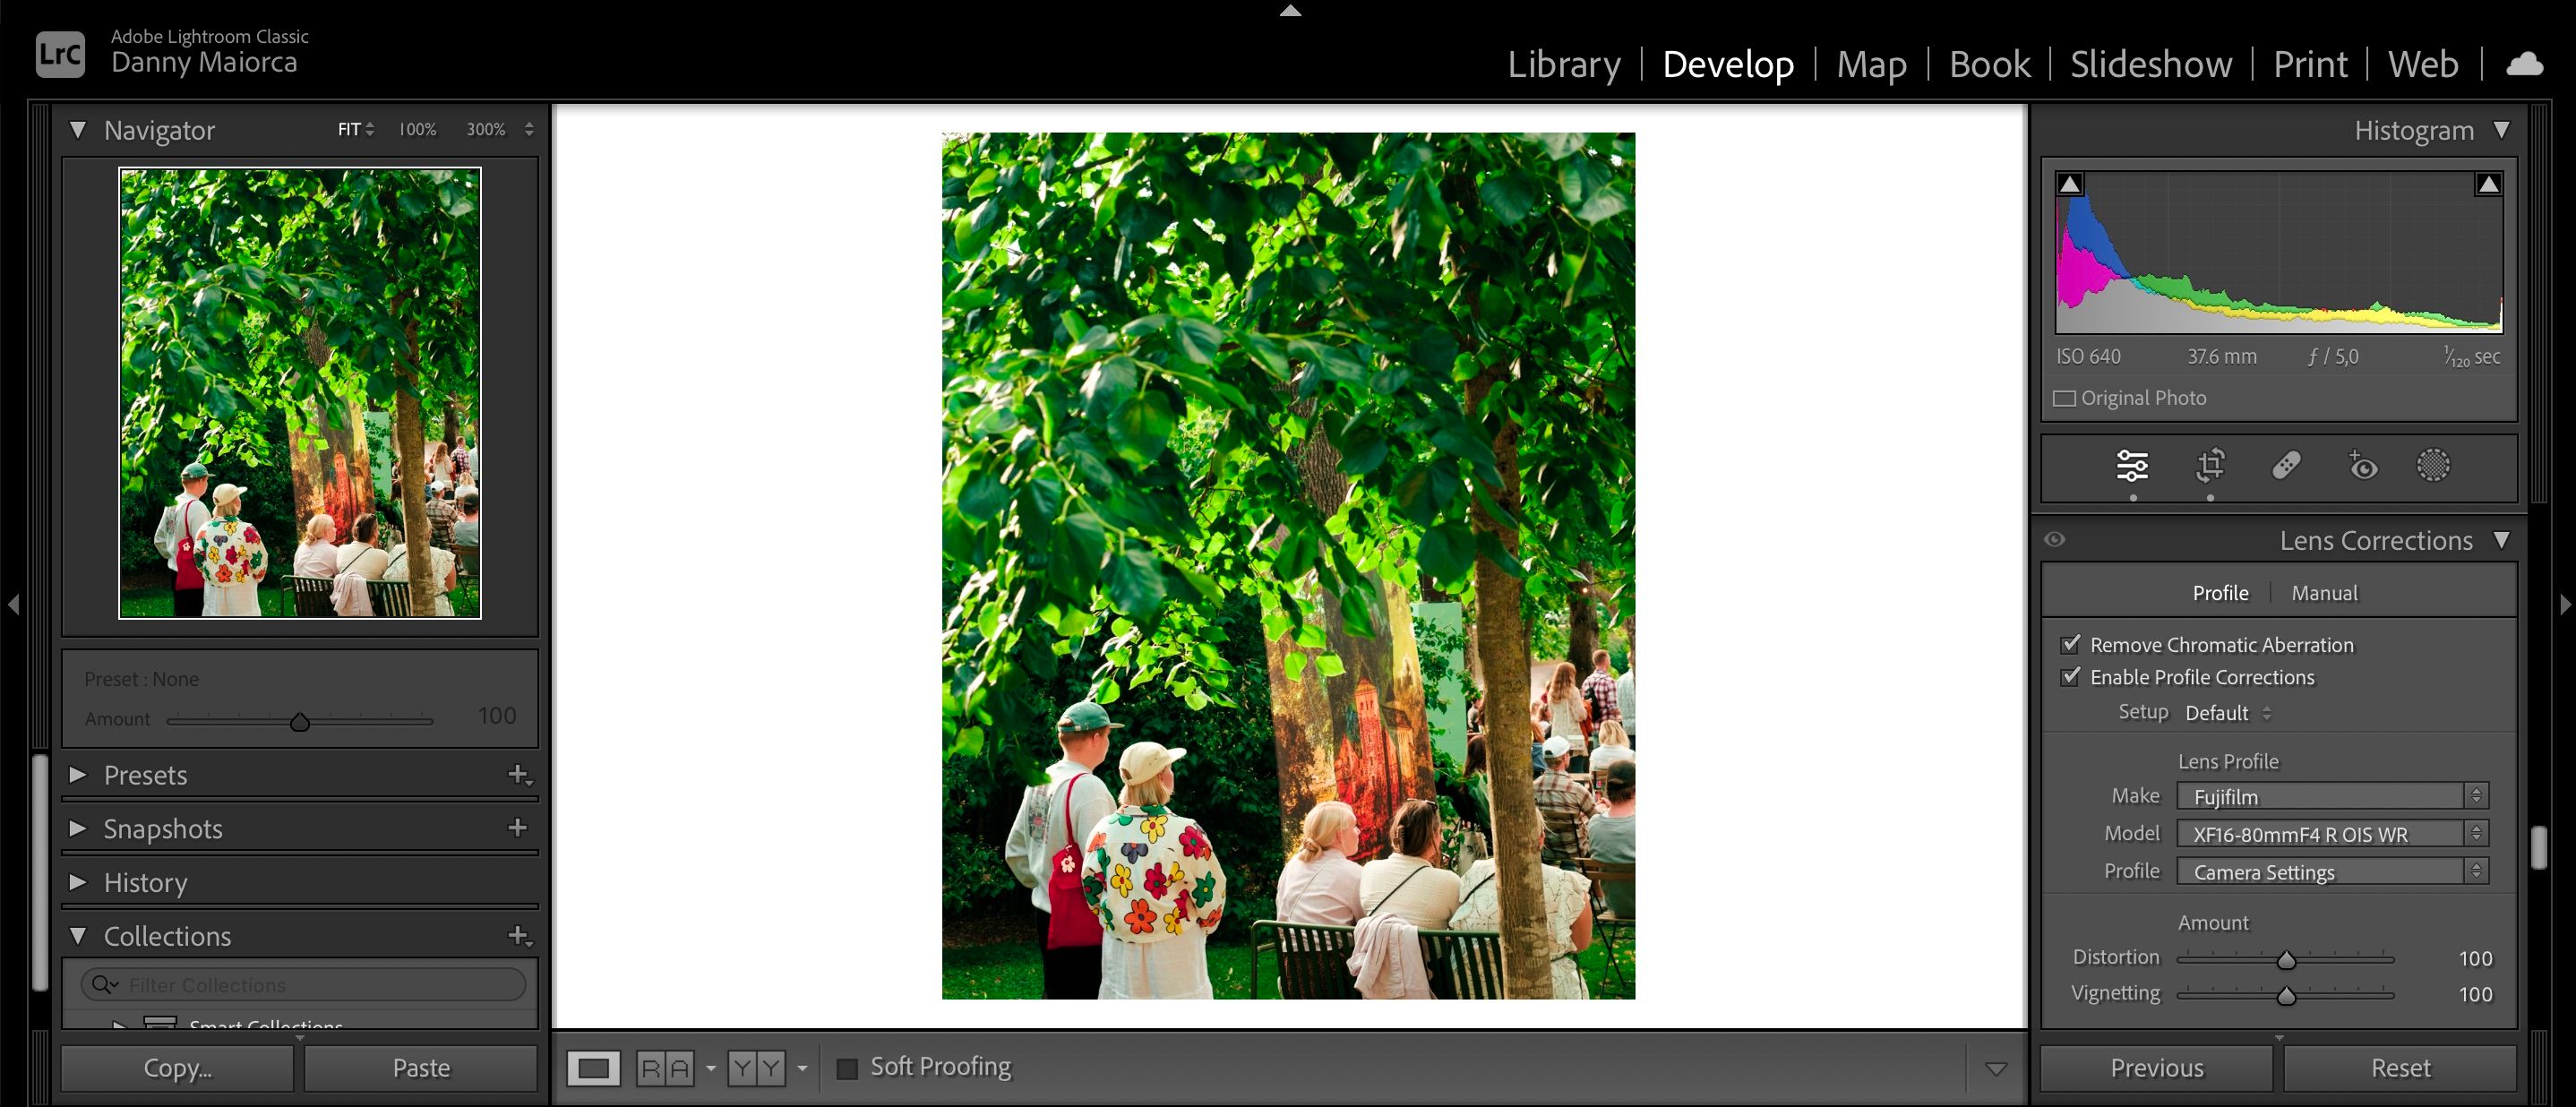
Lens Correction
When you upload your photo to Lightroom, you might notice a couple of subtle issues.
For example, the picture might look a little distorted.
Fortunately, fixing this is easy; Lightroom has a one-click option for correcting problems resulting from your lens.
you might use the Noise Reduction tool in Lightroom to fix grain issues.
You’ll also find alternative options for reducing noise in your colors.
Depending on your camera manufacturer, you’ll see a broad selection of color and black and white profiles.
In addition to your camera-matching profiles, you’ll find a selection of Adobe-created ones.
Moreover, you’re able to pick various themessuch as vintage and modern.
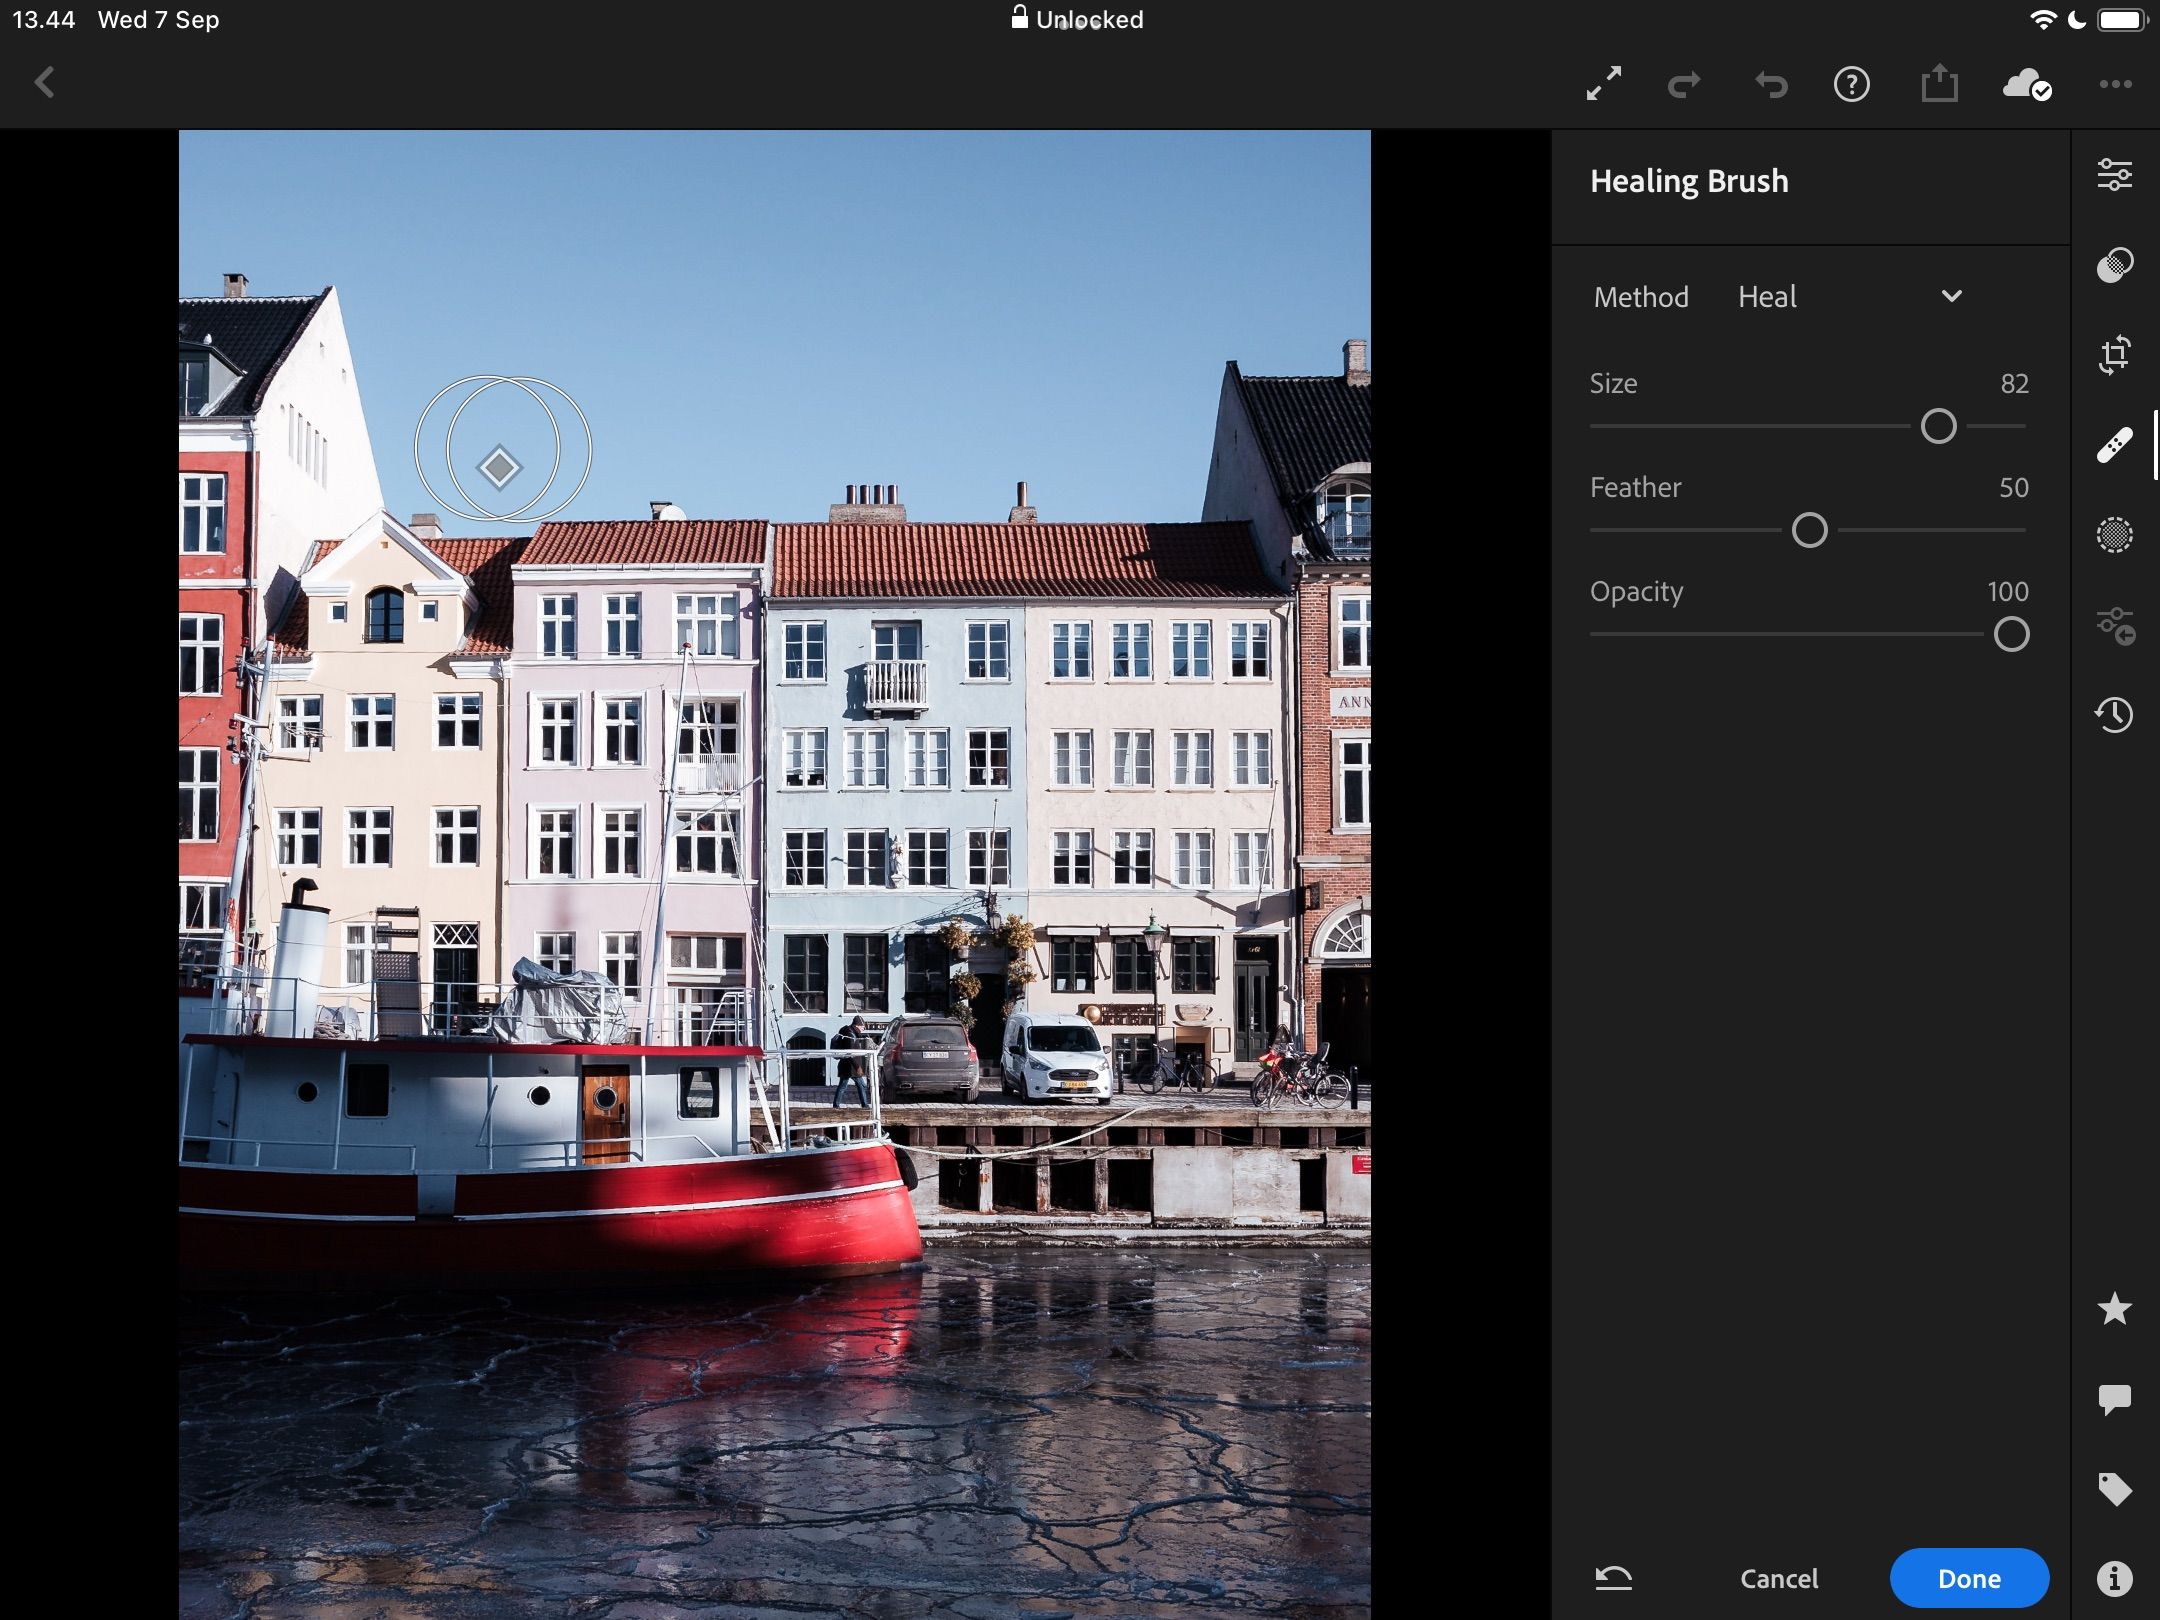
Healing Brush
Sometimes, you’ll notice a couple of annoying extras on your picturessuch as spots.
With Lightroom, it’s possible for you to edit these using the Healing Brush tool.
you’re able to choose how big your healing brush is and make it more or less transparent.
When clicking on a specific part of your image, Lightroom will attempt to find a matching area.
Masking
You’ll probably know about sharpening if you’ve used basic photo editing tools before.
Fortunately, you could control how much of the picture you sharpen.
The Masking slider lets you determine which areas you’d like to sharpen.
If you move the slider further to the right, less of your picture will get sharpened.
It’s particularly useful for fixing corners and edges on buildings, cars, and other objects.
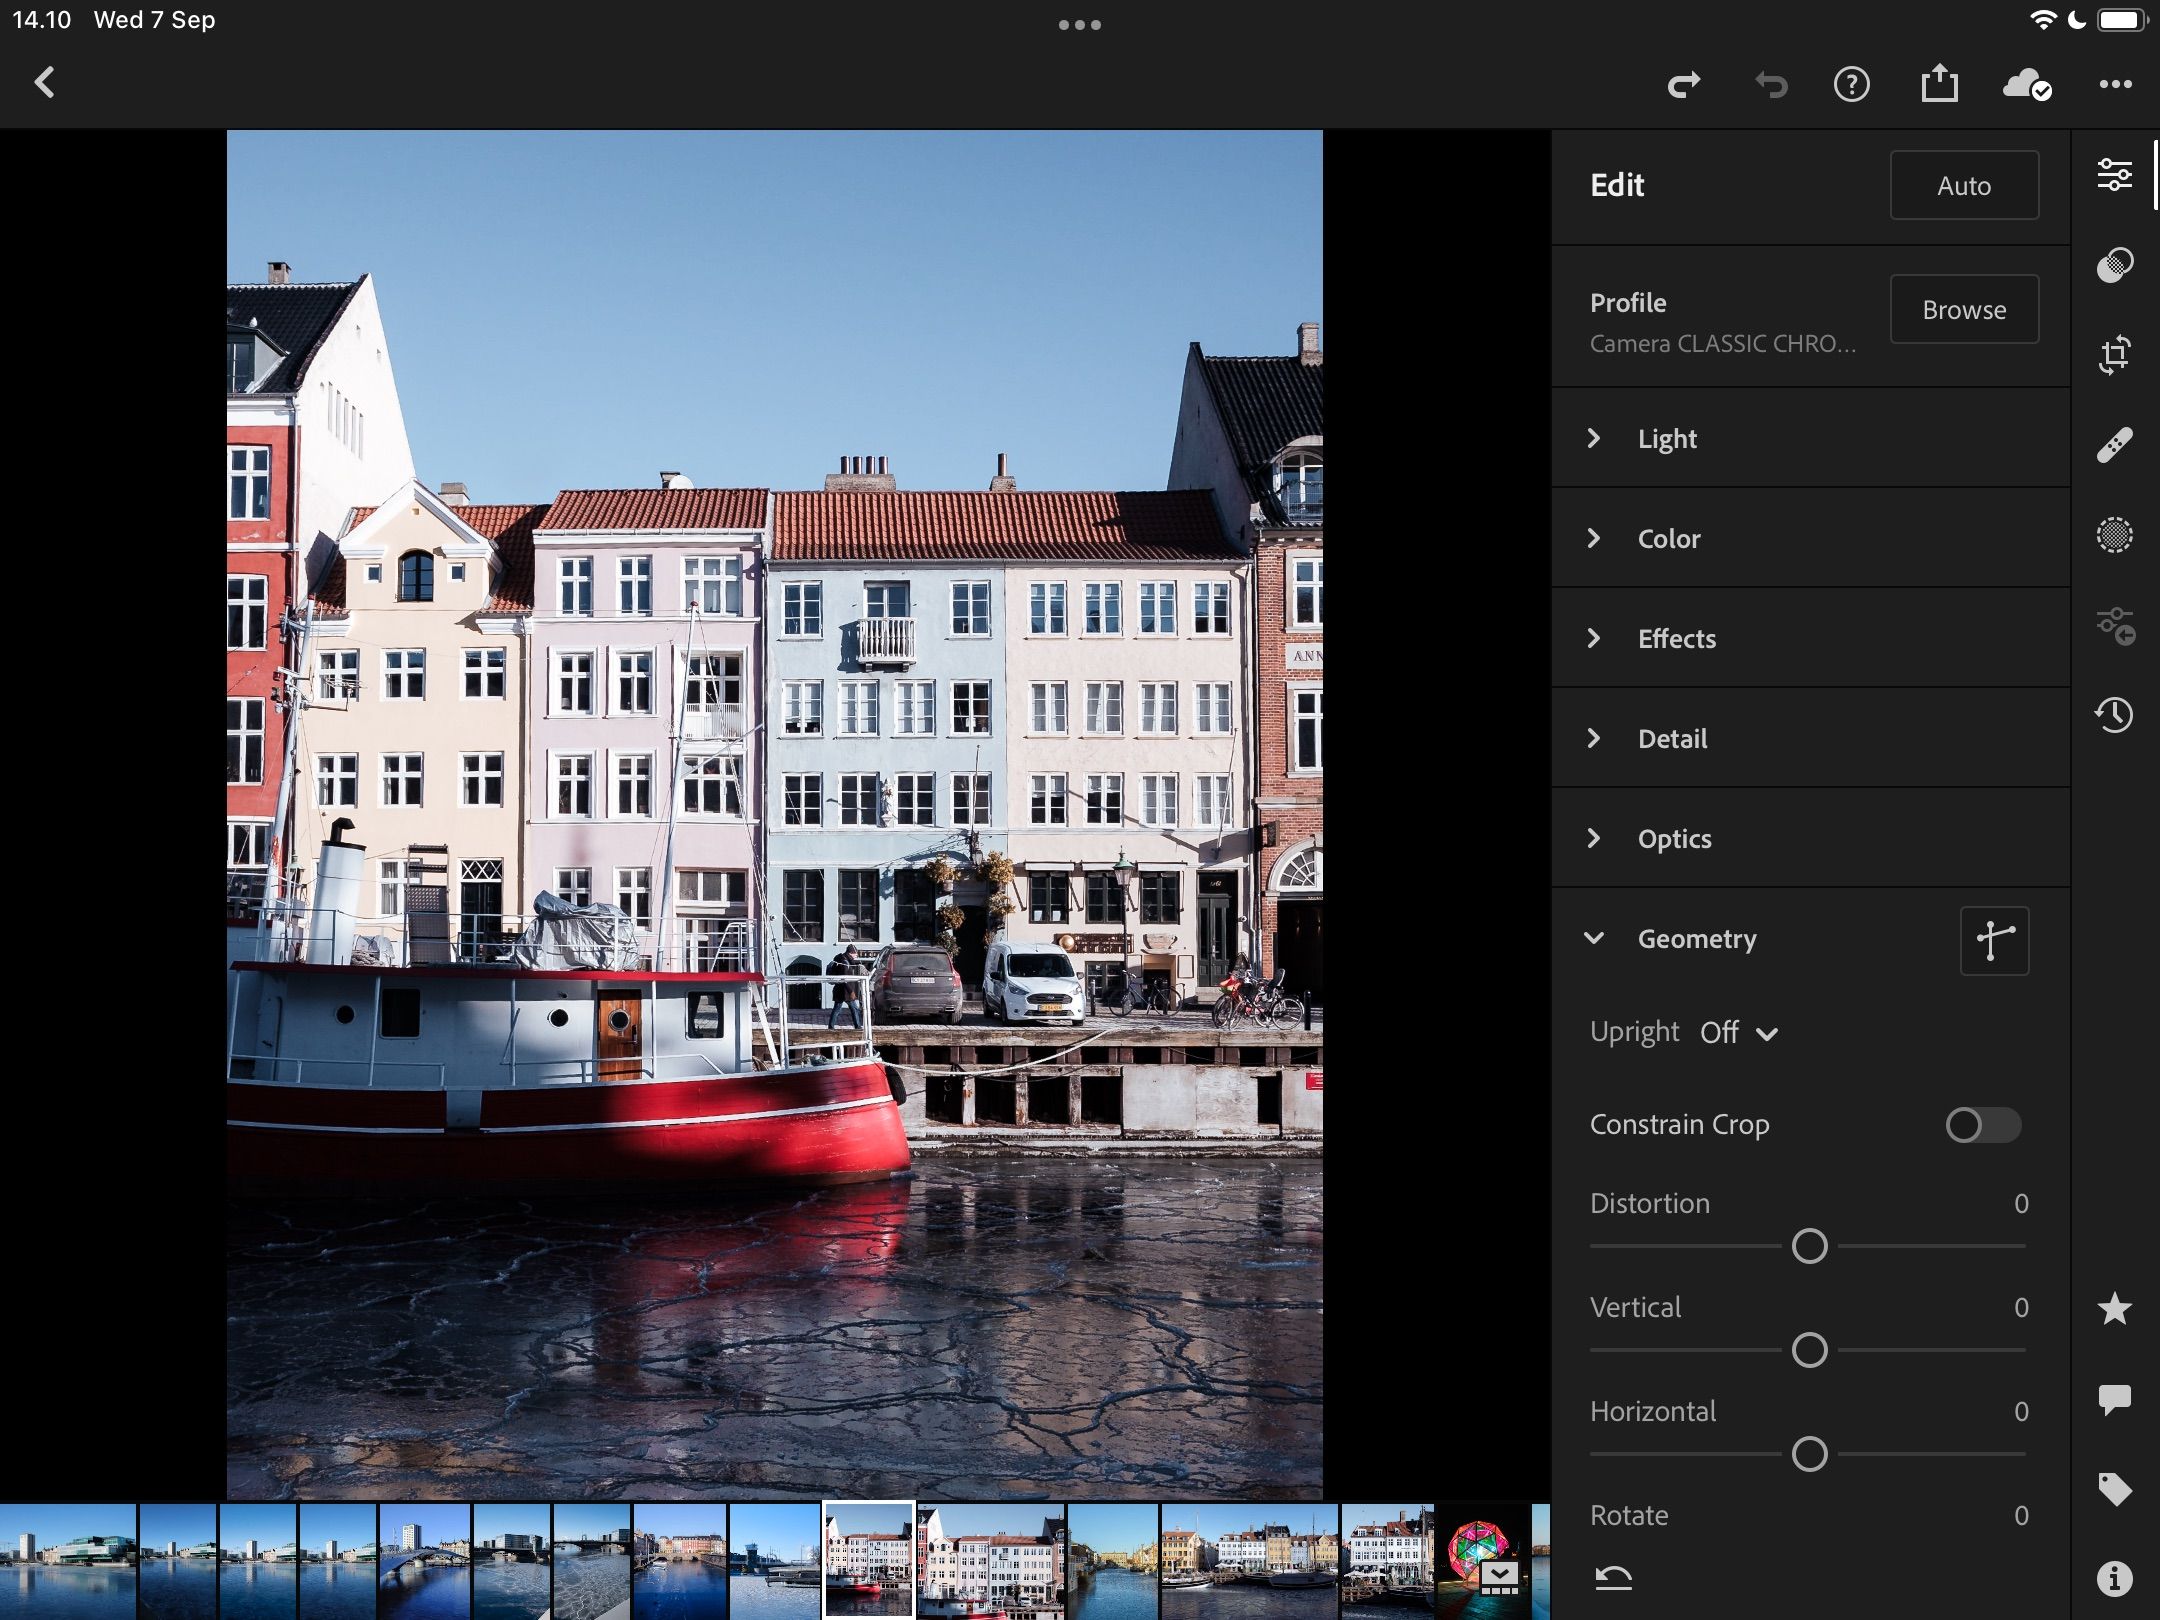
Geometry
Geometry is important if you want to change specific elements in your photo.
you could edit Lights, Darks, Shadows, and Highlights.
You’ll also find options to edit specific color tonessuch as blues and yellows.
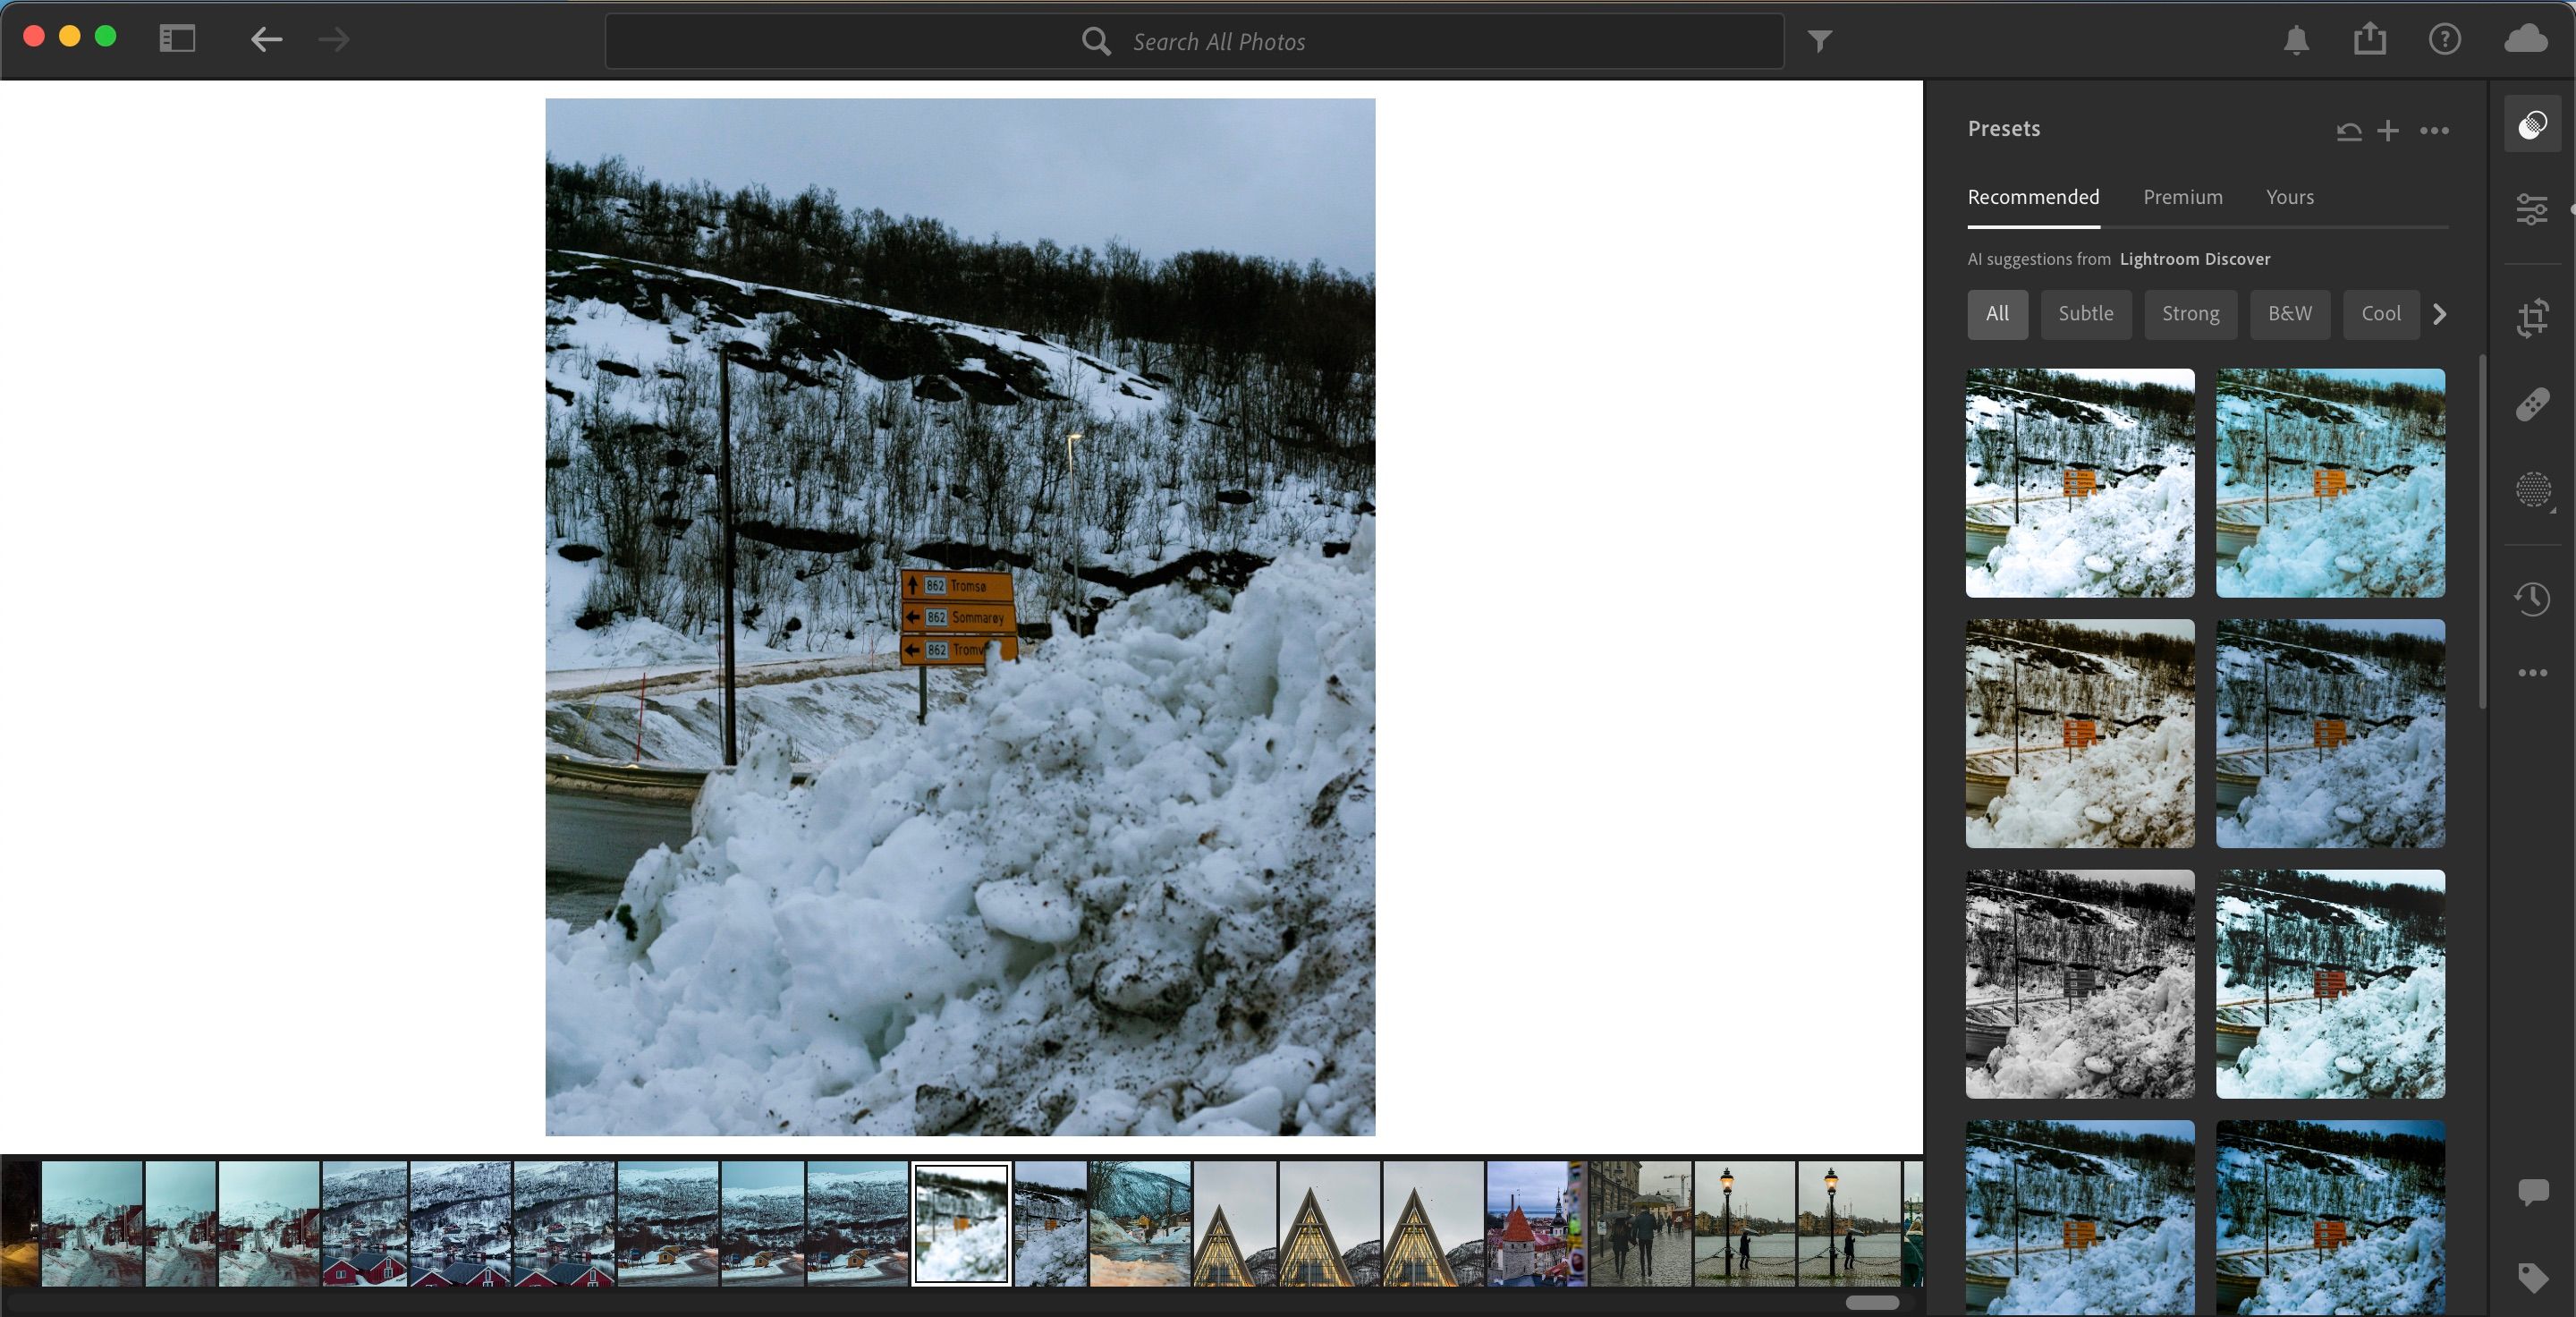
you could evencreate and sell your Lightroom presetsonce you’ve fine-tuned your own unique style.
Adobe offers several preset choices you could use as well.
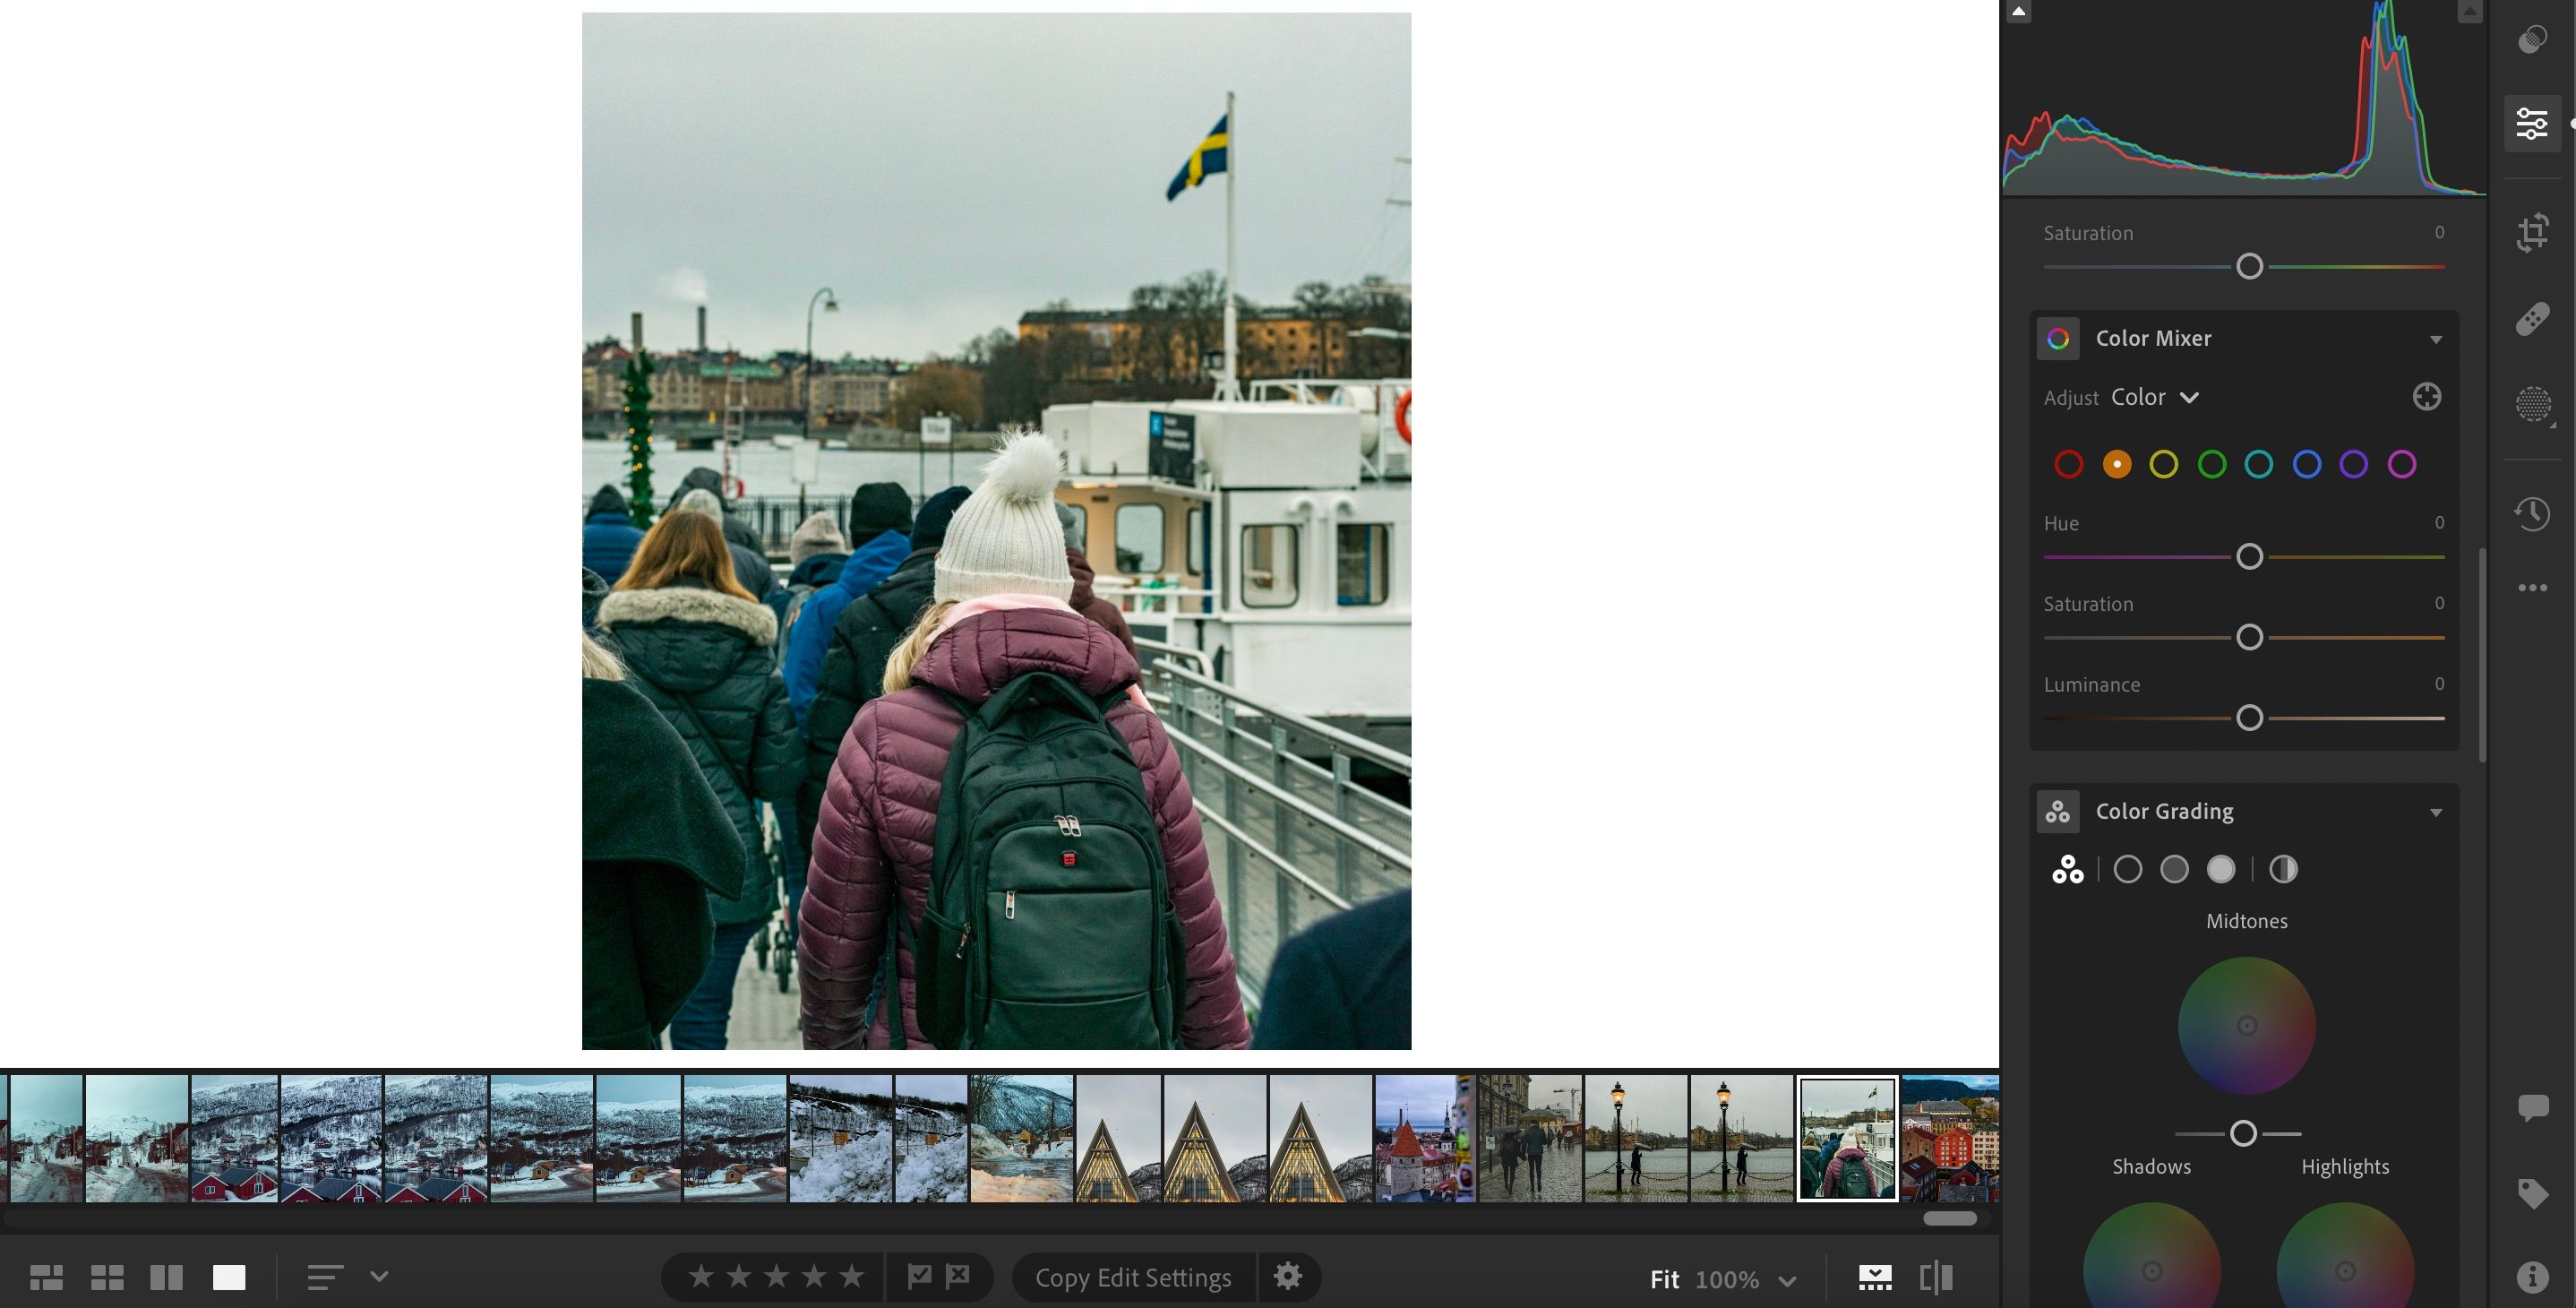
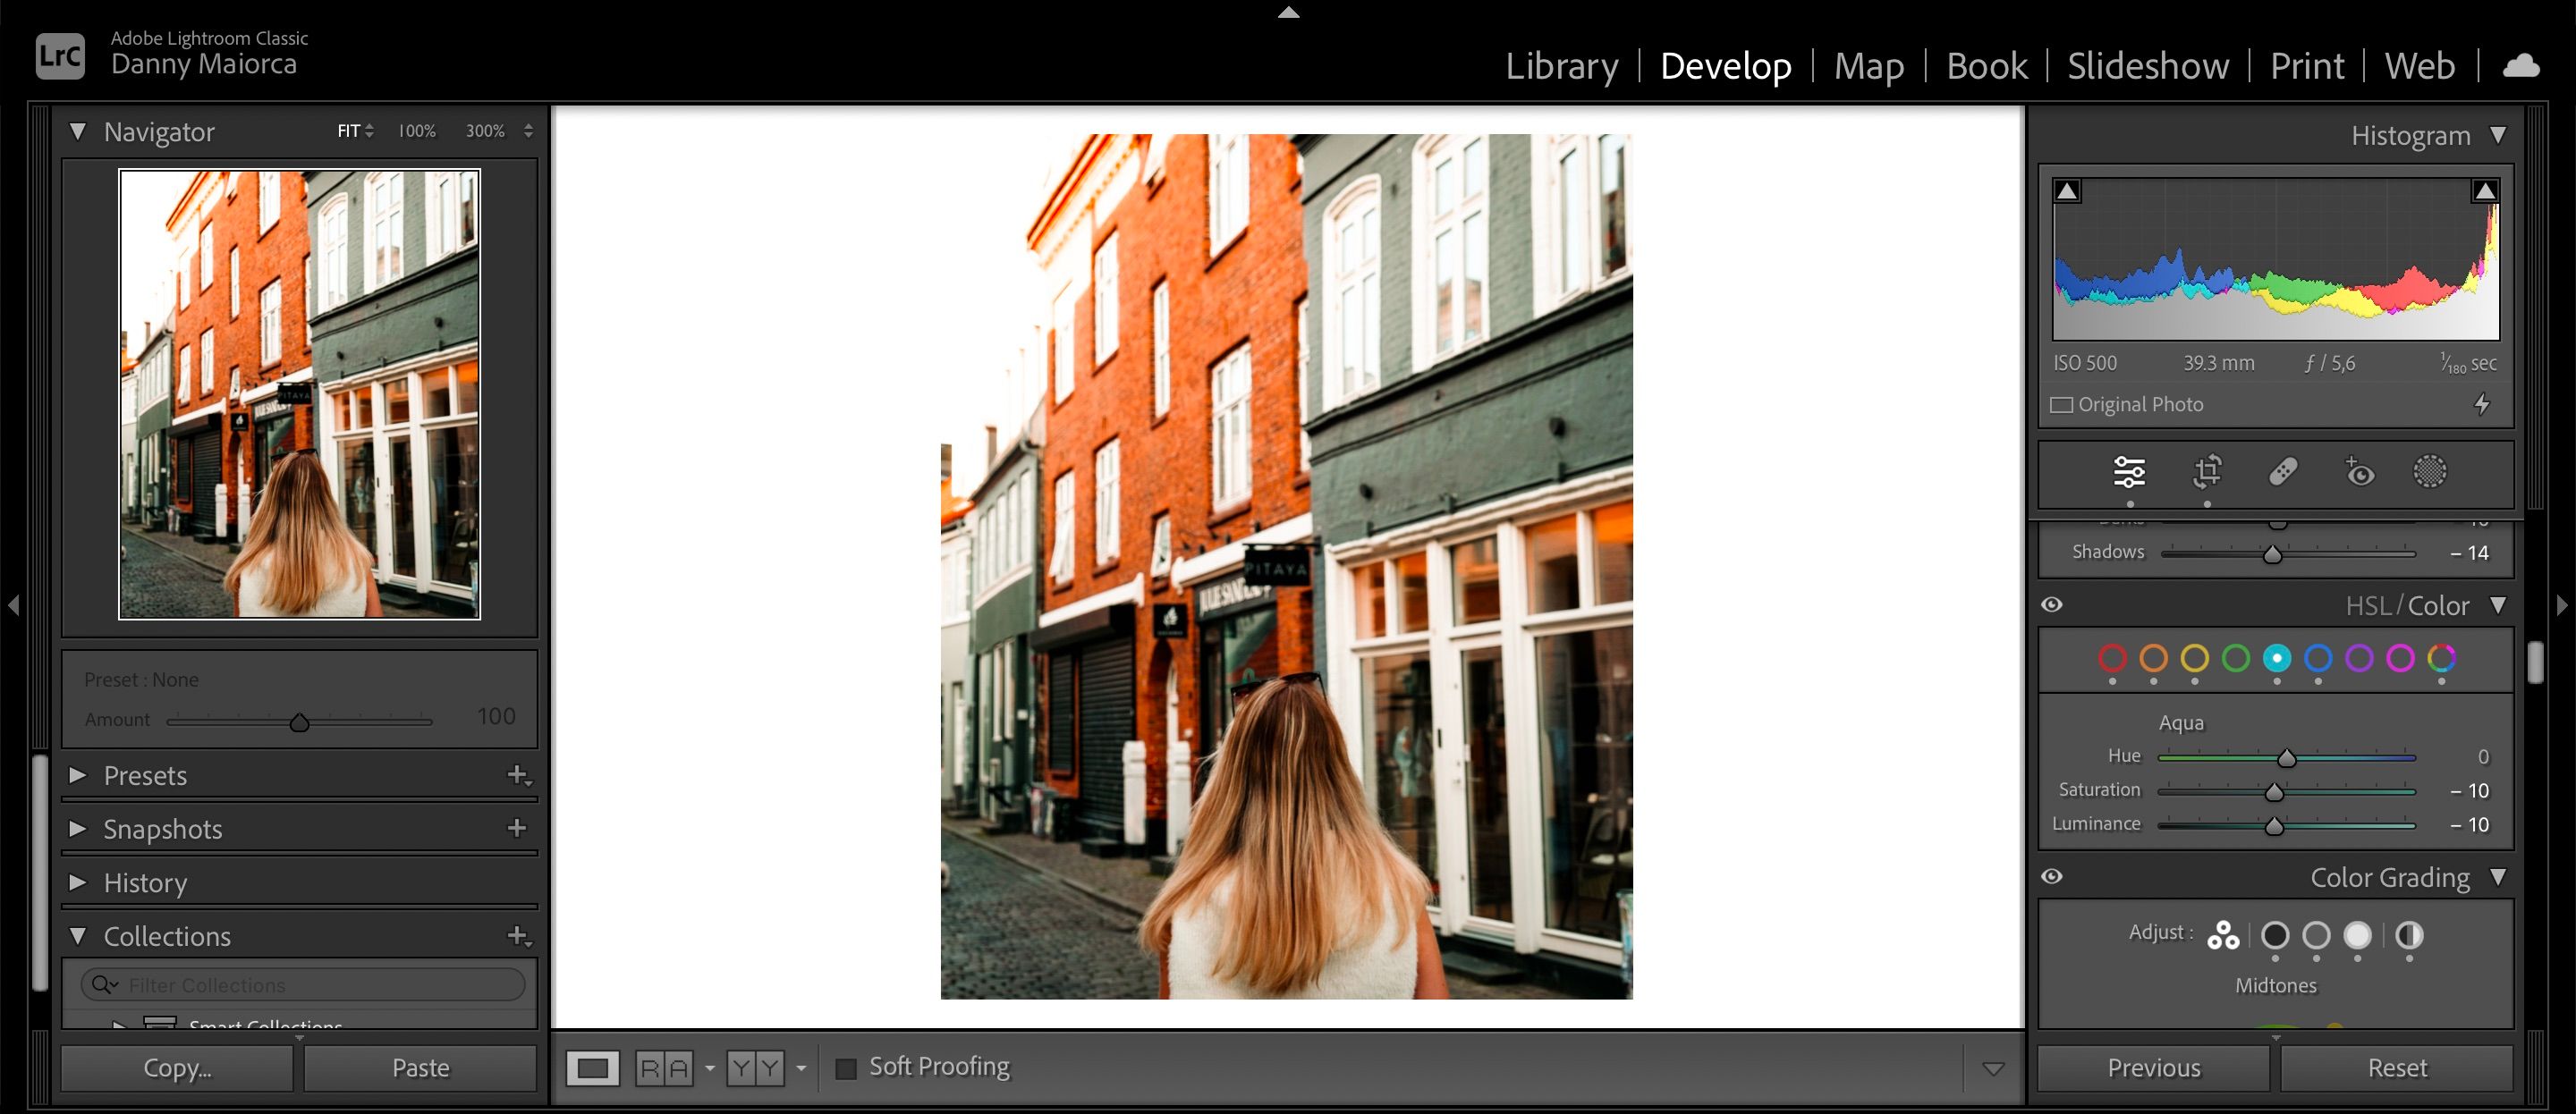
HSL
HSL stands for Hue, Saturation, and Luminance.
When you press each color, you might make the necessary alterations to these parts of your picture.
For the former, the main difference is the layout of the sliders.
The more you use it, the quicker you learn all its key features.
The basic ones are more than enough to get you started.
Many of the features mentioned here are available in both Lightroom for desktop and mobile.
