Keep reading to discover 10 of the handiest Adobe Audition terms to know.
And when you use Adobe Audition, they work the same as in Premiere Pro.
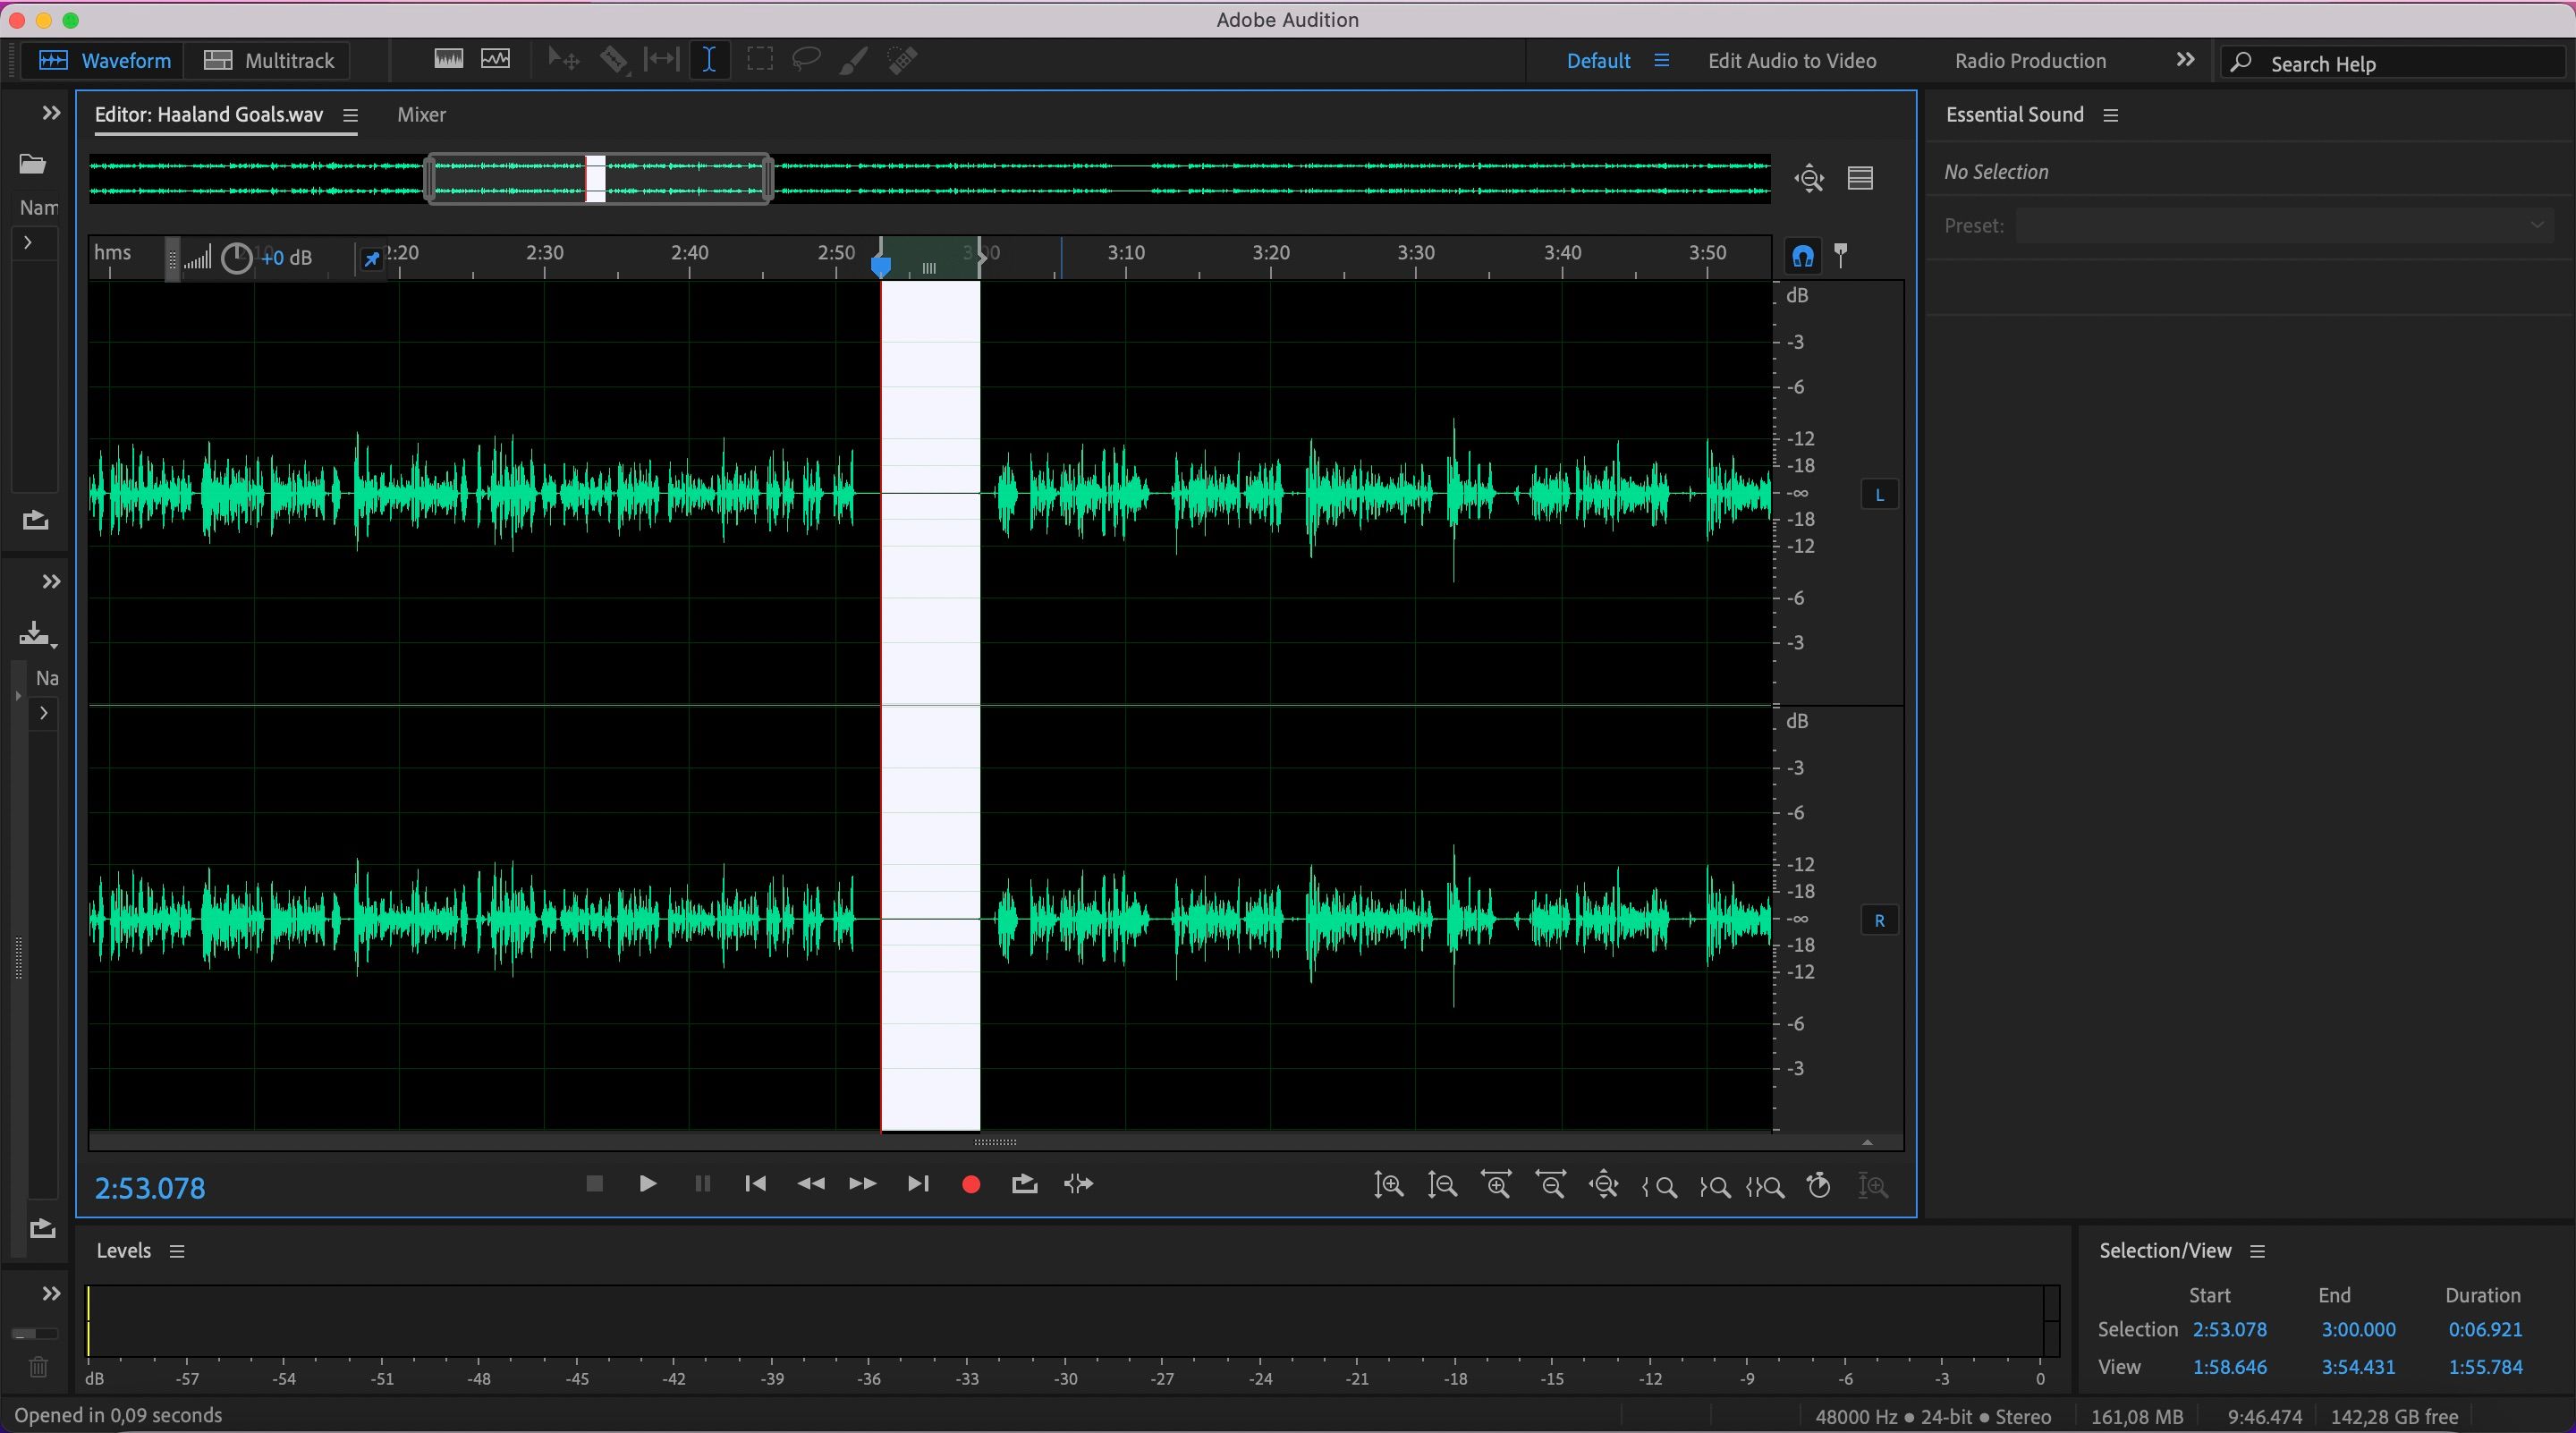
Setting markers in Audition is handy if you want to return to specific project parts.
For example, you may wish to cut out certain areas.
The easiest way to add markers in Adobe Audition is to hit theMkey on your keyboard.
To remove them, you might pressCtrl+right-click.
Magnifying Glass
In Adobe Audition, you will see several magnifying glasses with several zoom capabilities.
You’ll need to opt for icons with a horizontal arrow to zoom in and out of the waves.
it’s possible for you to also increase and decrease the size of the waves with separate magnifying glasses.
Amplify
When you record audio on Adobe Audition, you might find it too quiet.
In most instances, you should make a run at stay as close to -6 dB as possible.
Amplifying your audio means changing how loud or quiet it is.
And for those larger projects, you might need to use more than one audio file.
When that’s the case, how do we bring everything together?
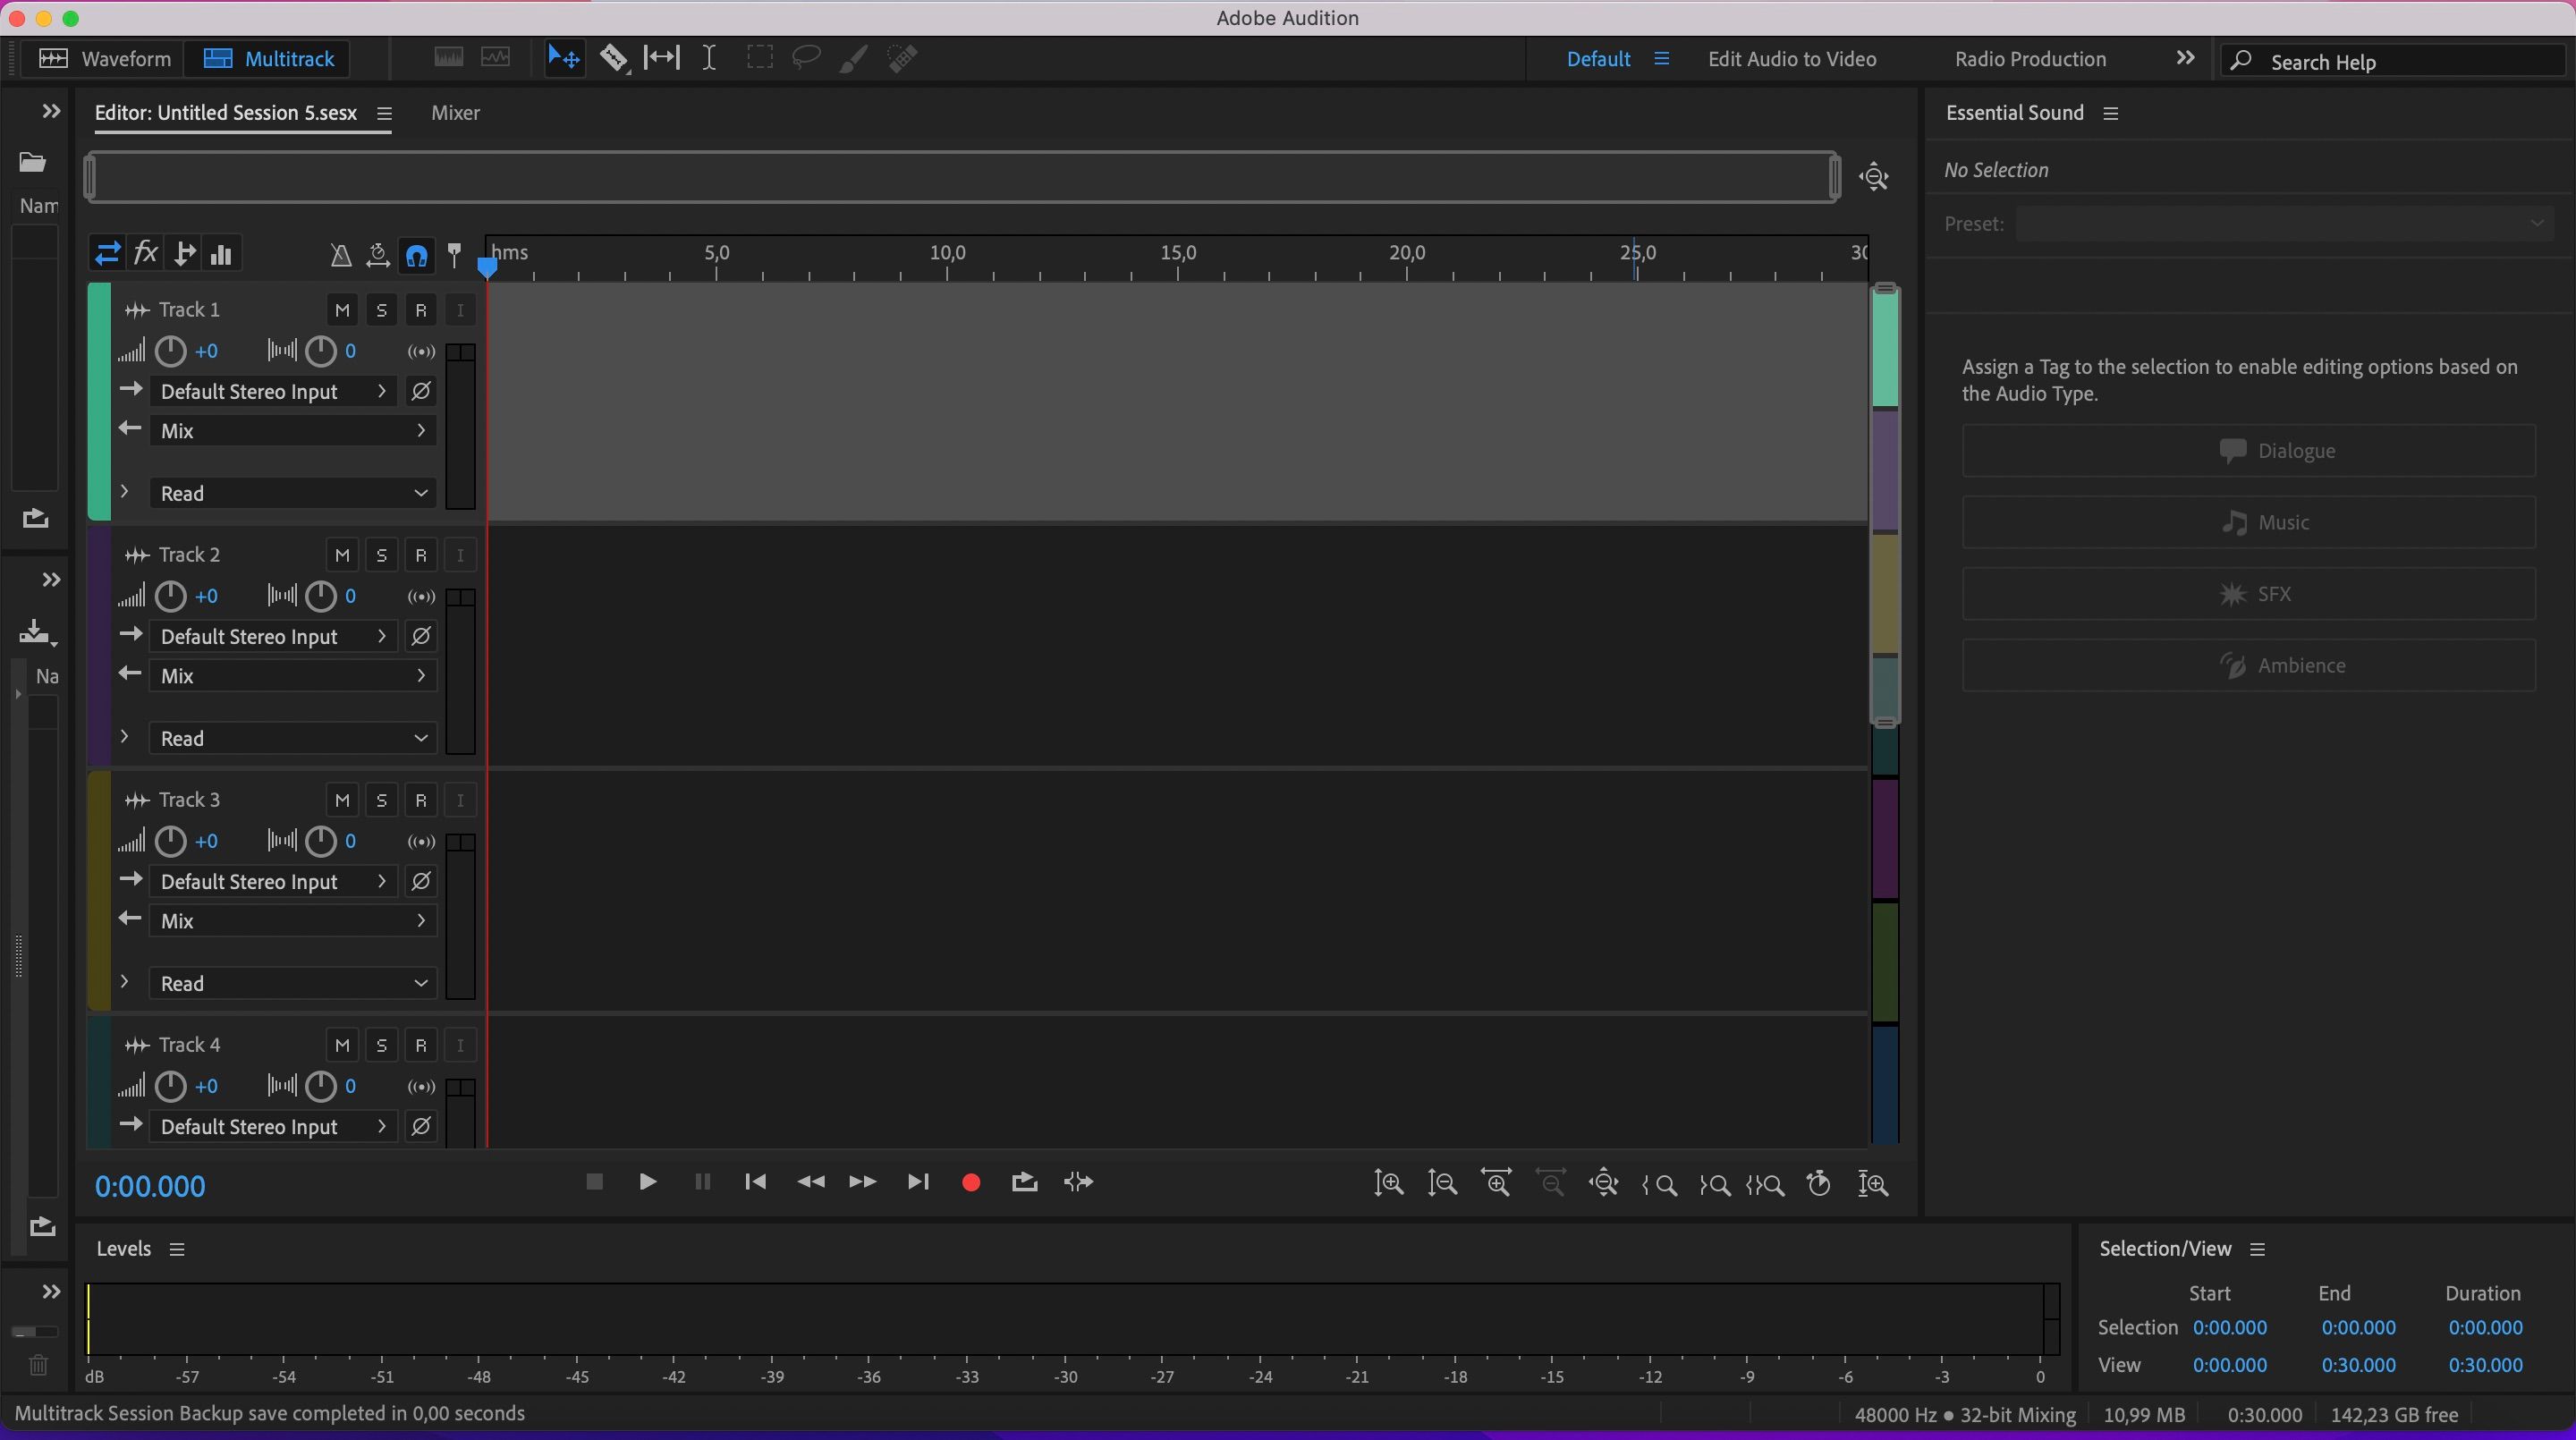
Simple: Multitrack Sessions.
In Multitrack Sessions, you might drag and drop the audio files you want to edit.
On top of that, it’s possible for you to also record in this area.
You’ll need to tap on theMultitracktab in the left-hand corner of your app.
Go toMultitrack>Mixdown Session to New File>Entire Session.
File Formats
Speaking of files, you will finda selection of different audio formatsin Adobe Audition.
And if you’re a beginner in audio editing, you might find navigating these a little confusing.
File formats you’ll find in Audition include .wav, .mp3, and .mp2.
Generally, you should create .mp3 files when exporting podcast episodes from Audition to your hard drive.
Here, you’re able to edit an individual audio file in significant detail.
On top of that, this section allows you to quickly increase the amplitudeand much more.
The easiest way to start editing your audio project in Audition is by recording within the app itself.
We don’t recommend using your rig’s microphone as the sound can sometimes be choppy.
Instead,consider getting an external microphone and connecting it to your rig.
When you’re ready to record in Adobe Audition, tap on thered circle.
you might hit thestopicon when you’re finished; if you should probably pause, you might choose thepausebutton.
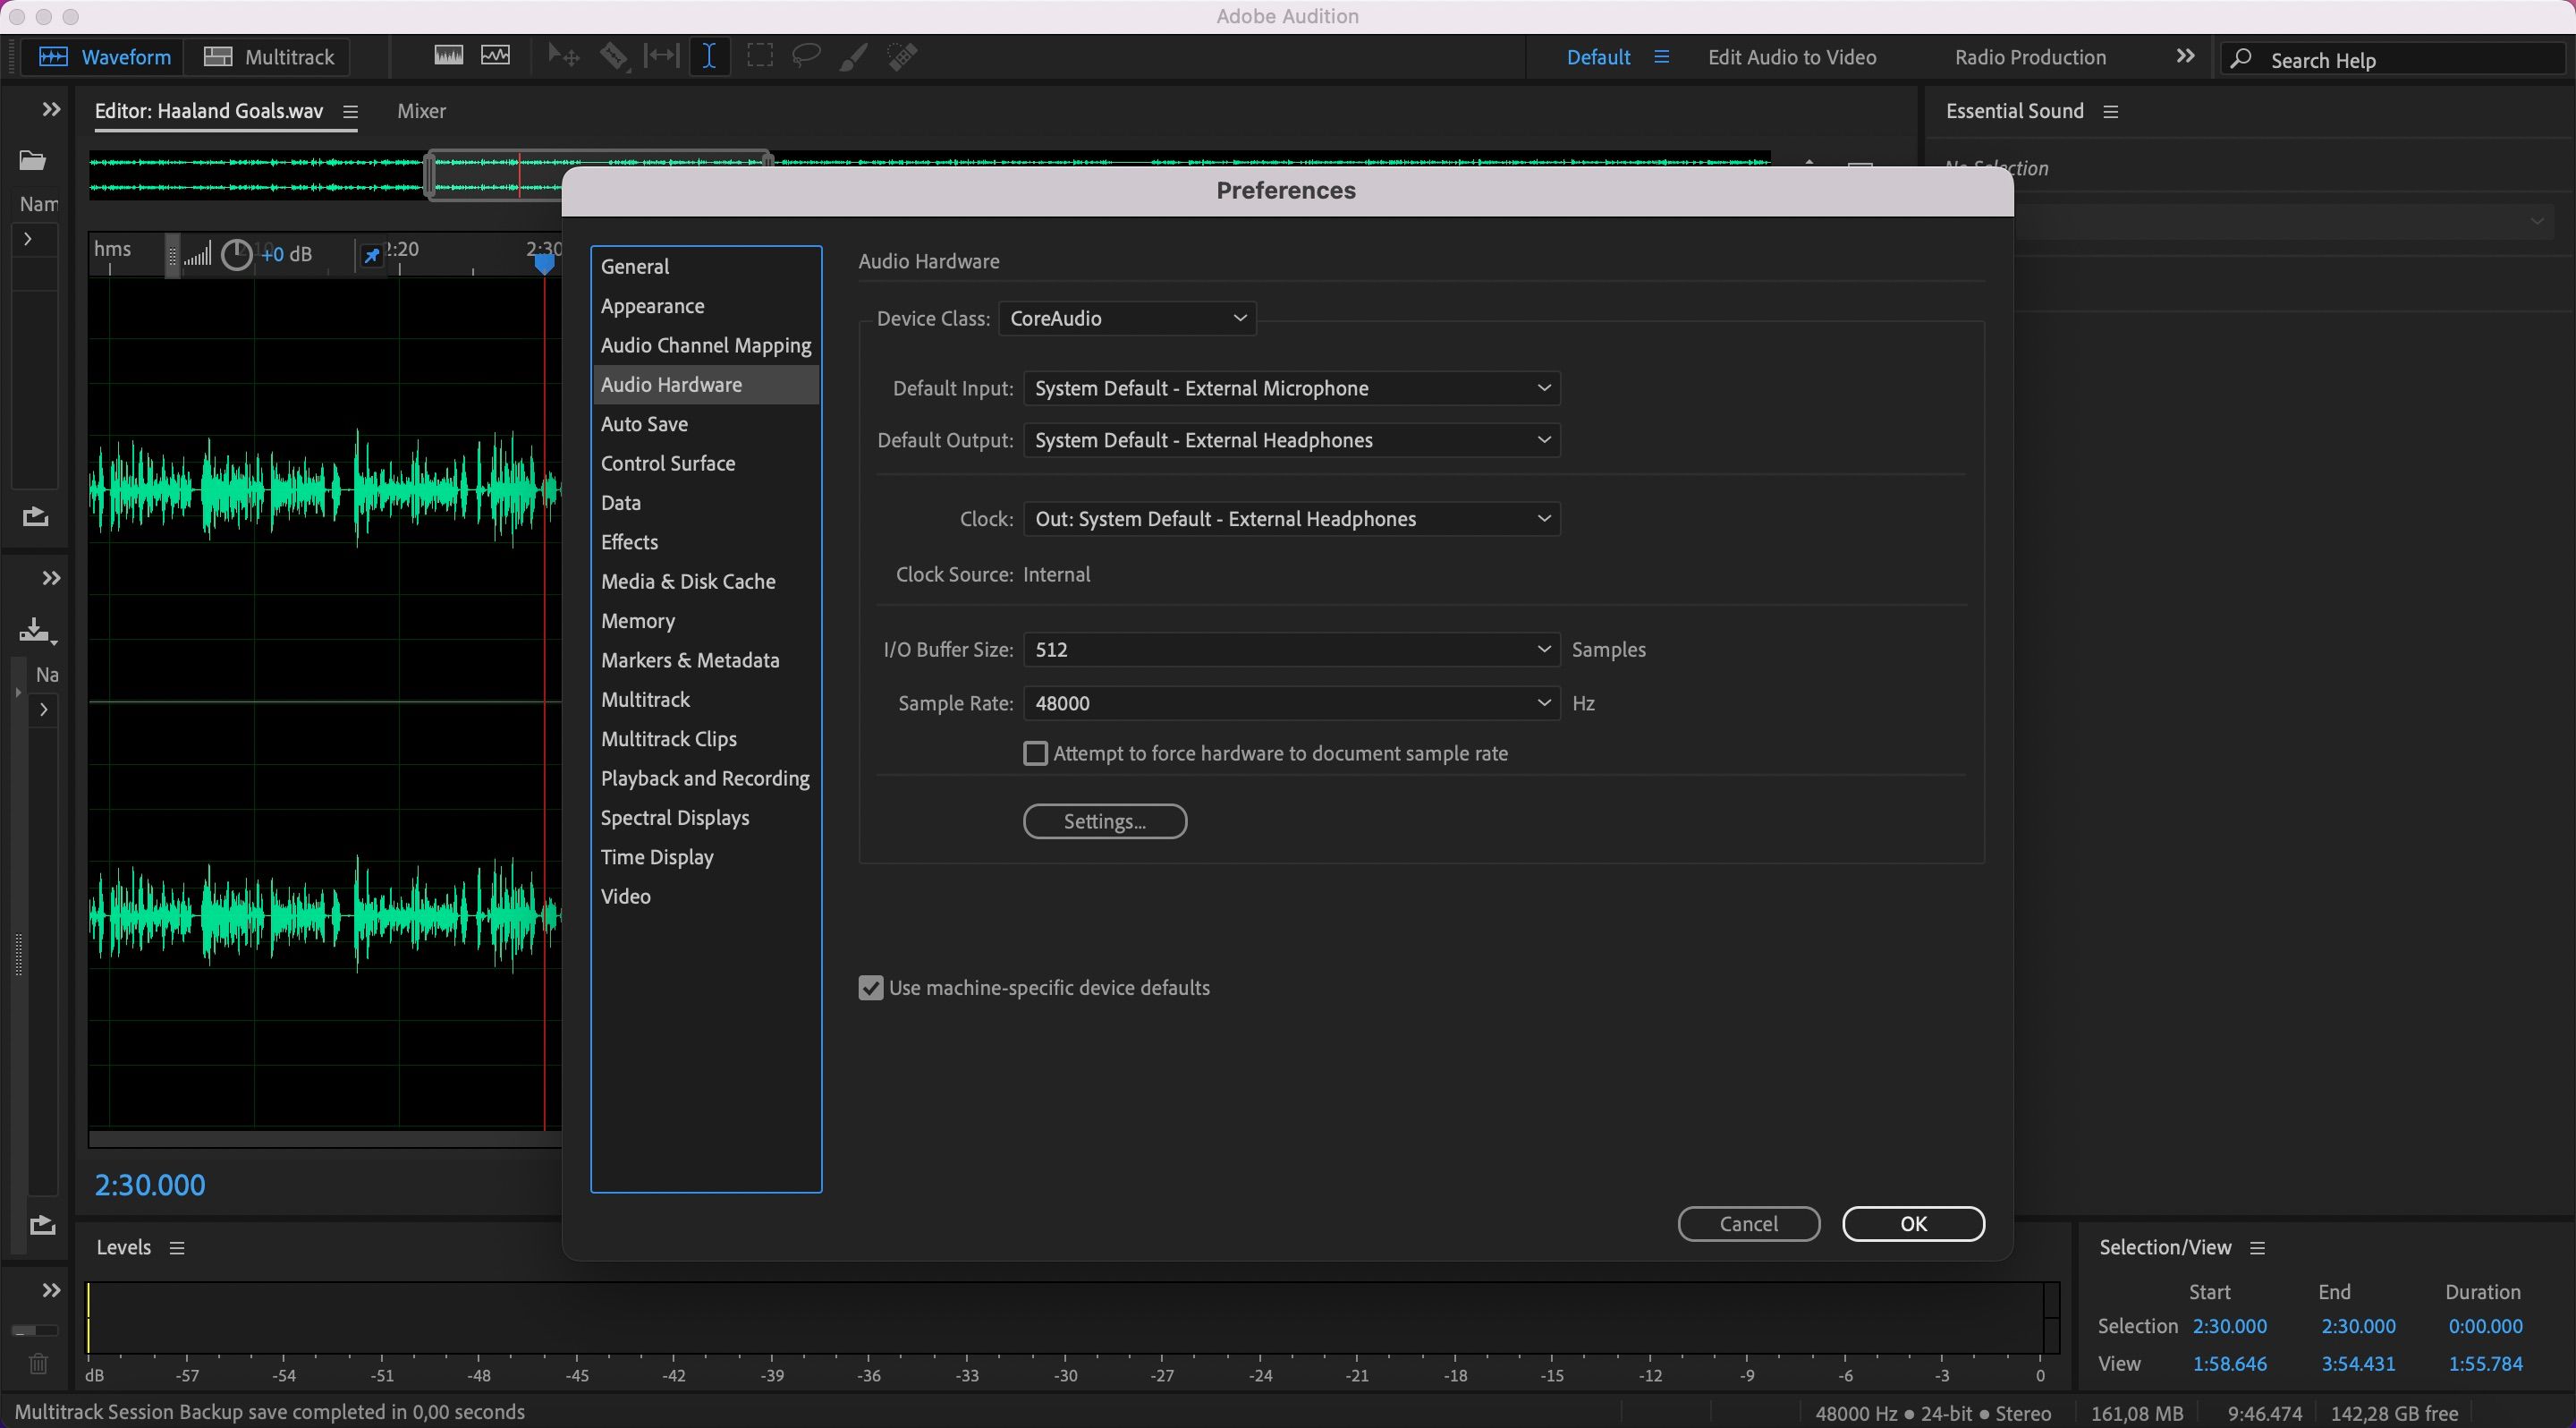
Changing this setting is pretty straightforward.
After selectingAudio Hardware, you’ll seeDefault InputandDefault Outputwith two expandable tabs next to these.
When you plug in your microphone, choose that fromDefault Input.
It’s worth testing that the changes have taken place before you roll properly recording.
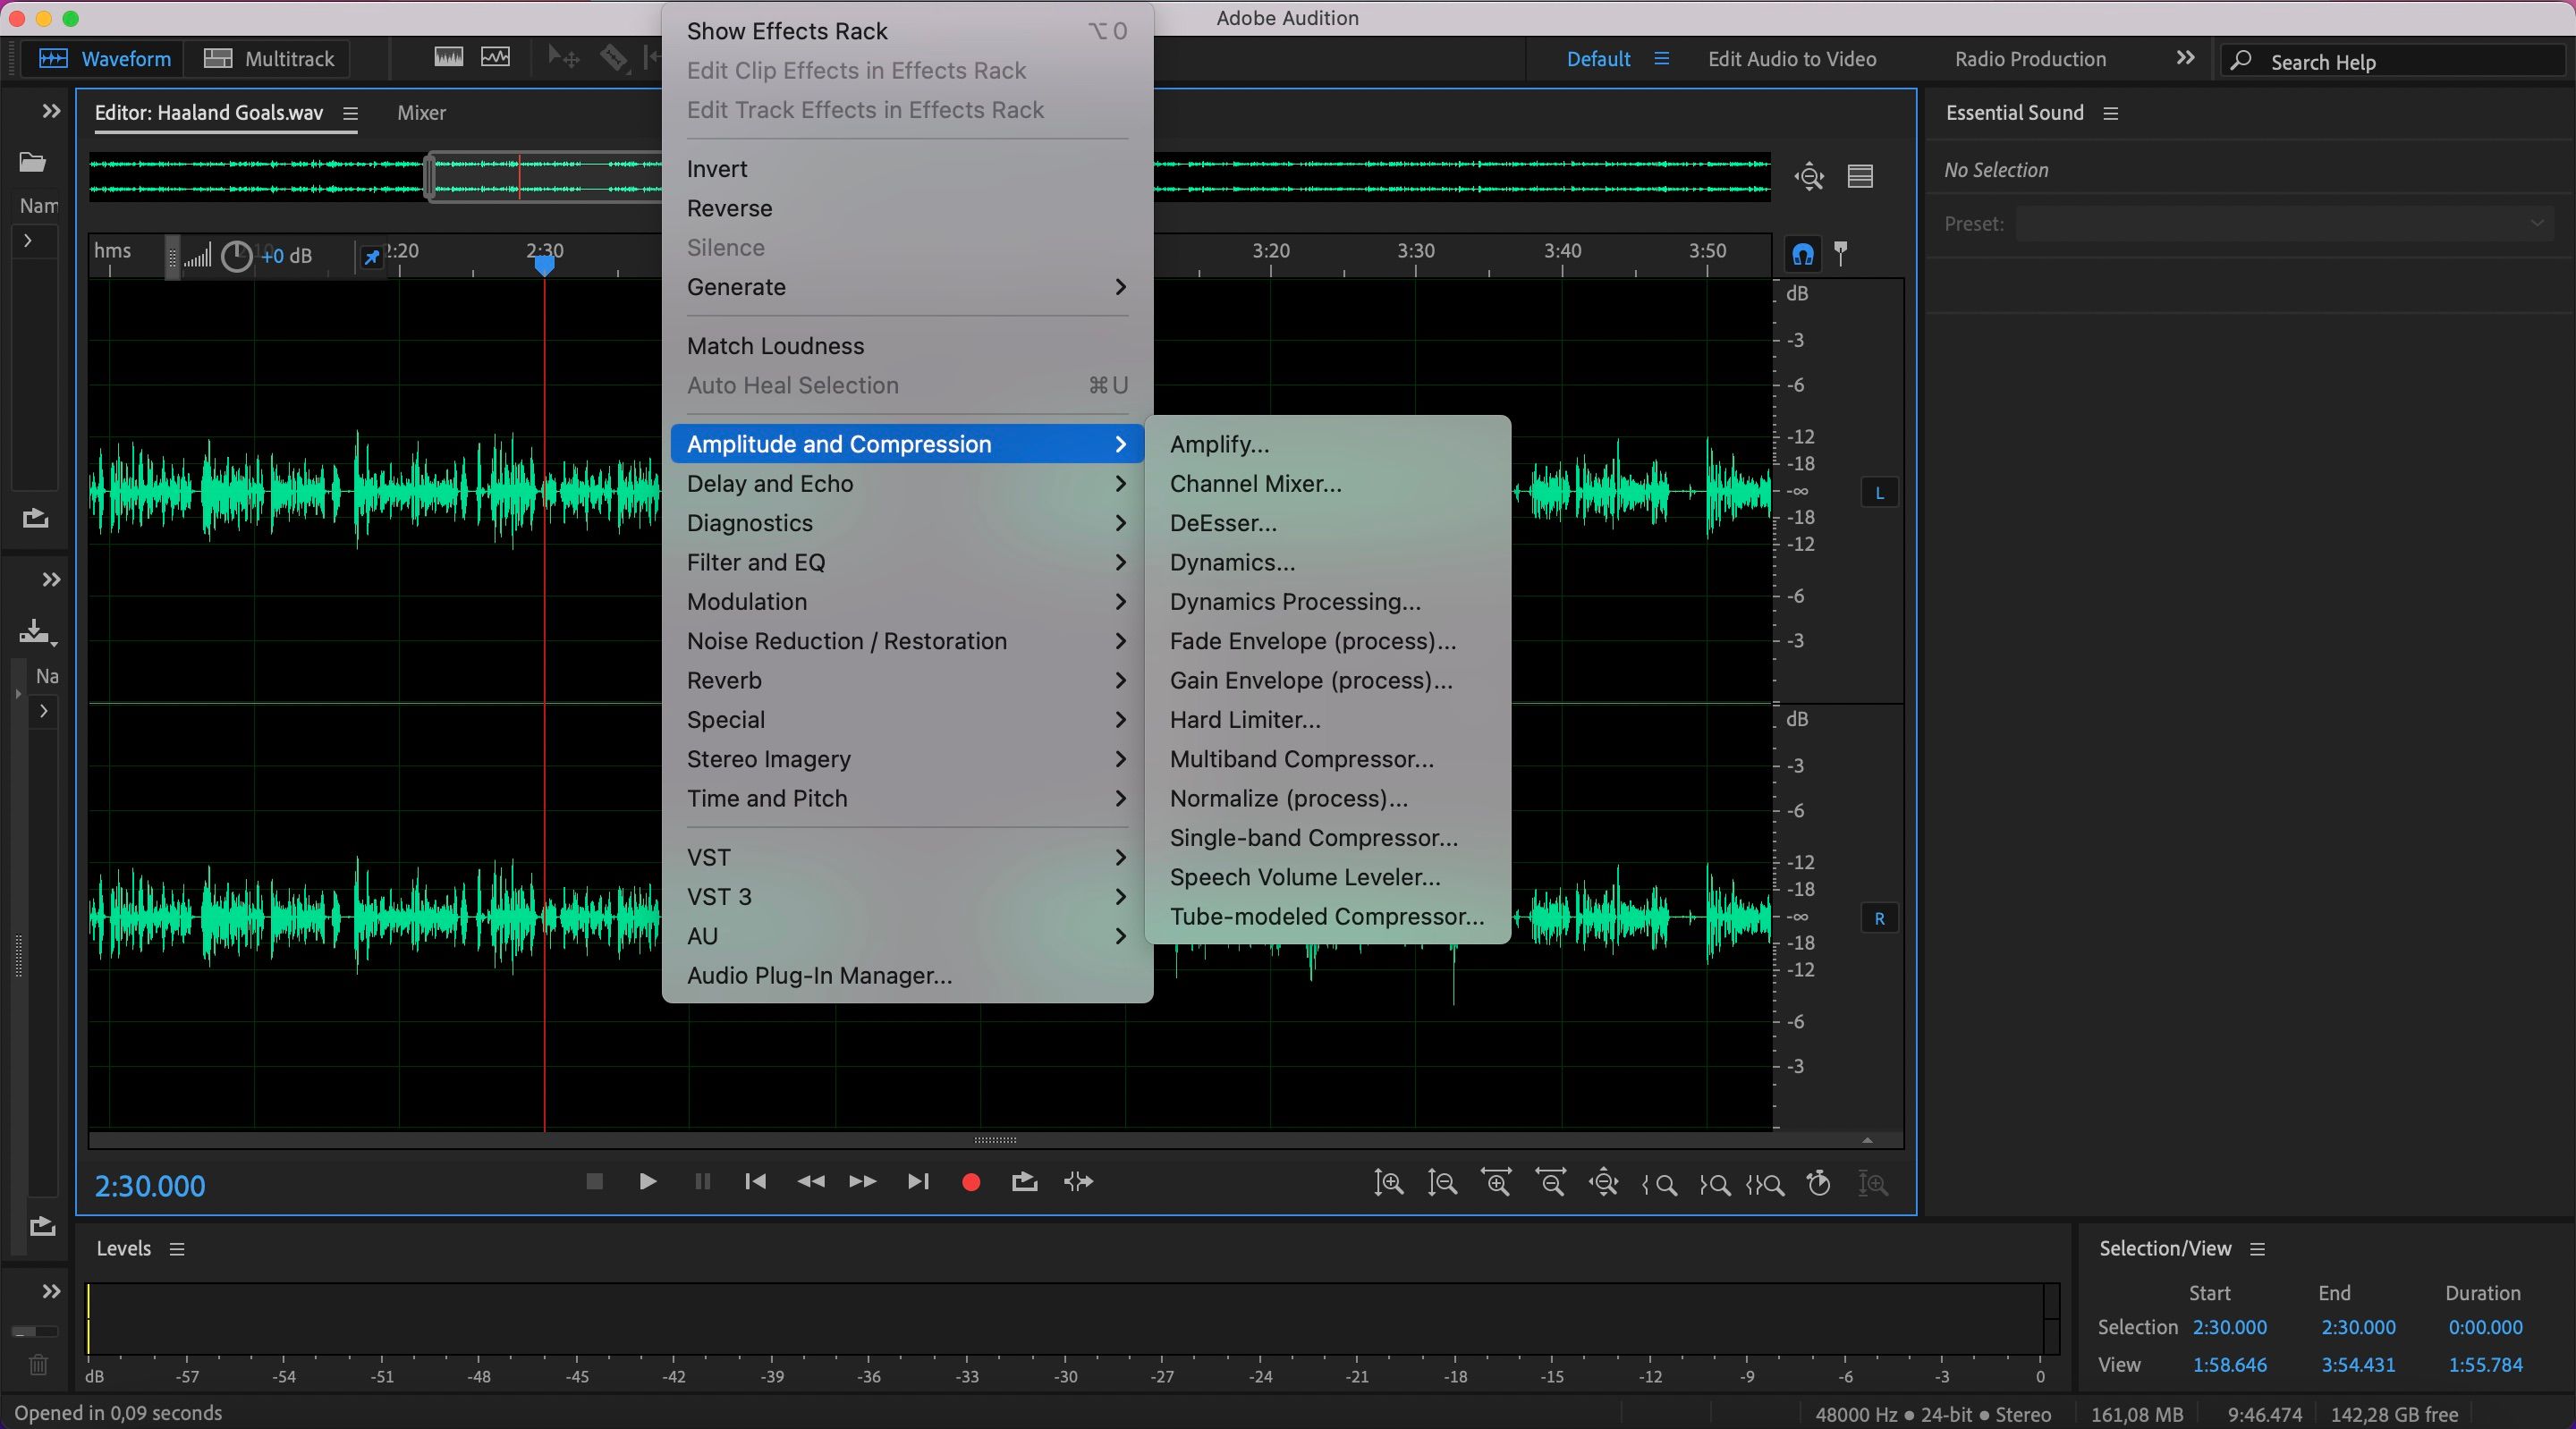
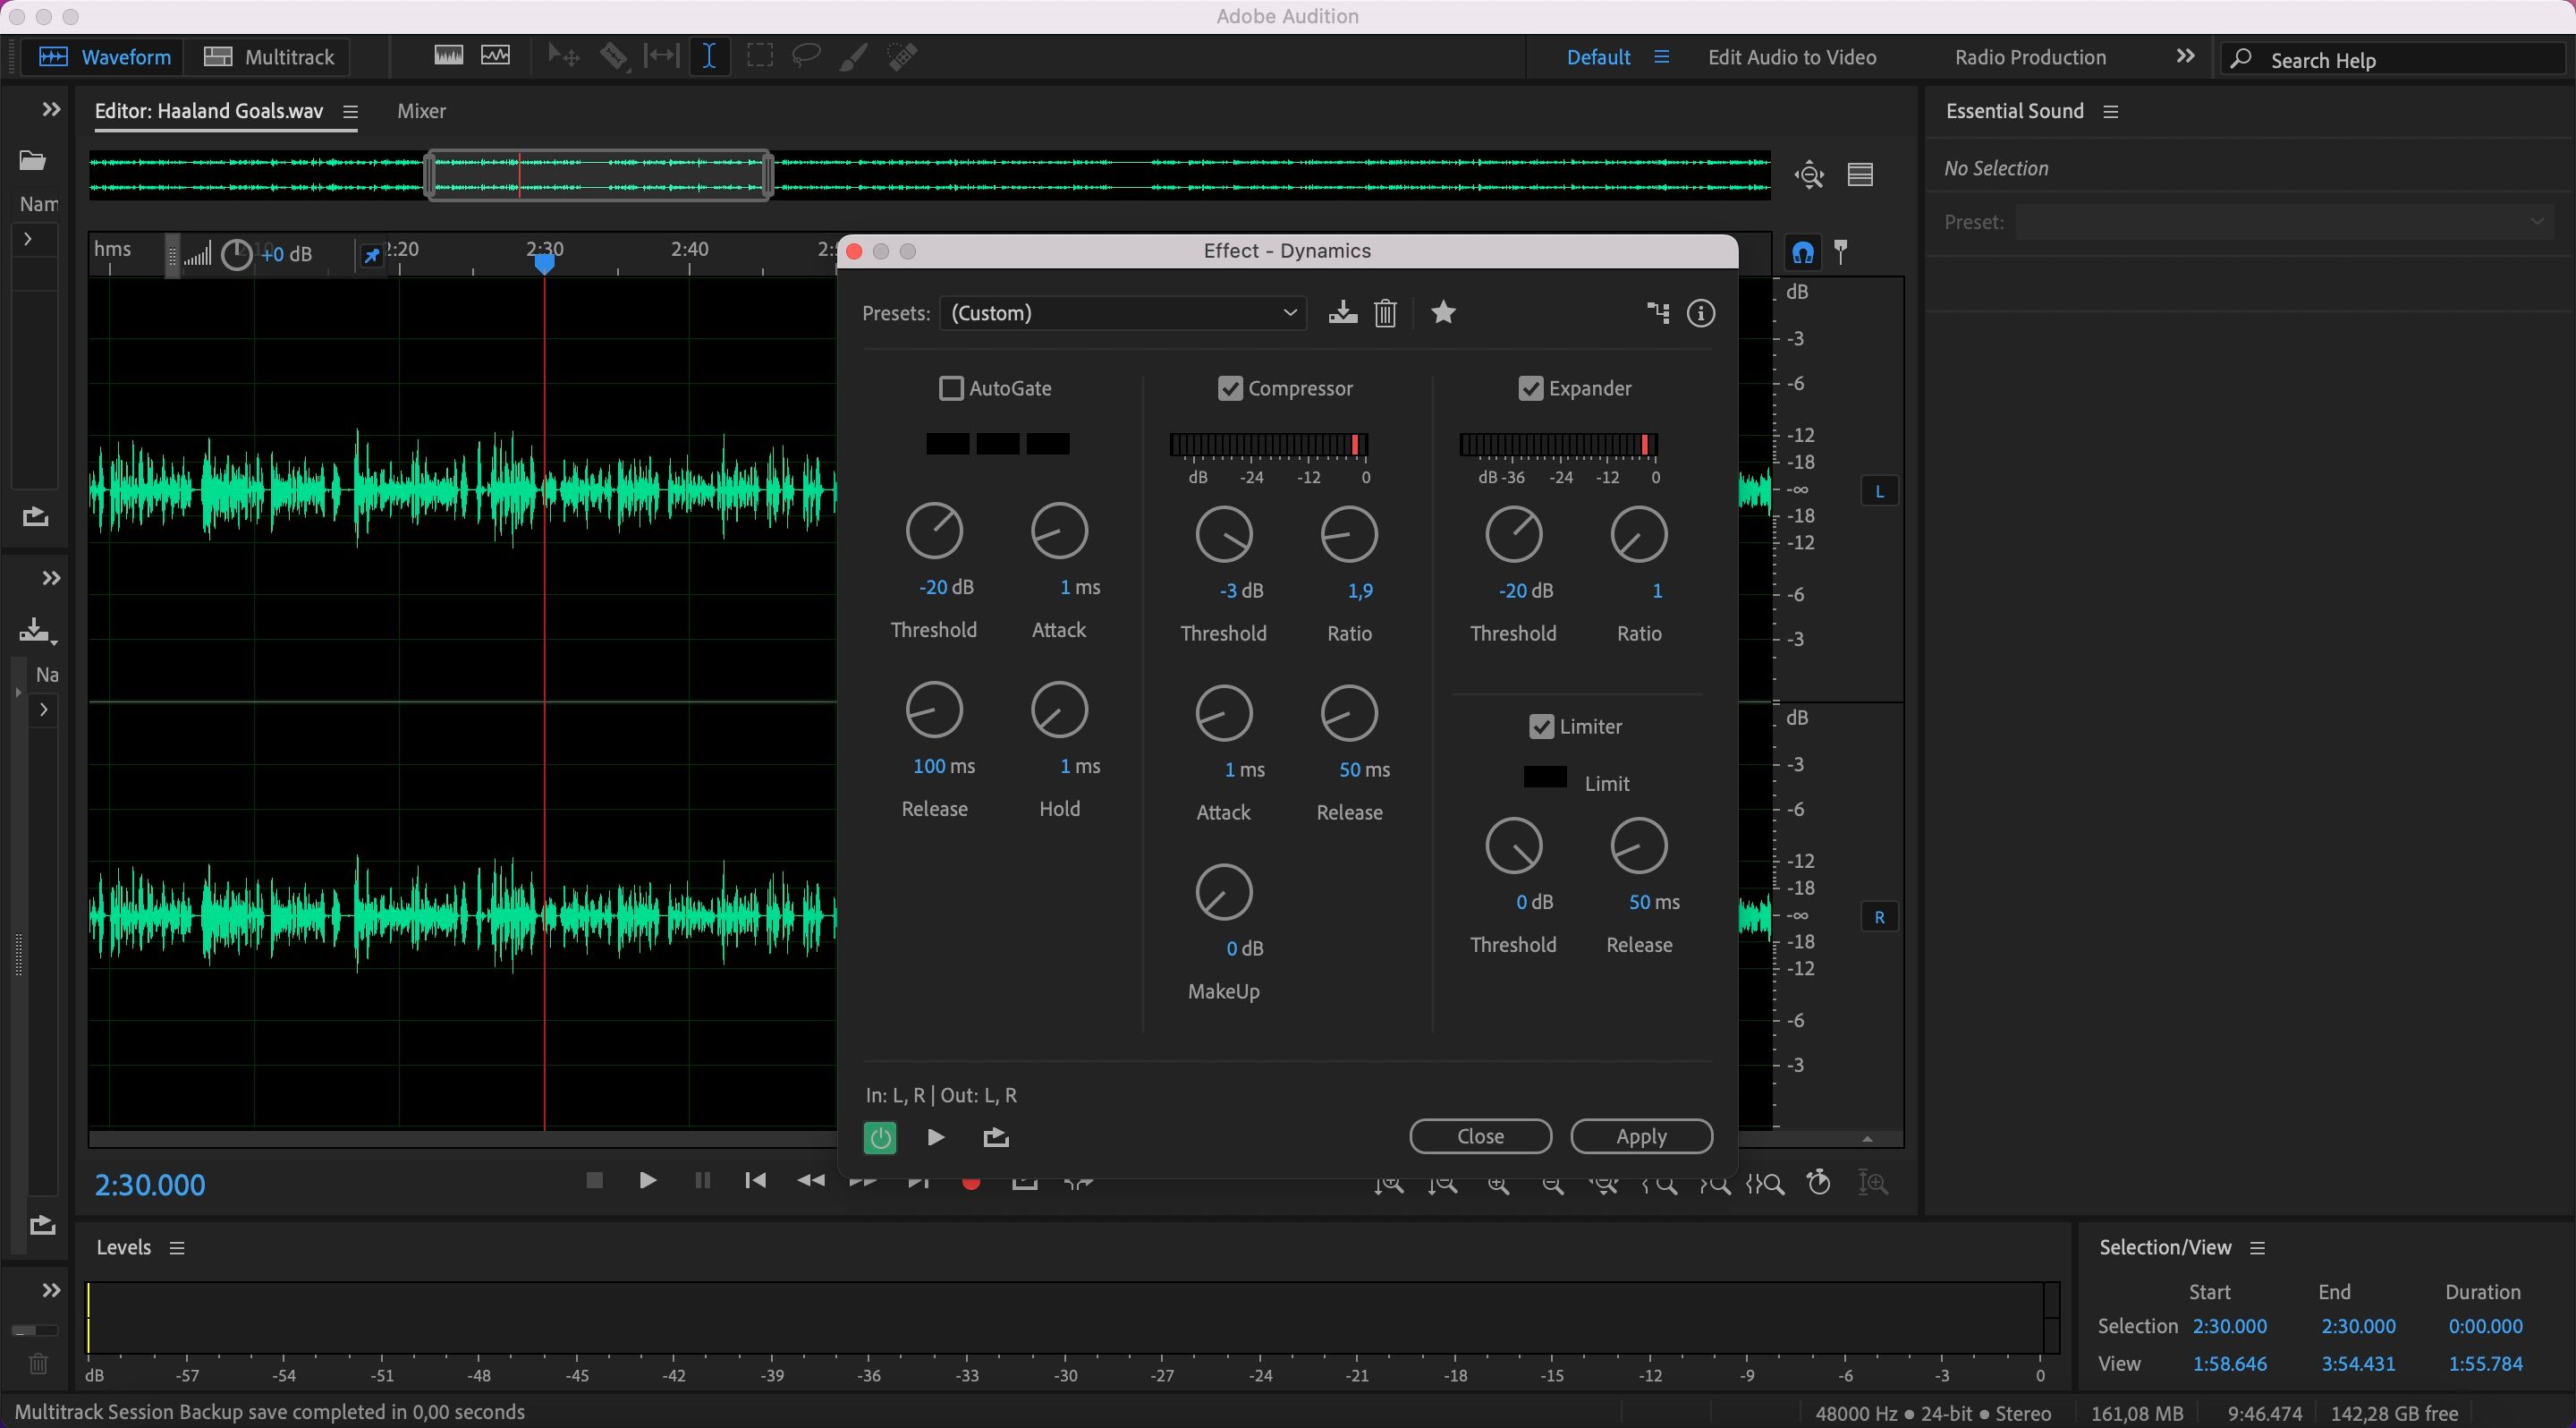
Fortunately, you might set limits within Adobe Auditionand doing so does not require a lot of effort.
When you add a limiter, you should aim for between -3 and 0 dB as the maximum.
To set limits in Audition, go toEffects>Amplitude and Compression>Dynamics.
Click theLimiterbox and set your maximum.
Mono and Stereo
Not choosing the right audio channels is one of themost common beginner mistakes when podcasting.
If you’re not careful, you might have your sound only playing out of one headphone.
The solution to this, however, is simple.
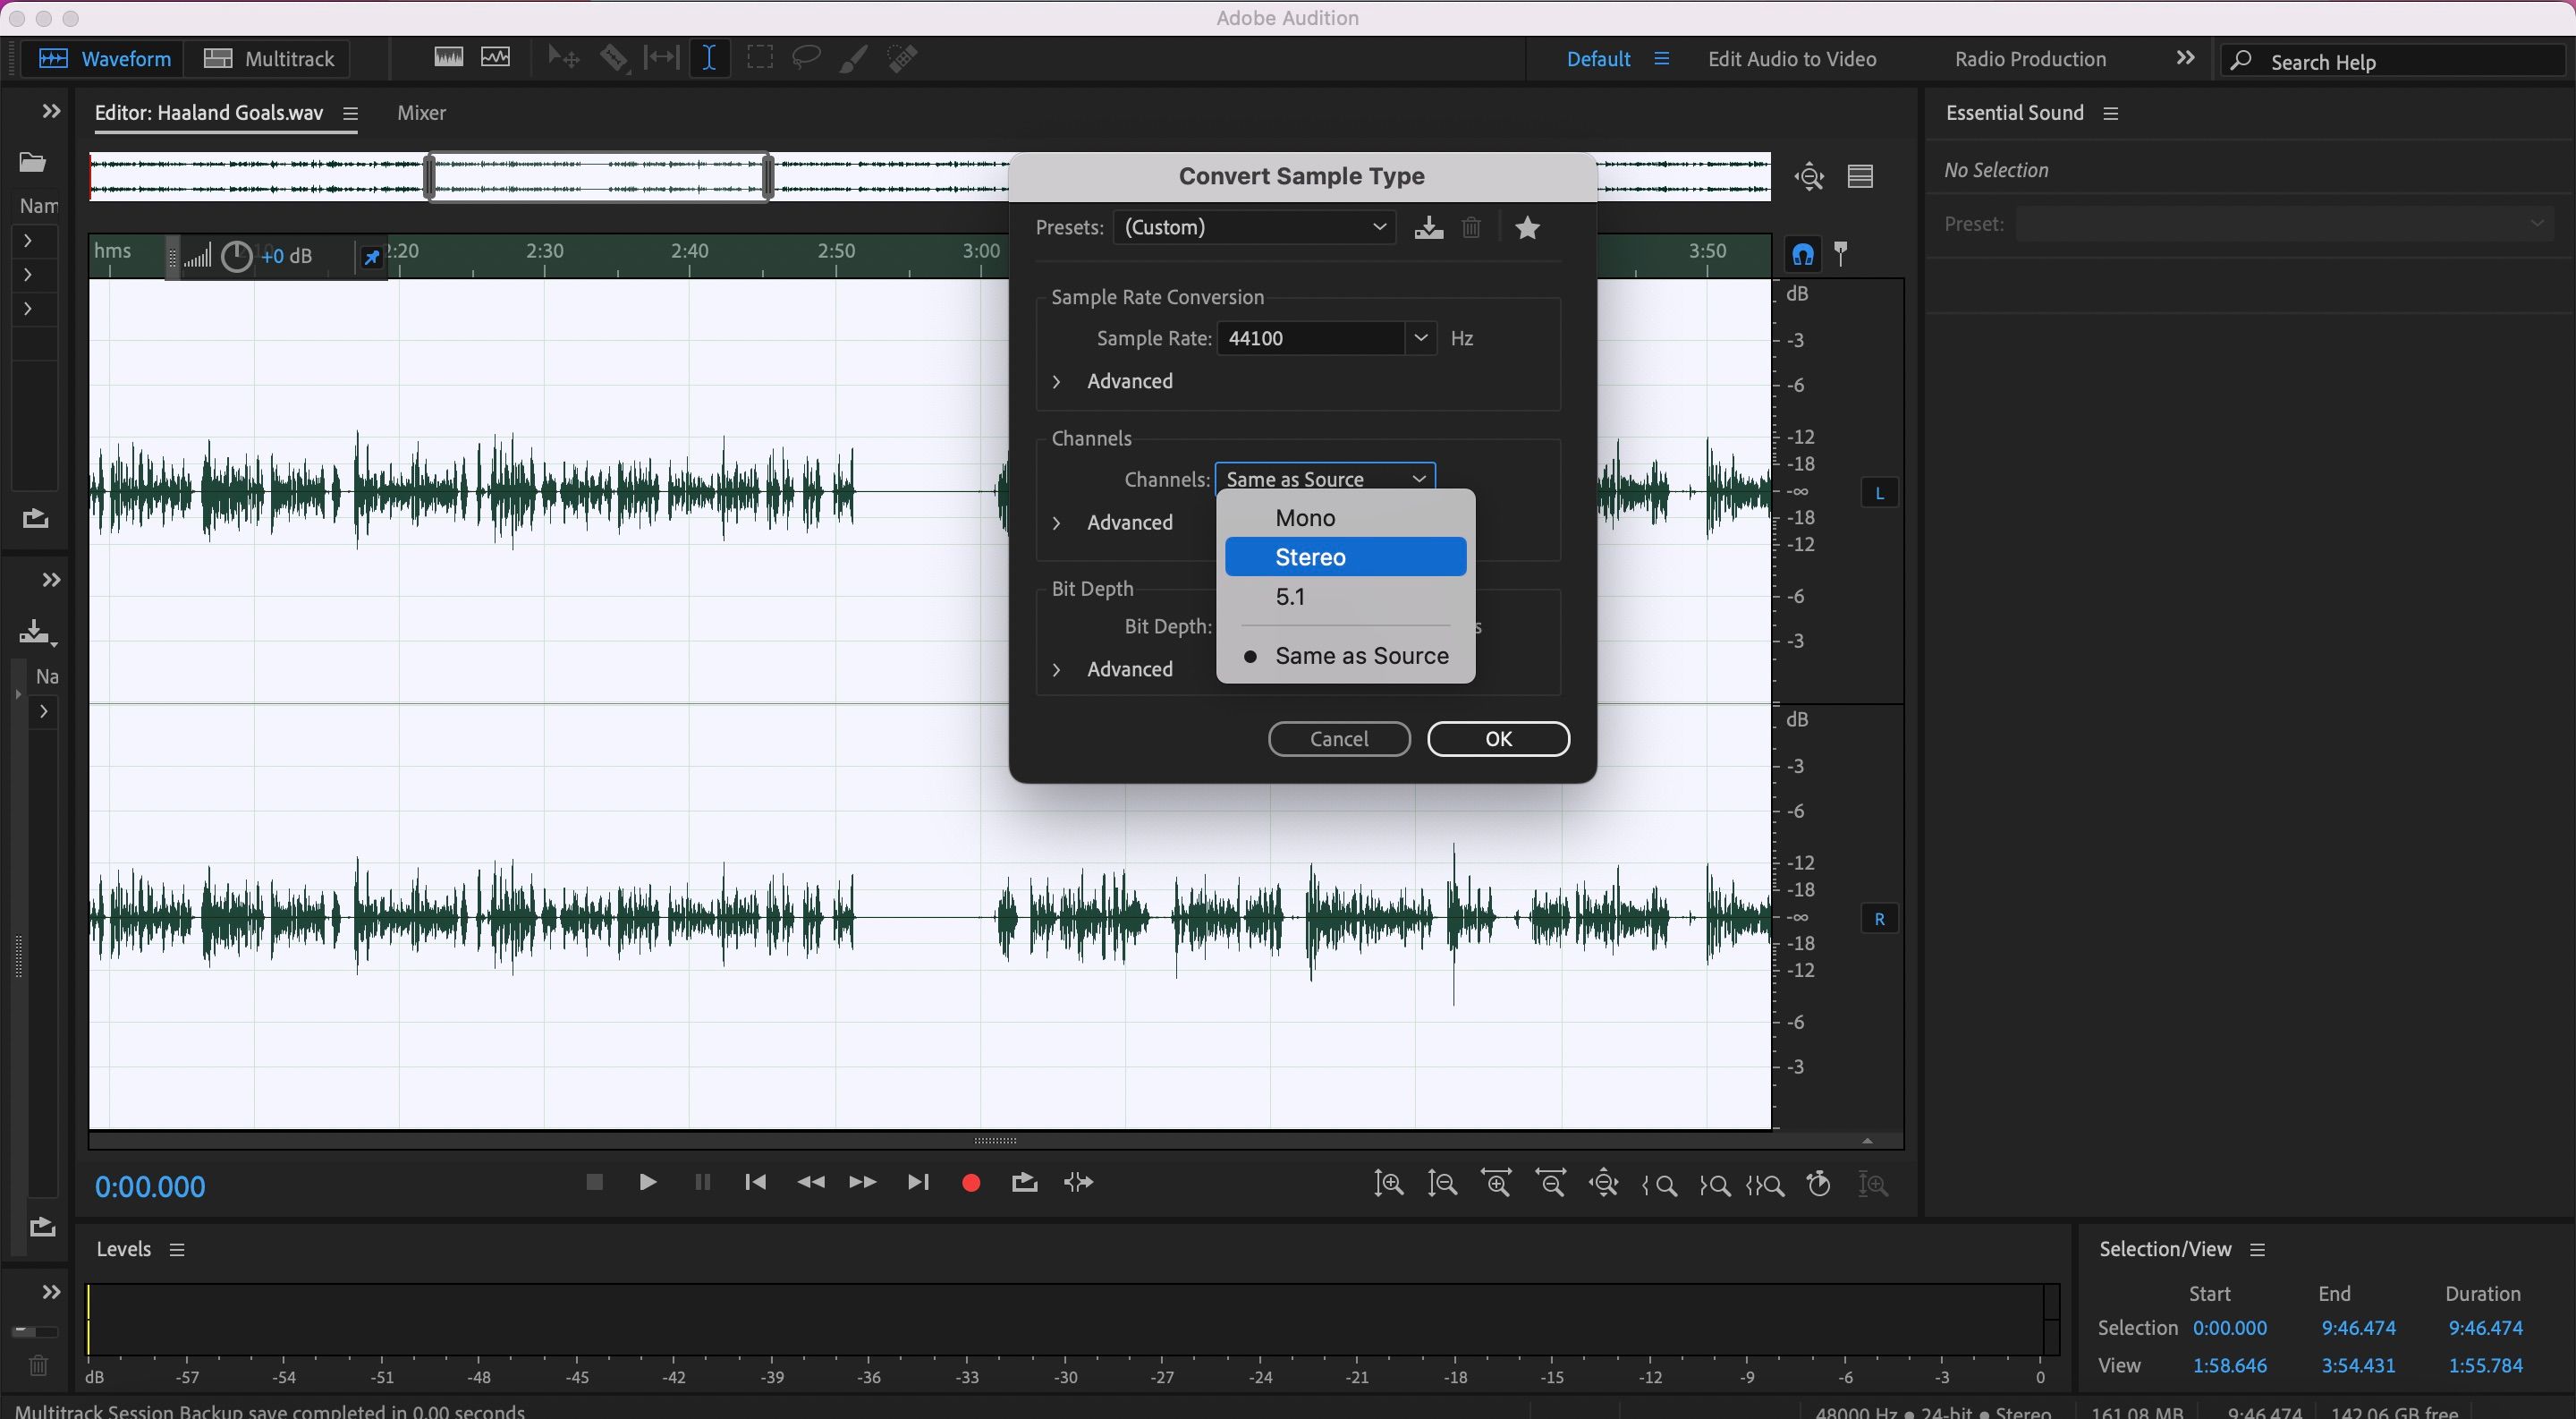
To change the audio channel, go toEdit>Convert Sample pop in.
In the next window, you will see a dropdown list next toChannels.
Expand the menu here before selectingStereo.
Now that you know the basic terms associated with Adobe Audition, why not get your creative juices flowing?
