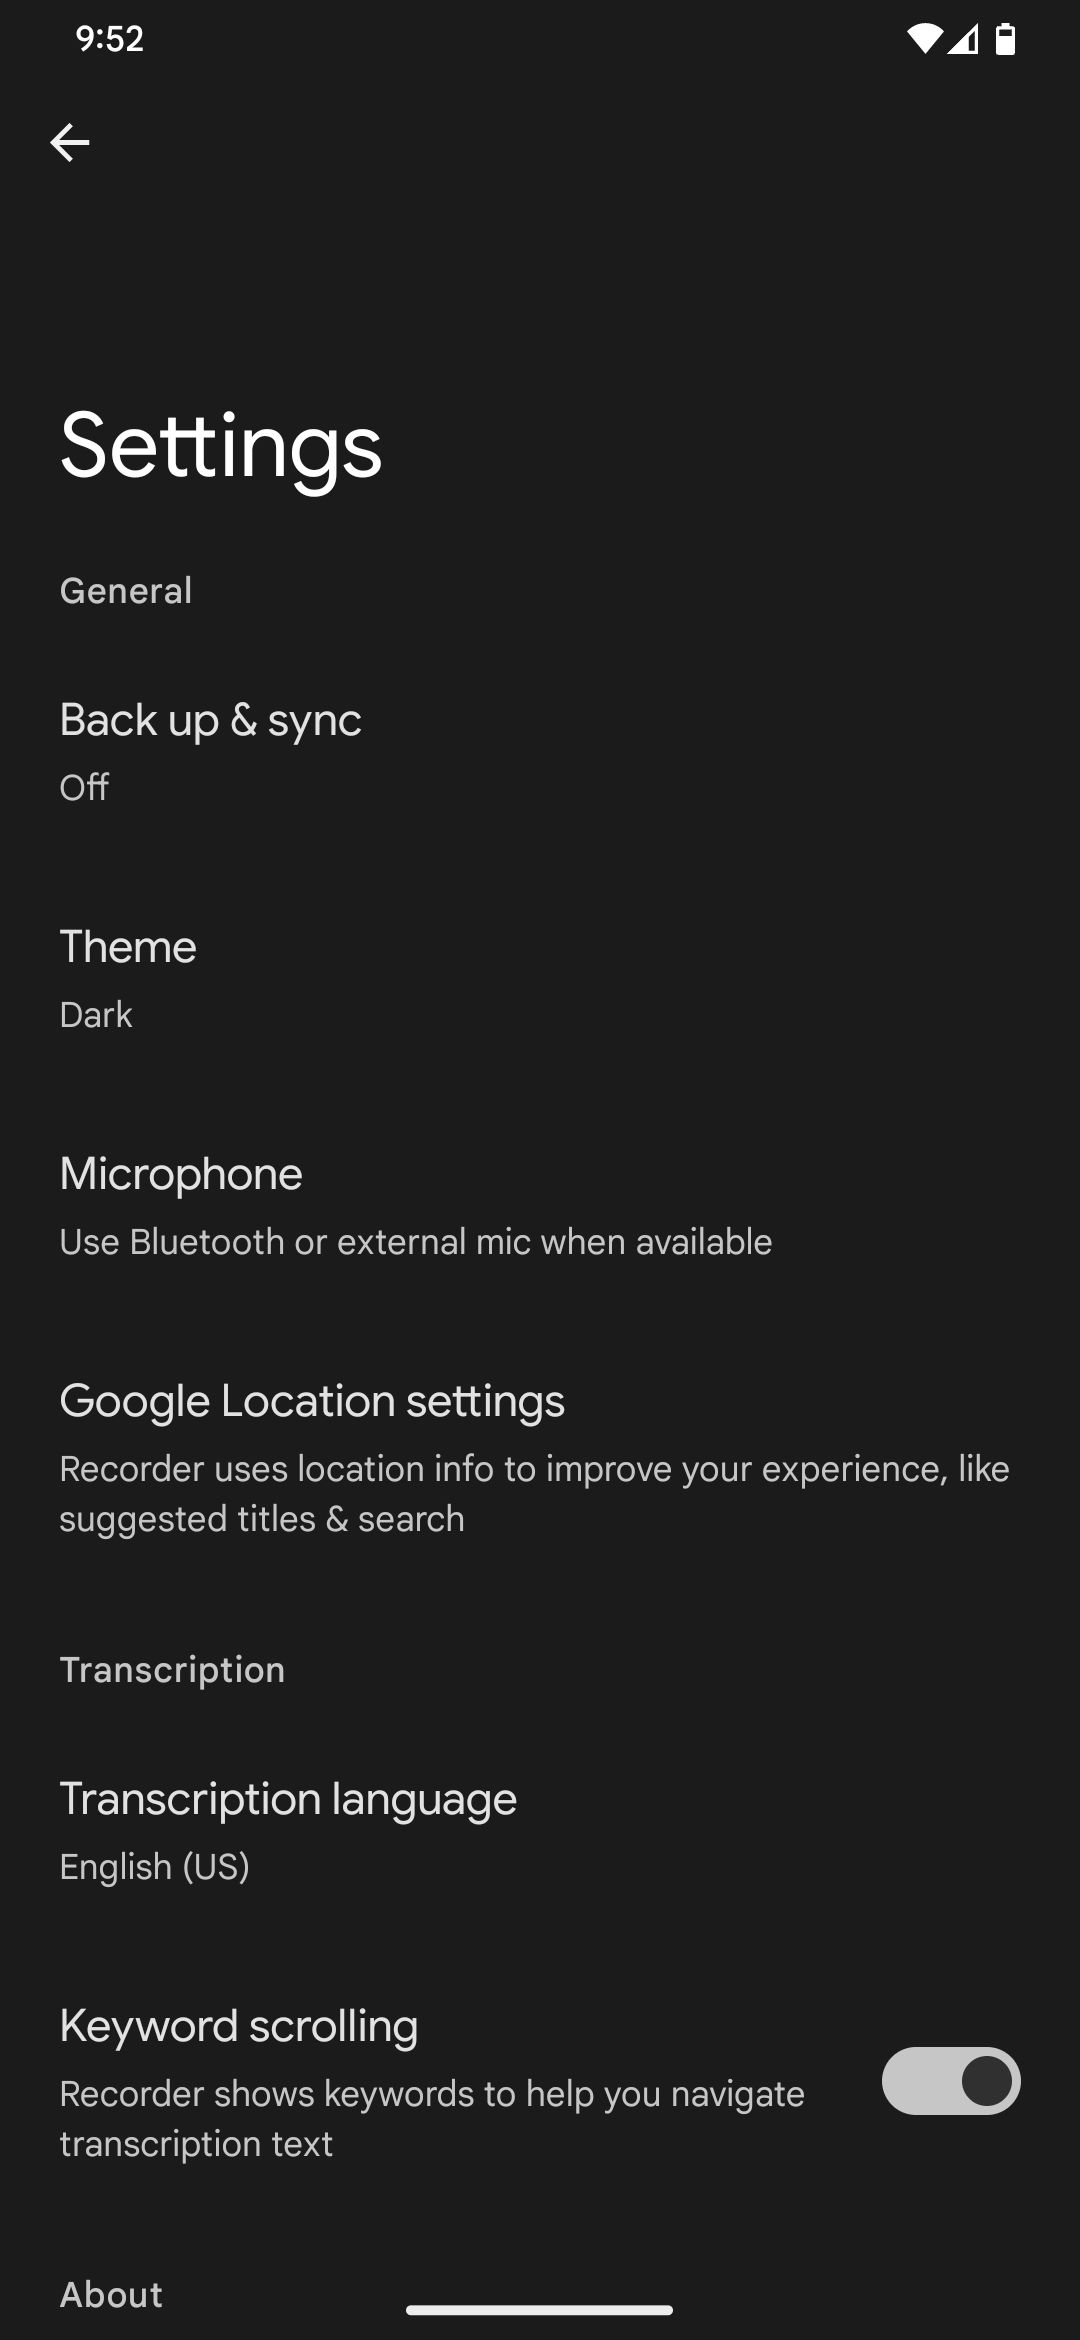
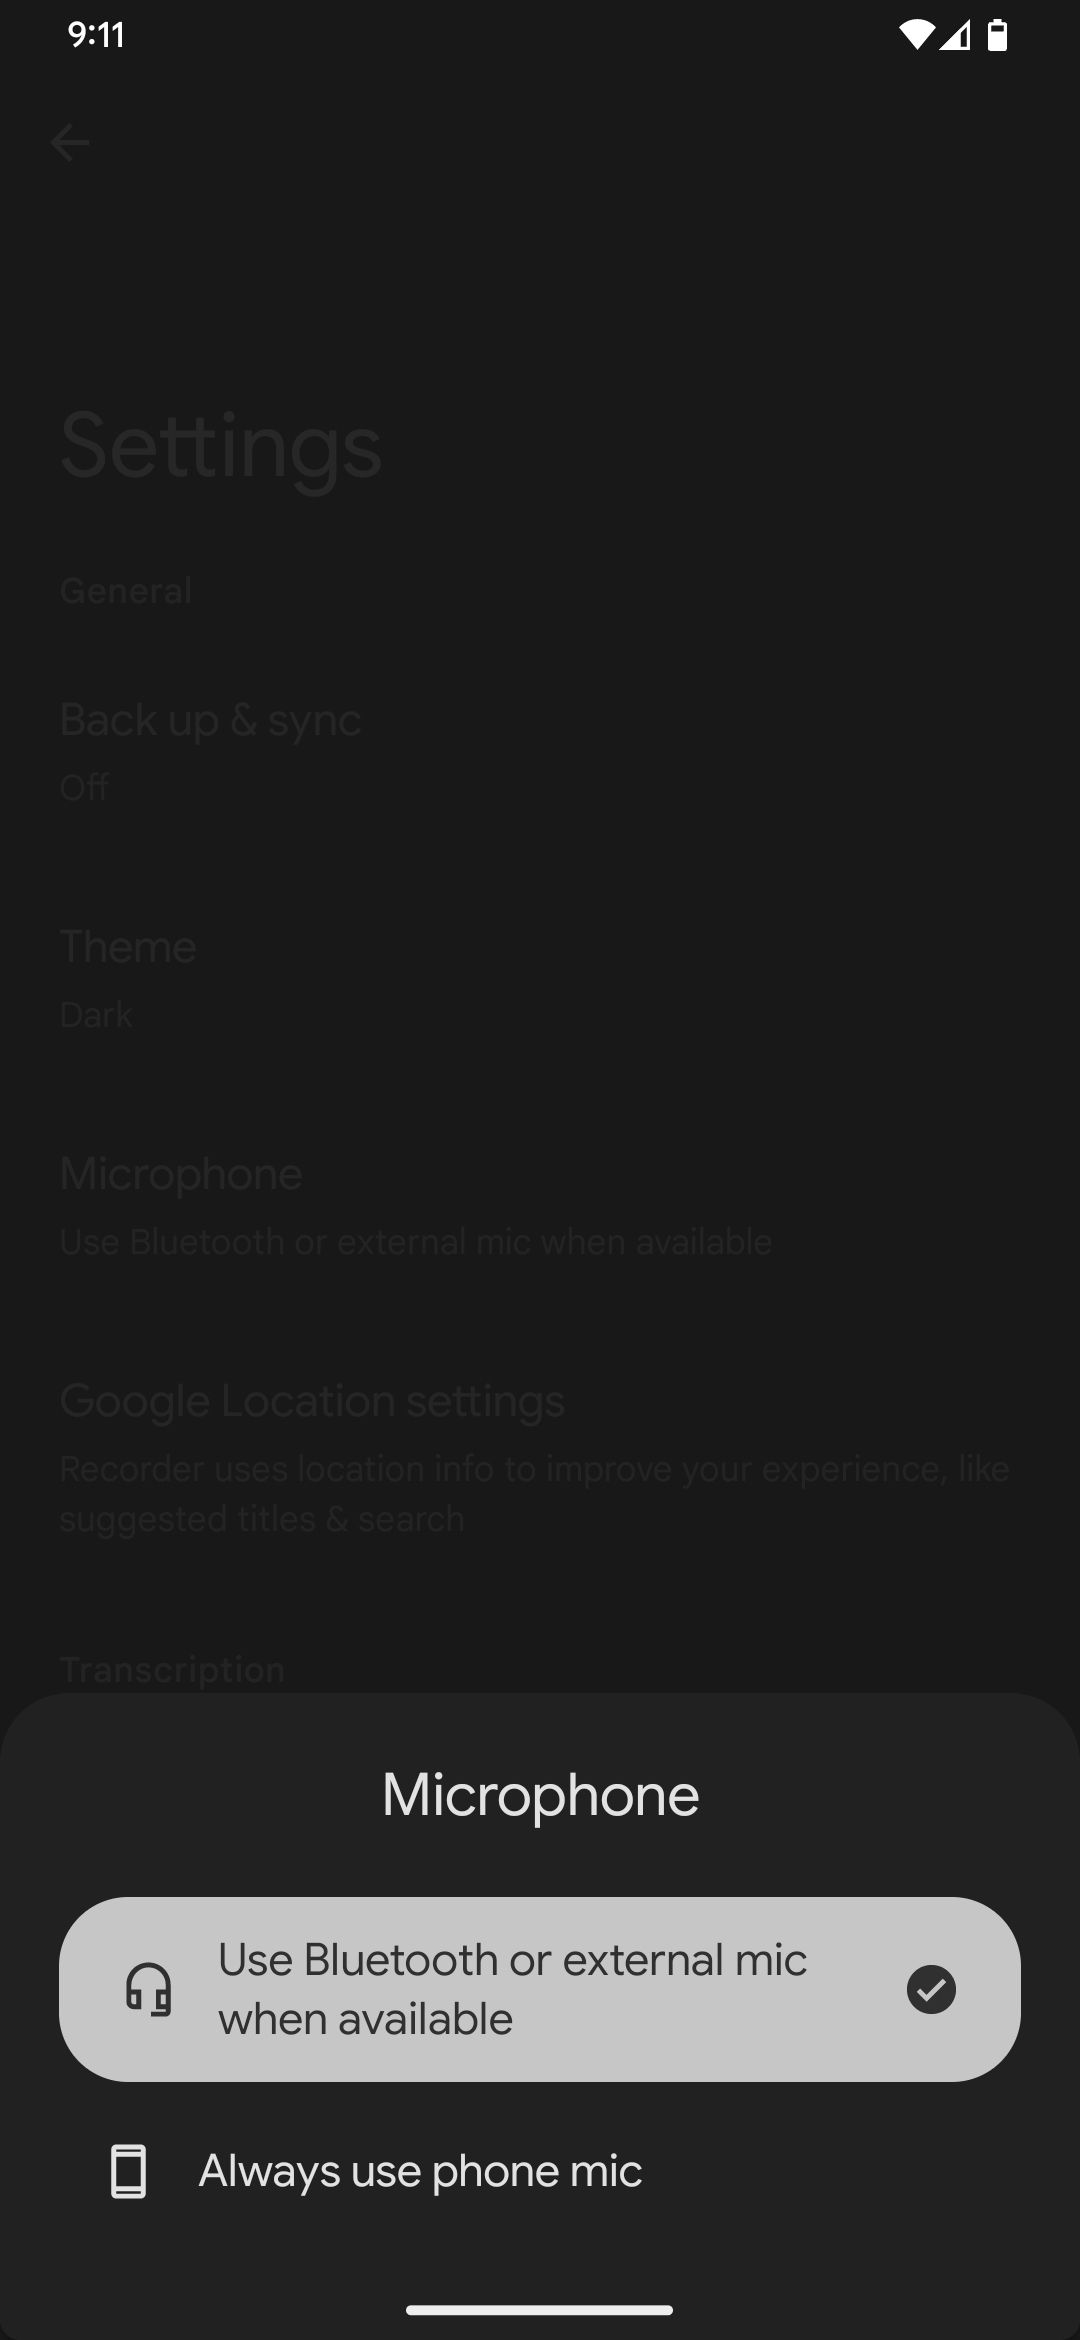
The Google Recorder app lets you use your phone’s mic or a Bluetooth or external microphone.
To configure this, follow the steps below.
Create a New Voice Recording
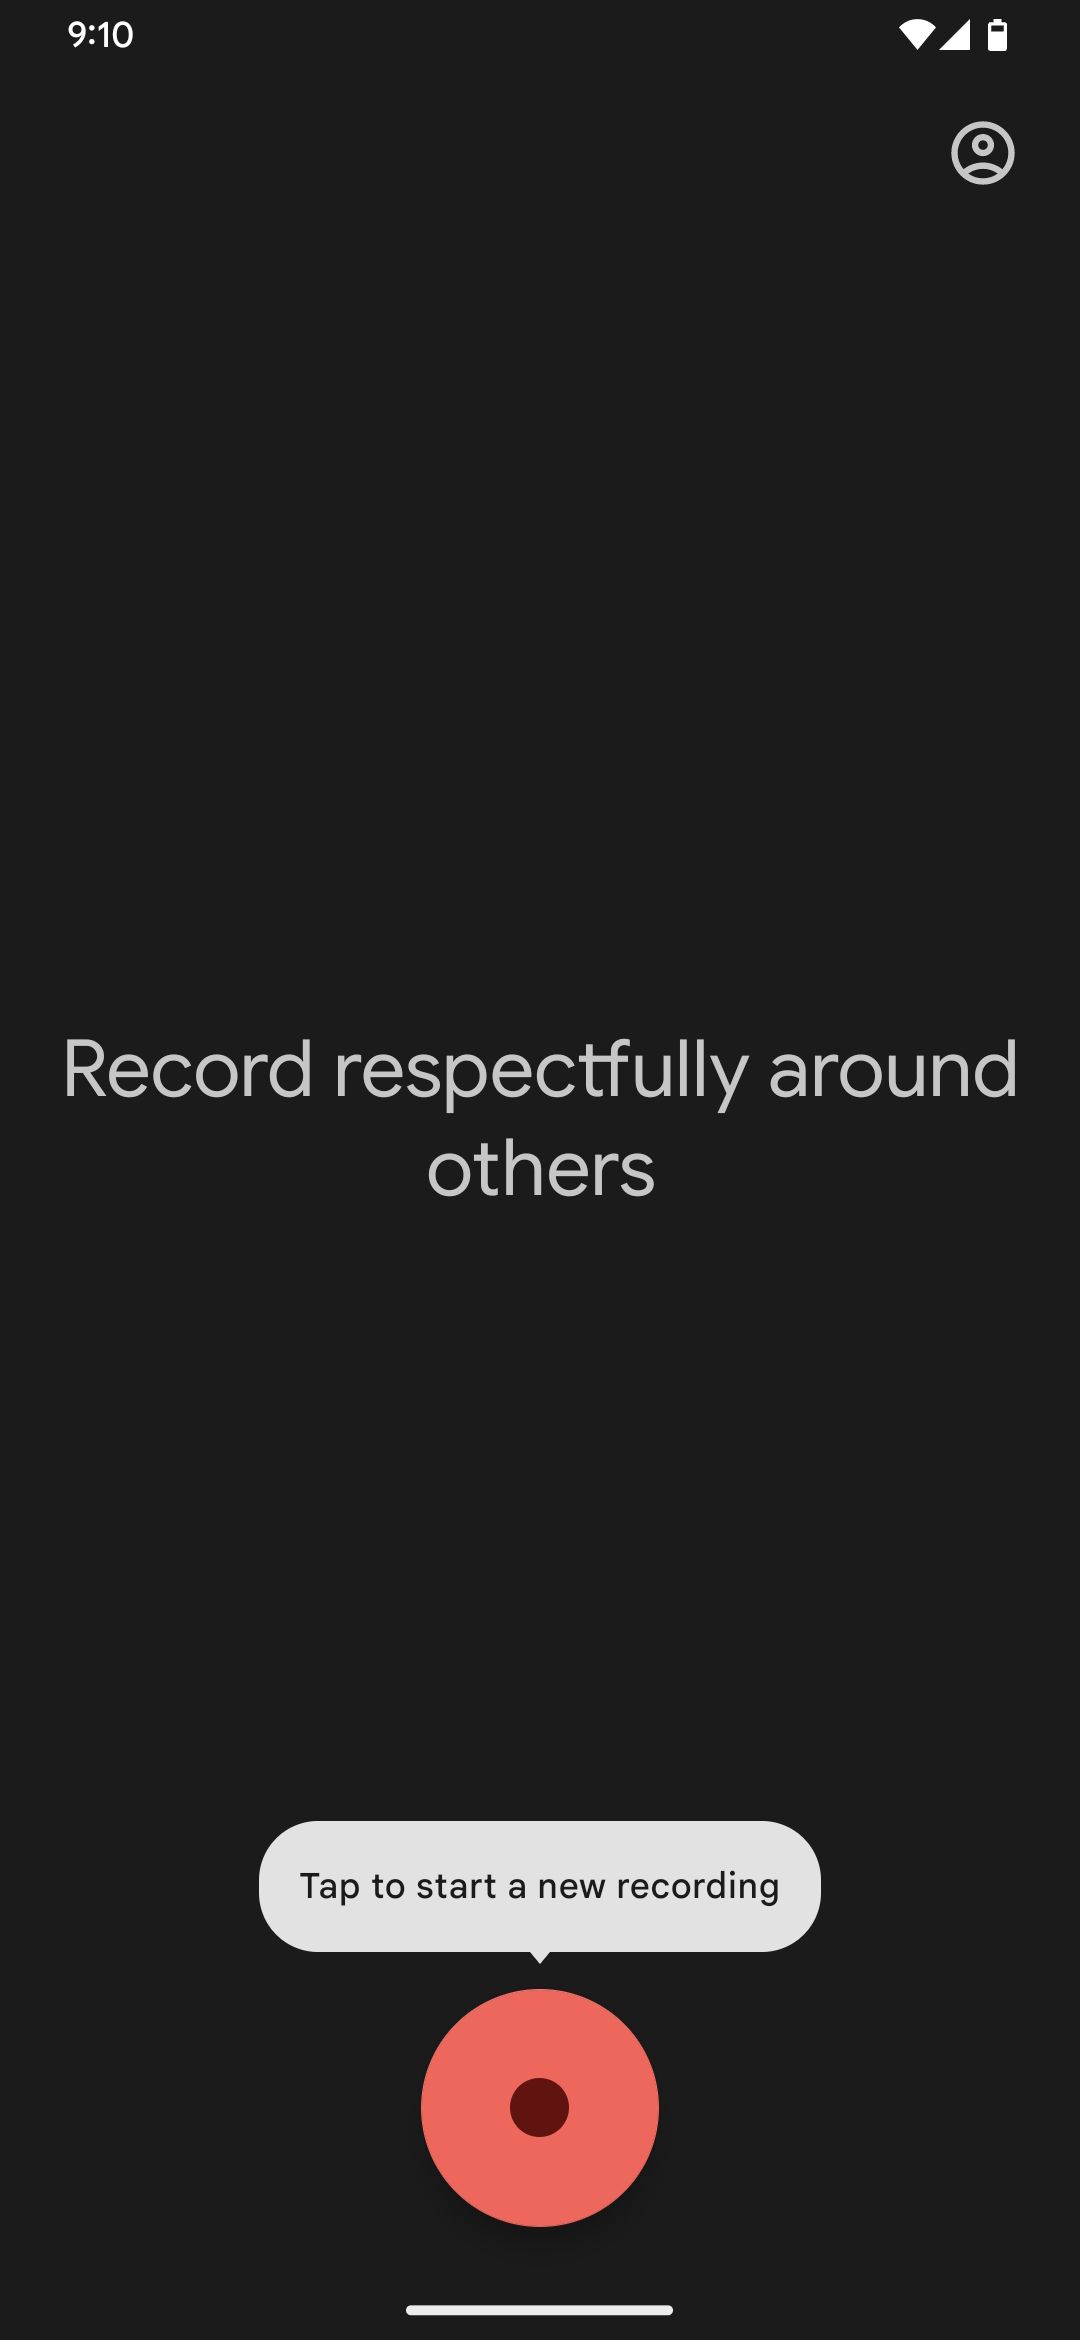
After selecting your microphone, you are ready to do your first voice recording.
It’s simple to get started, but there are a few other parameters to know about.
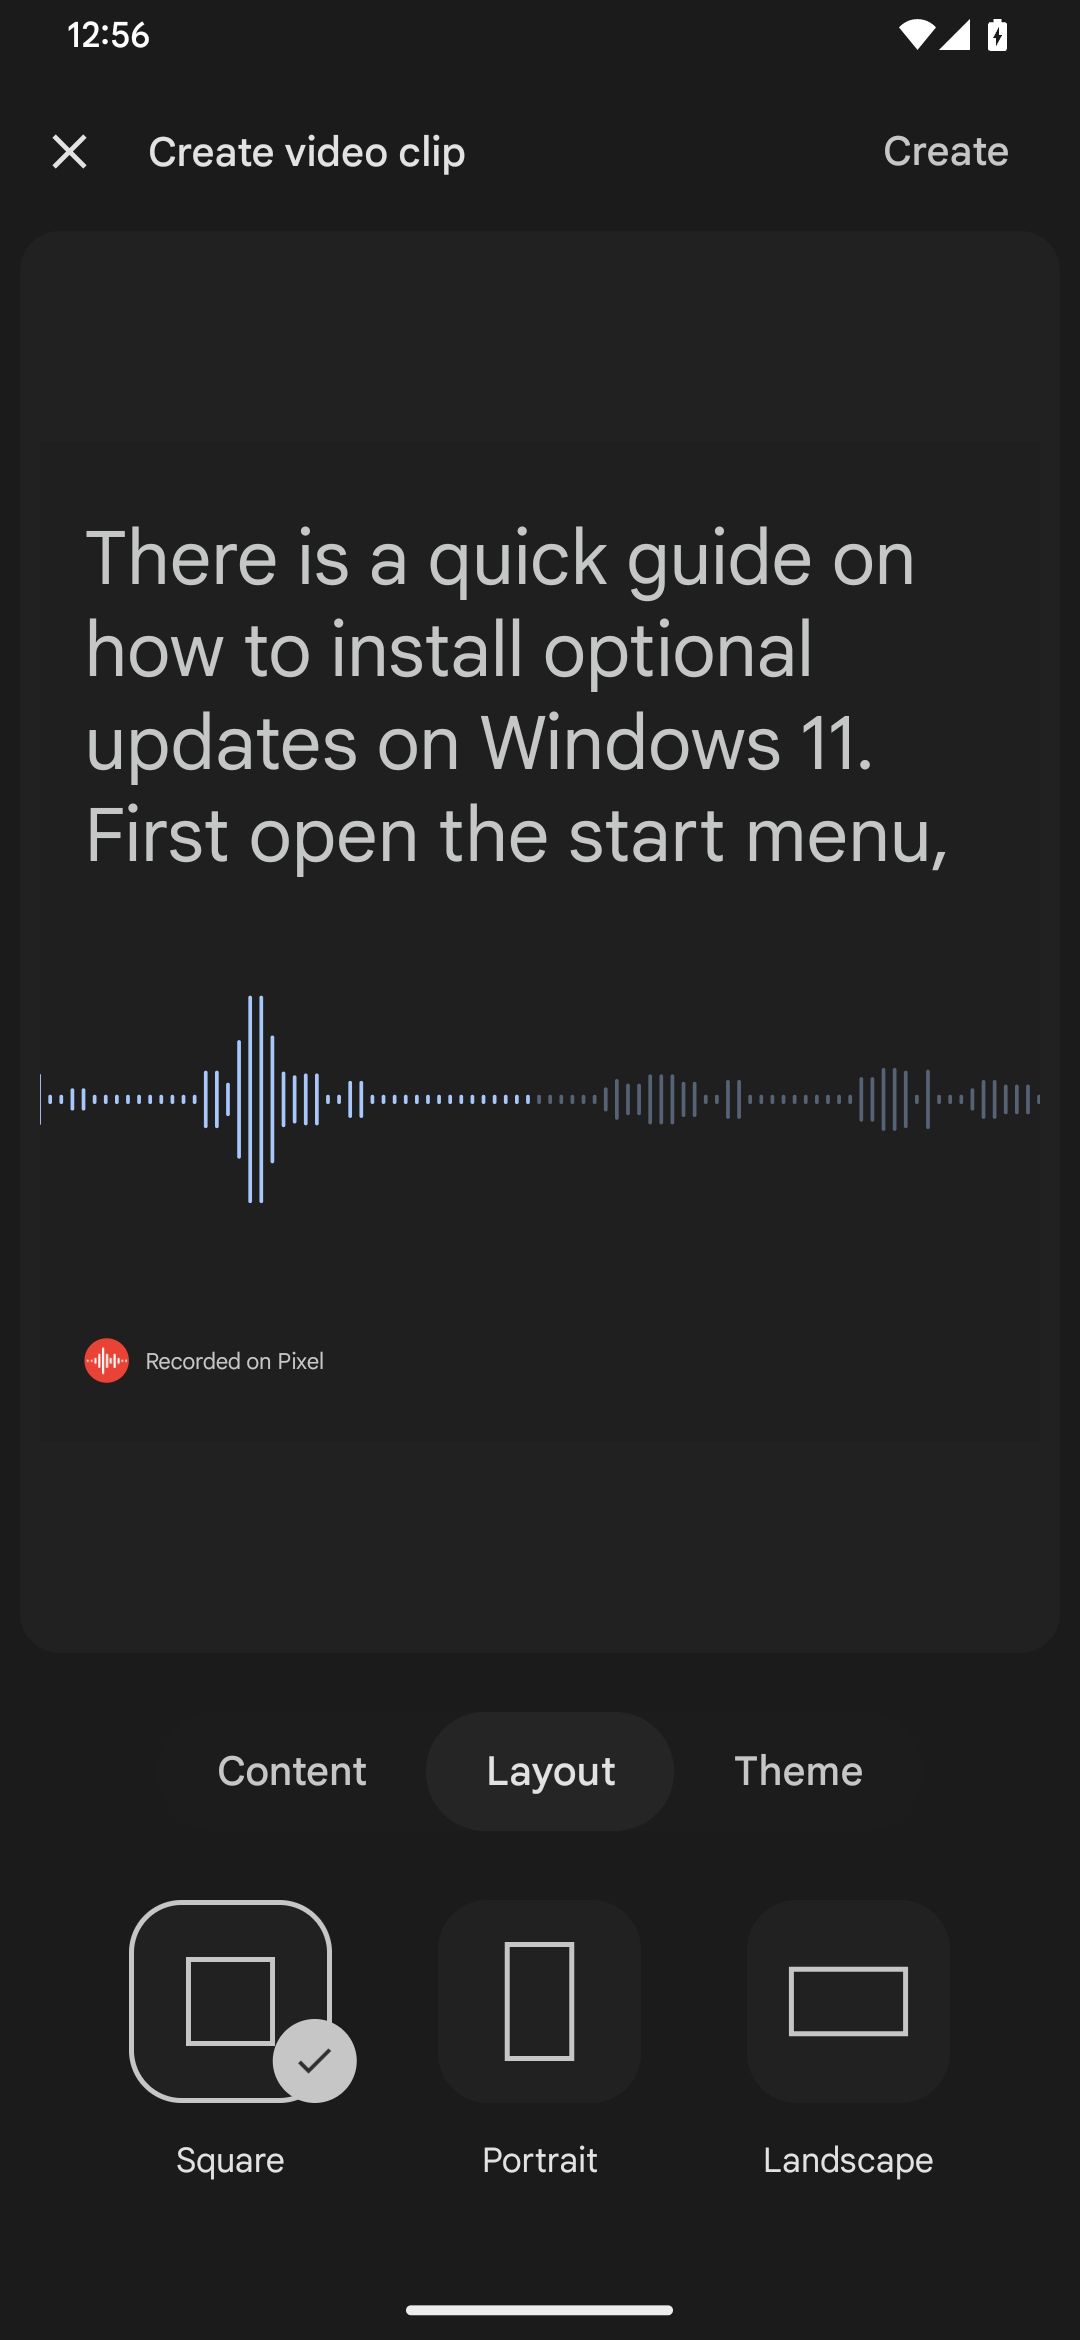
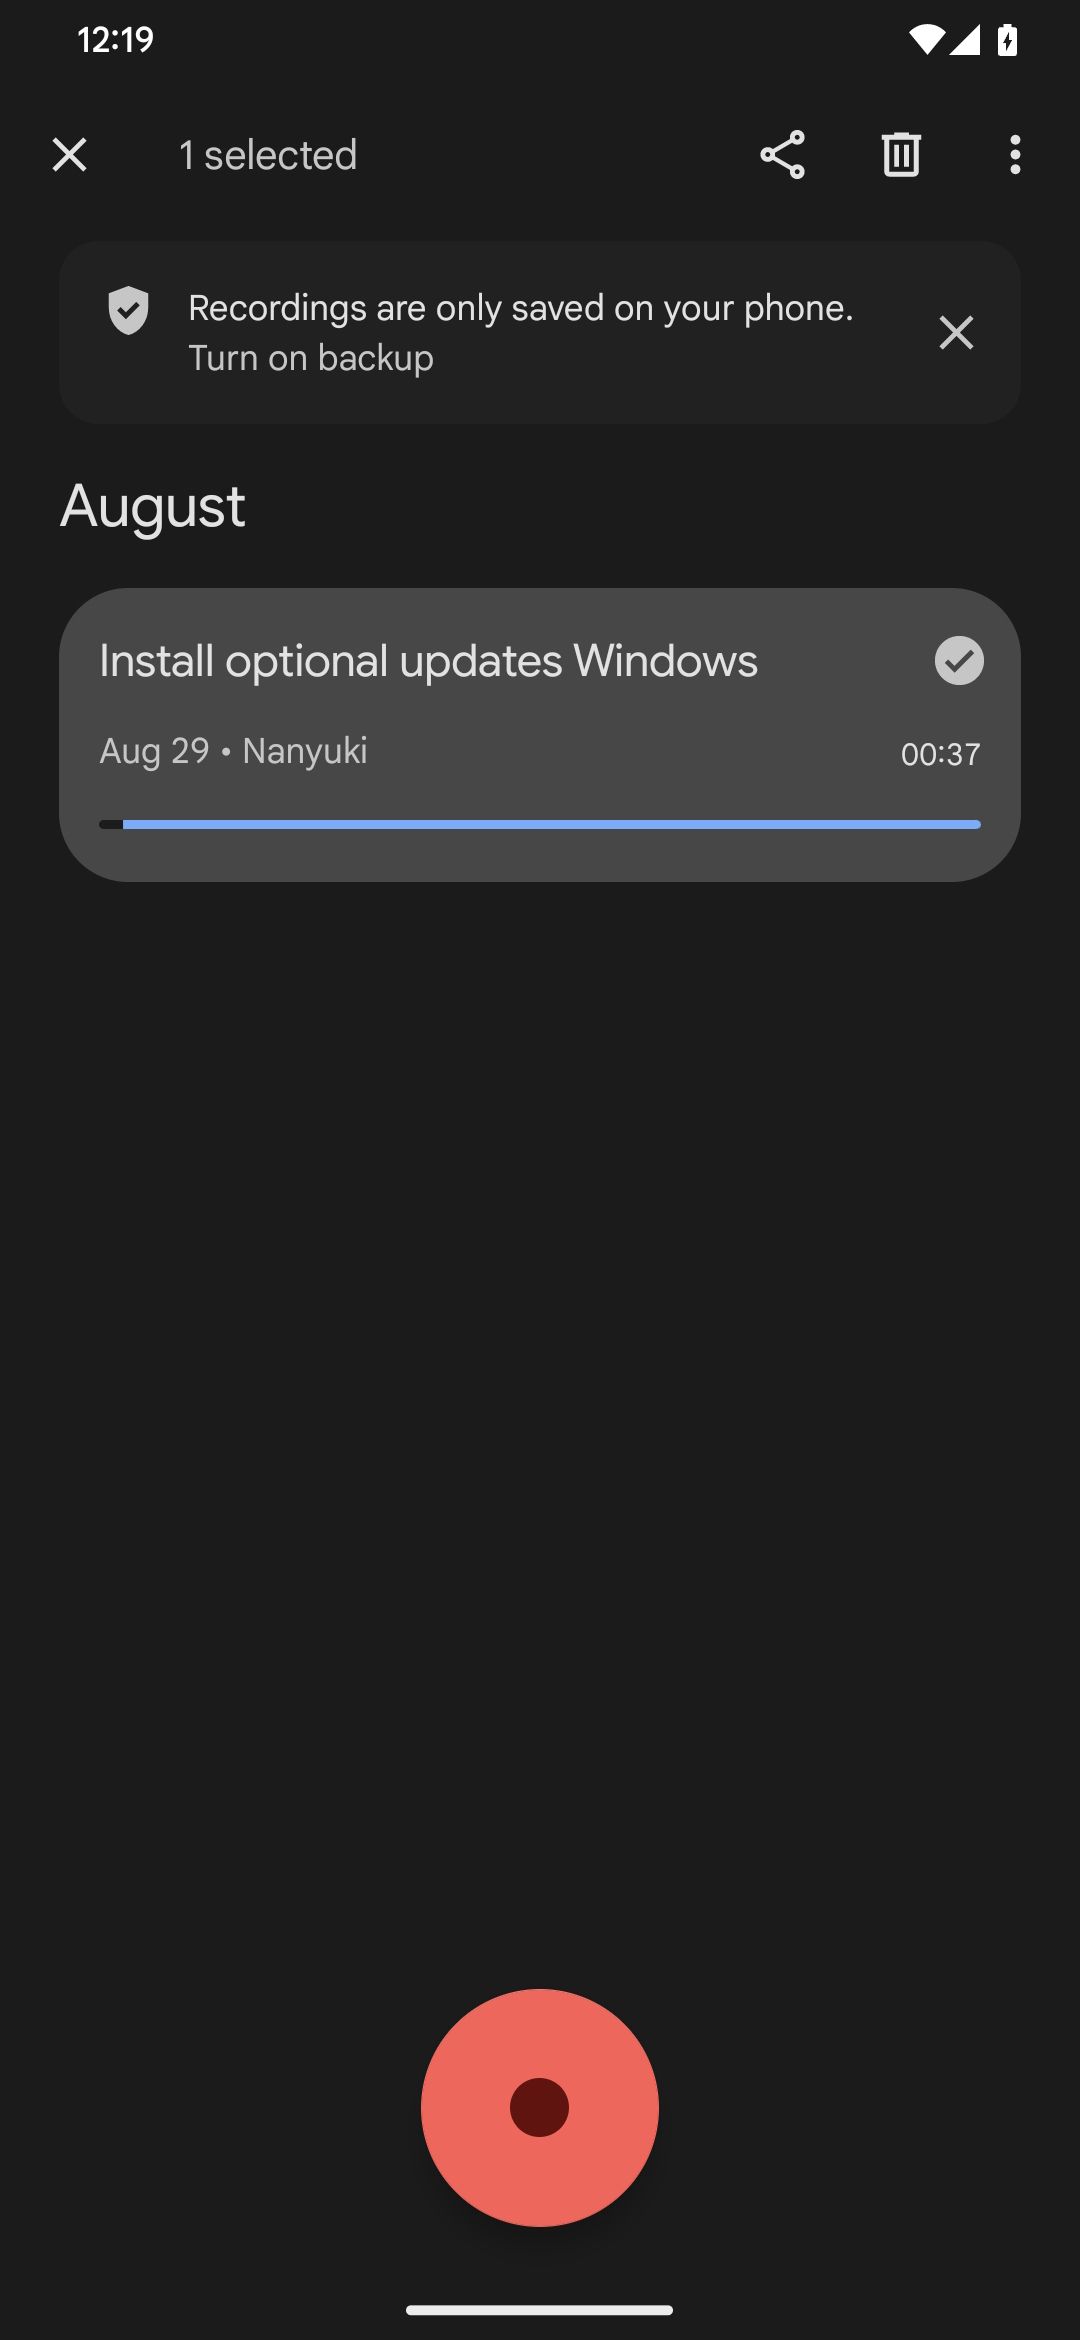
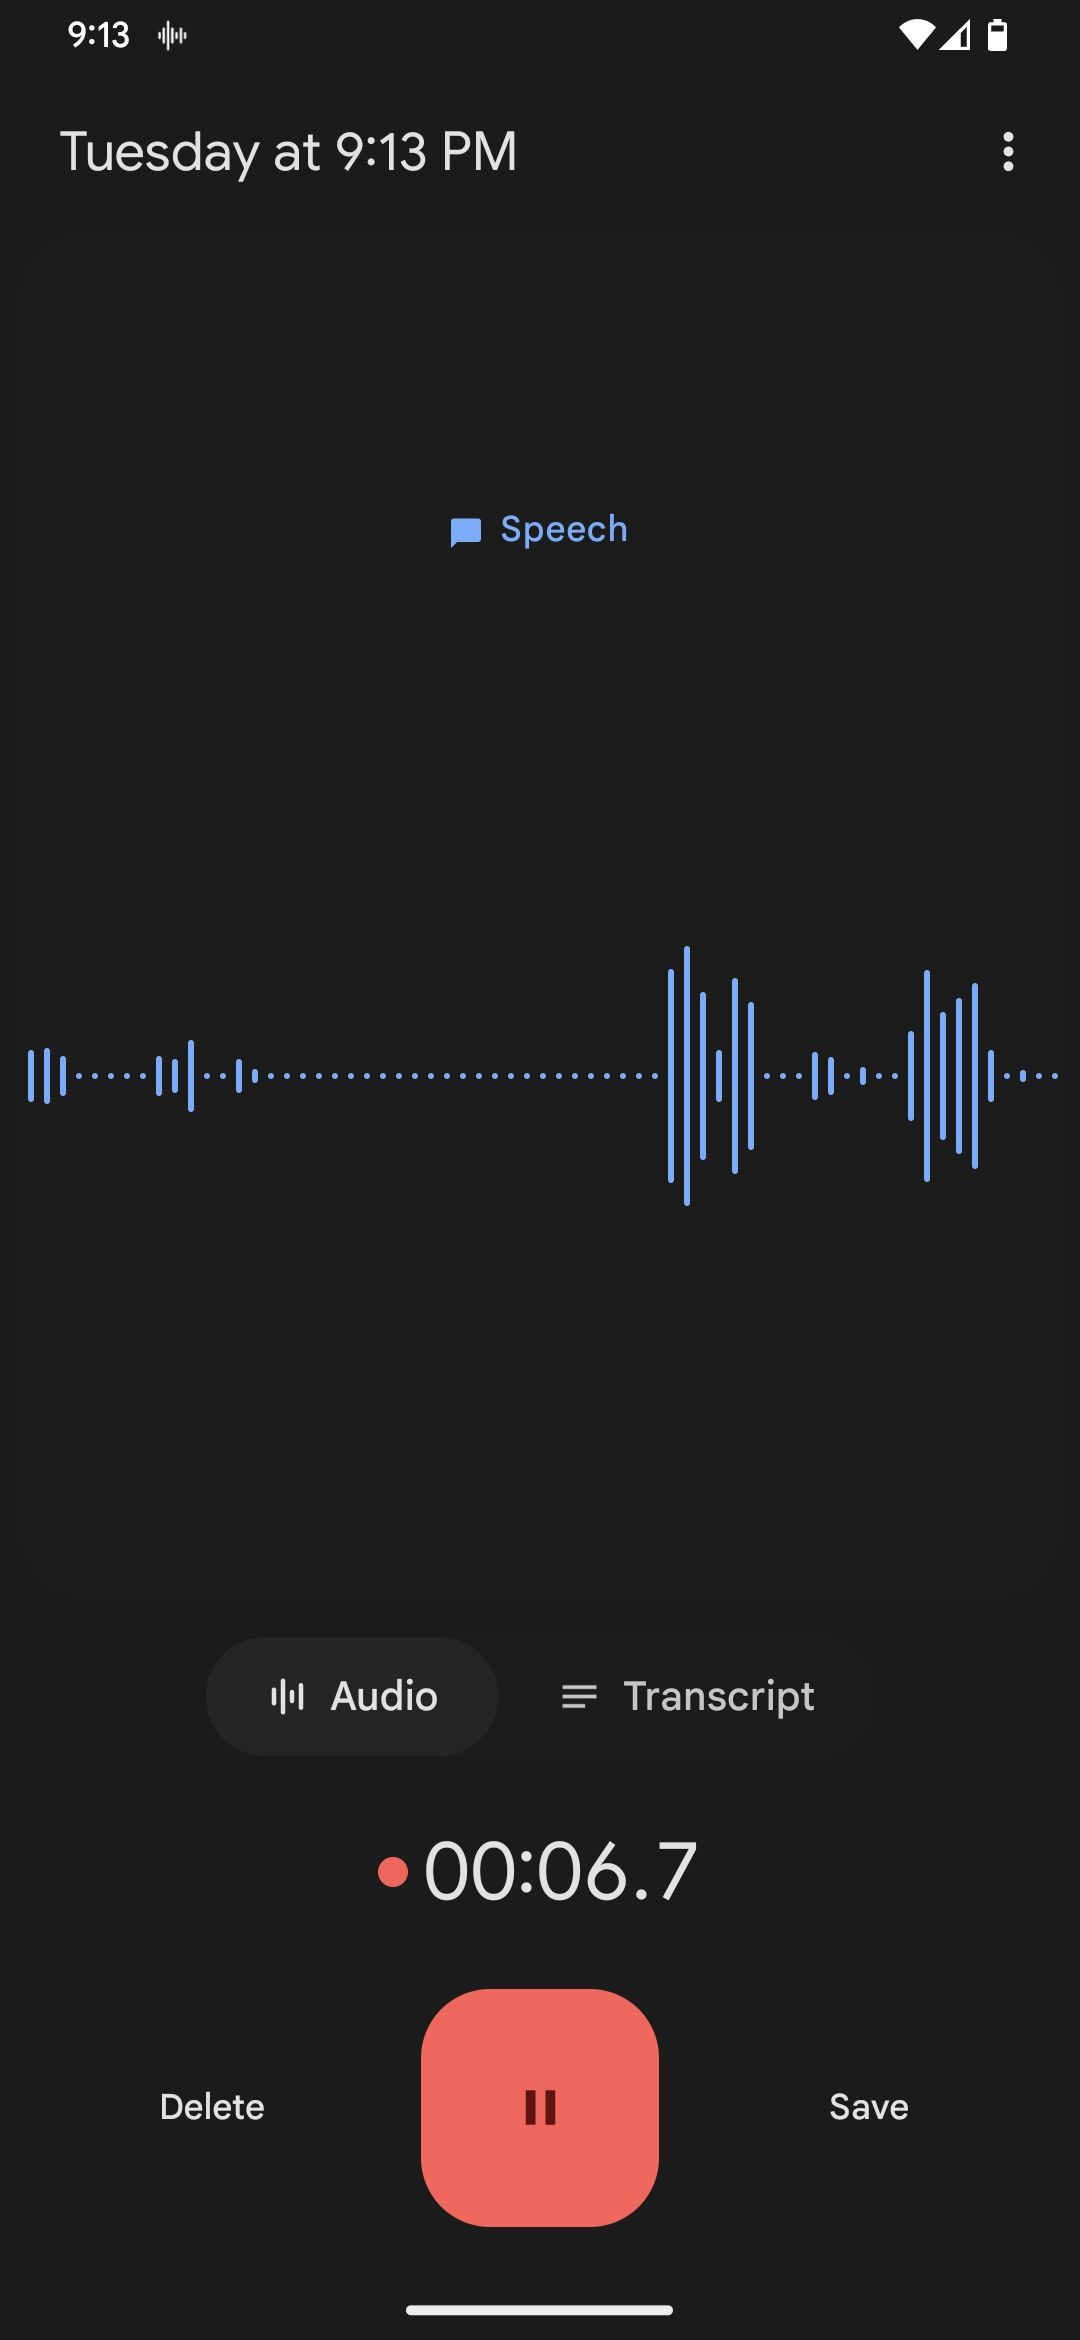
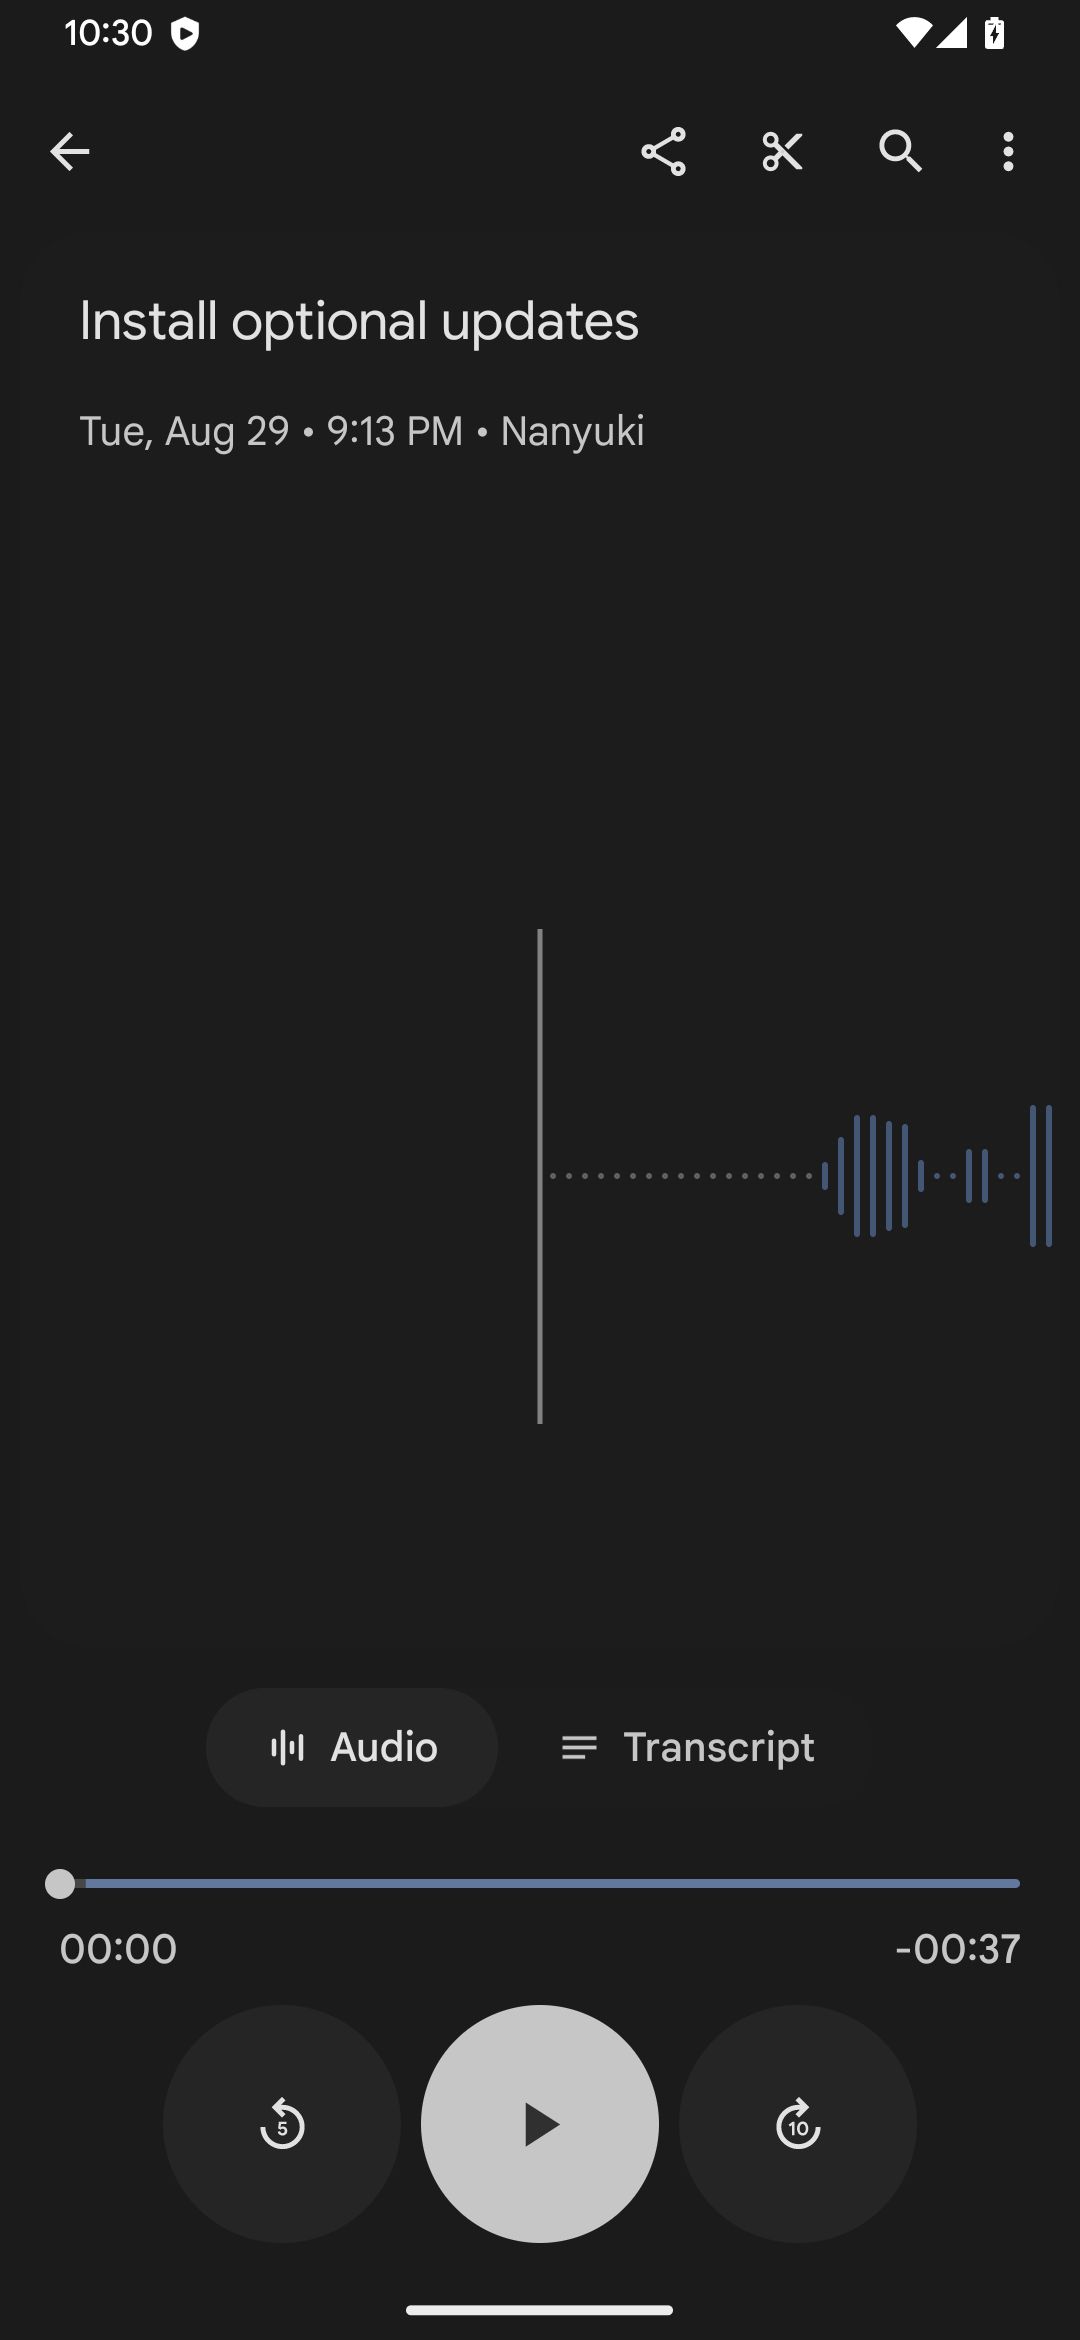
you’re free to pause and resume recording as you see fit using the red button.
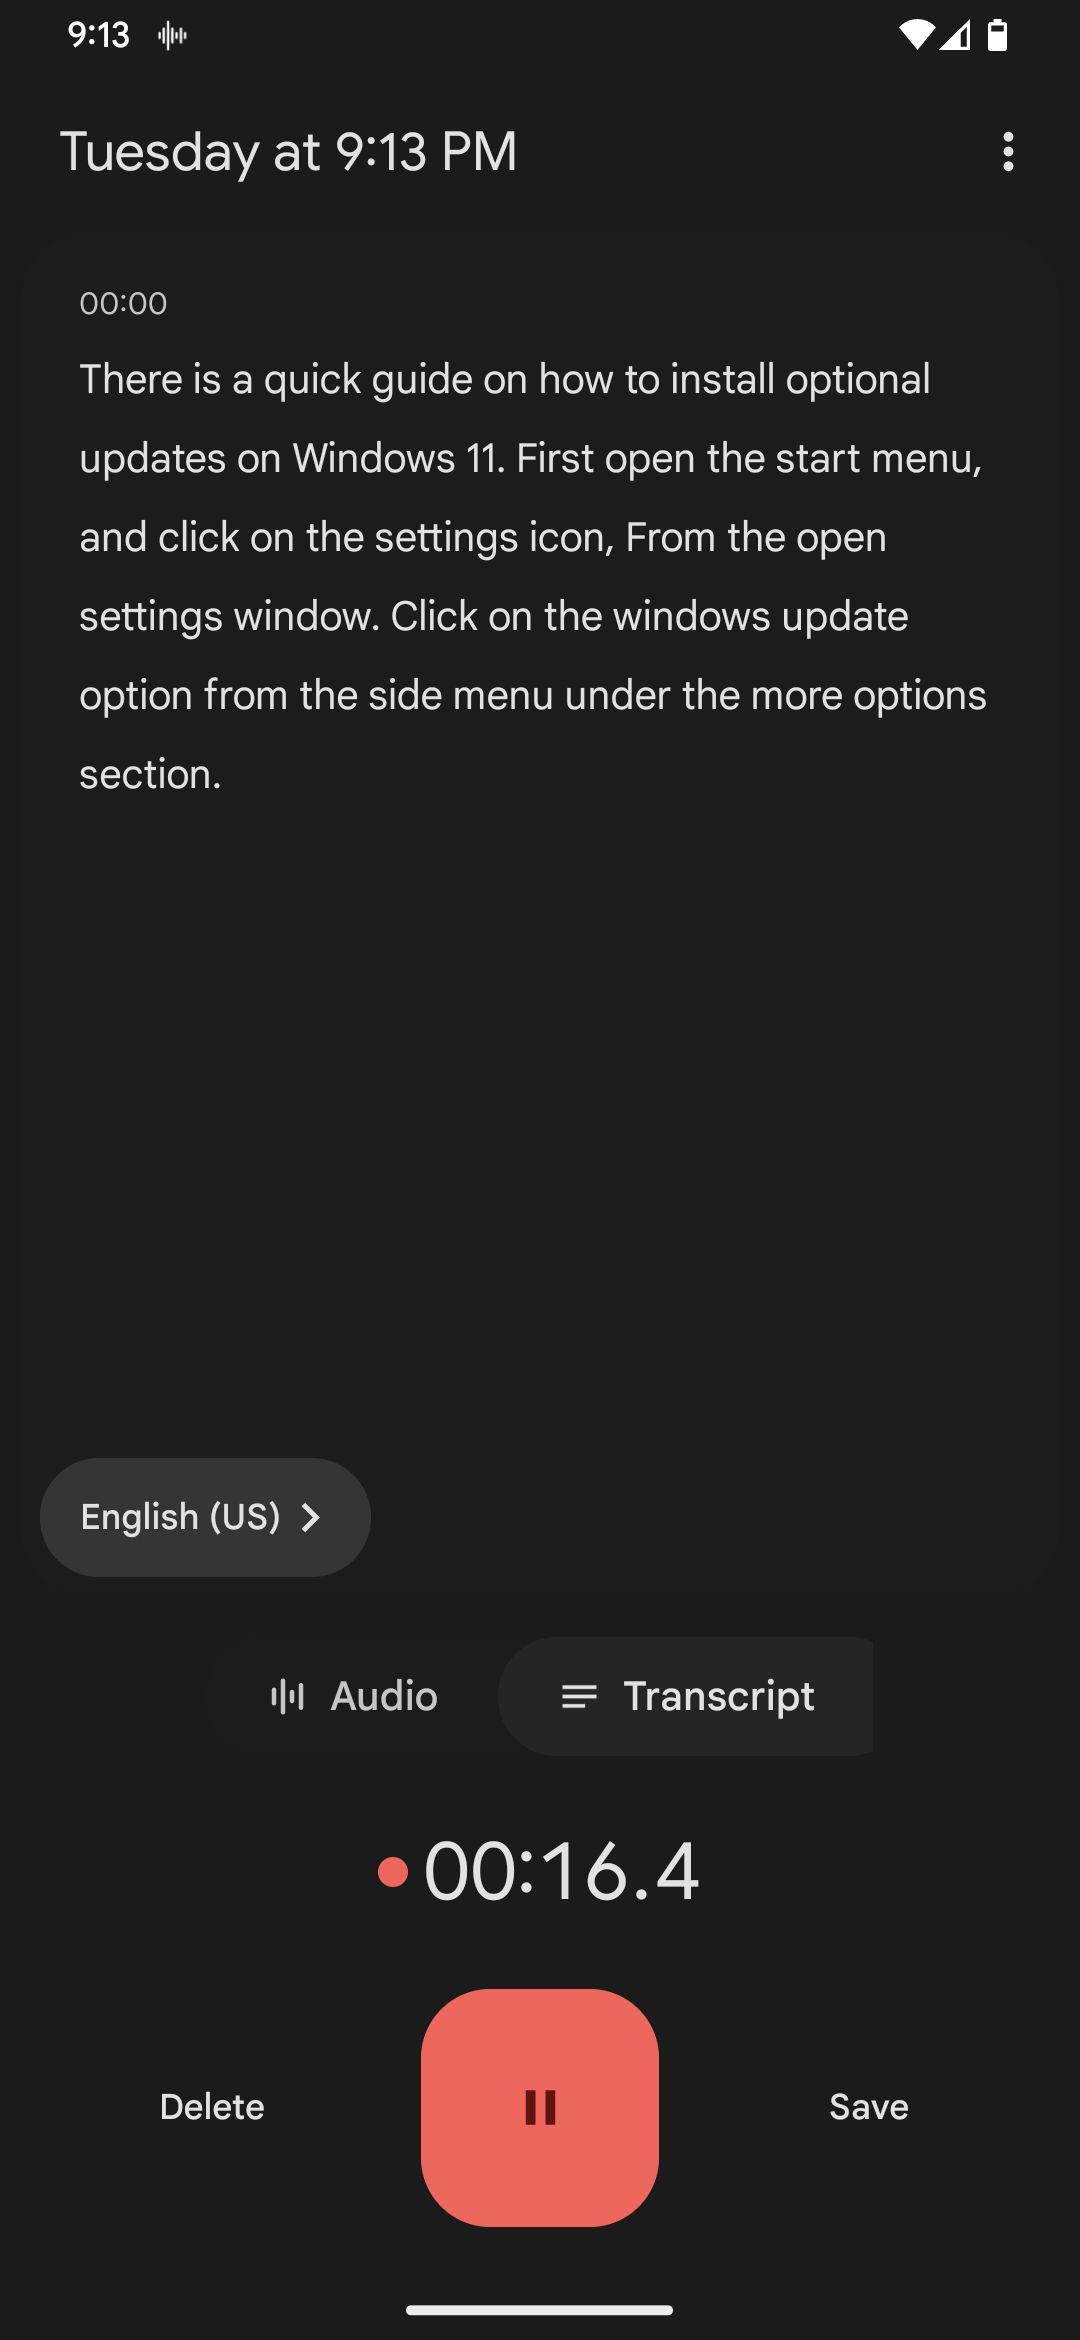
To monitor the transcription, tap theTranscriptbutton.
![]()
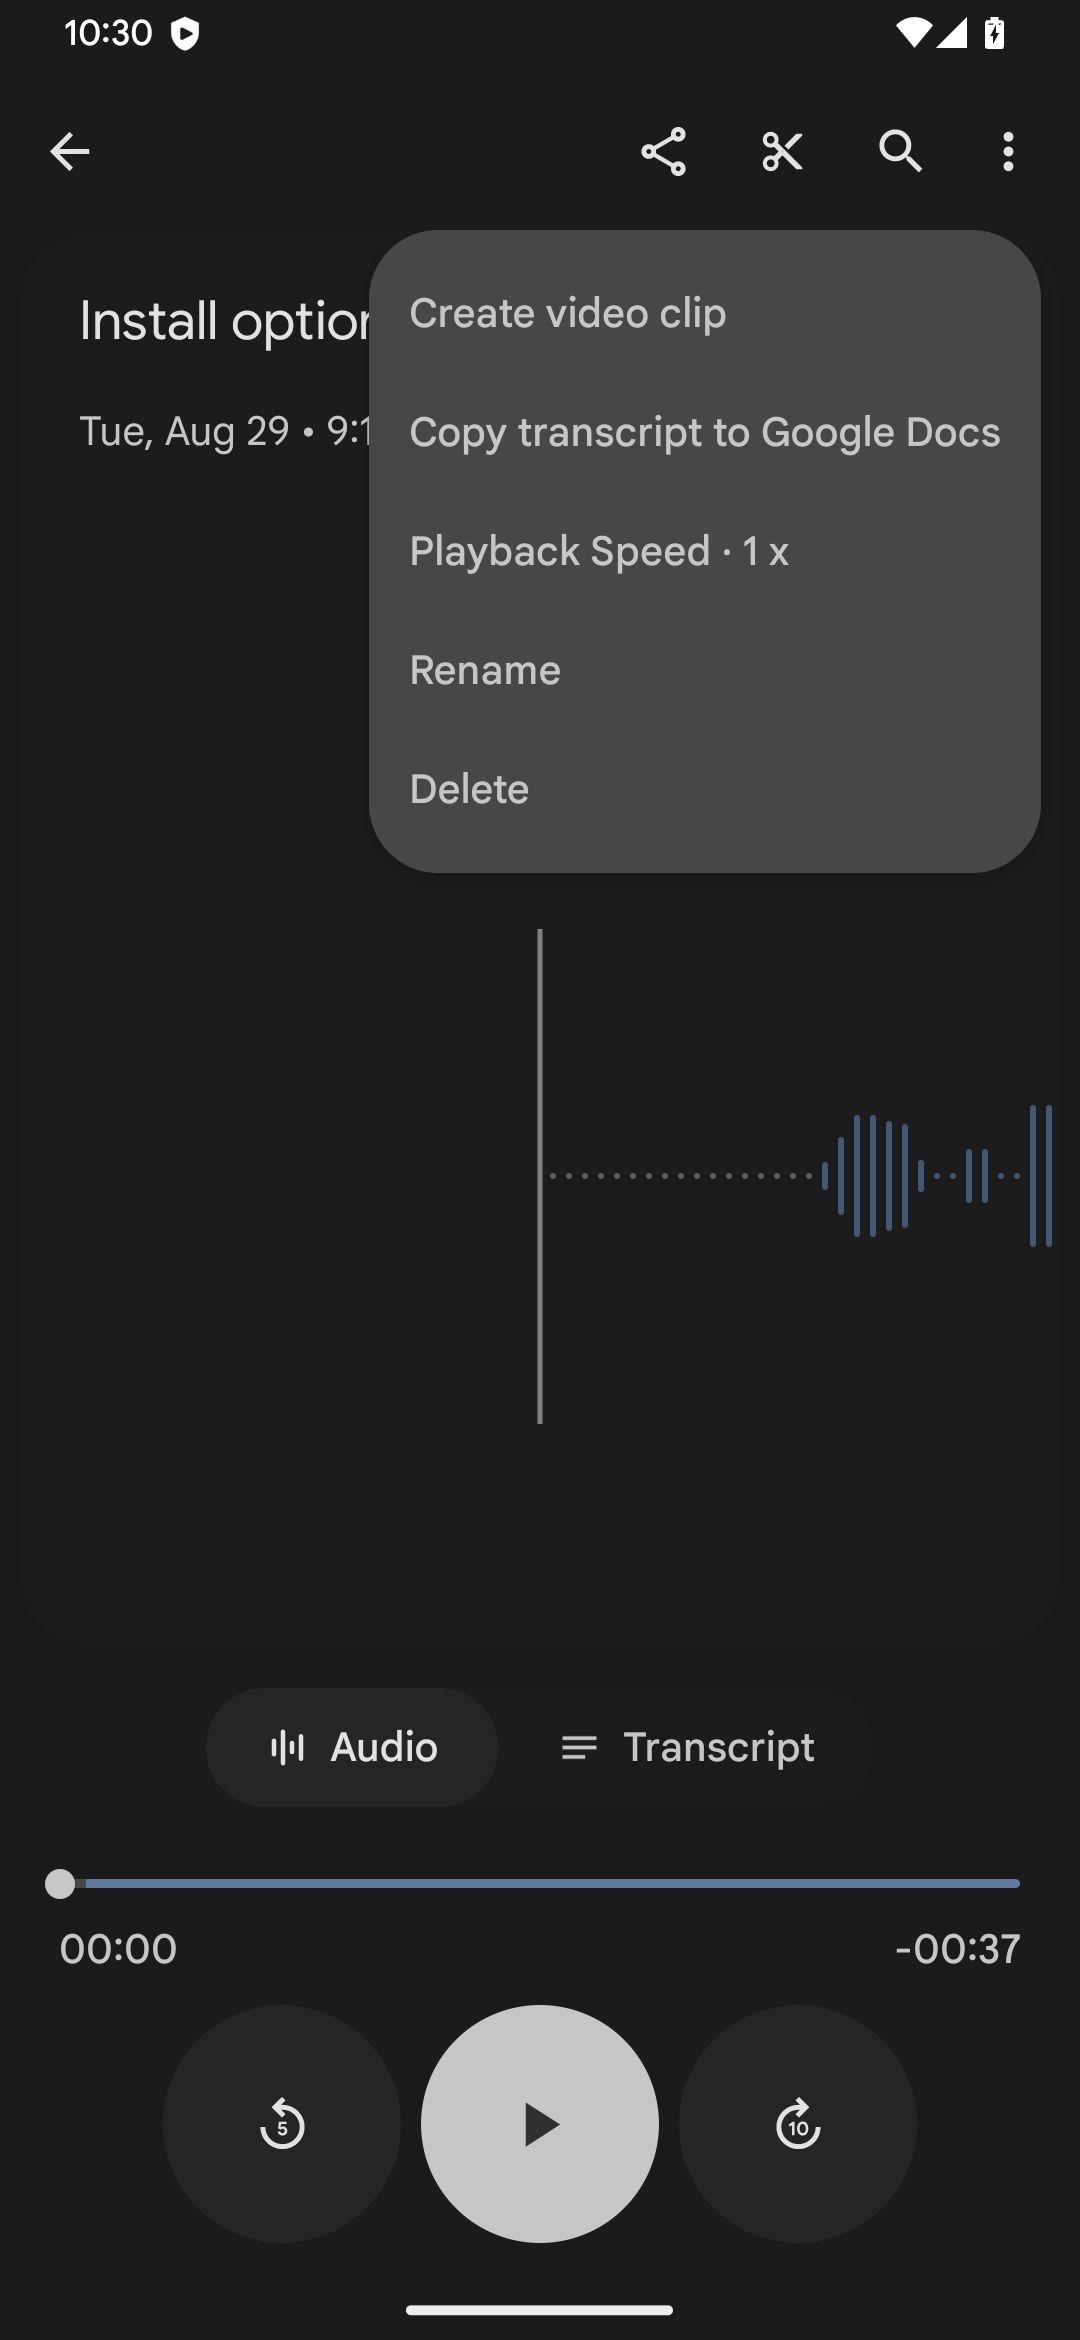
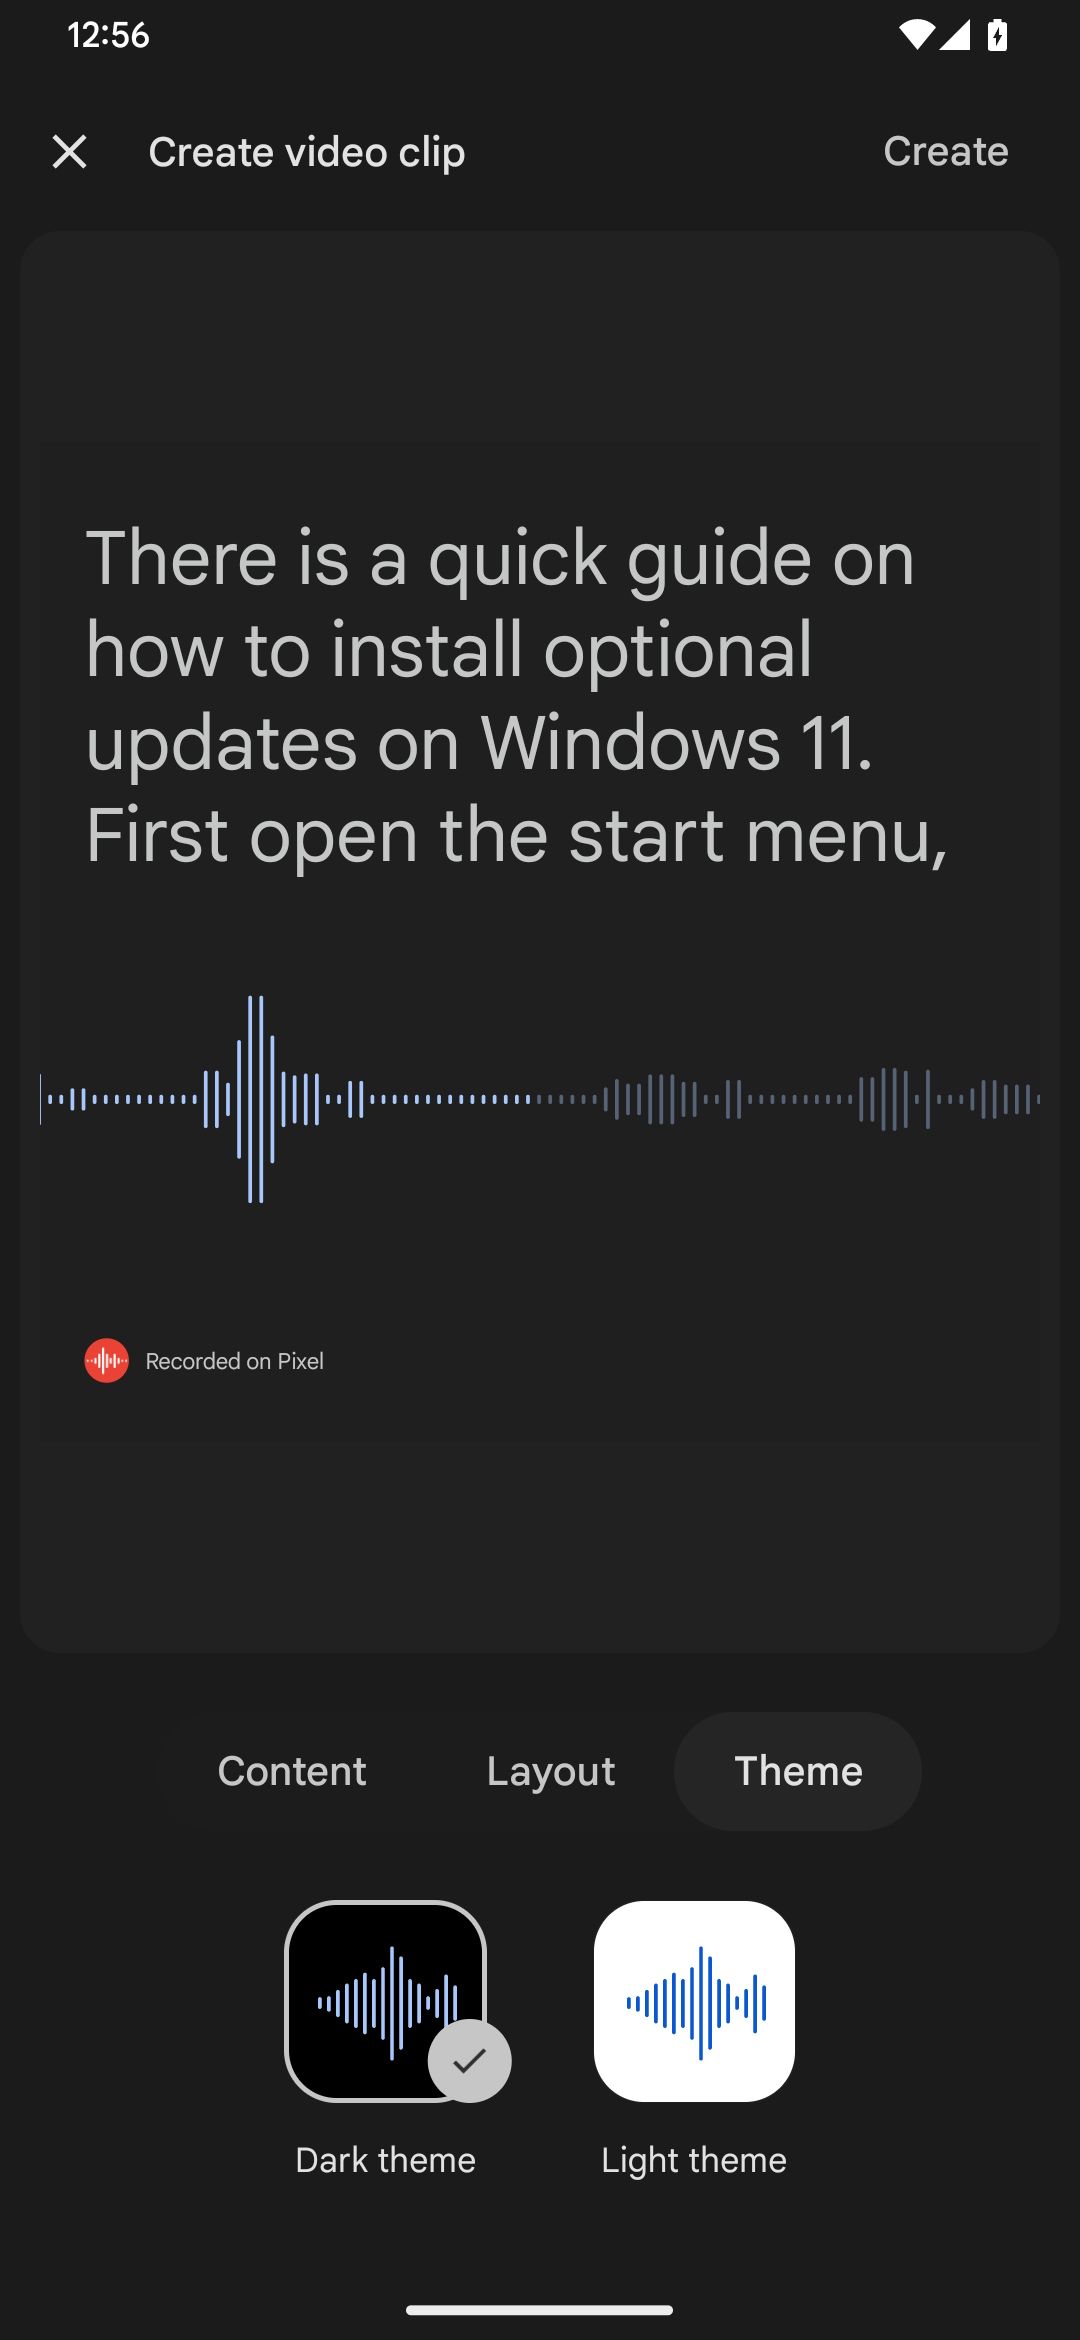
To discard the voice recording, tap theDeletebutton.
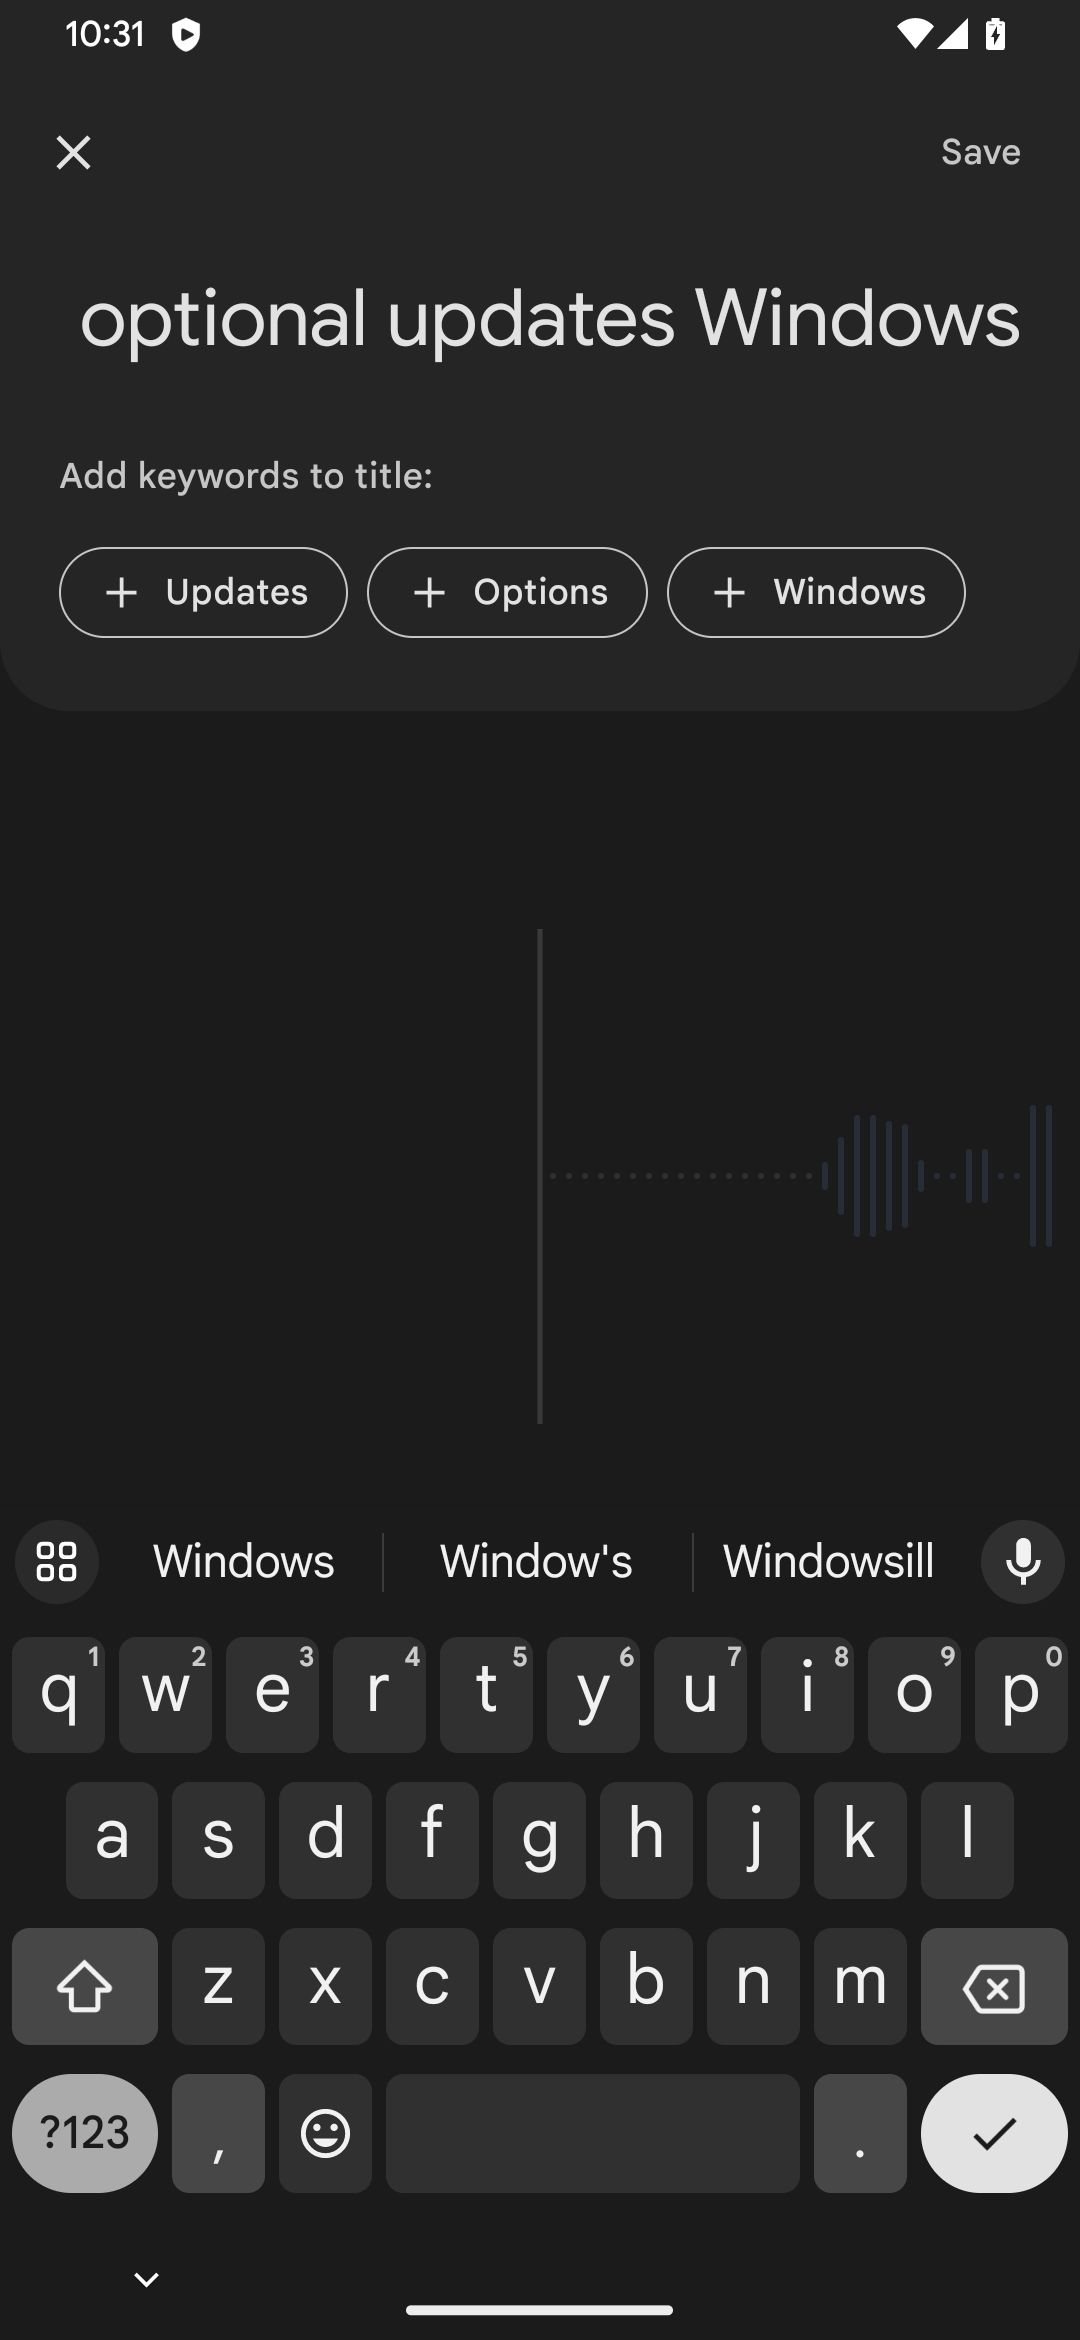
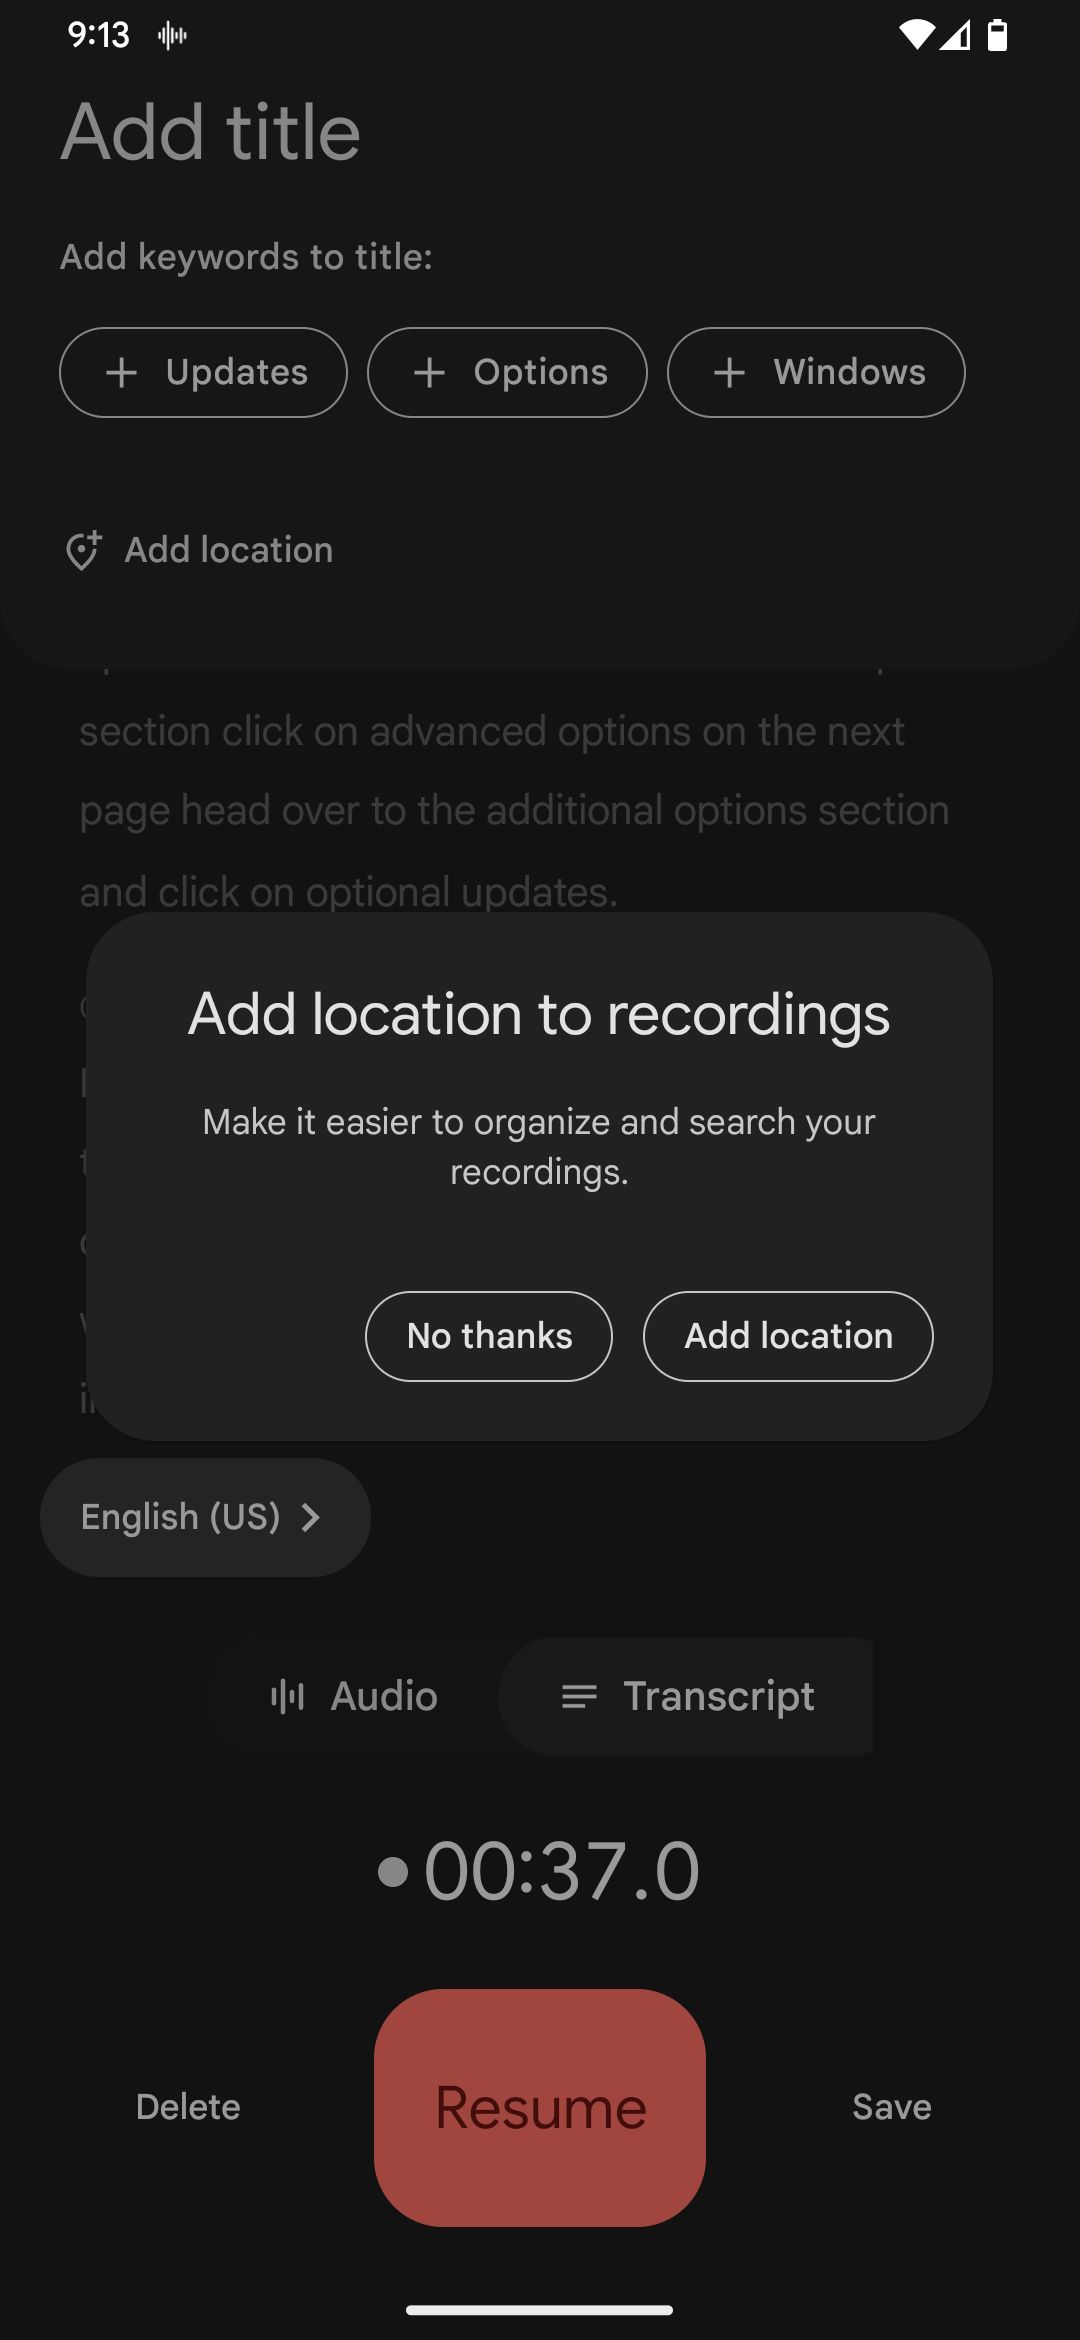
when you’ve got recorded what you need, tap theSavebutton to stop and save the voice recording.
While here, you may get anAdd location to recordingspop-up, so configure your preferred option.
![]()
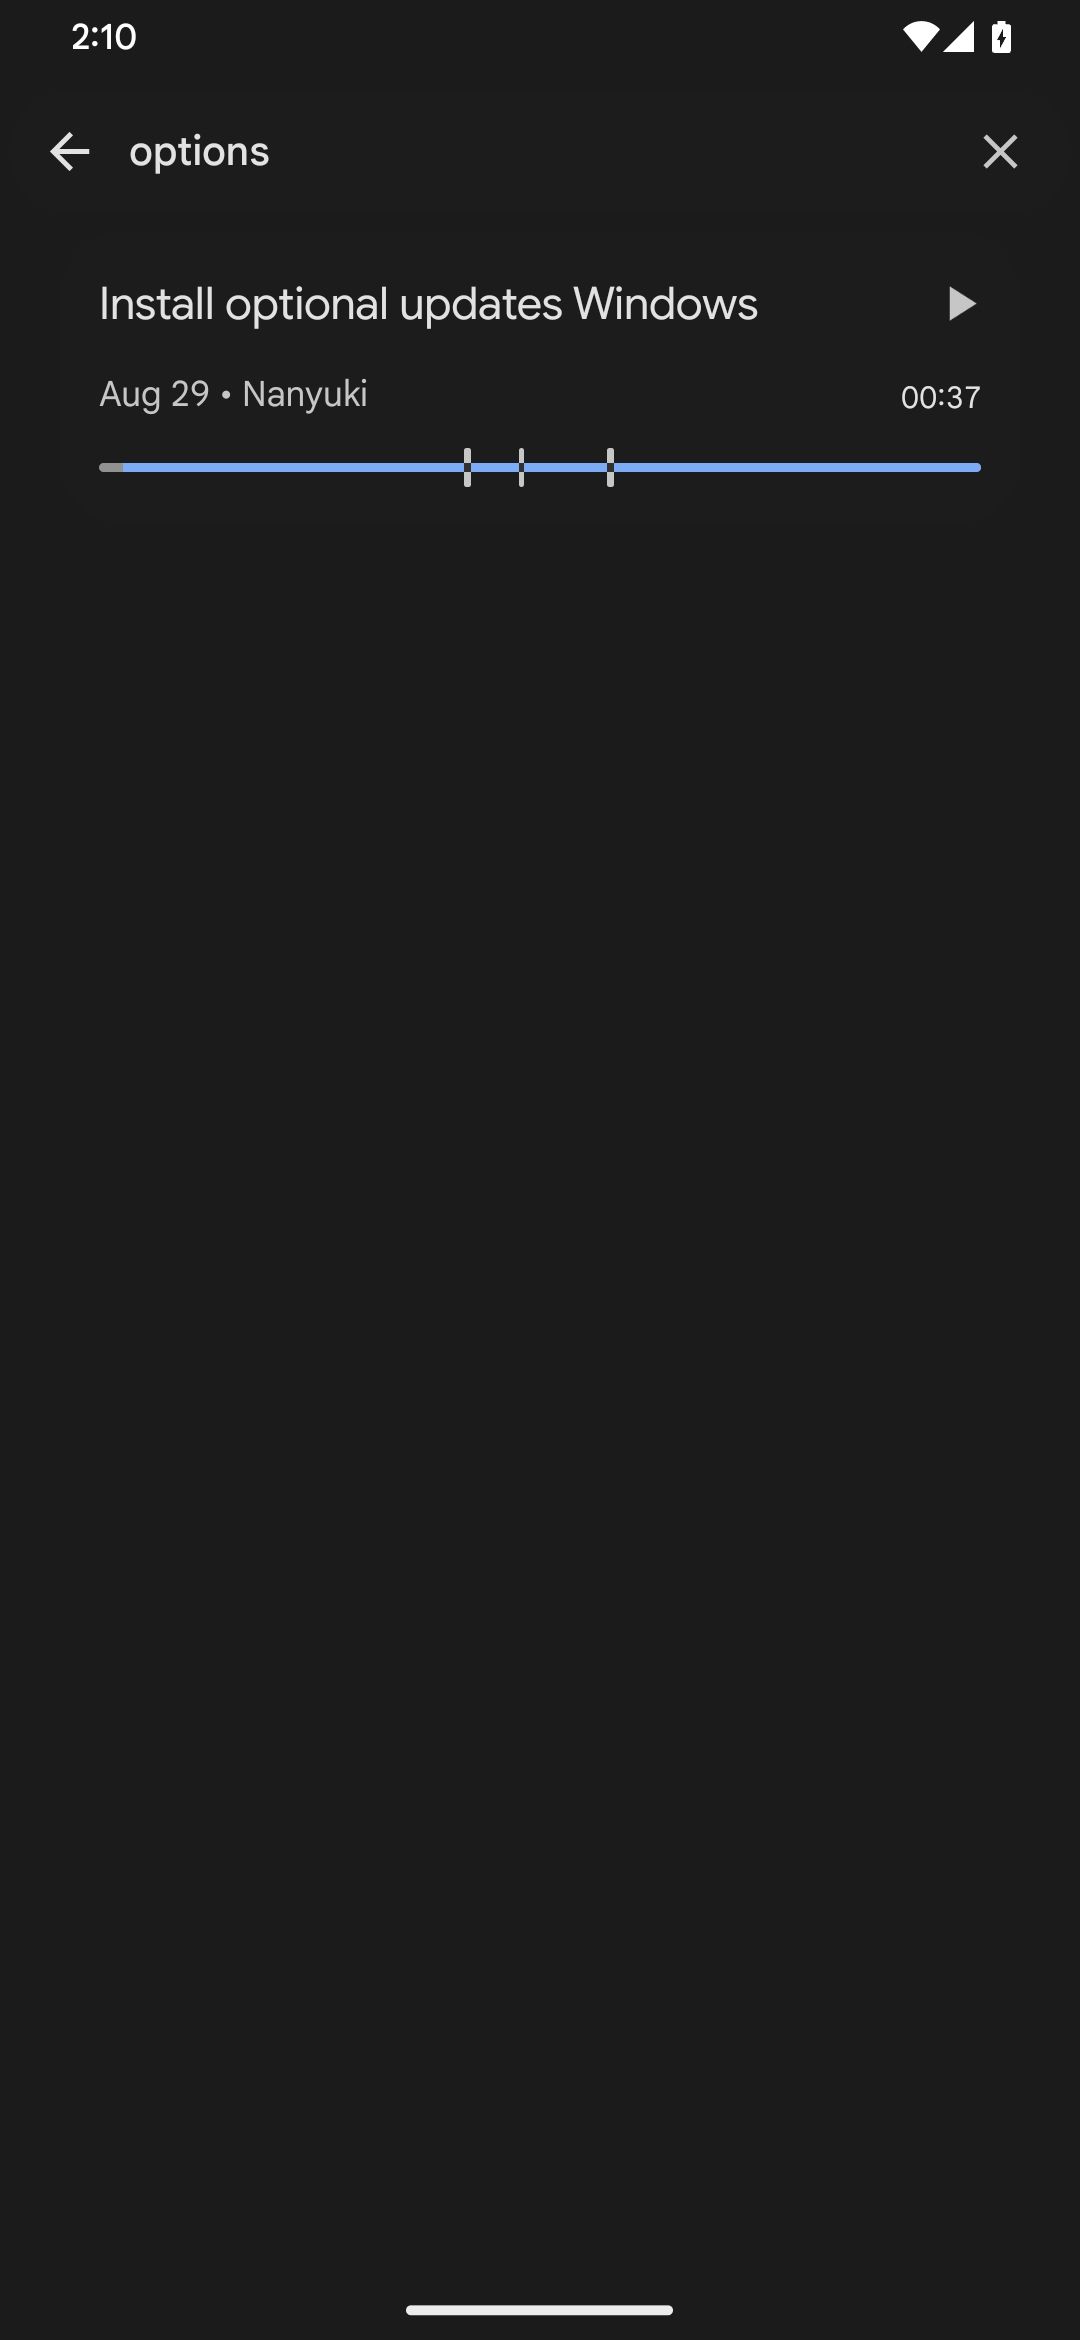
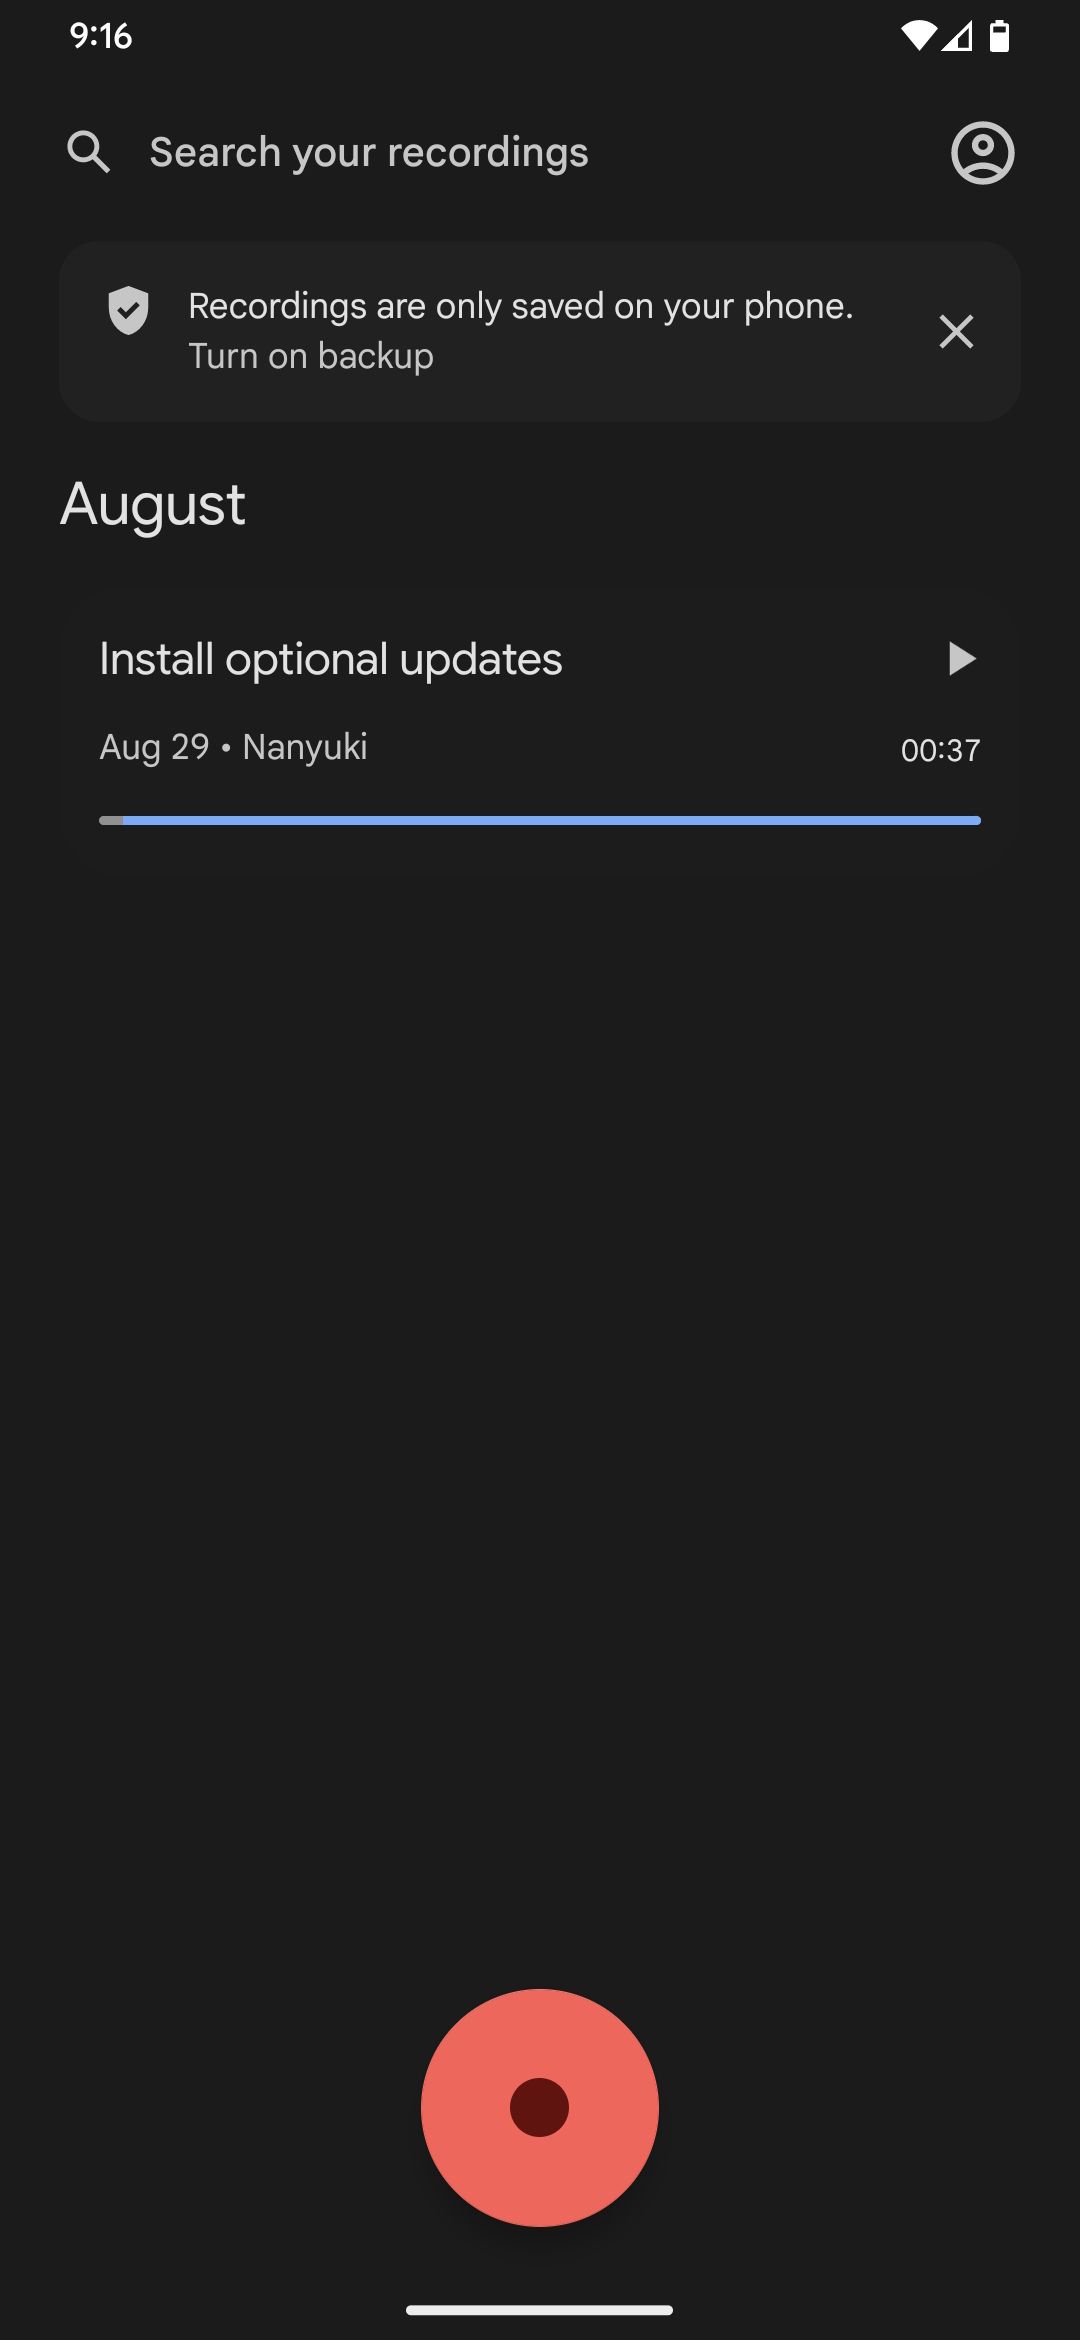
The voice recording will then be listed on the app’s home page.
Tap thePlayicon on the far right side of the recording to listen to it.
Change the Transcription Language
Creating a written transcript of your recordings is one of Recorder’s best features.
you’ve got the option to choose which language you want it in, too.
Remember that not all languages are supported.
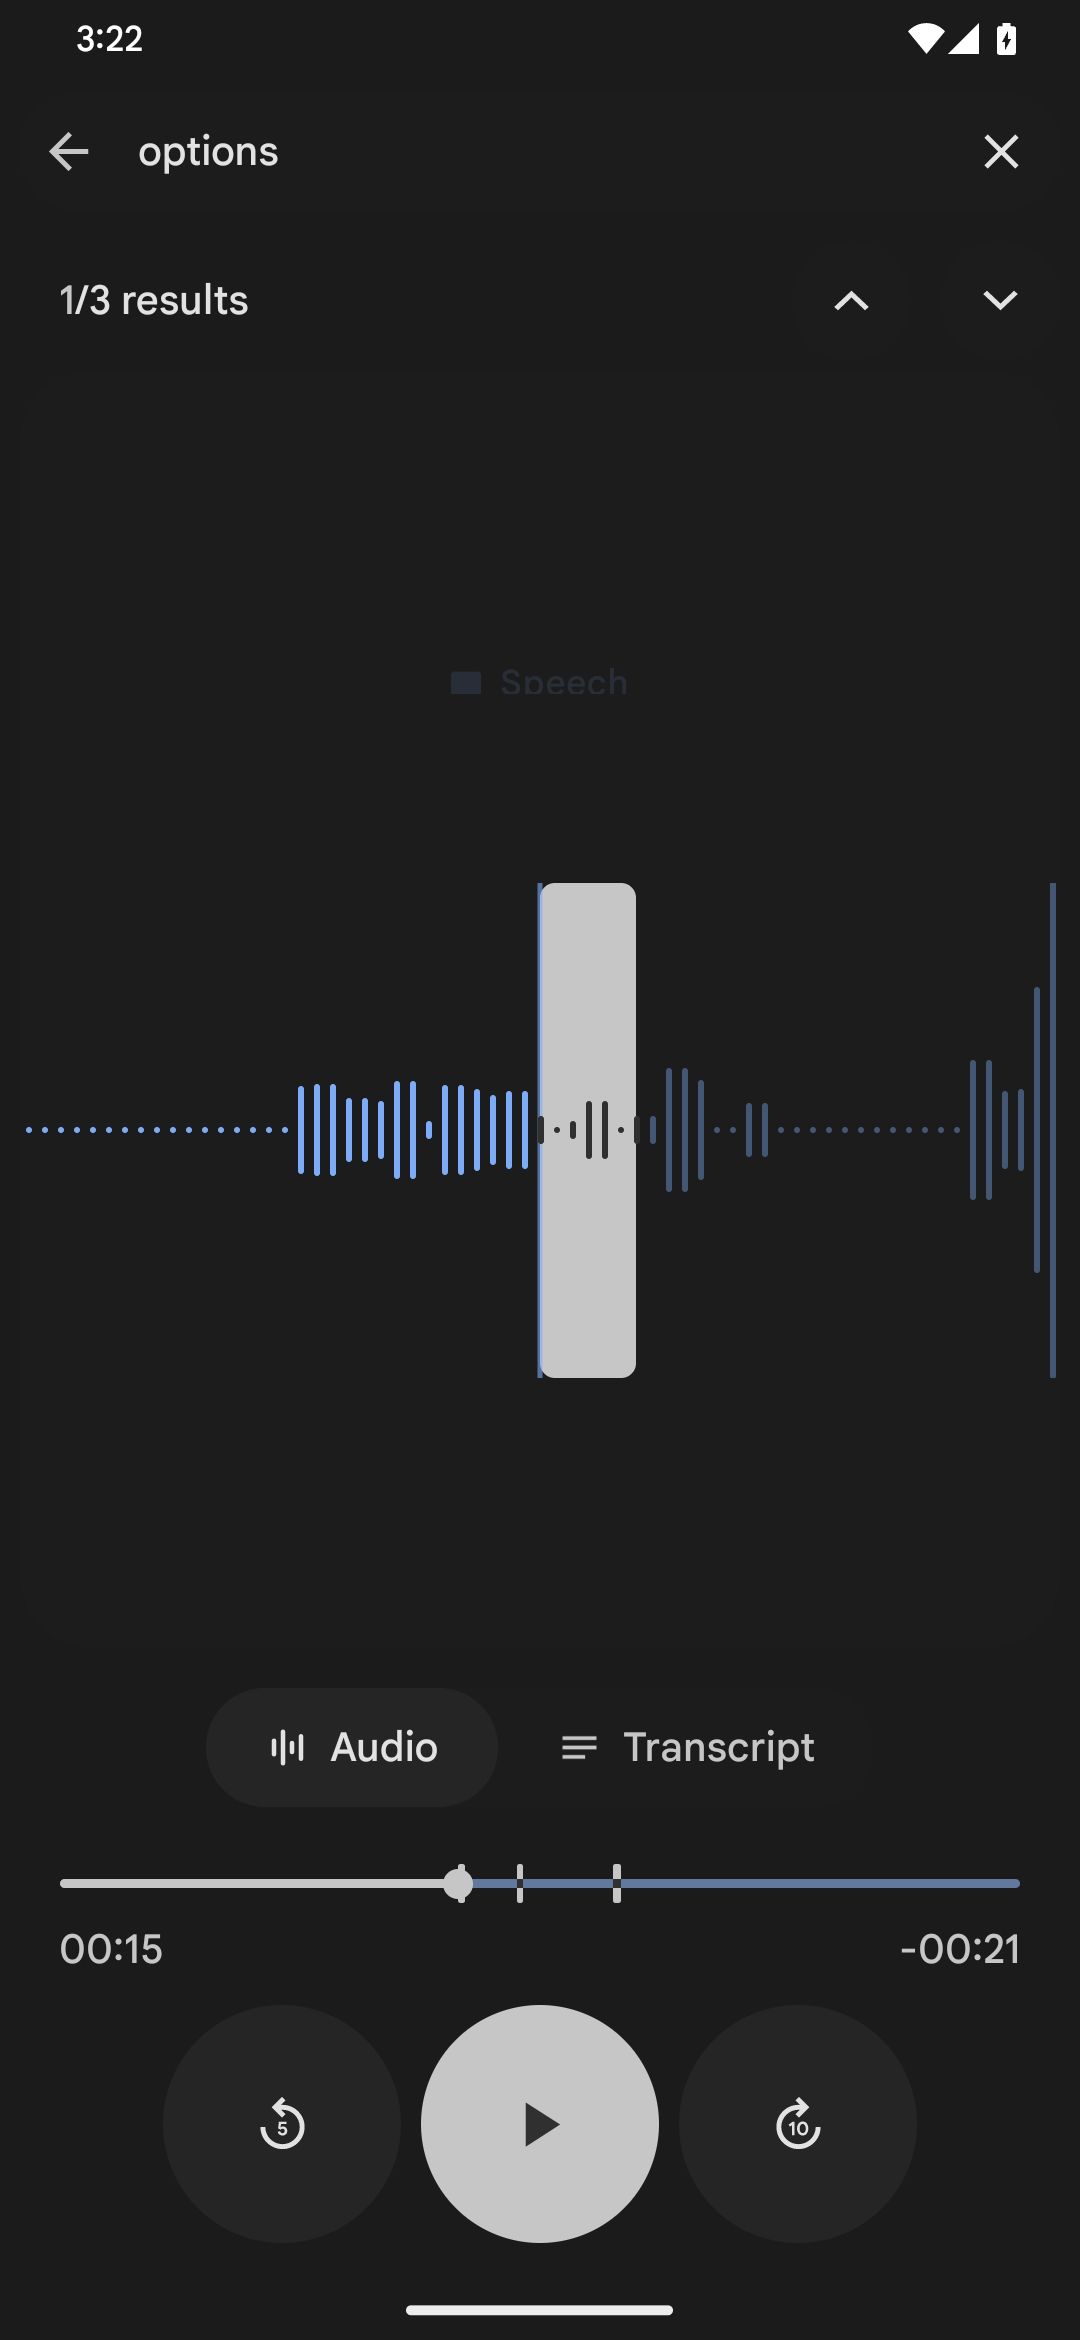
This way, you could differentiate voice recordings with similar content besides refined searches.
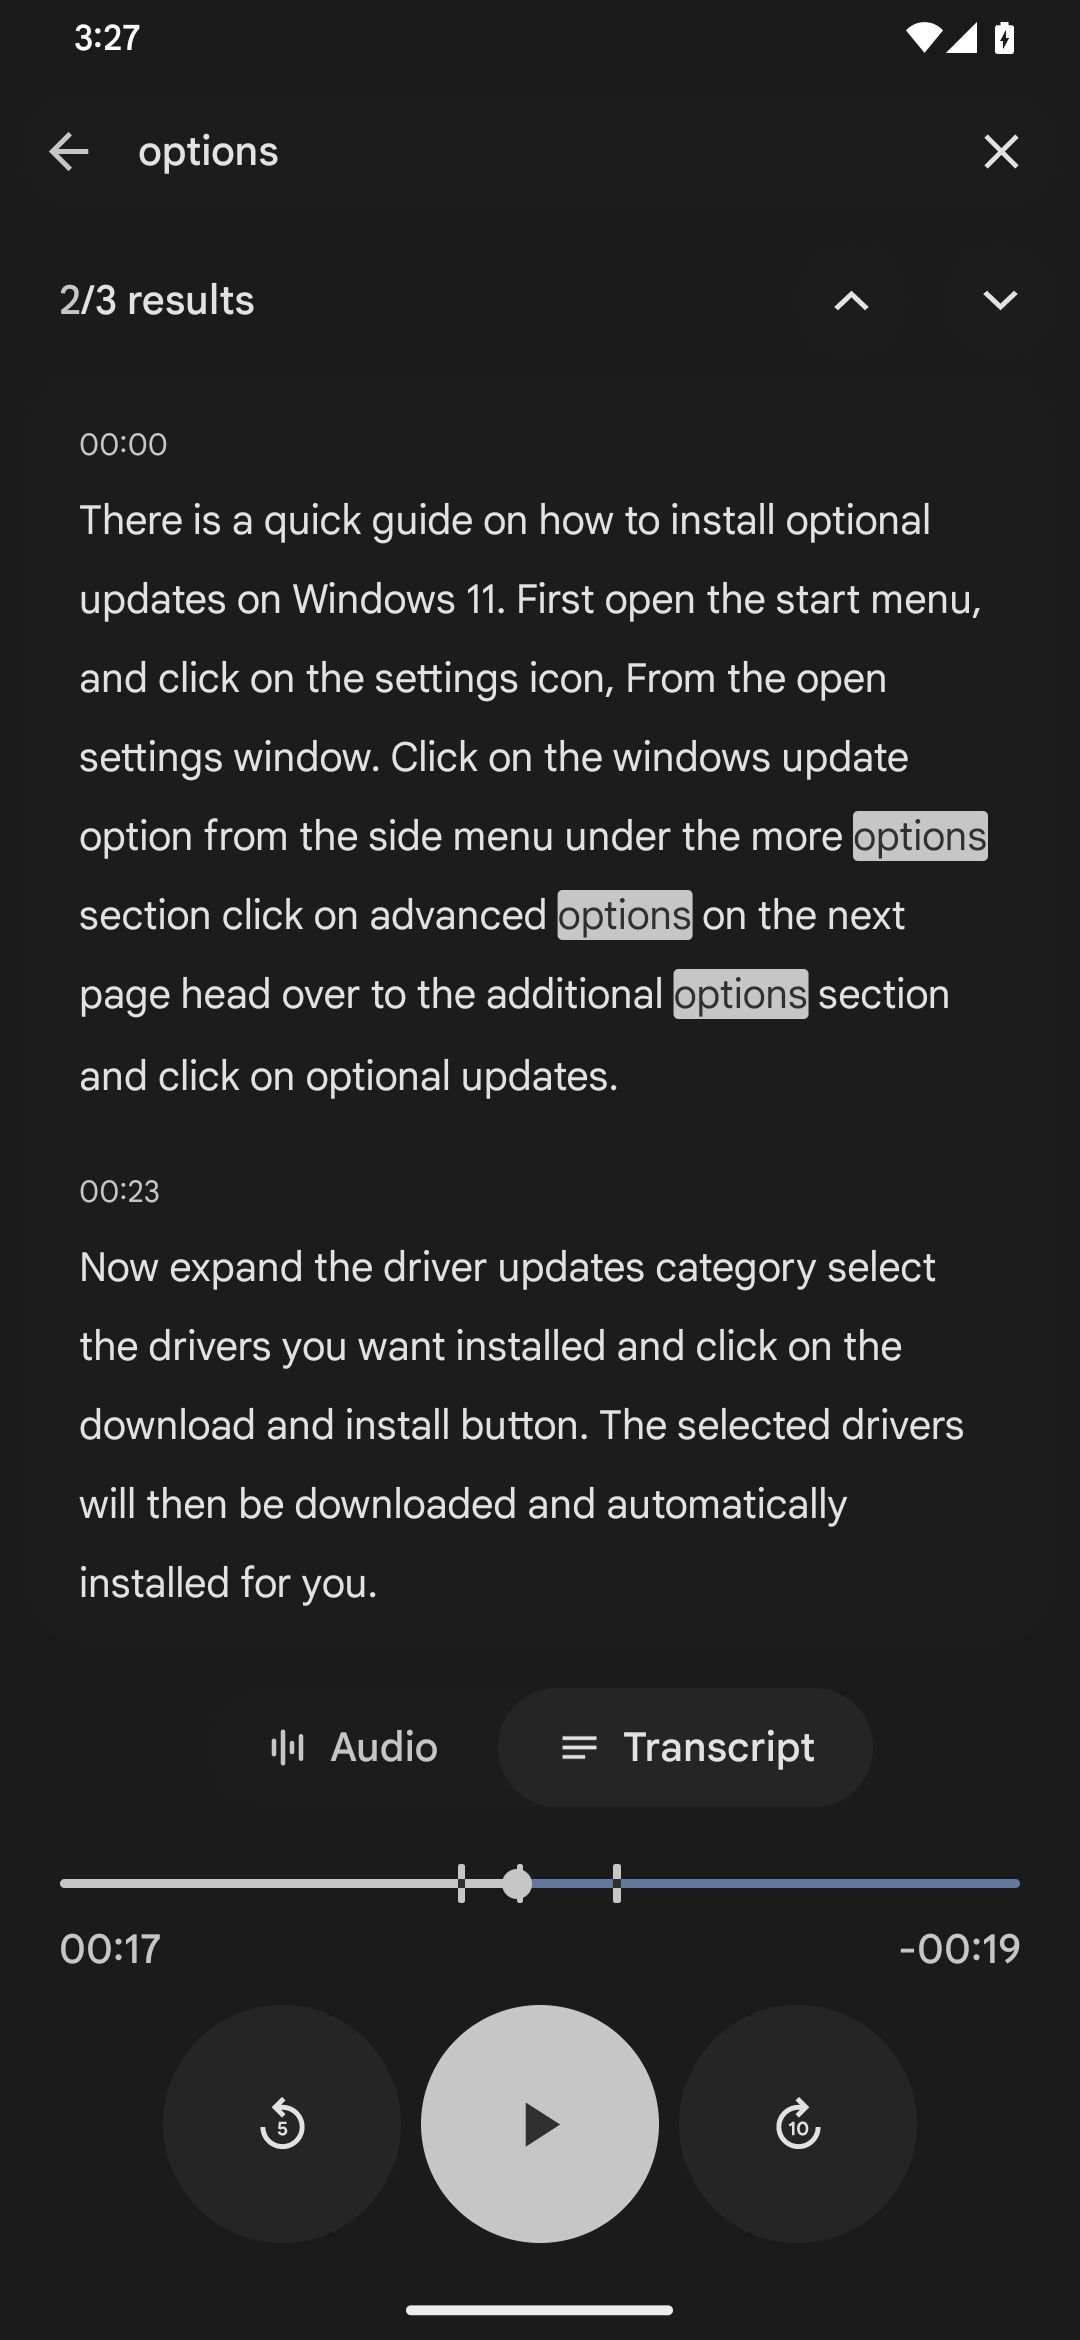
Remember, this only applies to voice recordings that have transcripts.
Alternatively, tap theTranscriptbutton to view the search results in the transcription instead.
Again, use the arrow buttons to switch between the available matches.
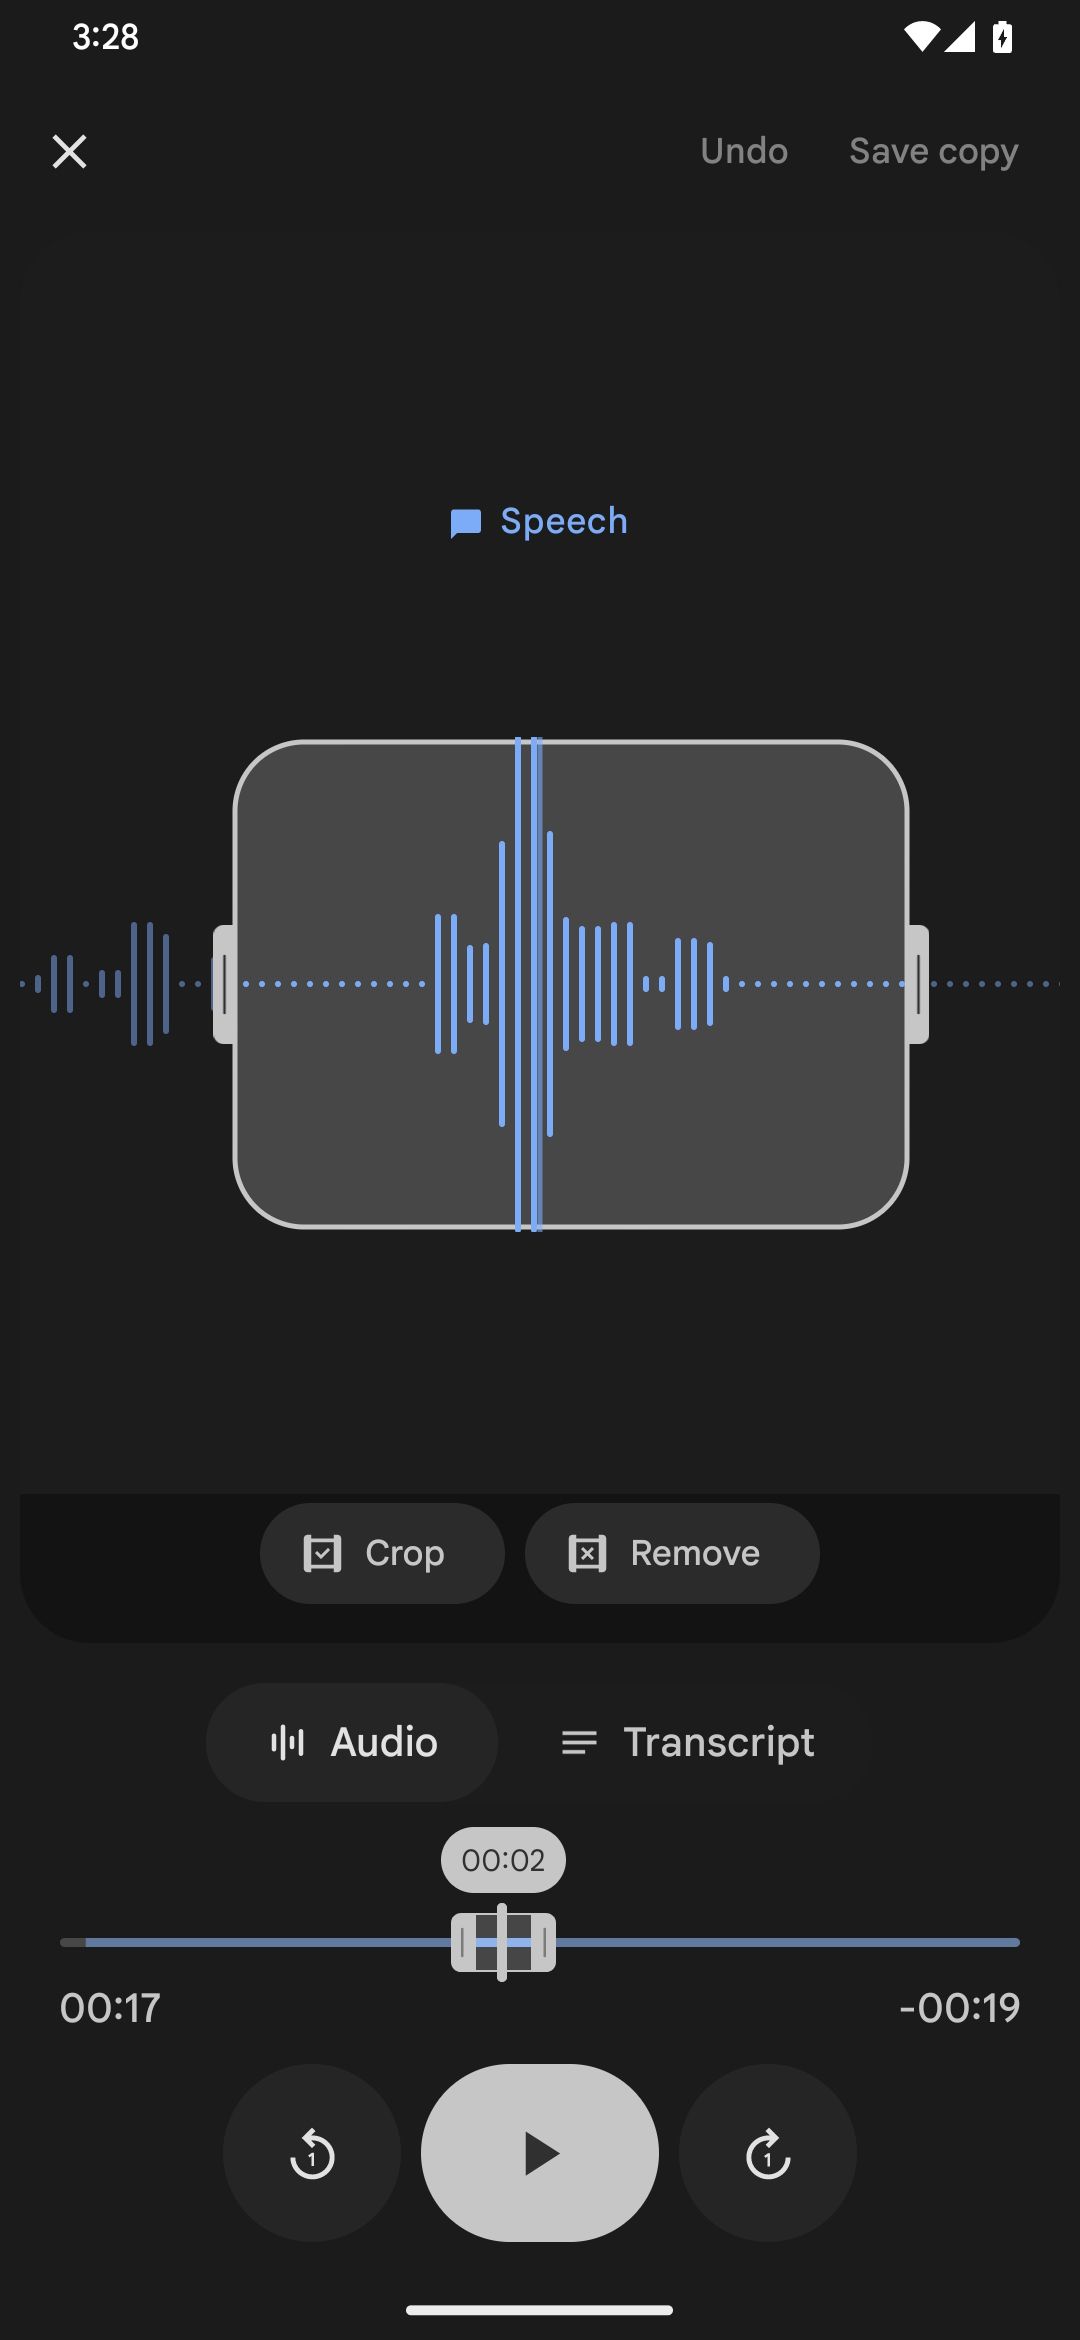
The change will be reflected in the audio as well.
For instance, you may want to remove regions without audio or inaudible sections.
For more editing features, see our list ofthe best audio editing apps for Android.
Tap theSave copyoption in the top right, edit the title accordingly if necessary, and tapOK.
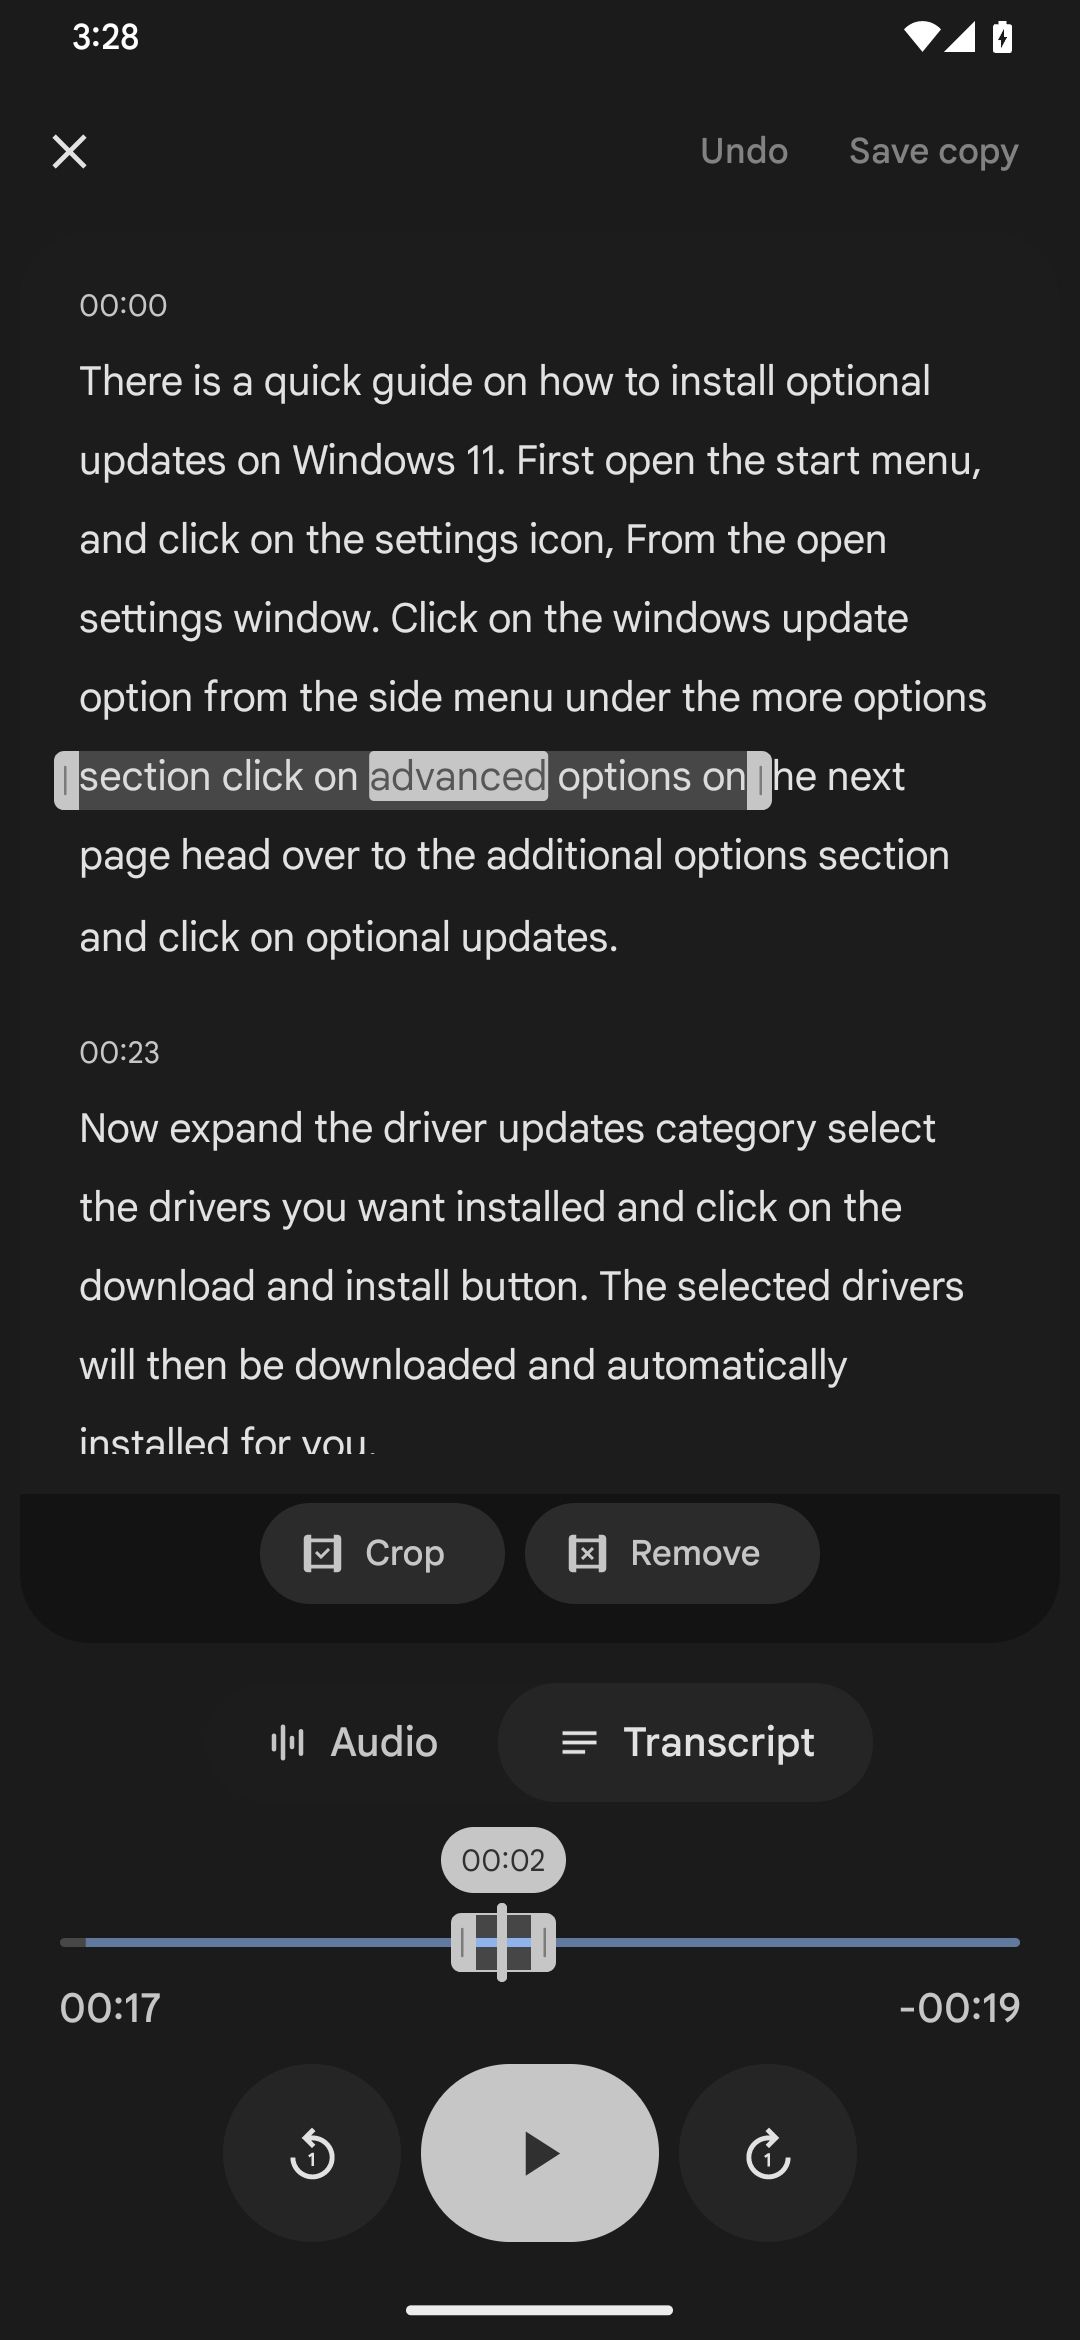
If your recording has a transcription, use it for a more precise editing process.
Tap theTranscriptbutton then long-press and drag your finger to choose the words you don’t need.
Finally, tap theRemovebutton.
you could also select just a section of the transcript you need and tap theCropbutton.
The changes on the transcript are applied automatically to the audio.
Remember to save when you’re done.
Then:
8.
This can be useful if you want to archive, re-use, or share the script with other people.
From the app’s home page, tap to open a recording that has a transcript.
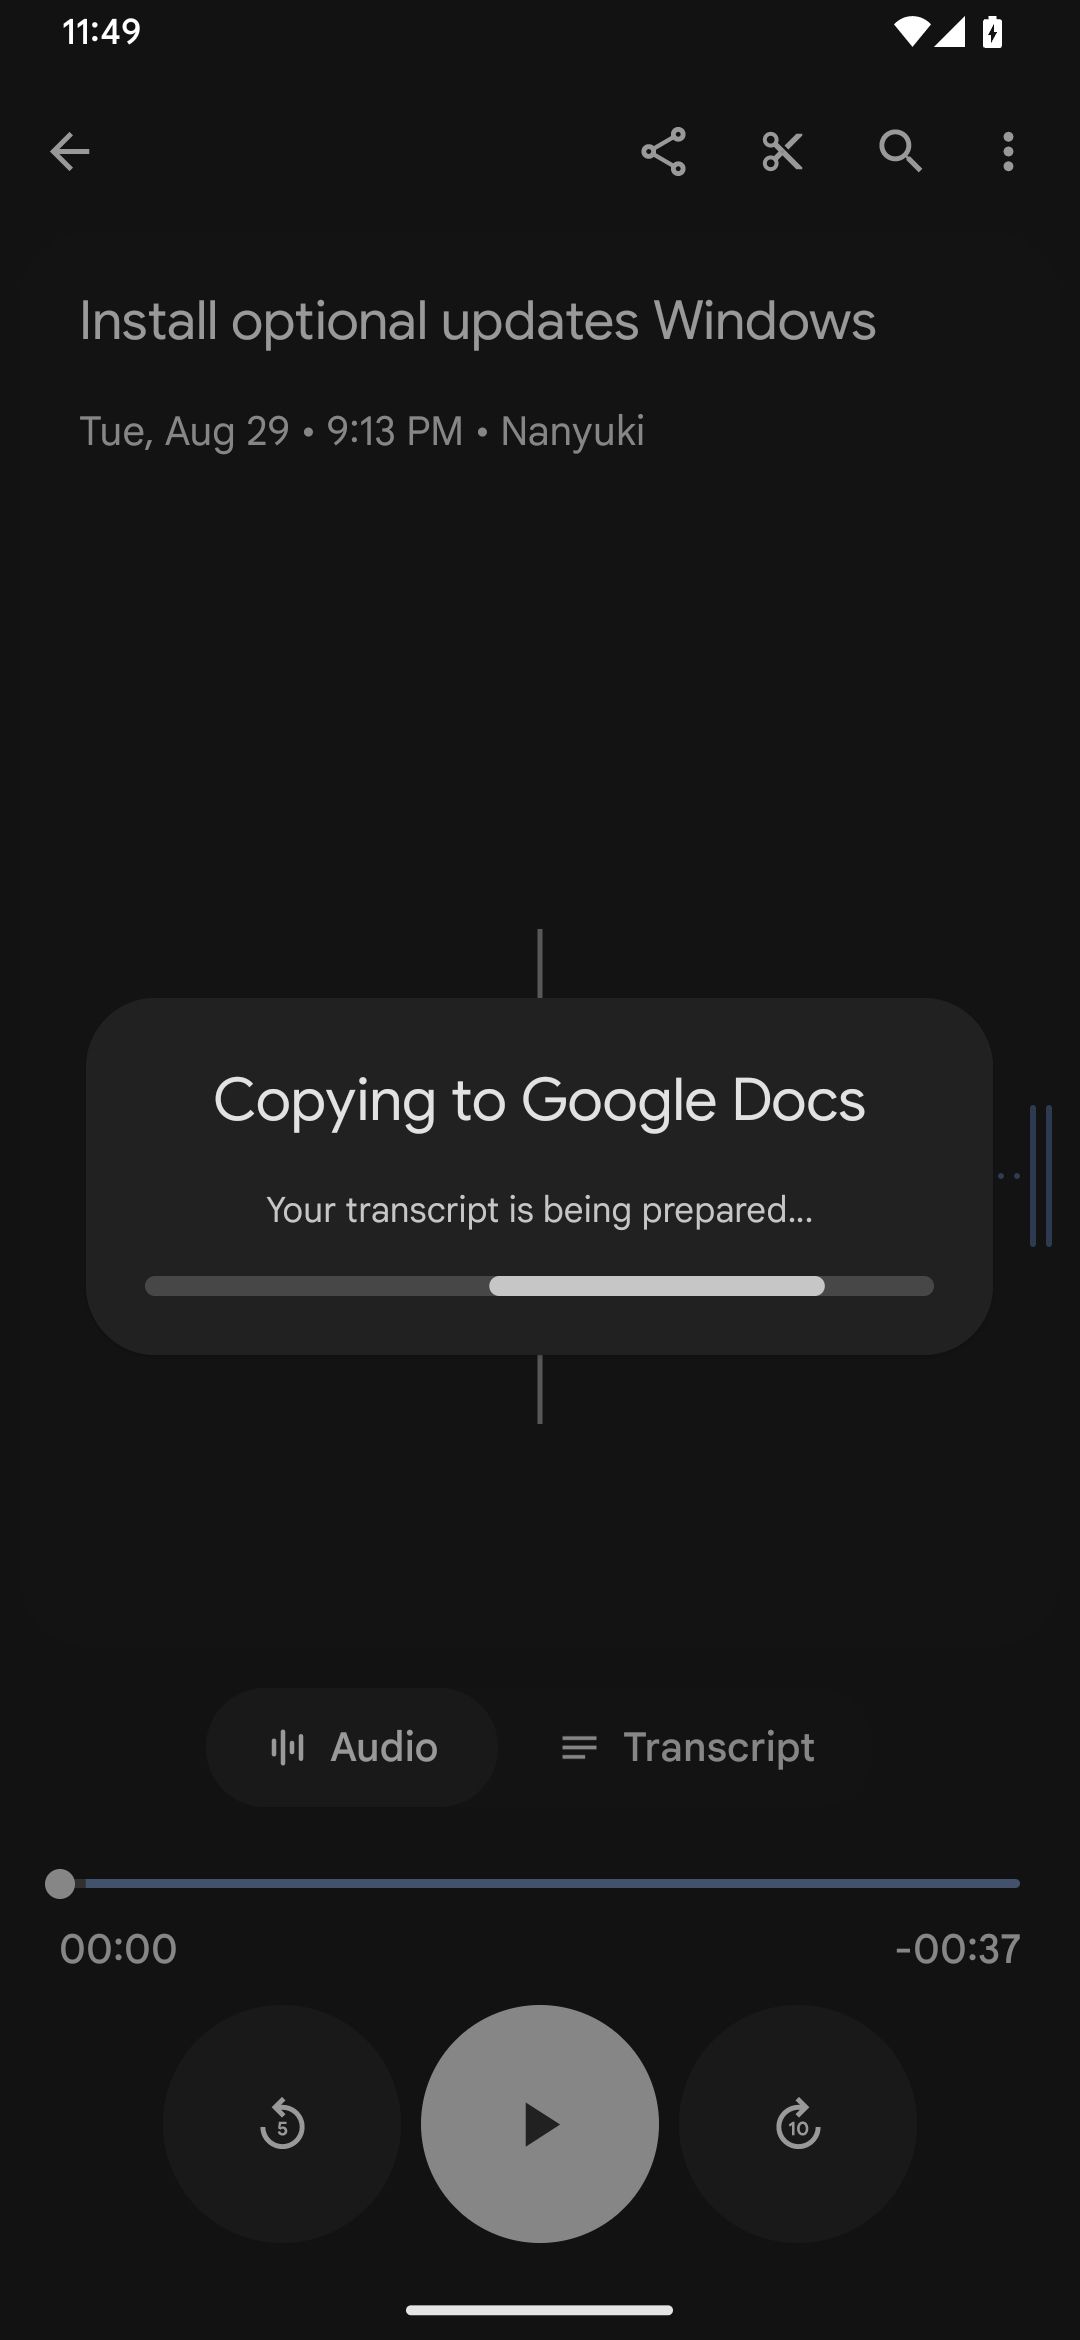
Then just tap the three-dot menu and selectCopy transcript to Google Docs.
Choose the account you wish to use with Google Docs and the copying process will commence.
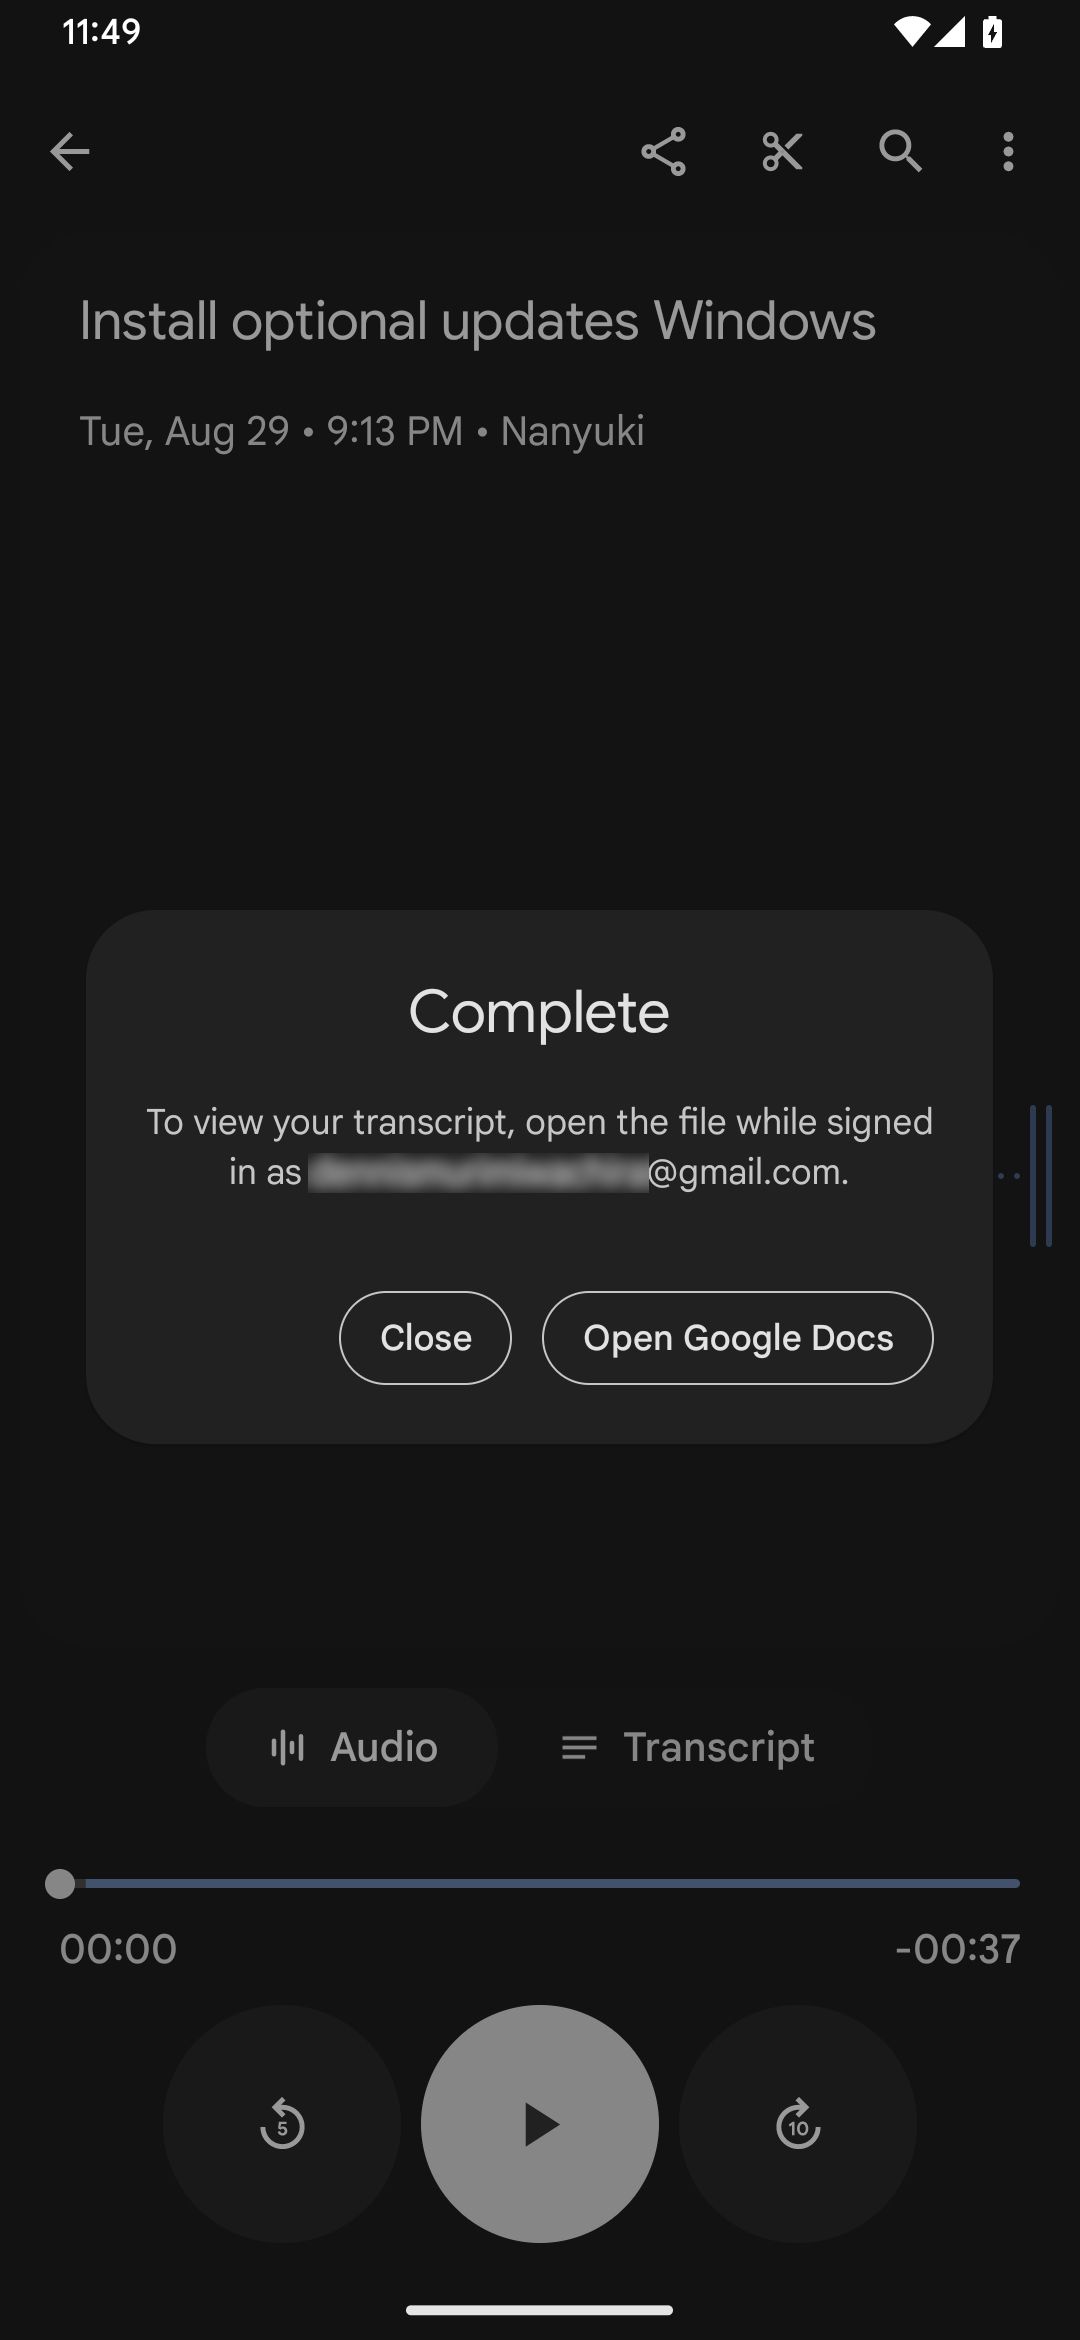
Once completed, you’ve got the option to view the transcript by tapping theOpen Google Docsbutton.
From there, you cansave the Google Doc as a PDF on your Android deviceif necessary.
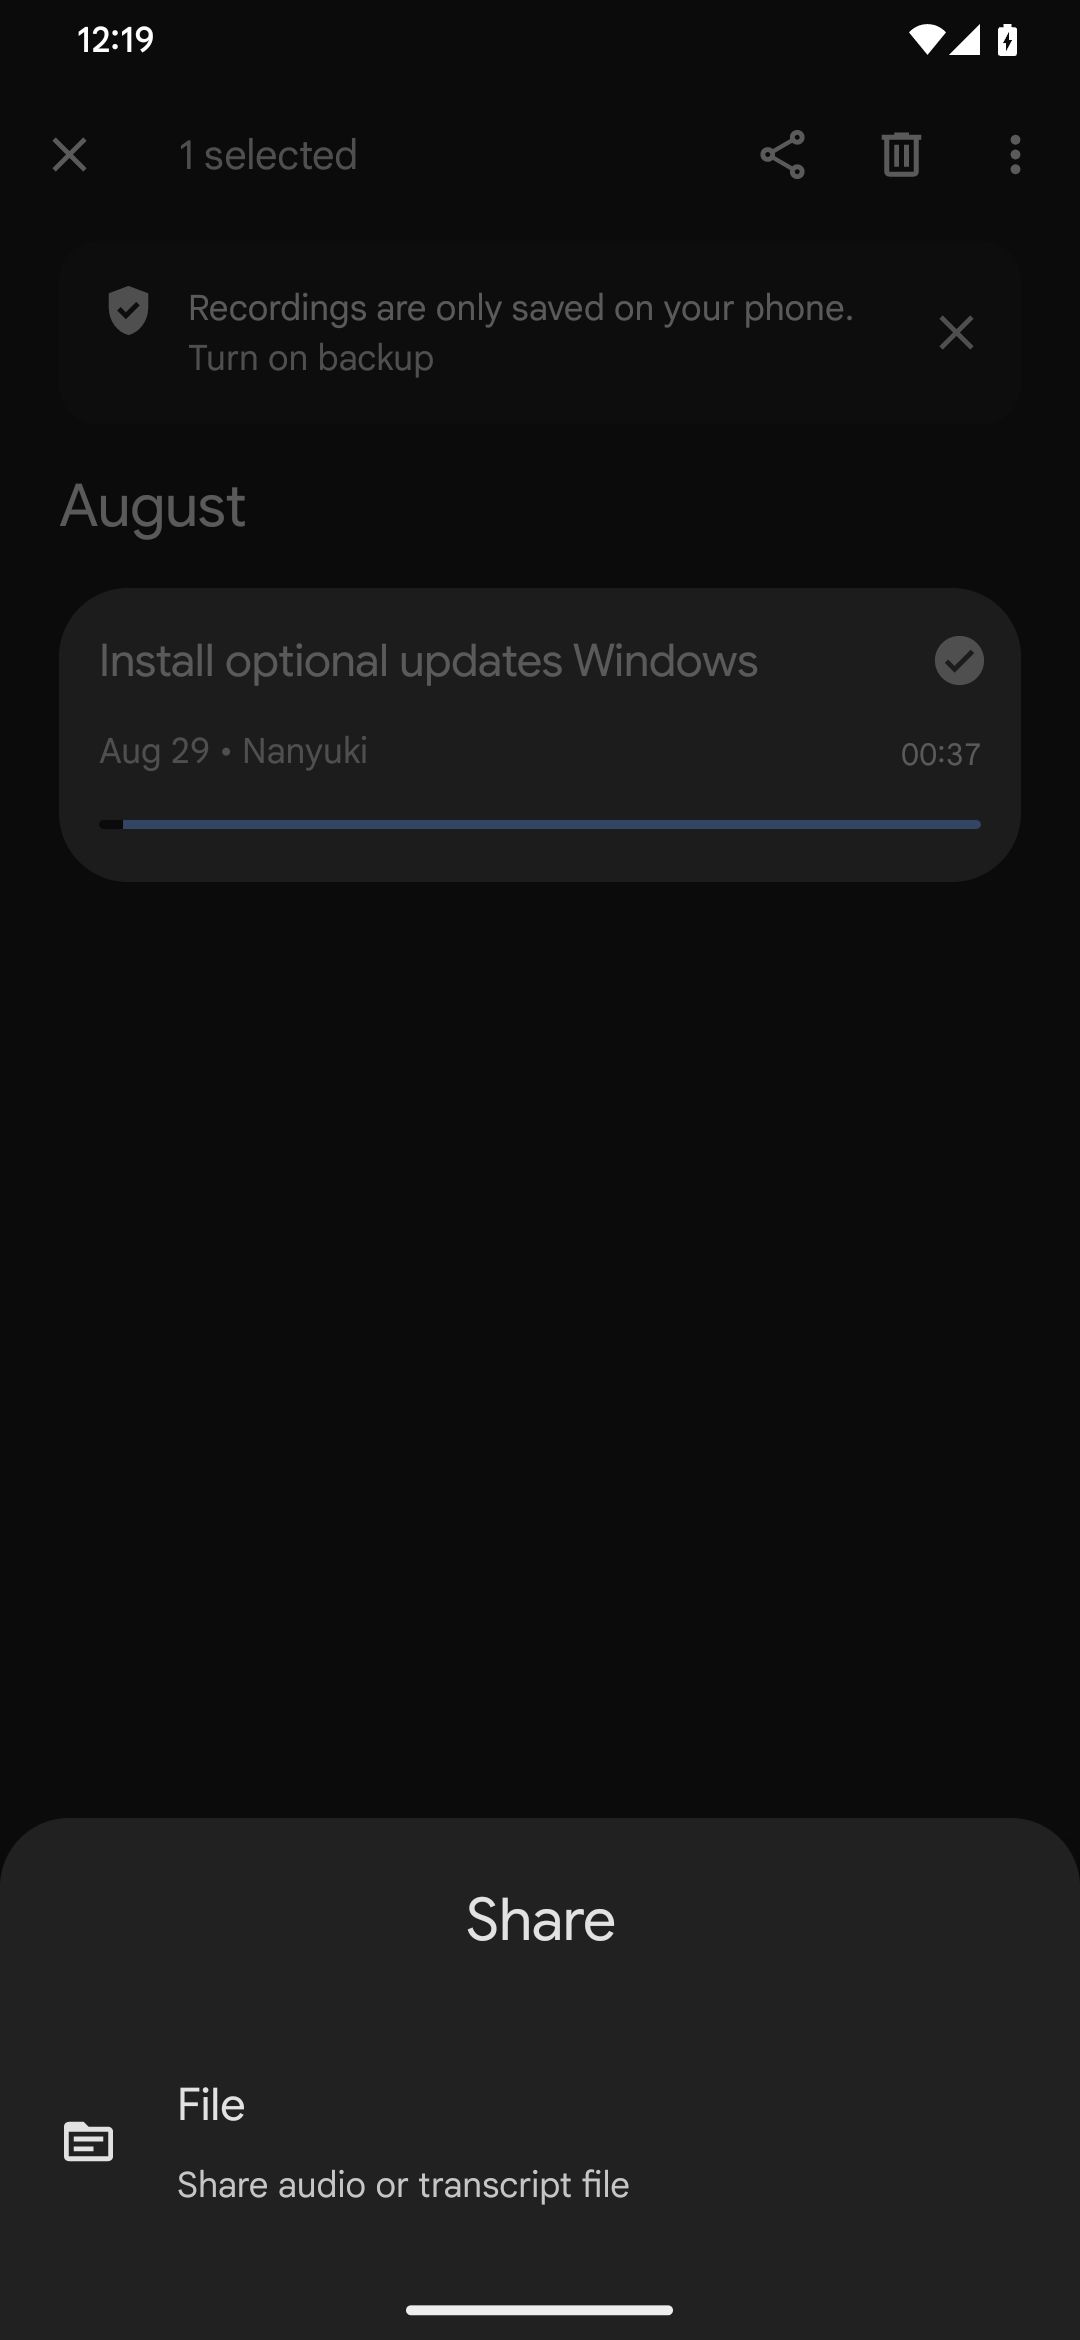
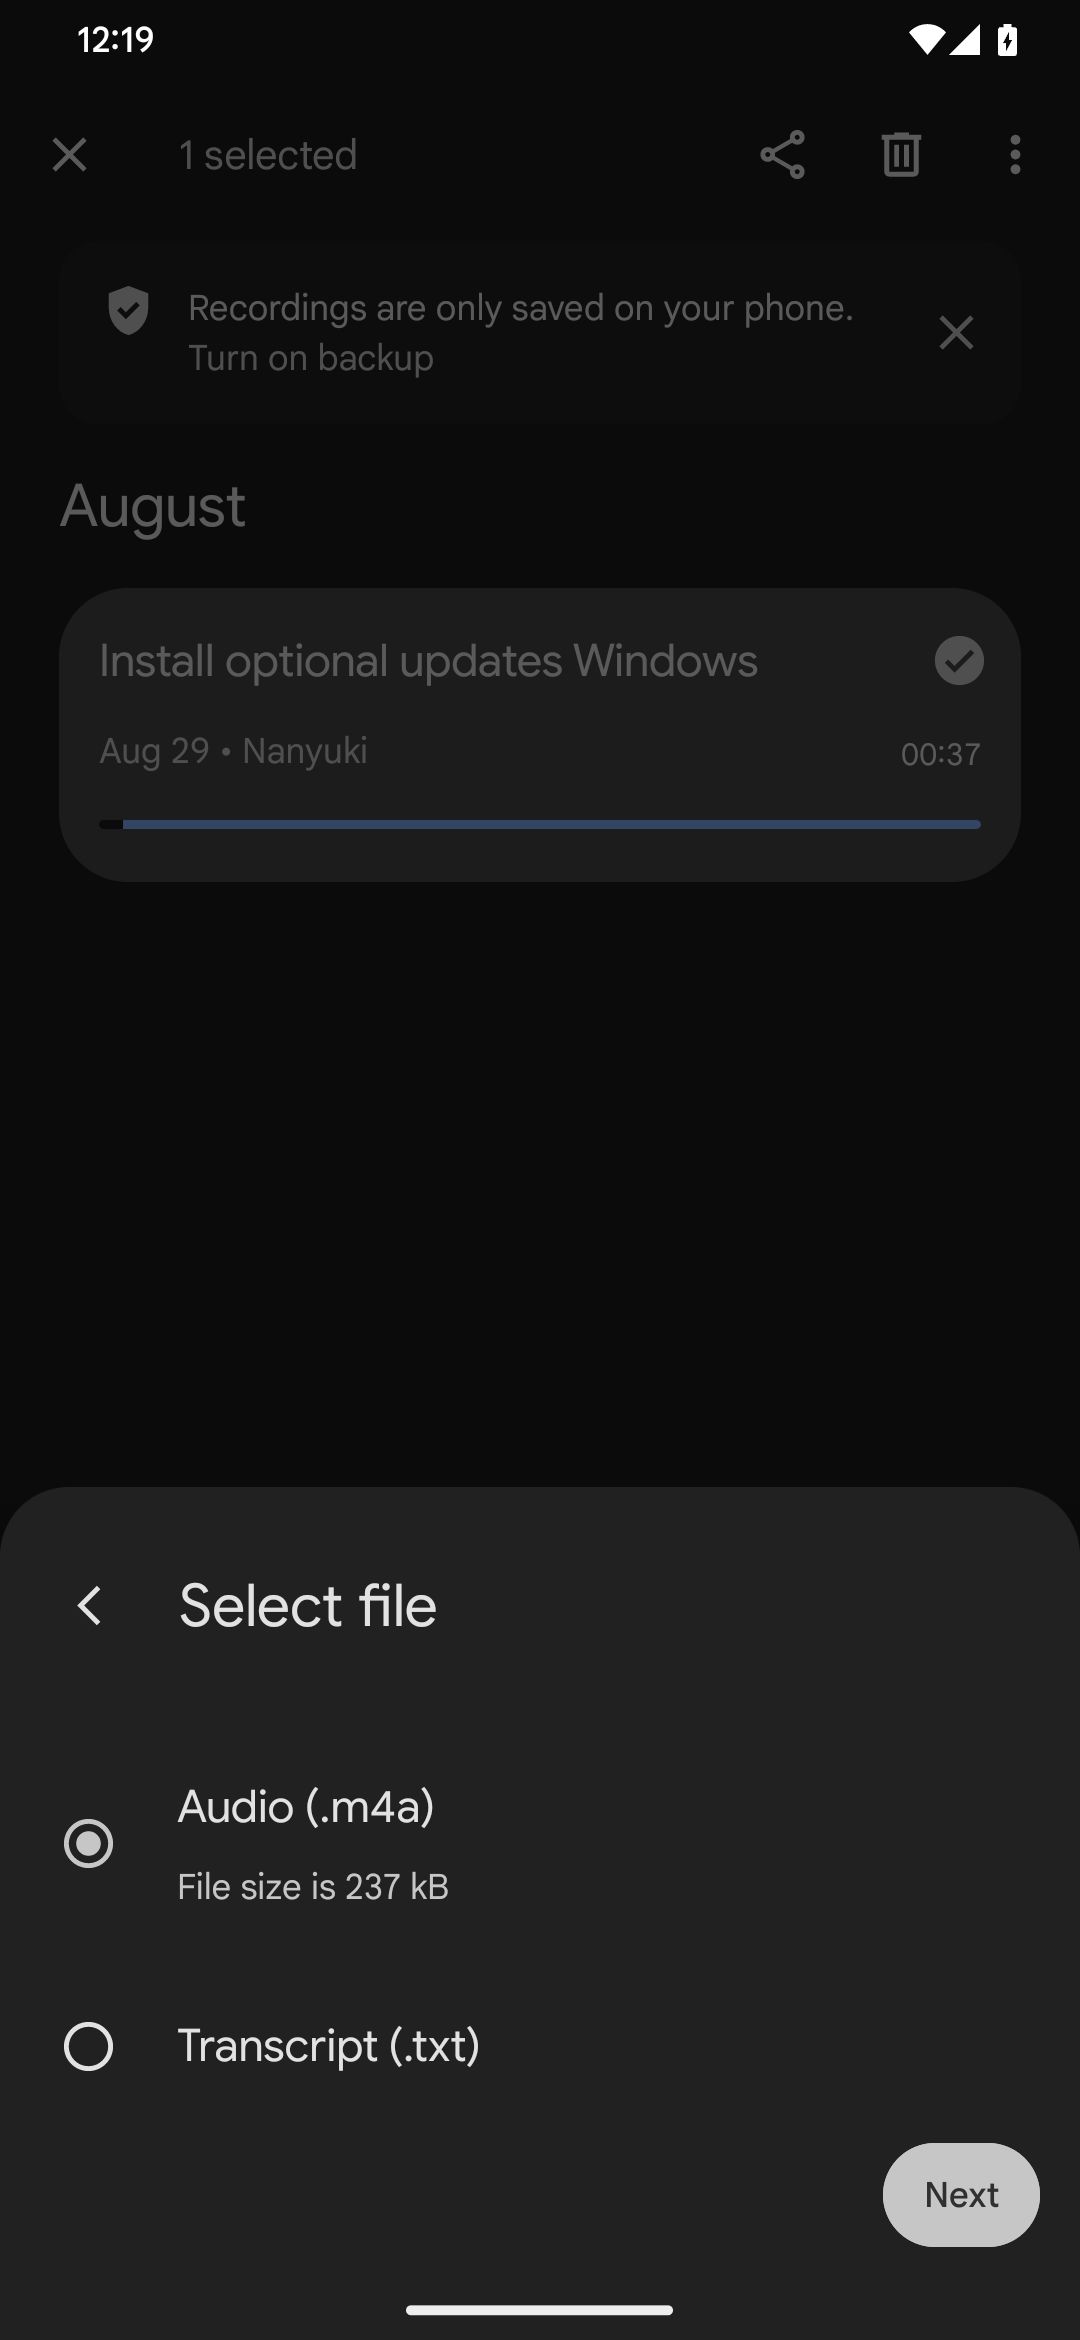
Tap theNextbutton and pick your preferred sharing app or mode.
For instance, here’show to use Nearby Share to share files between Android and Windows.
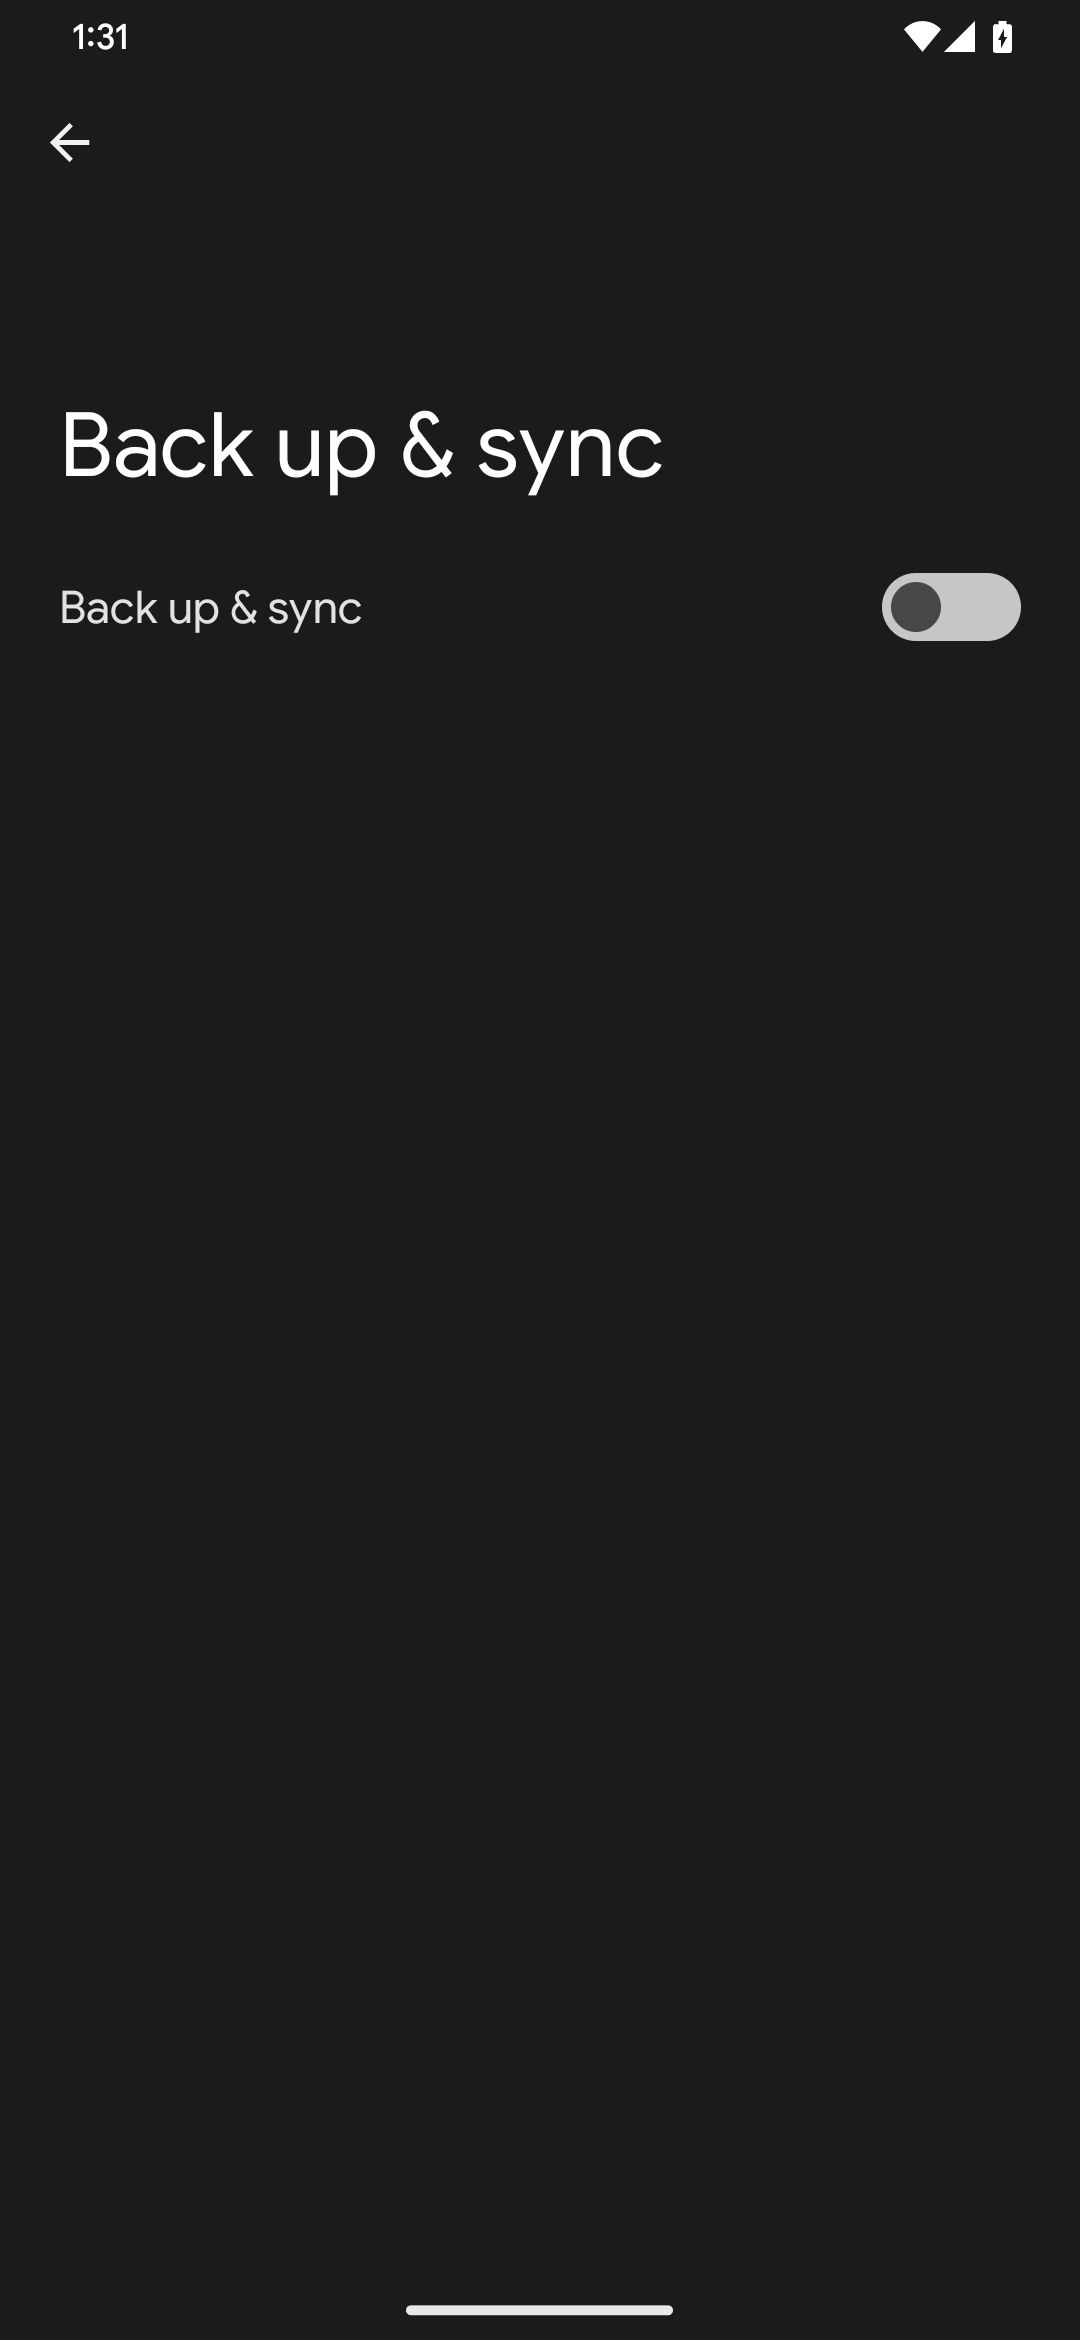
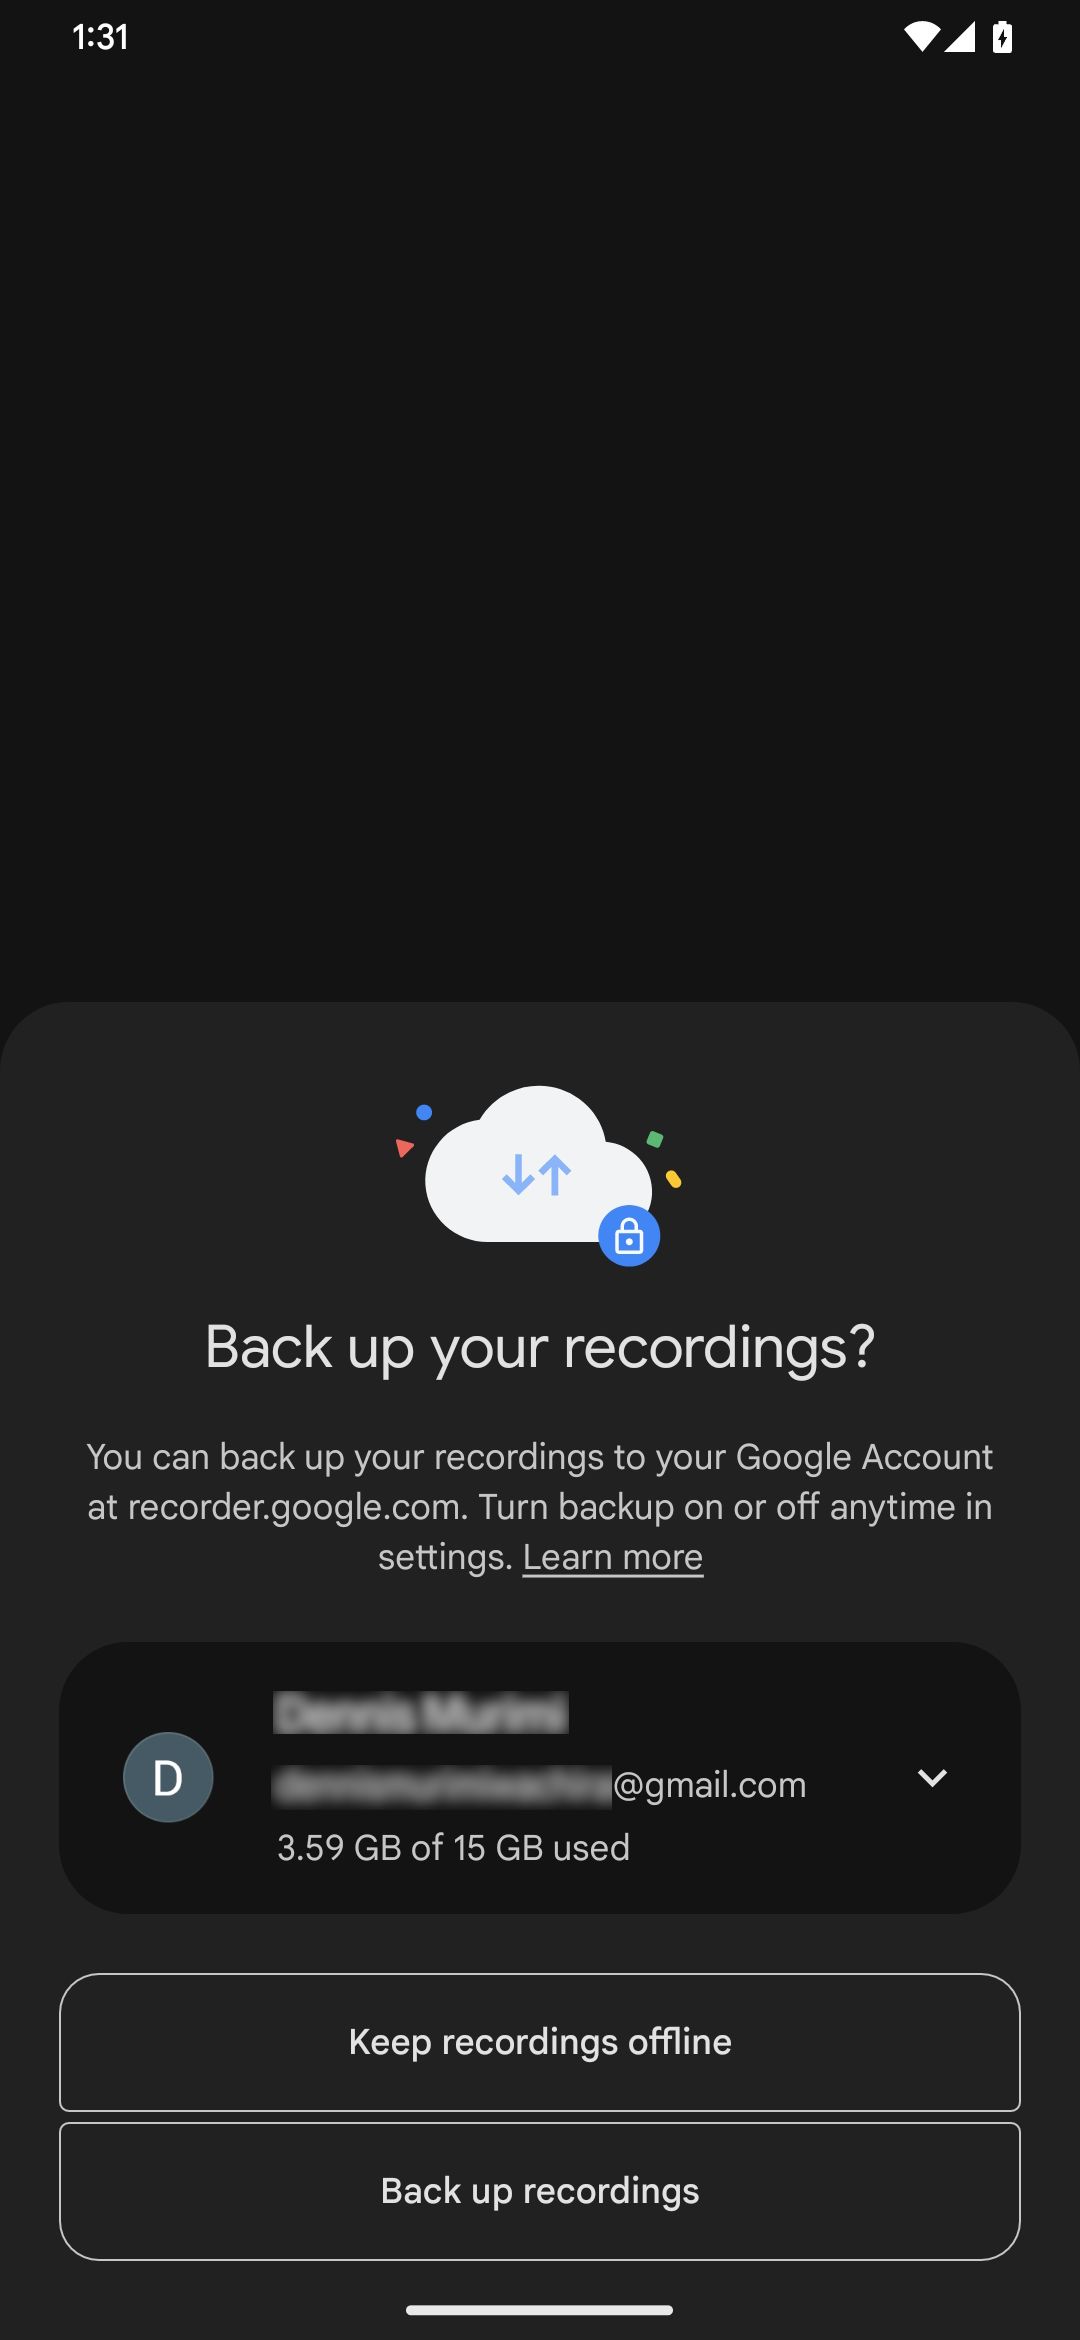
With this, all your existing and new recordings will be backed up online automatically.
Away from voice recordings, learnhow to back up your Android machine properly.