When learning how to use Premiere Pro, starting with the fundamentals is a good idea.
This article will identify 10 essential terms you should understand.
Luckily, the solution is pretty simple: use an adjustment layer.
Adjustment layers let you copy components from one part of your video and add them to others.
you might paste any colors youve edited and see to it that your dimensions remain consistent.
Adding an adjustment layer in Premiere Pro is simple.
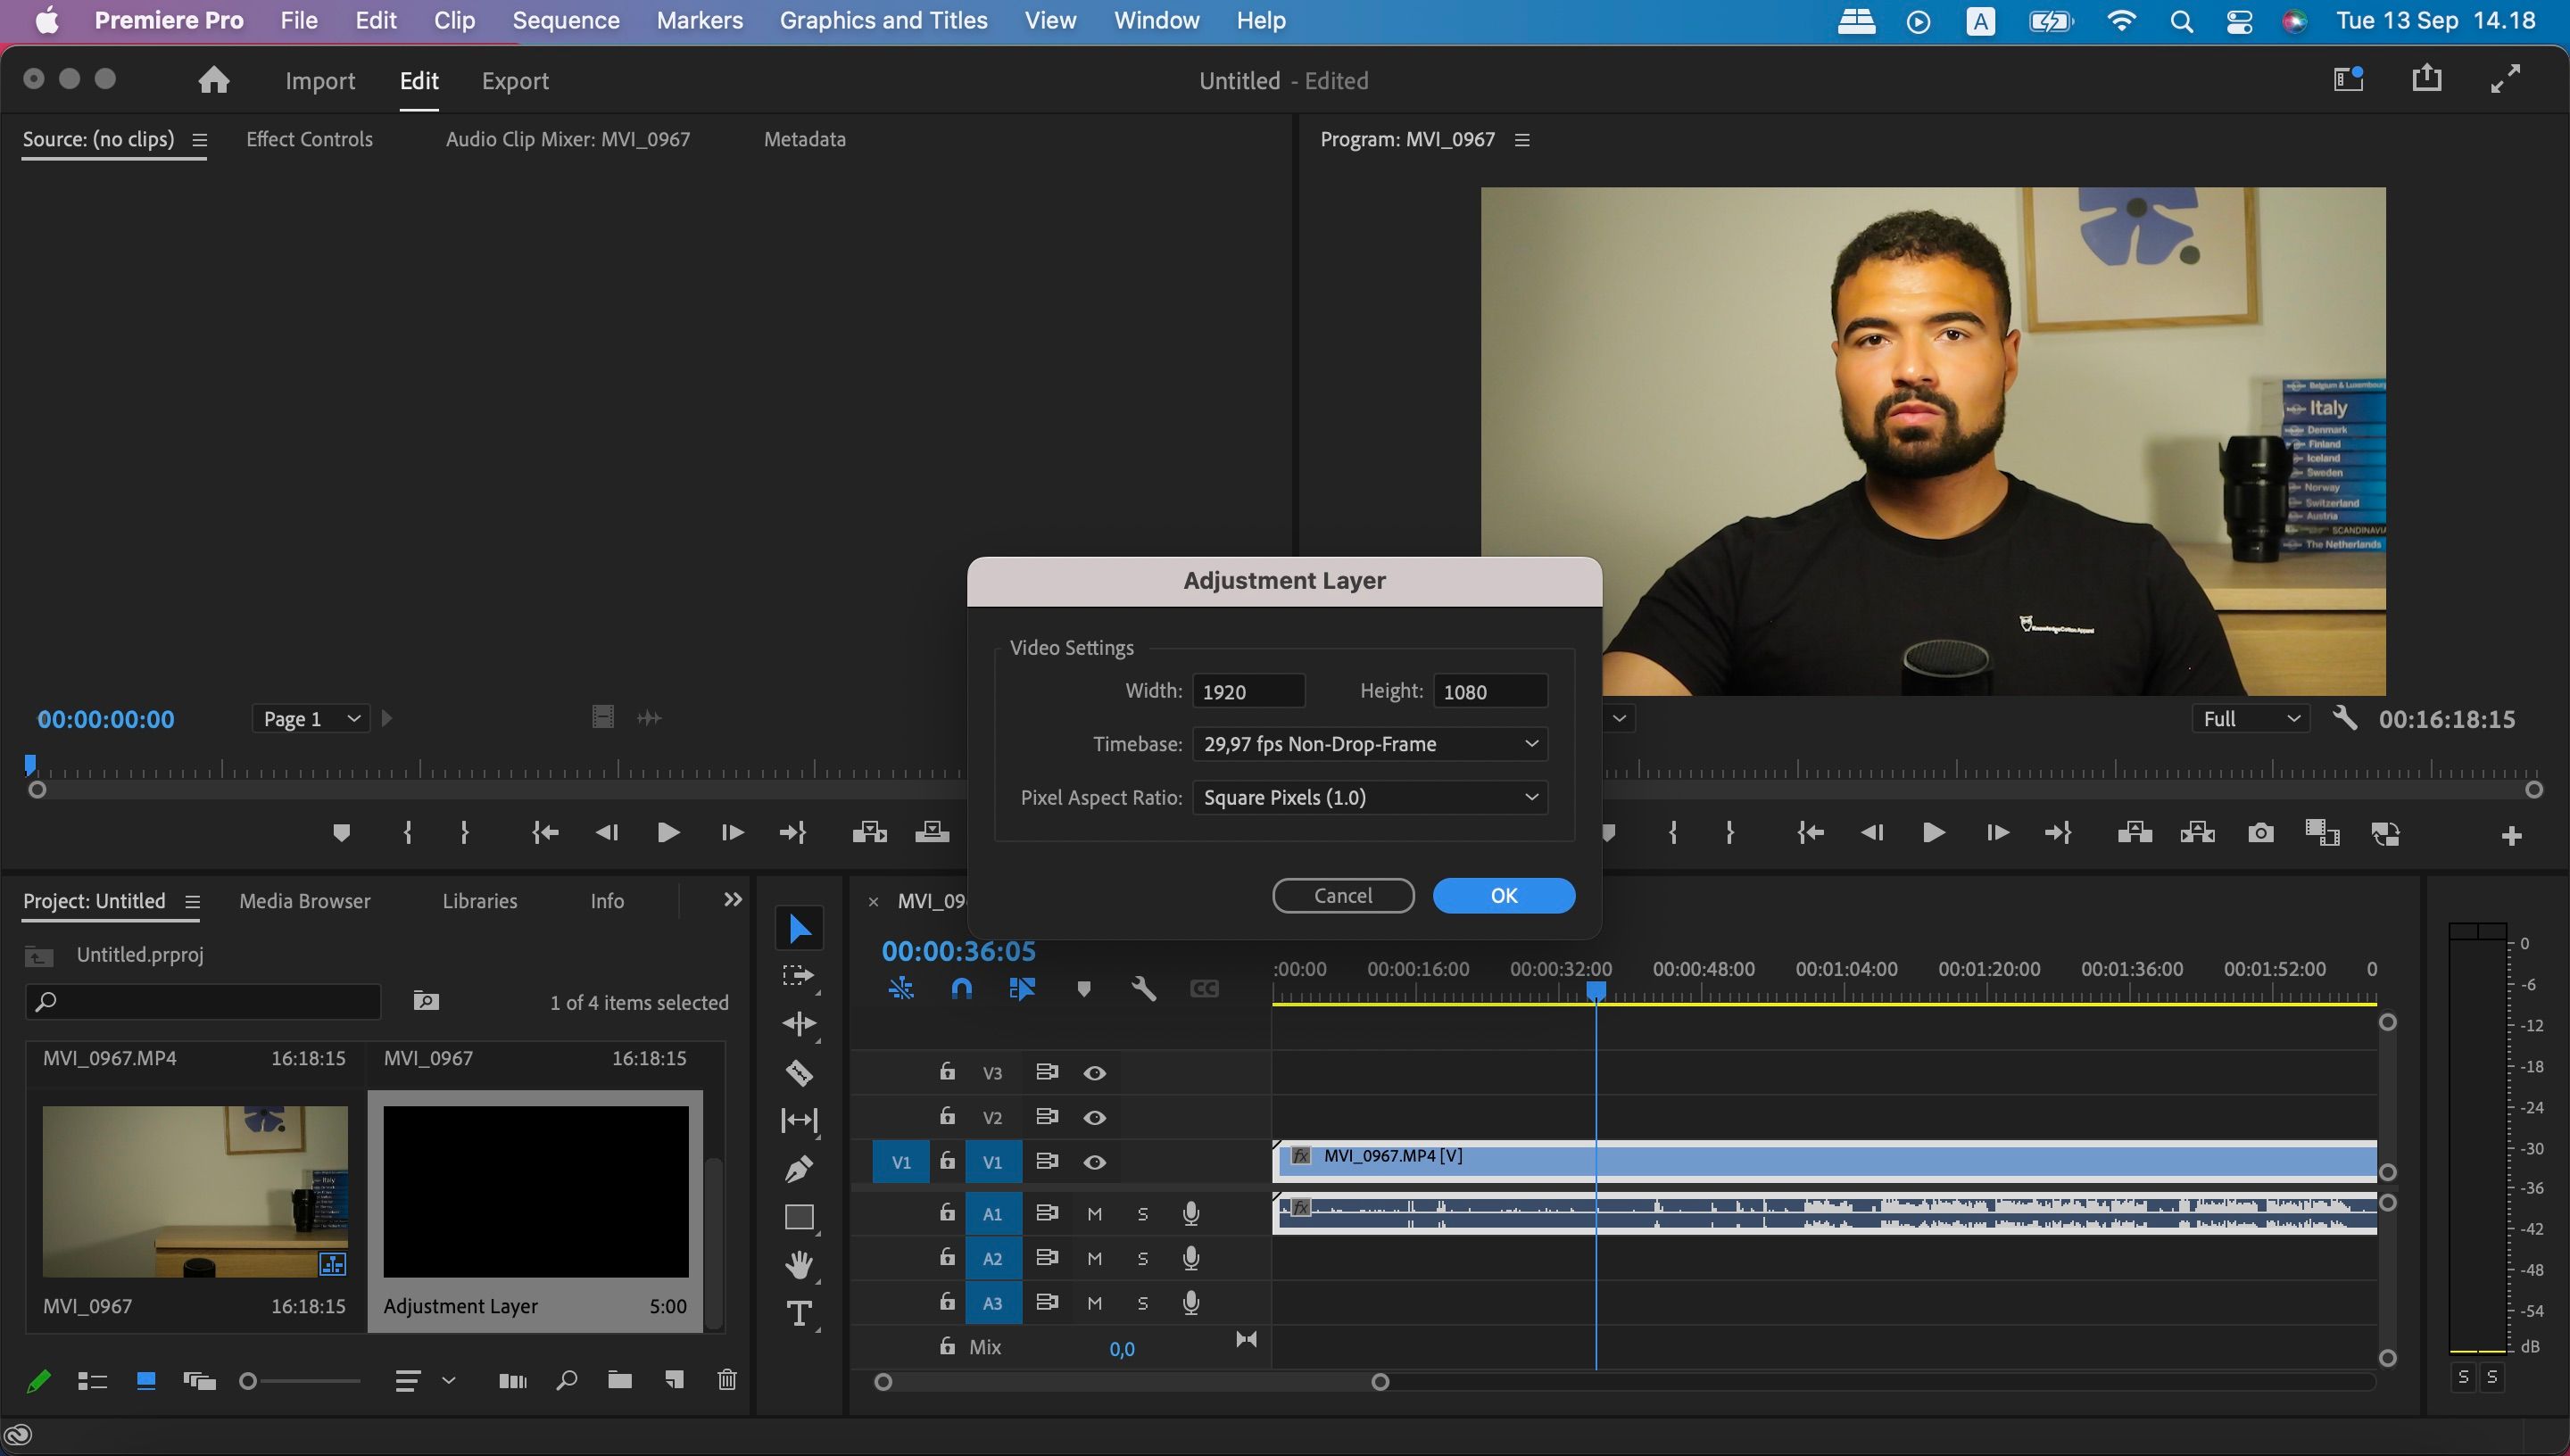
First, see to it that youve selected theEditingworkspace.
Then, go toNew Item>Adjustment Layerand change everything as you feel is necessary.
Workspaces
If you only learn one beginner term for Premiere Pro, verify its Workspaces.
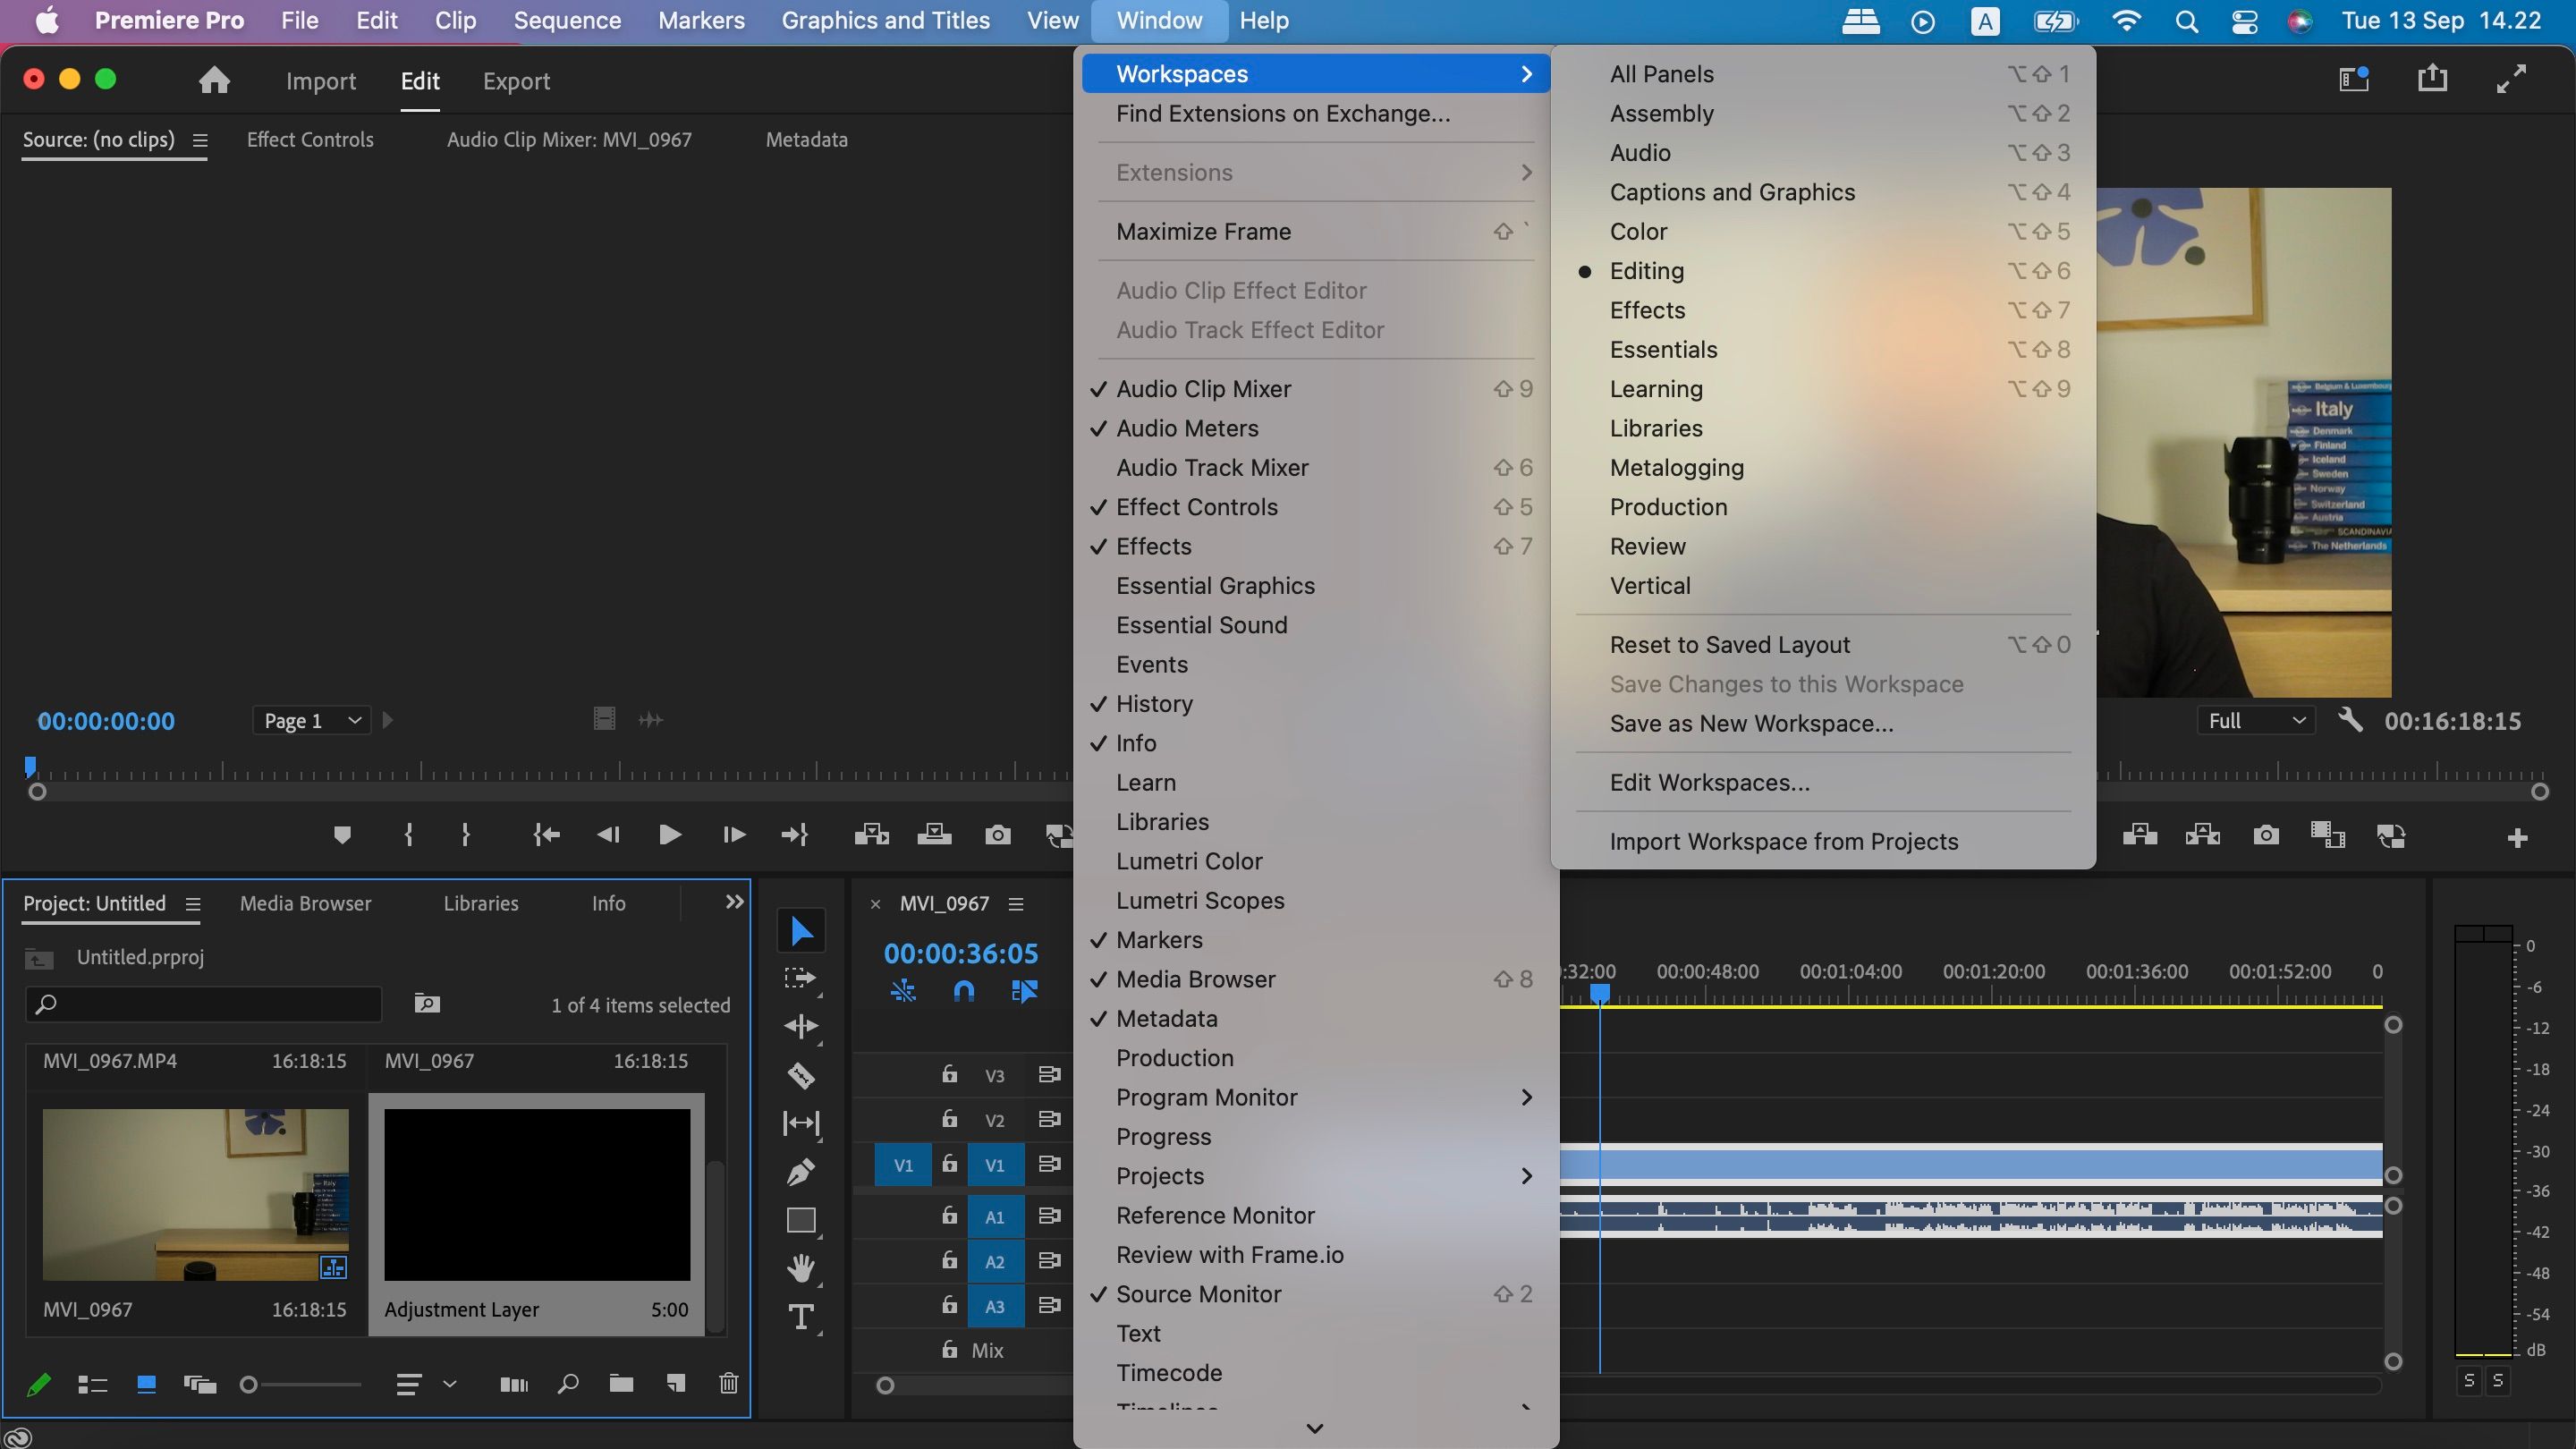
you could, for example, find a specific place to color grade your projectsand another for adding graphics.
To find the Workspaces tab, click onWindowsat the top of your app.
There, youll seeWorkspaces; hover your cursor over it to reveal the dropdown menu.
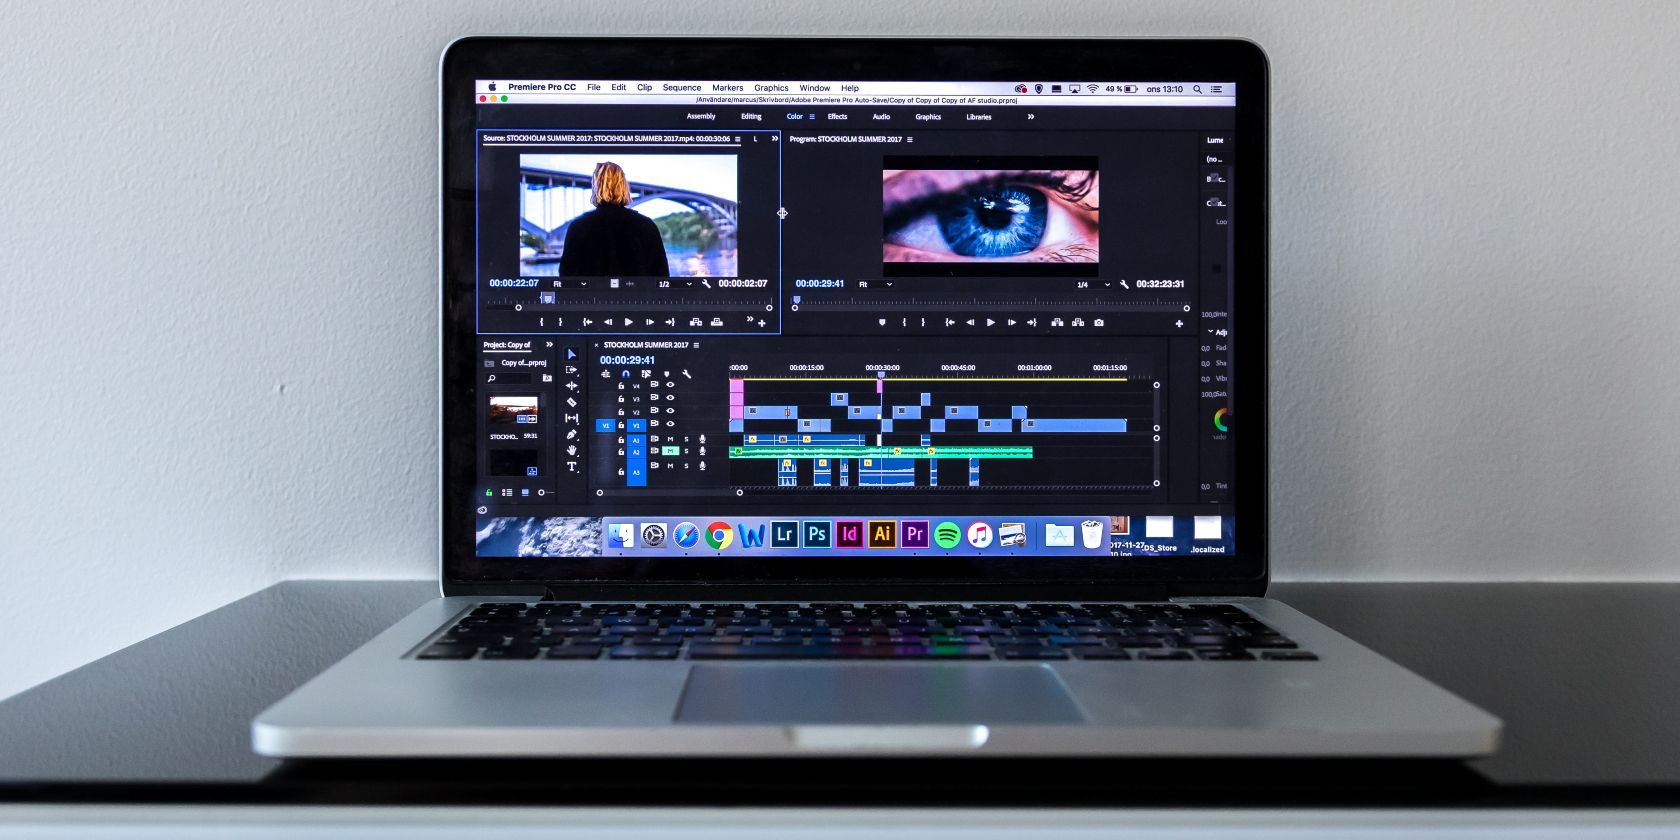
TheProjectsection is in the bottom left-hand corner of your screen.
When youre ready to add media to the timeline, you could drag and drop your files accordingly.
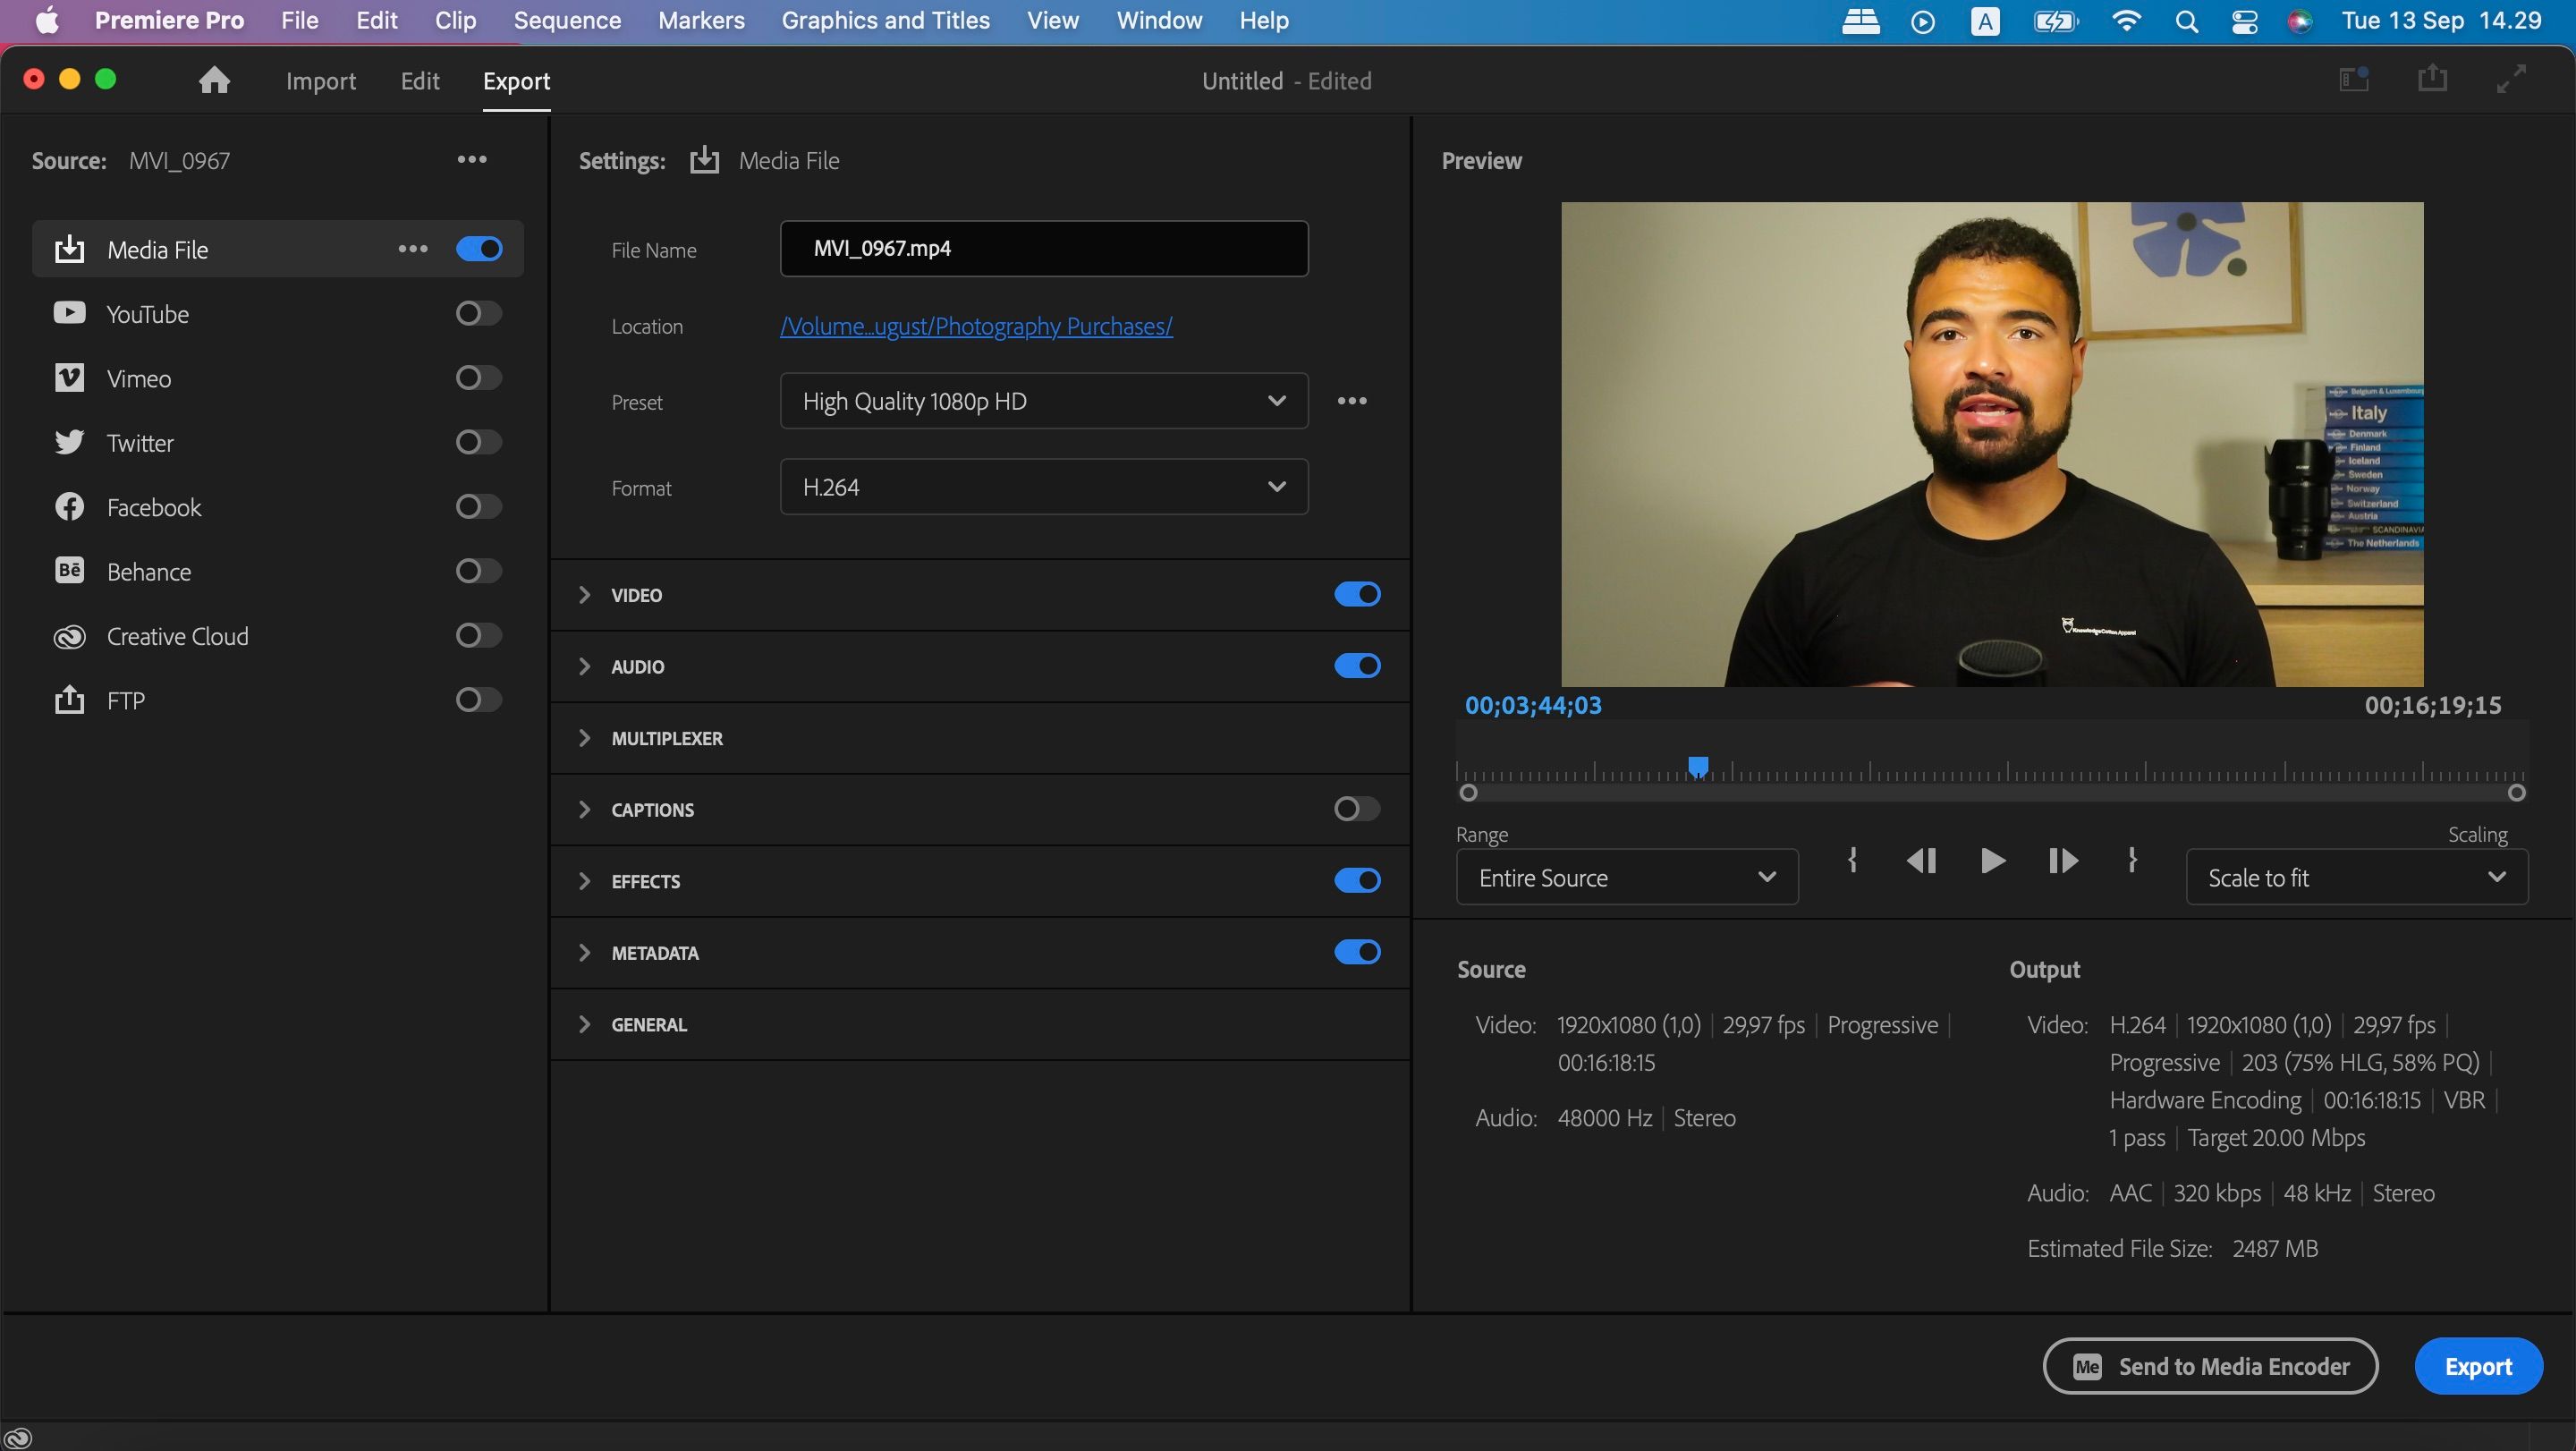
Export parameters
Once youve finishedediting your project in Premiere Pro, youre ready to export your masterpiece.
In Premiere Pro, you will find several export controls.
When exporting your files, you could also add presets to ensure that everything is formatted for specific platforms.
To access these tools, go toFile>Export>Media.
Before exporting your video, ensure you render it; well talk more about that later.
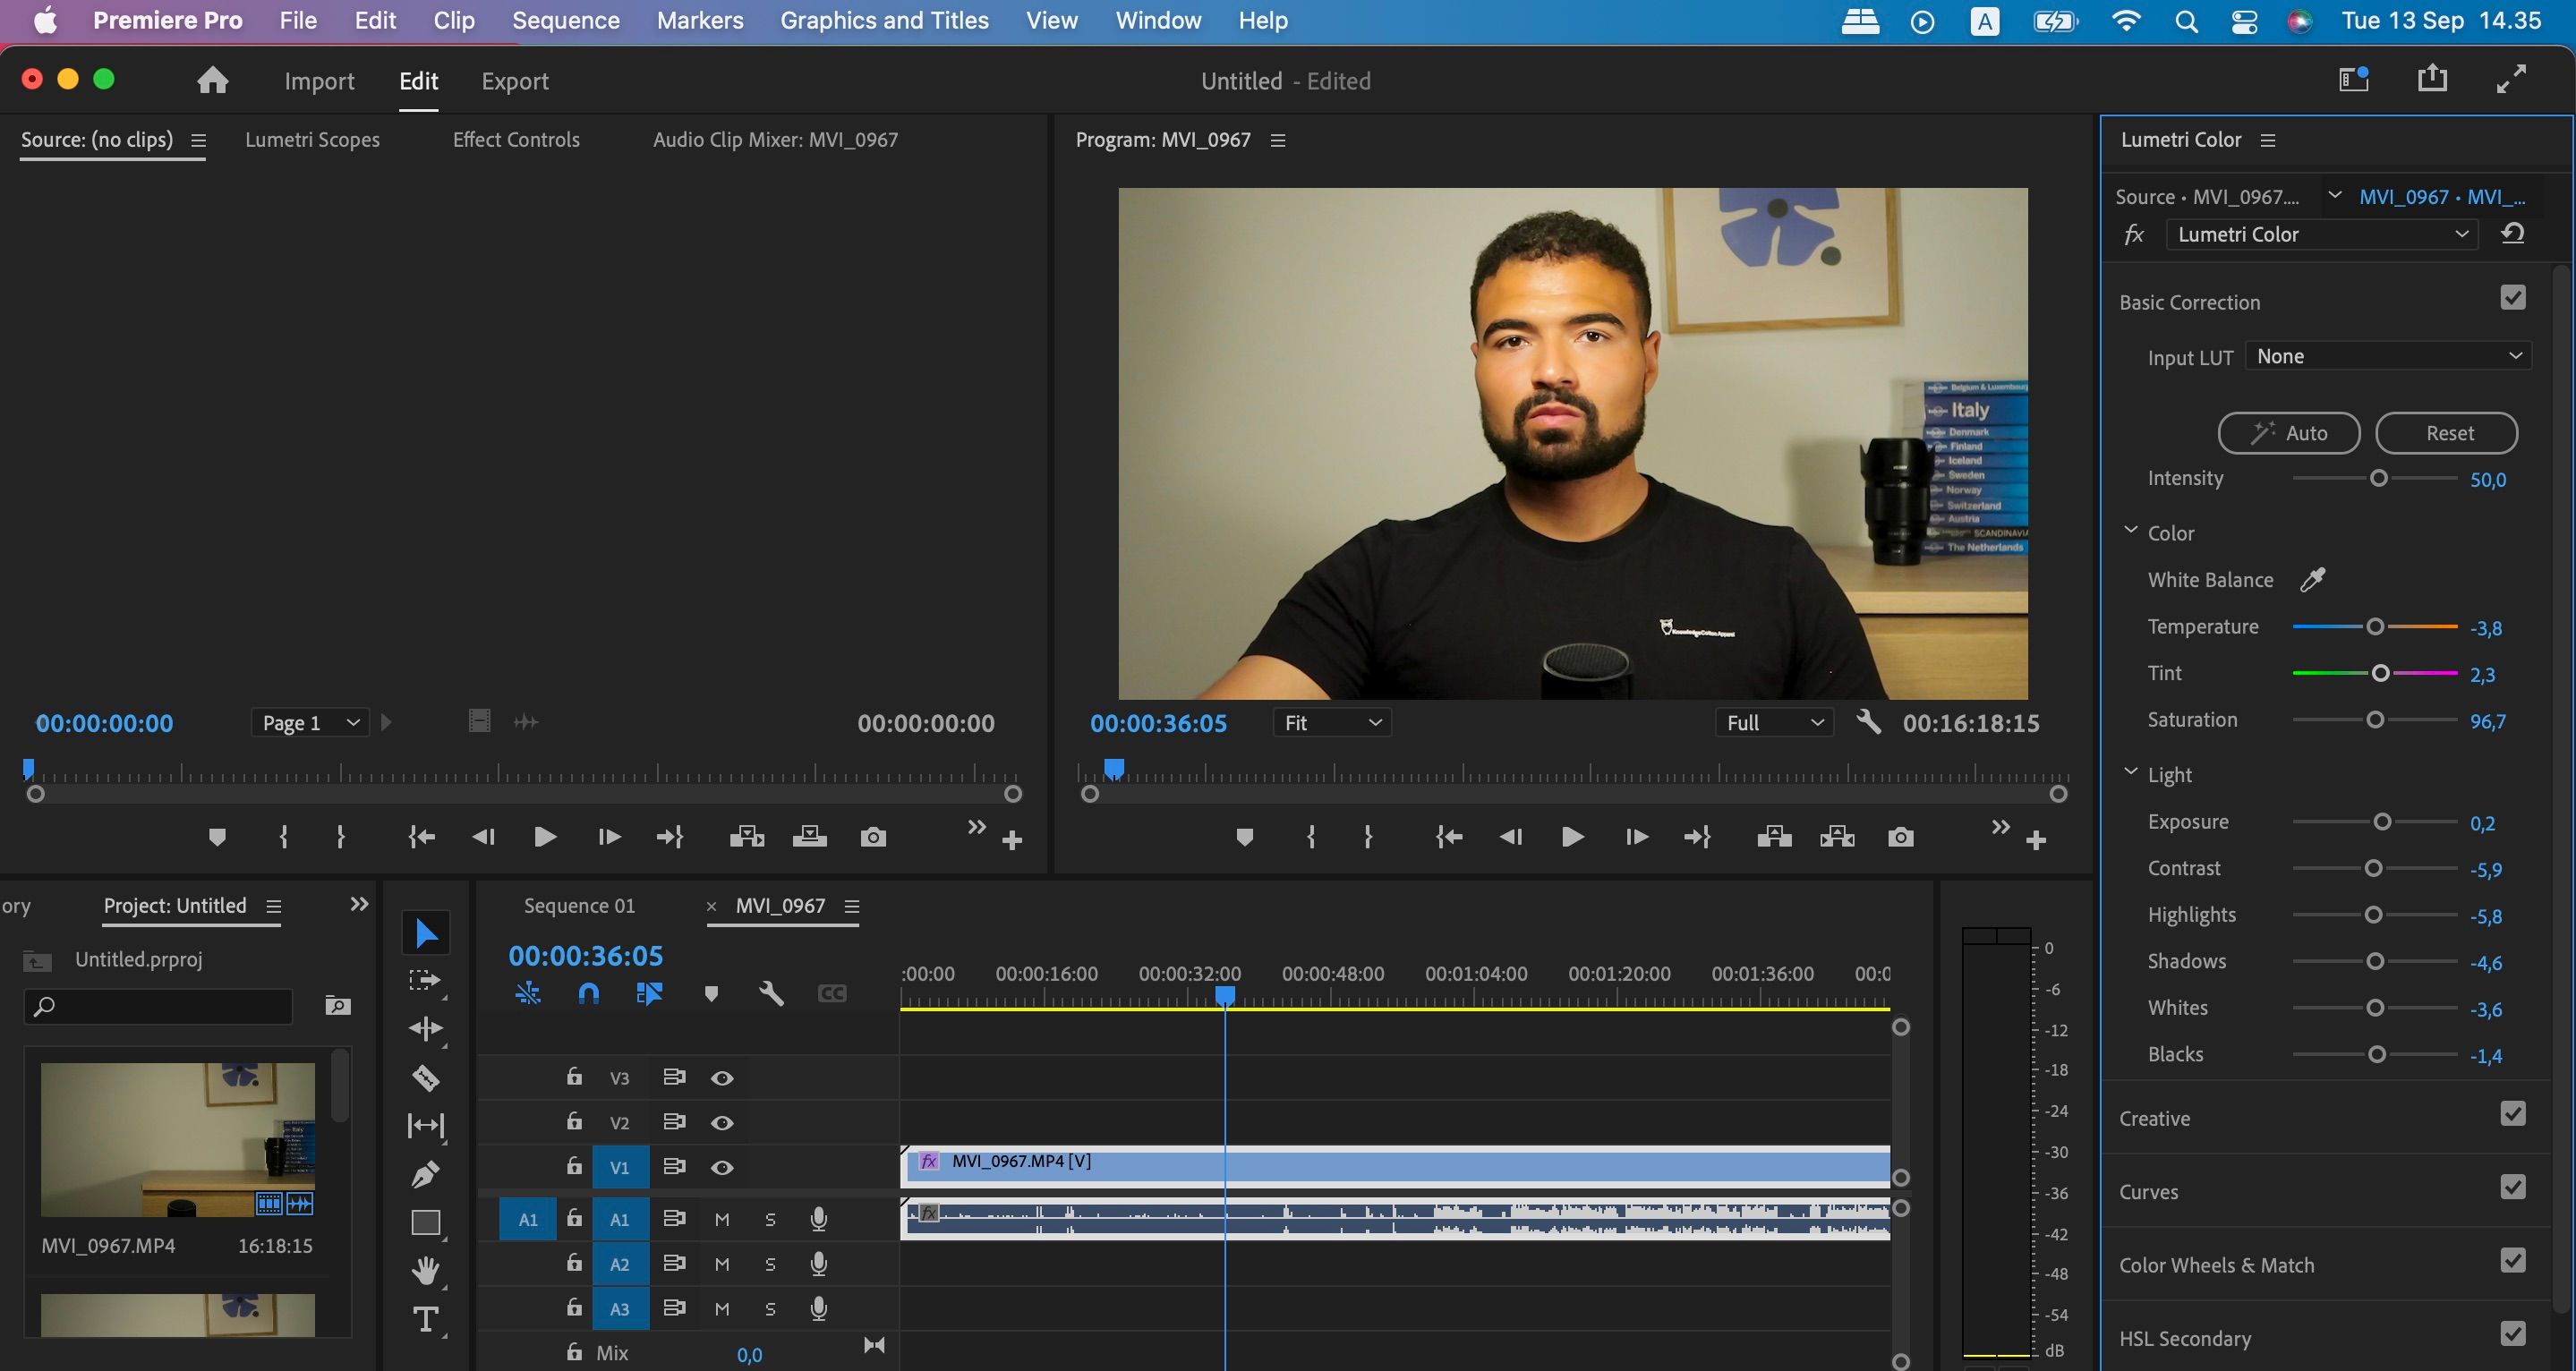
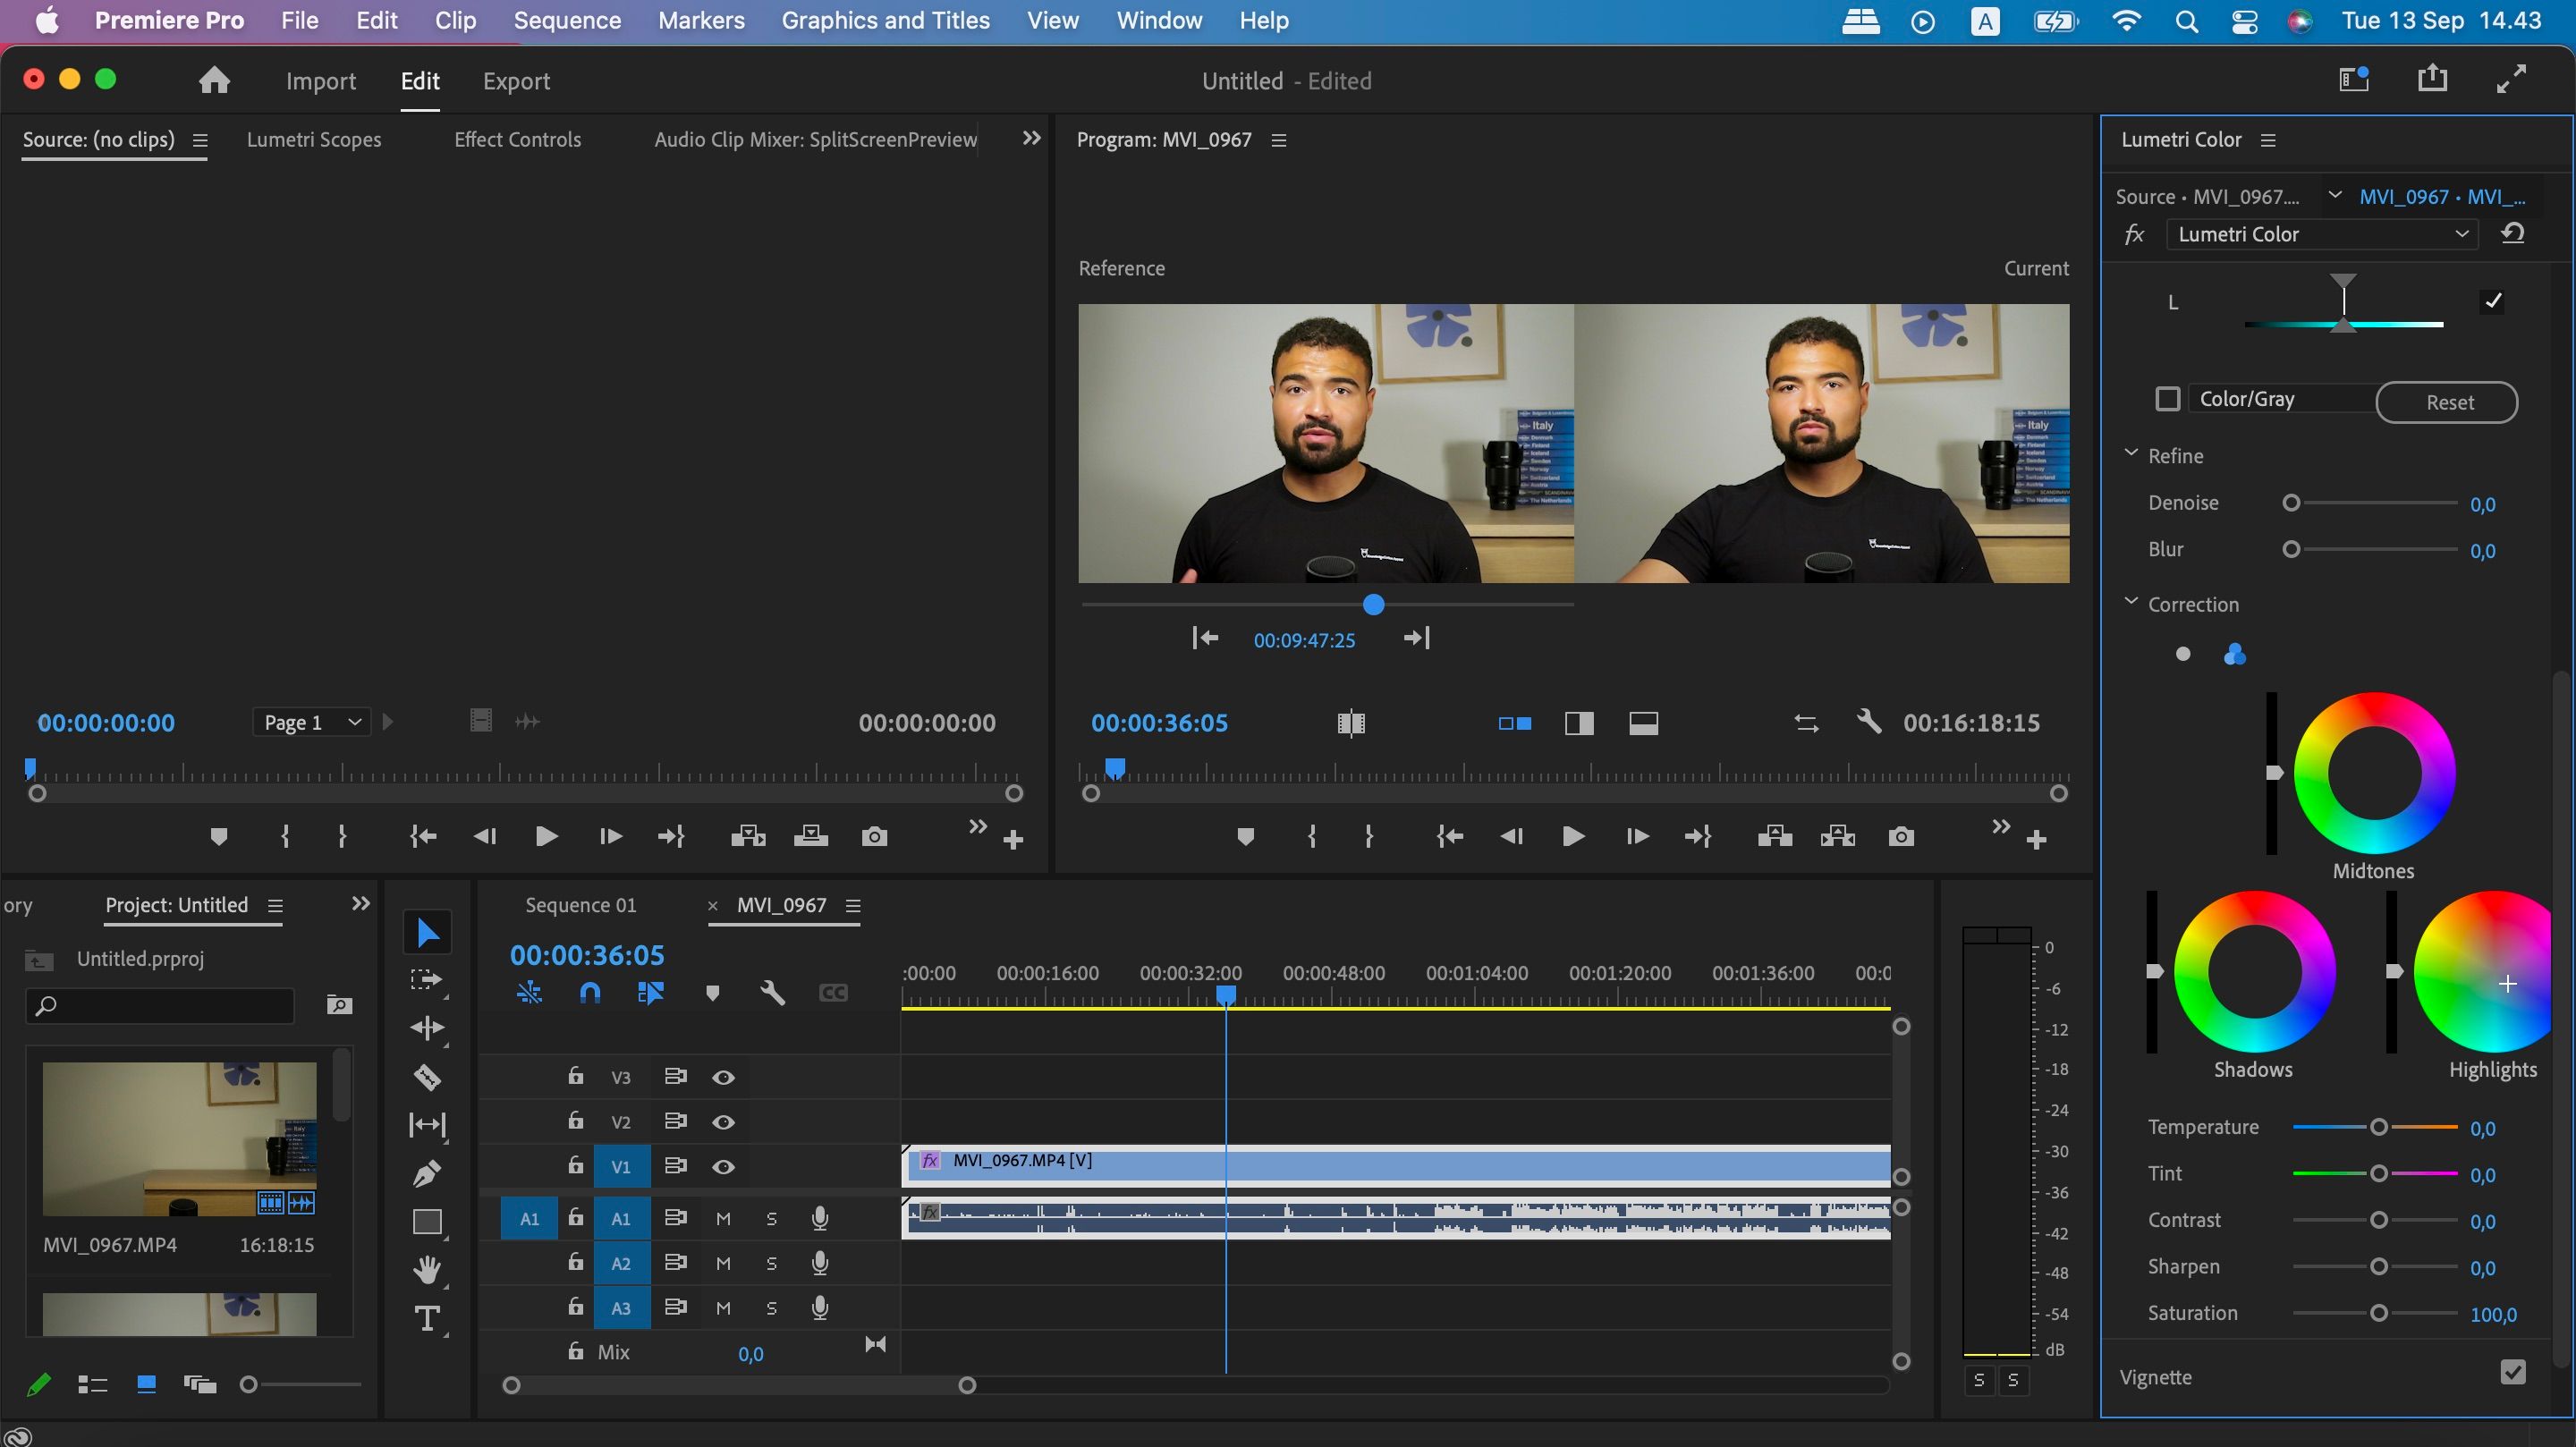
And in video editing, getting this aspect right is even more important.
In Premiere Pro, you will find several tools to help you edit the colors in your footage.
you’ve got the option to also change the exposure, contrast, highlights, and so on.
If youre short on time, you could use theAutobutton to create a starting point to work with.
To access Lumetri Color, go toWindows>Workspaces>Colors.
Like the adjustments we mentioned above, you could find all of these features under the Lumetri Color section.
To color correct your video, go to theCorrectionsection inLumetri Color.
Youll find wheels for your shadows, highlights, and mid-tones there.
Adjust them as you feel necessary.
Similarly, you might also have places where youd like to add effects or change the sound later.
In either case, markers work as placeholders to make it easier to return to those places.
Setting markers in Premiere Pro is easy.
you’re free to either go to theAdd Markericon on the video timeline or pressMon your keyboard.
Learn the rest ofPremiere Pro’s shortcuts here.
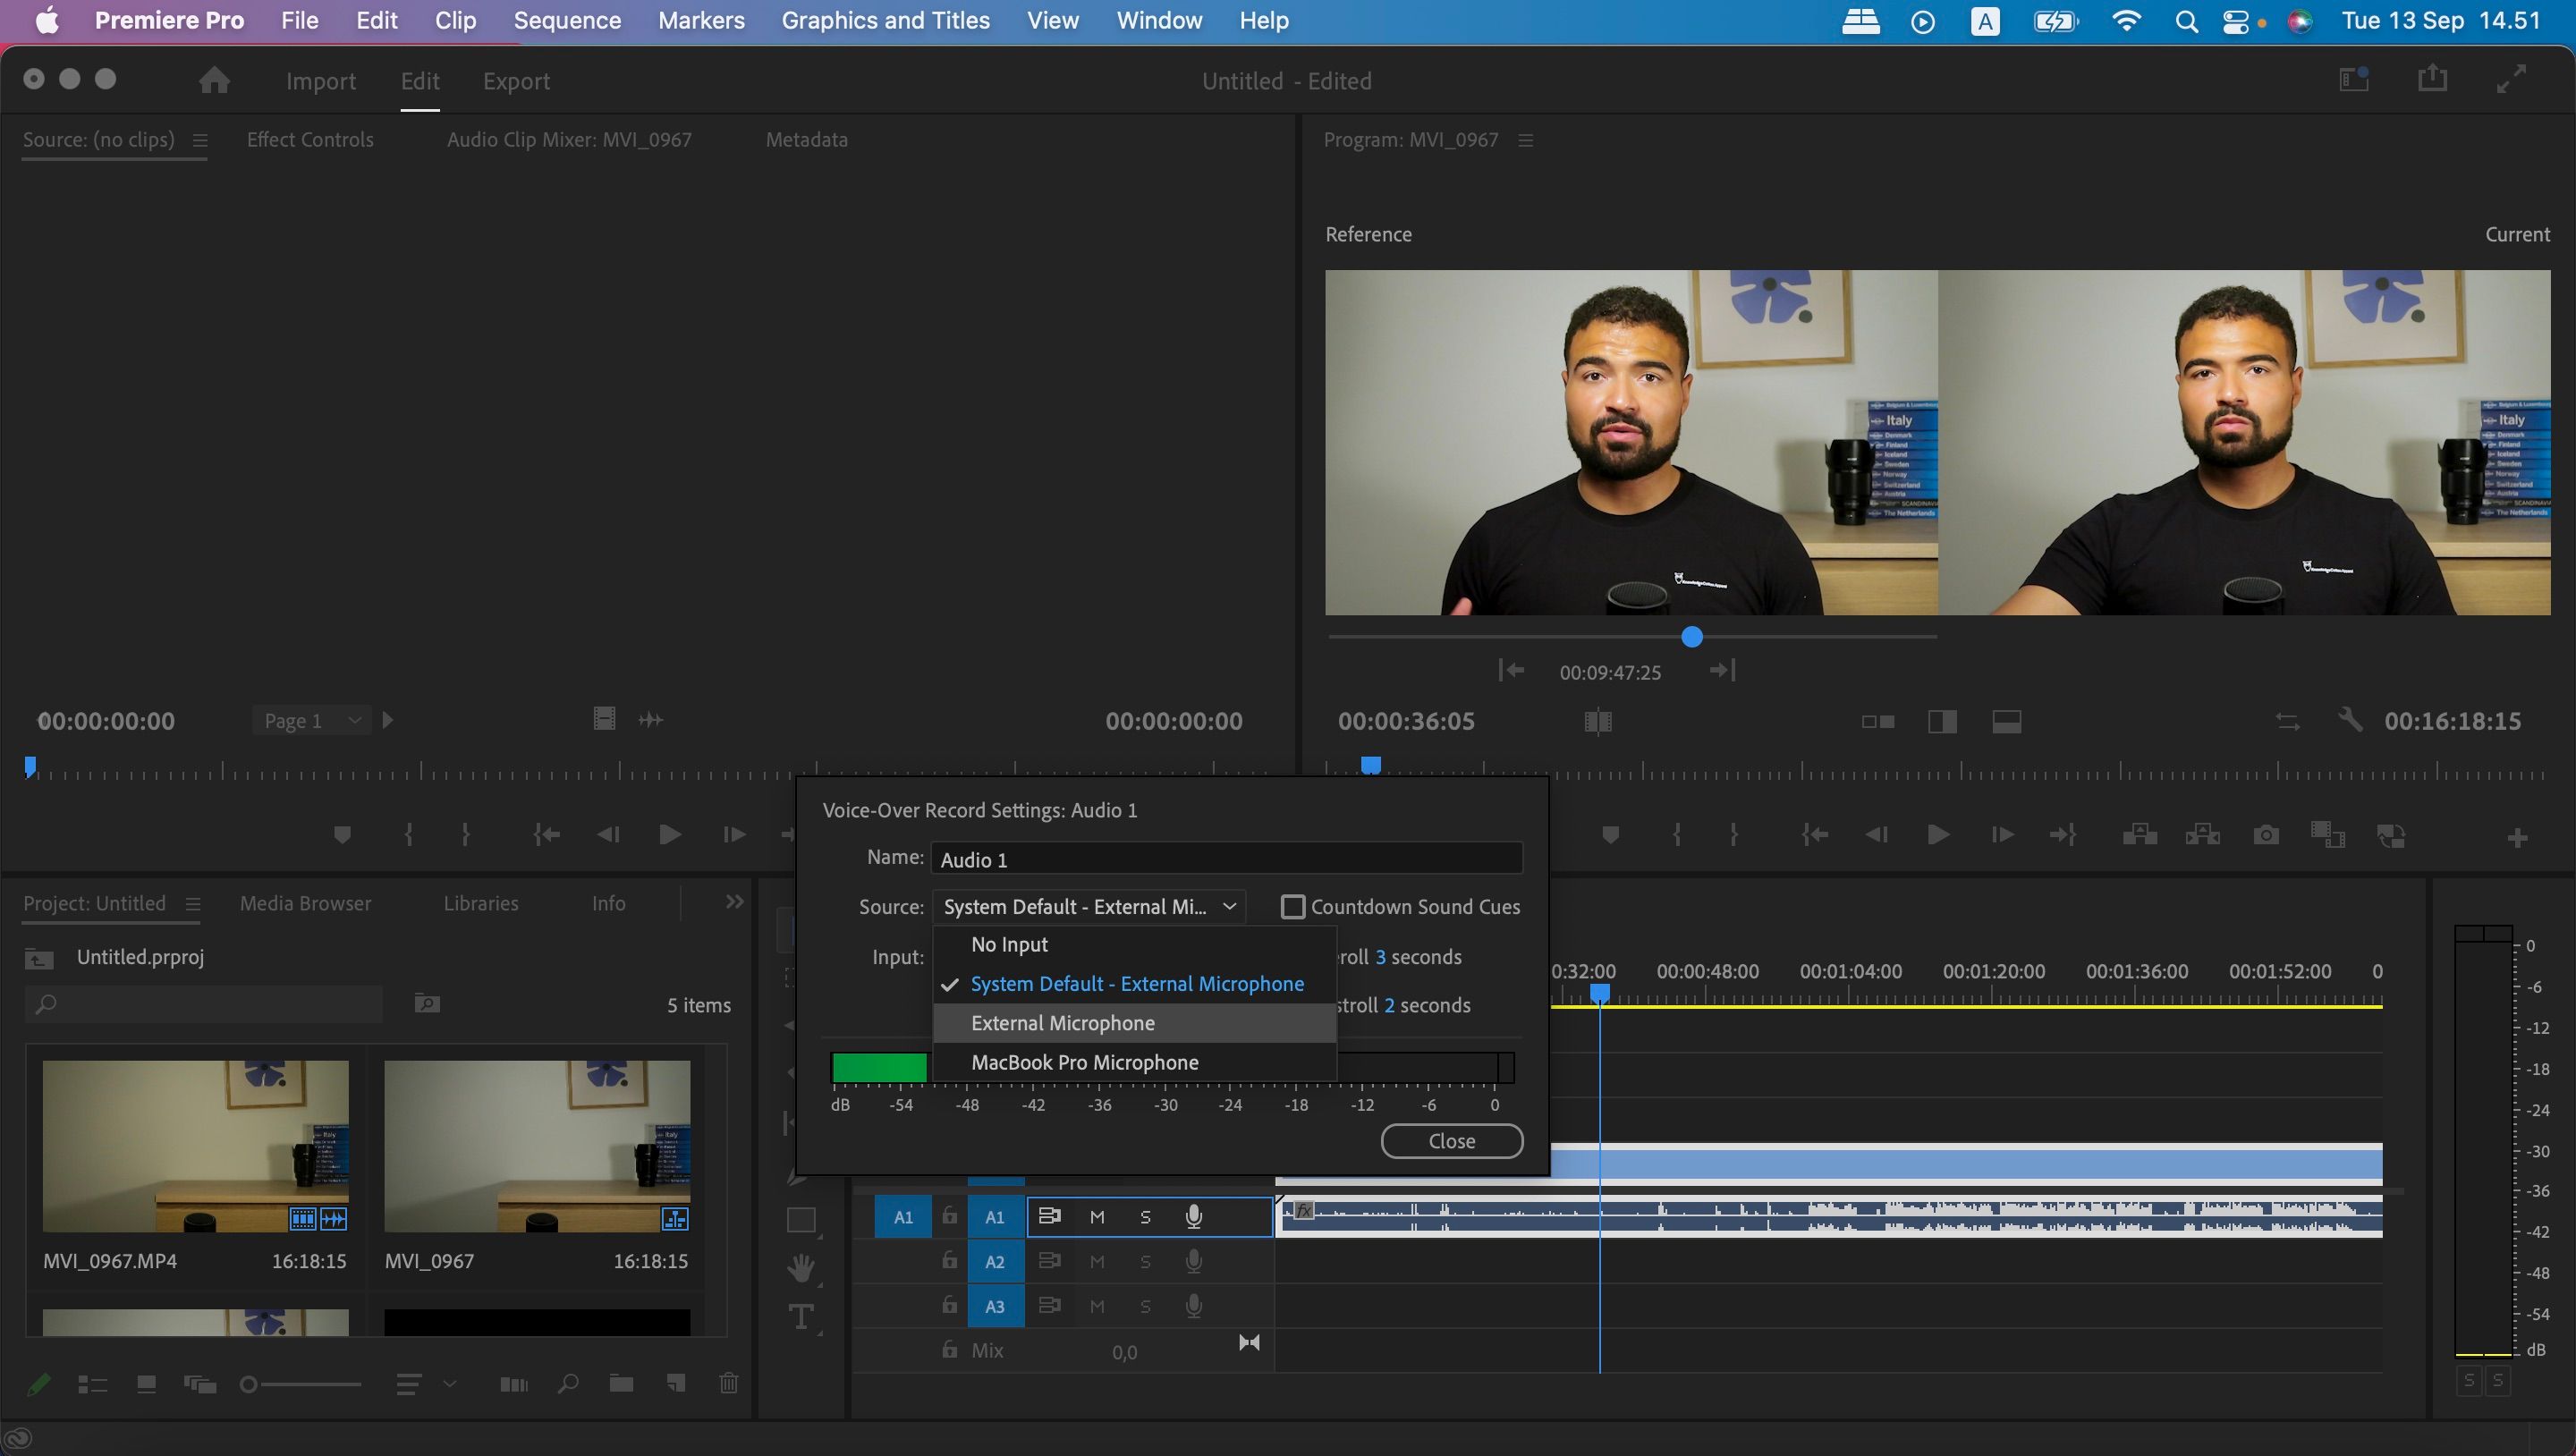
Voice-Over Record
If youre thinking of recording audio from your camera, you might want to reconsider that approach.
In Premiere Pro, you could directly record your voice onto the timeline.
you’re able to use your system microphone, but ideally, youll have an external microphone instead.
Note that youll often need to adjust your controls if you want to talk through an external microphone.
Hold downControland opt for microphone icon before going toVoice-Over Record configs.
Adjust what you should probably before pressingOK.
Youll see the timeline at the bottom of your screen.
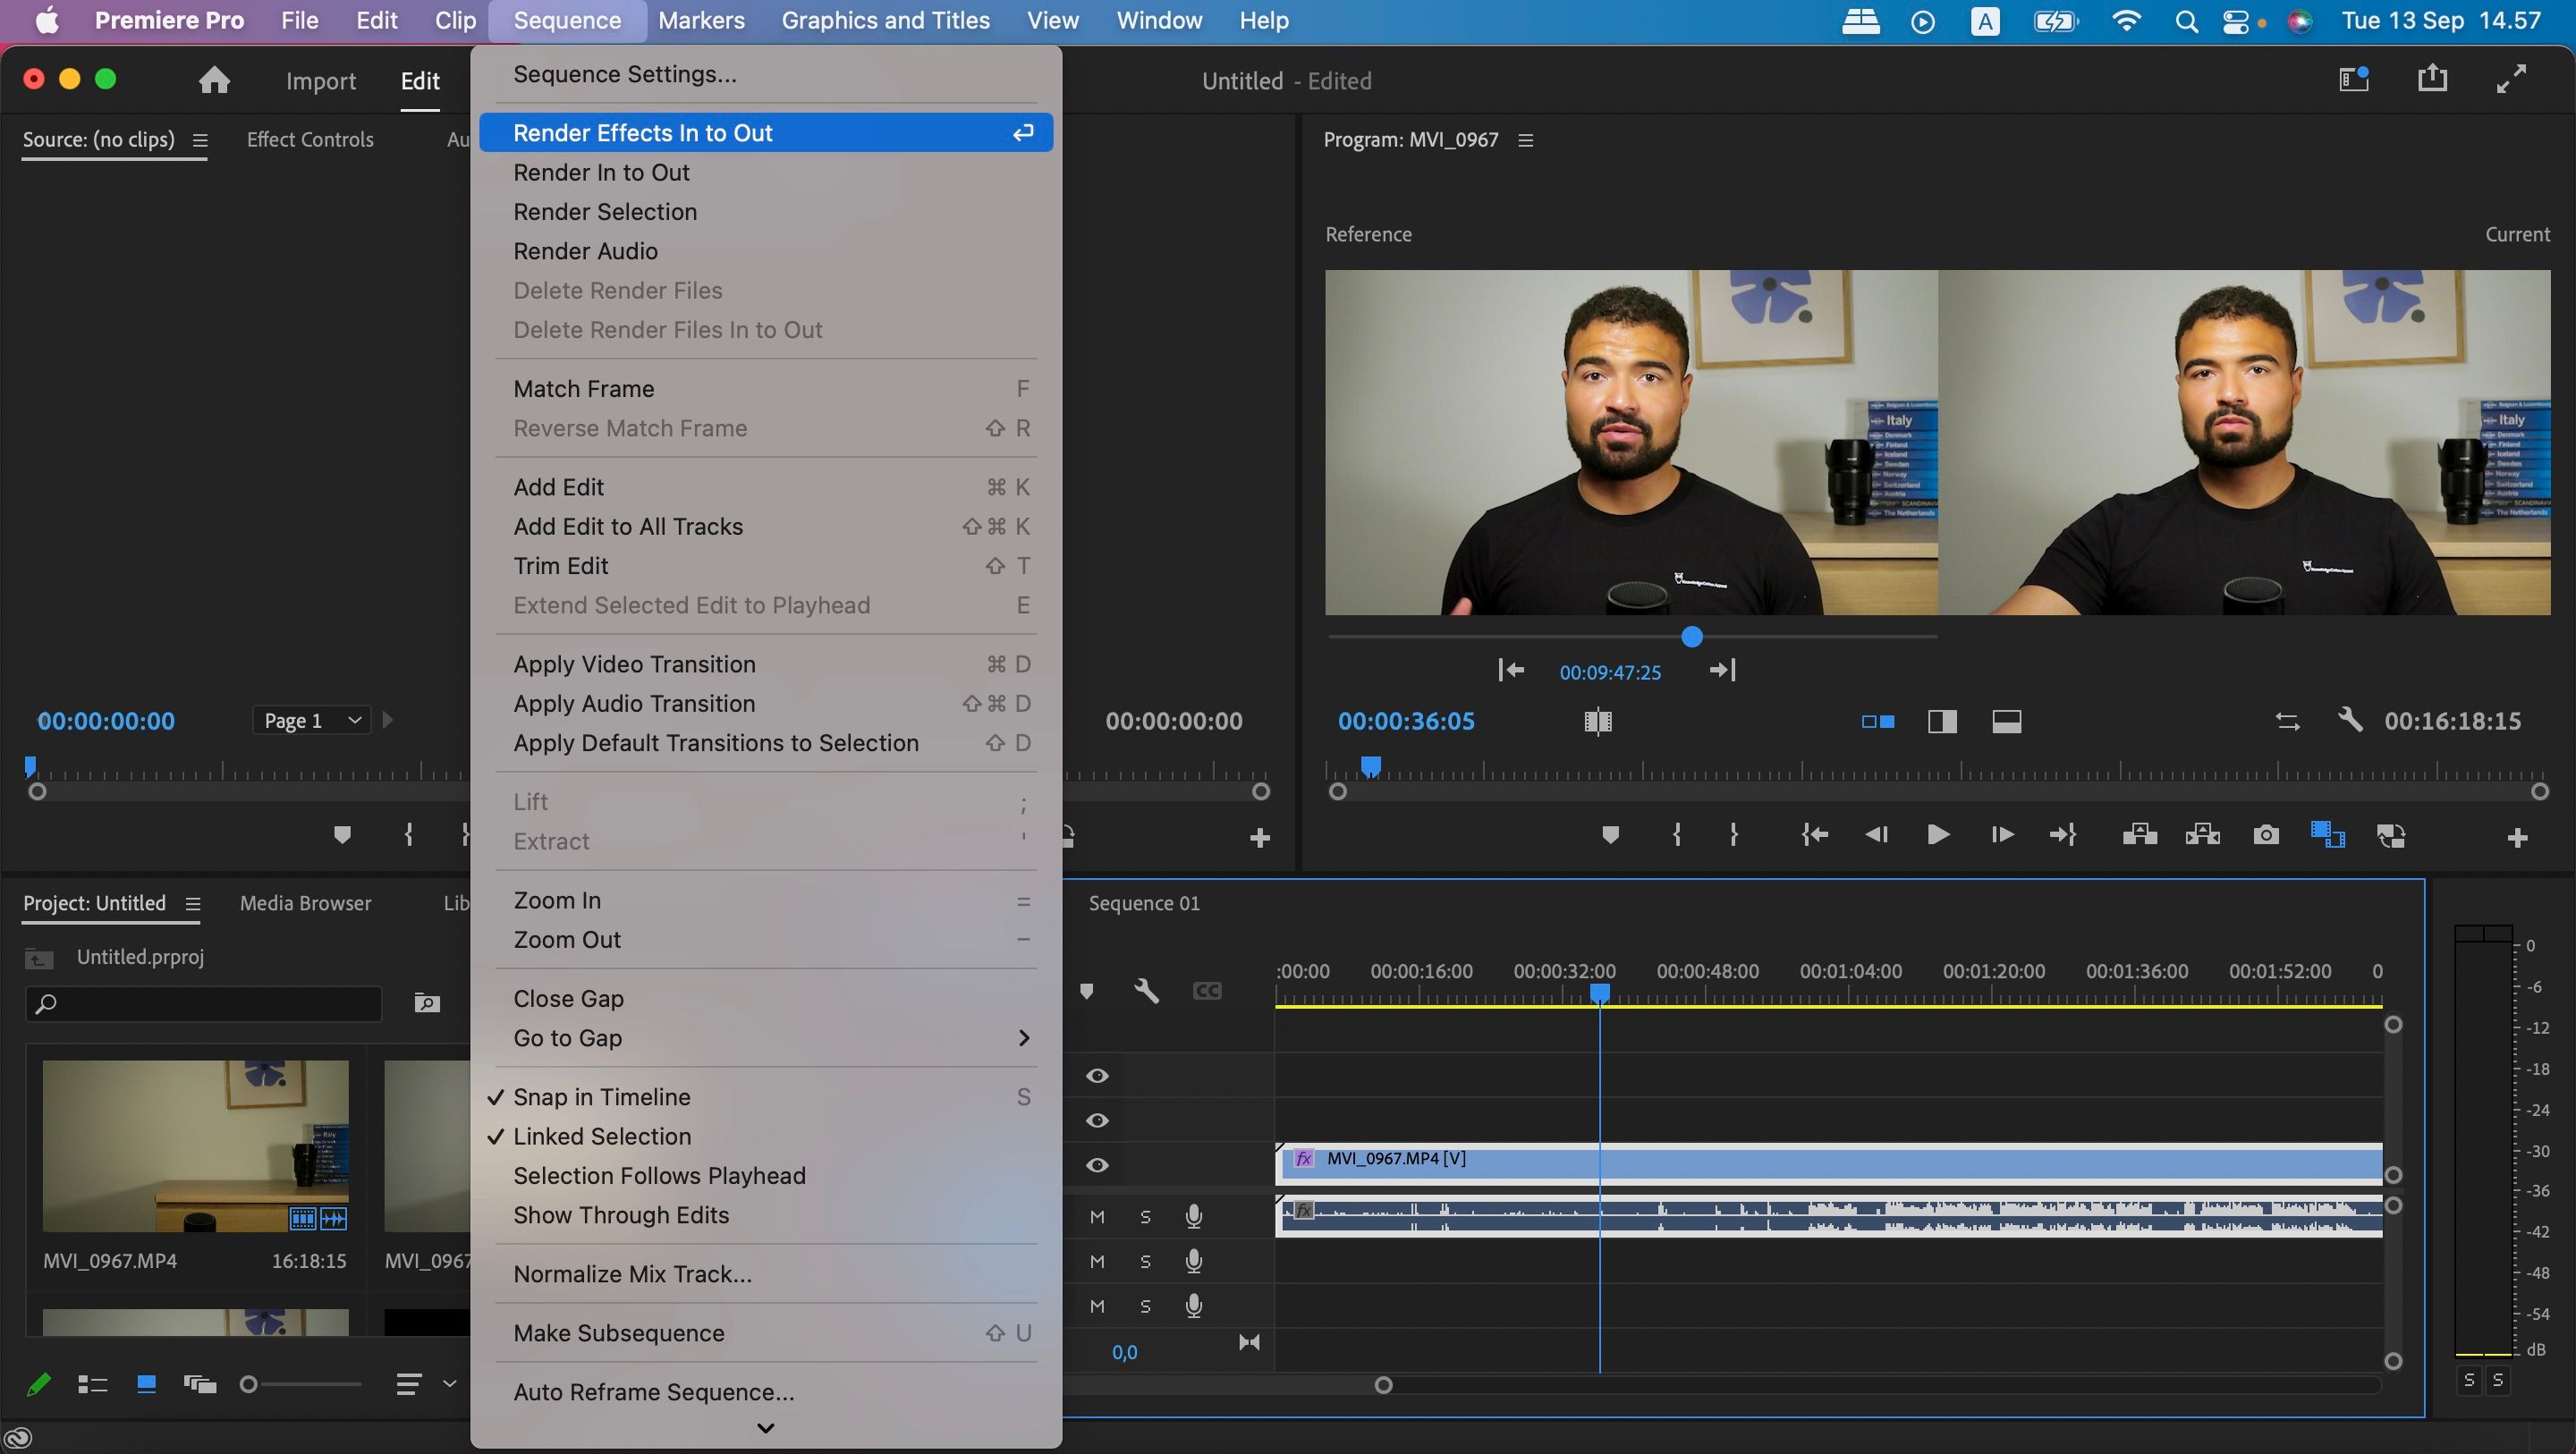
Rendering
Forgetting to render is a huge mistake that many beginner video editors learn the hard way.
To render your video, go toSequences>Render In to Out.
You will also see options to do the same to effects, audio, and specific selections.
Rendering large projects can take a while, especially if your gear doesnt have a powerful processor.
But in your early days, understanding the basics is essential.
